Showing posts with label Baking. Show all posts

Sunday, March 9, 2014

Baking: Hawaiian Bread Loaf Recipe, Aloha Bread

DSCN4567
Being tired of bread that reads like a science experiment gone wrong, I now just resort to baking at home. My experiments, at least when they fai,l are not filled with chemicals and the dog has benefited from a few "oopsies". Thankfully, this is not one of them and it's very easy to make....you don't even need a dough hook.
IMAG0399
Hawaiian bread is suppose to have a little tropical flair with a touch of sweetness from the Pineapple Juice and is usually a nice soft texture. I love making ham sandwiches with it but also just eating it with a little butter.
Let's begin....
You will need:
3 cups of All-Purpose Flour (I use Bob's Red Mill), plus
  • 1/4 cup of All-Purpose Flour (to be used after the dough rises)
1/4 teaspoon of Kosher Salt
2 Eggs (room temperature)
1 1/4 cups of 100% Pure Pineapple Juice (I used Langer's Pineapple Juice), and at room temperature
1/4 to 1/2 a teaspoon of Vanilla Extract (depends on your taste)
5 tablespoons of White Sugar
2 1/4 teaspoons of Active Dry Yeast
4 1/2 tablespoons of Unsalted Butter (melted), plus
  • 1/4 tablespoon of softened Salted Butter (to grease the bowl the dough will rise in) and another 1/4 for the final rise and to grease the dish you will be baking in.
First mix your wet ingredients, this would be eggs, pineapple juice, vanilla, butter and white sugar in one bowl. Then in another bowl mix your 3 cups of flour, salt and yeast. Using the mixer with the paddle attachment (or by hand with a spatula), start incorporating the dry ingredients to the wet. I usually do it by hand using a spatula and you will get a sticky dough that is ragged looking. It takes me about 2 minutes by hand to accomplish this. If the dough looks too dry, add a little more pineapple juice. If the dough appears too wet, start by incorporating a little flour until you are left with a moist dough that does not have a over sticky appearance/feeling.
I then allow the dough to rest one hour in a buttered bowl that is big enough to allow it to double in size. This is where I use the 1/4 tablespoon of Salted Butter and it helps keep the dough moist but also does not let it adhere to the bowl.
After the dough doubles in size, I flour the surface and dump the bread dough to start incorporating the 1/4 cup of flour. I begin to first punch down the bread and then slowly knead it for a minute and until the flour is incorporated. I just keep folding in until I get the right texture and if it's too moist, I slowly add a little more flour if needed. I then take the 1/4 tablespoon of butter and grease the loaf pan I will be baking in. I add the dough and again allow the bread to rise for about an hour, or until it doubles in size.
Set the oven to 350 degrees and bake for 30 to 35 minutes, or until the top is golden brown in color. I then take the bread out and allow it to cool 15 to 20 minutes and pop it out of the pan to further cool down. I give it a couple hours and then start slicing and enjoying. This bread makes great panini style sandwiches and I love how it also toasts up. Get creative and enjoy!
Beautiful Nooks and Crannies in the Bread!
Note- My recipe uses 100% Pineapple Juice that has no added sugars or sweeteners. I feel Hawaiian bread has a touch of sweetness but should not start off being a dessert style bread. It's suppose to be versatile and this why I control the sweetness by adding my own sugar and adjust my vanilla to fit my tastes or future uses.  You can also make buns for sliders using this recipe, versus just a loaf :)
Panini Ham Sandwich I made with the loaf.

Wednesday, March 5, 2014

Winners Announced for Tribes-a-Dozen & Almondina Cookies Giveaway

DSCN4431

Tribes-a-Dozen:


  • The winner is Kathy Hanley :) I have sent an e-mail and Congratulations on the win!!!


DSCN4452

Almondina:

  • The winner is tcarolinep :) I have sent an e-mail and Congratulations on your win!!!


Tuesday, January 21, 2014

Giveaway: Tropical Traditions Gold Label, Virgin Coconut Oil

DSCN4078

It's that time, the time to reward my readers with a fantastic giveaway.  One reader will receive one Gold Label, Virgin Coconut Oil quart sized bottle from Tropical Tradition's. All you have to do to enter is:

  1. Subscribe to Tropical Tradition's email Sales Newsletter here: http://www.tropicaltraditions.com/subscribe_for_special_sales.cfm

  2. and please leave a comment on my blog post reviewing the product here- http://samplesandfreebiesgallery.wordpress.com/2014/01/17/tropical-traditions-virgin-coconut-oil-gold-label-usda-organic/


That is all! This giveaway will run for 2 weeks and on February 5th, I will announce the winner! Tropical Traditions will send the item directly to the winner for free!!!!!!

More Information-

• Tropical Traditions Home Page: http://www.tropicaltraditions.com
• Gold Label Product Page: http://www.tropicaltraditions.com/virgin_coconut_oil.htm
• What is Virgin Coconut Oil: http://www.tropicaltraditions.com/what_is_virgin_coconut_oil.htm
• How to Use Coconut Oil: http://www.tropicaltraditions.com/how-to-use-coconut-oil.htm

Disclaimer: Tropical Traditions provided me with a free sample of this product to review, and I was under no obligation to review it if I so chose.  Nor was I under any obligation to write a positive review or sponsor a product giveaway in return for the free product.

Wednesday, October 2, 2013

Pretzel Bread Recipe

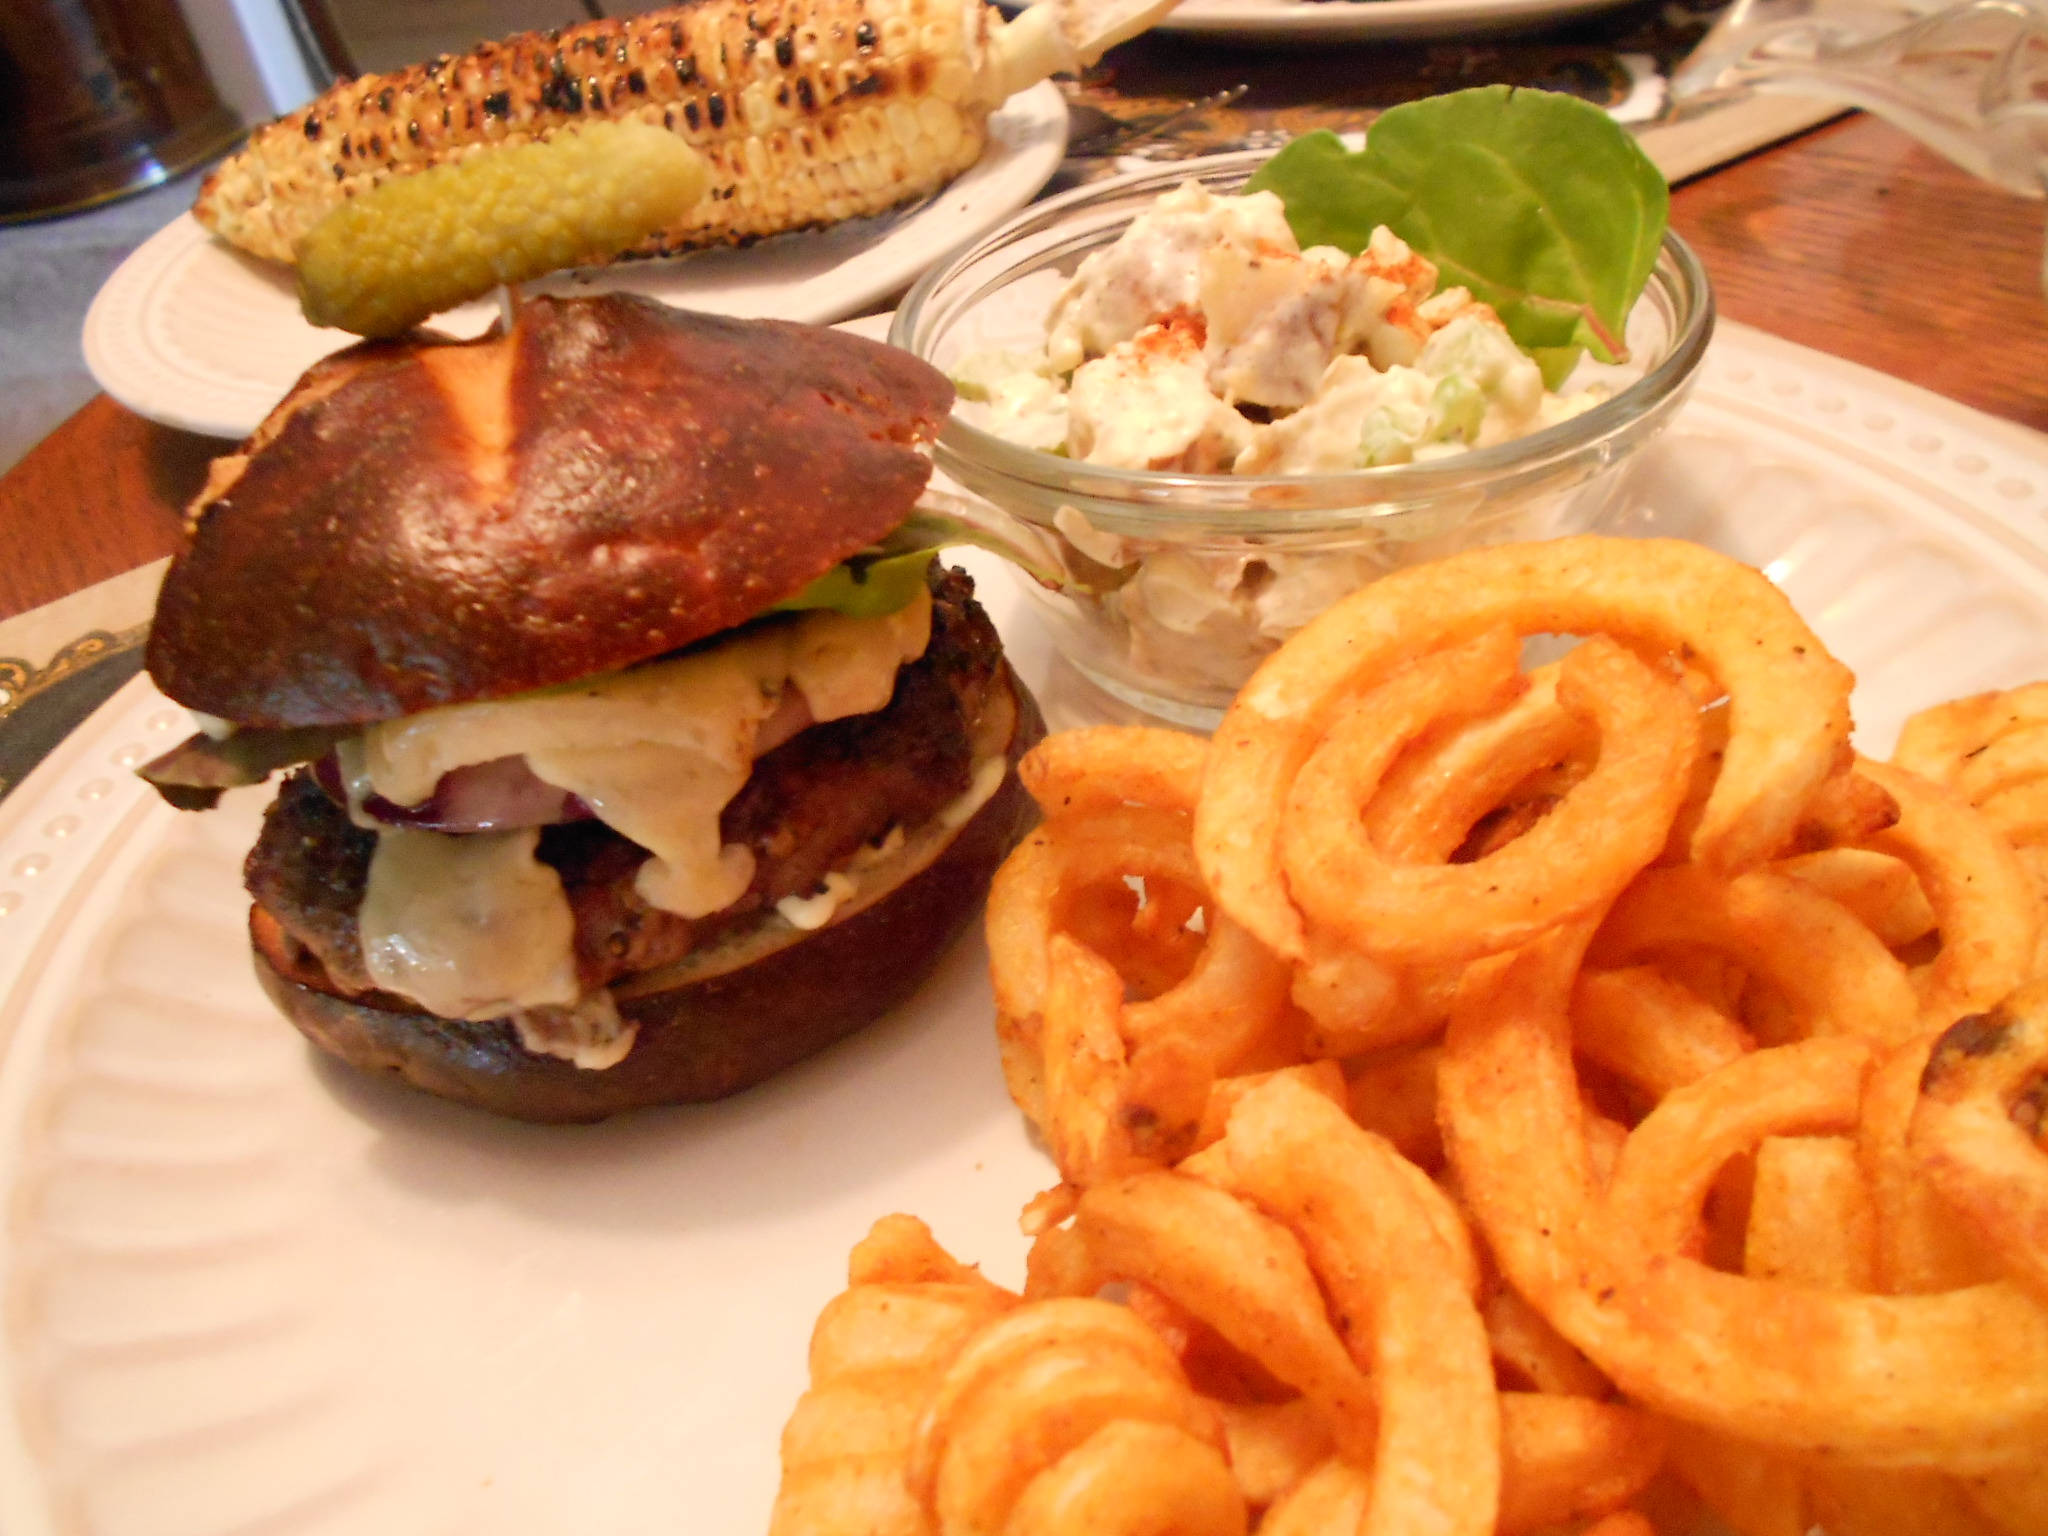
DSCN3351 Pretzel Burger

Everybody loves pretzel bread. Everybody. We see the commercials from drive-thru joints to restaurants, and I was purchasing the 4 bun bag at Trader Joe's until they discontinued it. So I started purchasing it at Costco then and after two purchases, they suddenly stop making it. I have heard they consider it a "seasonal item", but whatever the reason, I wanted Pretzel Bread and was tired of hunting. Yes, I even tried Fresh & Easy's Pretzel buns and they just taste like salty white bread, so I think they just paint their burger buns brown and call it Pretzel bread!

DSCN3263DSCN3266

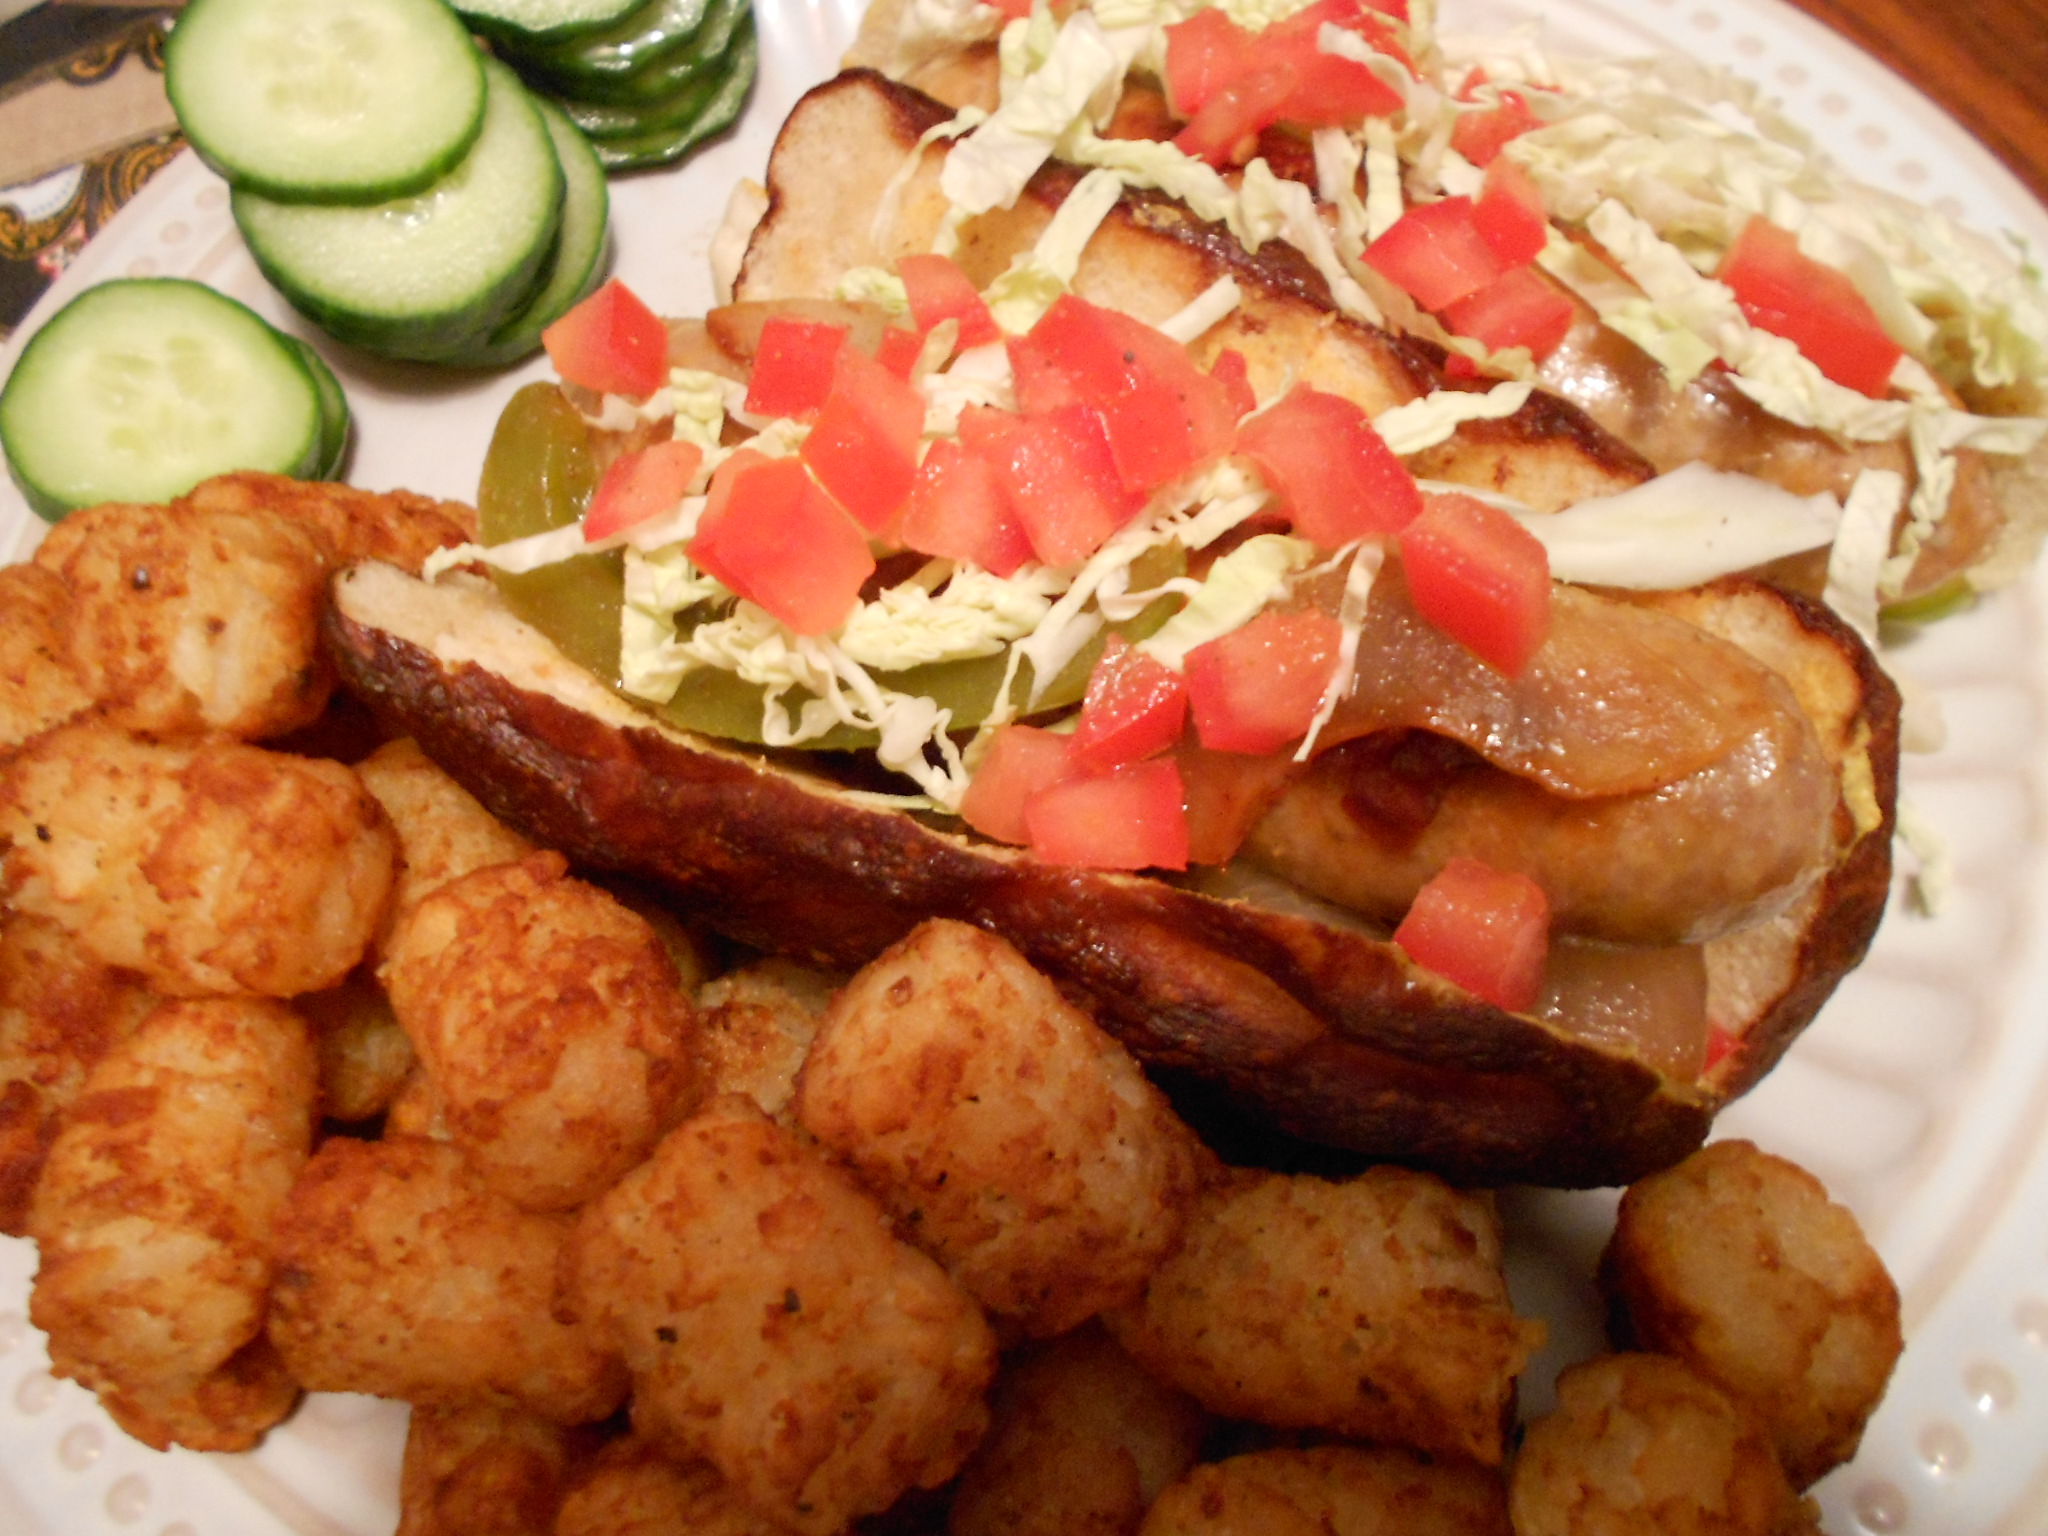
Pretzel Bread                                                                                                                                                                 Brauts with Pretzel Buns

So after experimenting, I finally found a way to have Pretzel buns, rolls, loaves....you name it and you can even freeze them to have them keep longer. I use plastic wrap and then foil to freeze each roll. I then take them out, remove the plastic and re-wrap the bread in the same foil I used to freeze it in. Set the oven at 375 degrees and 10 to 15 minutes later, I have warm freshly baked Pretzel bread! YUM.

Let's get started......

For the Dough-

1 cup of whole Milk
3 tablespoons of Butter
2 tablespoons of Brown Sugar
2 1/4 teaspoons of Active Dry yeast (1 packet if using the envelopes)
1 1/2 teaspoons of Kosher Salt
2 3/4 to 3 1/4 cups of All-Purpose Flour

1/2 teaspoon of Unsalted Butter to use in the bowl your dough will rise in

For the Wash-

12 cups of Water
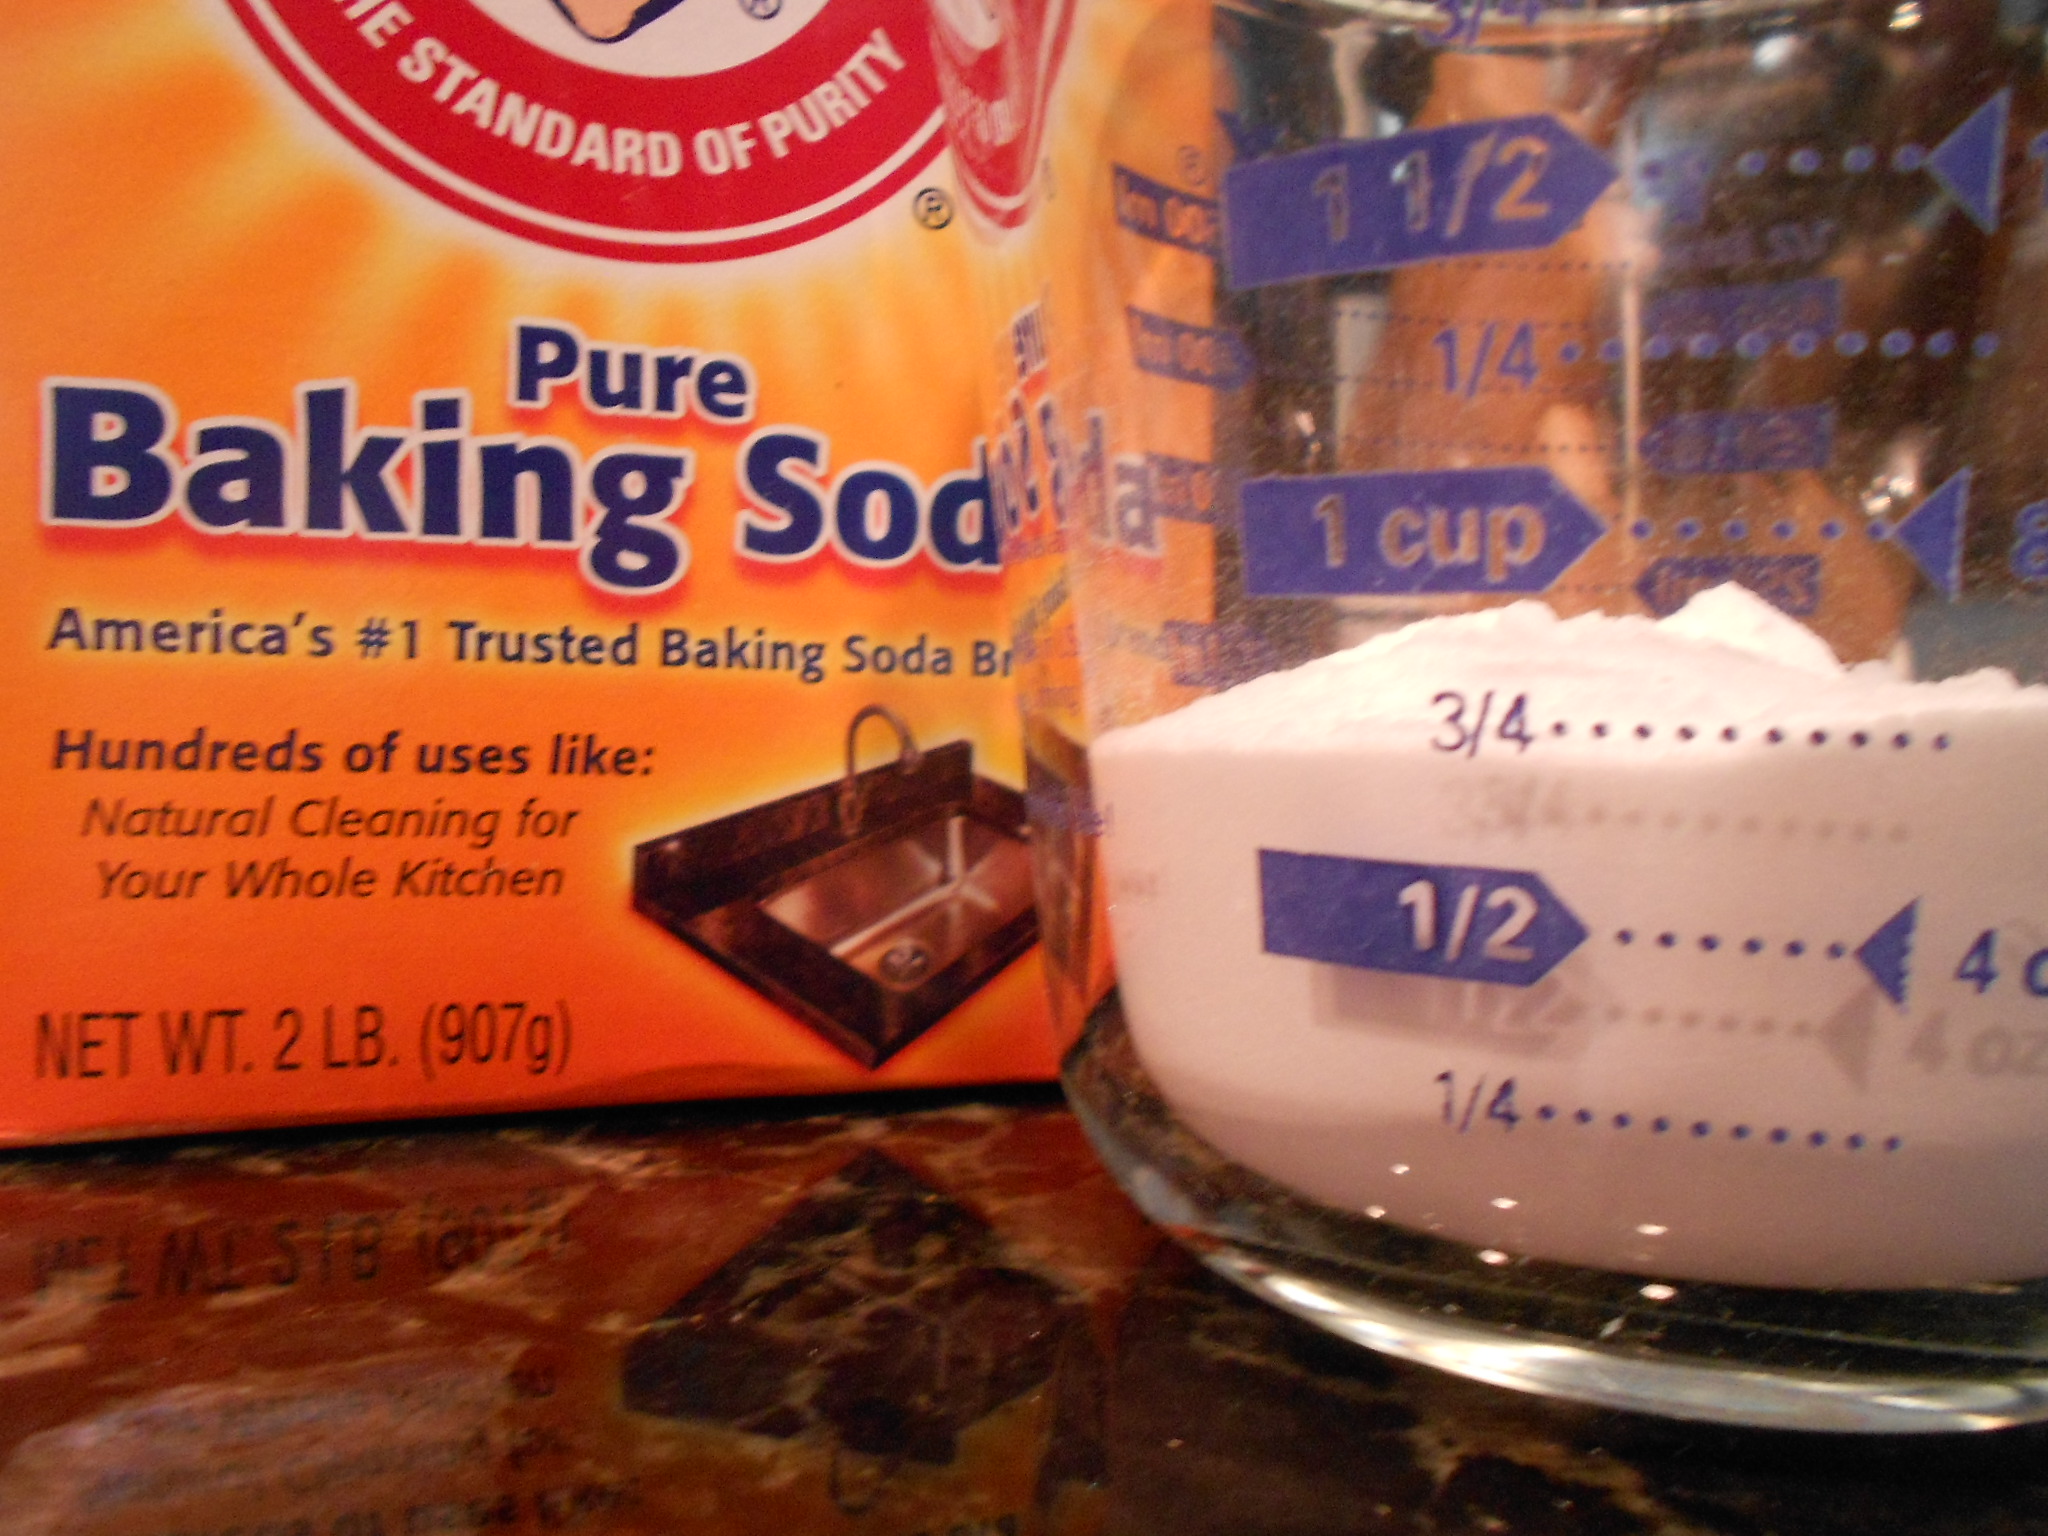
3/4 cup of Baking Soda

1 Egg and a teaspoon of Water to brush the bread before baking

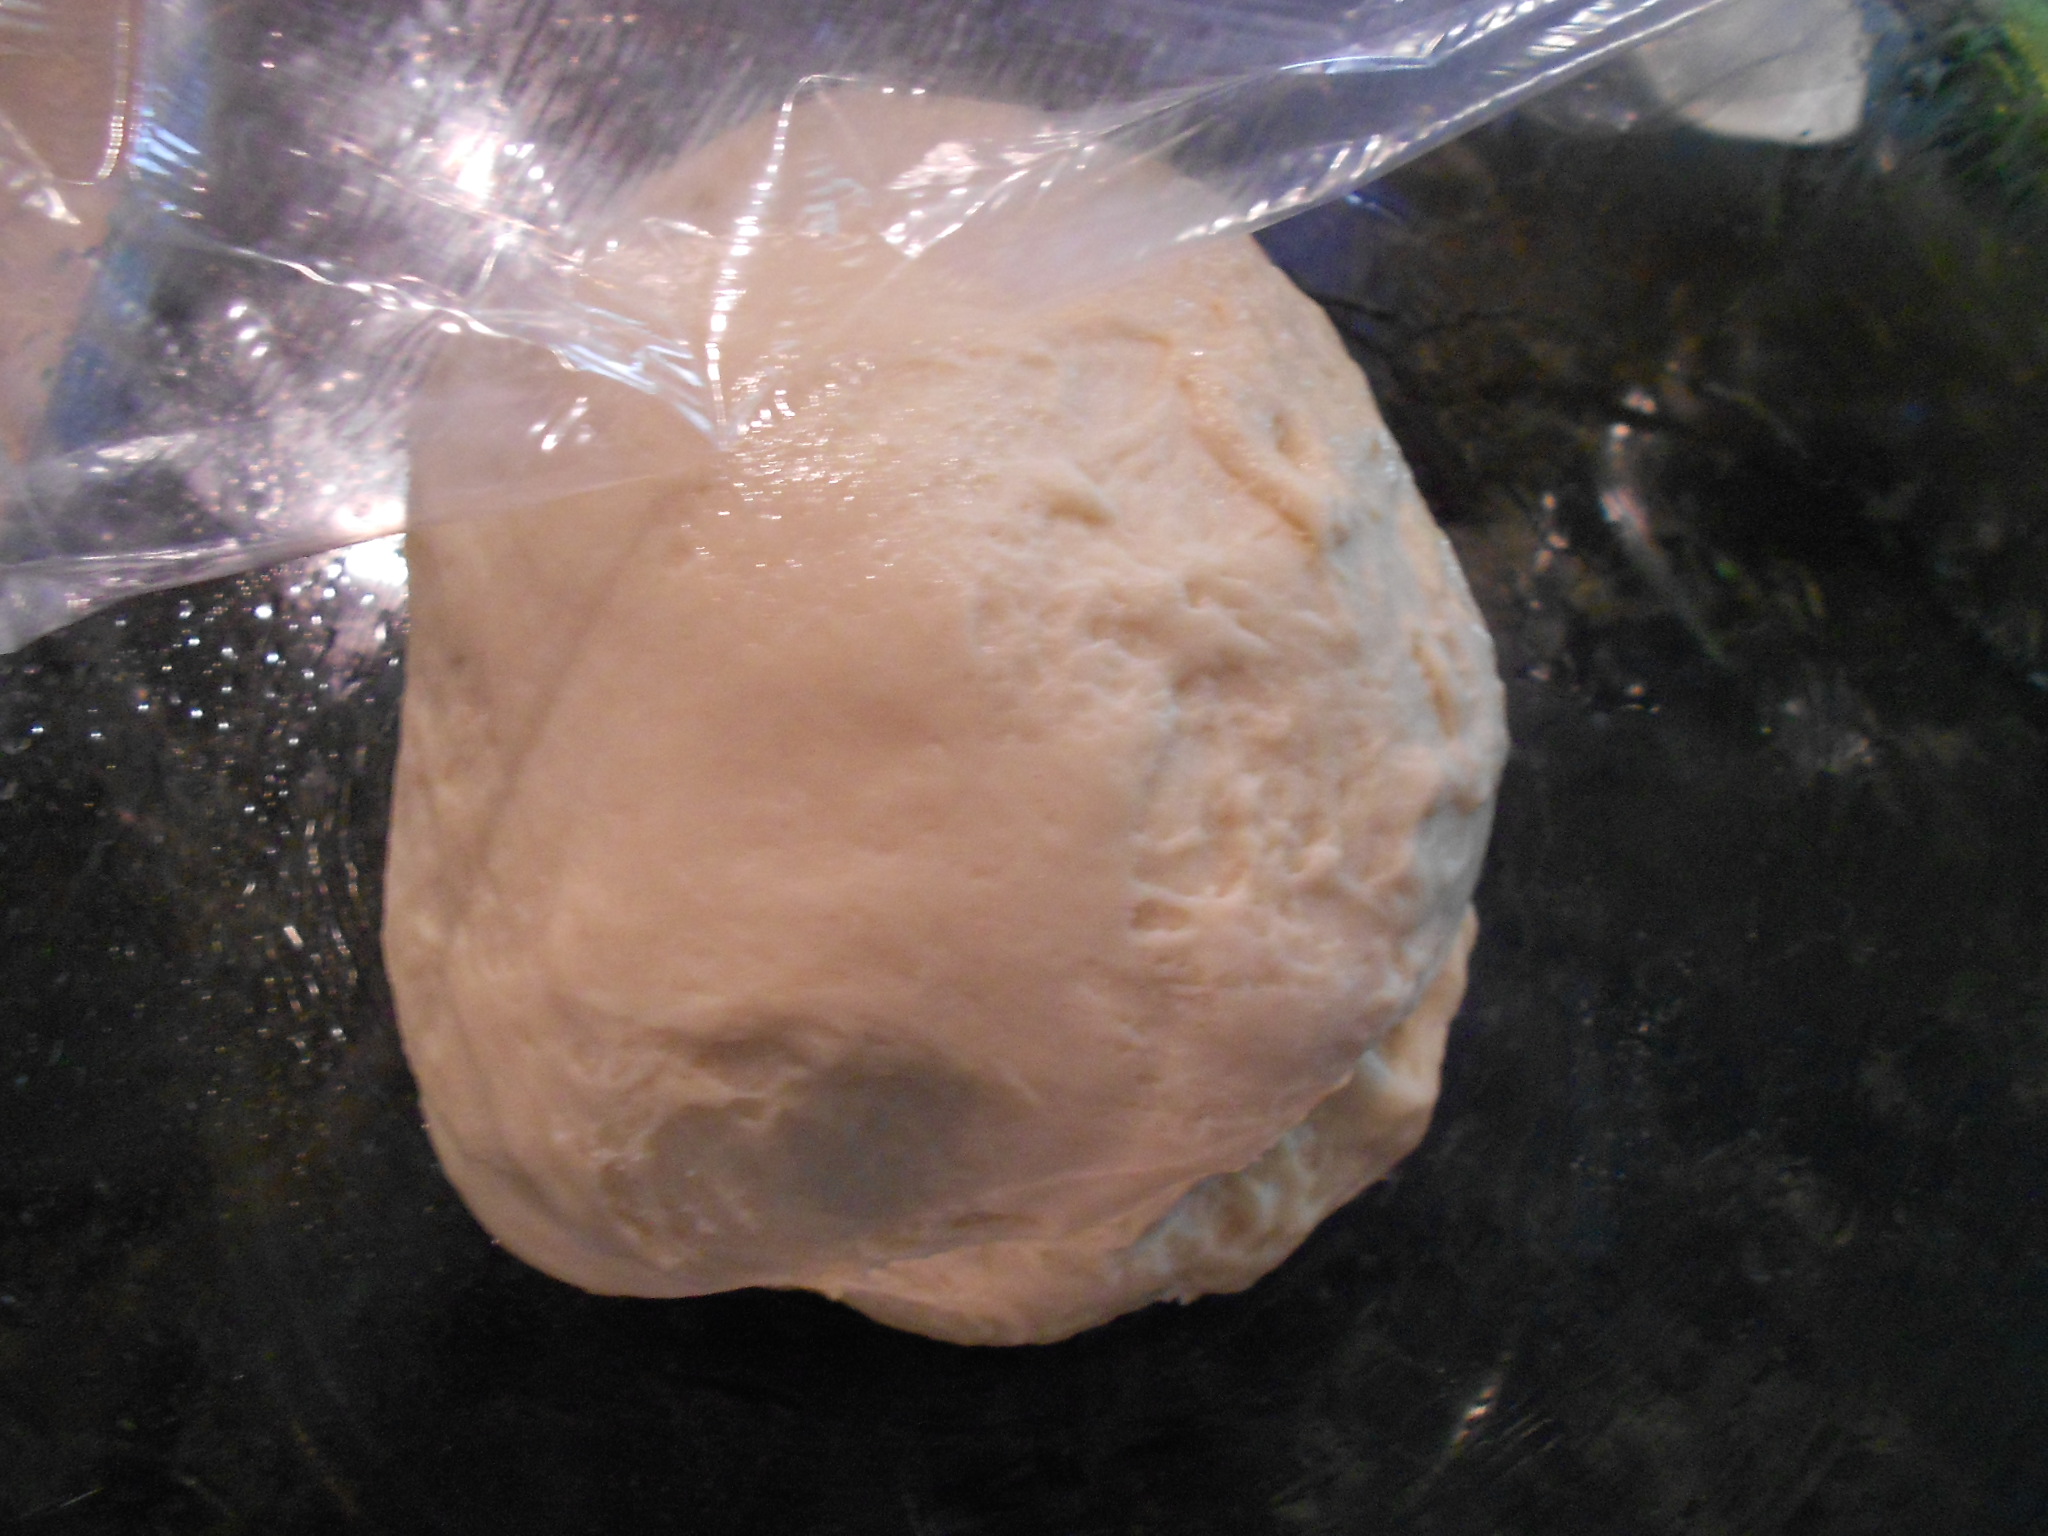
I use a microwave and warm the milk until it reaches 115 degrees. I add the butter, brown sugar and then the yeast. I use a spoon and make sure to wet the yeast enough and let it sit for about 5 minutes. While the yeast blooms, I begin to combine the salt and flour separately in a large bowl. When 5 minutes have passed, i pour the yeast mixture into the mixer's bowl with the dough hook attached. Make sure to use a spatula and get any remaining yeast into the bowl since it does not always pour out smoothly. I then begin to incorporate the flour and salt mixture slowly until I get a soft dough and this ranges between 2 3/4 to 3 1/4 cups. Not sure if the dough is smooth? Error on the side of caution and stick with 3 cups because a moist dough is better that a too dry dough in this application. Continue to knead the dough with the mixer for about 8 to 10 minutes. You want a smooth and elastic finish. I then take the greased bowl that will fit the dough but also allow room for it to proof (double in size). I dump the dough and create a loose ball, cover loosely with plastic and allow for it to rise. Takes about an hour and I use my oven as it has a "proof setting" that I set at 105 degrees.

DSCN3233

DSCN3234

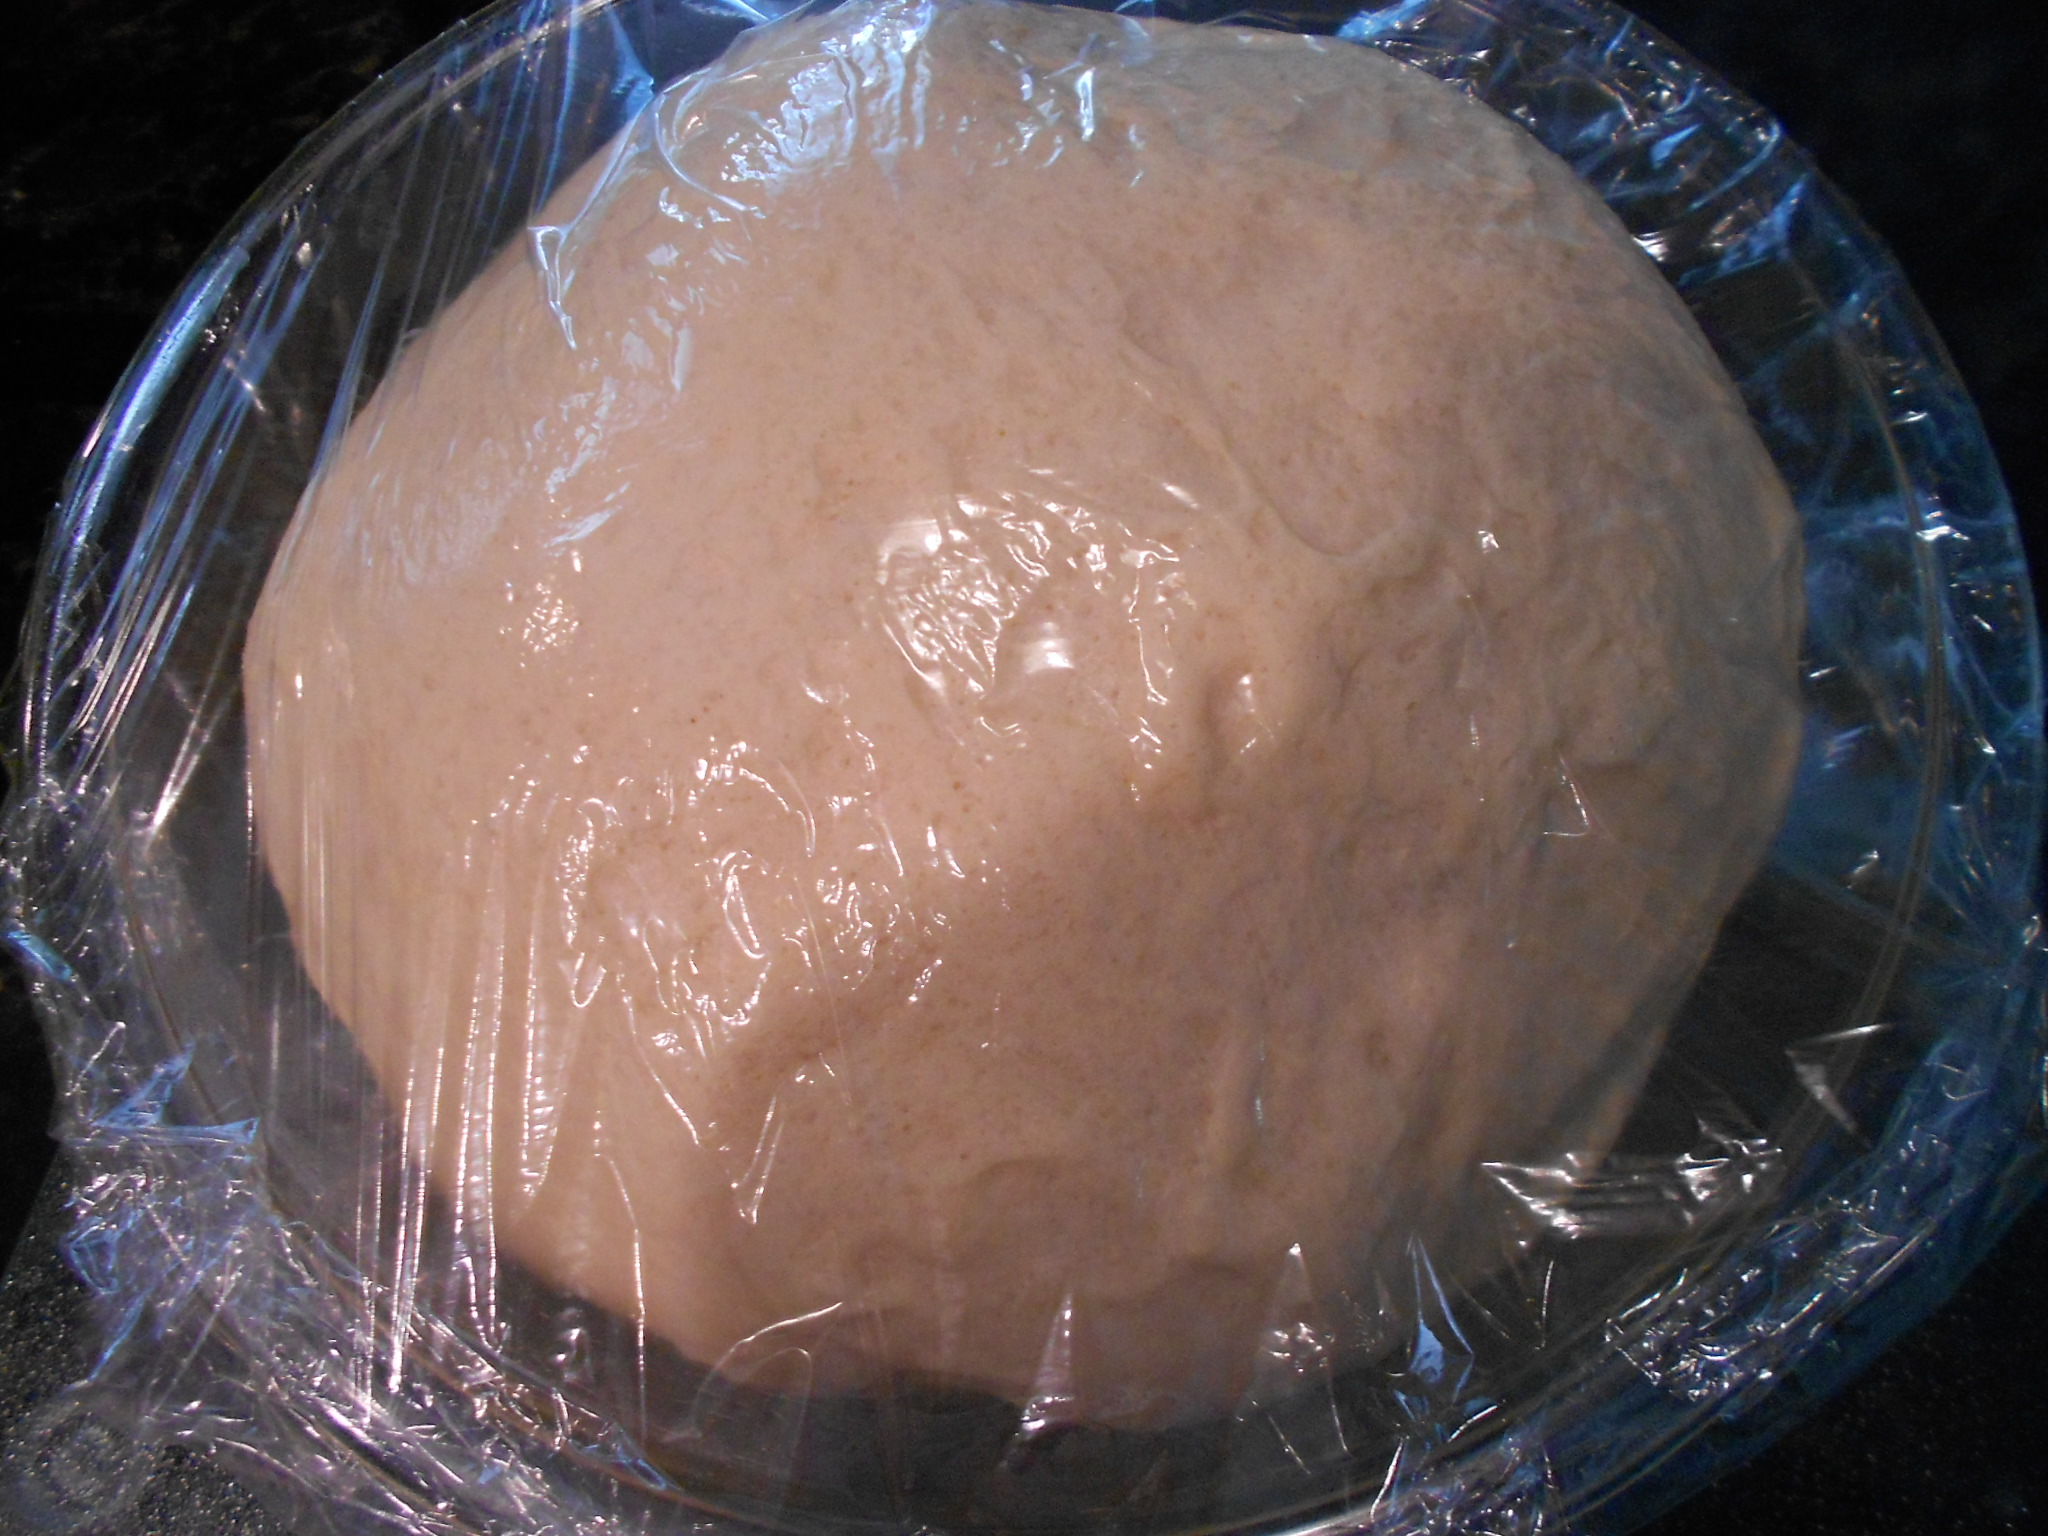
Before Rise                                                                                                                                                        After 1 hour Rise

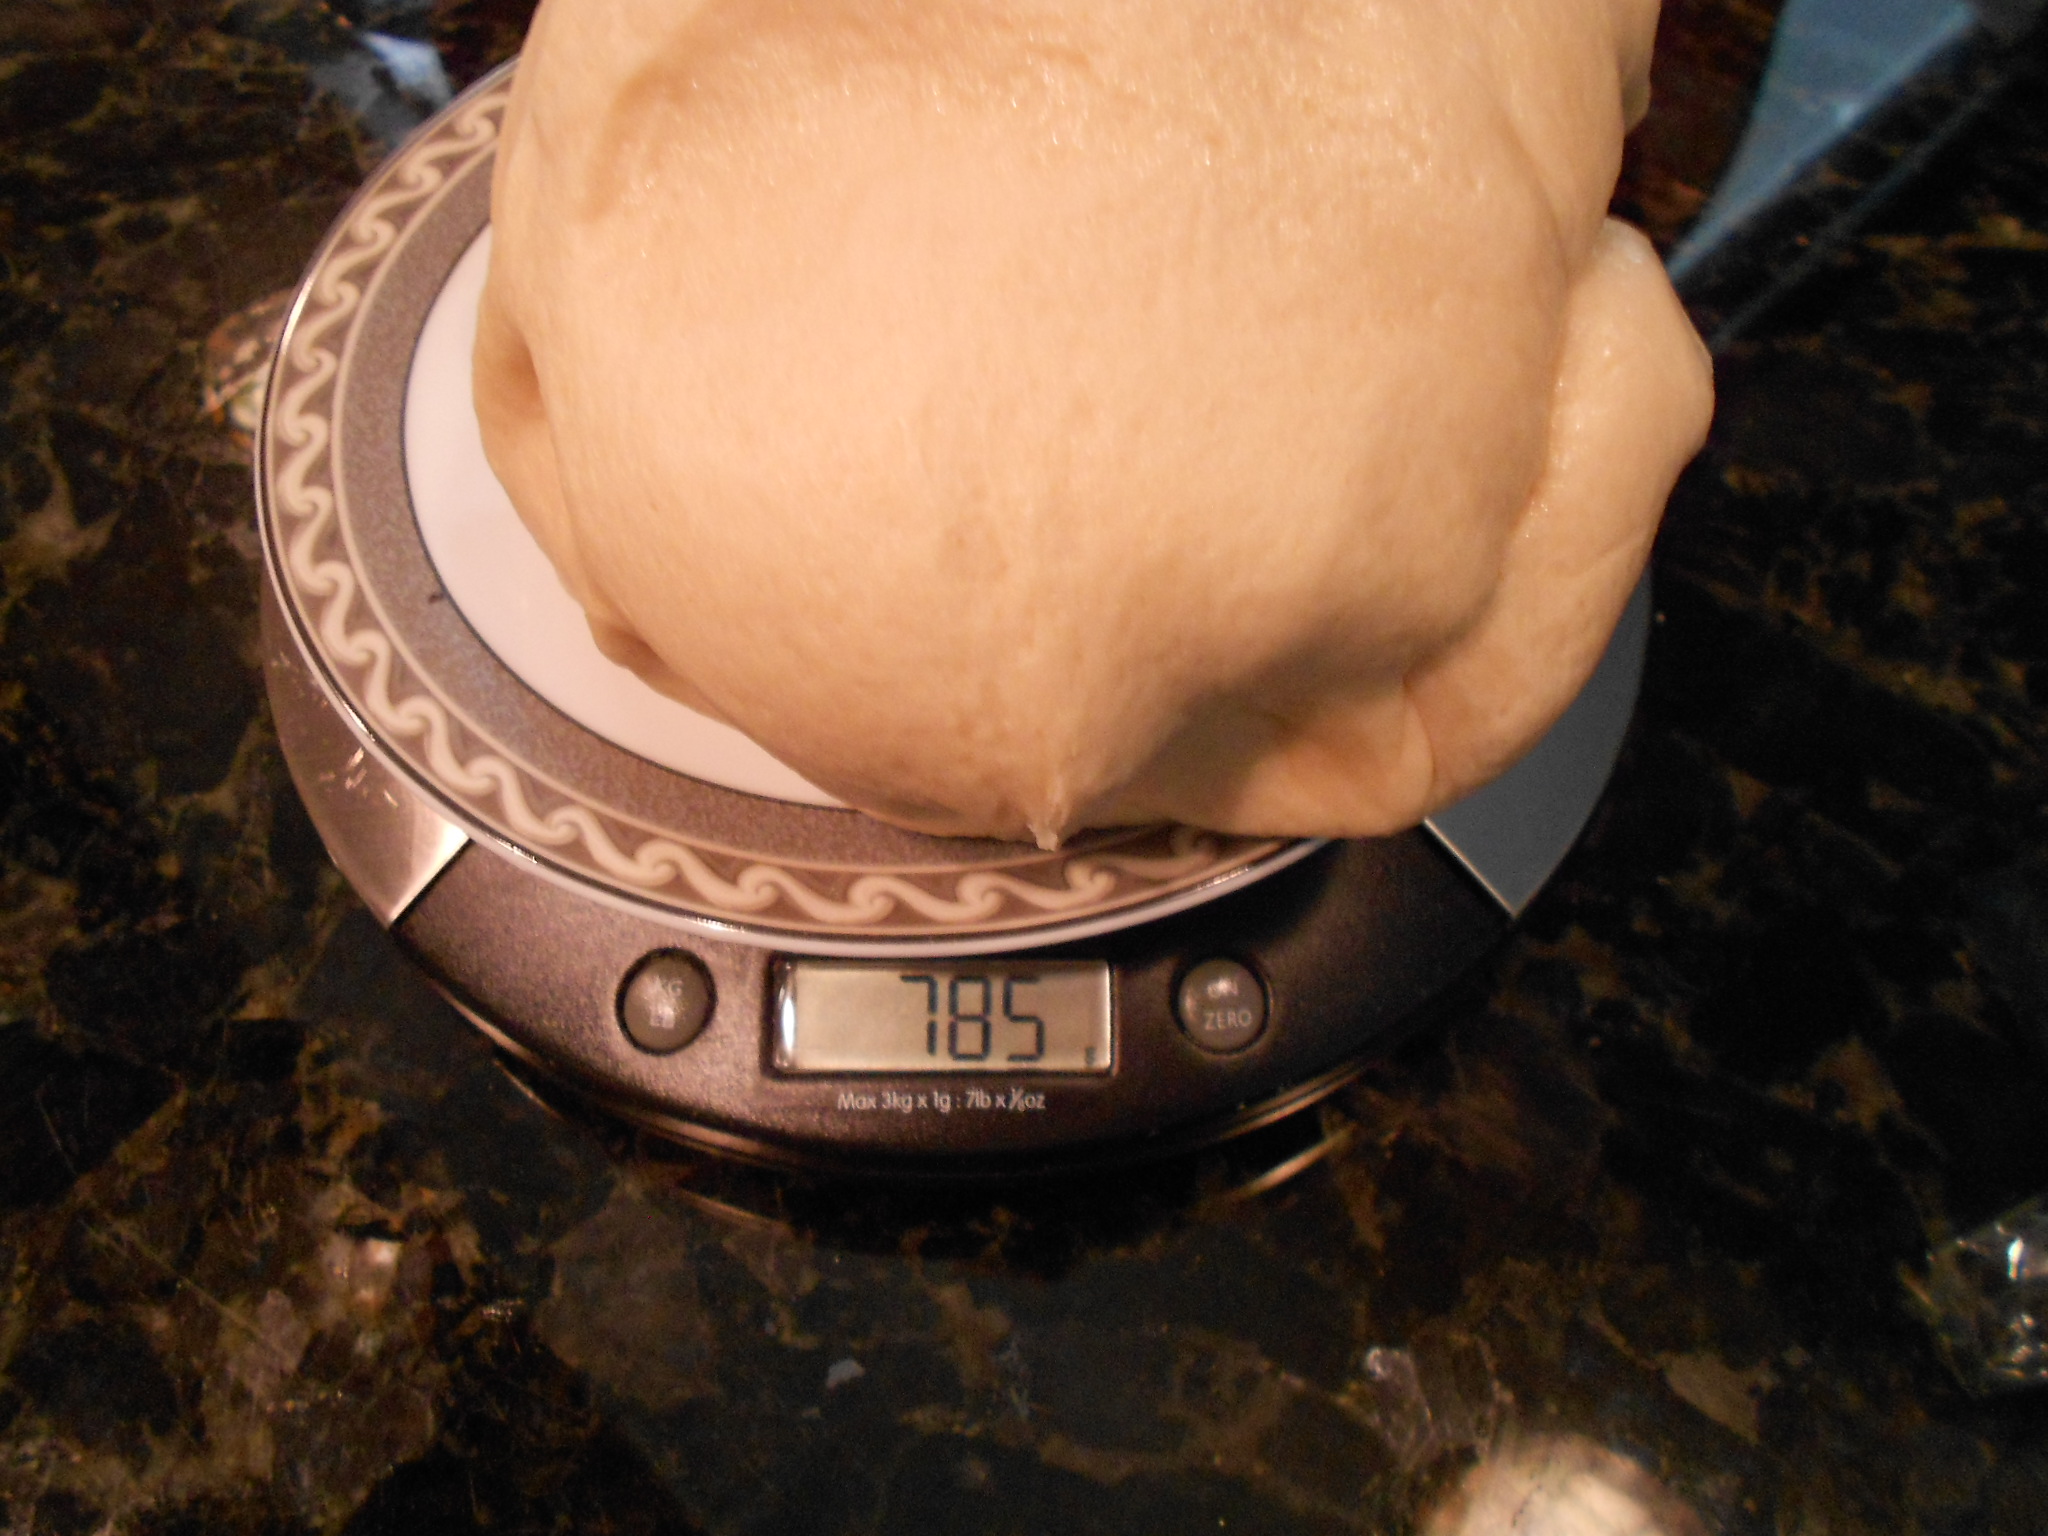
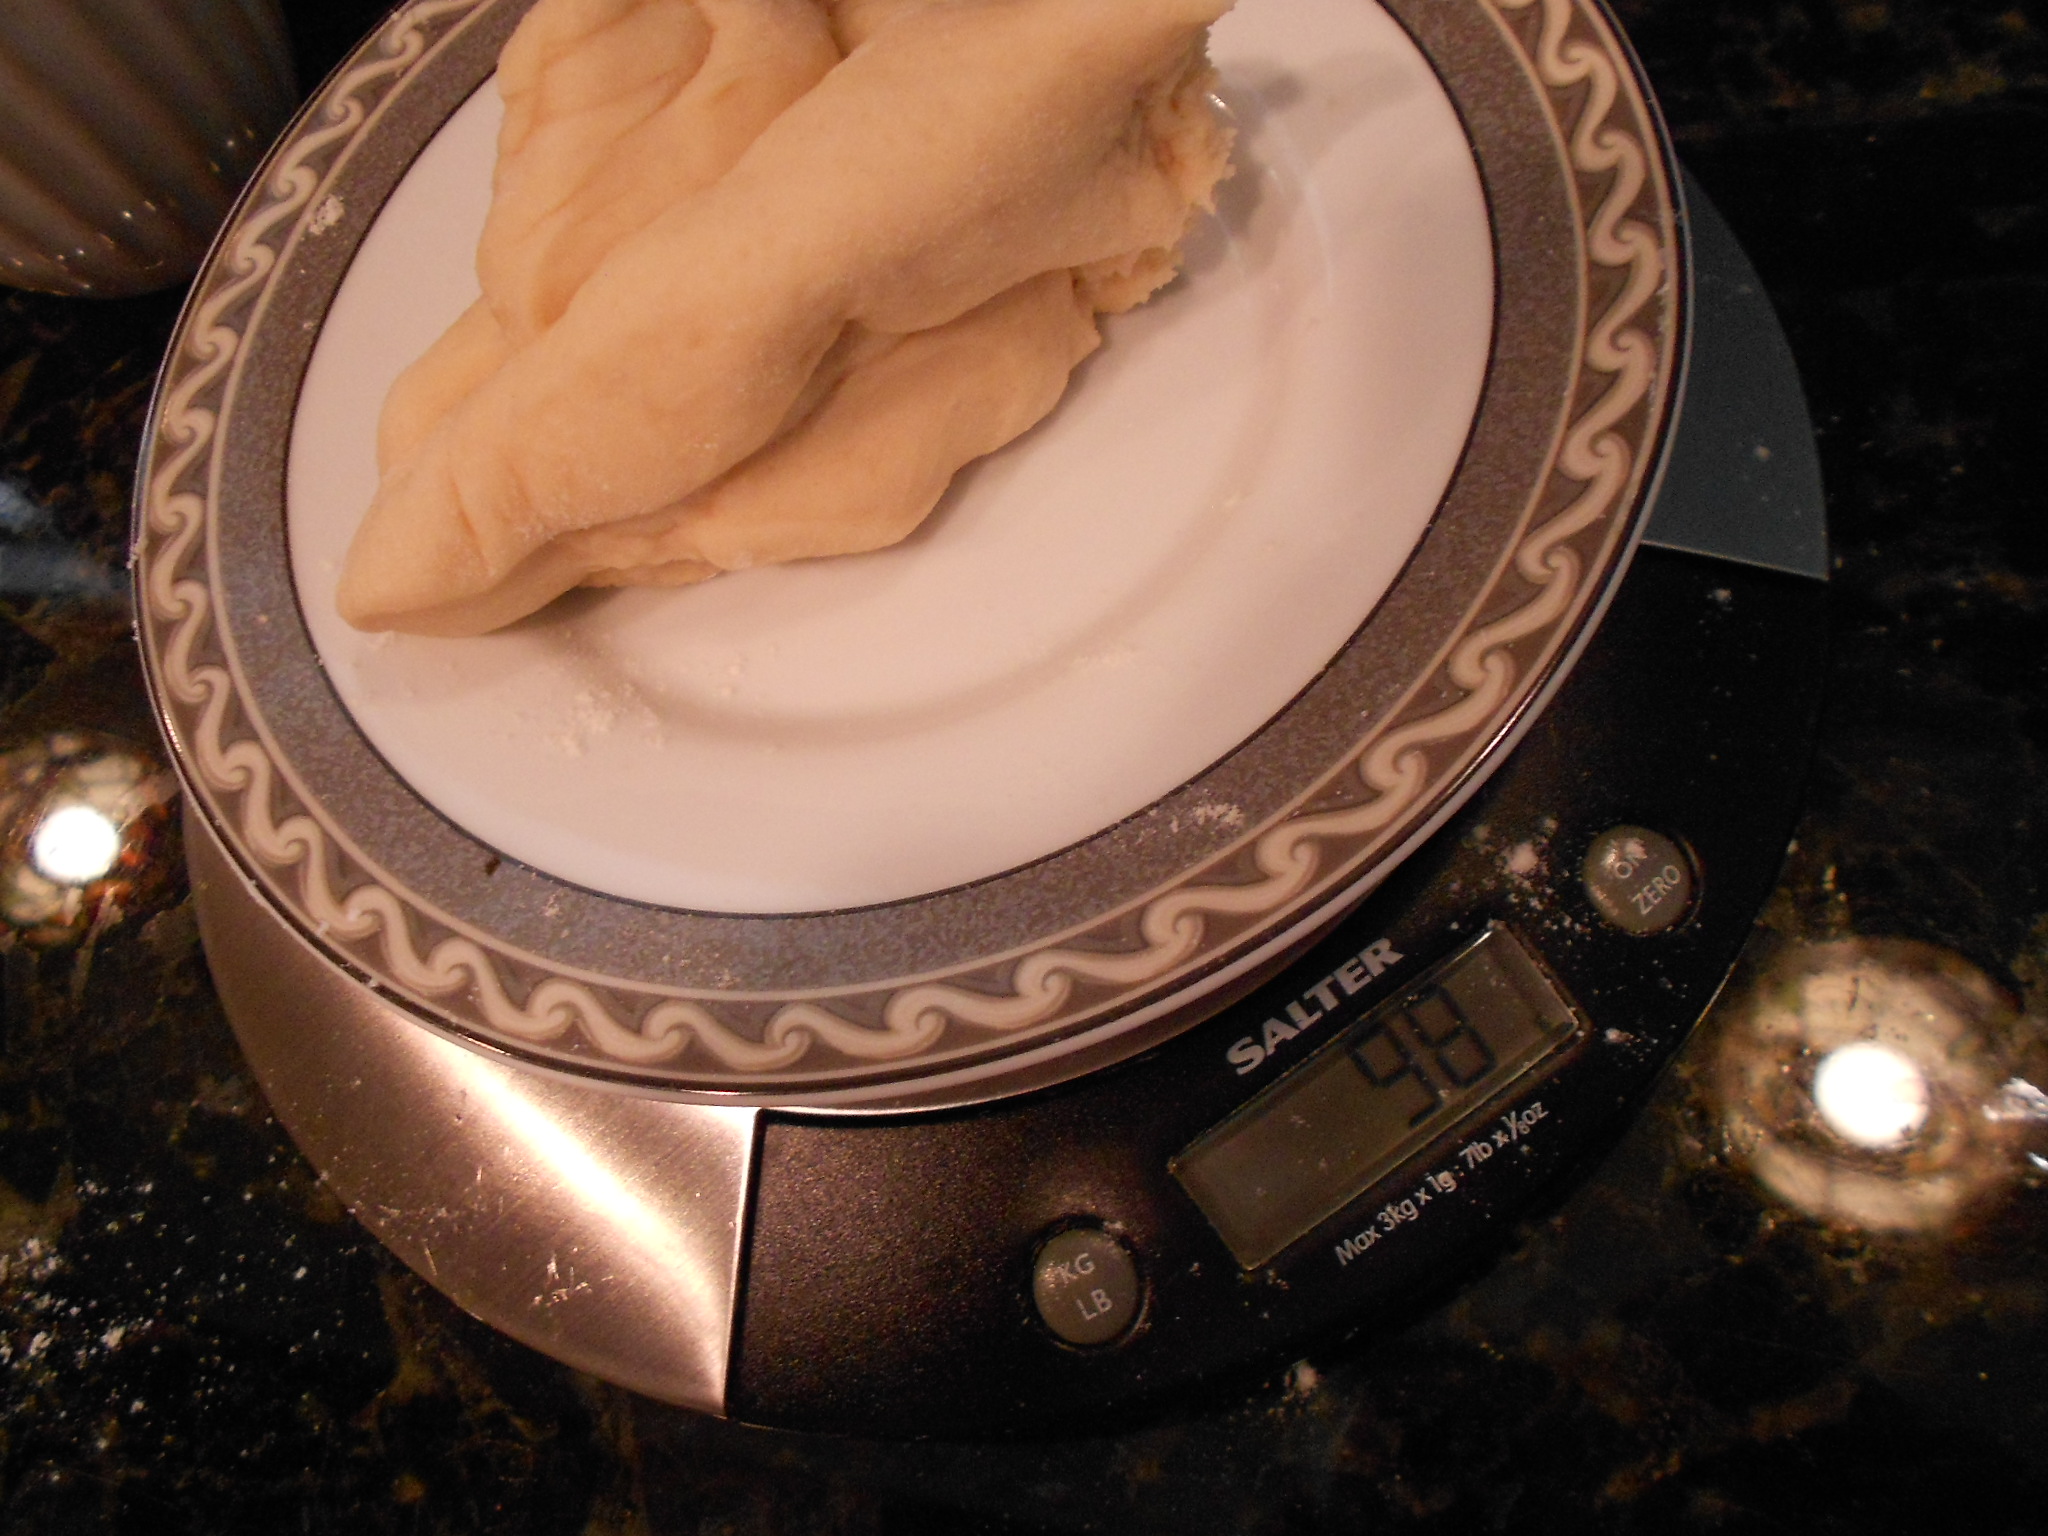
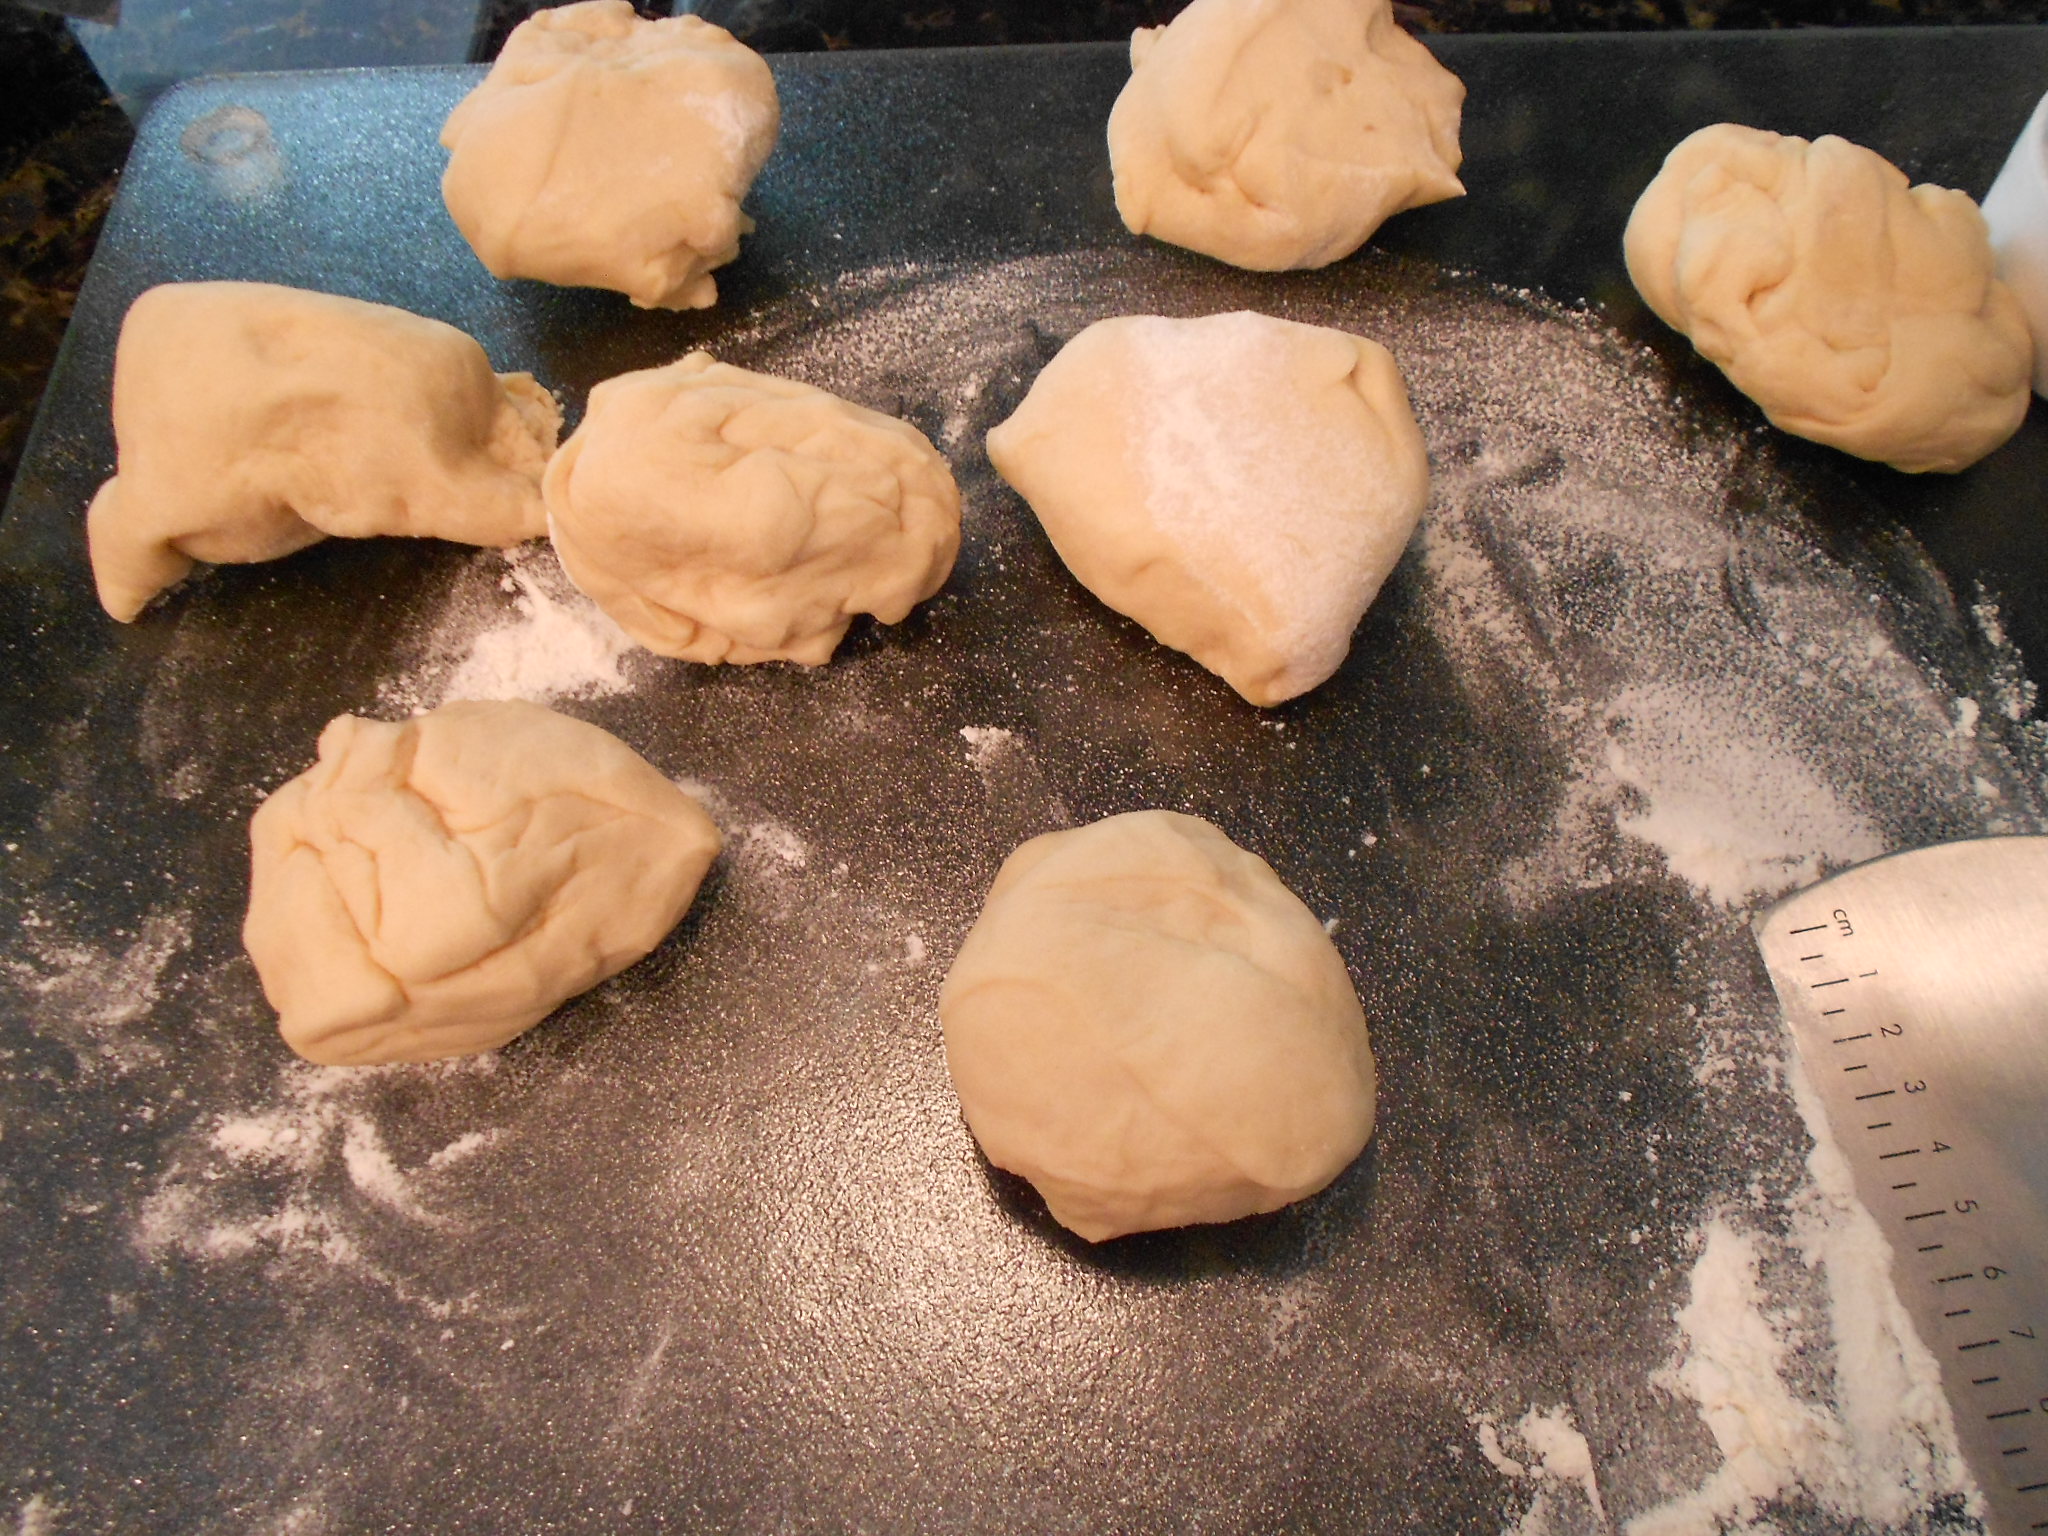
After the dough doubles in size, I begin by weighing it. This allows me to think about what I want to do so for example if I am making two large loaves, I just divide the weight in half. Making large buns, I usually divide the weight by 8. Sometimes I also make sandwich rolls or even a hot dog buns, and again divide the dough by what I desire to make. My dough weighed 785 grams so I felt a bun weighing about 95 to 100 grams, would make a good size individual loaf. I made round rolls and sandwich long buns with this batch. You make what fits best with your meals :)
DSCN3236

DSCN3237

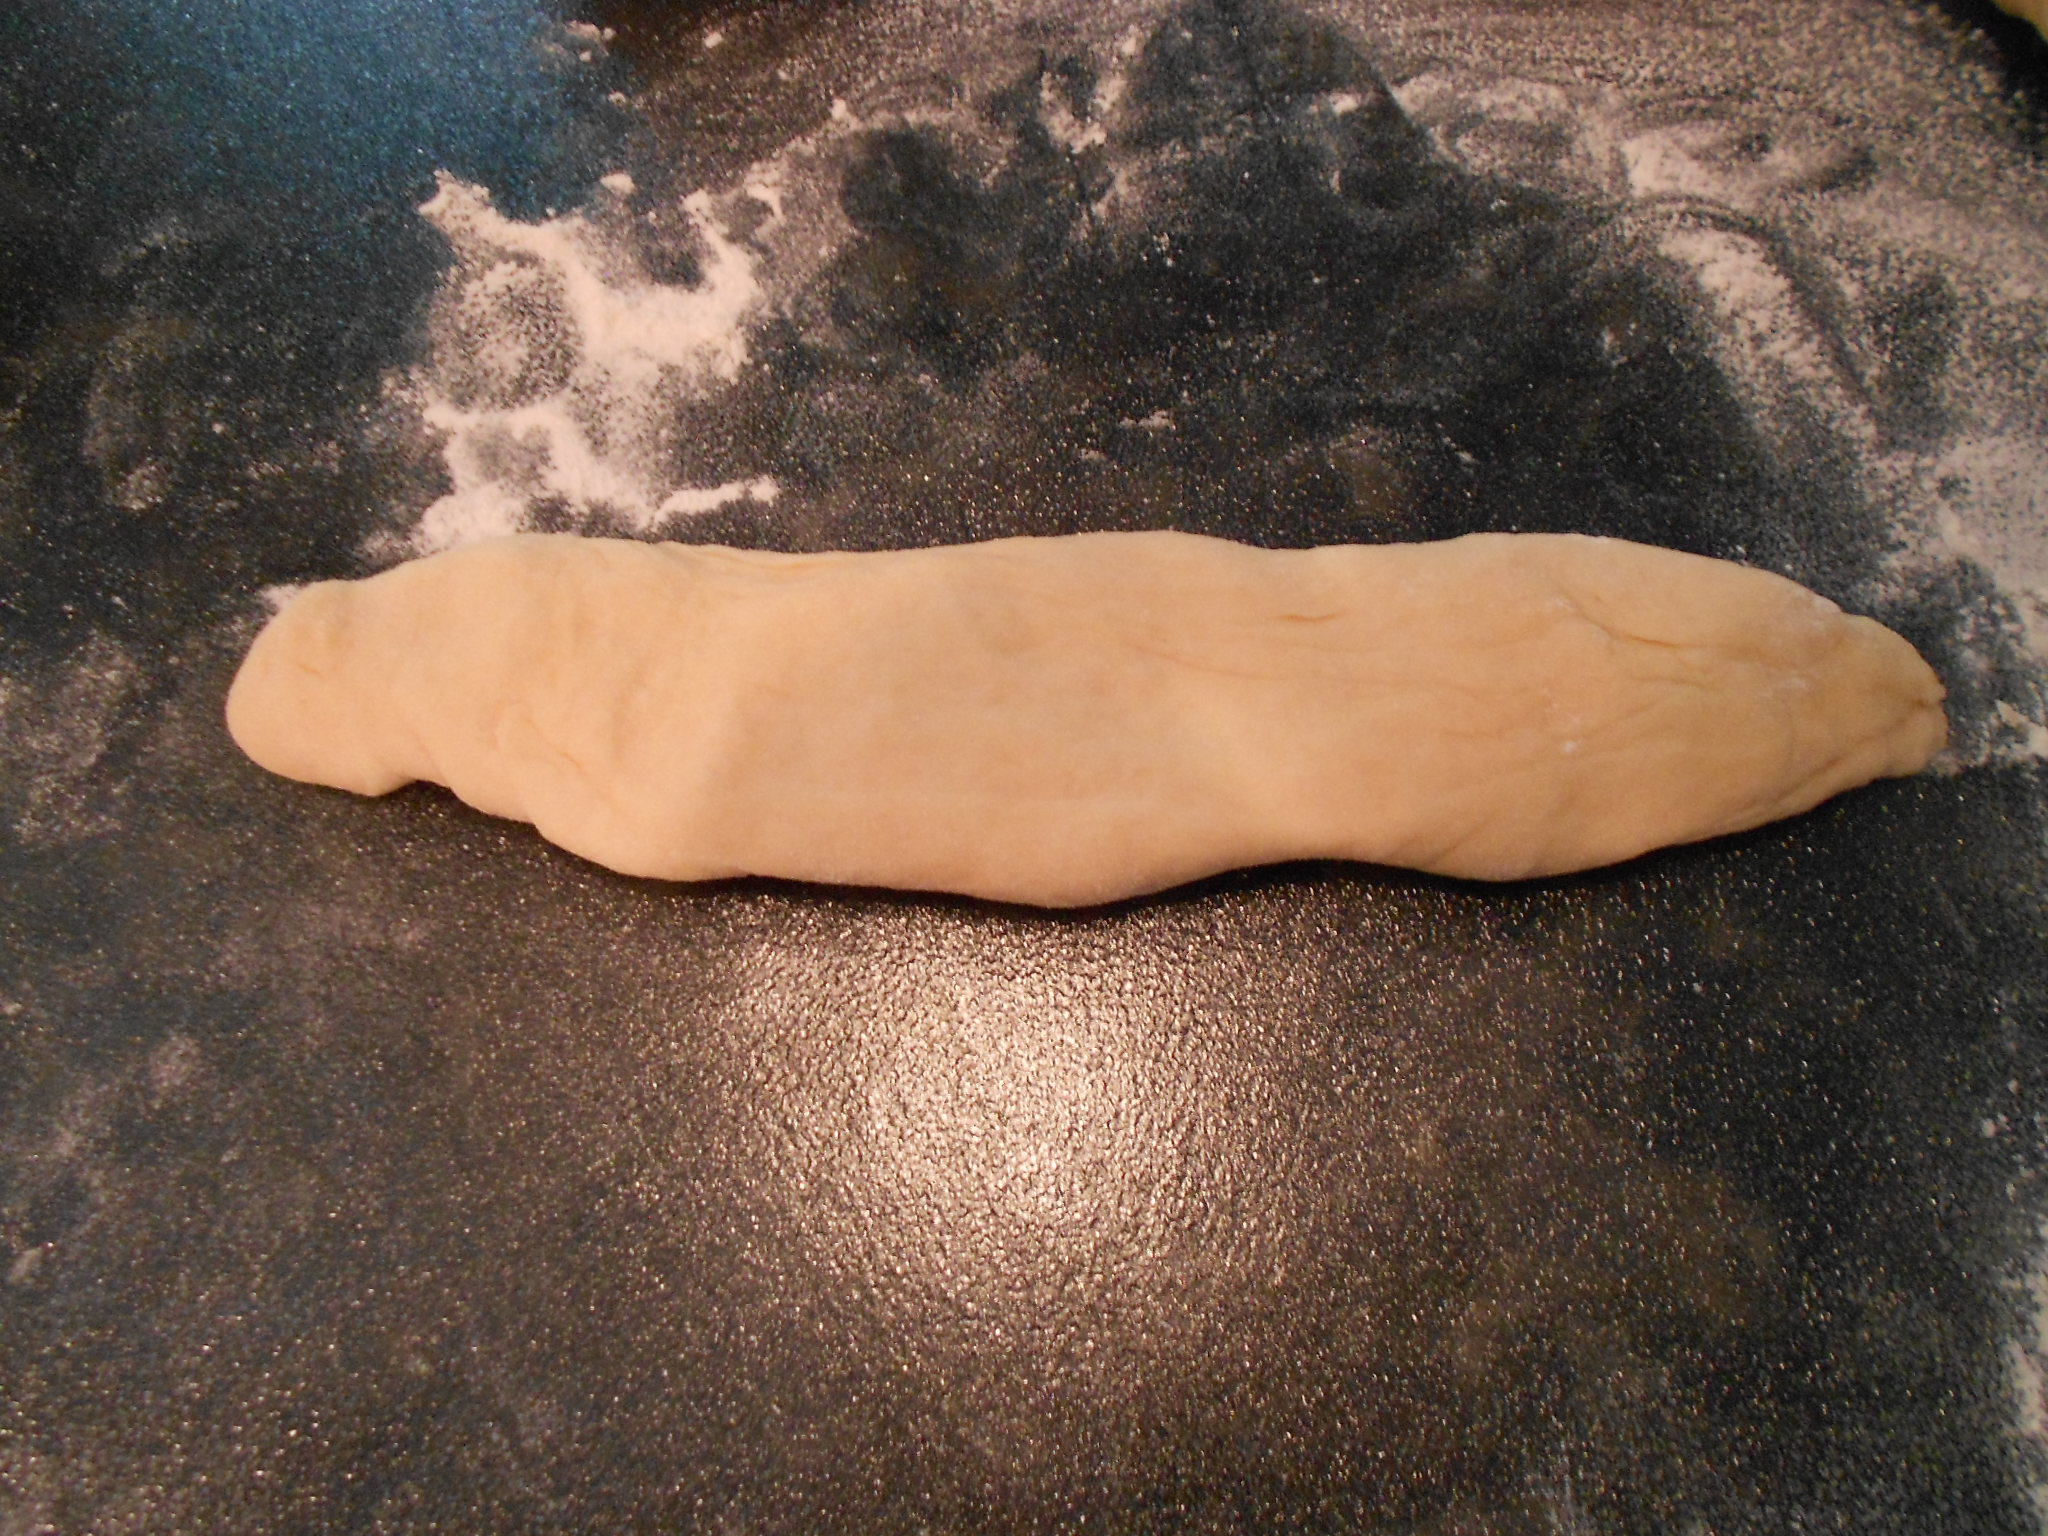
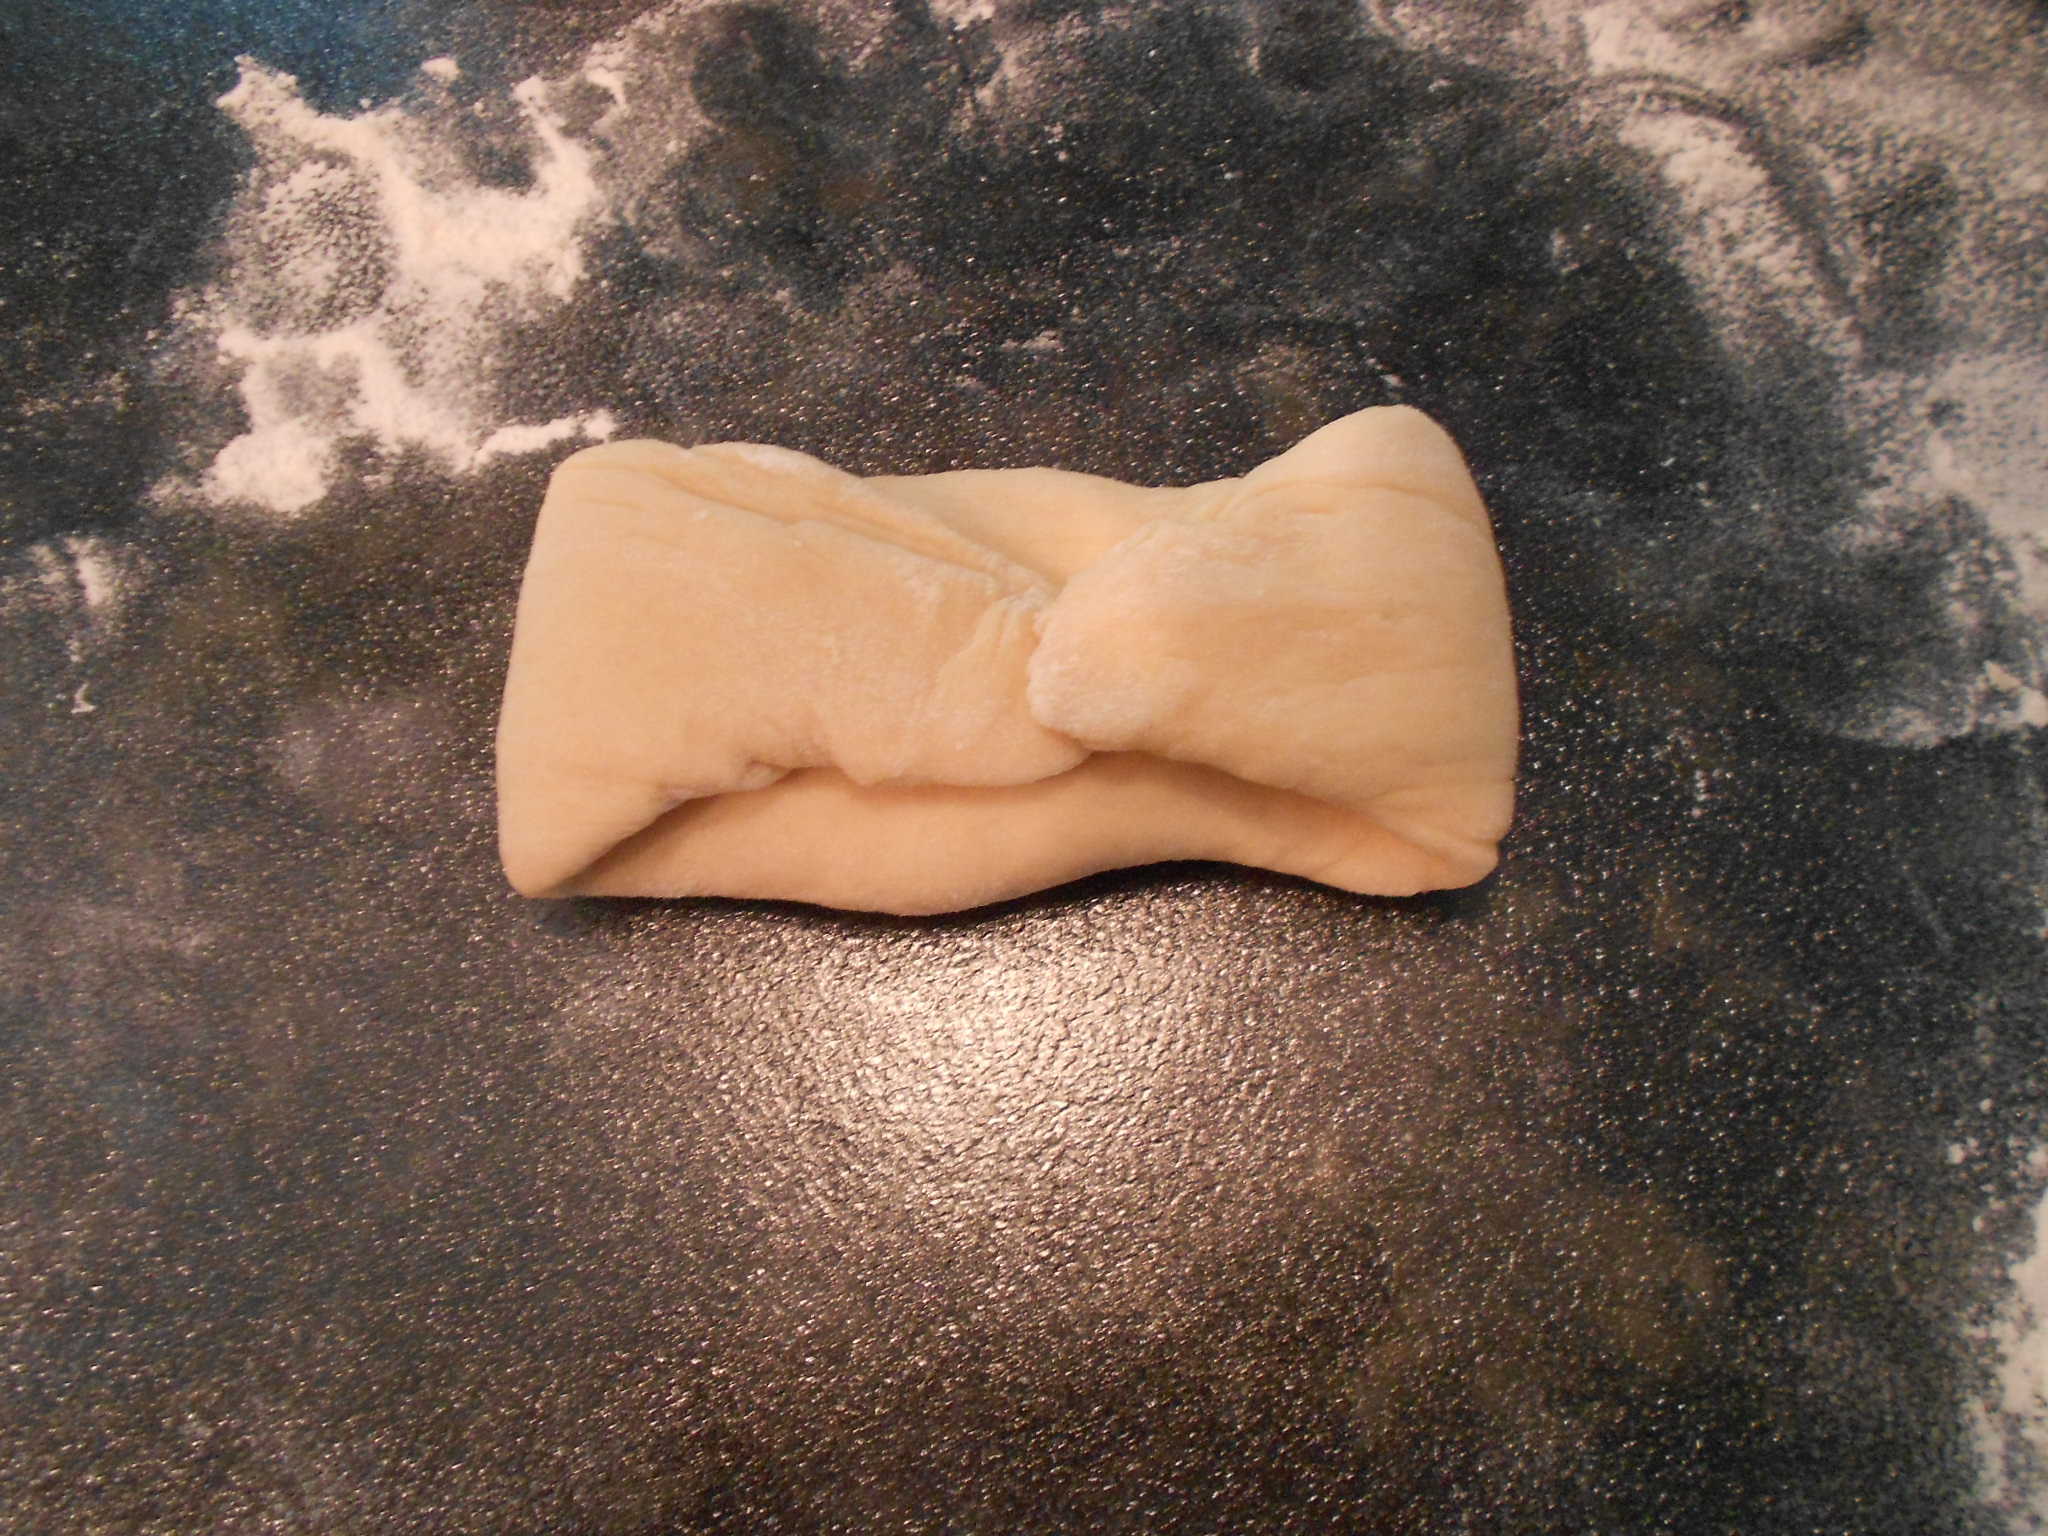
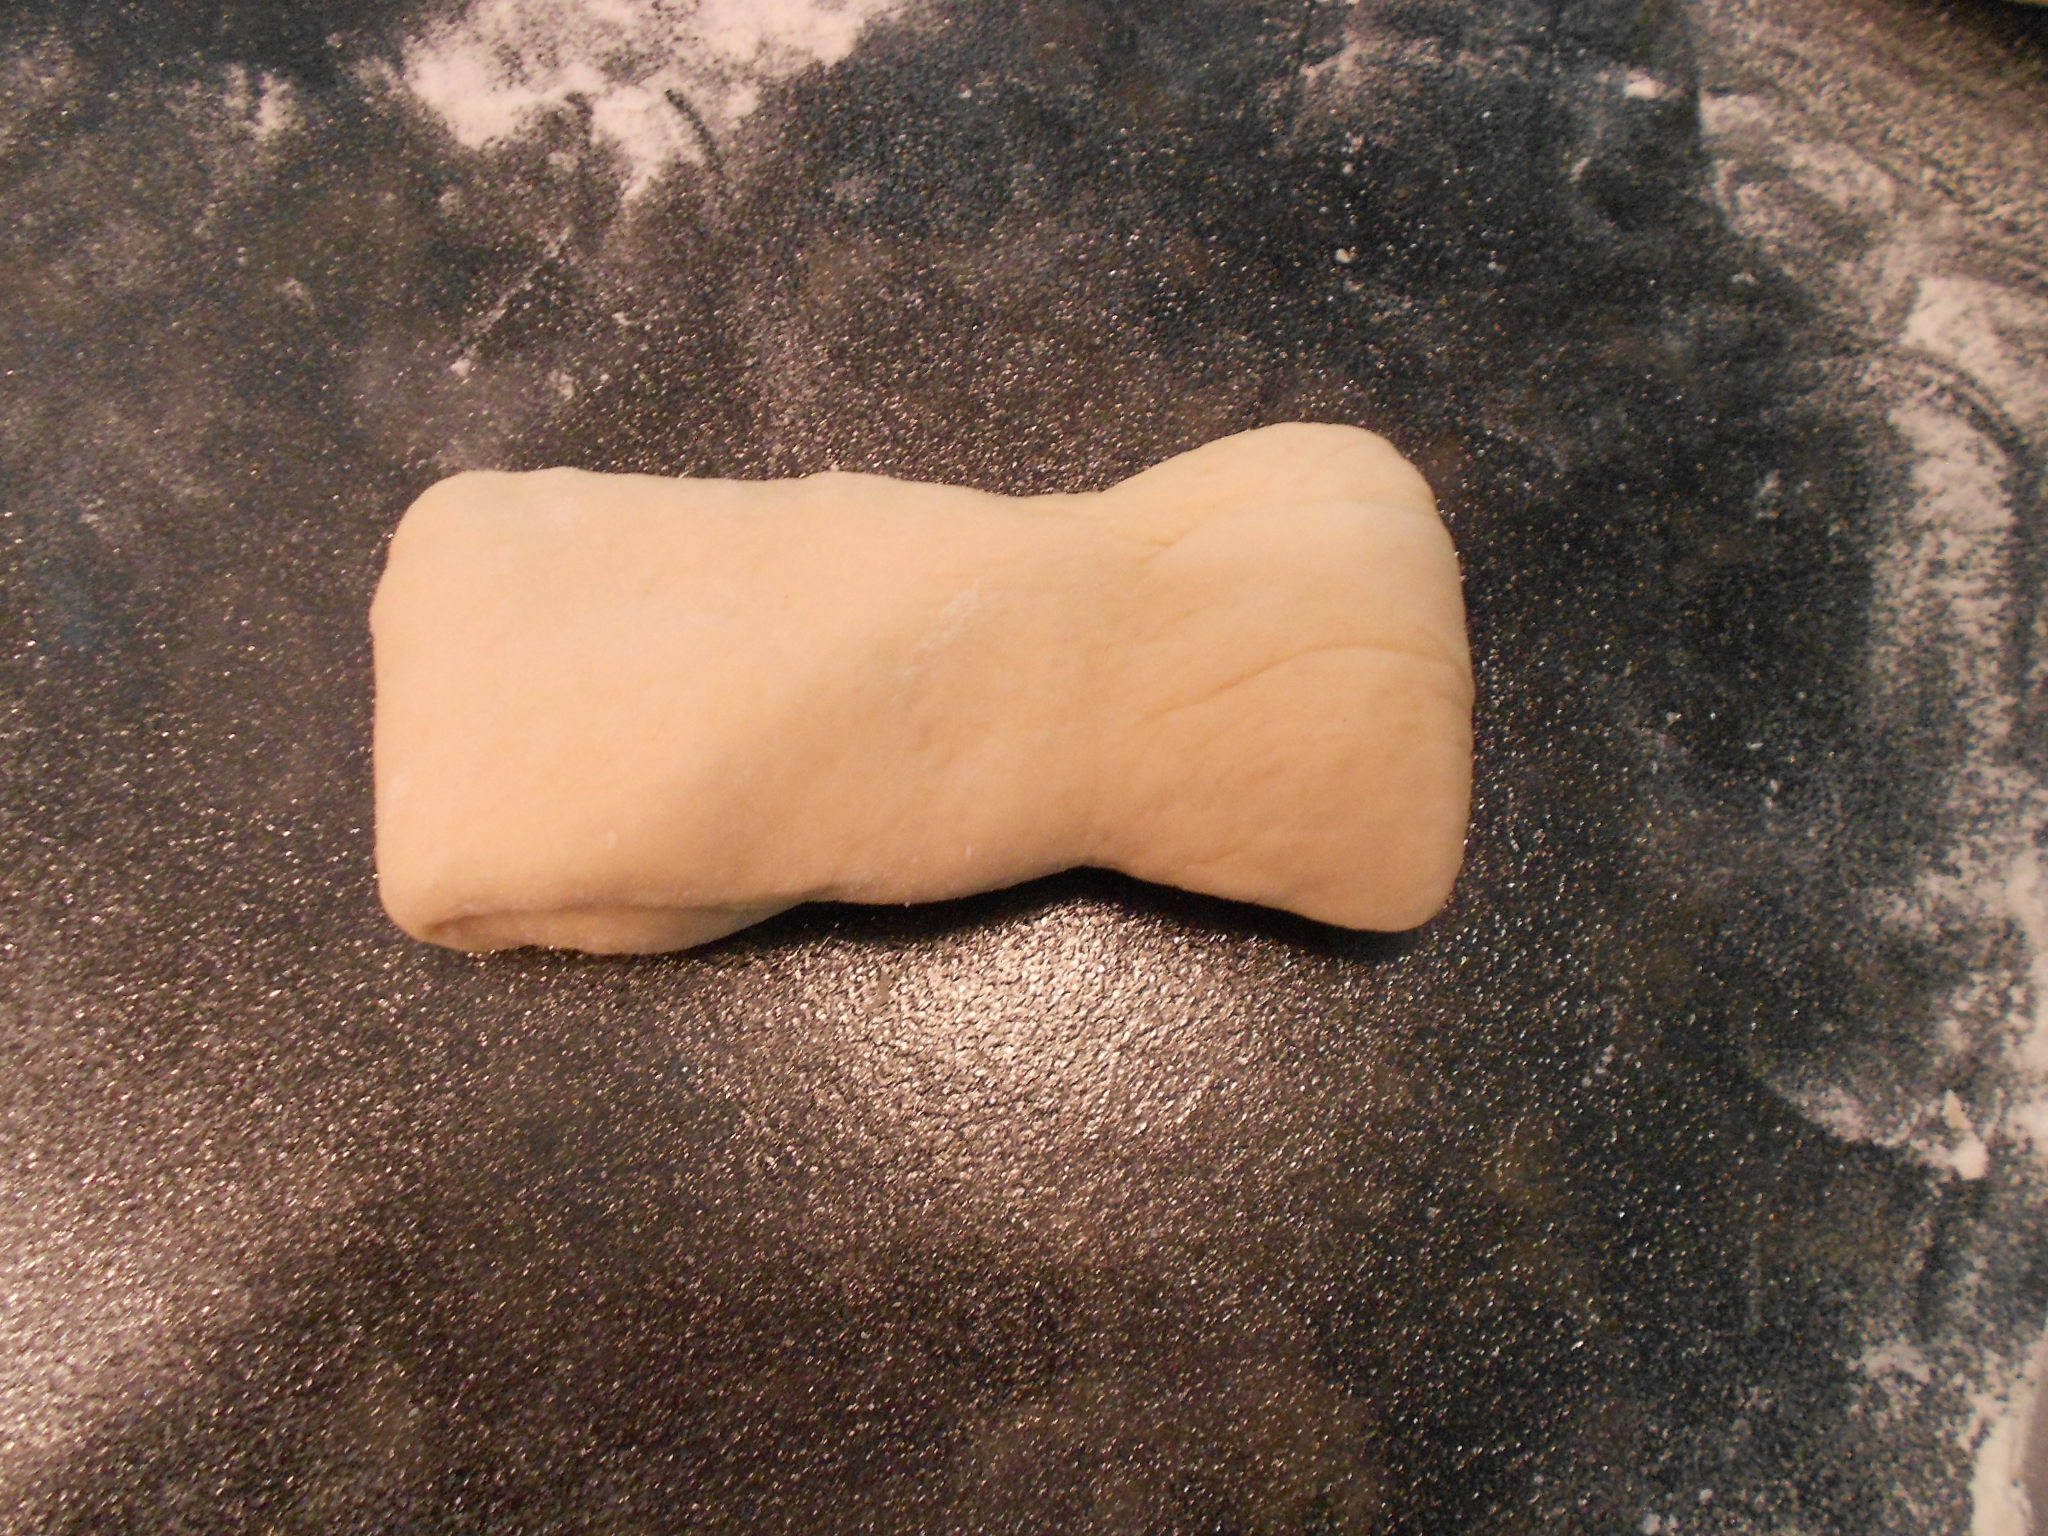
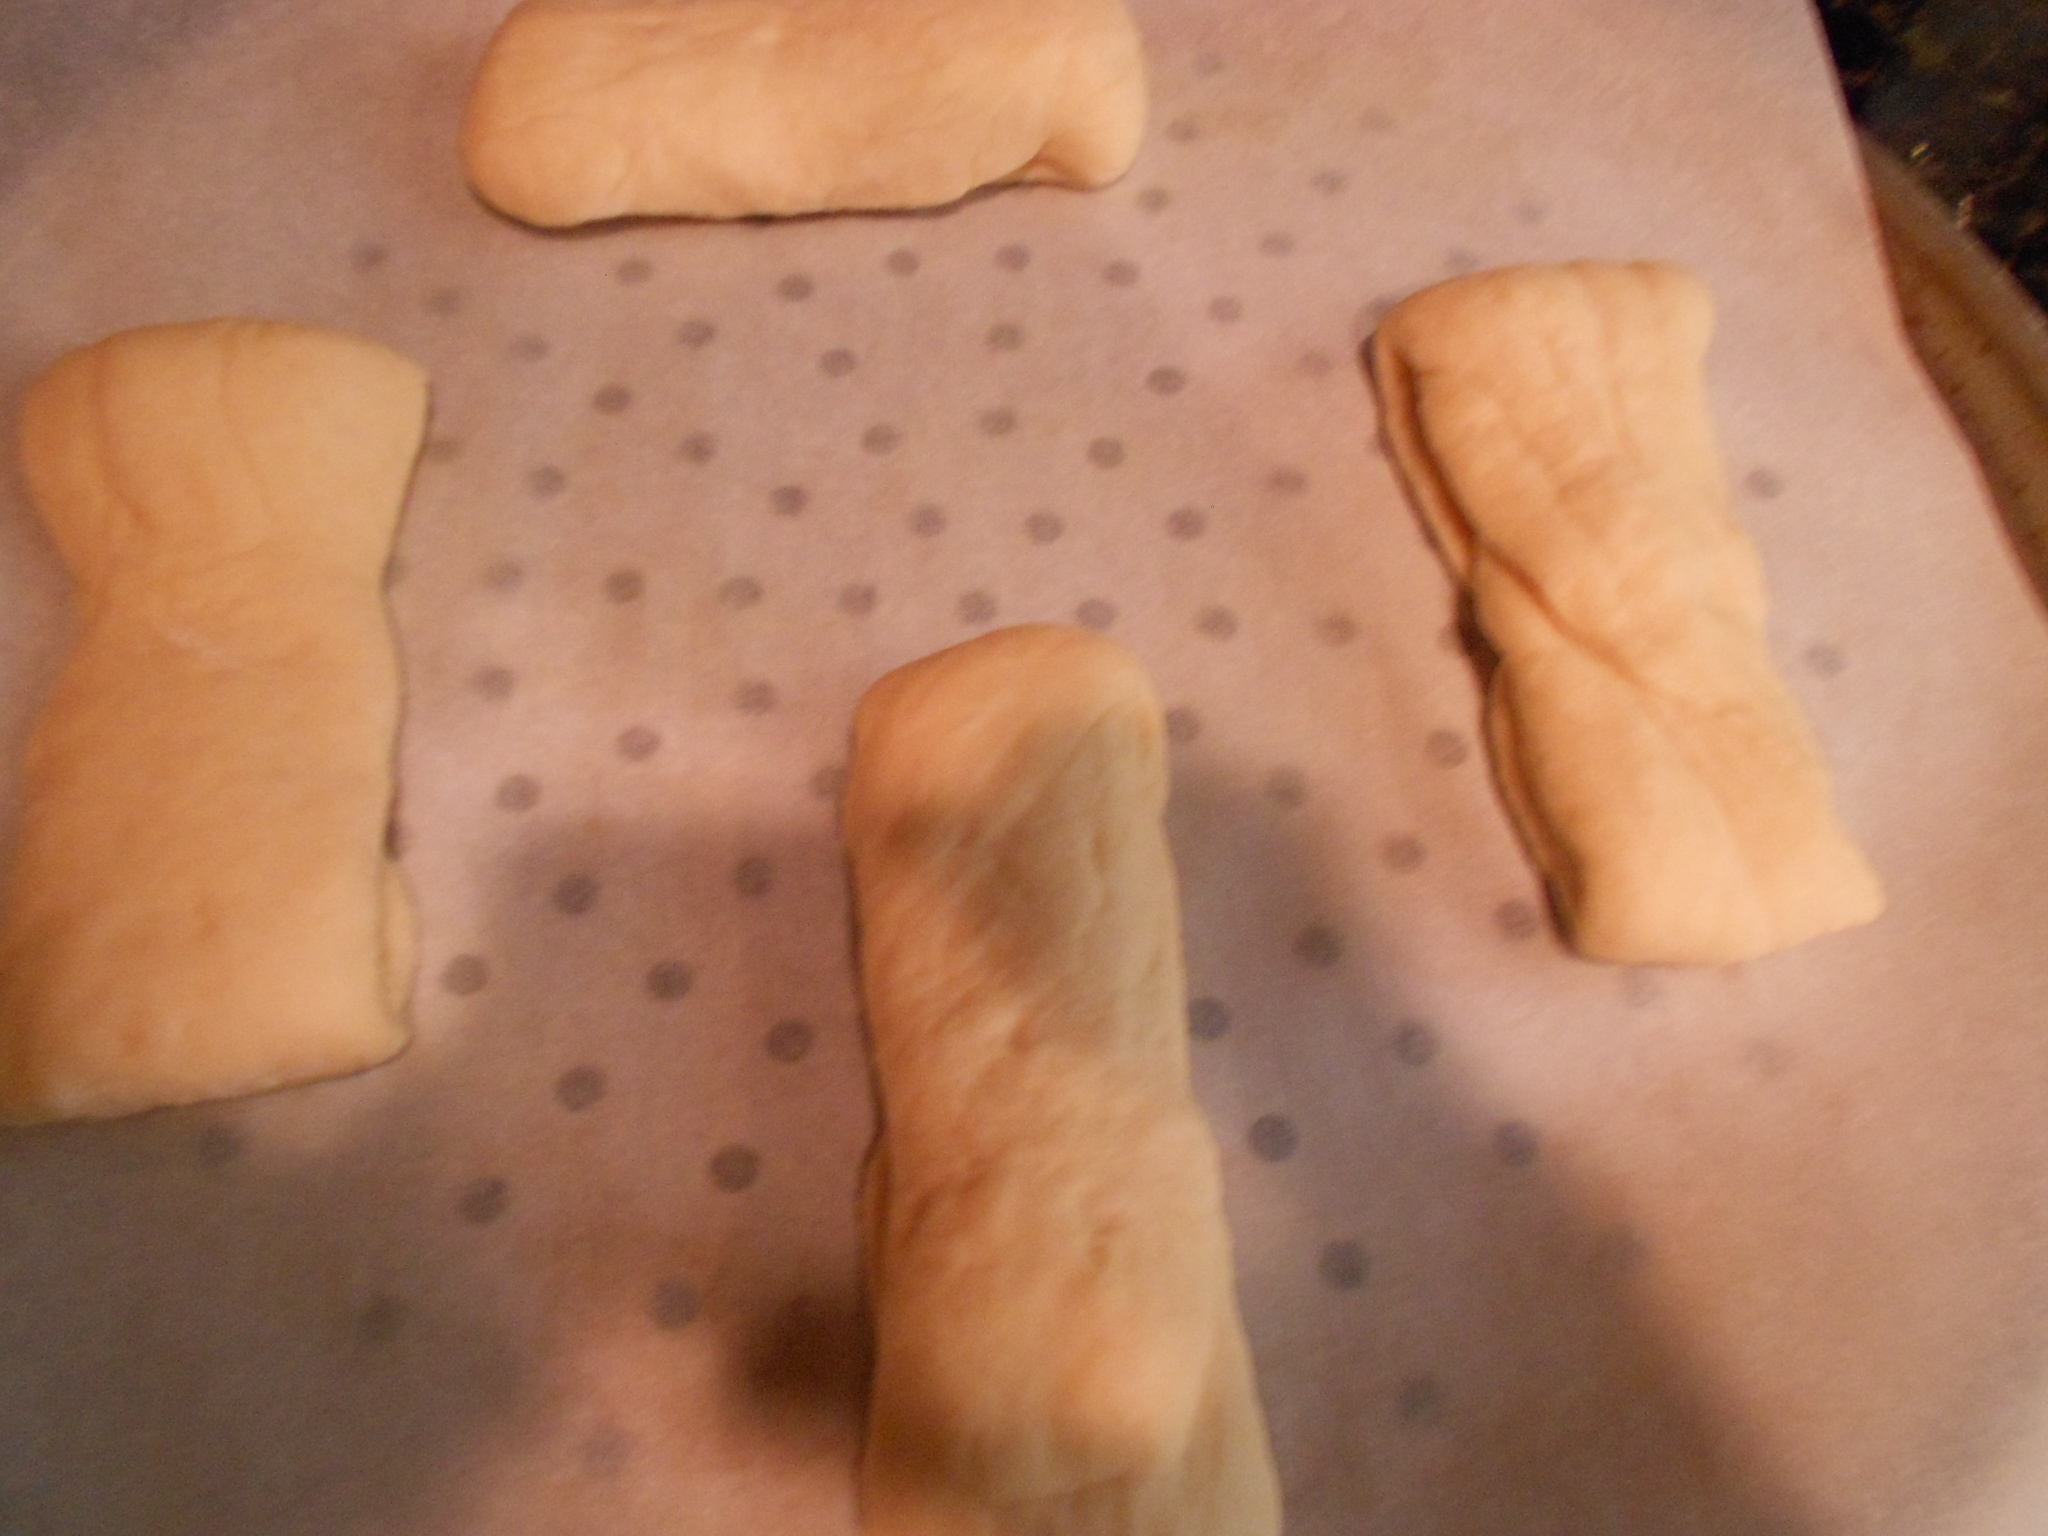
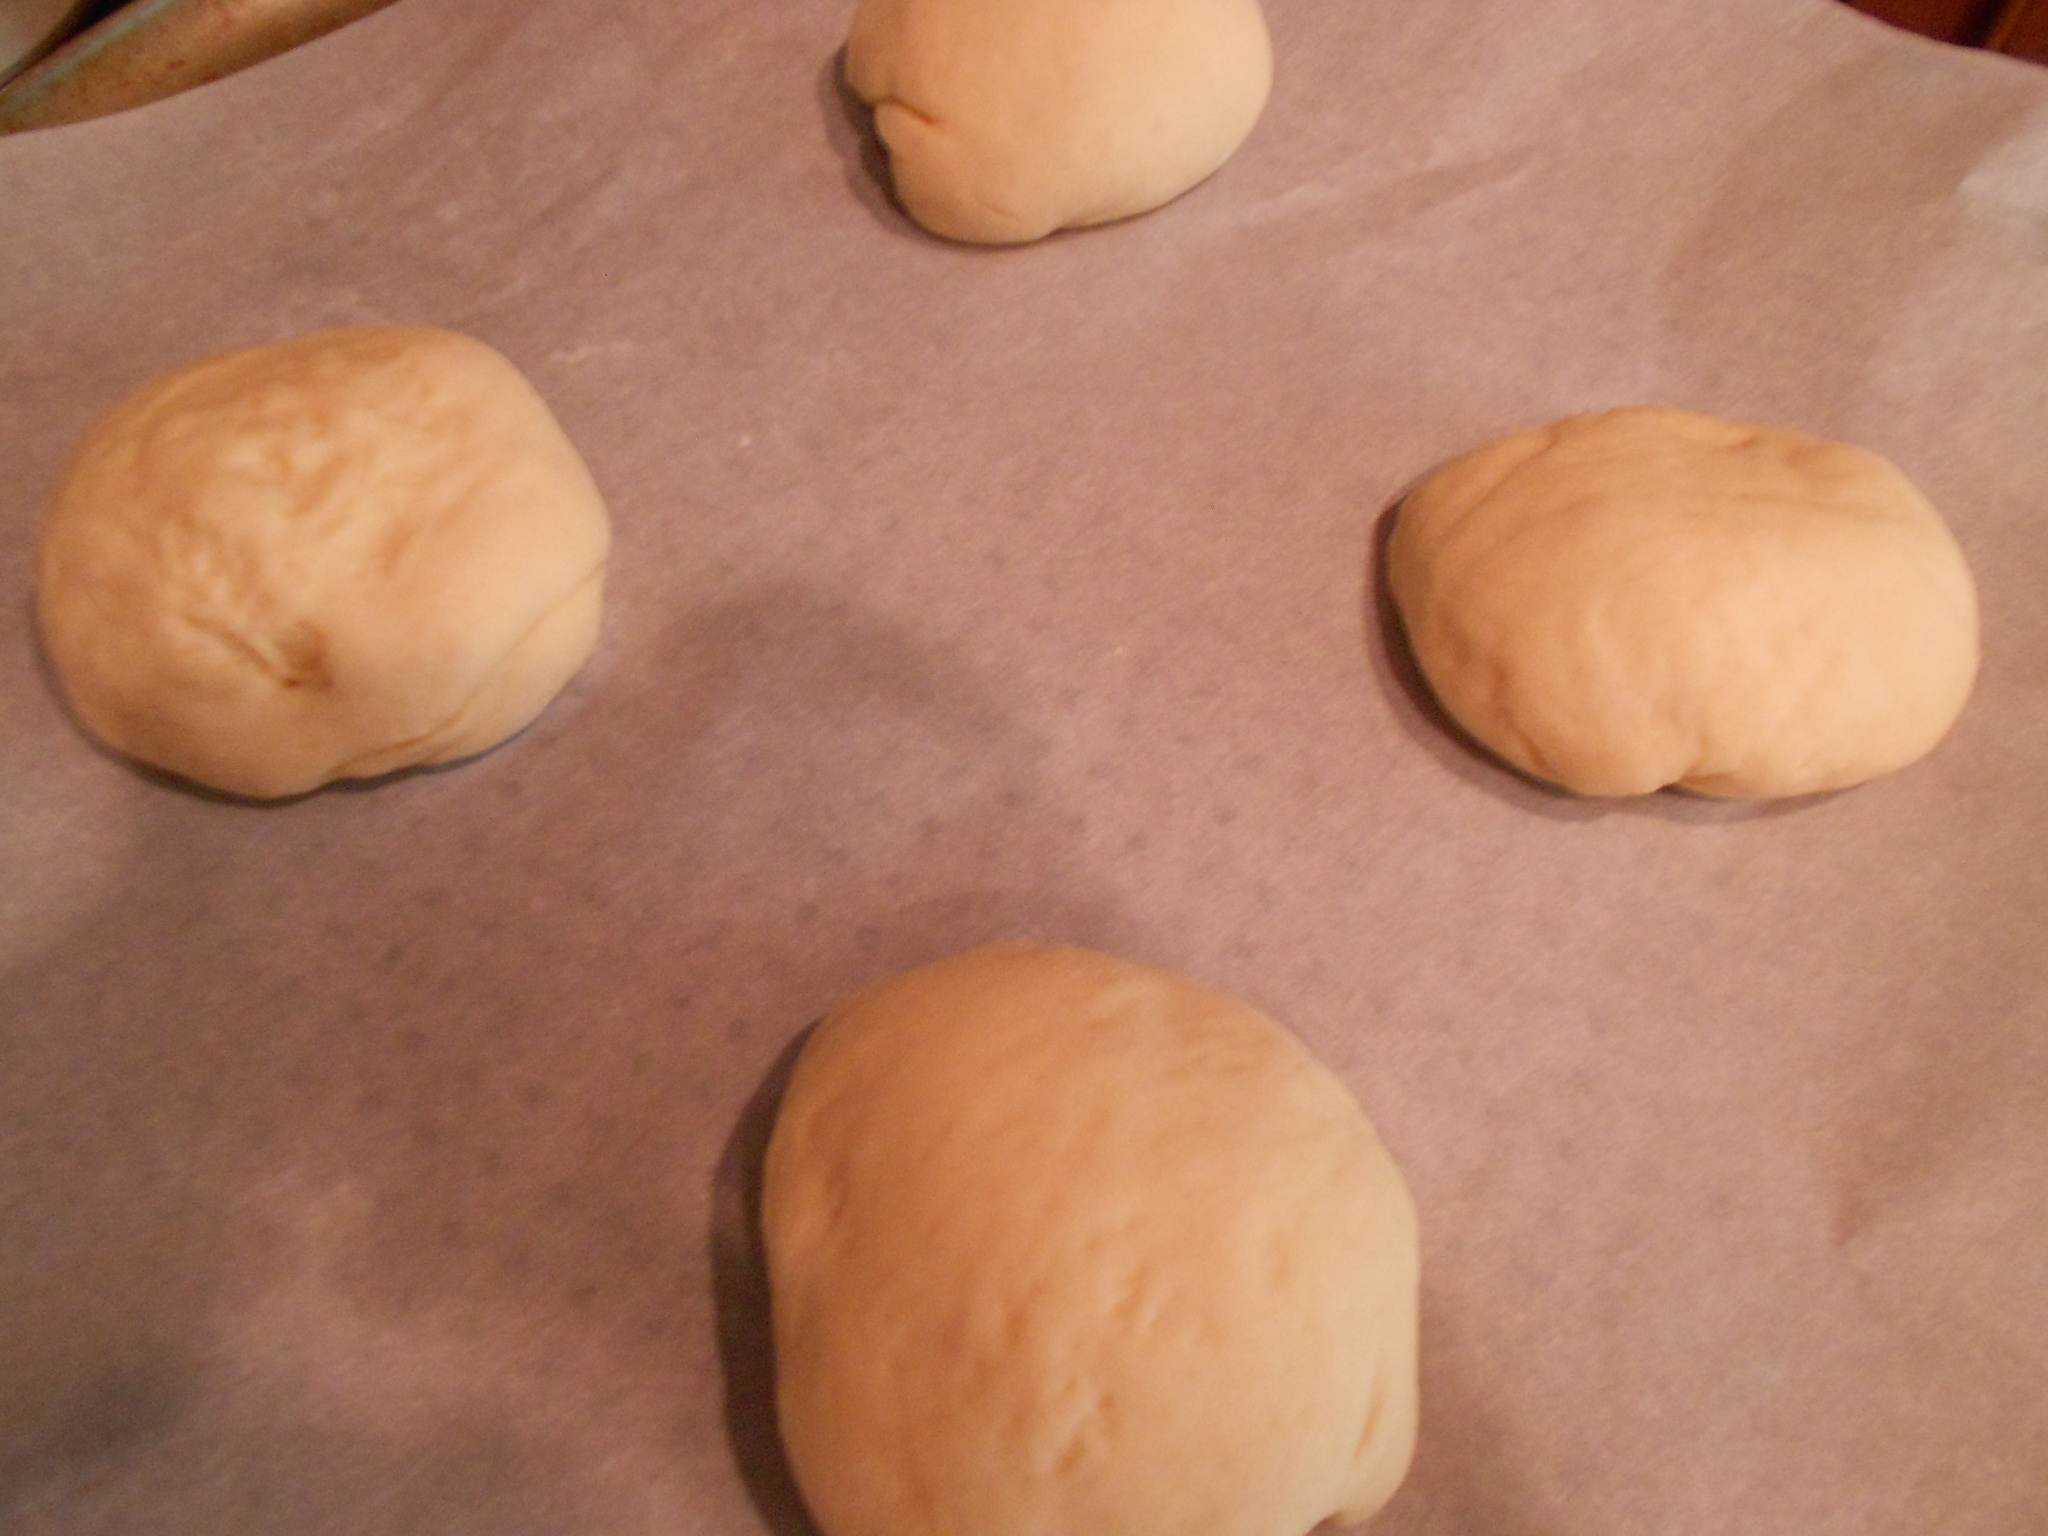
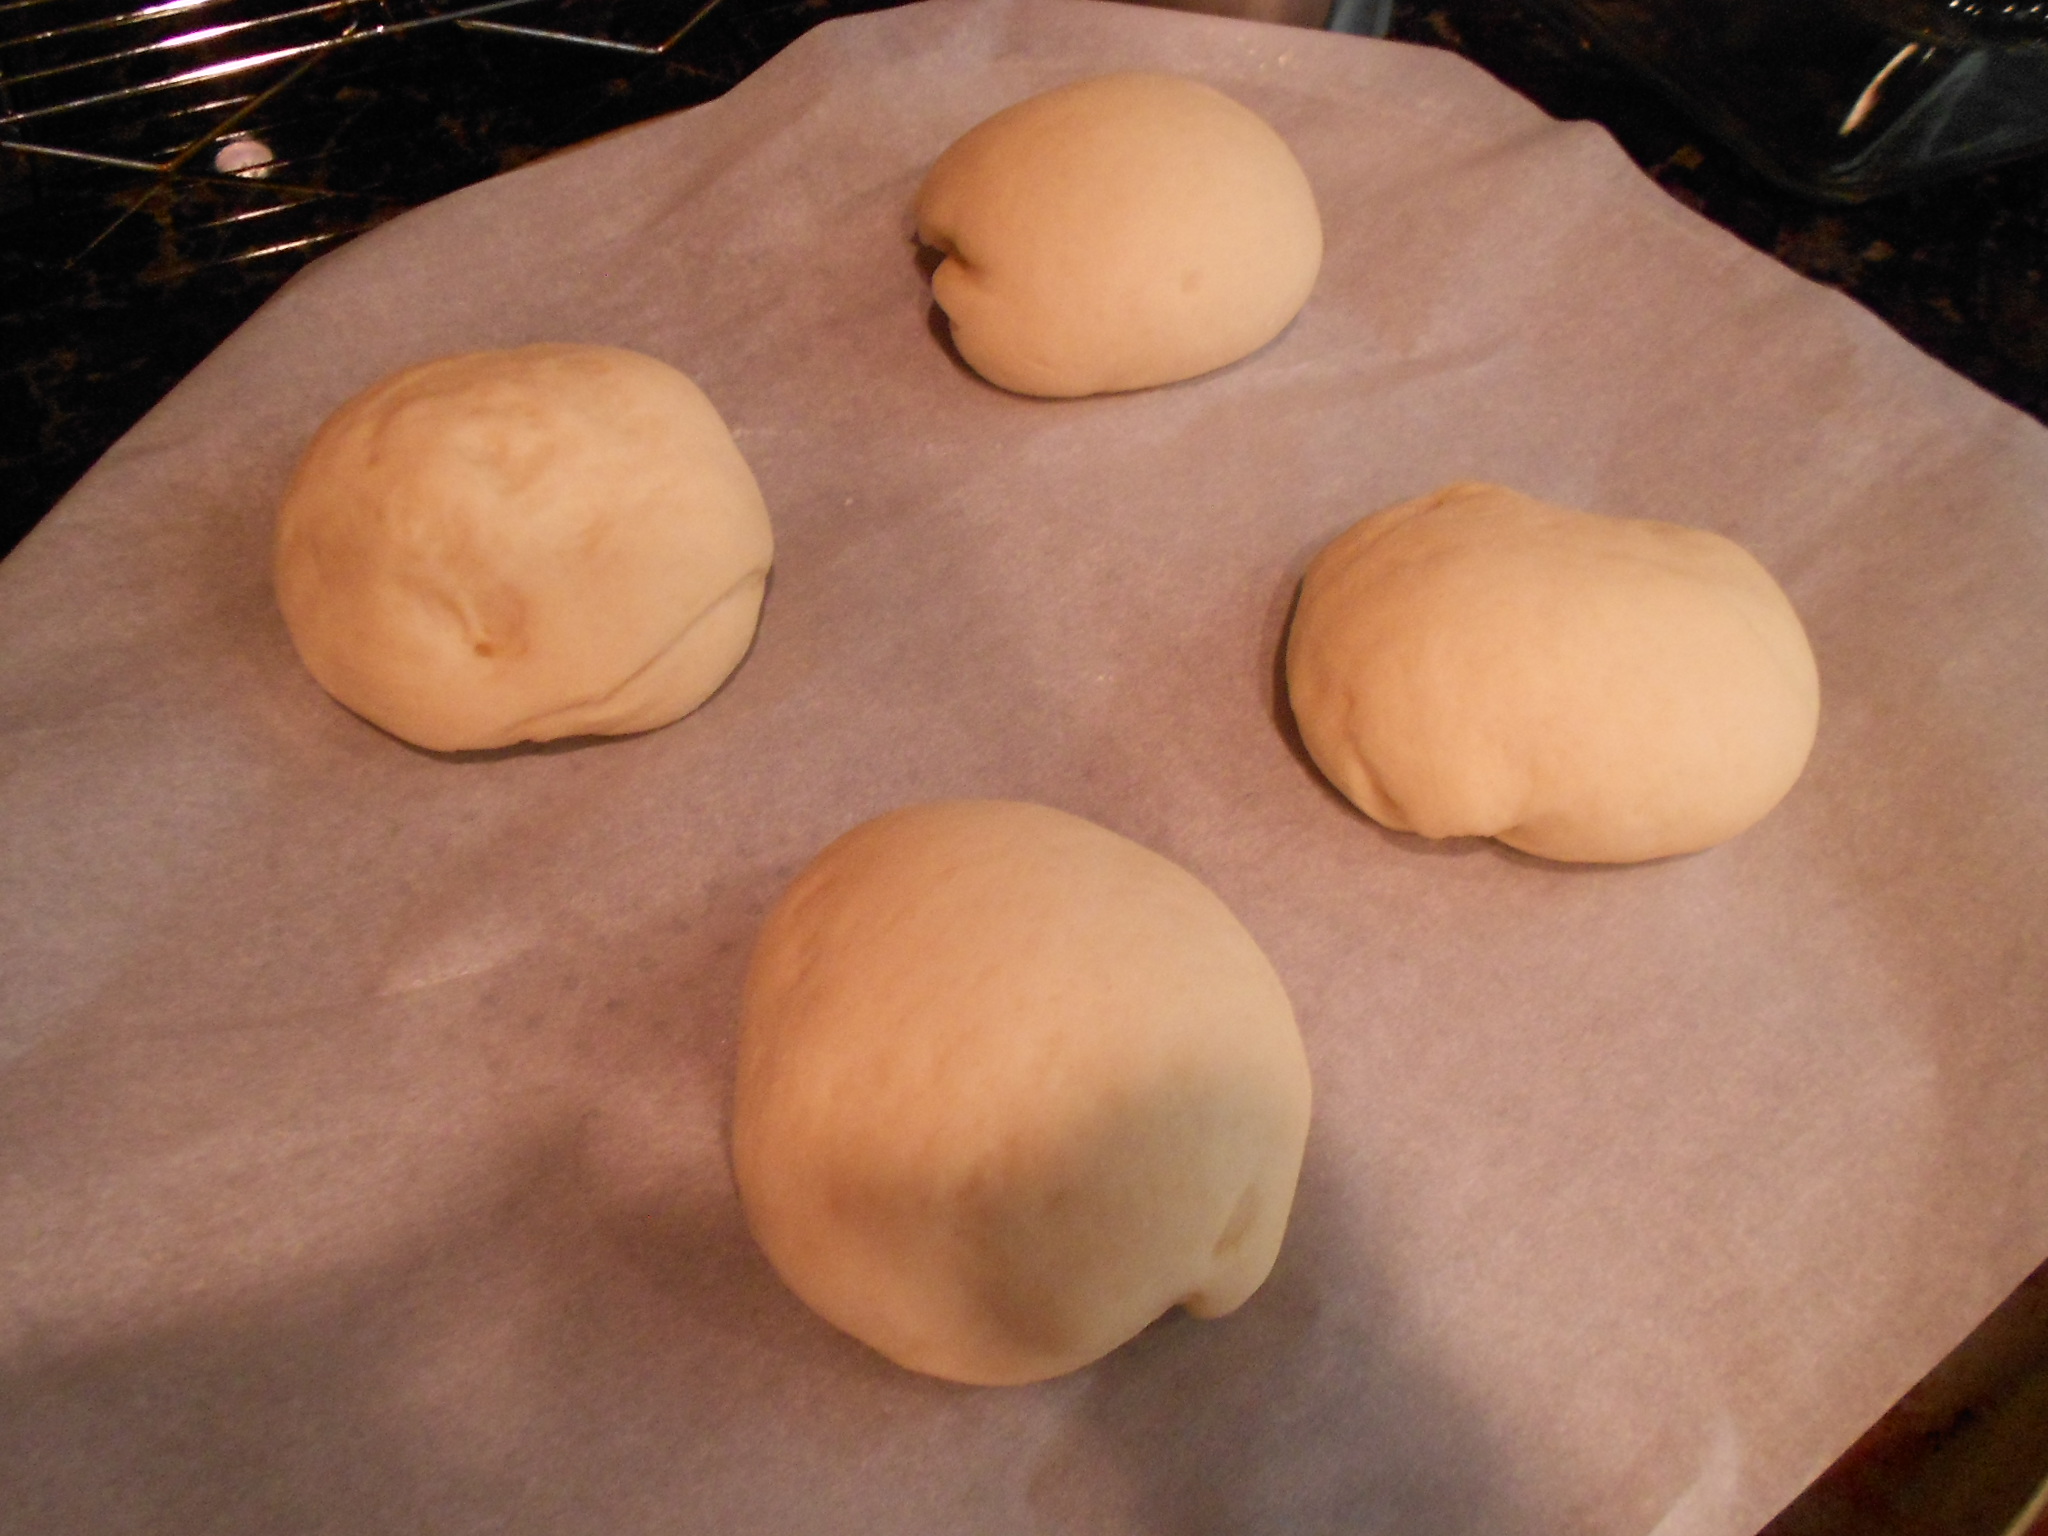
To make a sandwich long bun, I just make a snake with the dough and then fold each end in. My snake is about 12 inches long so when both ends come together, the roll is almost 6 inches. Buns I just make balls with a flat bottom.

DSCN3238

DSCN3239

DSCN3241

DSCN3242

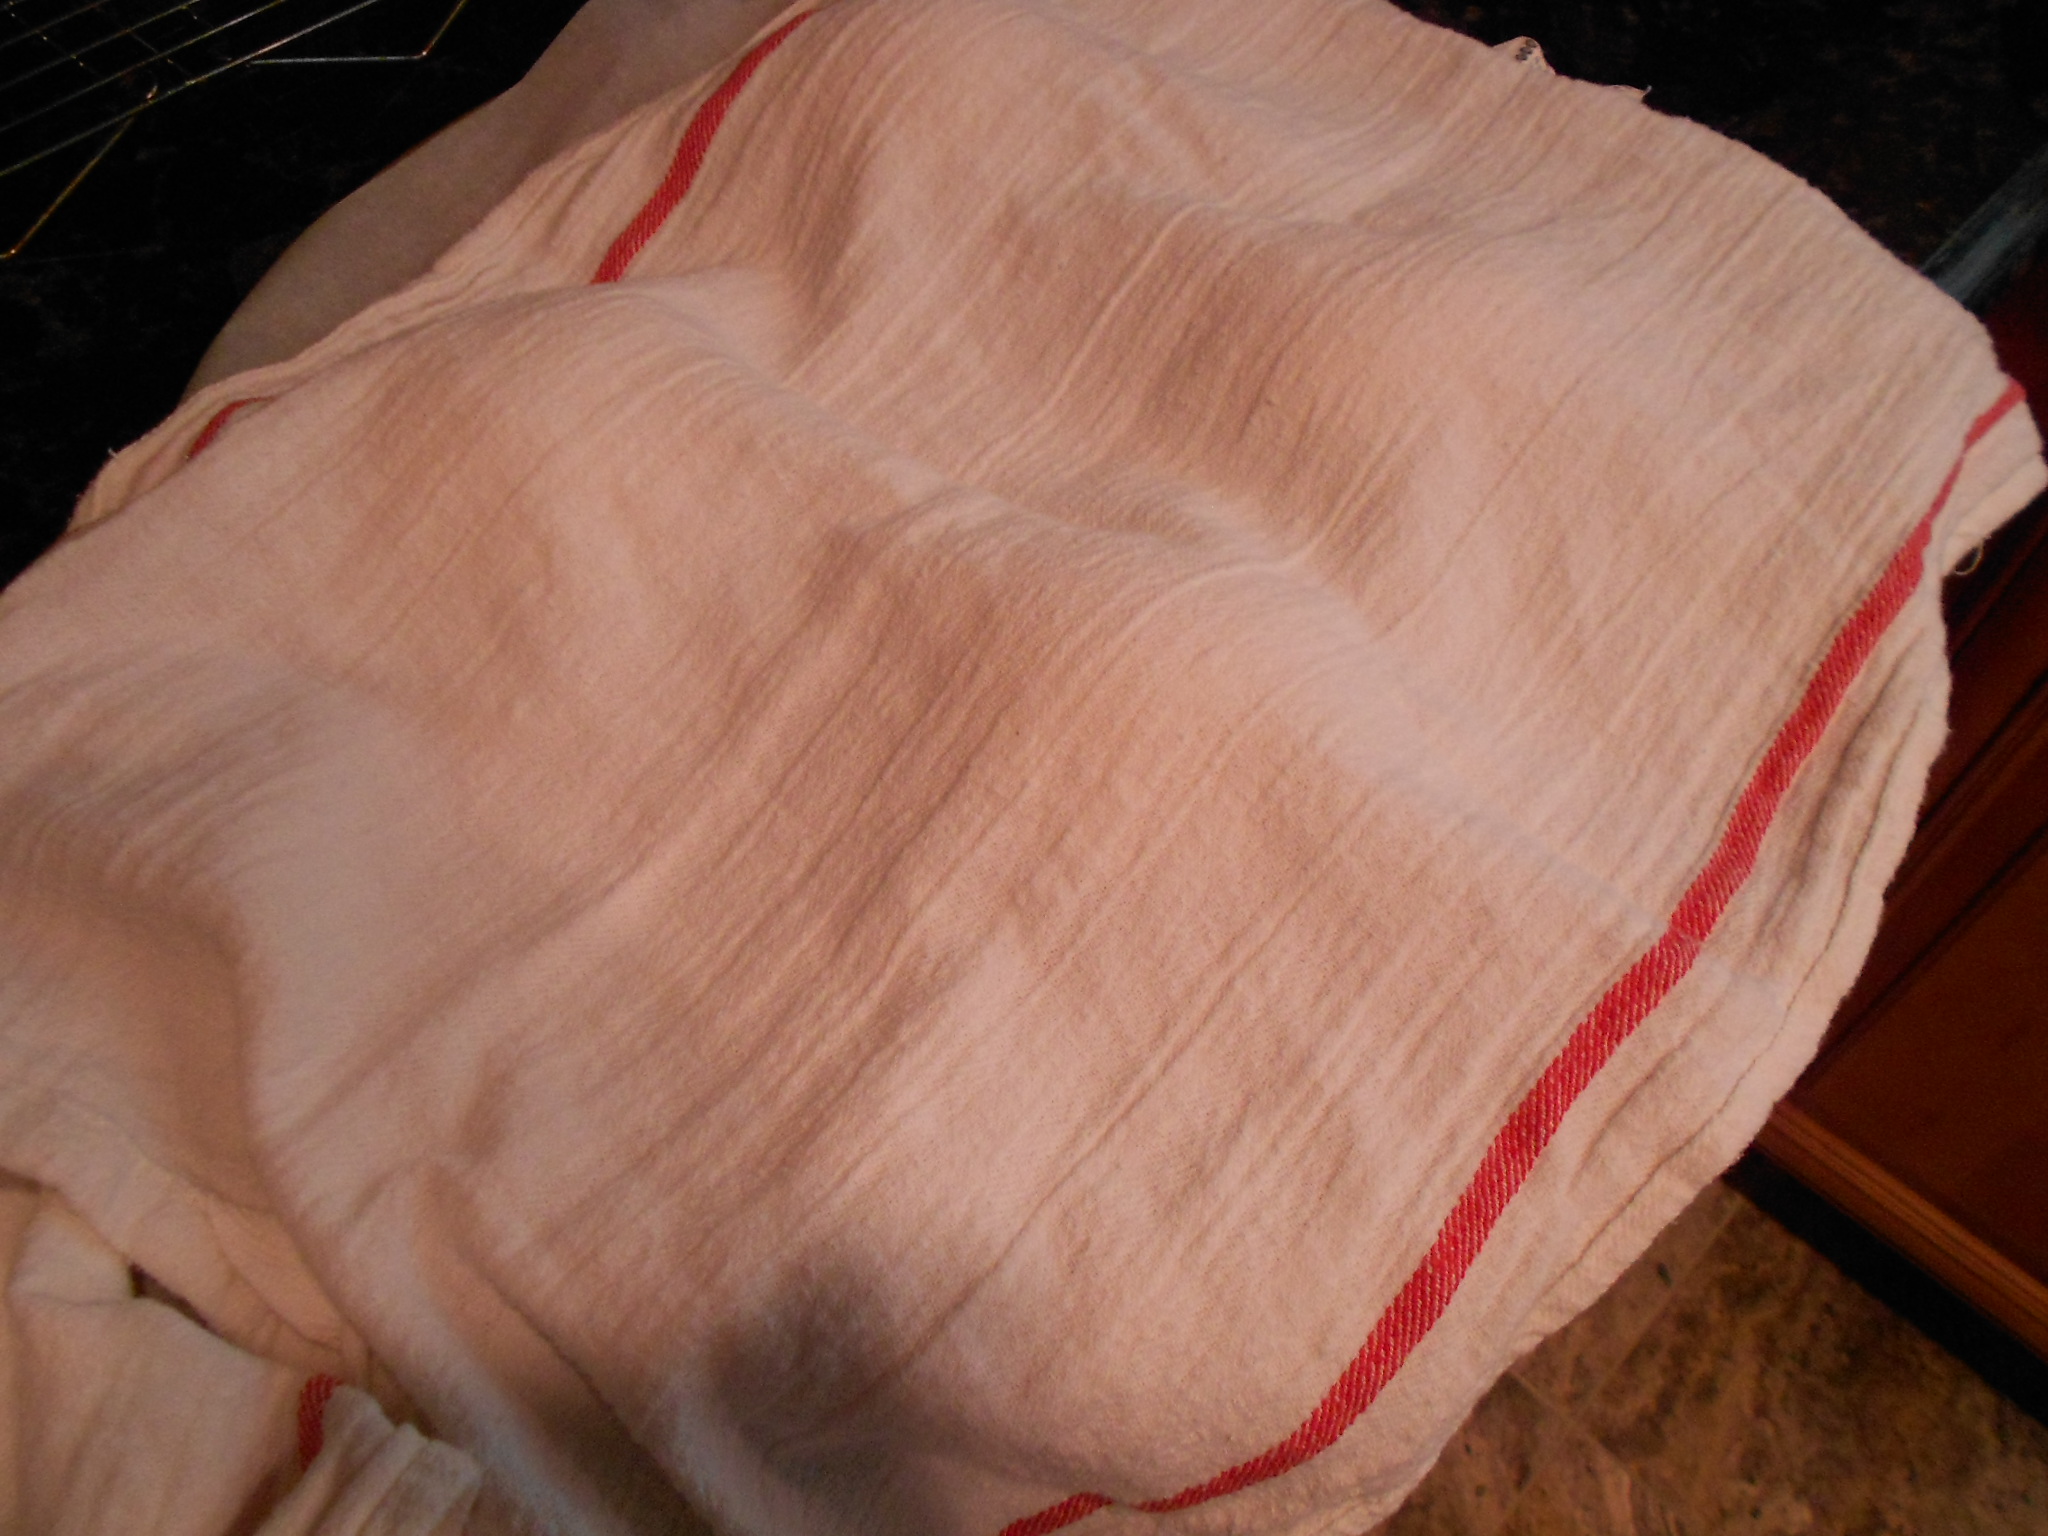
I then allow the buns to rise between 25 to 30 minutes. I put a towel over the pans and again return the dough to my oven on the proof setting at 105 degrees.

DSCN3252


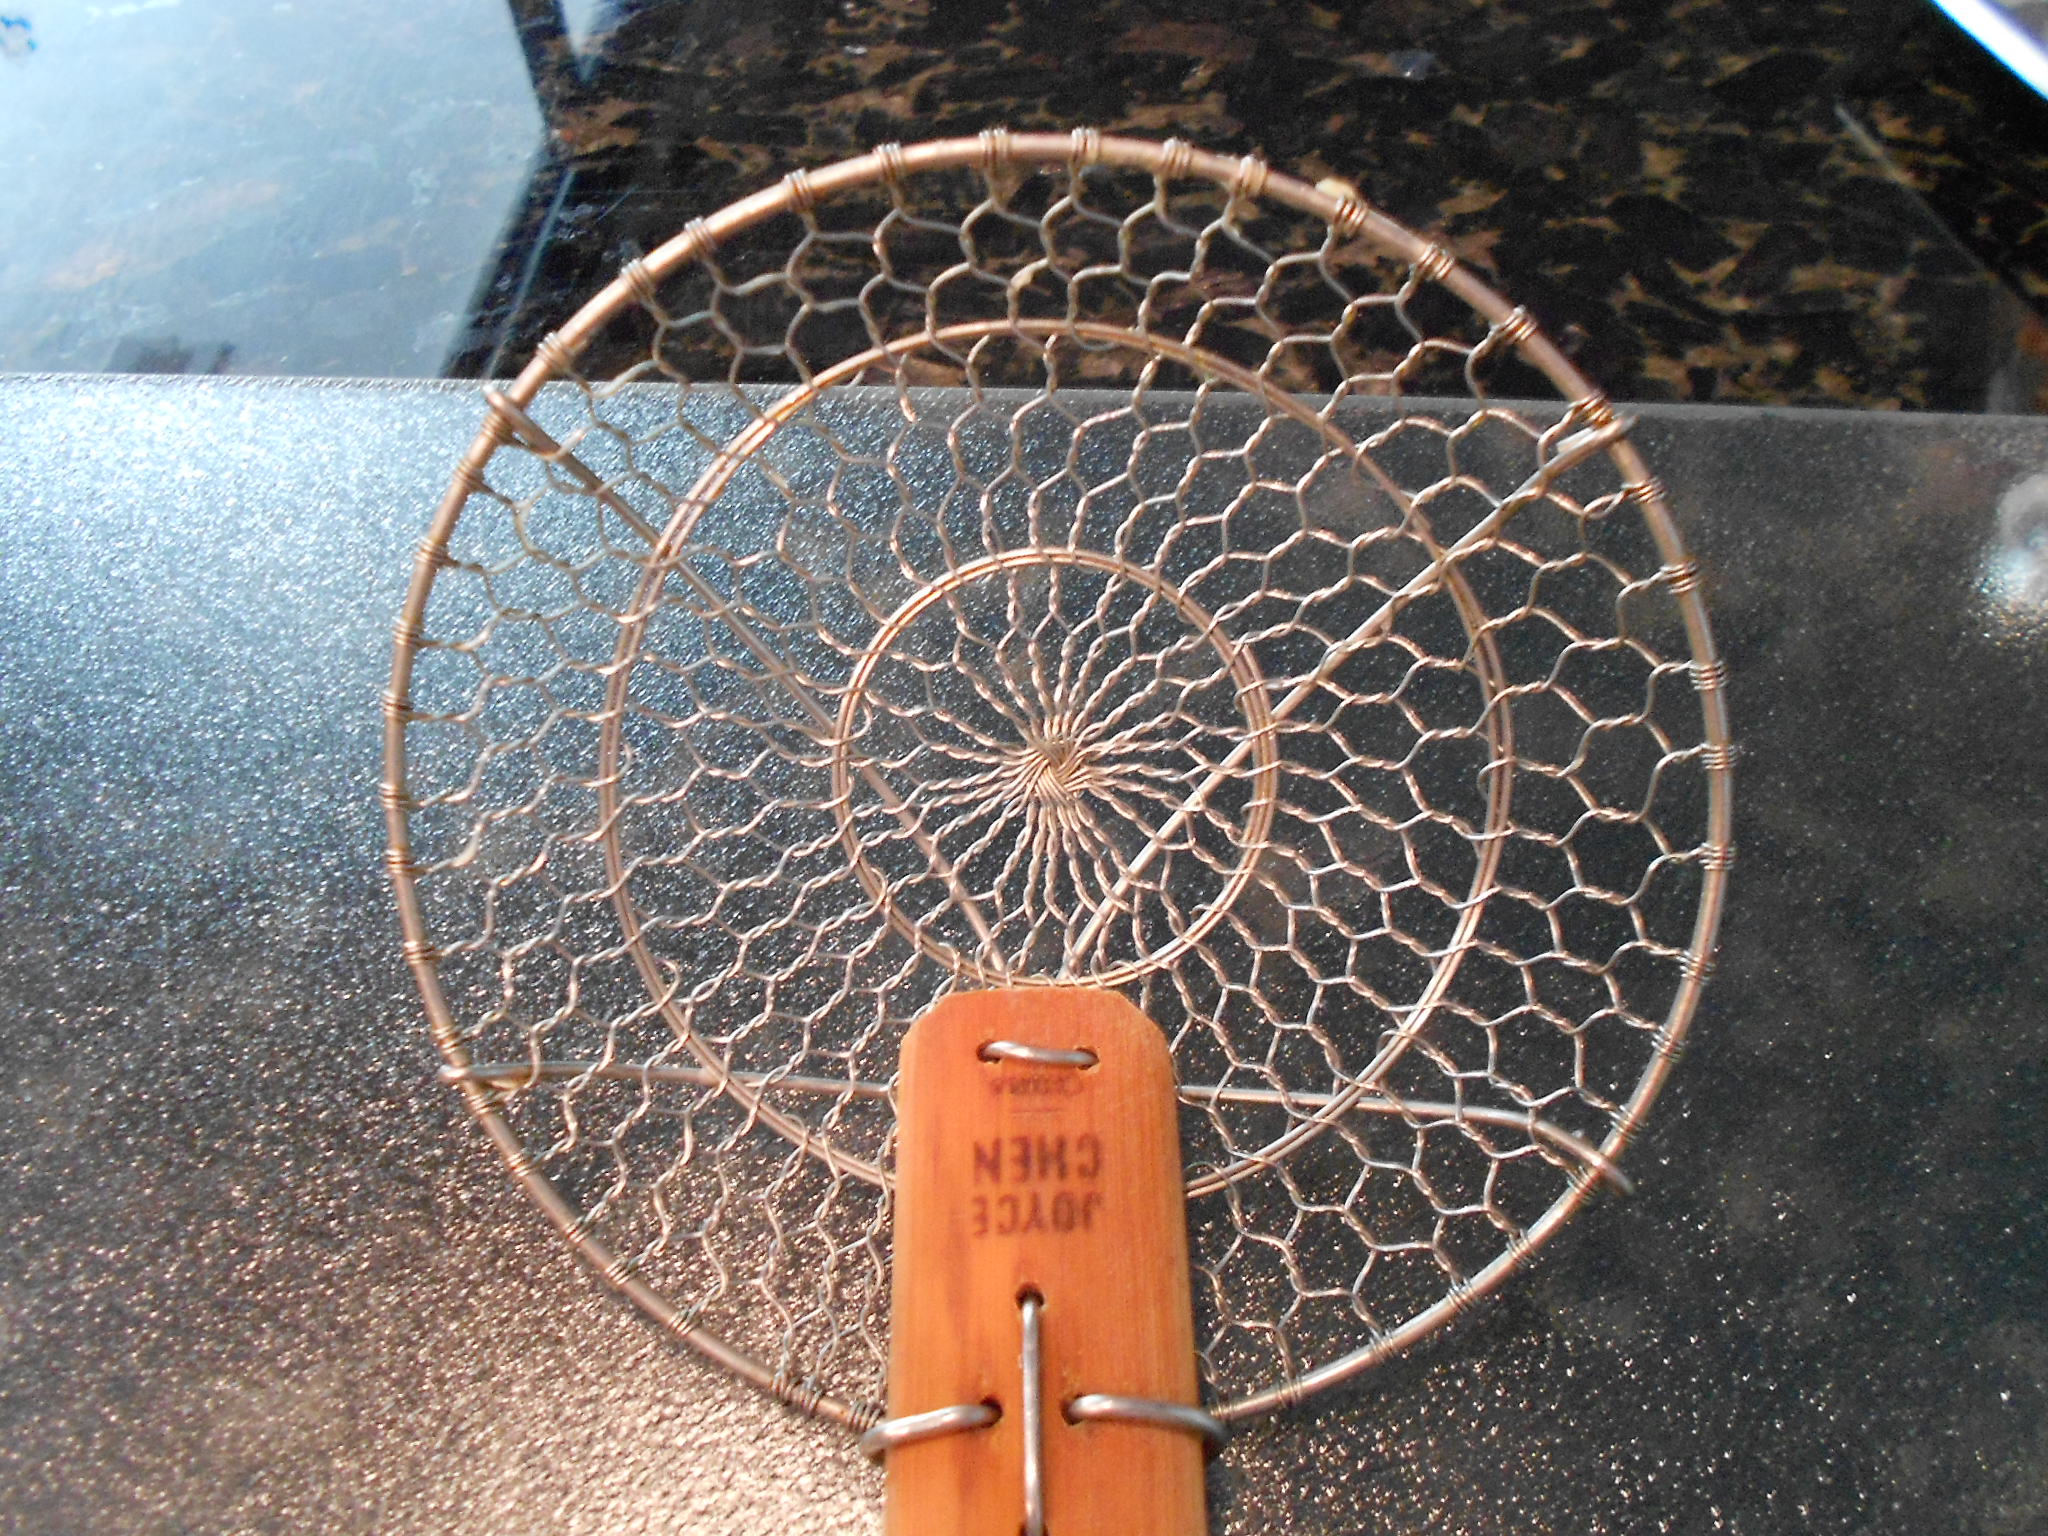
While my buns rise, I begin to mix the water and baking soda. Bring your wash to a boil and then have a steady simmer going. I take out my spider spoon, because this helps me picking up the buns without a mess of water coming with them.

DSCN3246

DSCN3249

DSCN3251

I also crack the egg and add the water for the wash. Also a good time to set your oven to 400 degrees. I use the convection setting for bread.

DSCN3245

DSCN3244

DSCN3243

Buns have risen so now it's time to "pretzel-ize" them. Just like you would do with bagels, you put one or two buns in and allow them to remain in the baking soda solution for 3 minutes on each side and I use the assistance of a timer because I can get distracted easily. After 6 minutes are up, I remove the buns and place them on parchment and the pan I will be using to bake them on. I have found my pizza pan (with holes) works better when it comes to texture but a cookie sheet works fine if that is all you have at hand.

DSCN3253

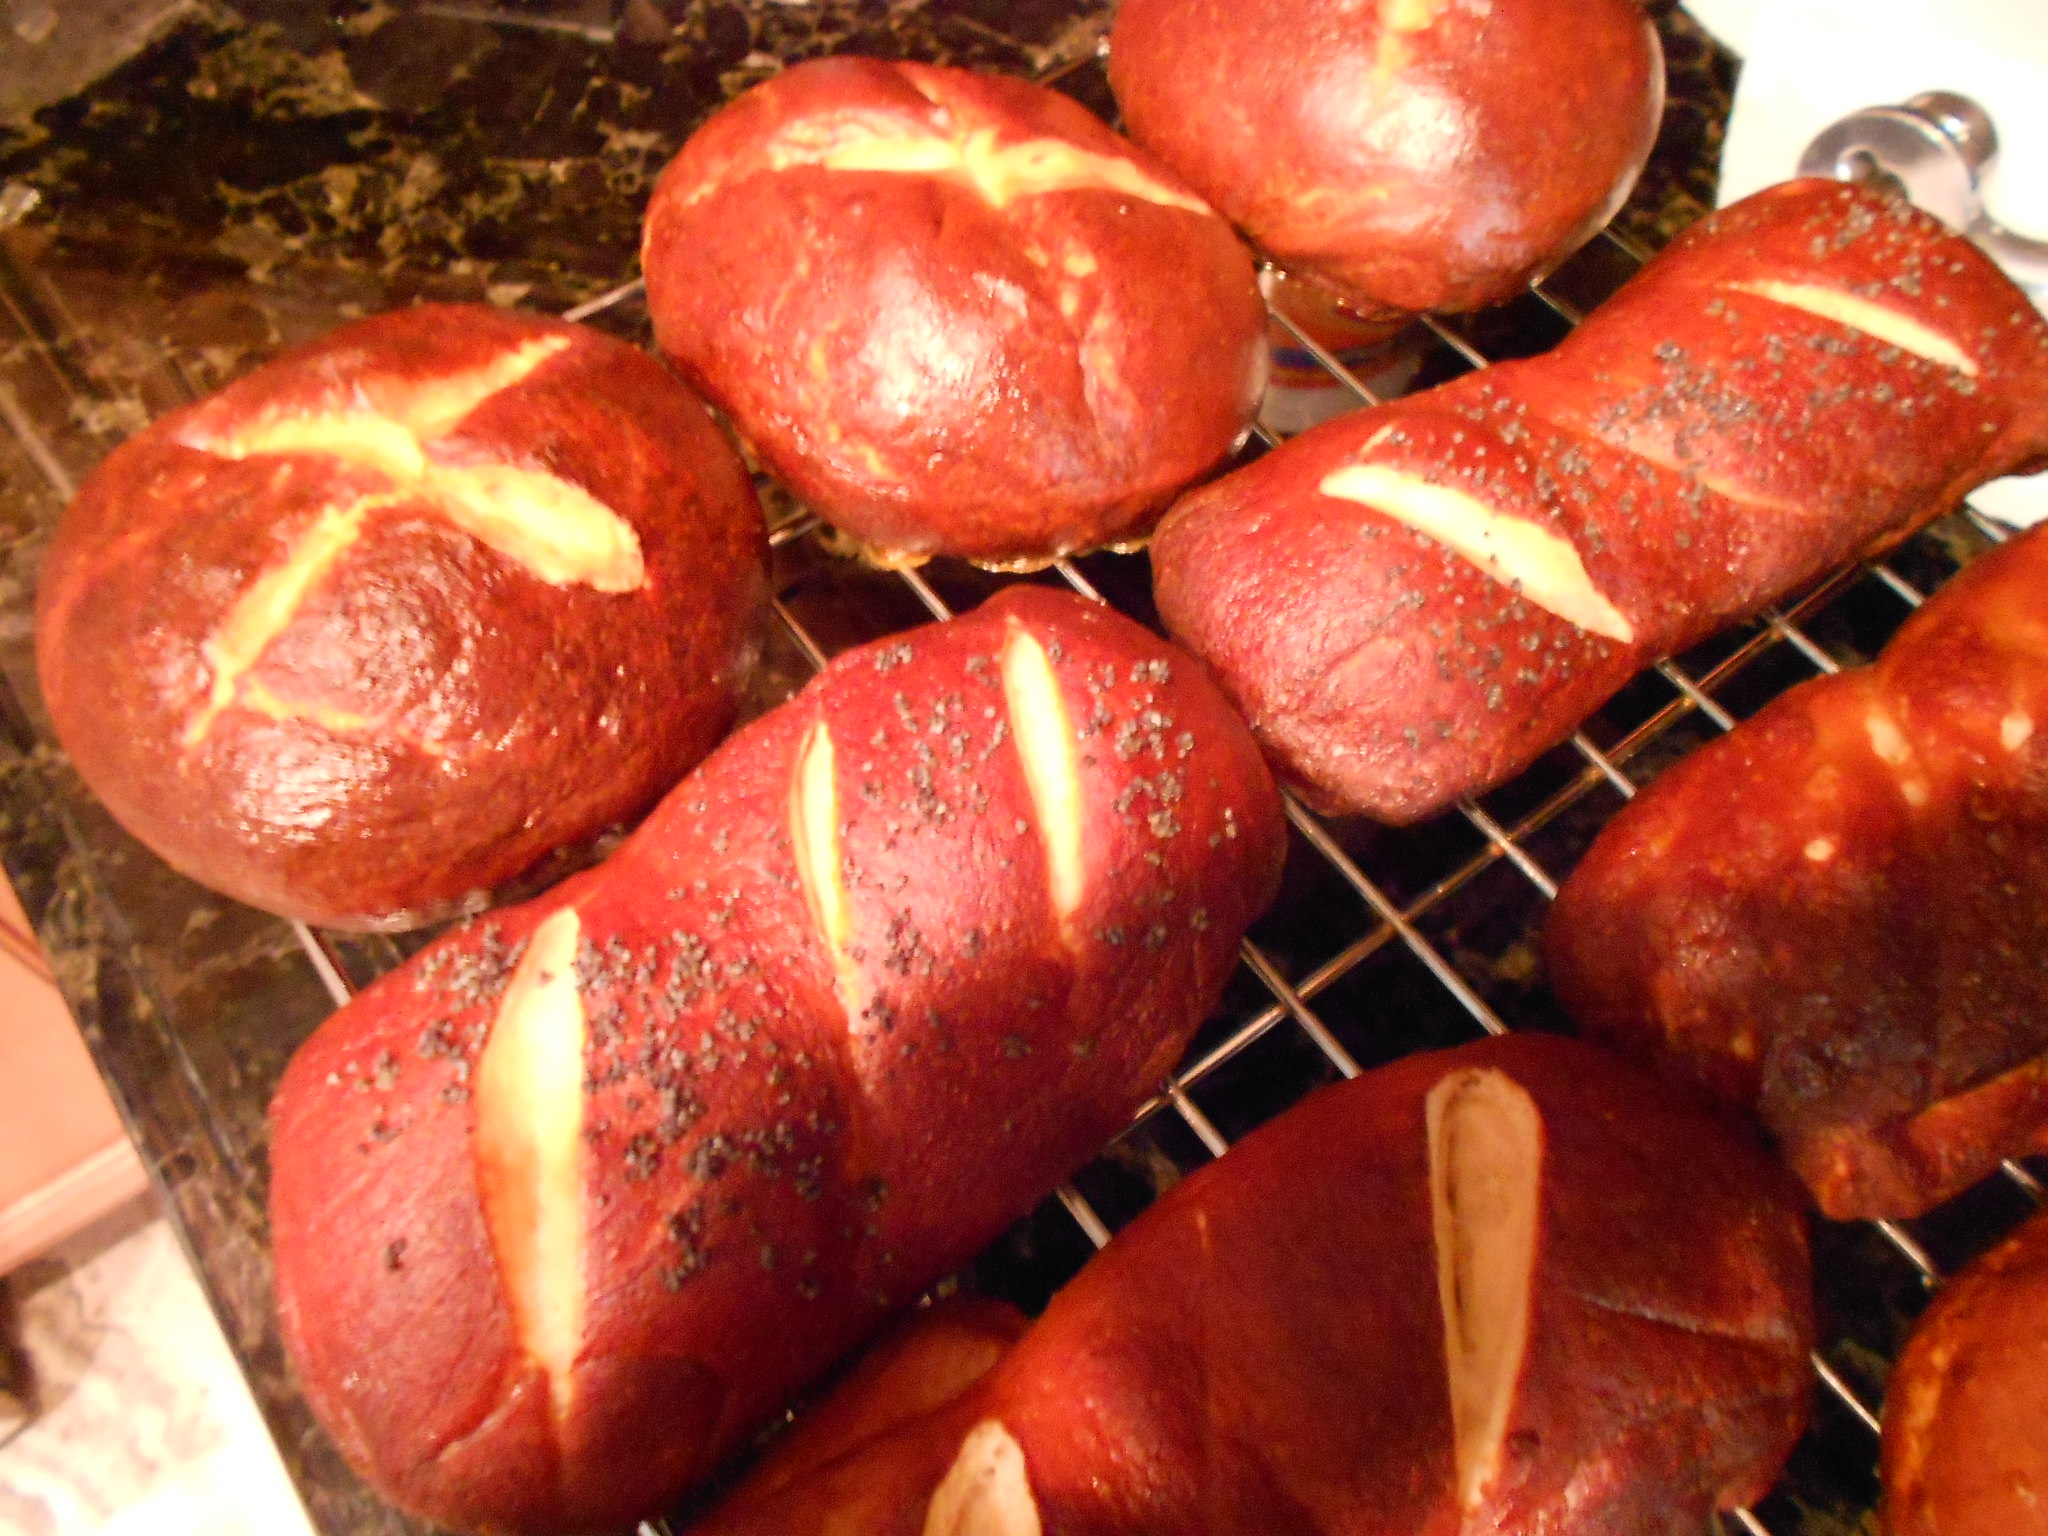
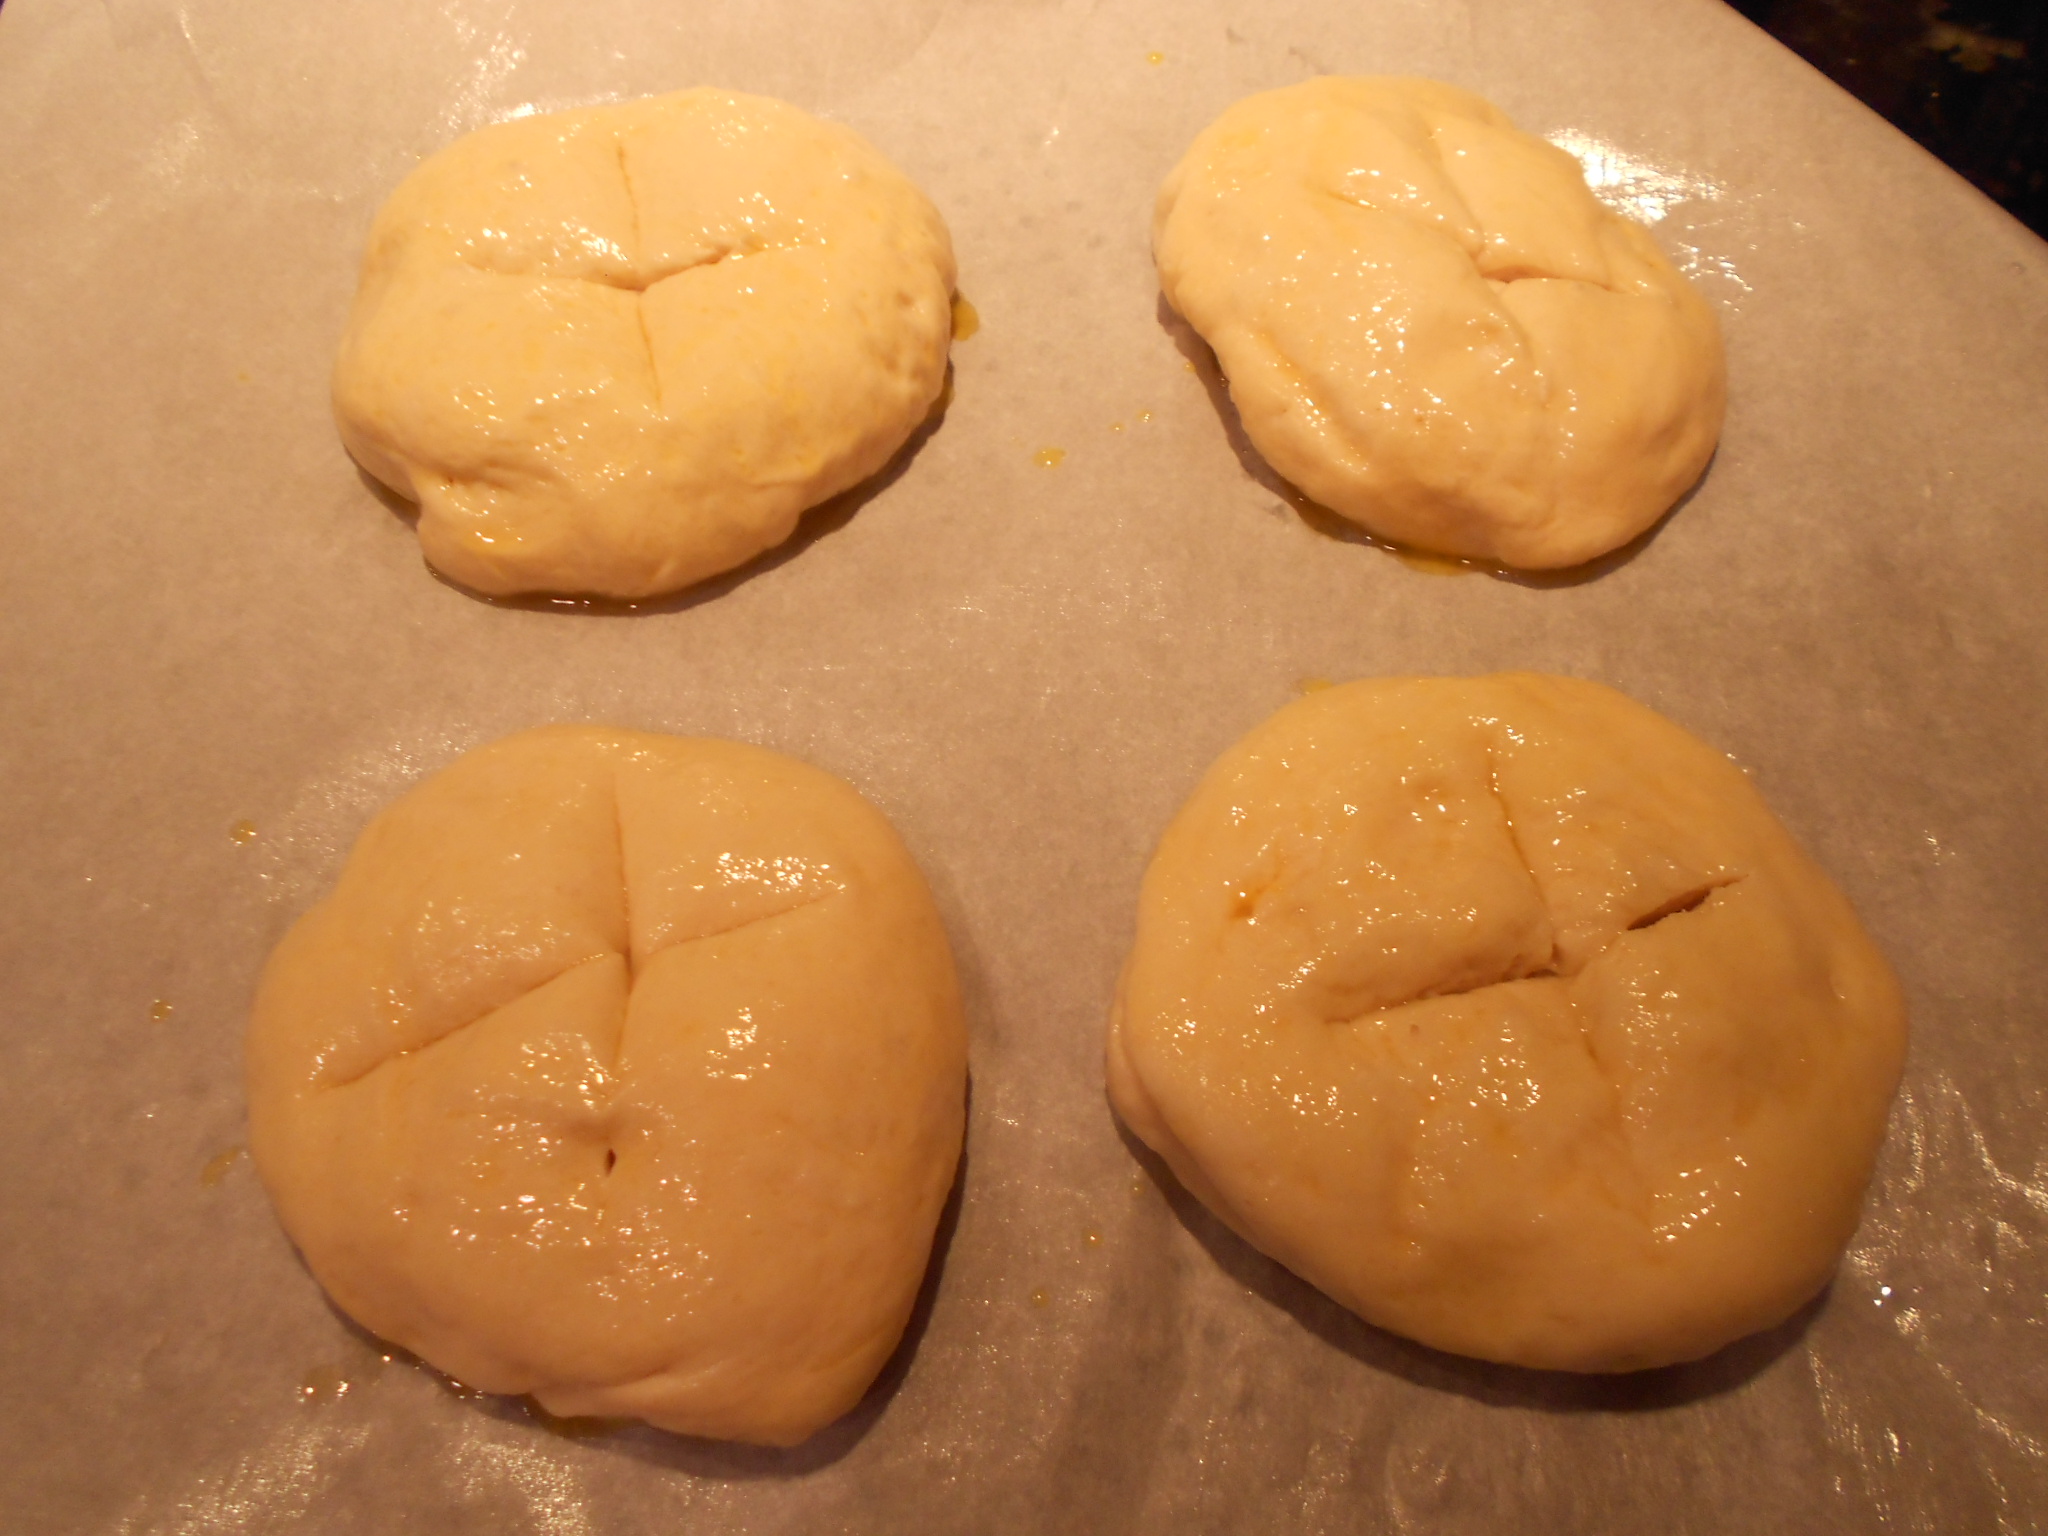
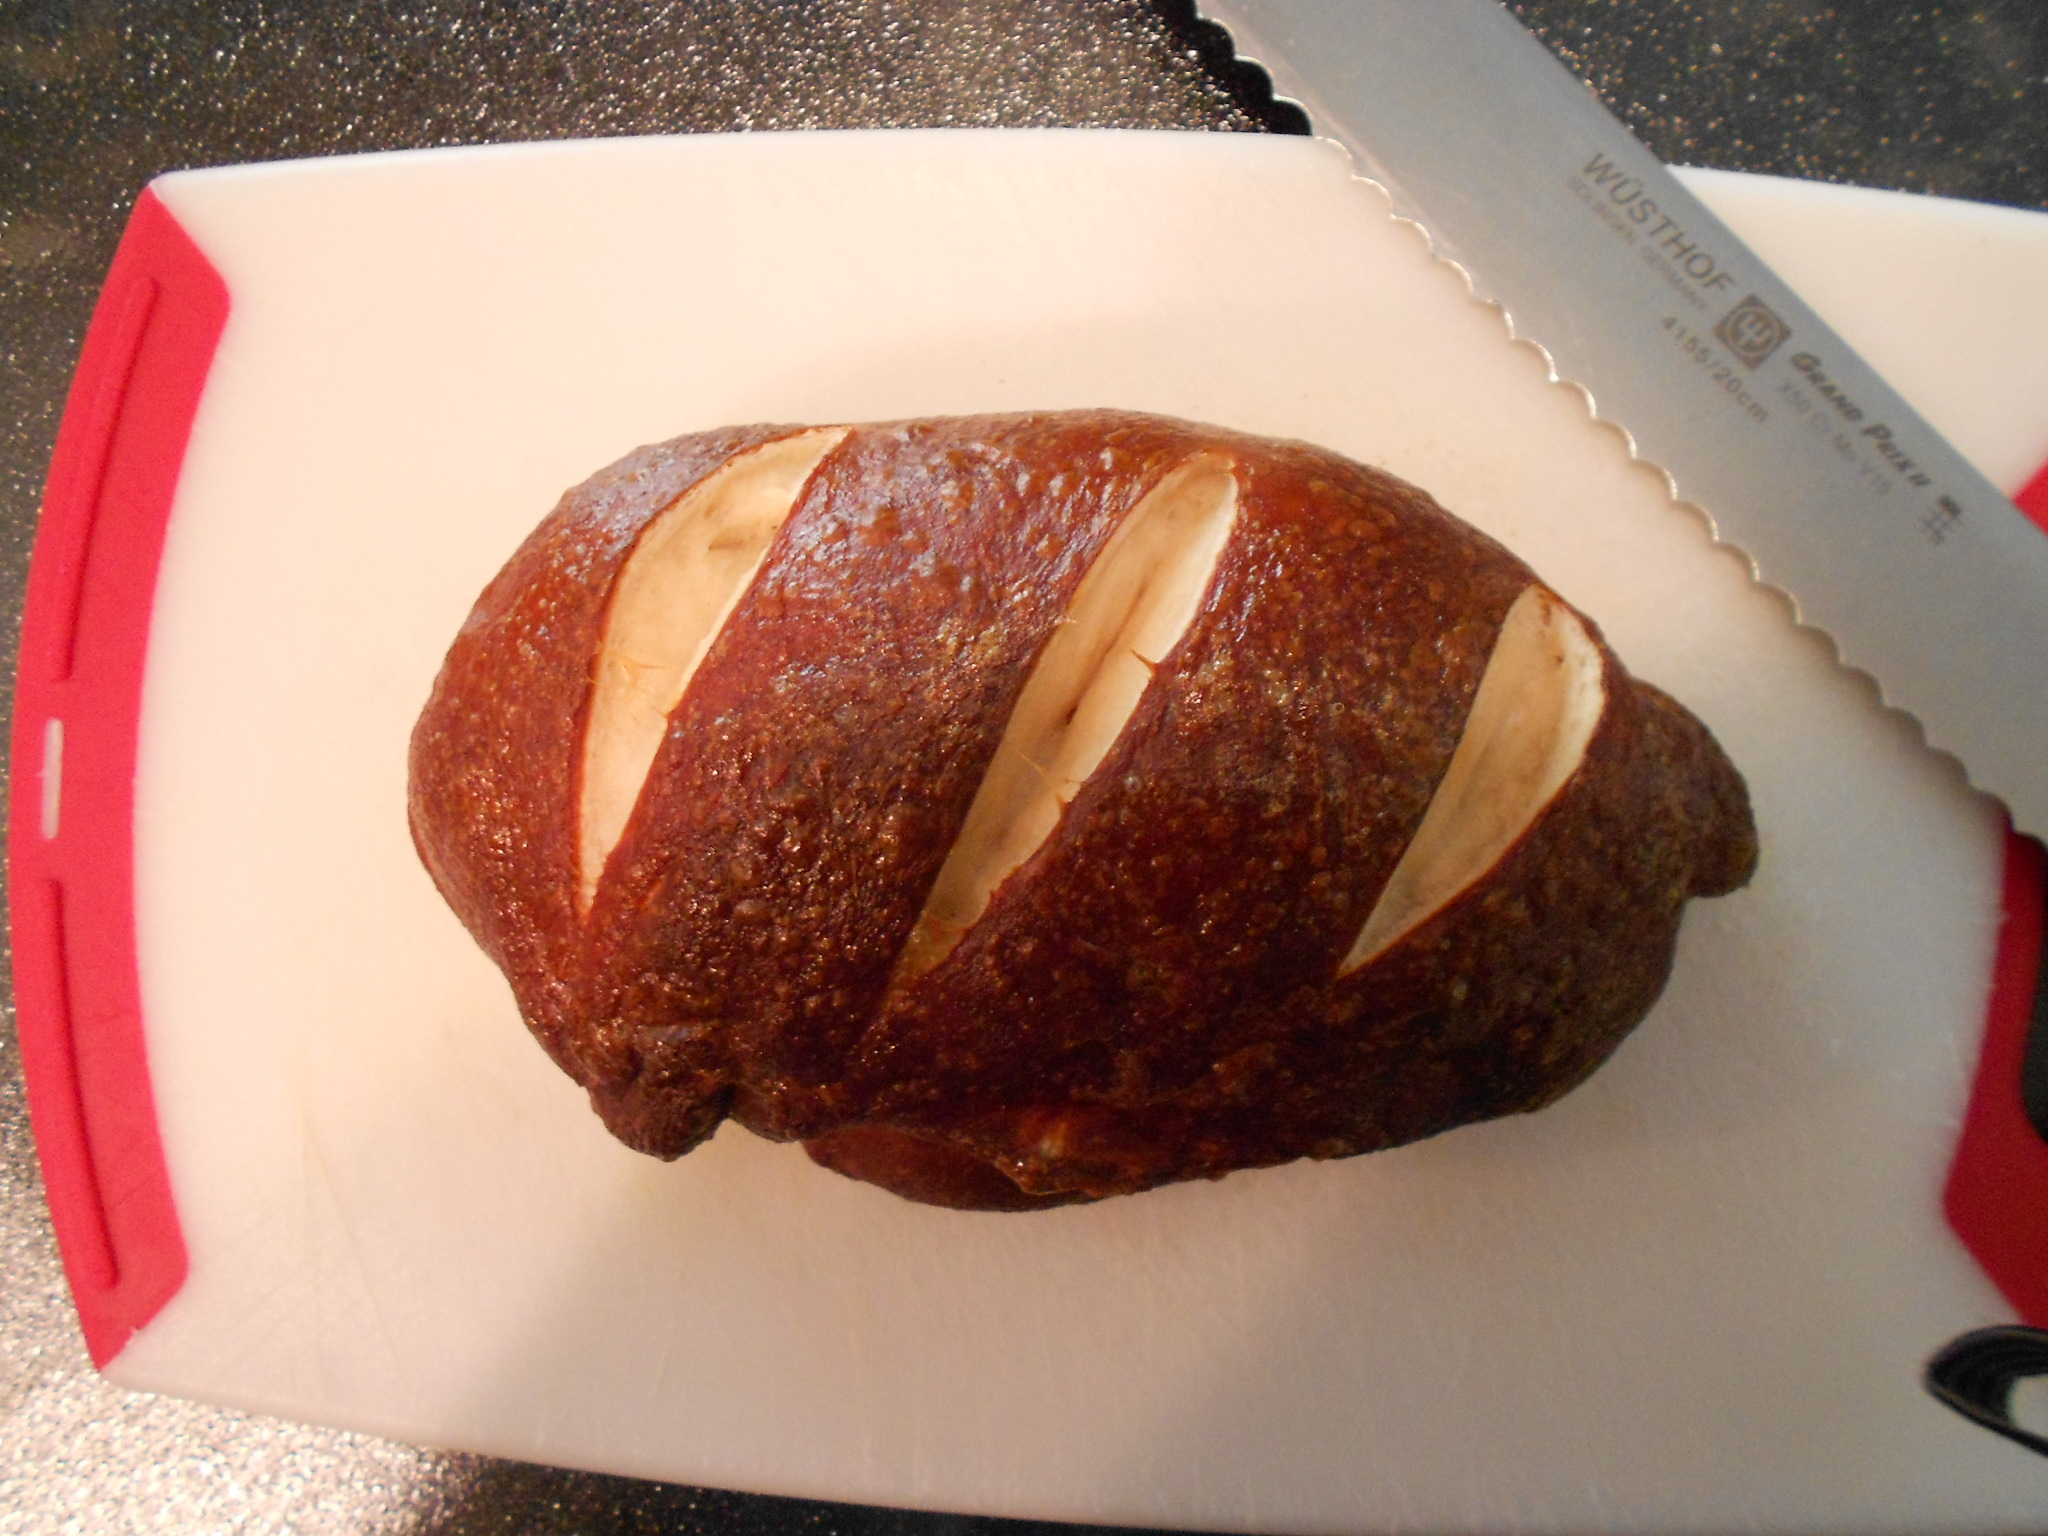
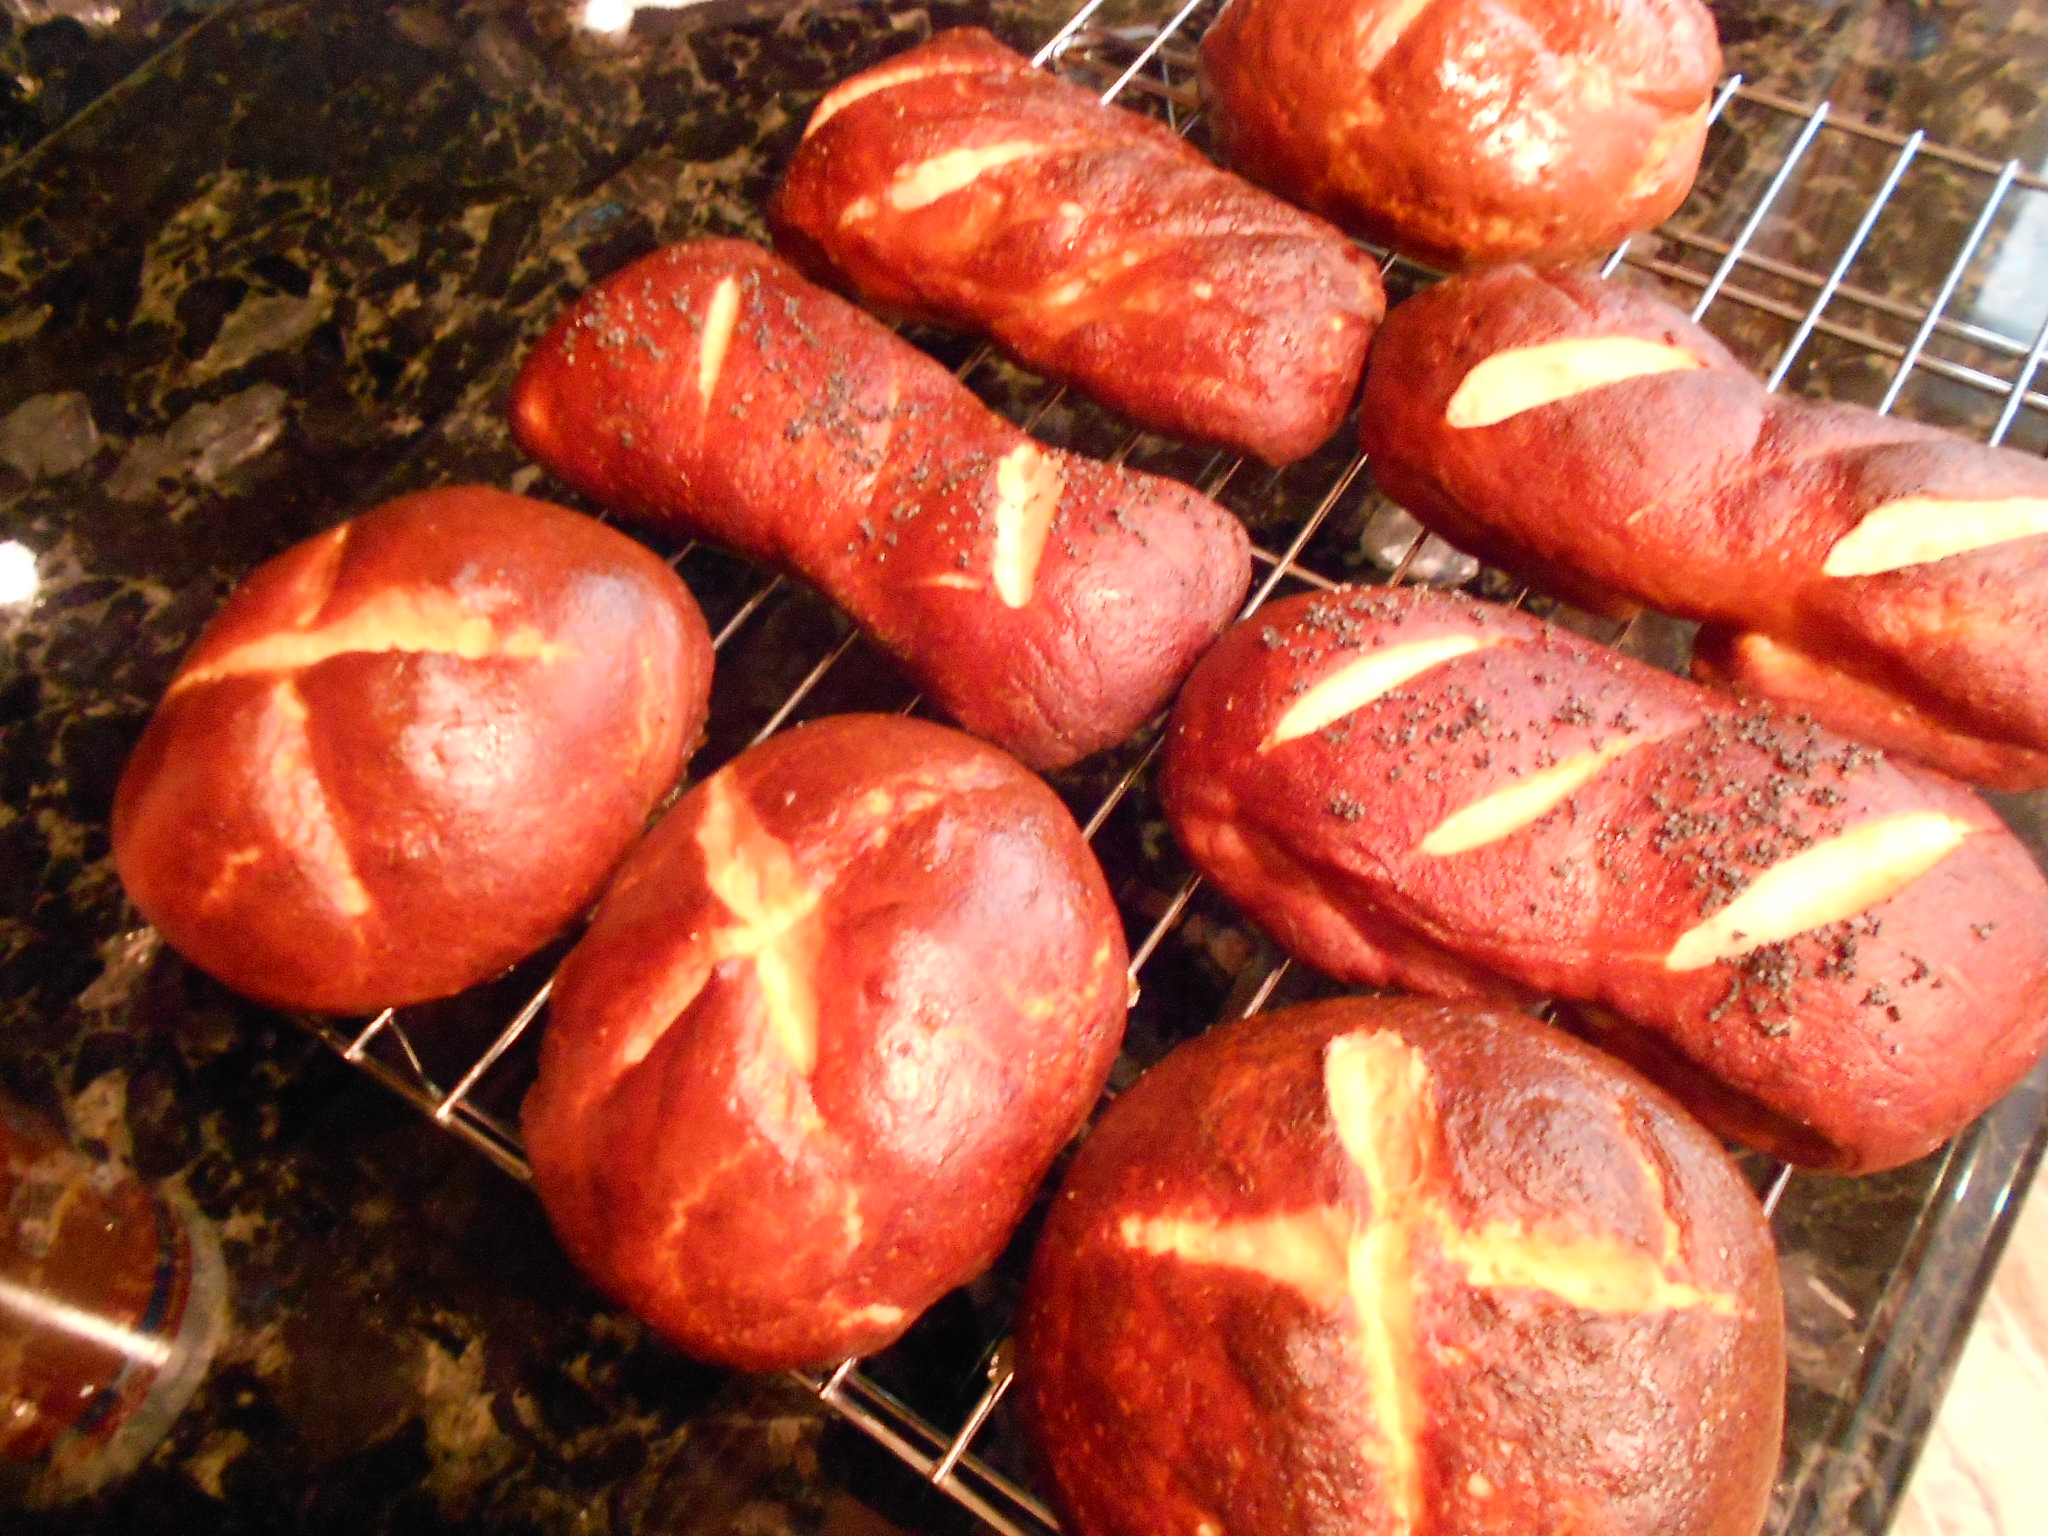
Give your bread(s) a brushing with the egg wash and then using a sharp knife, cut an "X" cross on top or slits, whichever you like. I do crosses on the round buns and slits on the longer ones to distinguish their use.  You may also sprinkle Poppy seeds if you wish to have some at this point.

DSCN3260

Pop them in the oven at the 400 degrees setting for about 10 minutes and then reduce to 375 degrees and bake until done. Okay, because buns, loaves, rolls, ect., vary on size, this is why I leave this part open regarding time. Mine took between 5 to 8 minutes on the 375 degrees setting and I take them out when they look as dark as you see pictured. Once you remove the bread, cool on a rack and try not to munch but I always give in to the smell and figure I test out the rolls to make sure they are good. Cool for about an hour or two and then you can freeze them like I described above.

DSCN3153

These guys are good as-is, for sandwiches and you can even make your own pretzel crisps, which I have used for even accompanying hummus and spreads. To make the crisps, you just slice a cool loaf and then toast them and allow them to cool. Best dipping bread EVER!!!!  Enjoy!

DSCN3264DSCN3155

Monday, September 16, 2013

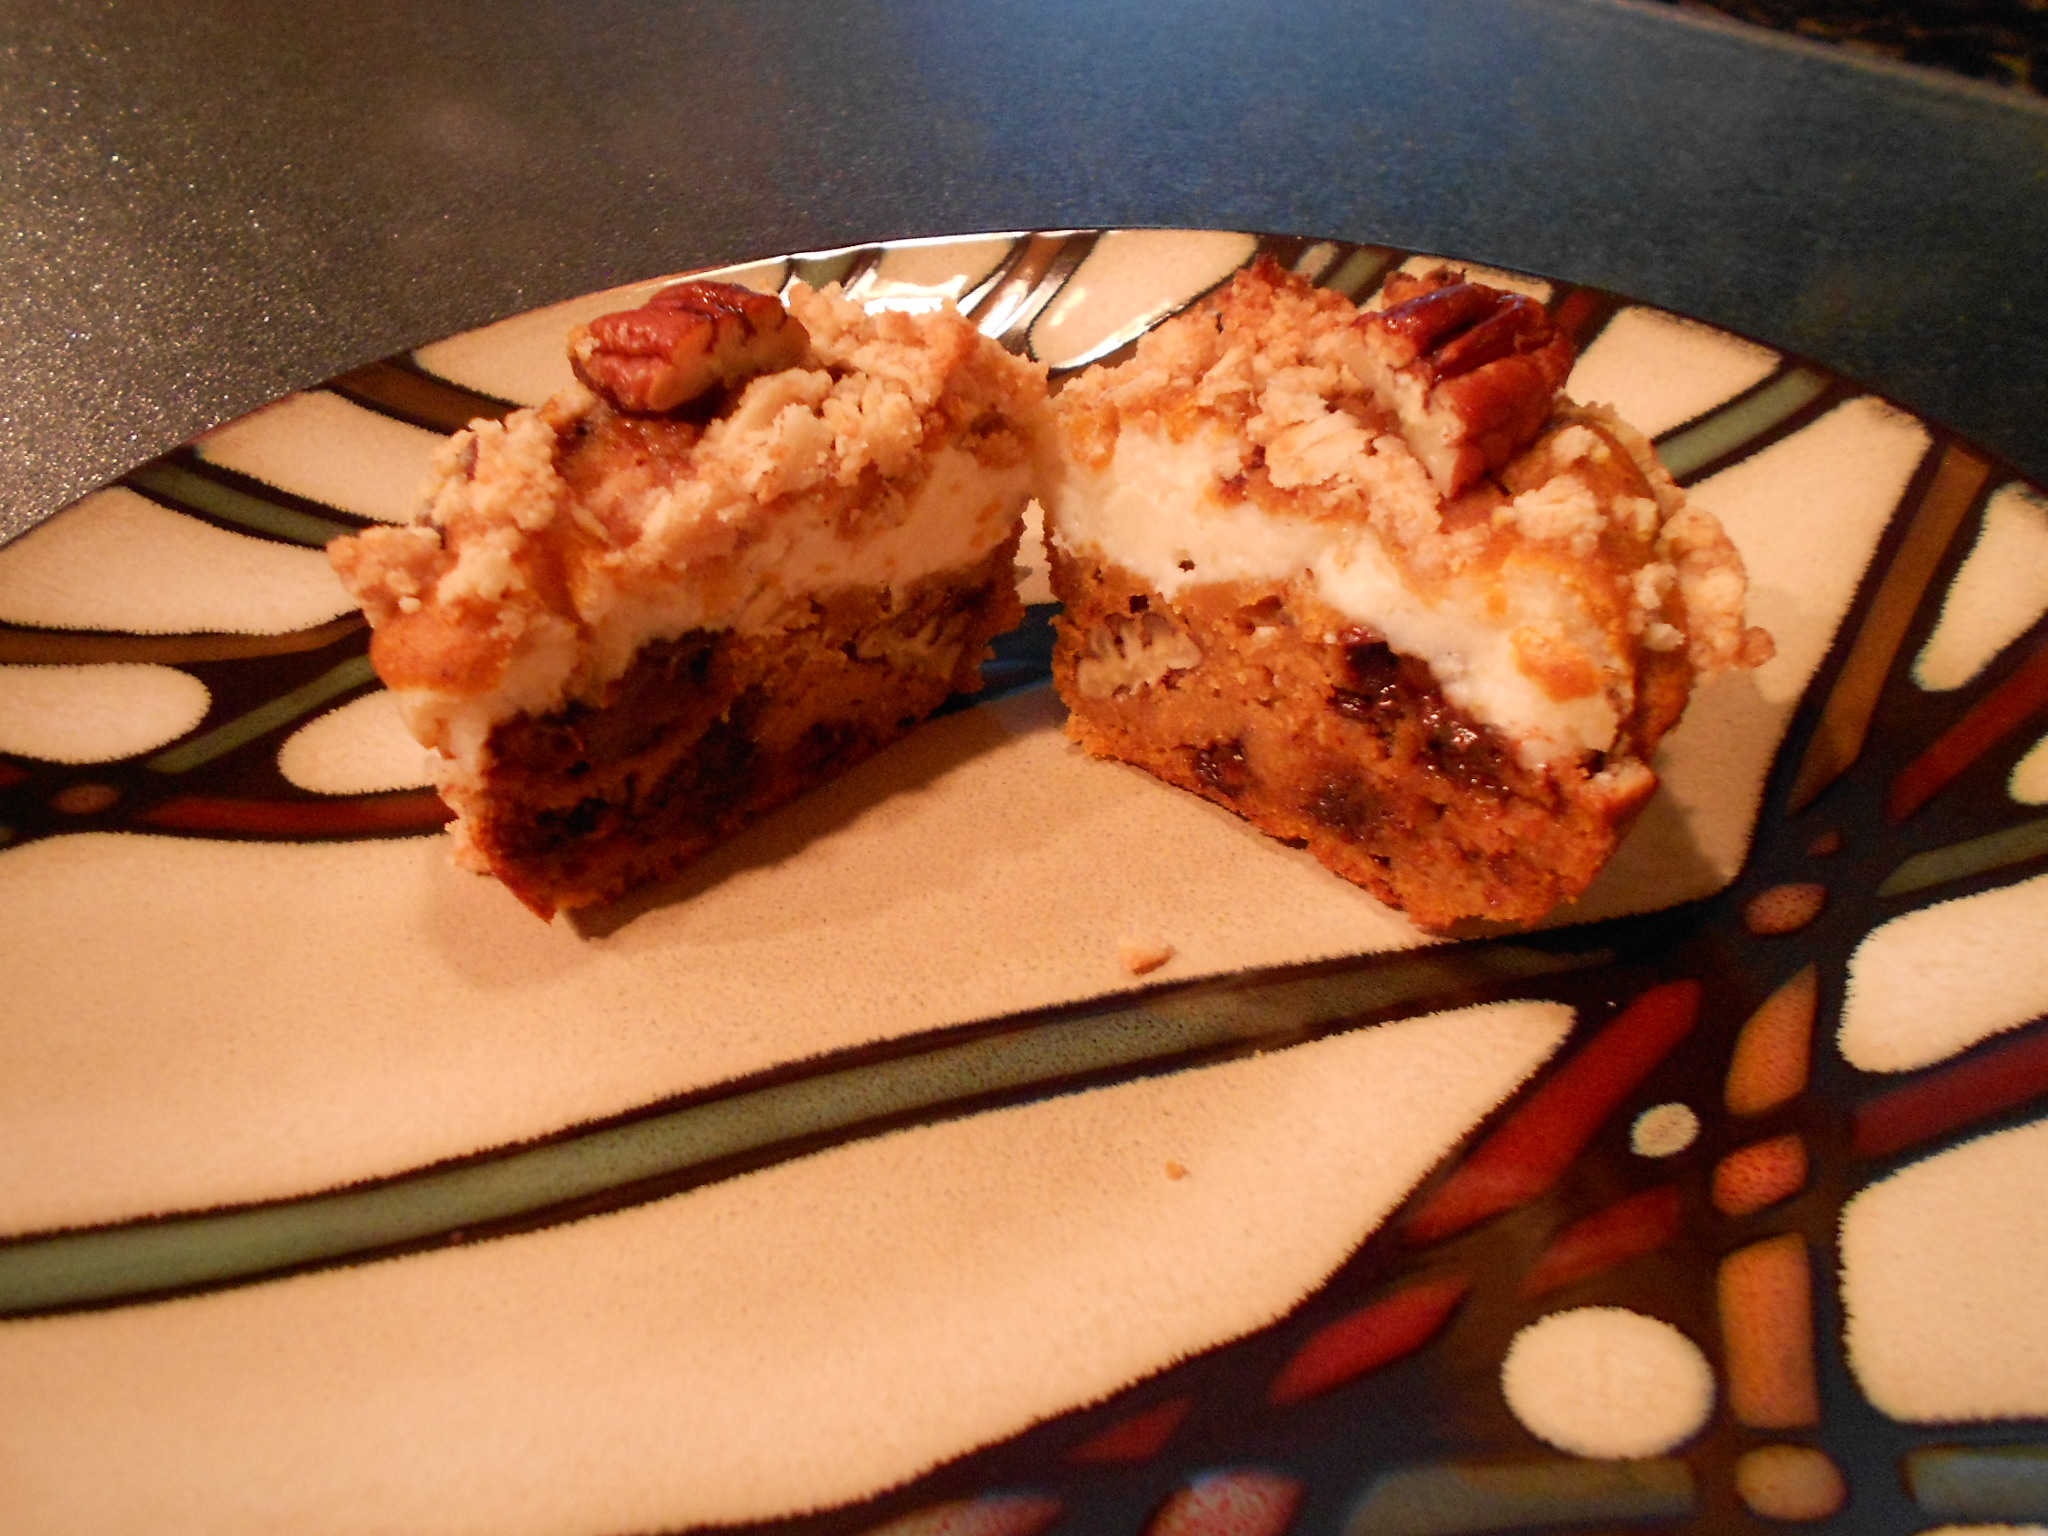
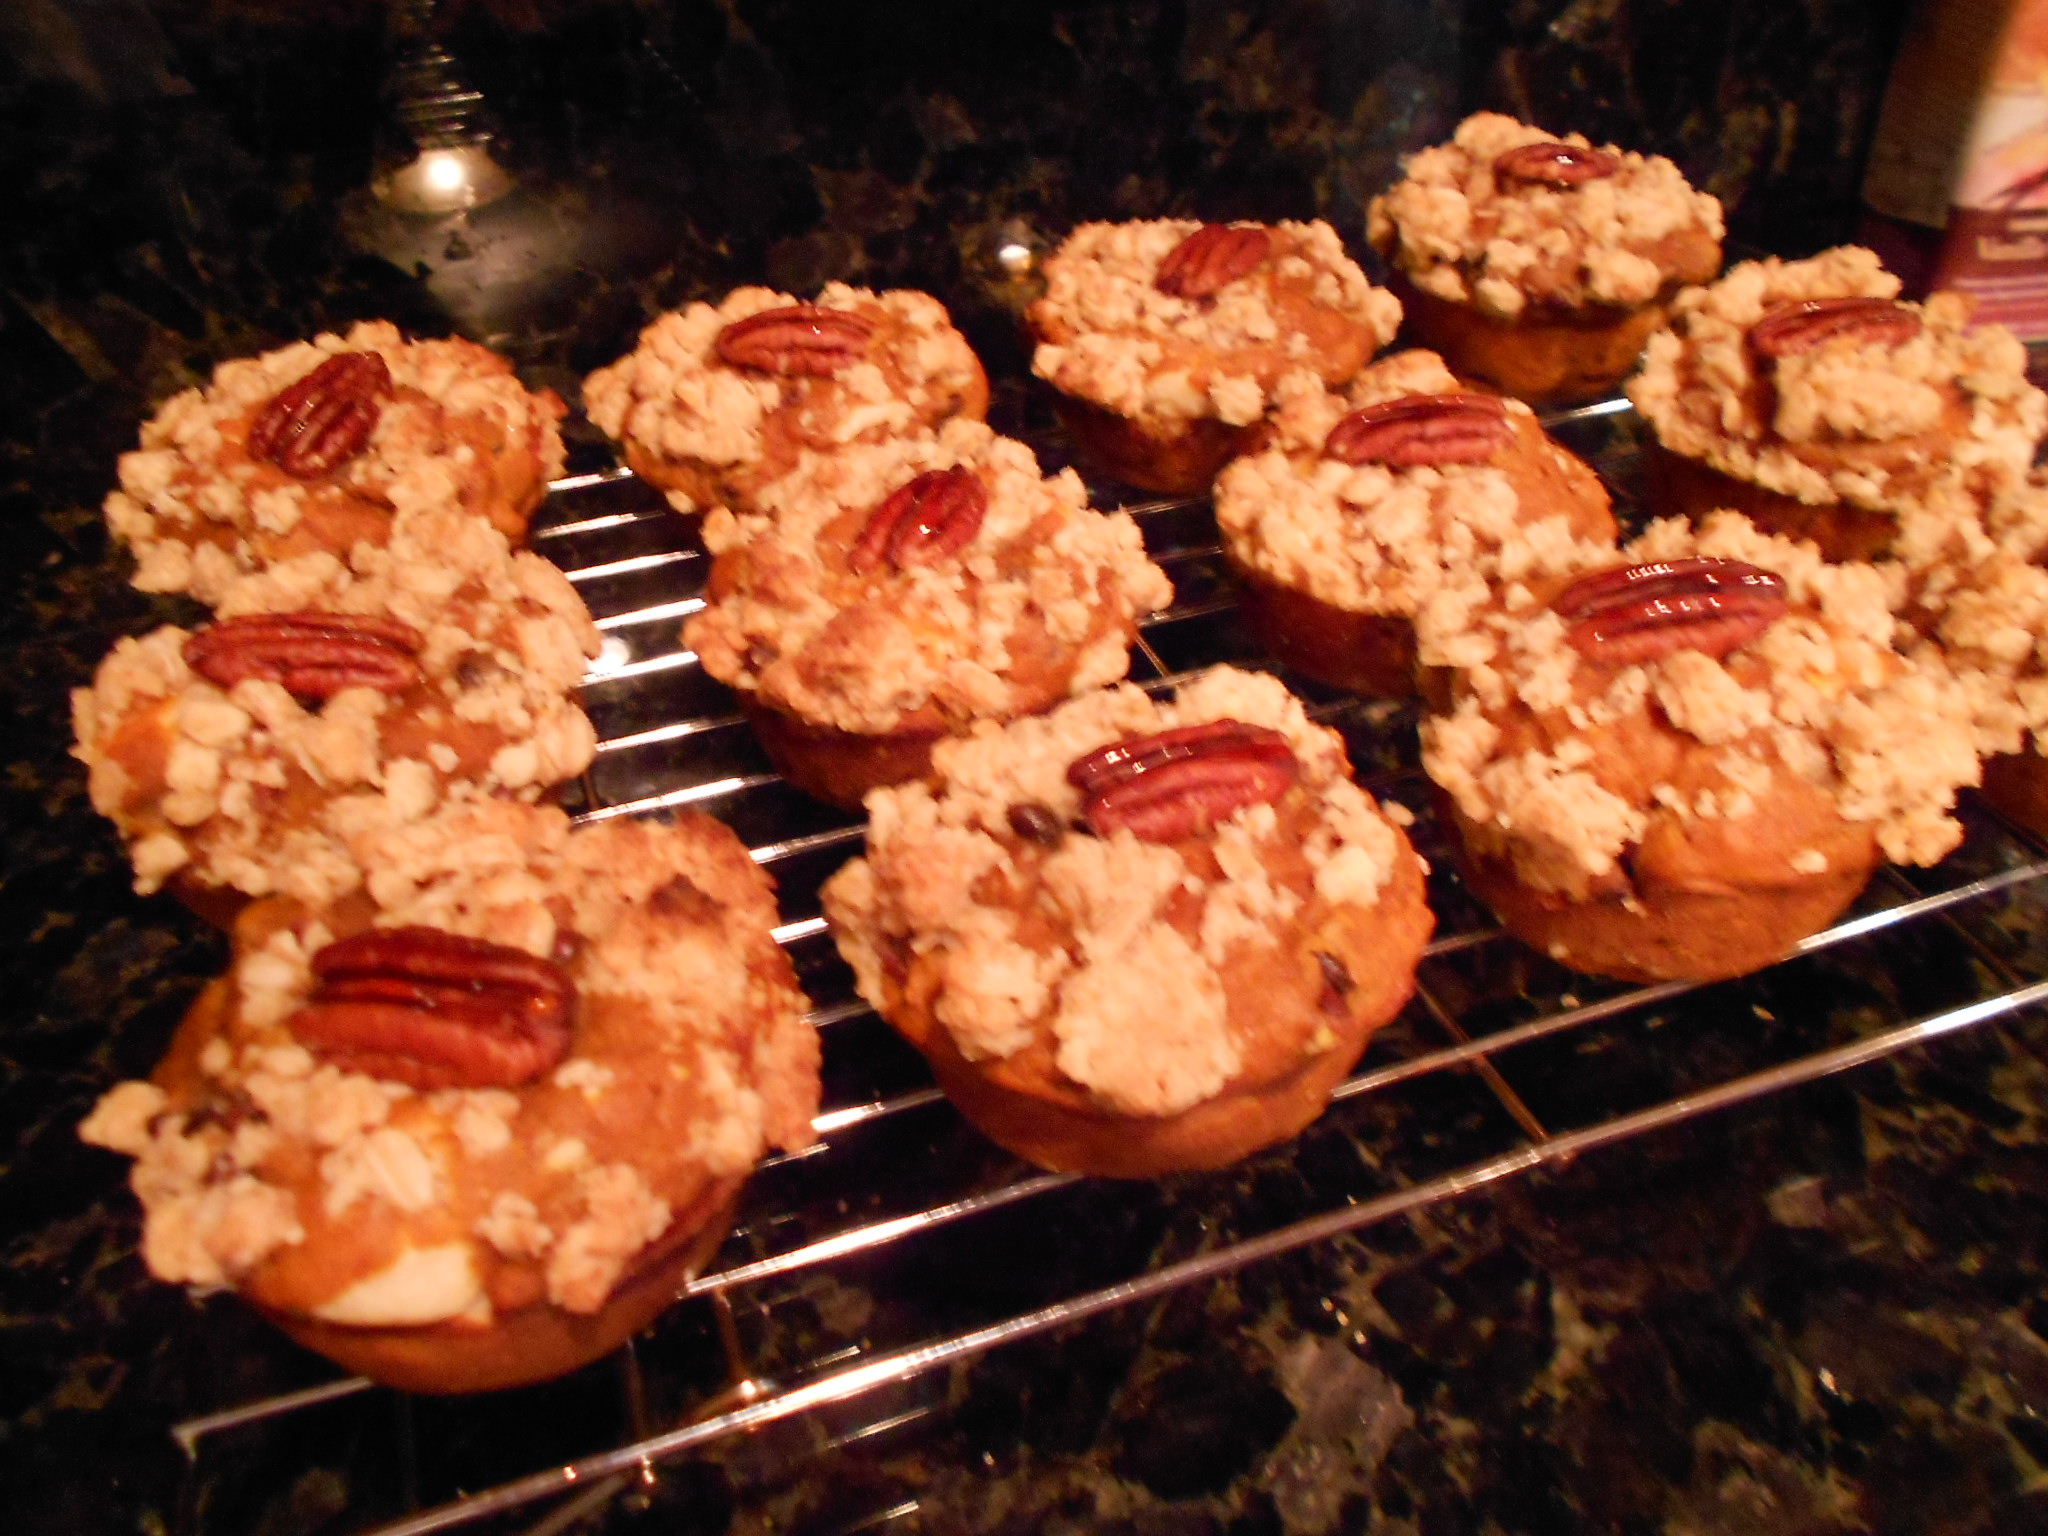
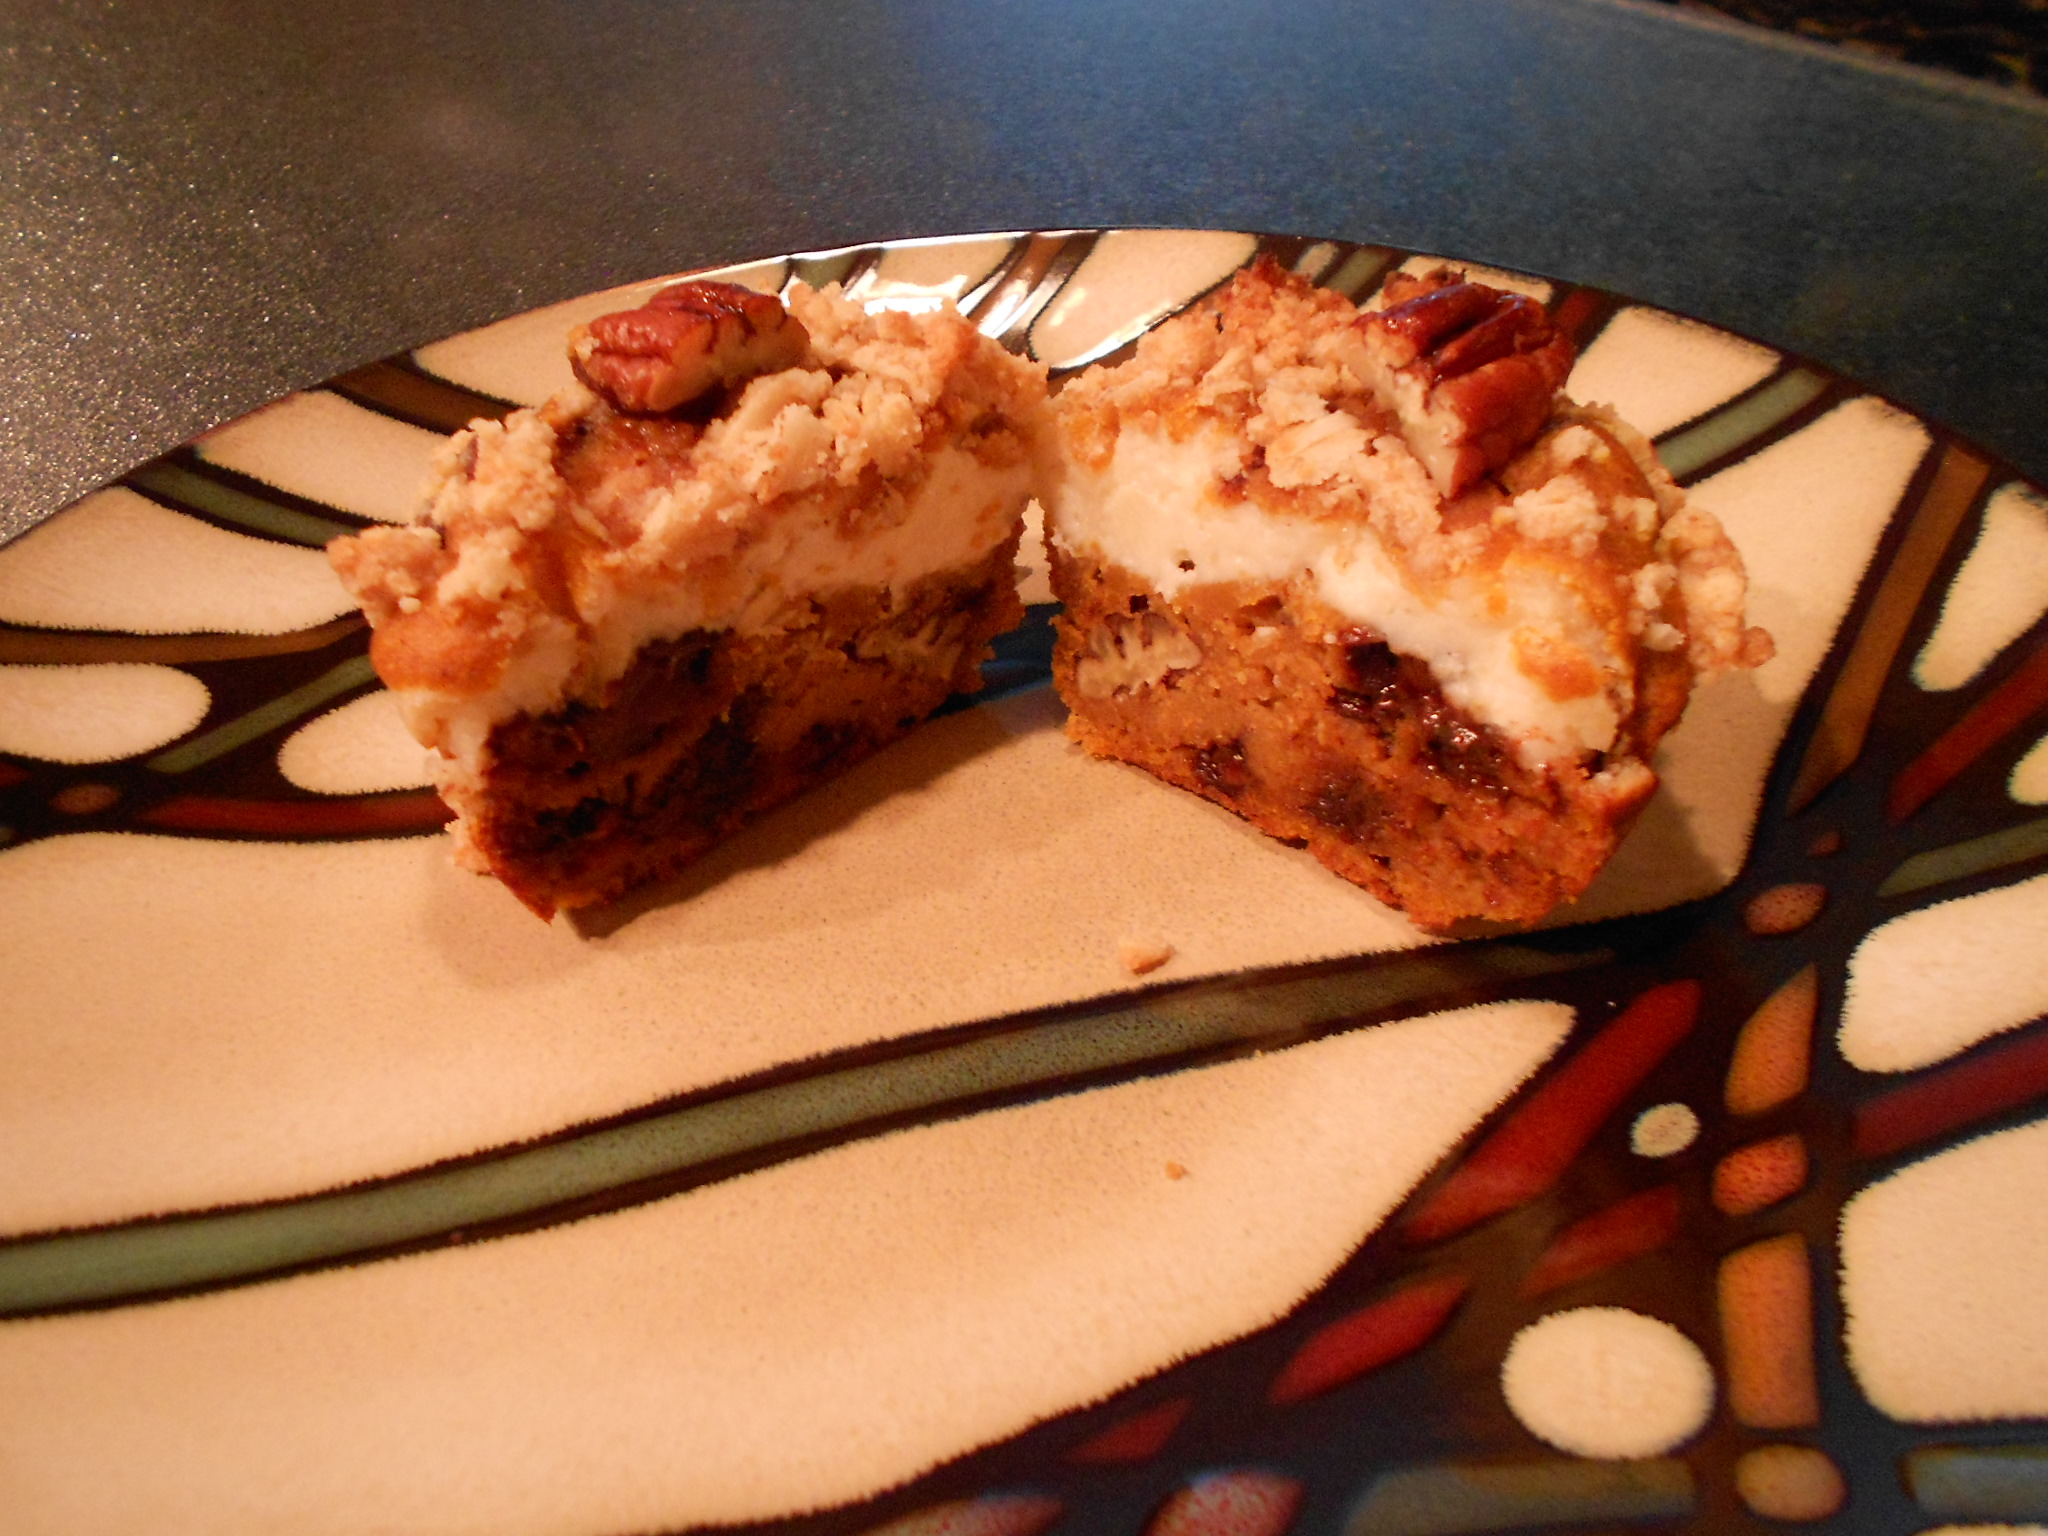
Pumpkin Maple Pecan Muffins with a Cream Cheese filling & Crumble Topping

DSCN3516

Fall is nearing even though the weather says, "No", but the trees say, "Yes". I wanted a recipe that is not too committed to the Fall flavors but I can adjust as the season changes. I find such adjustment can be made with the spice so I go a little lighter on the Pumpkin Pie spice when the weather is warmer. I hope you enjoy this simple recipe that is my way to start getting in that Autumn mood.

Batter:
15 ounce can of Pumpkin Puree (not the pie mix)
1/2 cup of Brown Sugar
2 Large Eggs
1 tablespoon of Unsalted Butter (melted)
2 tablespoons of Vegetable Oil
1/4 of Maple Syrup
1/2 tablespoon of Vanilla Extract
1/2 teaspoon of Salt
1 1/4 to 1 1/2 teaspoons of Pumpkin Pie Spice (go with how you desire the spice to be)
1 teaspoon of Baking Powder
1/2 teaspoon of Baking Soda
1/3 cup of Milk (you can also use Almond Milk, Yogurt, Coconut Milk or a mix like I did. I used whole Milk and Almond milk to make 1/3 of a cup)
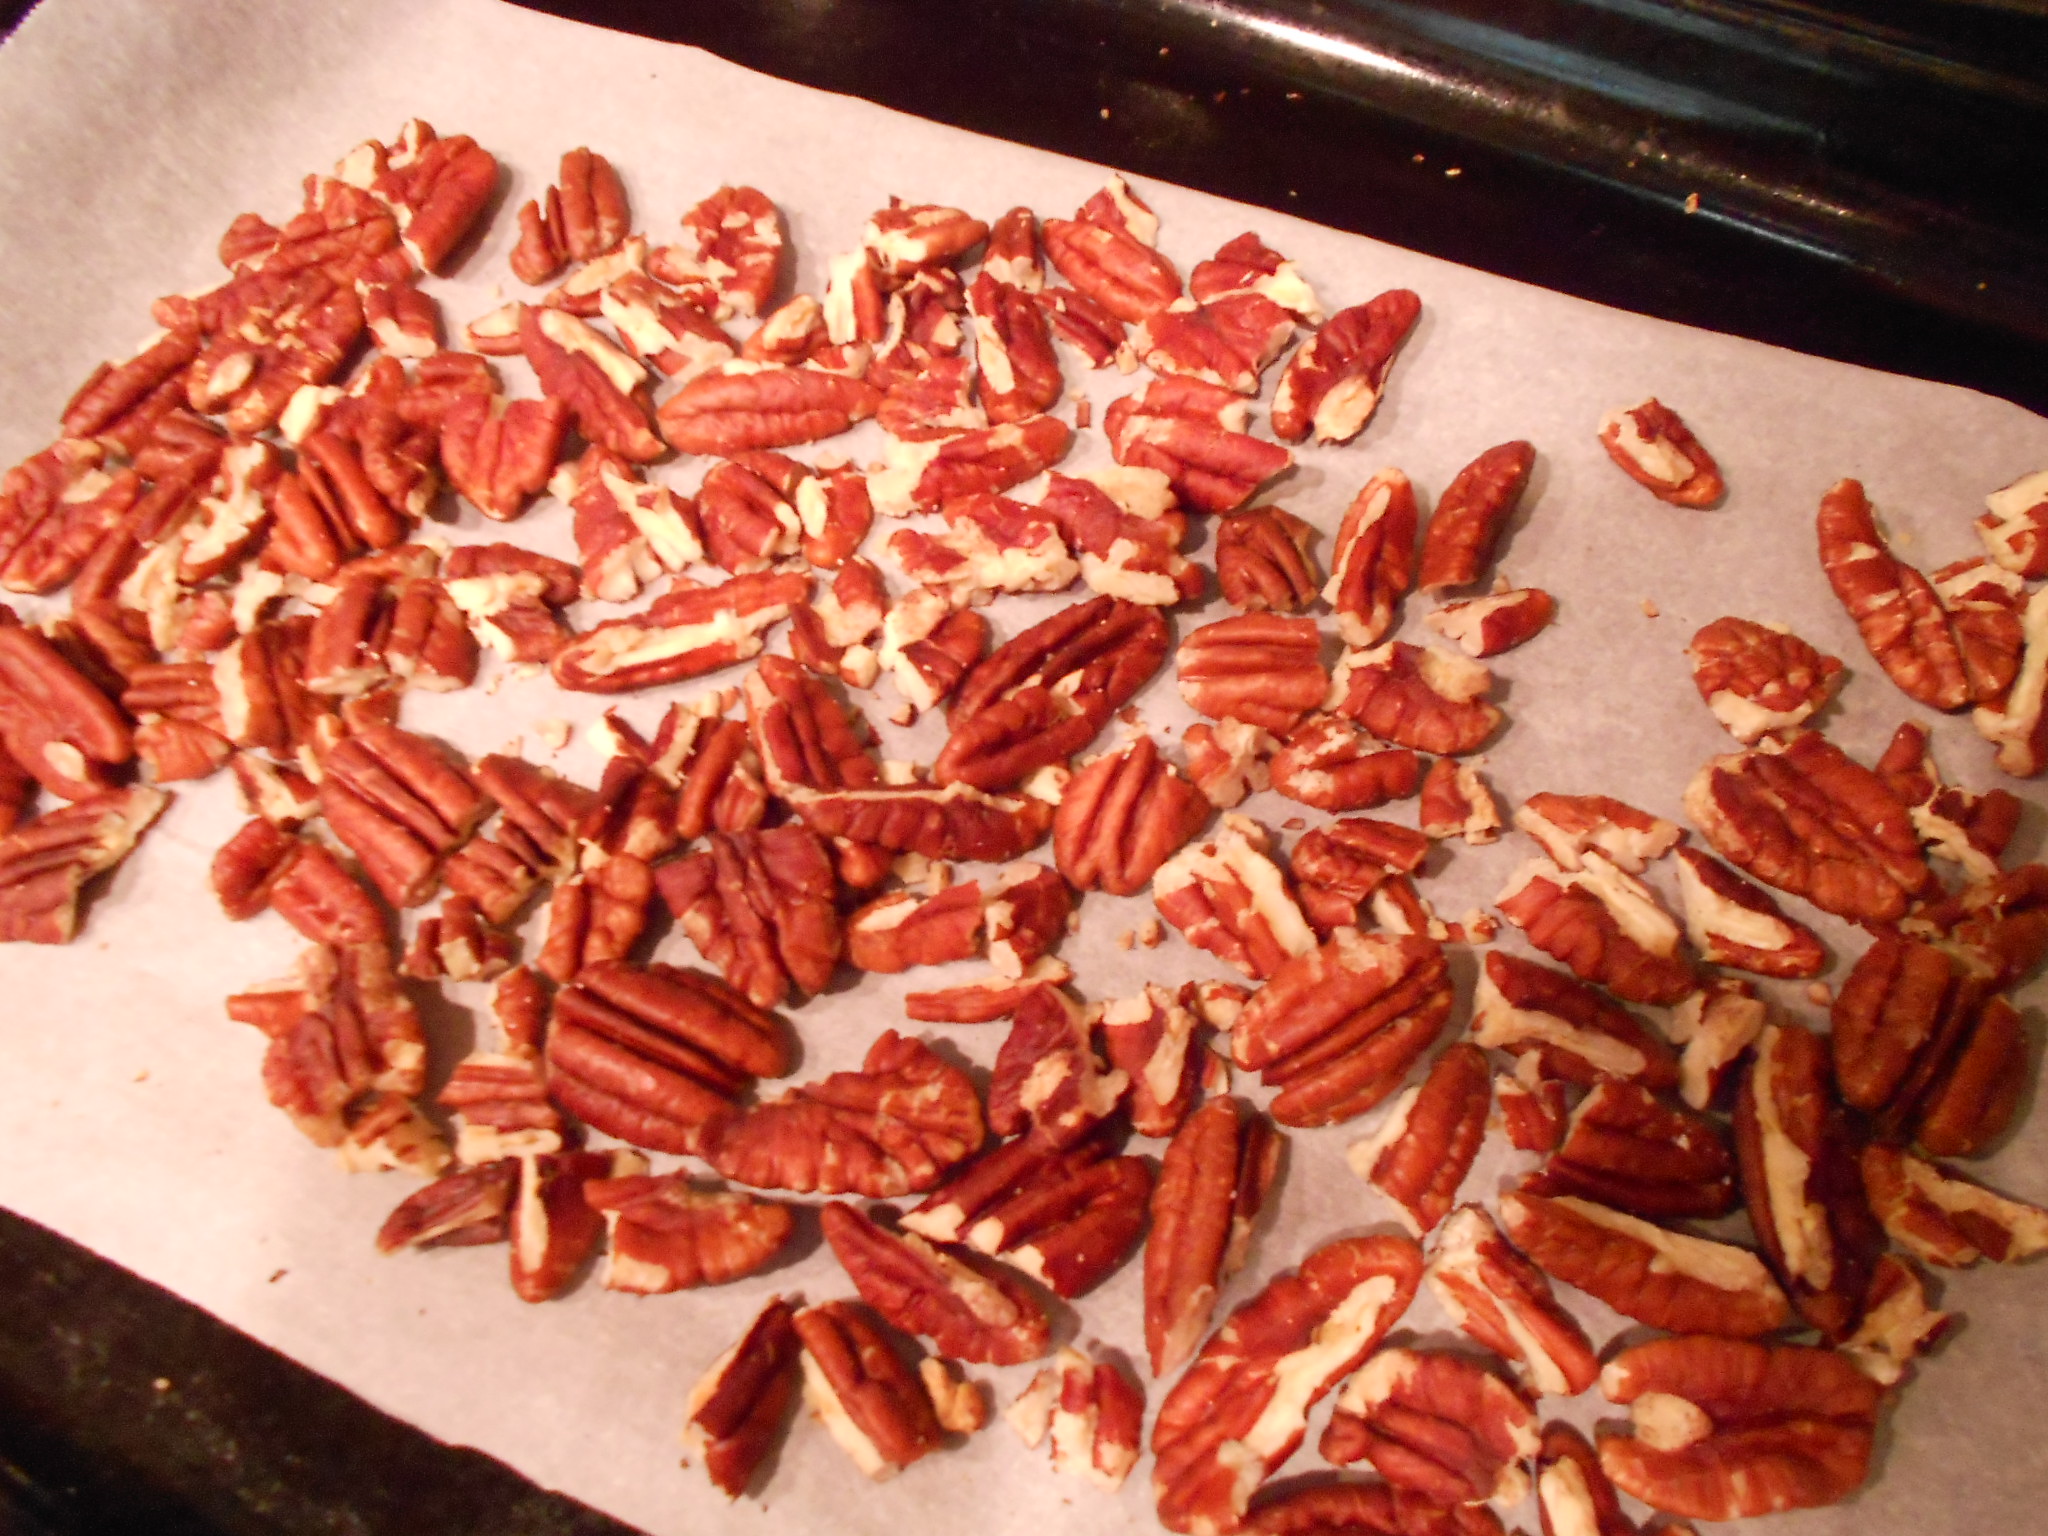
1/2 cup toasted Pecan pieces or halves
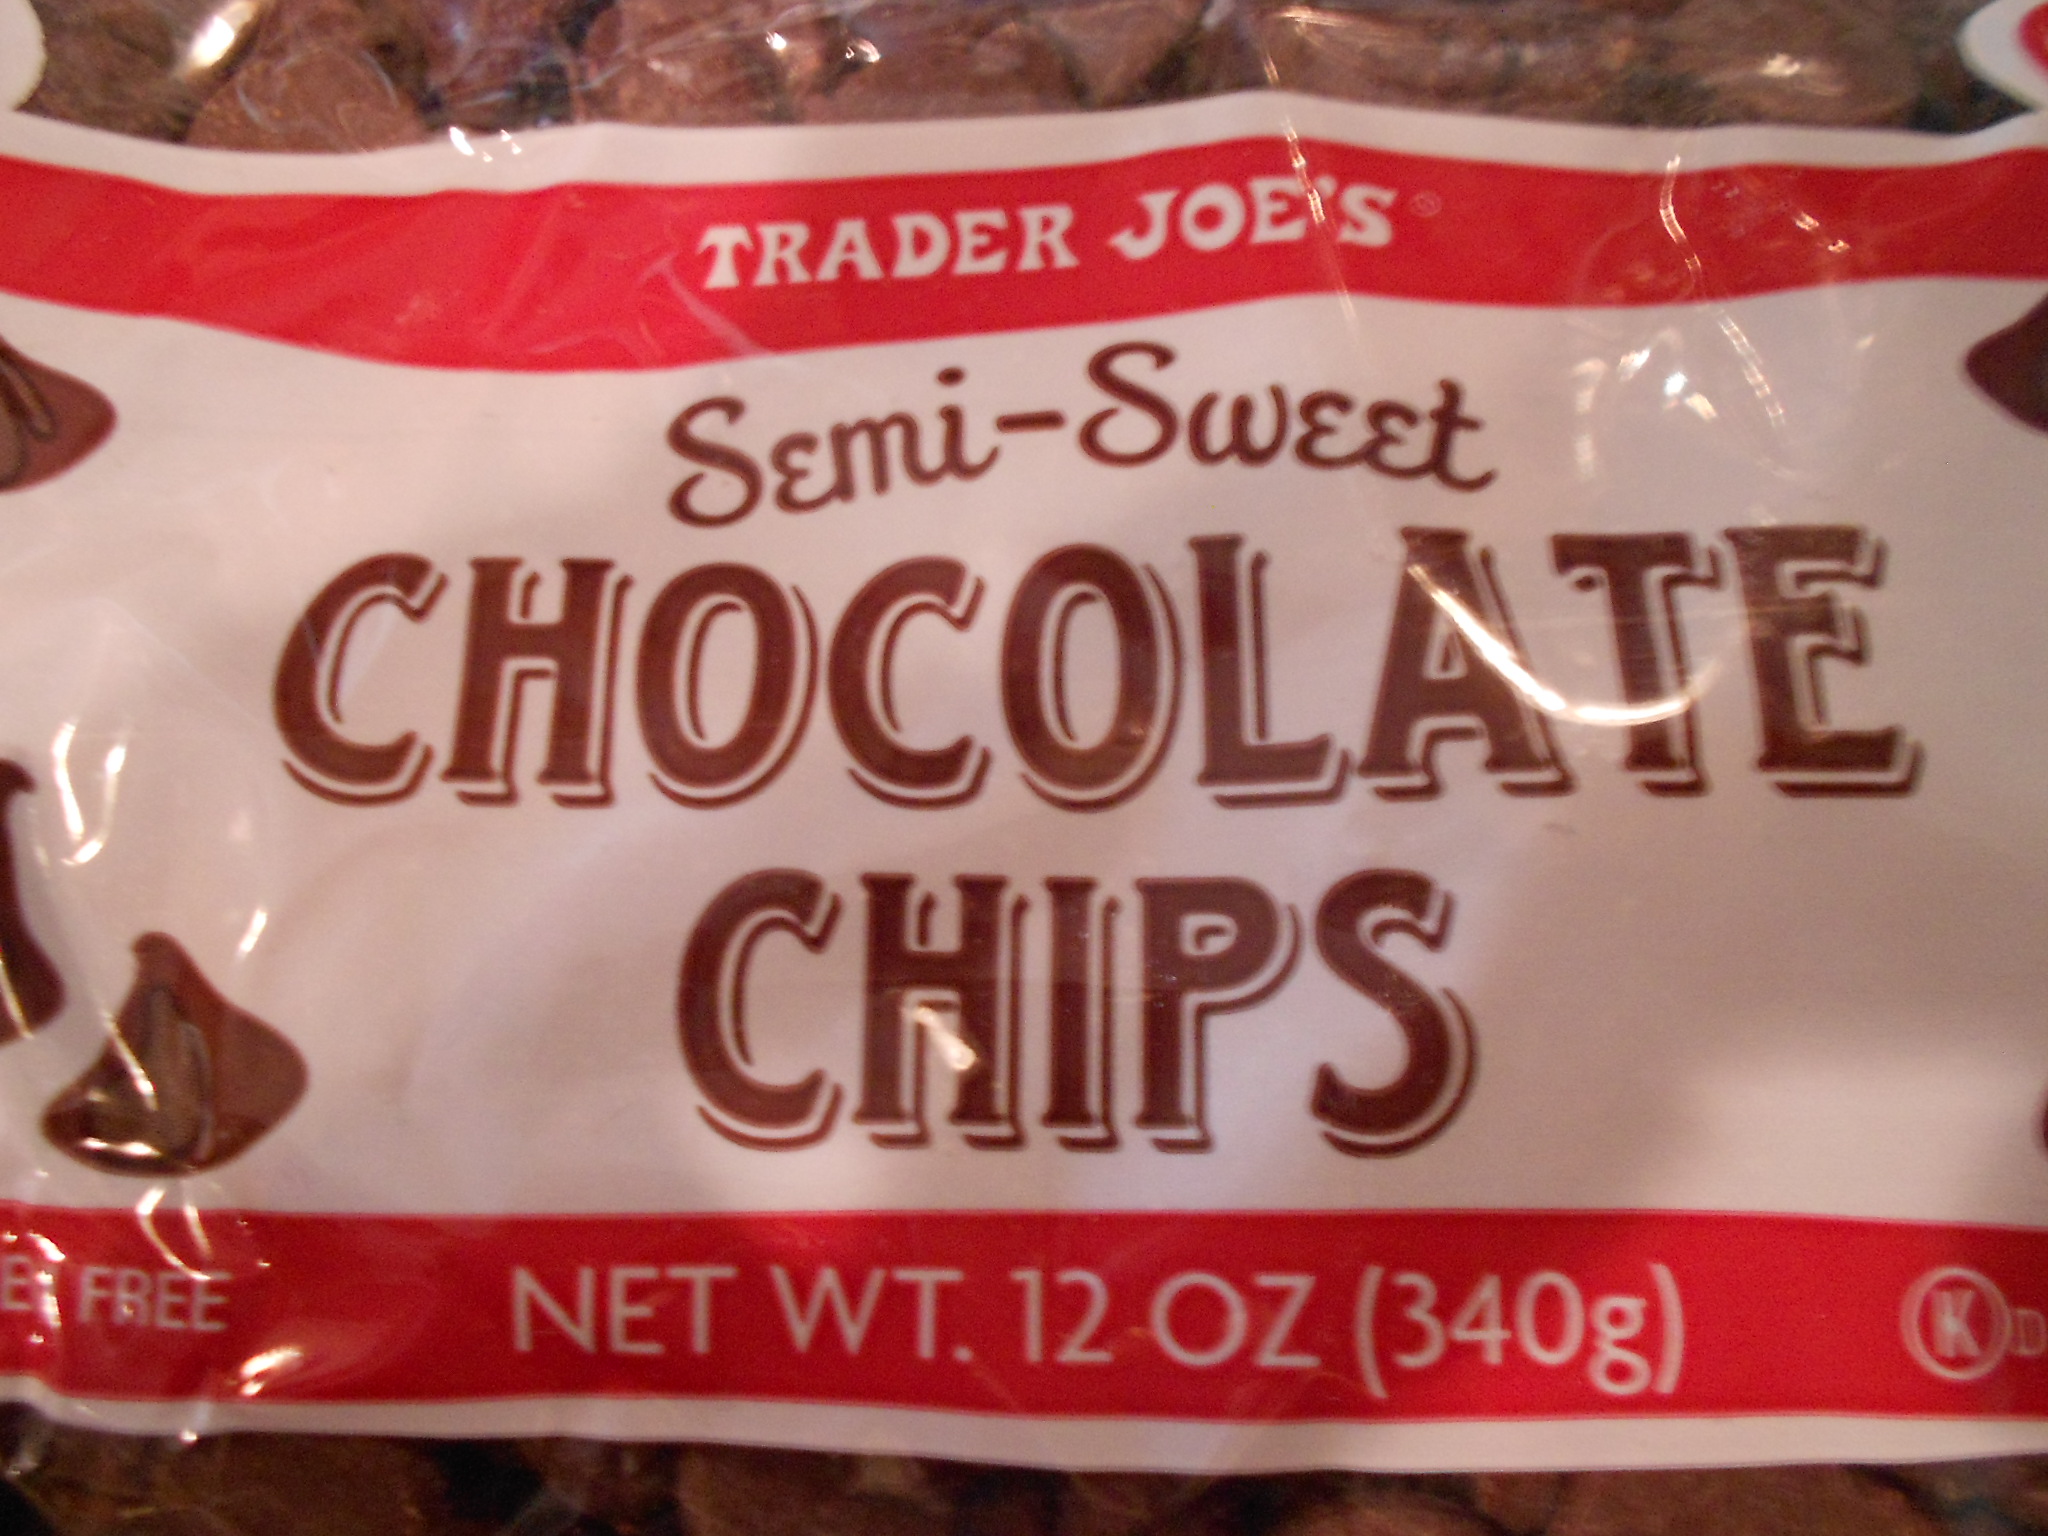
3/4 cup of Semi-Sweet Chocolate Chips (I used a mix of mini and
normal size)
1 3/4 cup of All-Purpose Flour

Cream Cheese Filling:
8 ounce package of Cream Cheese (softened)
1 teaspoon of Vanilla Extract
1 tablespoon of All-Purpose Flour
1/4 cup of Sugar

Crumble top:
1/4 cup Brown Sugar
1/2 cup All-Purpose Flour
1/4 of Old-Fashioned Oats
4 Tablespoons of Salted Butter (melted)

1 Muffin pan that yields 12 muffins/cupcakes

Optional:
12 Pecan Halves (not toasted)
1 tablespoon of Maple Syrup

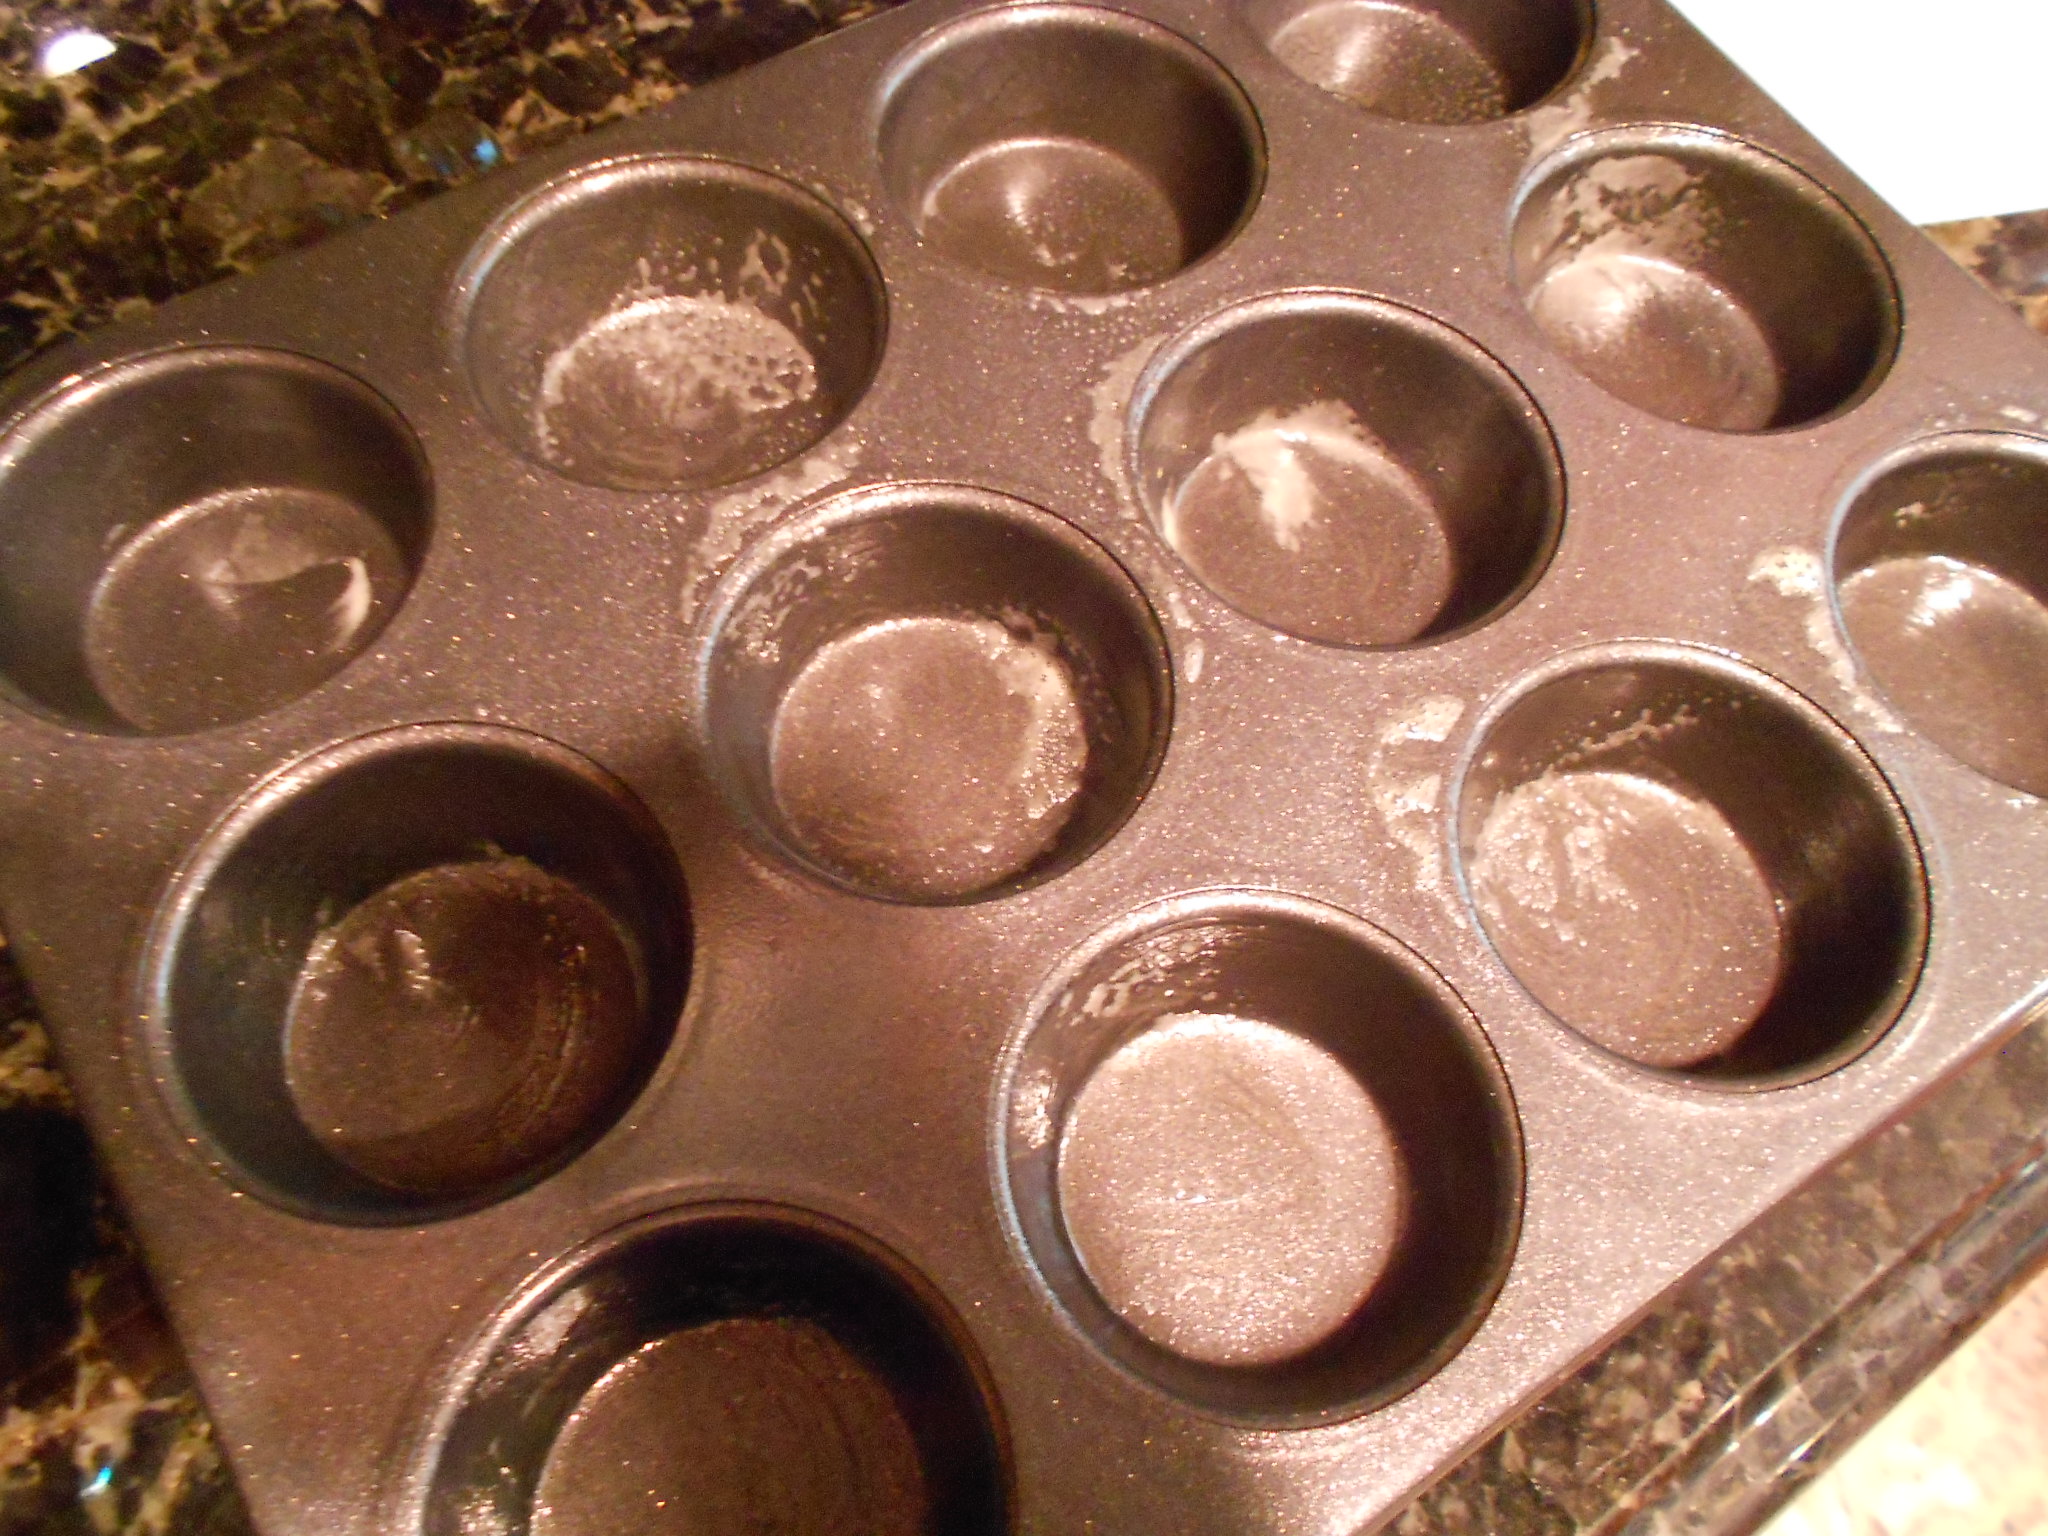
I preheat my oven to 400 degrees and spray my muffin pan with nonstick cooking spray. I use the Pam with Flour to yield the best results.

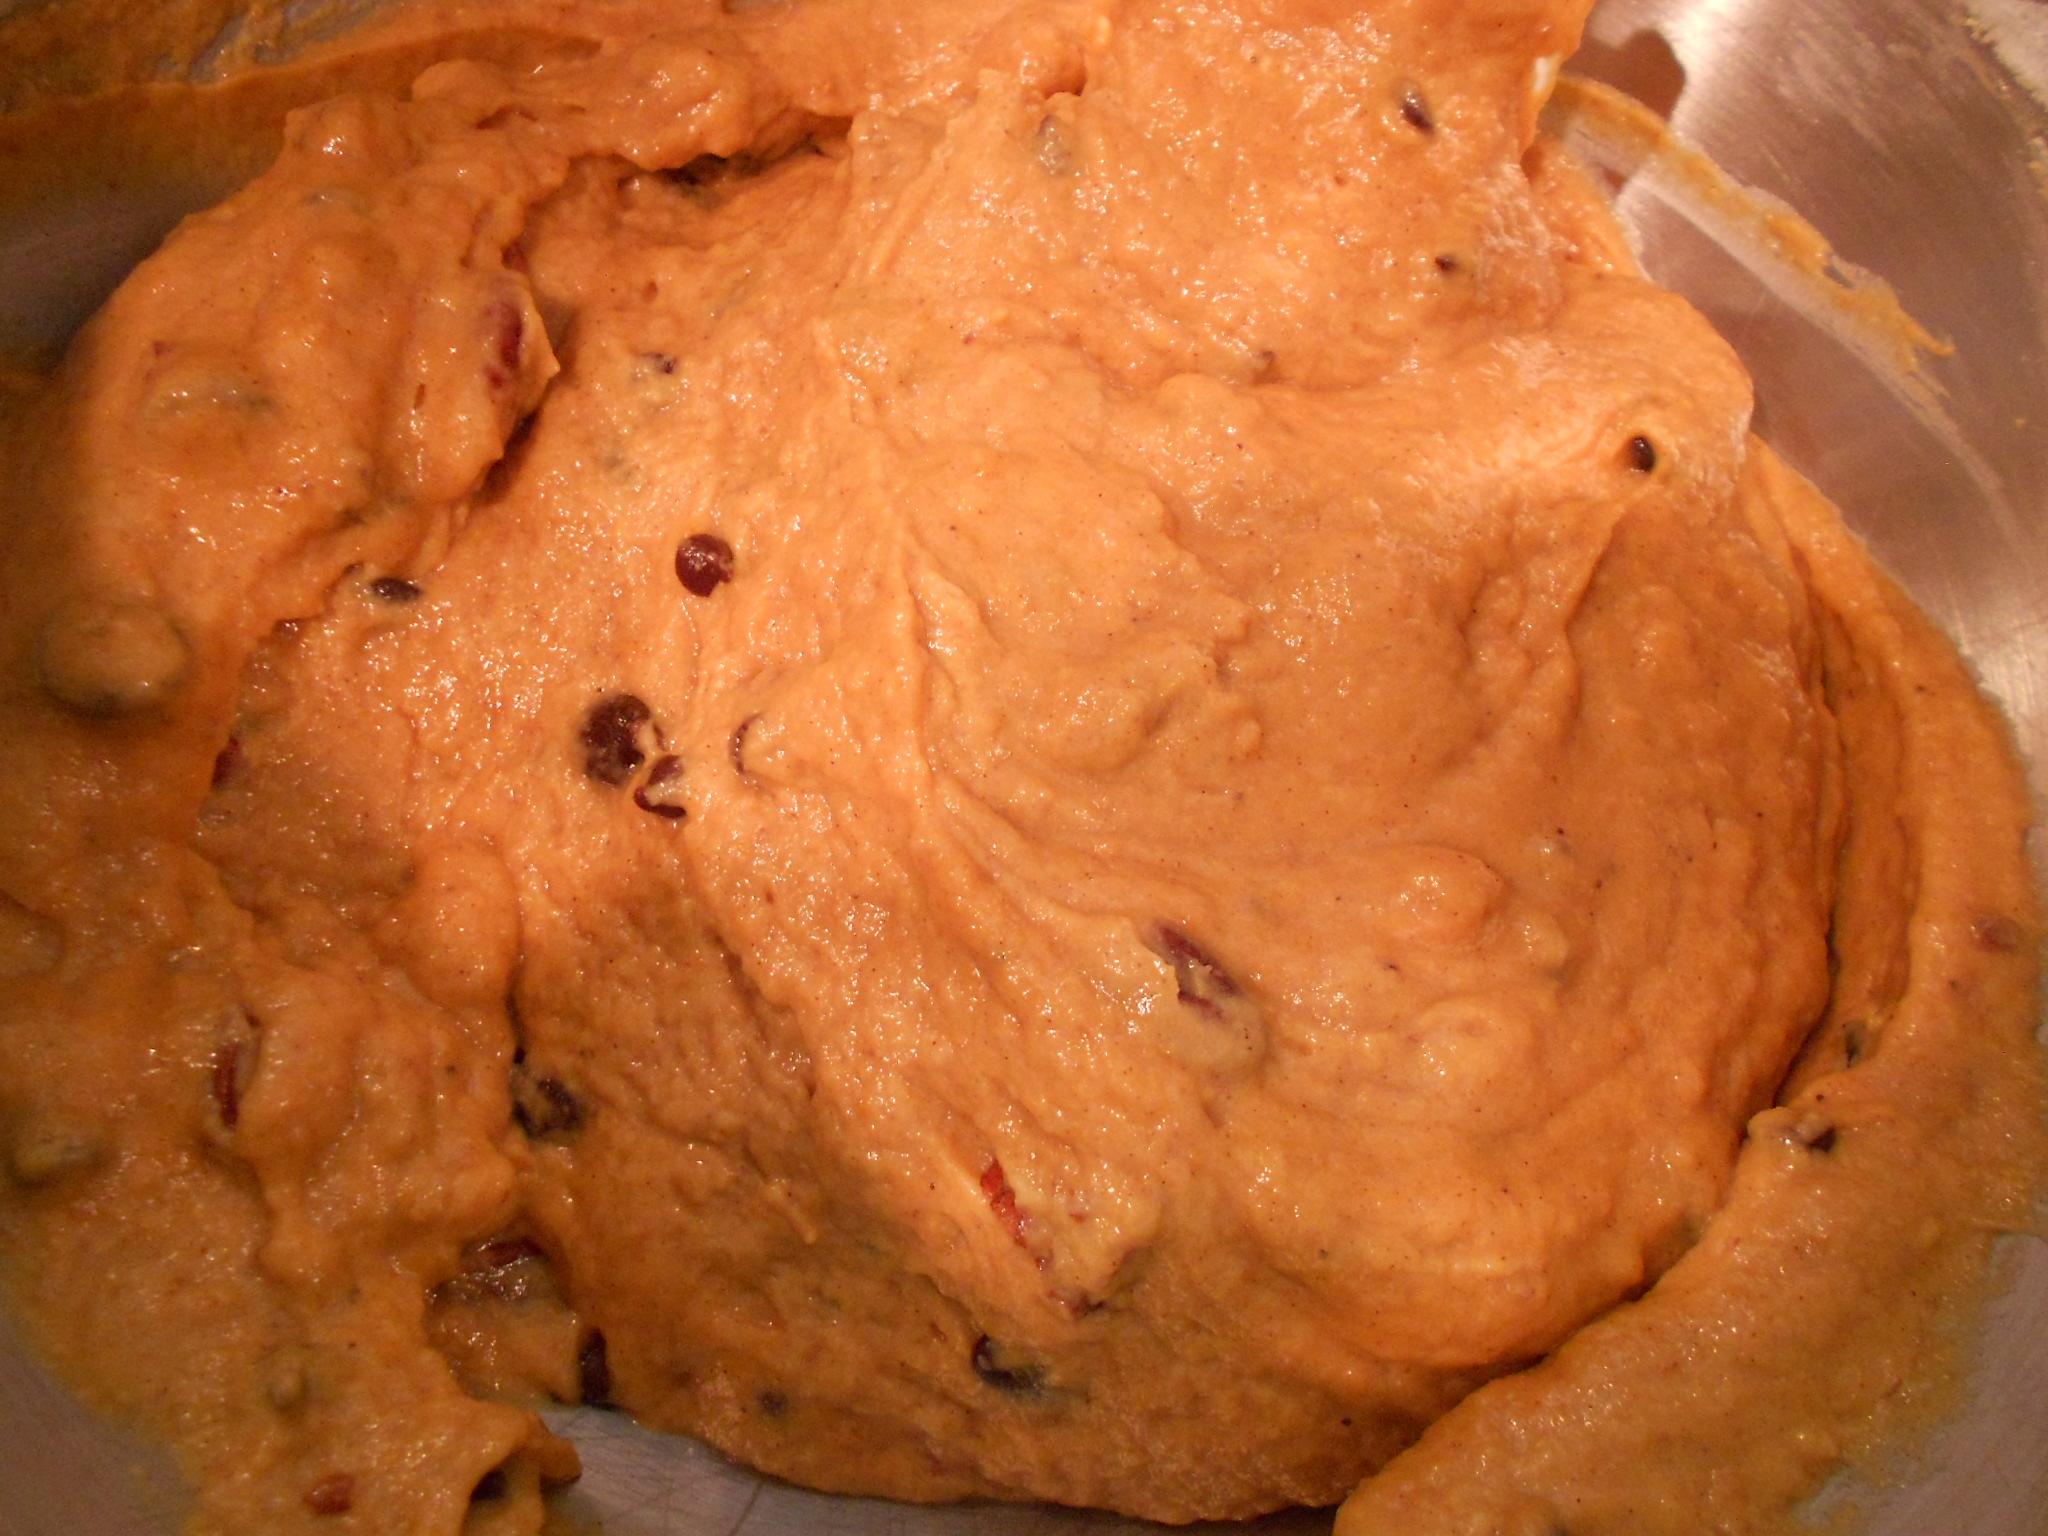
I start by mixing all my wet ingredients in a bowl. I then drop the ingredients in my mixer's bowl and incorporate for 20 to 30 seconds.

DSCN3488

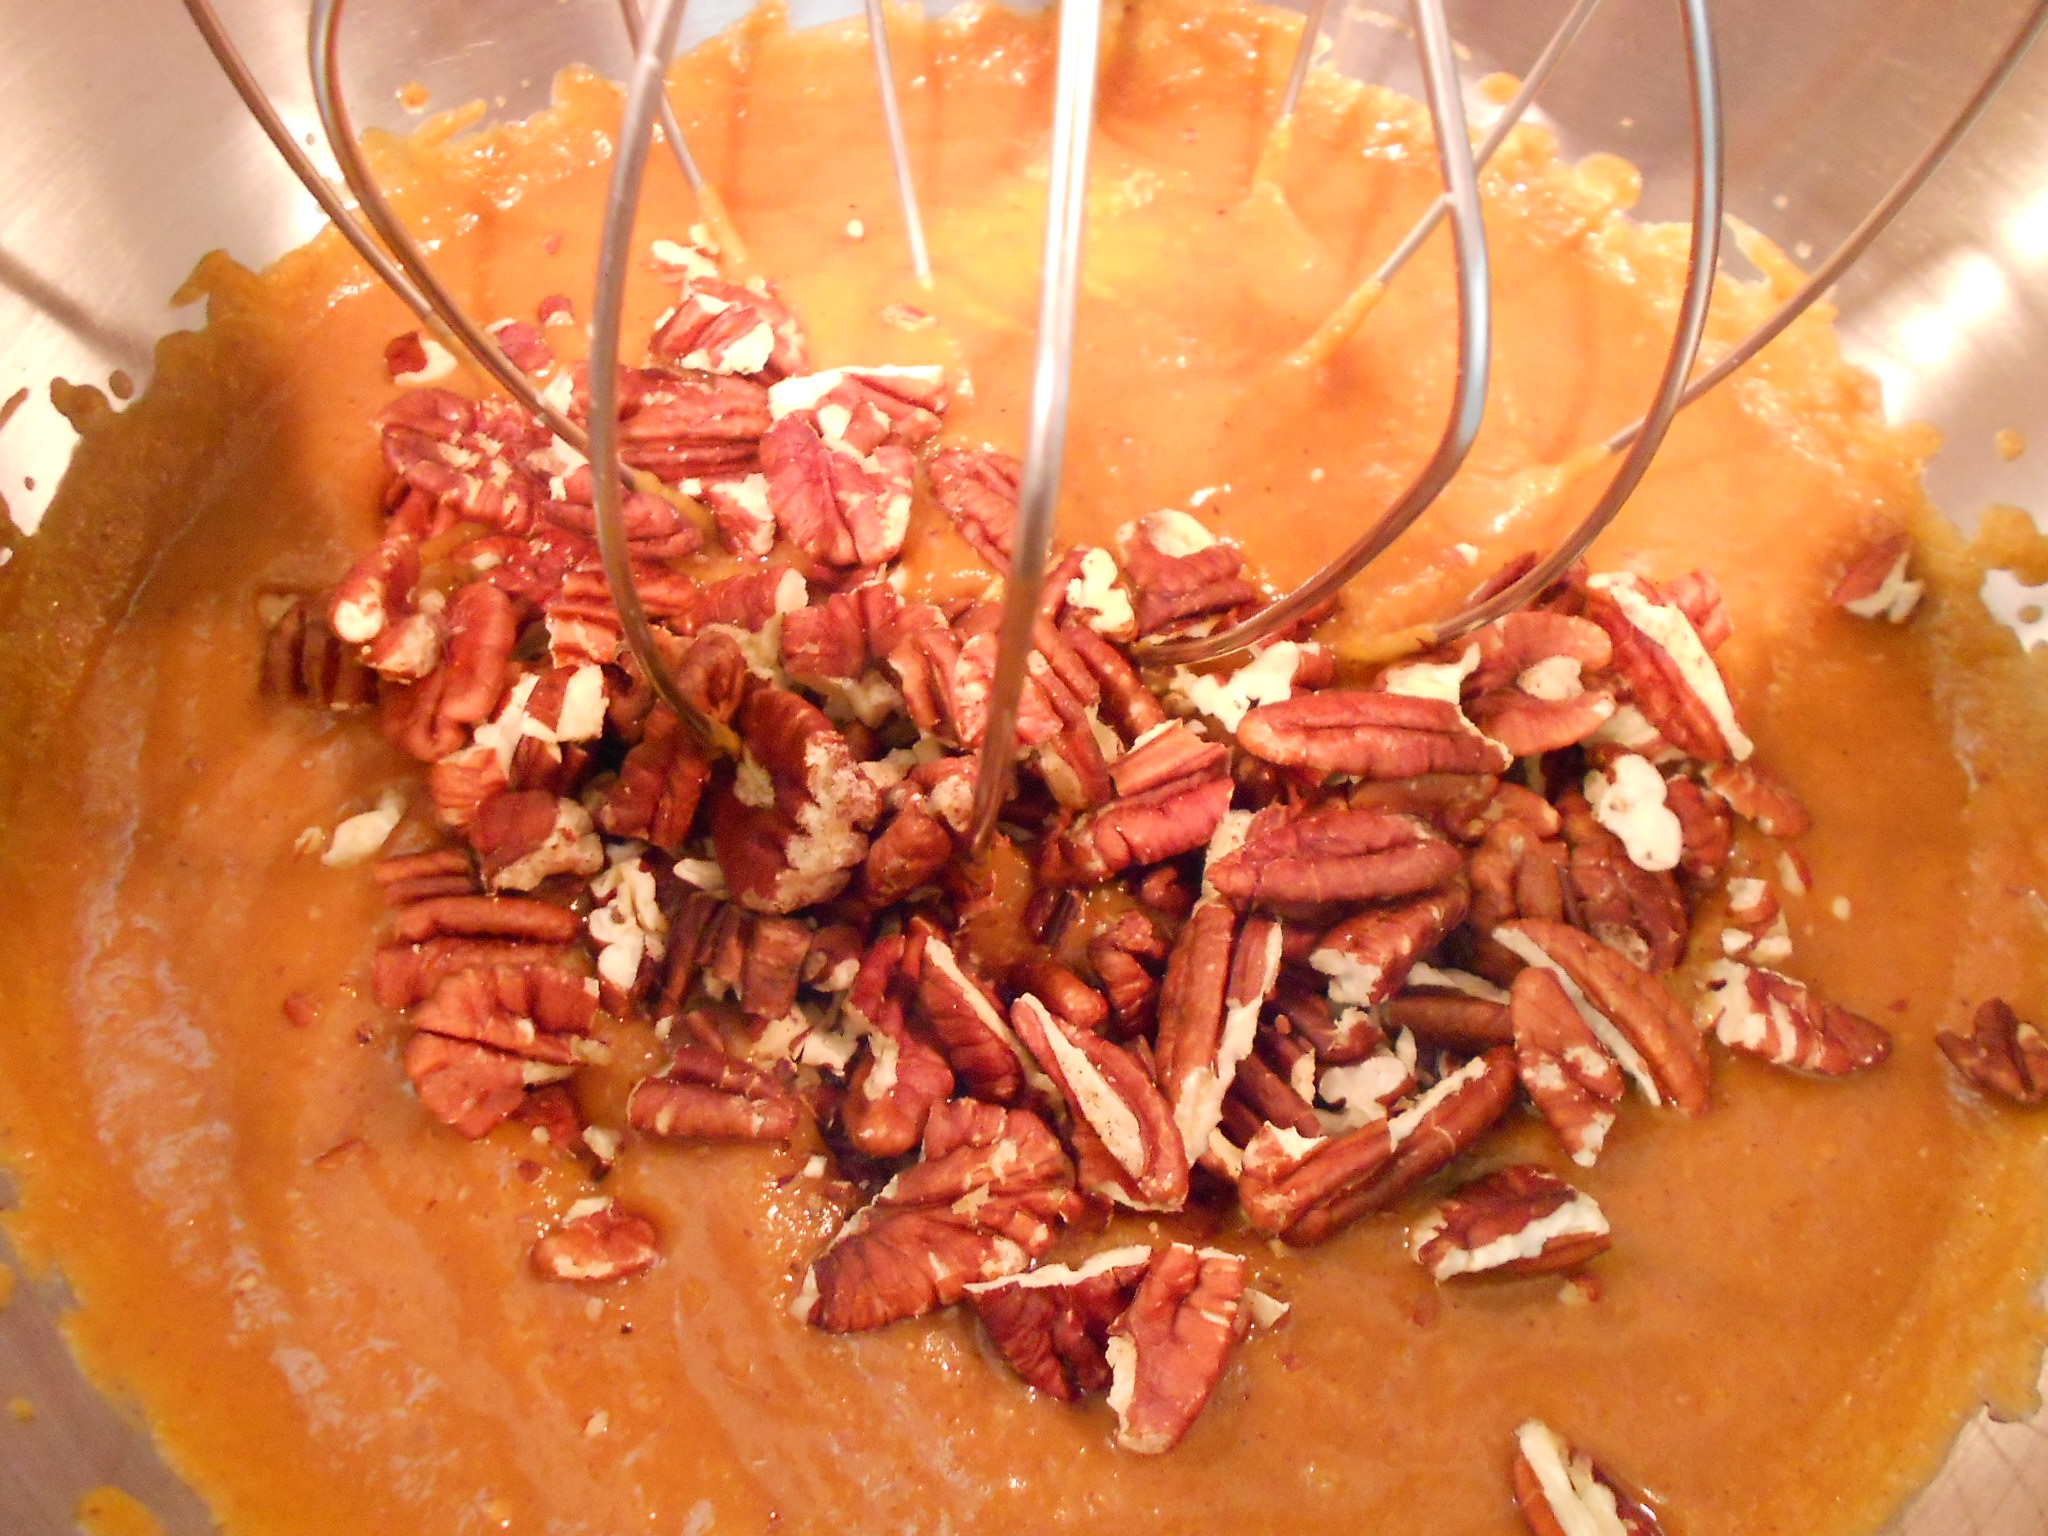
I then add the toasted Pecans and Chocolate chips.

DSCN3490 DSCN3491 DSCN3493 DSCN3494

In another bowl, I mix the flour and baking soda and baking powder. On low, I begin to incorporate the dry ingredients with the wet mixture until everything is just mixed.

DSCN3495

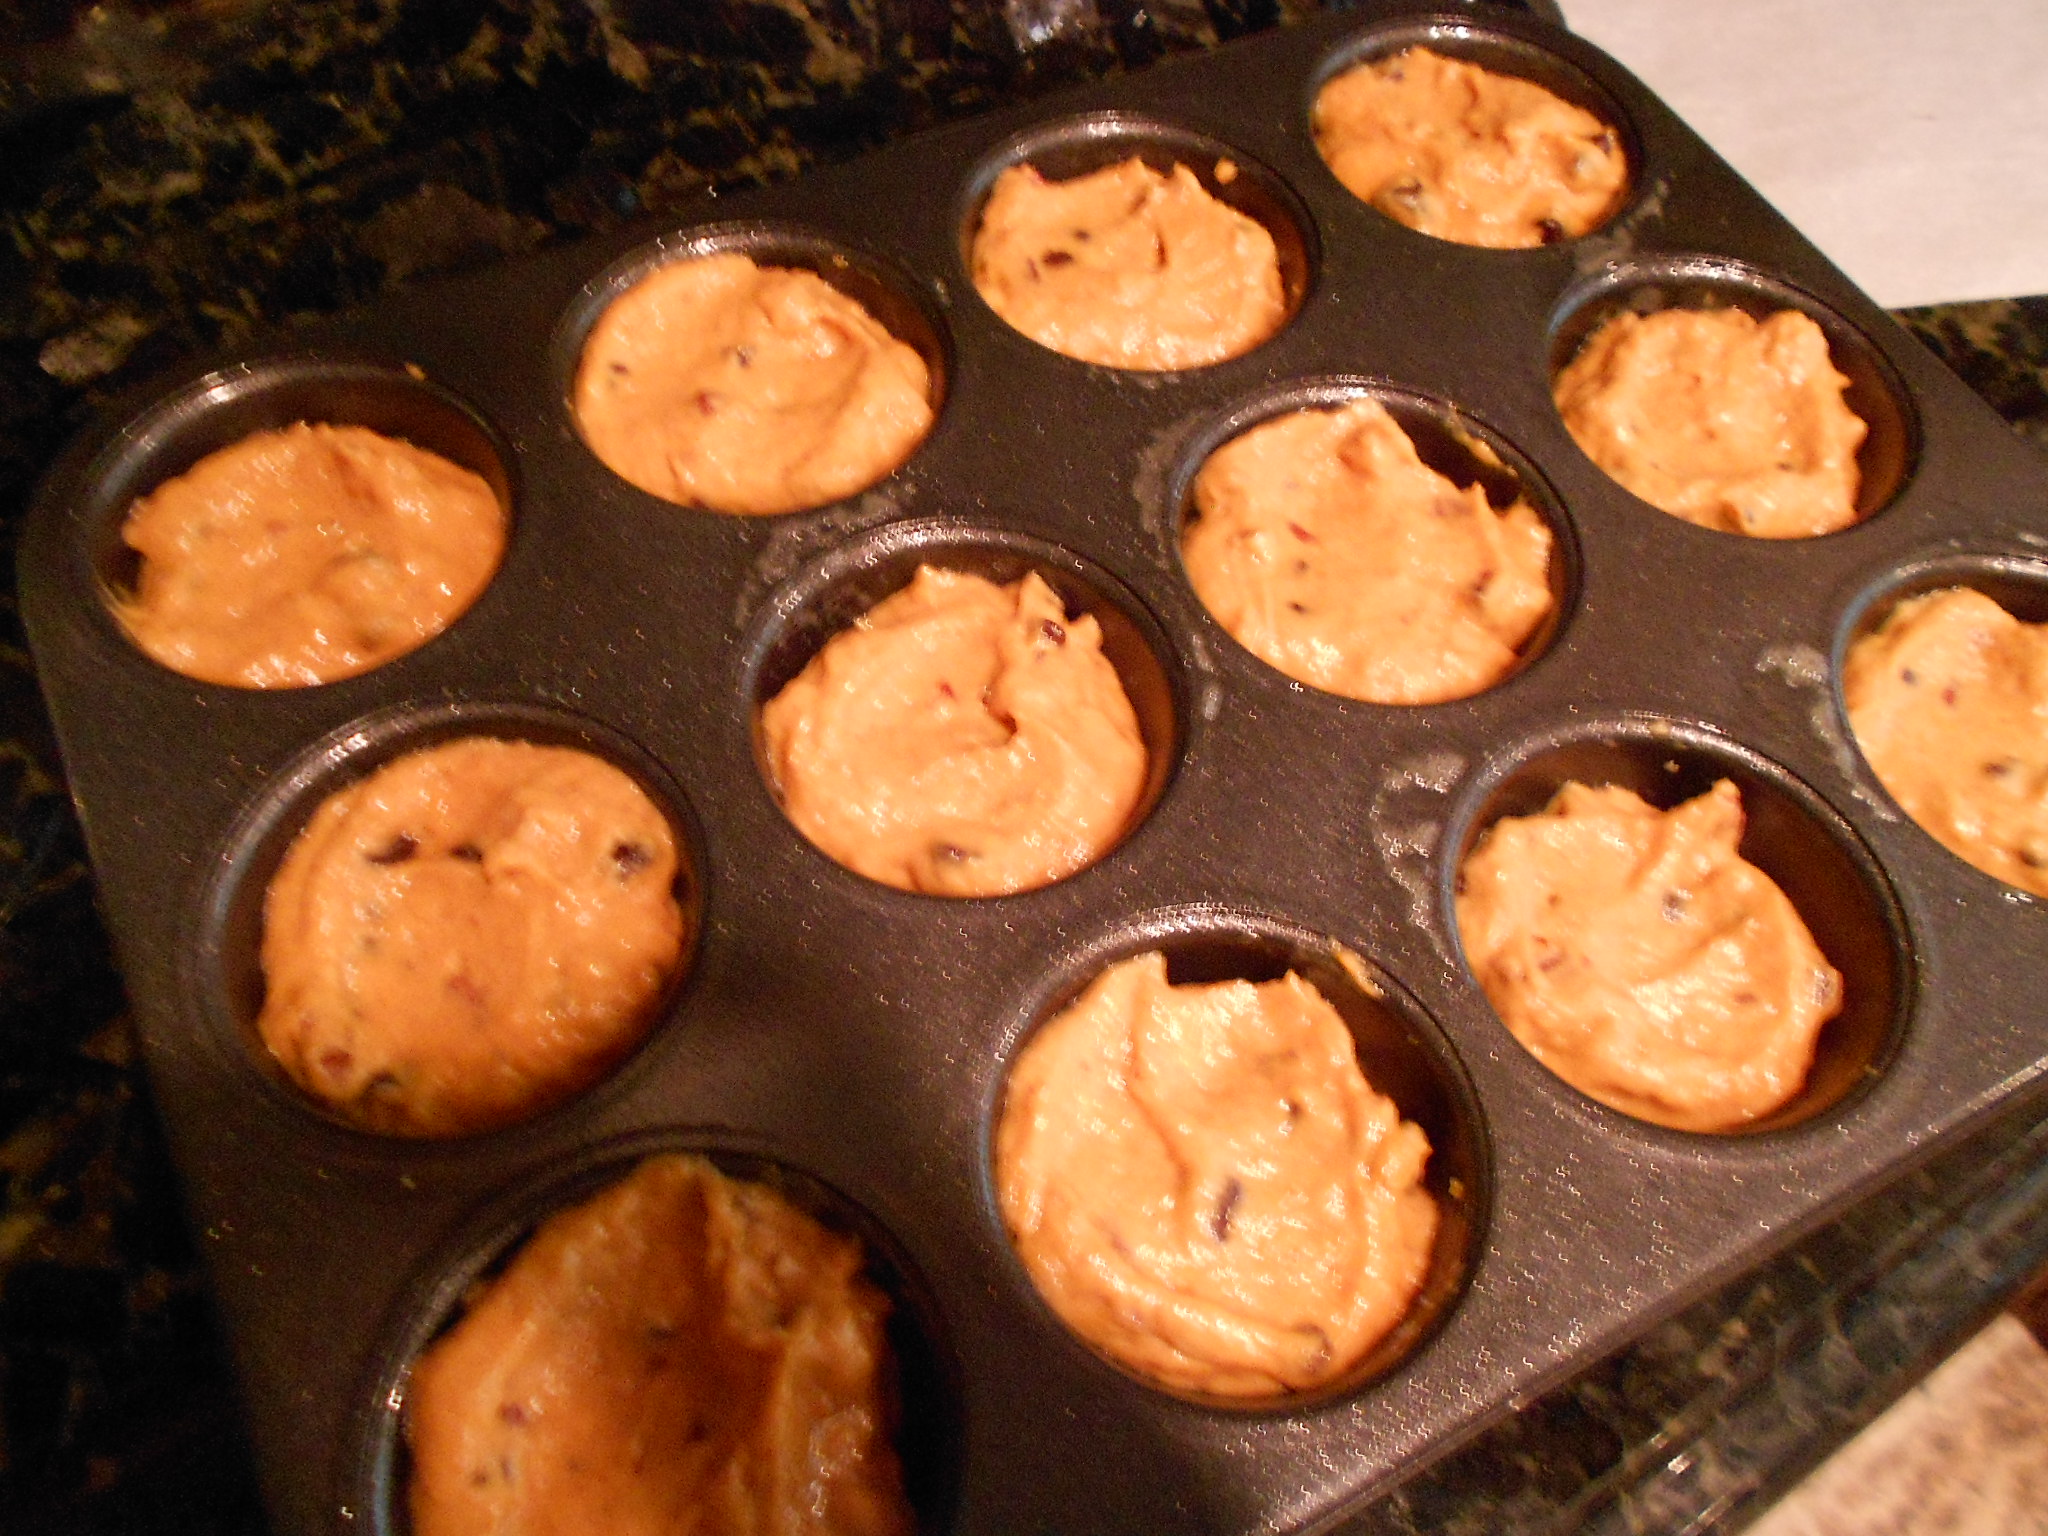
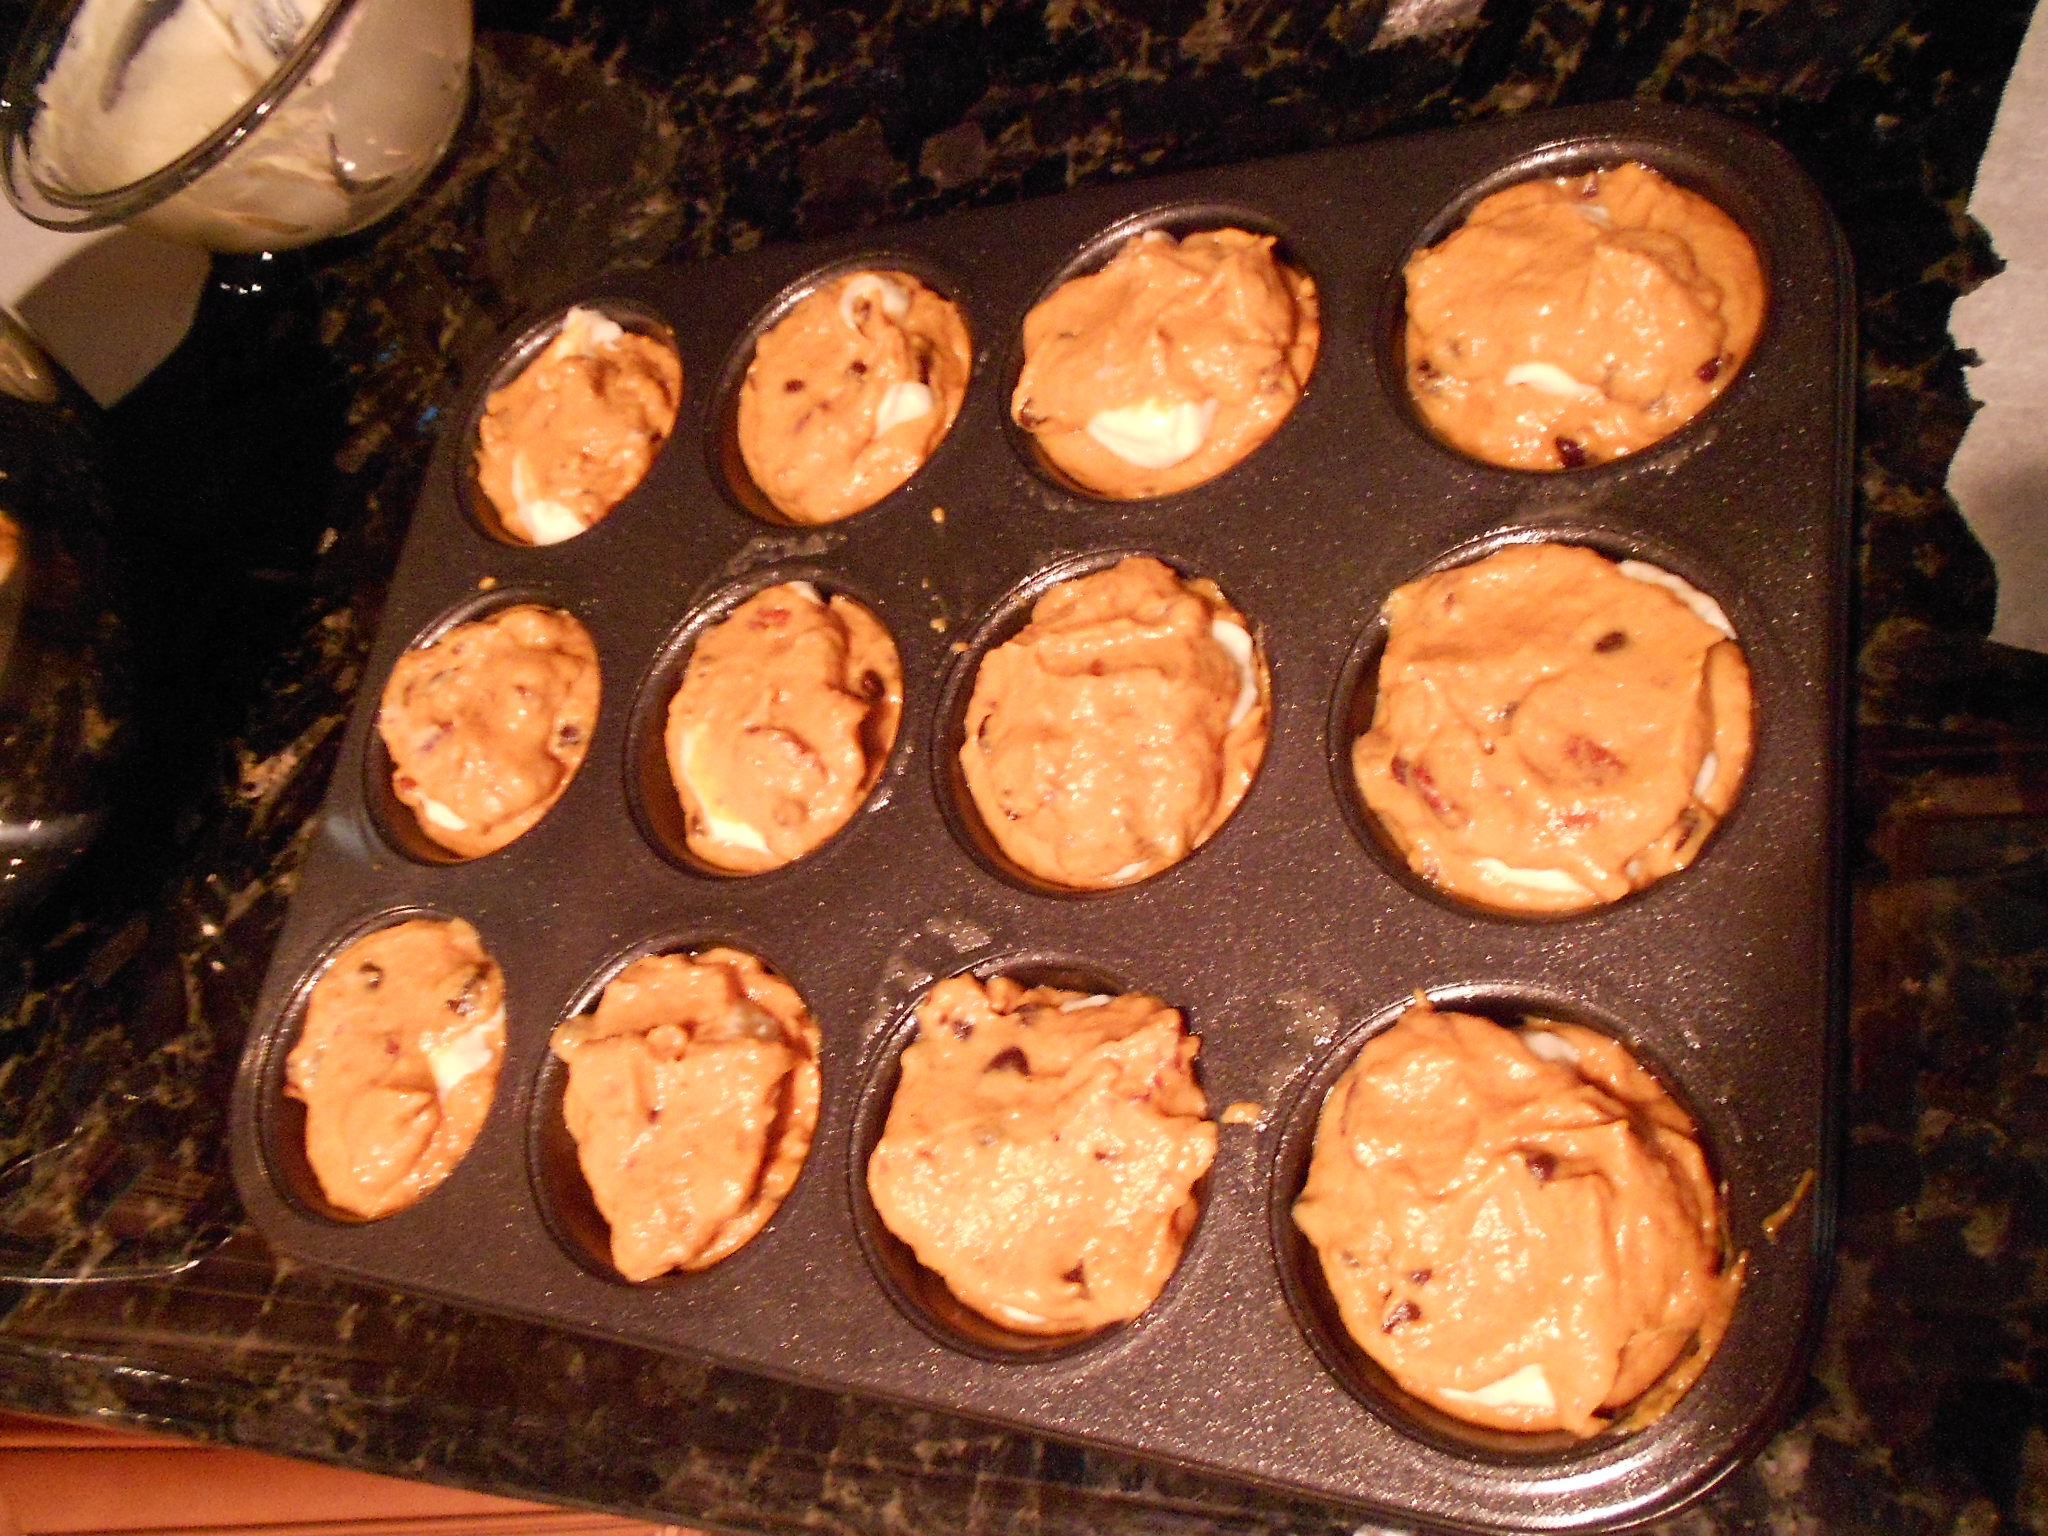
I take my muffin pan and fill the cups but leaving enough room so I can add the cream cheese filling and topping.

DSCN3499 DSCN3500

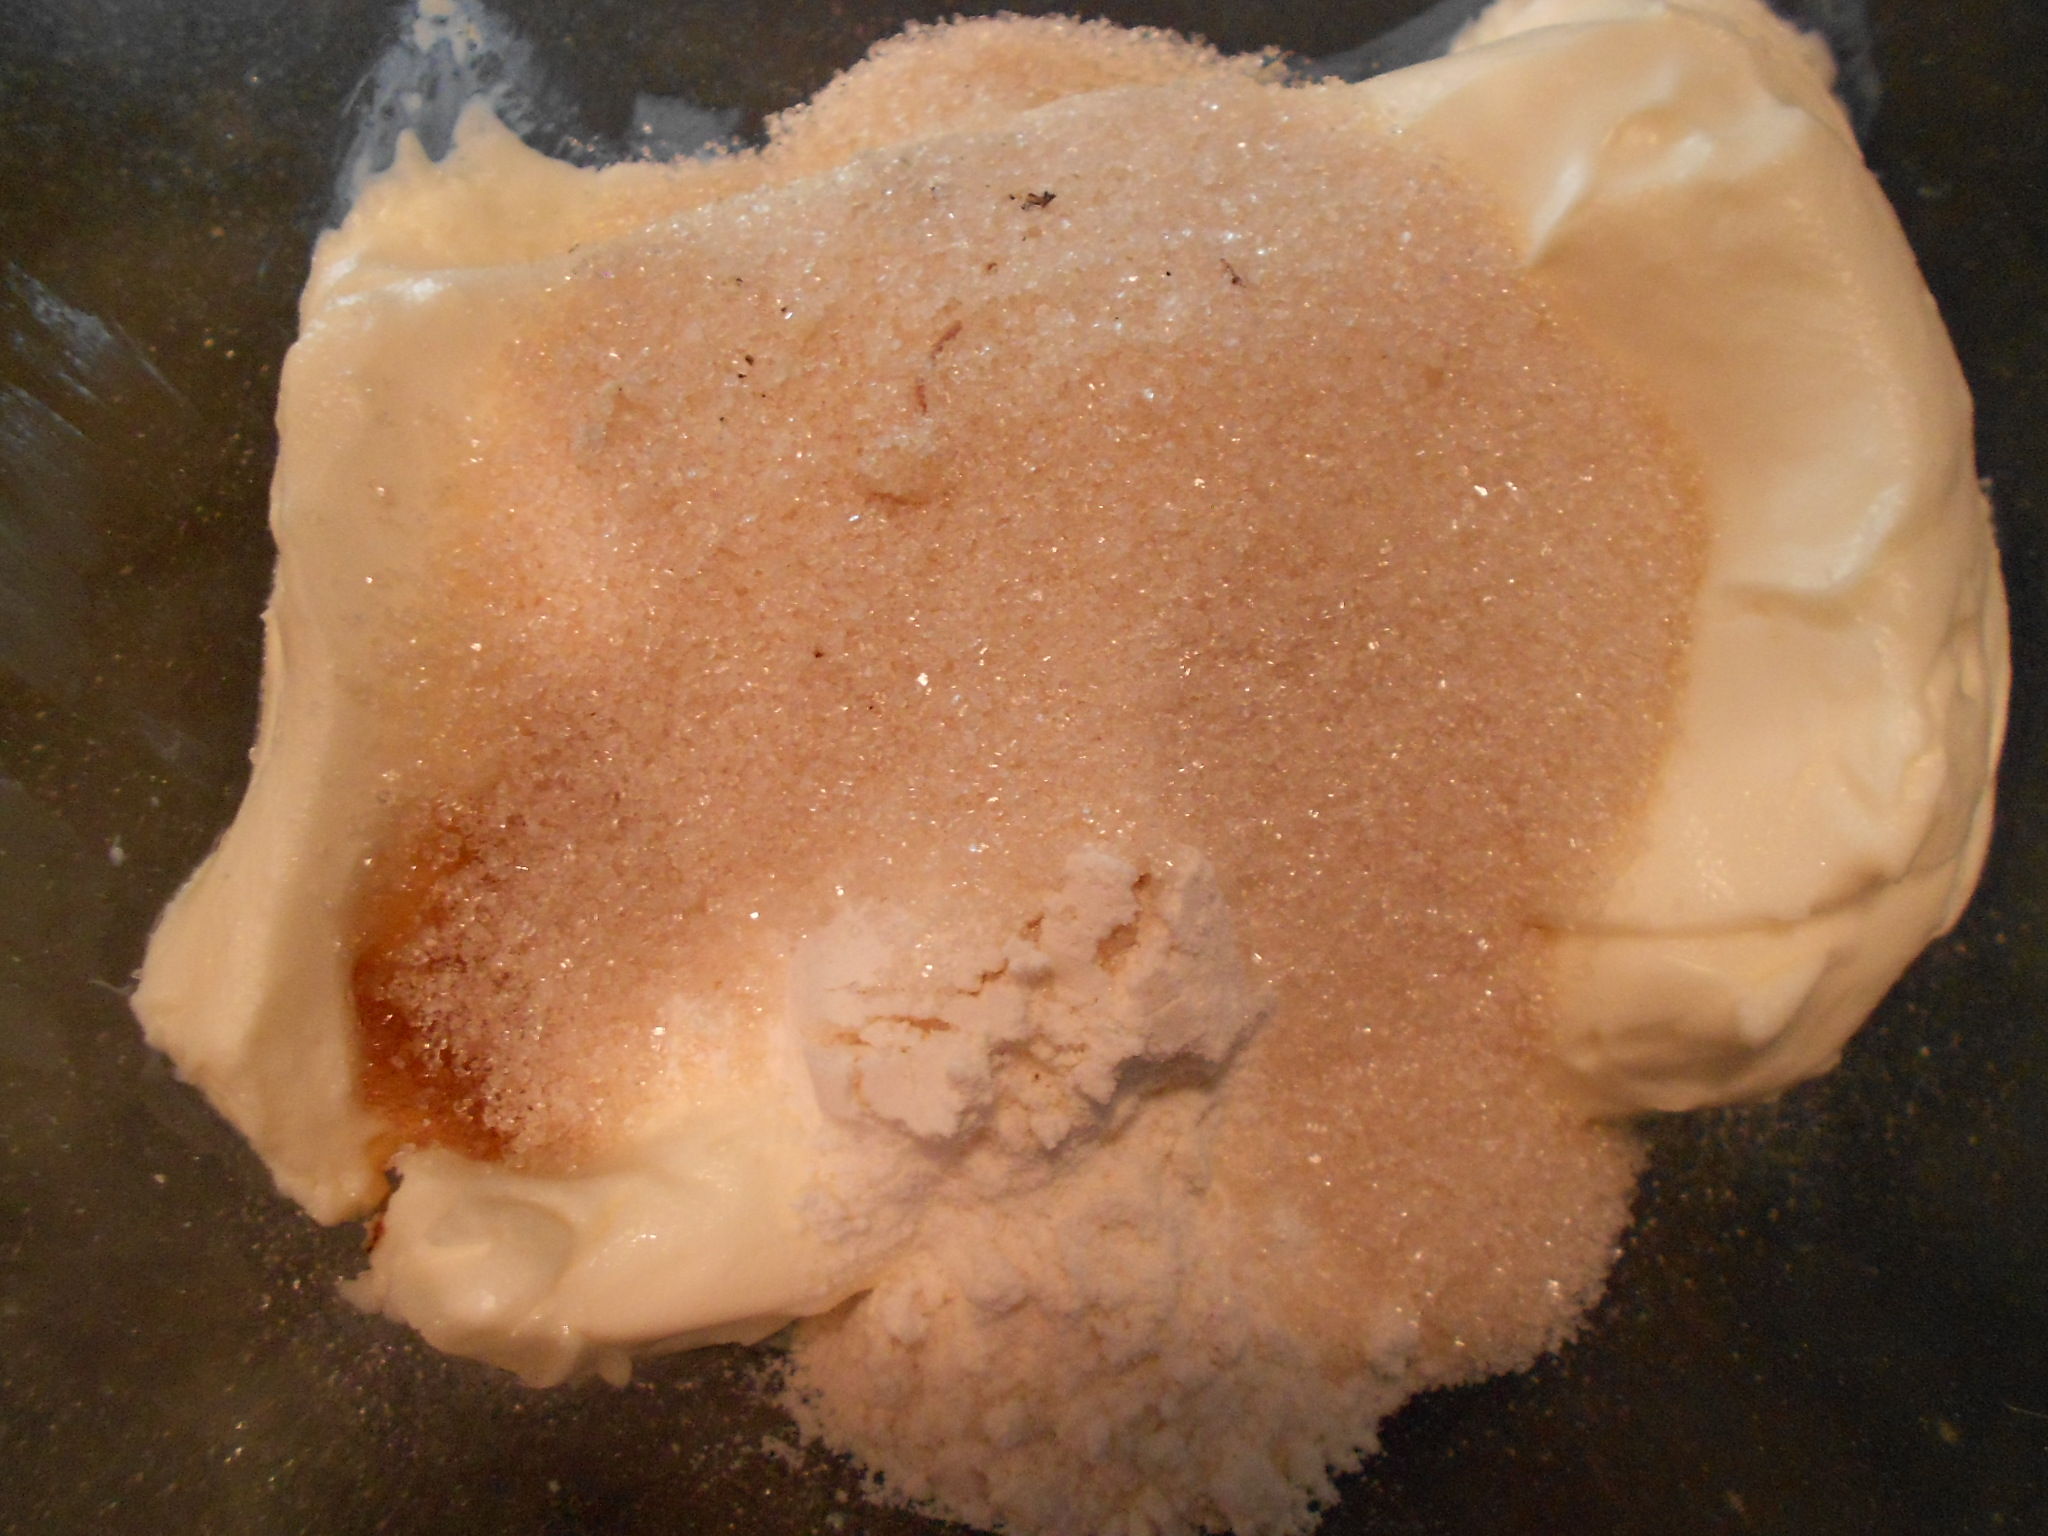
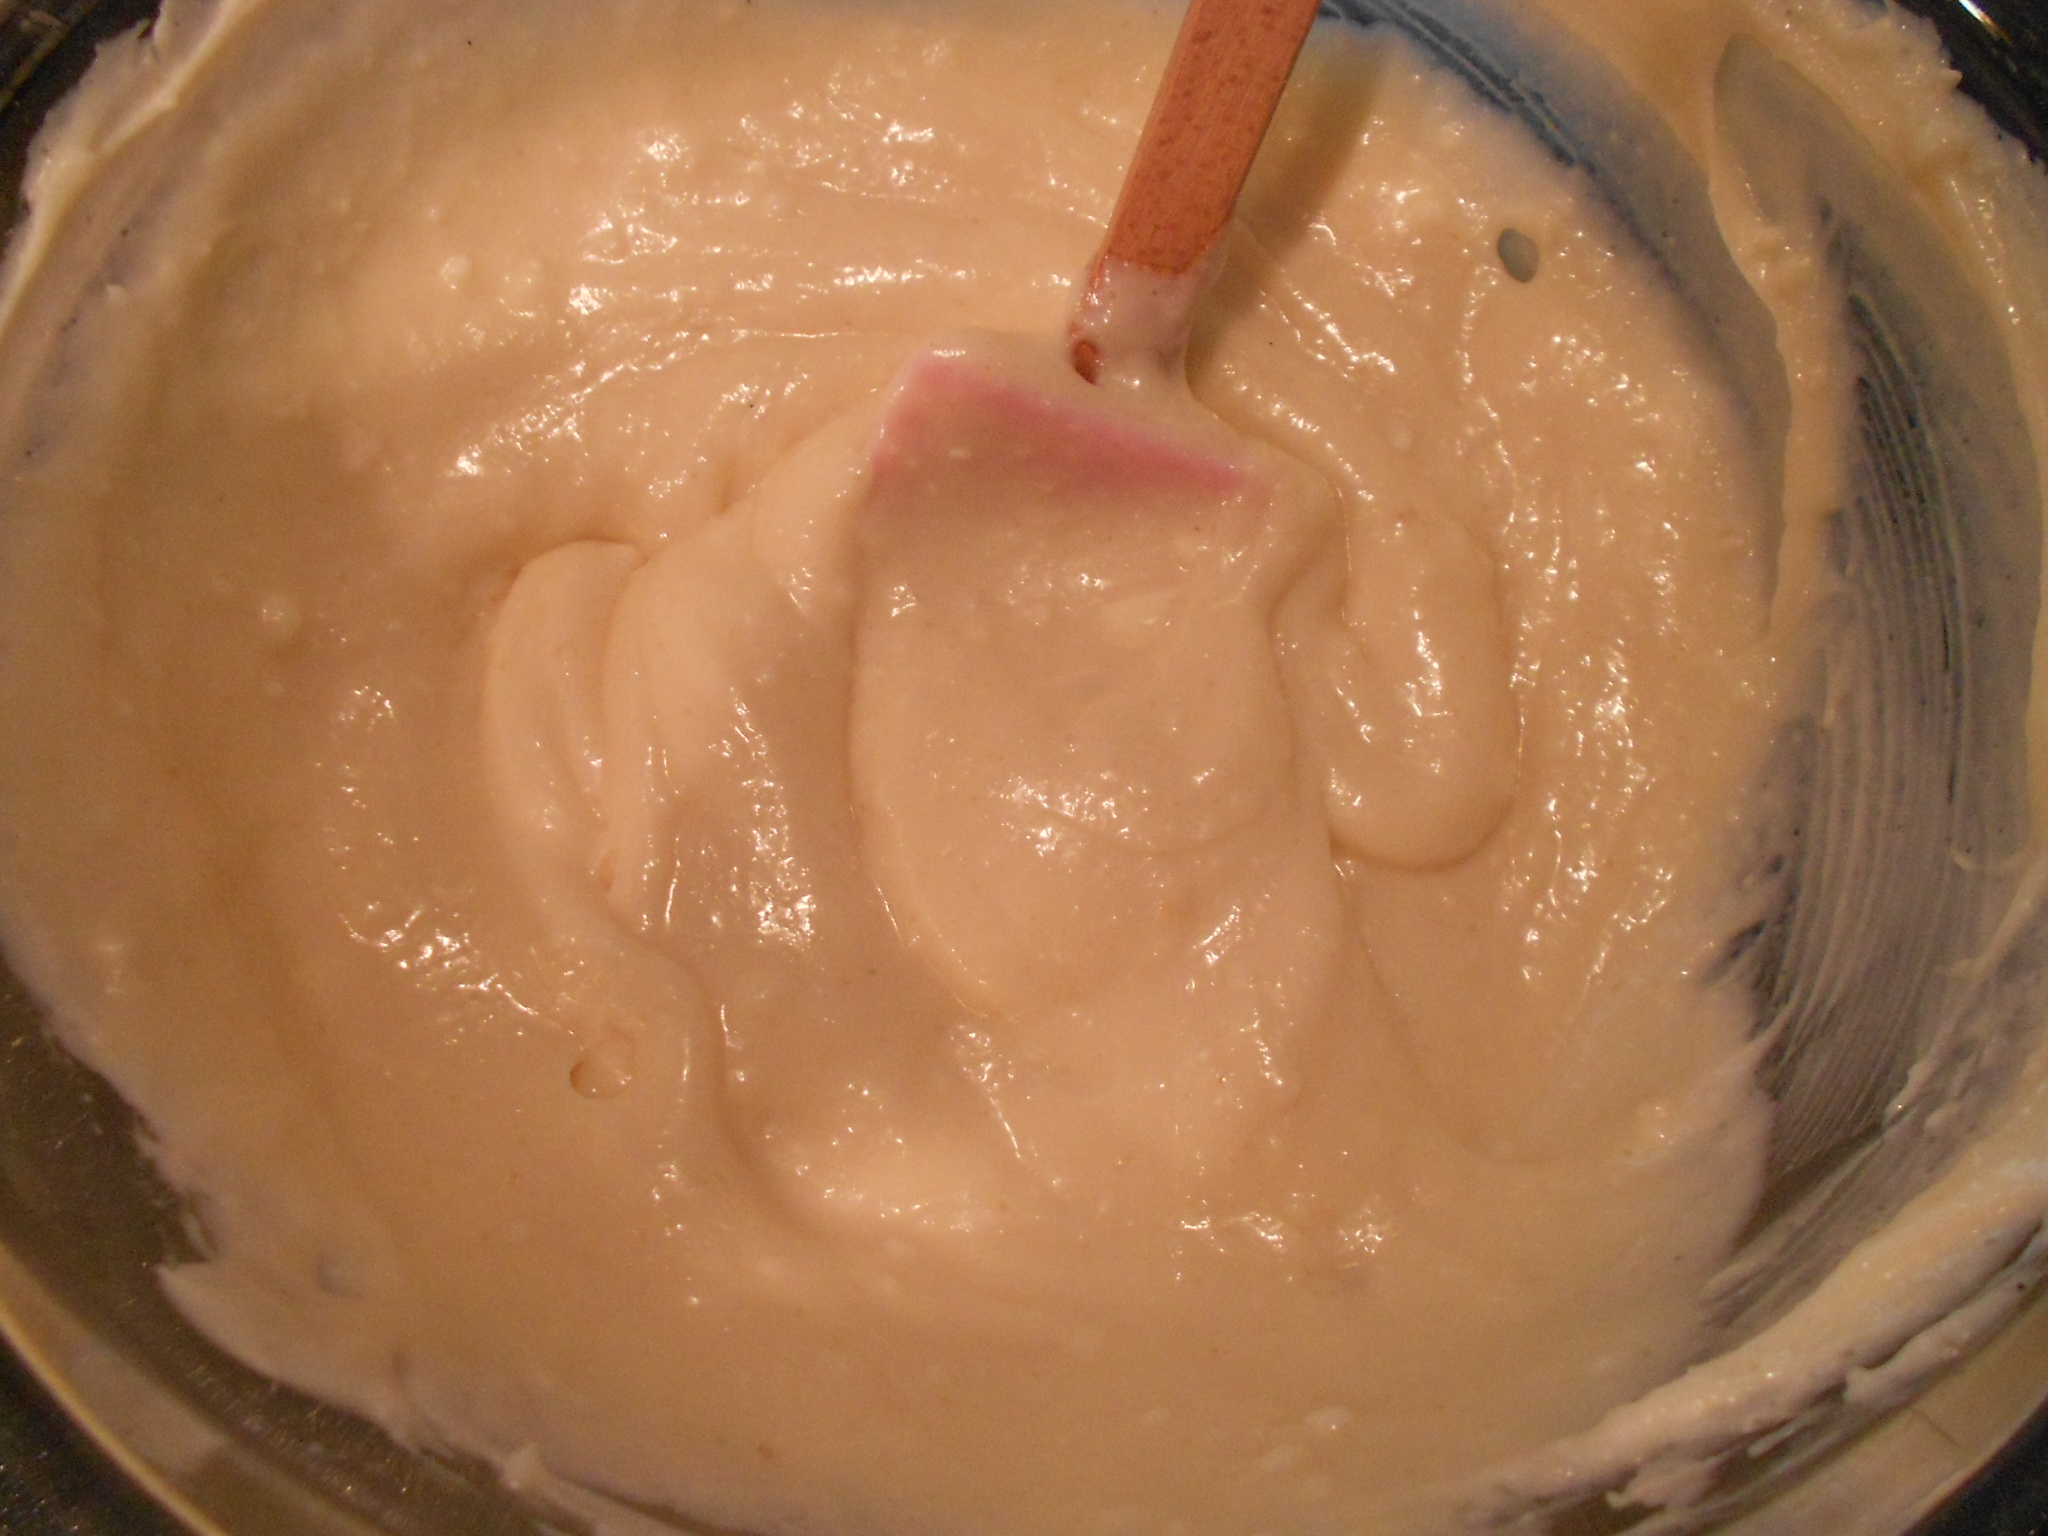
To make the filling, just take all ingredients and mix until incorporated. If the cream cheese is not soft enough, a 10 to 15 second intervals in the microwave will fix that right up.

DSCN3496DSCN3498

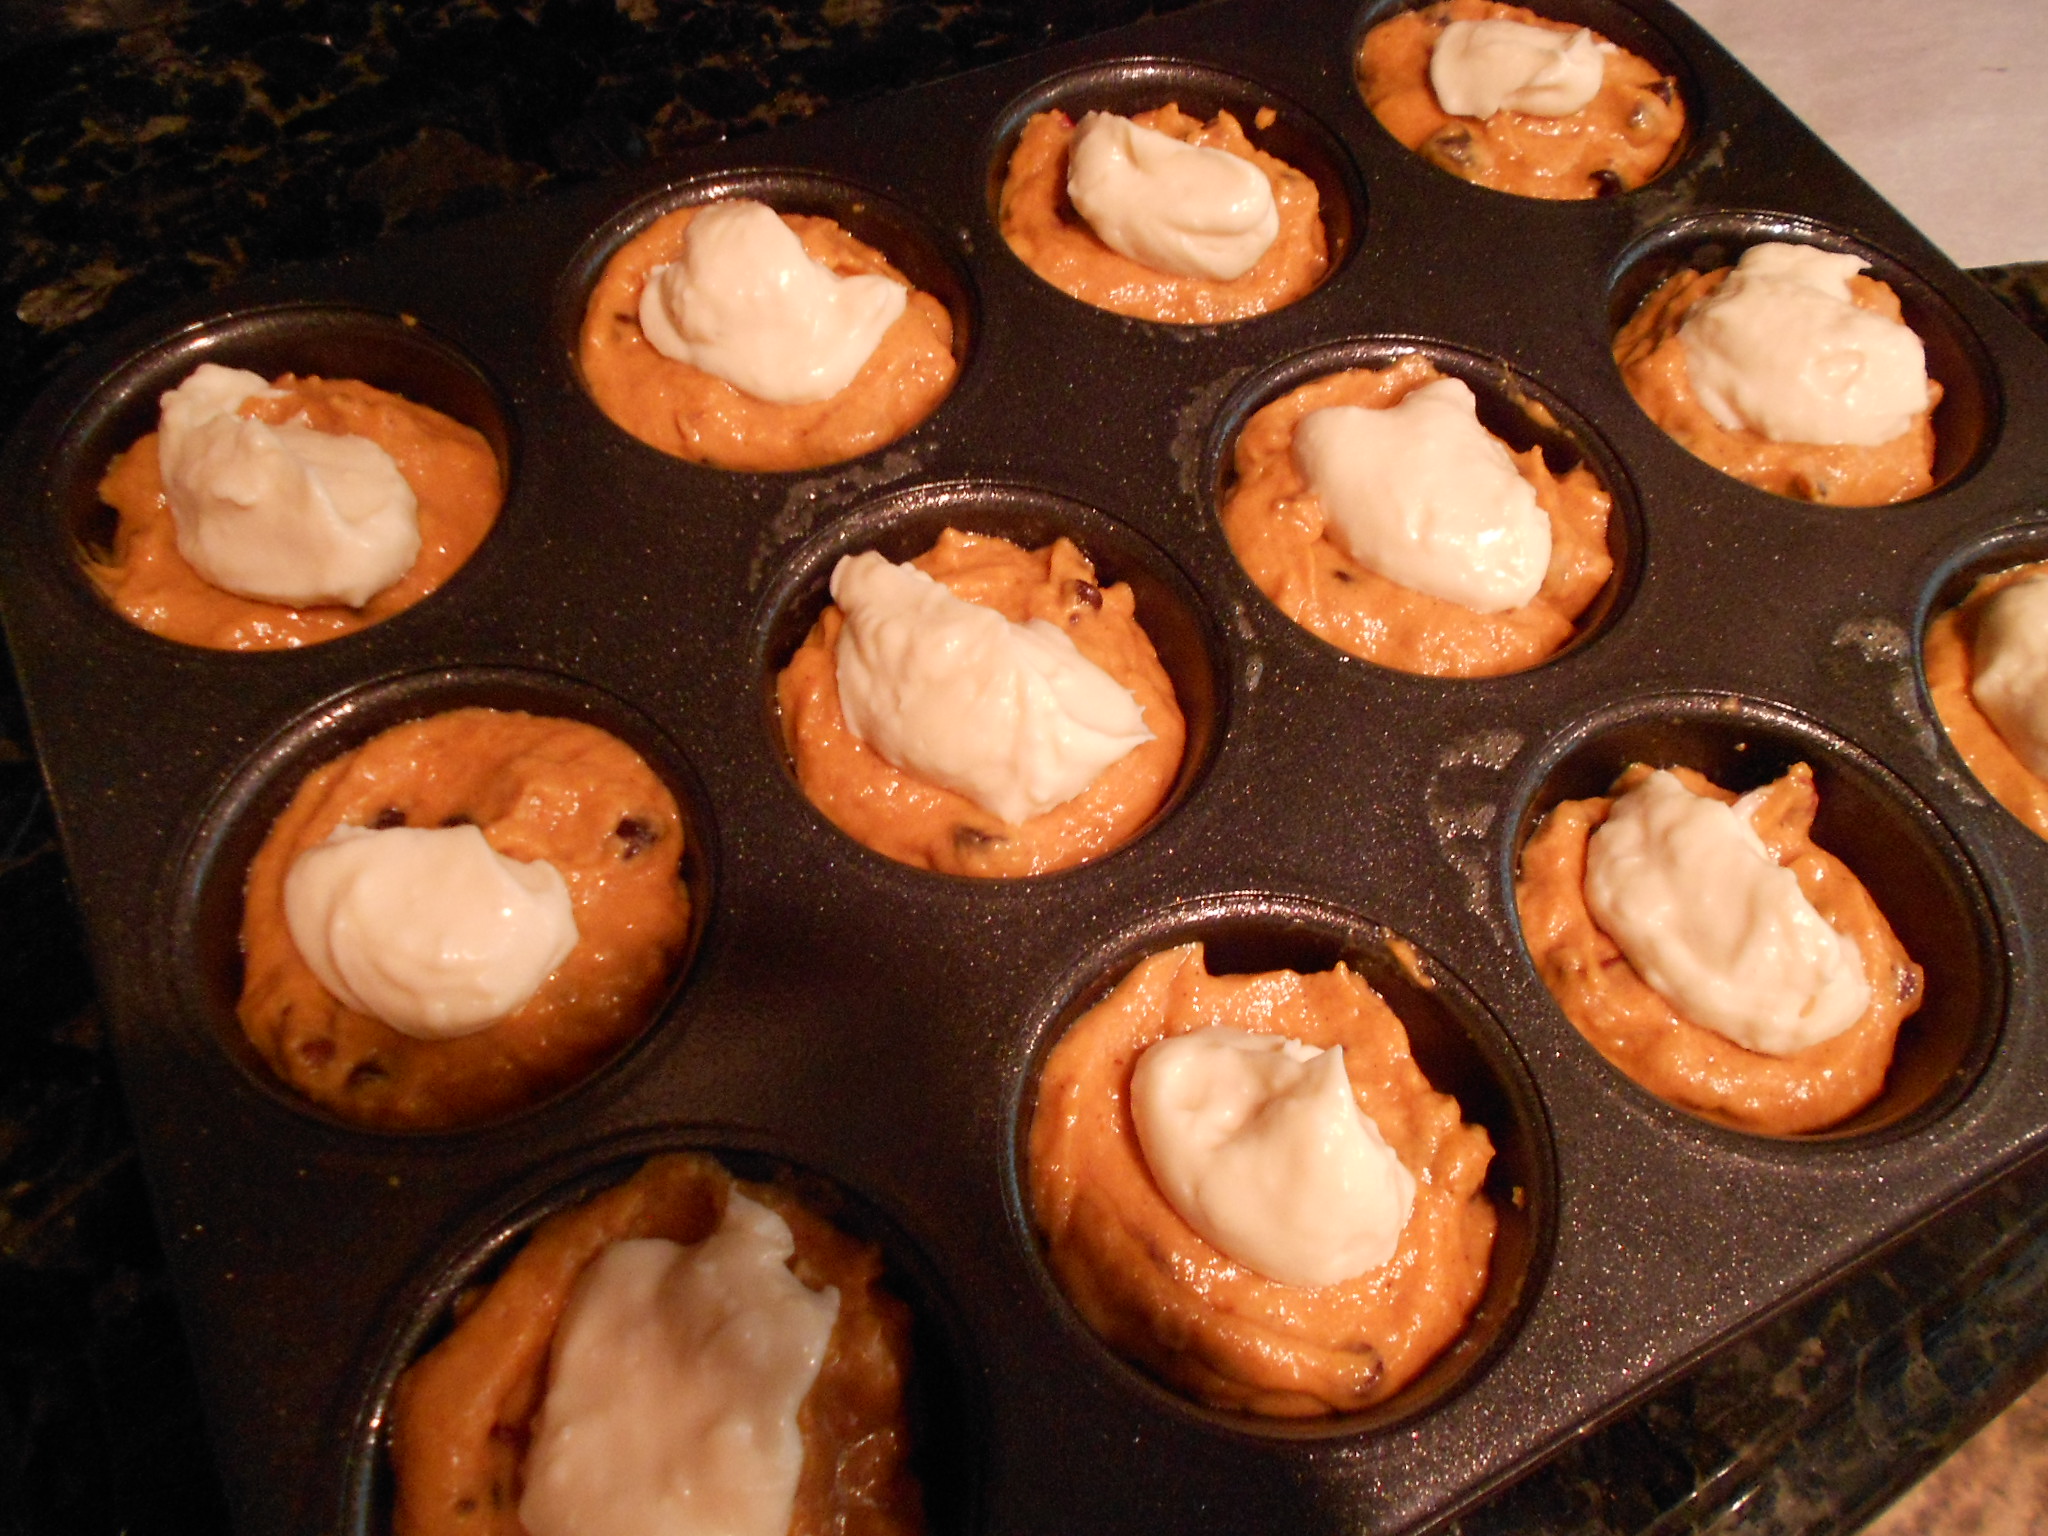
Add the filling to your muffin batter. You can choose to have a center of cream cheese to your muffin or even a cream cheese top, or get creative and make a marbling. I was in a hurry so I plopped and went with a "at home" look, so the cream cheese stayed where it landed! :)

DSCN3501

I then add more of the pumpkin batter to cover the cream cheese.

DSCN3502

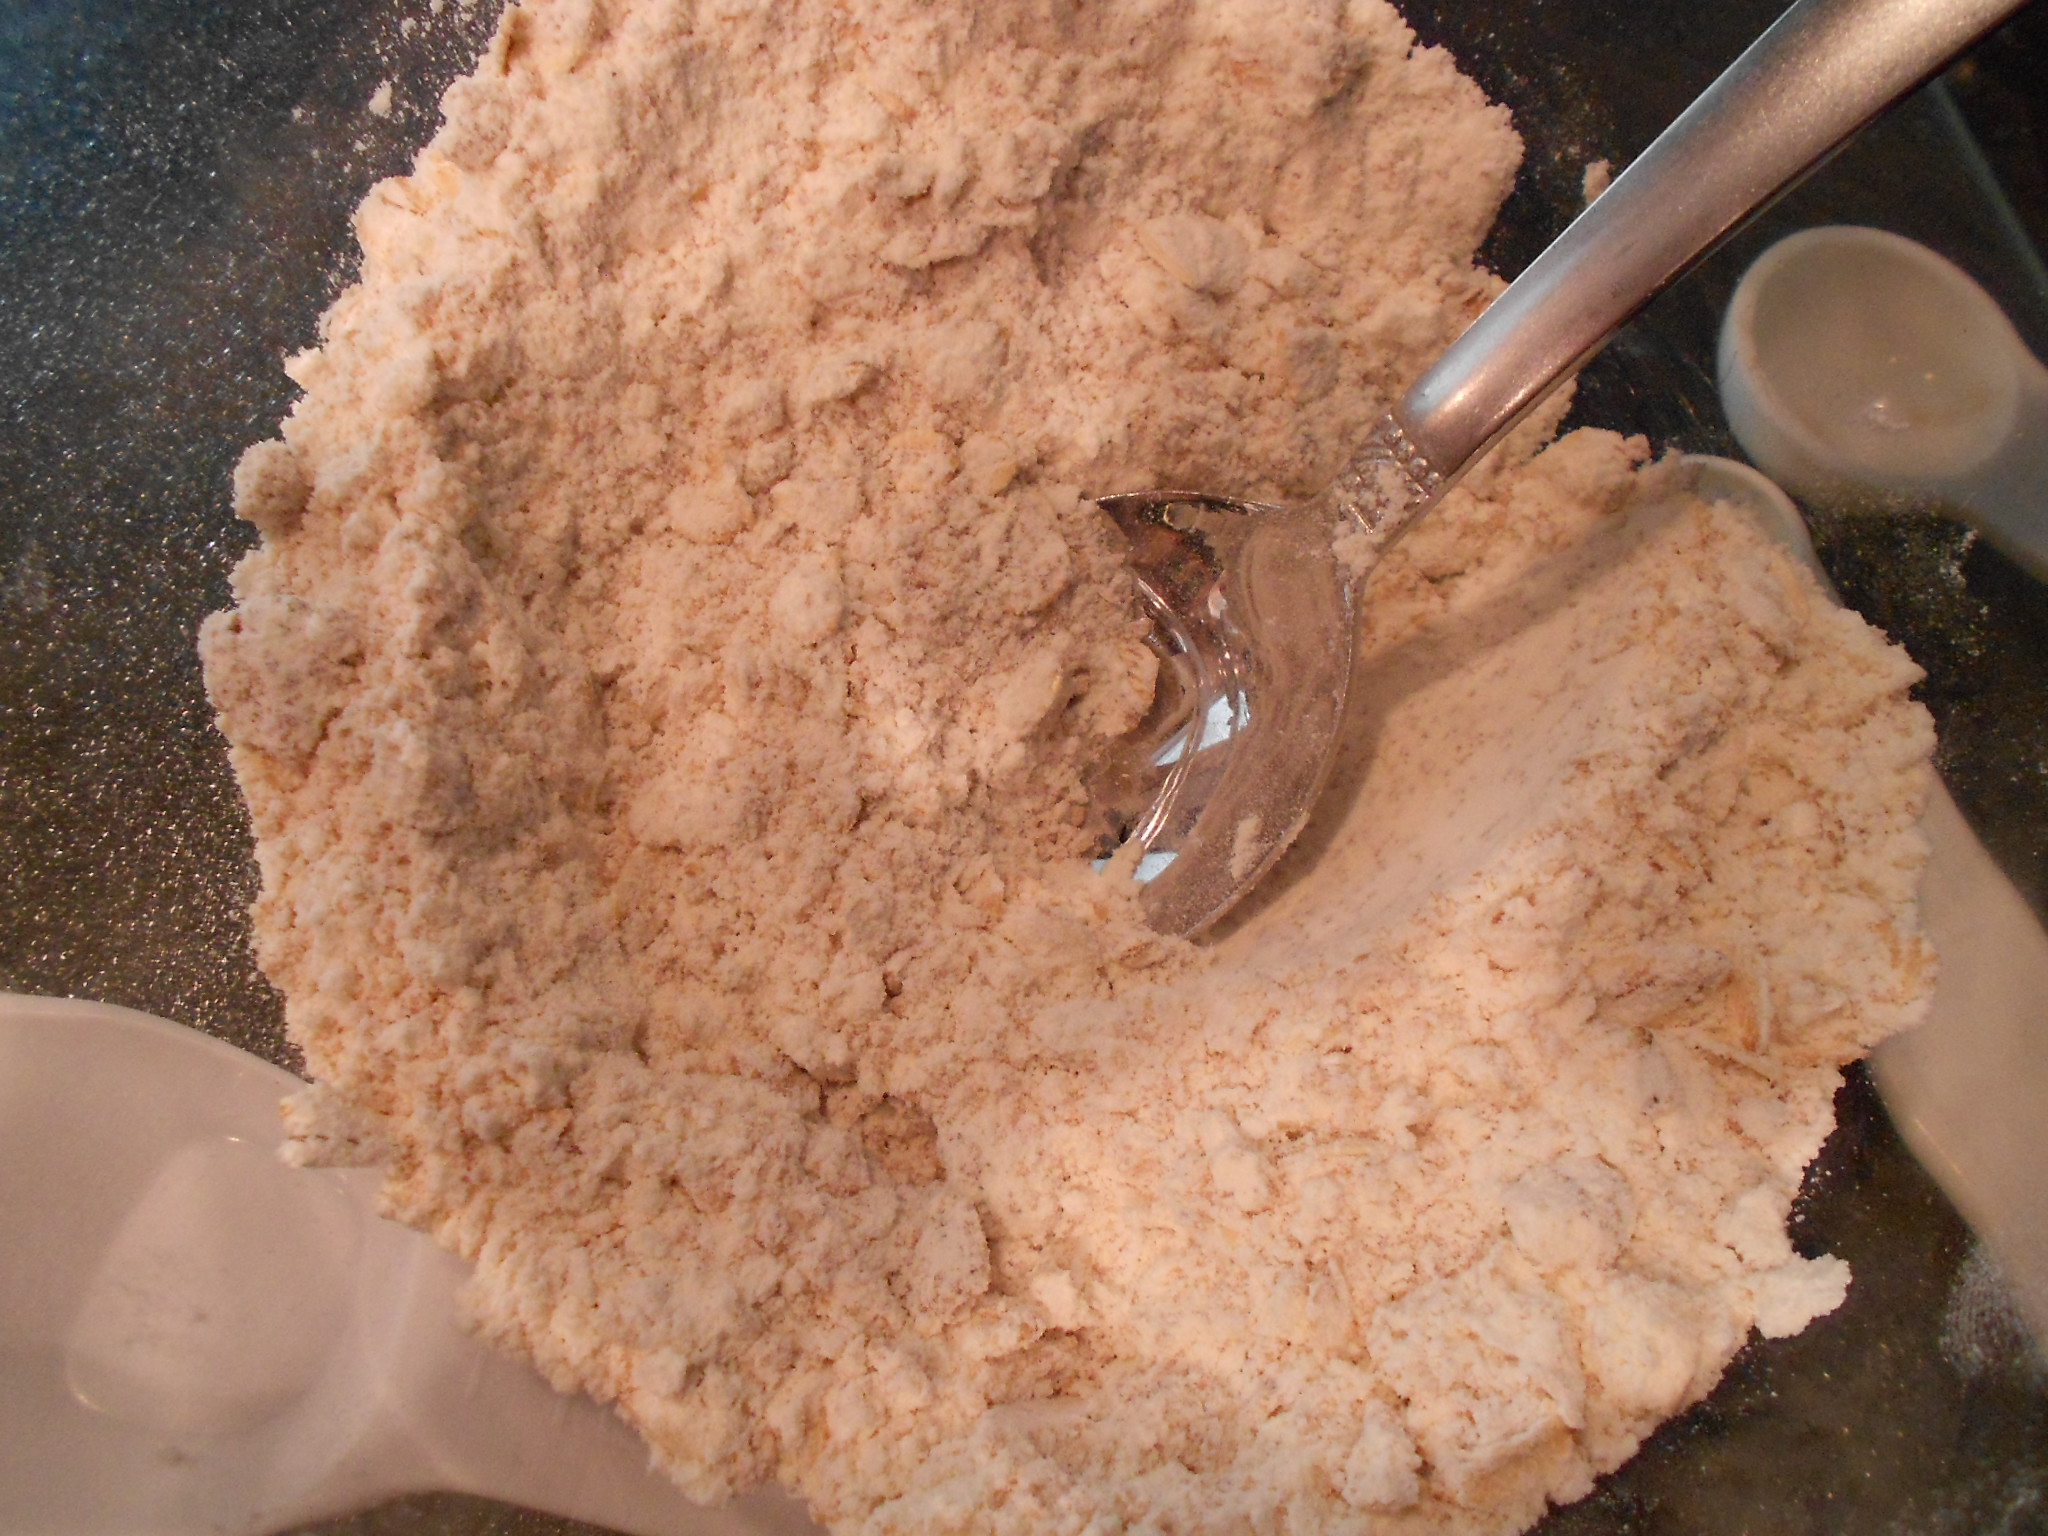
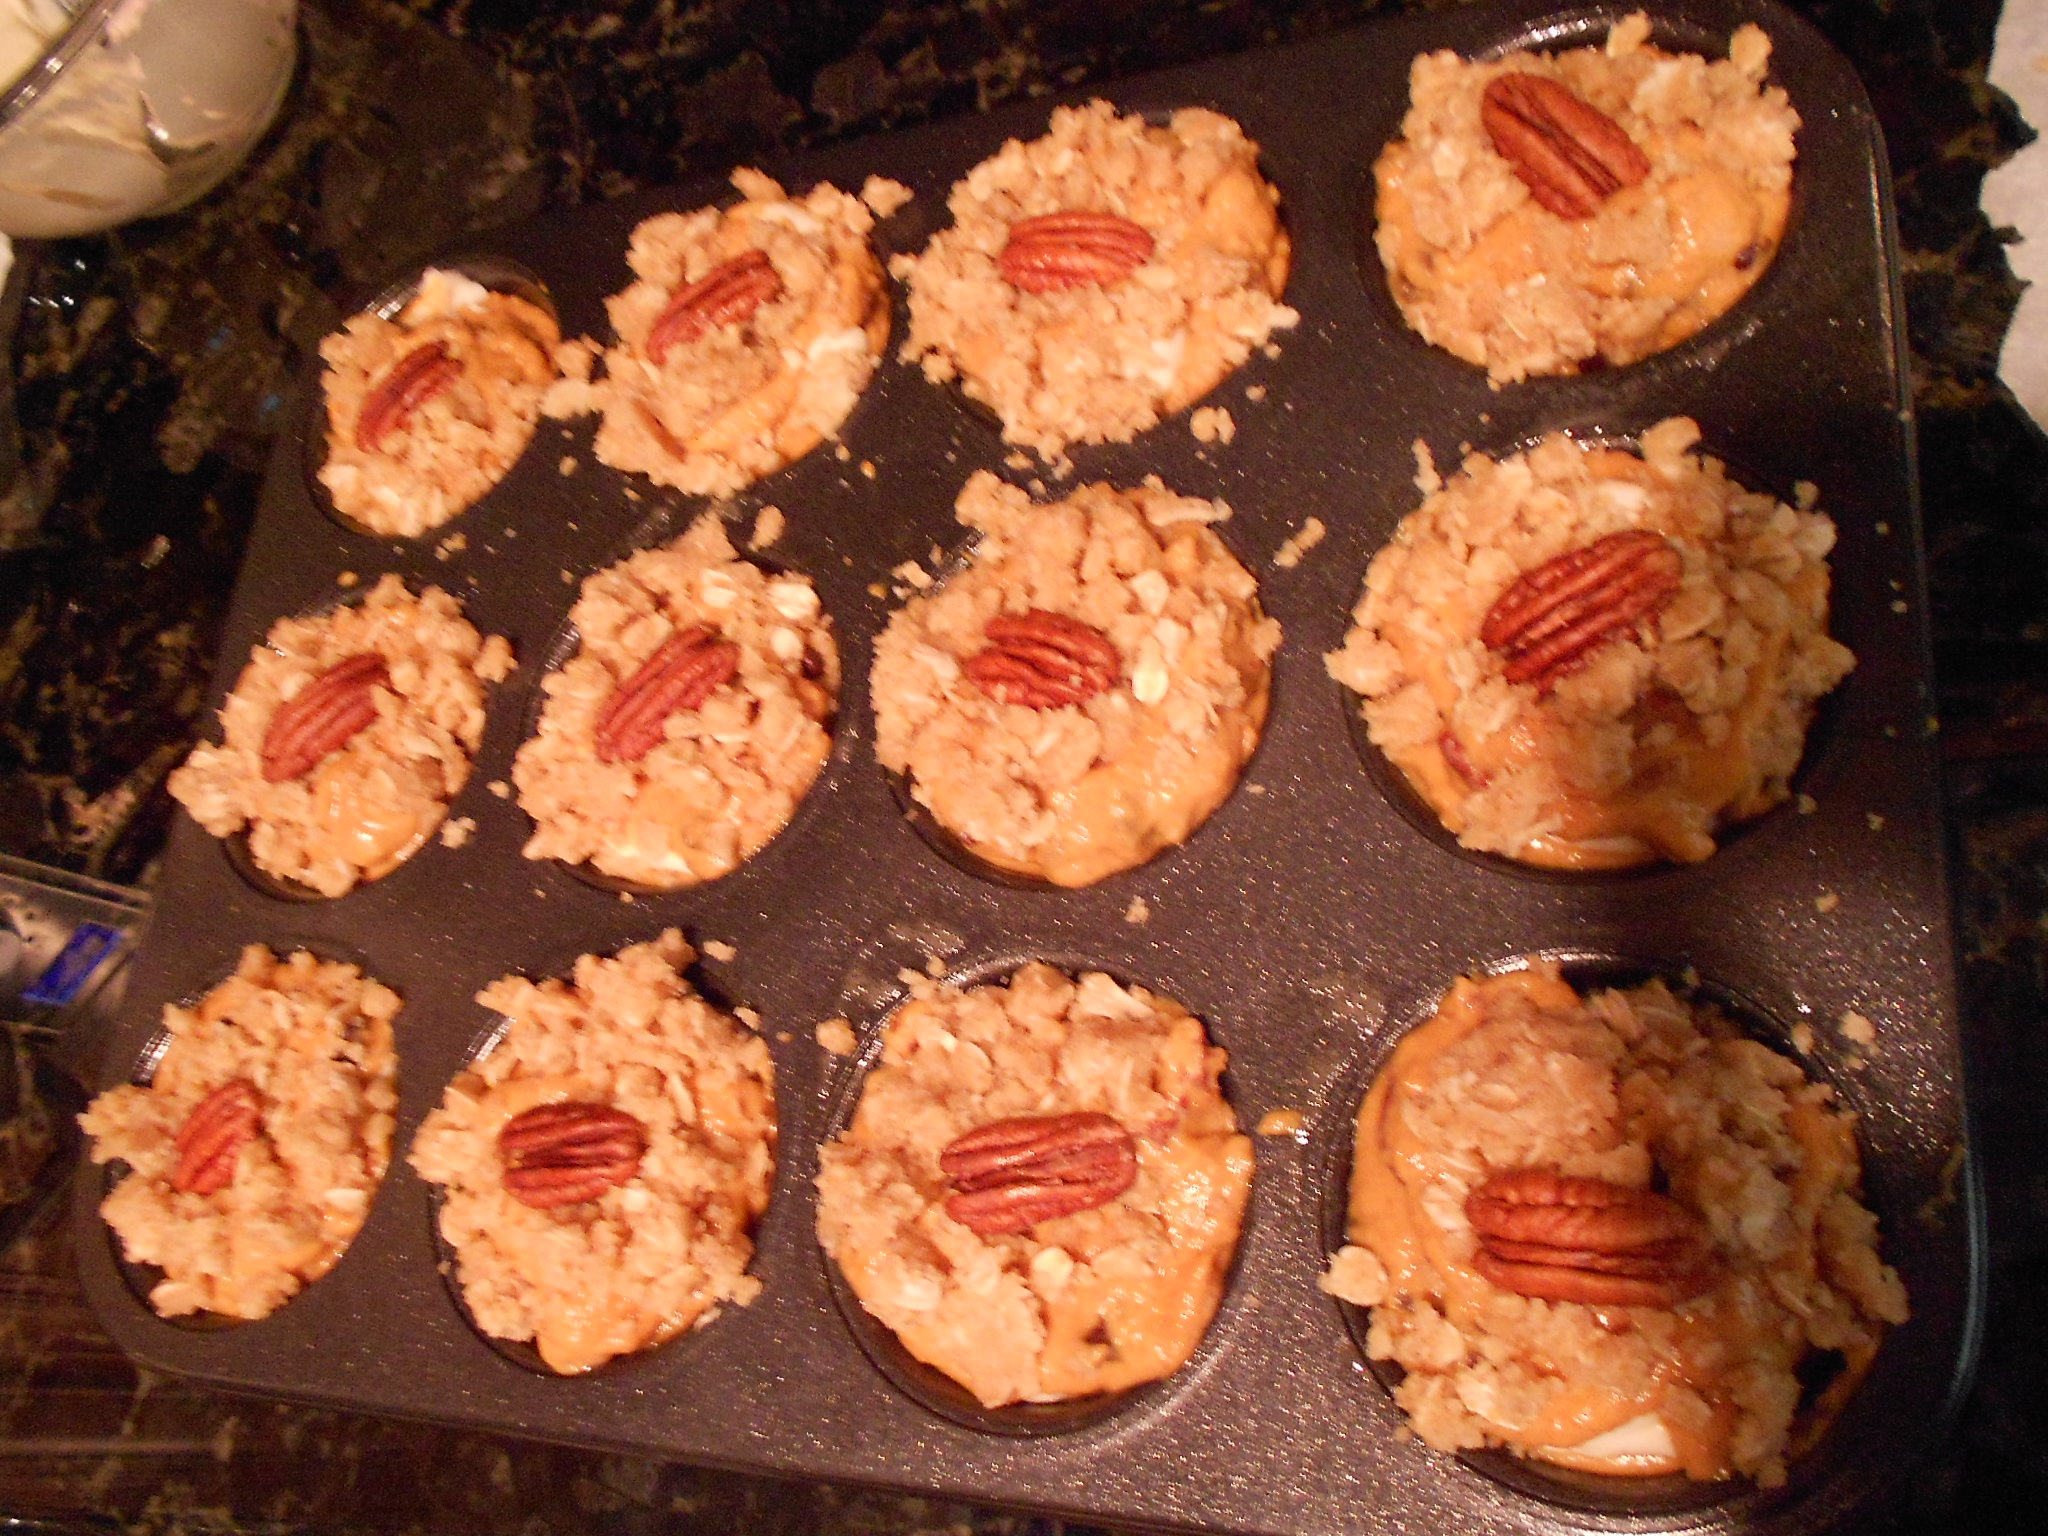
To make the crumble top, it is as easy as the filling. Incorporate all the dry ingredients and then mix in the butter until you have crumbles. Add the crumble to your muffins.

DSCN3497DSCN3503

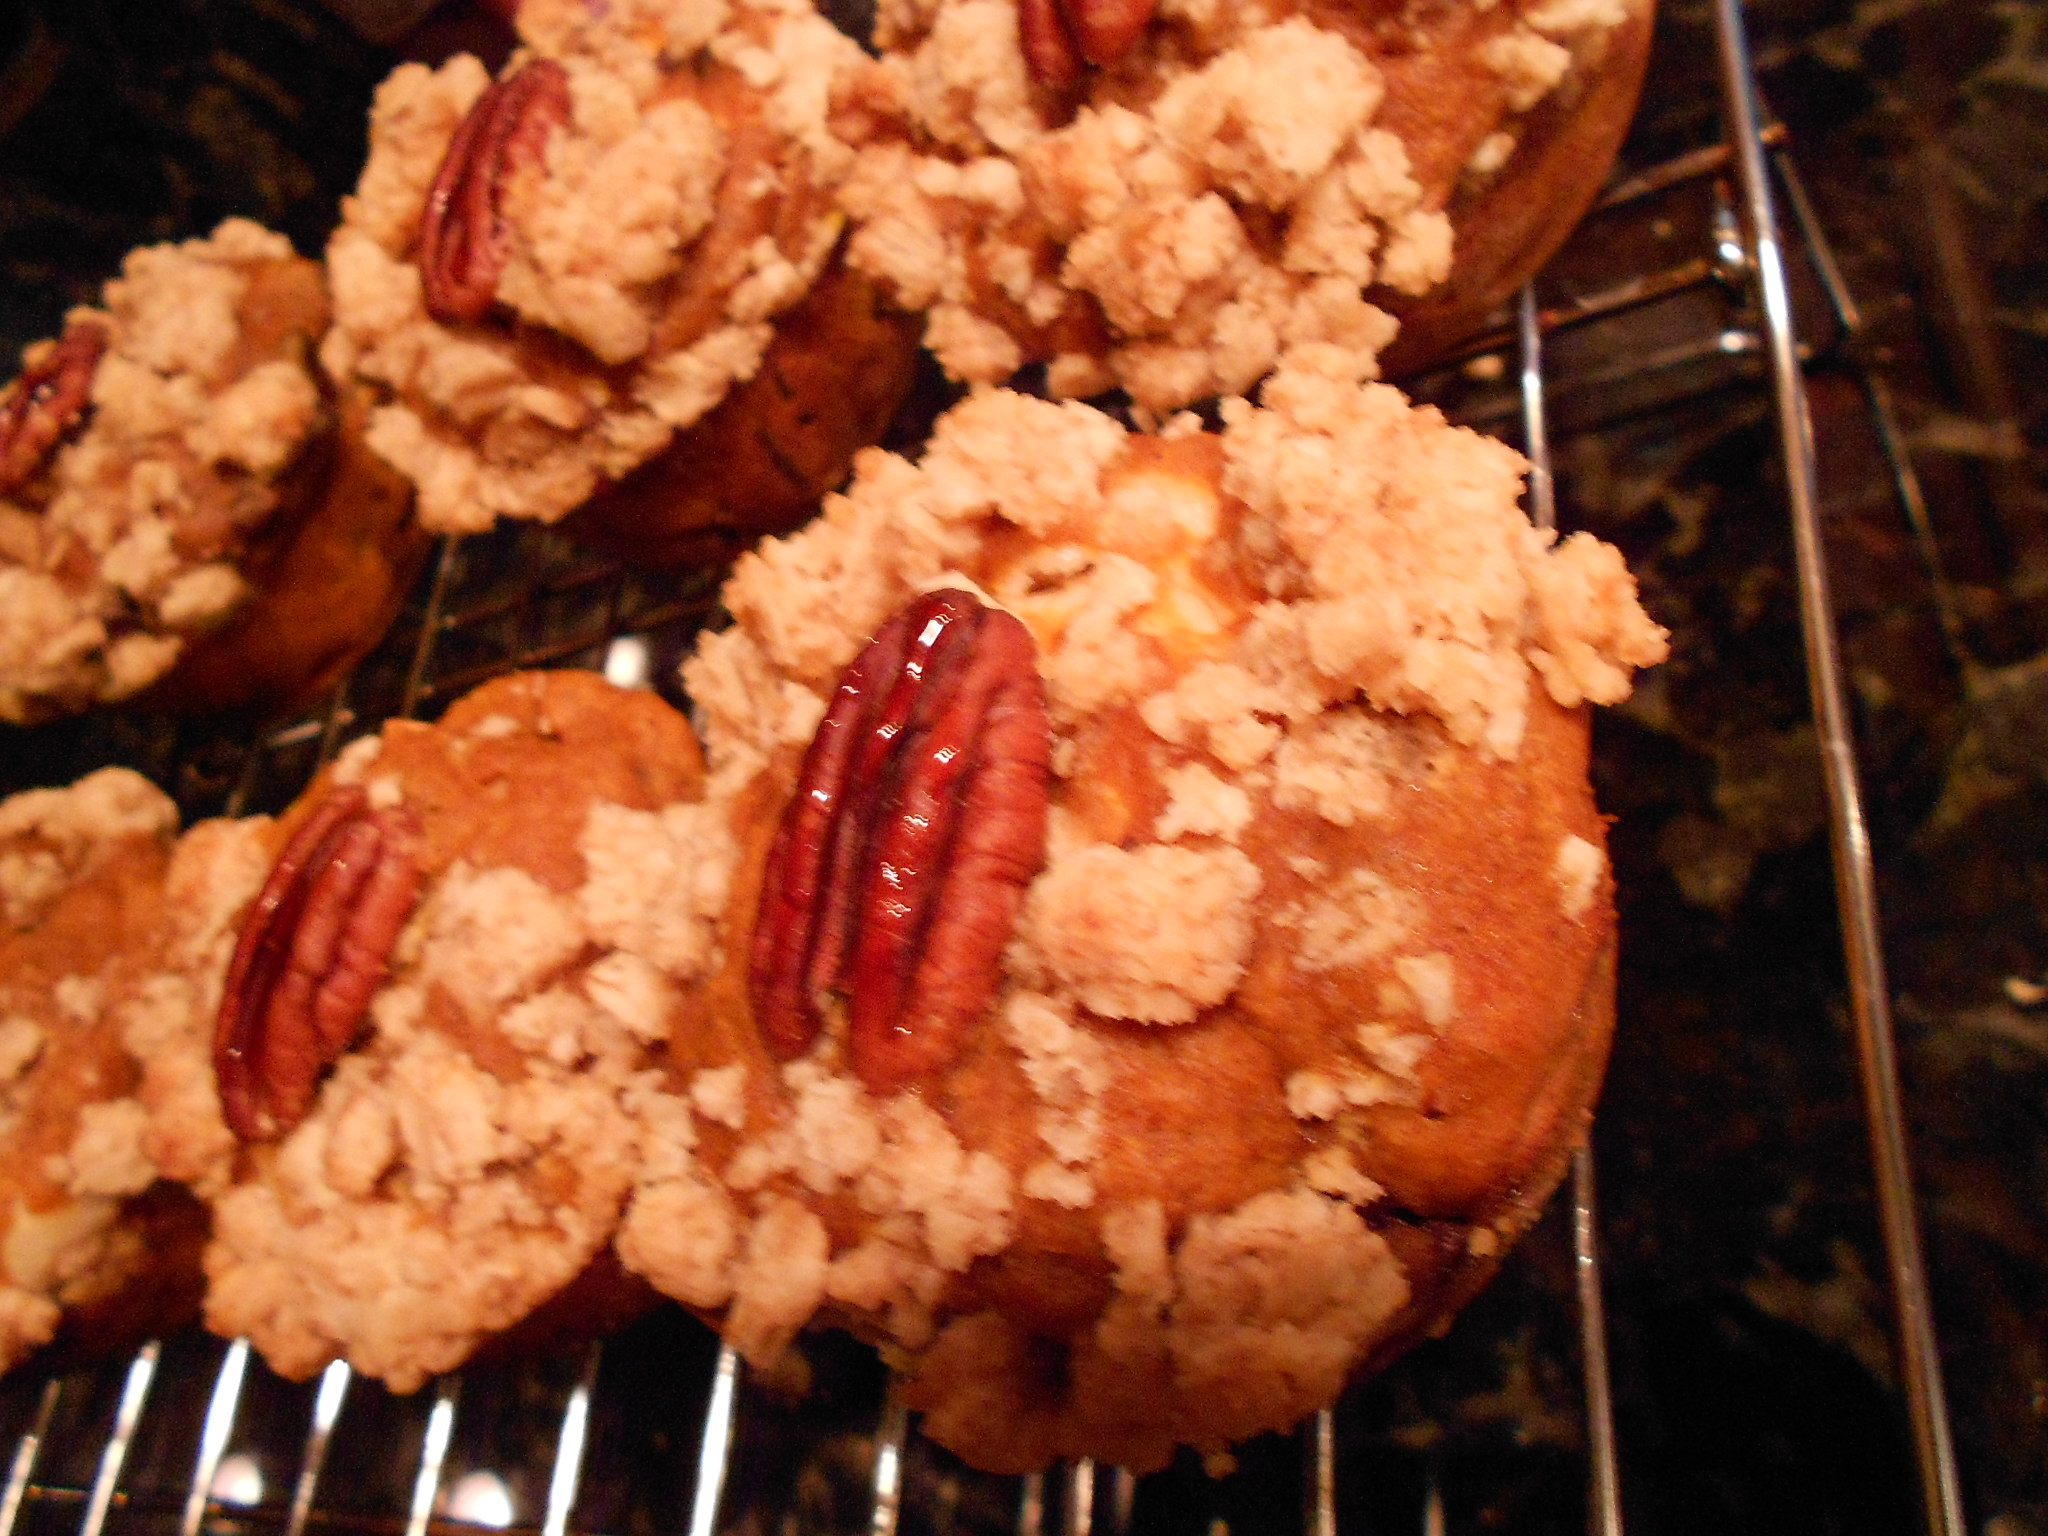
I added a Pecan half to each muffin to give them that Autumn look. This is optional.

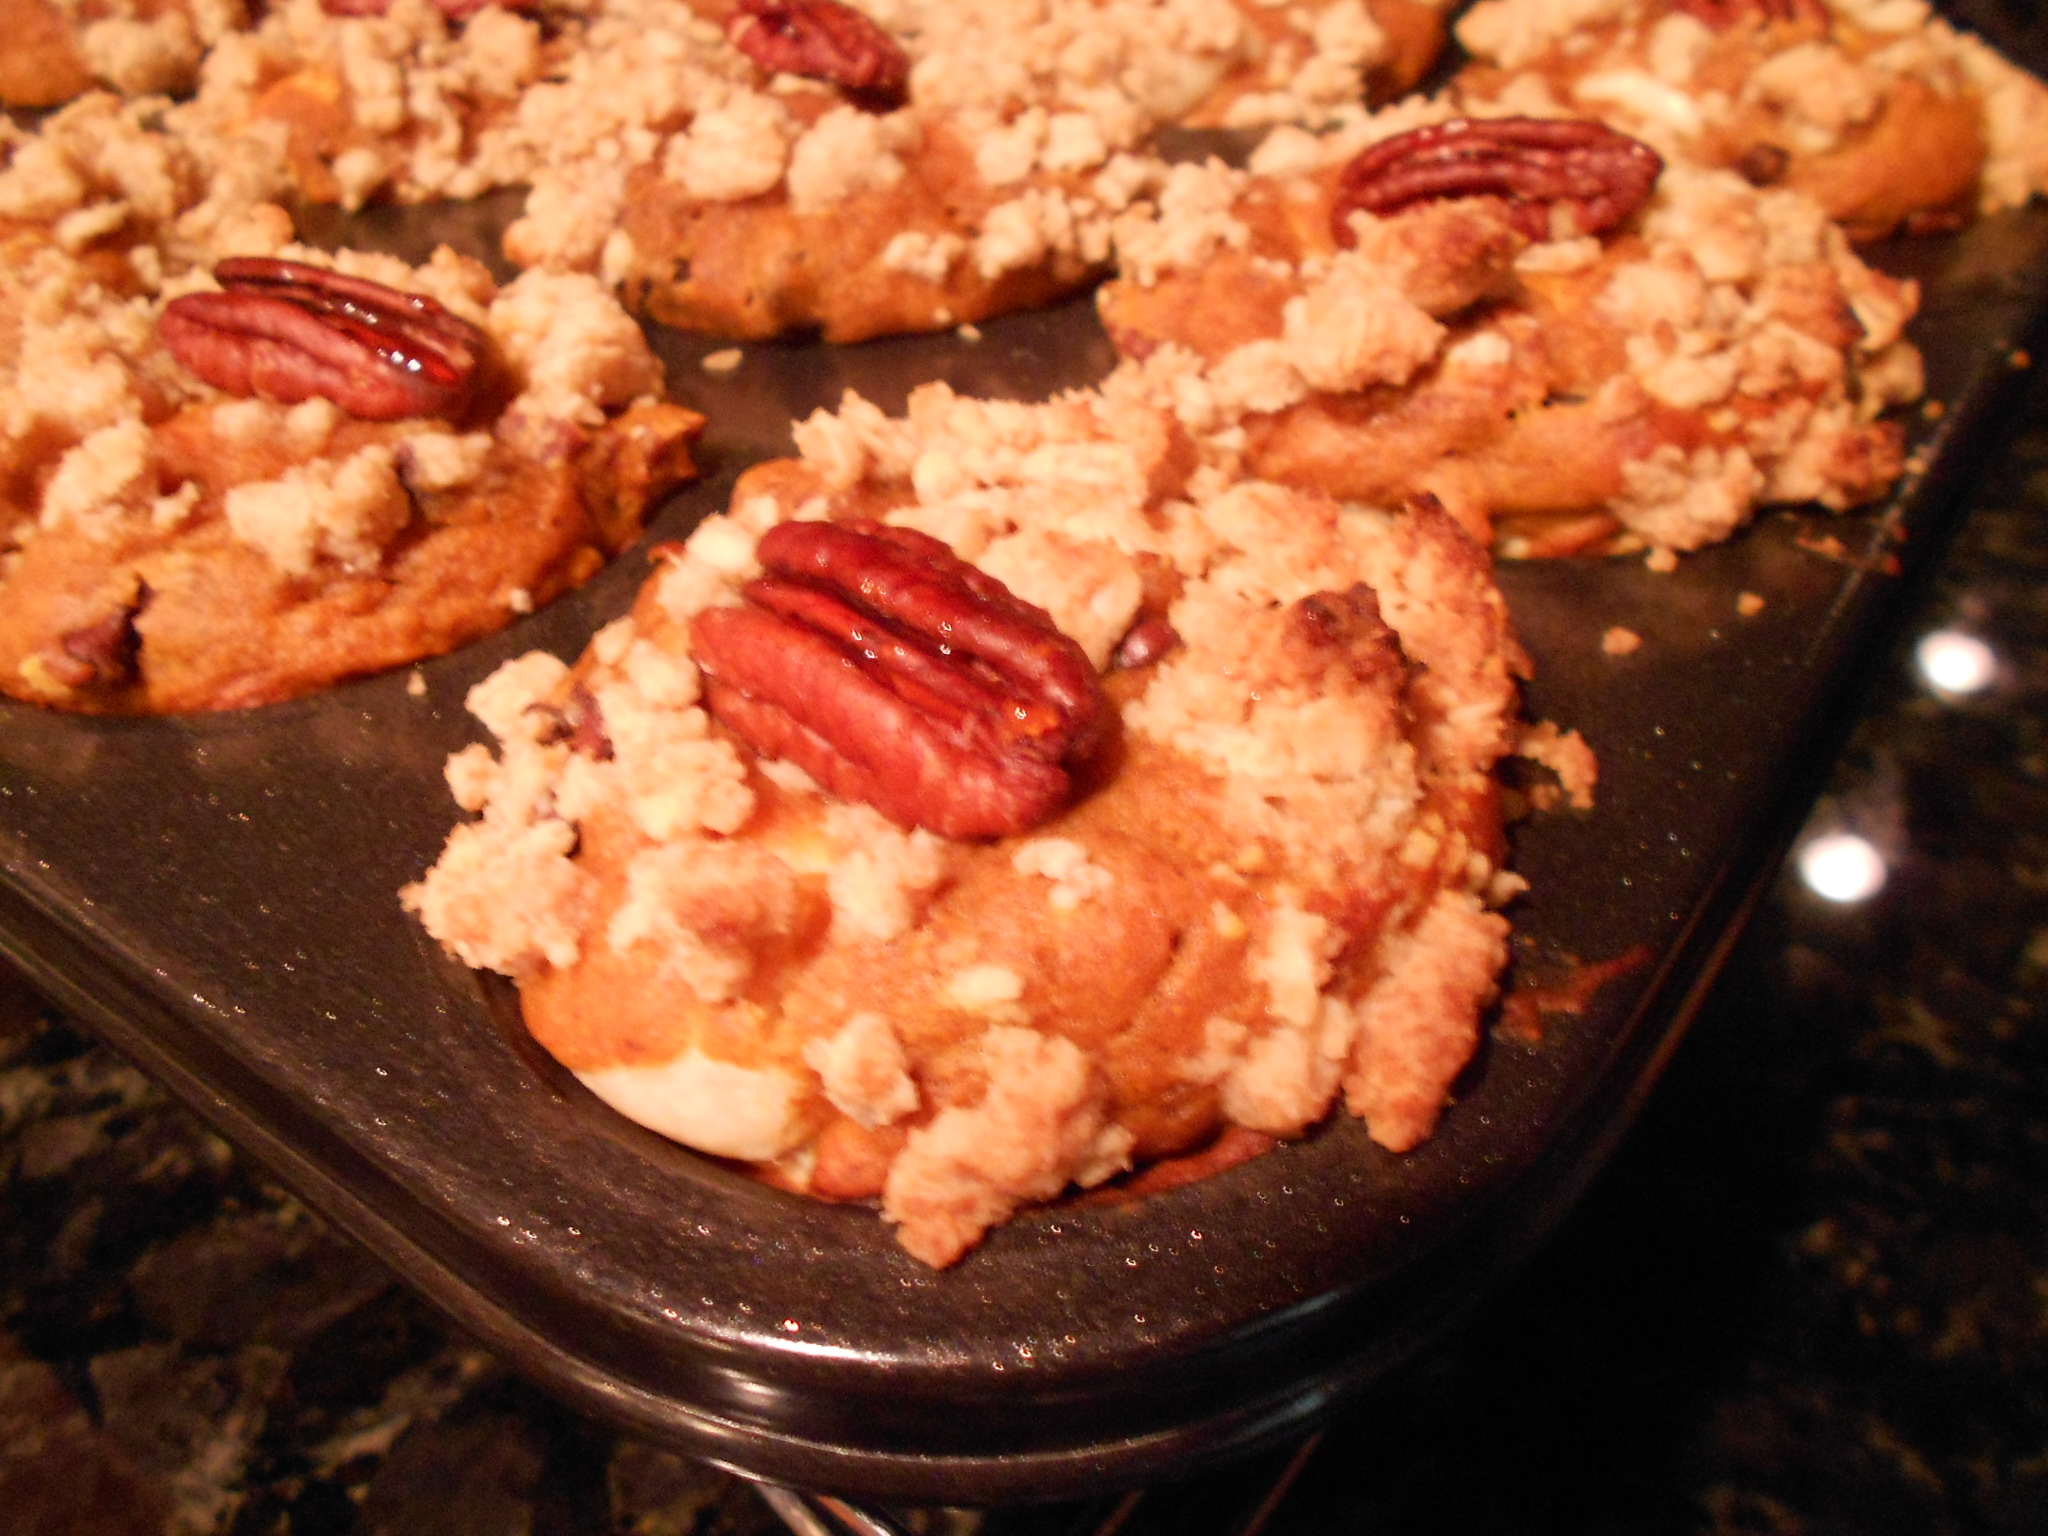
I put the muffin pan in the oven and let it bake at 400 for 15 minutes and then cover with foil and let it bake between 10 to 15 minutes longer, or until a toothpick comes clean. If you notice that 2 muffins come clean when tested but one is not playing nice, sometimes the cream cheese can be deceiving so I always go with the majority rule and pull them out than over bake them. You notice the Pecan may over brown or burn, cover with foil sooner as I know ovens vary.

DSCN3511

Let the muffins cool in the pan for about 8 to 10 minutes and I remove them by using a chop stick or toothpick to assist in pulling the muffin out without destroying or knocking off the topping. I then place the muffins on a rack to finish cooling. Have family that is impatient when you bake? You can eat these semi-warm so after 10 to 15 minutes, they can go at them!

Now, you will notice my pecan is shiny and that is because when I remove the muffins from the pan and onto a rack, I then take my finger and softly touch the pecan with maple syrup. Gives the nut flavor and it cools looking pretty.

DSCN3513DSCN3515

Options: You can add dried cranberries, raisins, or even substitute the nut for one more to your liking. You don't have to toast the nuts if you are short on time, I just do it because it gives the pecans a better flavor. You could also add butterscotch chips......make it your own as I have no rules!

DSCN3507DSCN3519

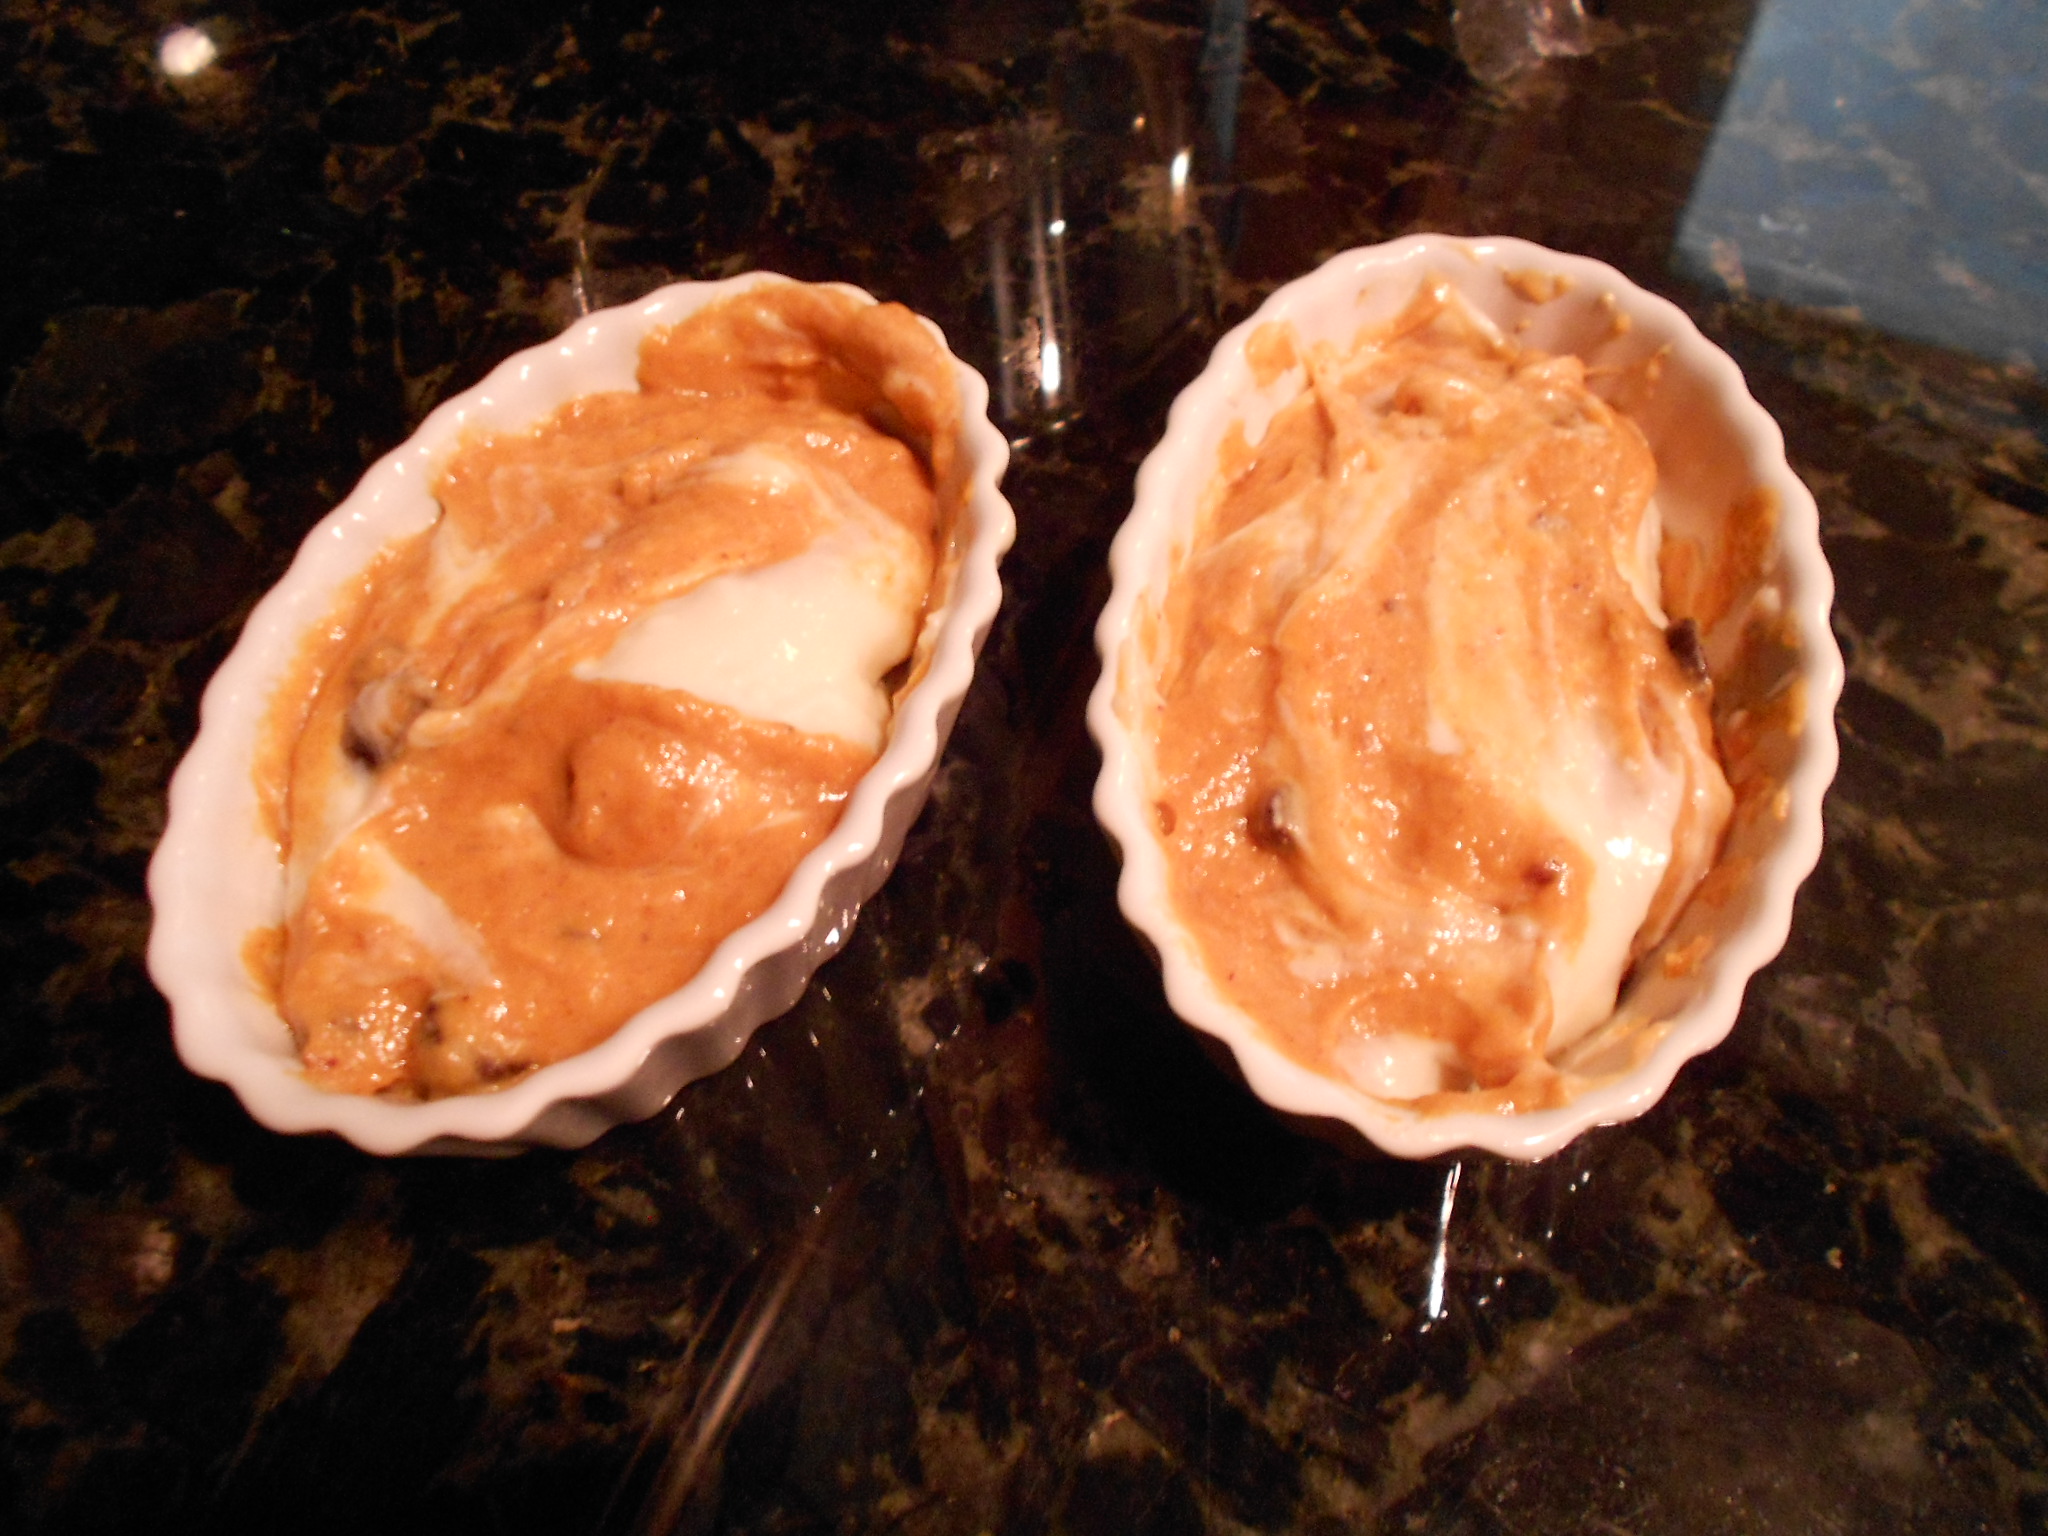
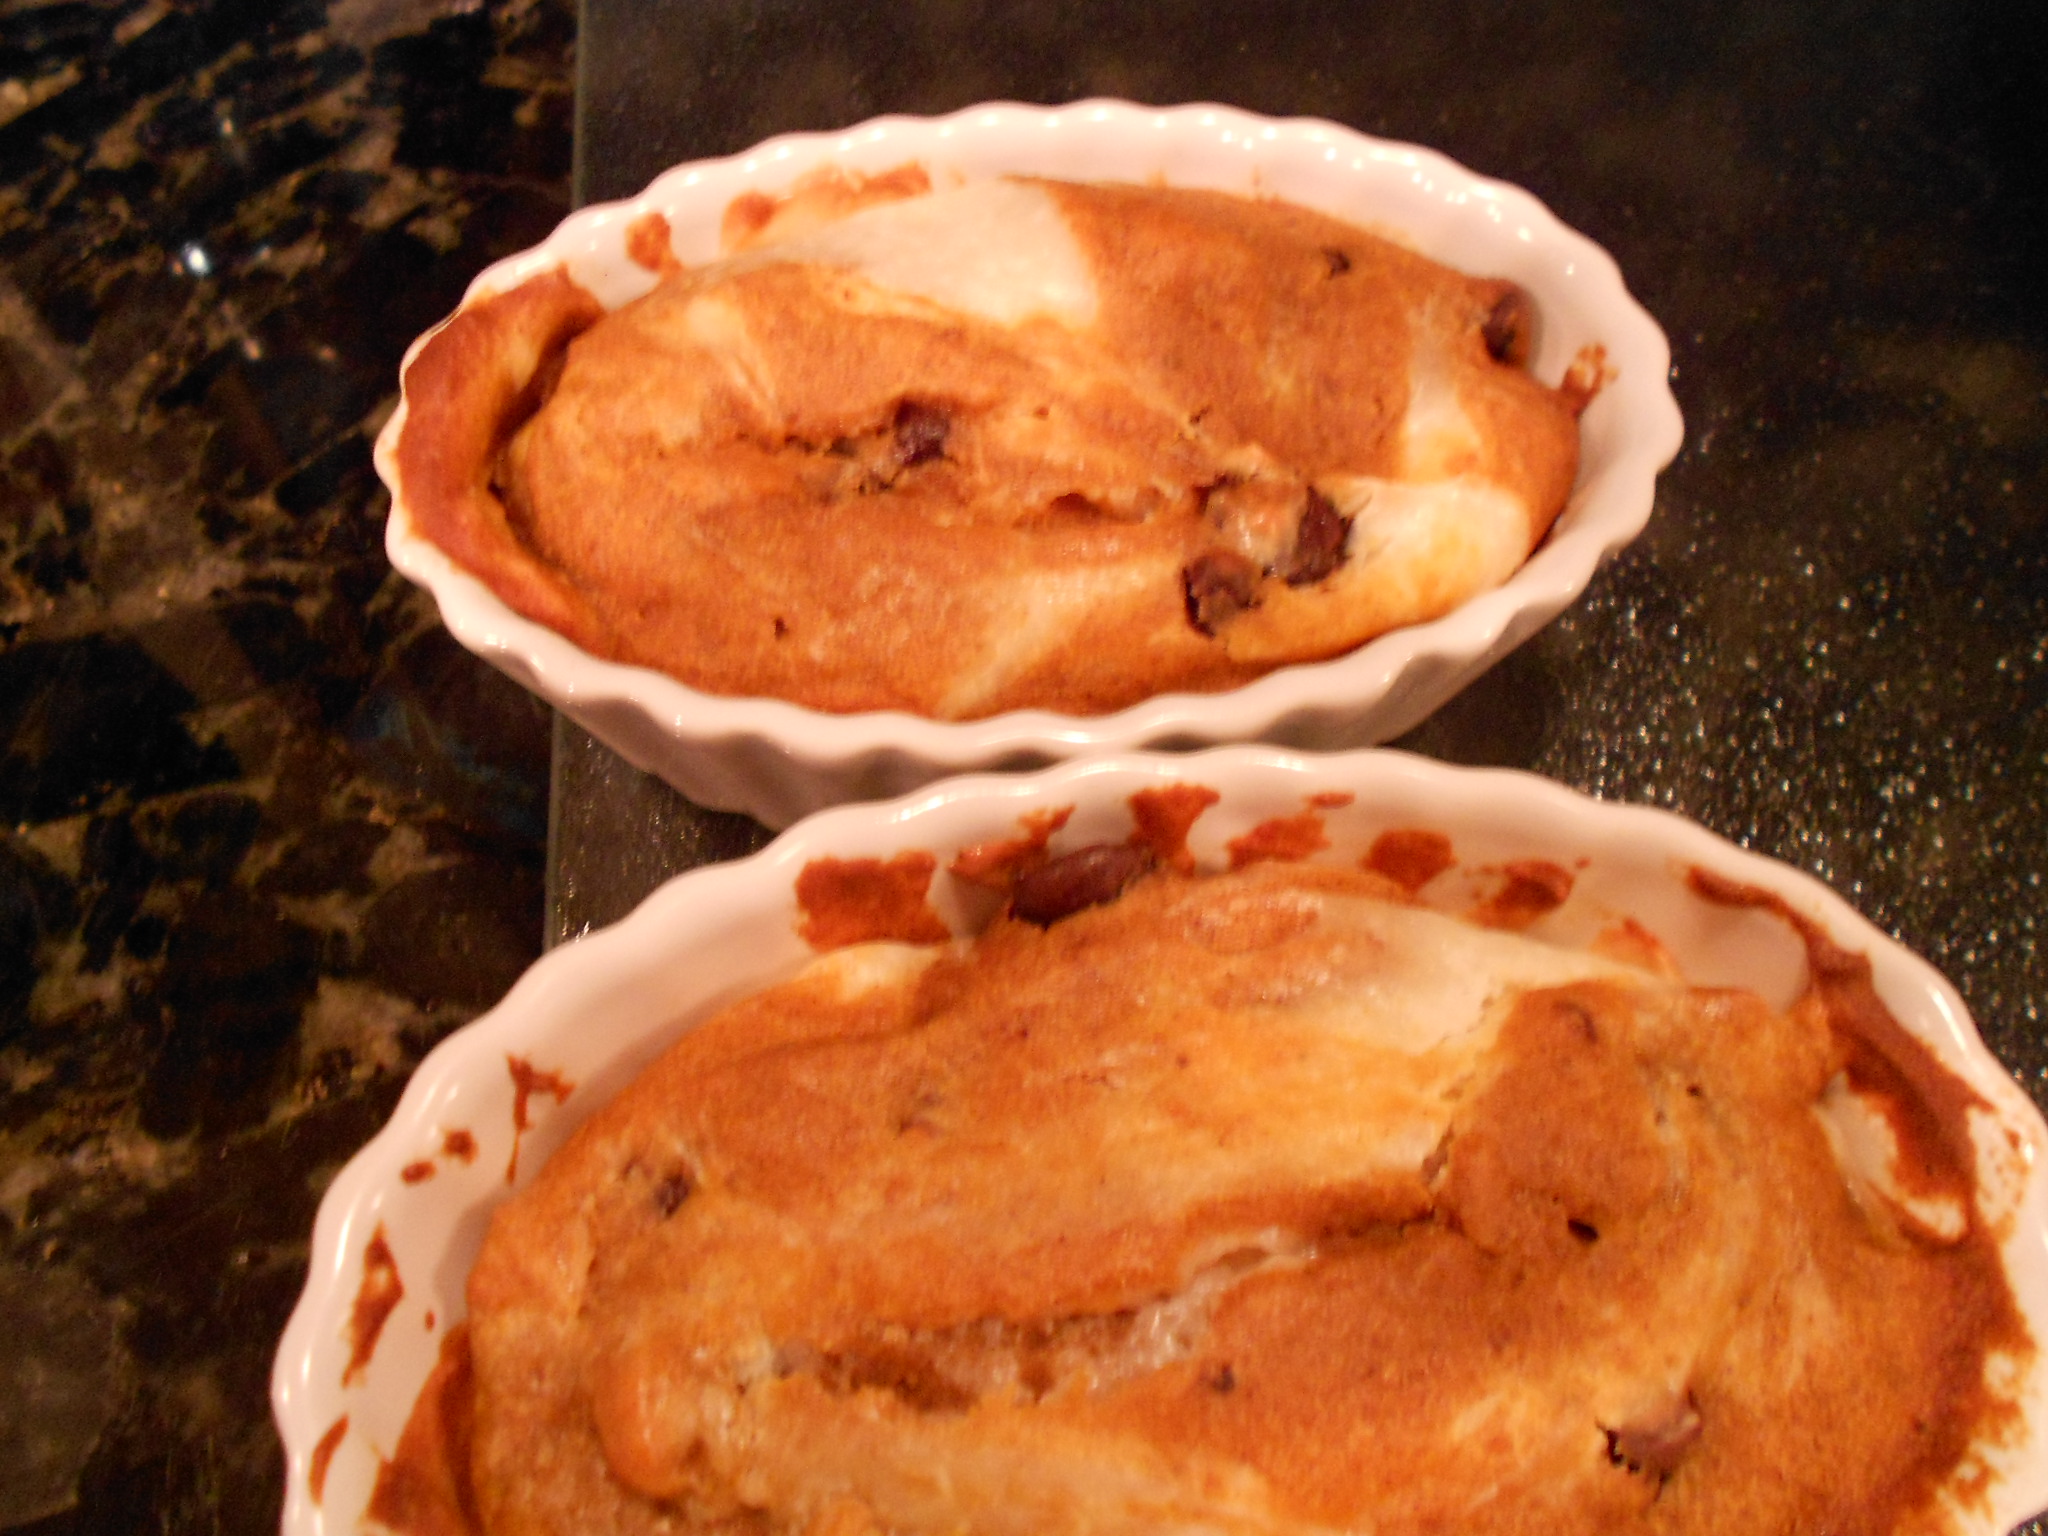
You will notice you may have 2 to 3 muffin worth of pumpkin batter left and some cream cheese. I believe in not wasting so I take a couple ramekins and created a swirl by using both the batter and filling. Once cooled, you can cover with ganache and again this is even something you can do to make the muffins :) Have fun!

DSCN3516