Showing posts with label bread. Show all posts

Wednesday, March 5, 2014

Winners Announced for Tribes-a-Dozen & Almondina Cookies Giveaway

DSCN4431

Tribes-a-Dozen:


  • The winner is Kathy Hanley :) I have sent an e-mail and Congratulations on the win!!!


DSCN4452

Almondina:

  • The winner is tcarolinep :) I have sent an e-mail and Congratulations on your win!!!


Sunday, January 5, 2014

BzzAgent: Kroger/ Ralph's Classic Garlic Bread

DSCN3825

Located in the Fresh Bakery section of your local Ralph's grocery store, you will find a french style loaf that is packaged in a foil covered bag. The loaf is large enough for a family to enjoy with two meals! Very easy to warm up in your oven and it's ready to go with no preparation needed. Neat.

Overall Taste and Texture:
I liked the bread itself as it had a wonderful crust and was light and fluffy towards the center. The spread is suppose to resemble a garlic one, however I did not smell much garlic when I checked out the loaf before baking. I smelled oils and what you would describe a very light garlic-ey scent that seemed more like what you find in seasonings (powdered). After heating, I sliced the bread and again did not detect a rich smell that makes you almost drool when you have garlic bread in front of you. I usually sneak a bite in before serving but the spread was so fluorescent yellow in coloring, that it did not pique my appetite. When I lifted the top portion from the bottom, I noticed the "butter" was more oil than anything.....maybe it's a margarine? I felt the spread sort of was a negative compared to how the bread itself is. I would definitely purchase a loaf of bread to go with a meal but I am sticking to plain on this one!

I received the above product free of charge from BzzAgent and Ralph's.  I am not obligated in providing a positive/favorable review, just my honest opinion.  My review is based on my experience with the product and/or brand, which may differ from yours.


Wednesday, October 2, 2013

Pretzel Bread Recipe

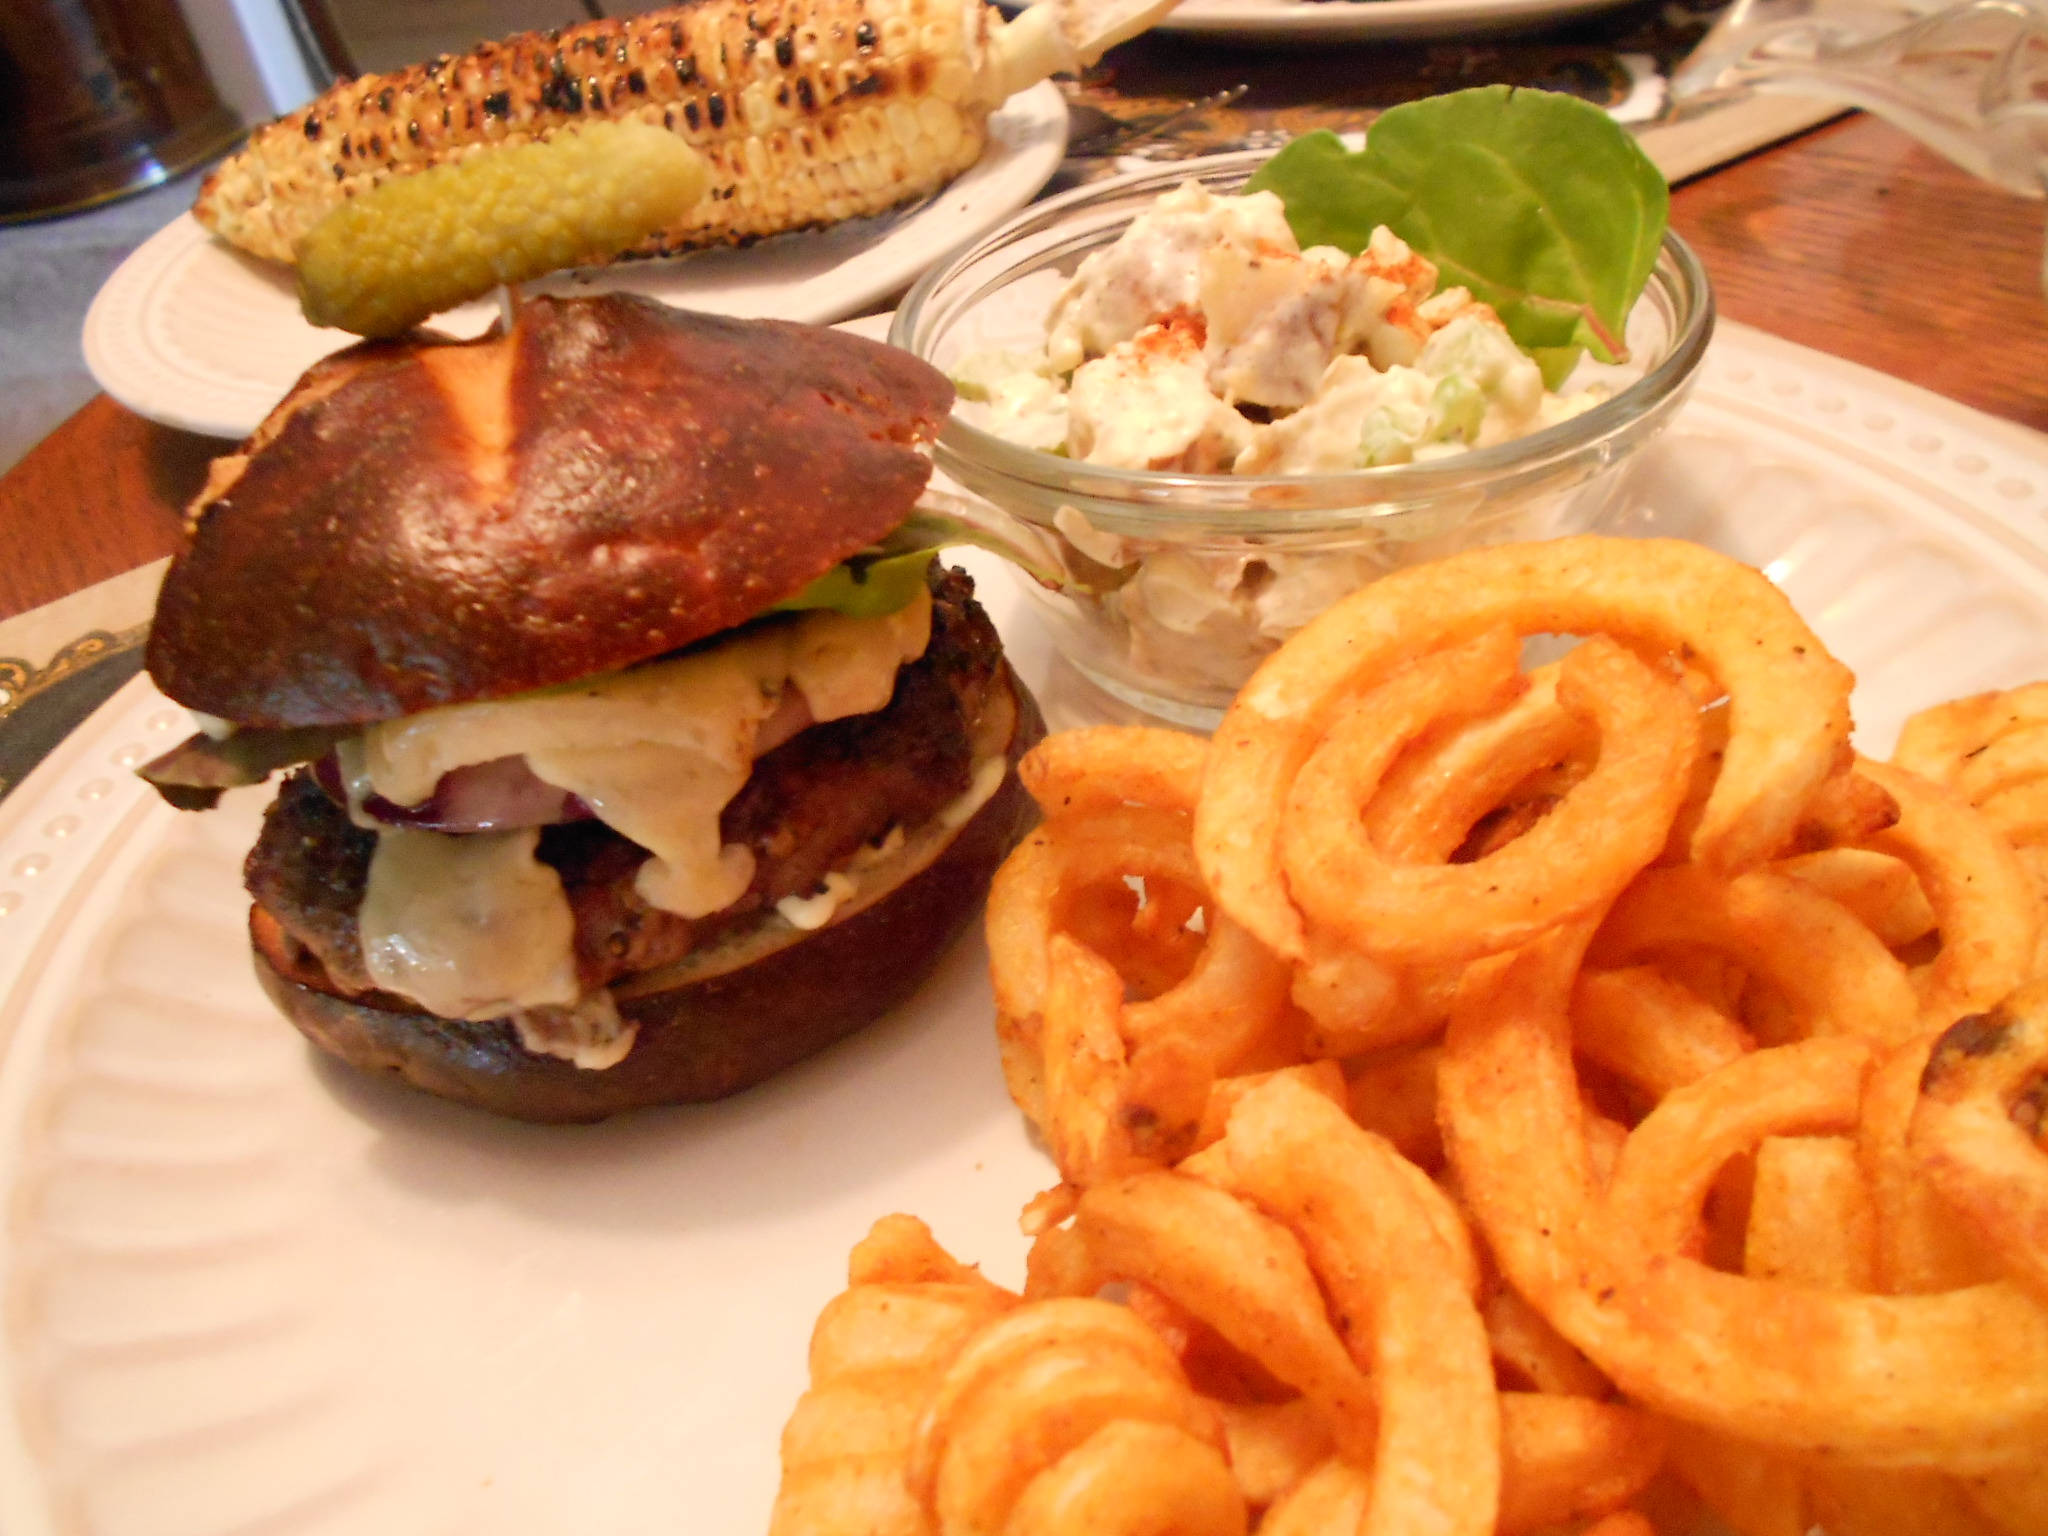
DSCN3351 Pretzel Burger

Everybody loves pretzel bread. Everybody. We see the commercials from drive-thru joints to restaurants, and I was purchasing the 4 bun bag at Trader Joe's until they discontinued it. So I started purchasing it at Costco then and after two purchases, they suddenly stop making it. I have heard they consider it a "seasonal item", but whatever the reason, I wanted Pretzel Bread and was tired of hunting. Yes, I even tried Fresh & Easy's Pretzel buns and they just taste like salty white bread, so I think they just paint their burger buns brown and call it Pretzel bread!

DSCN3263DSCN3266

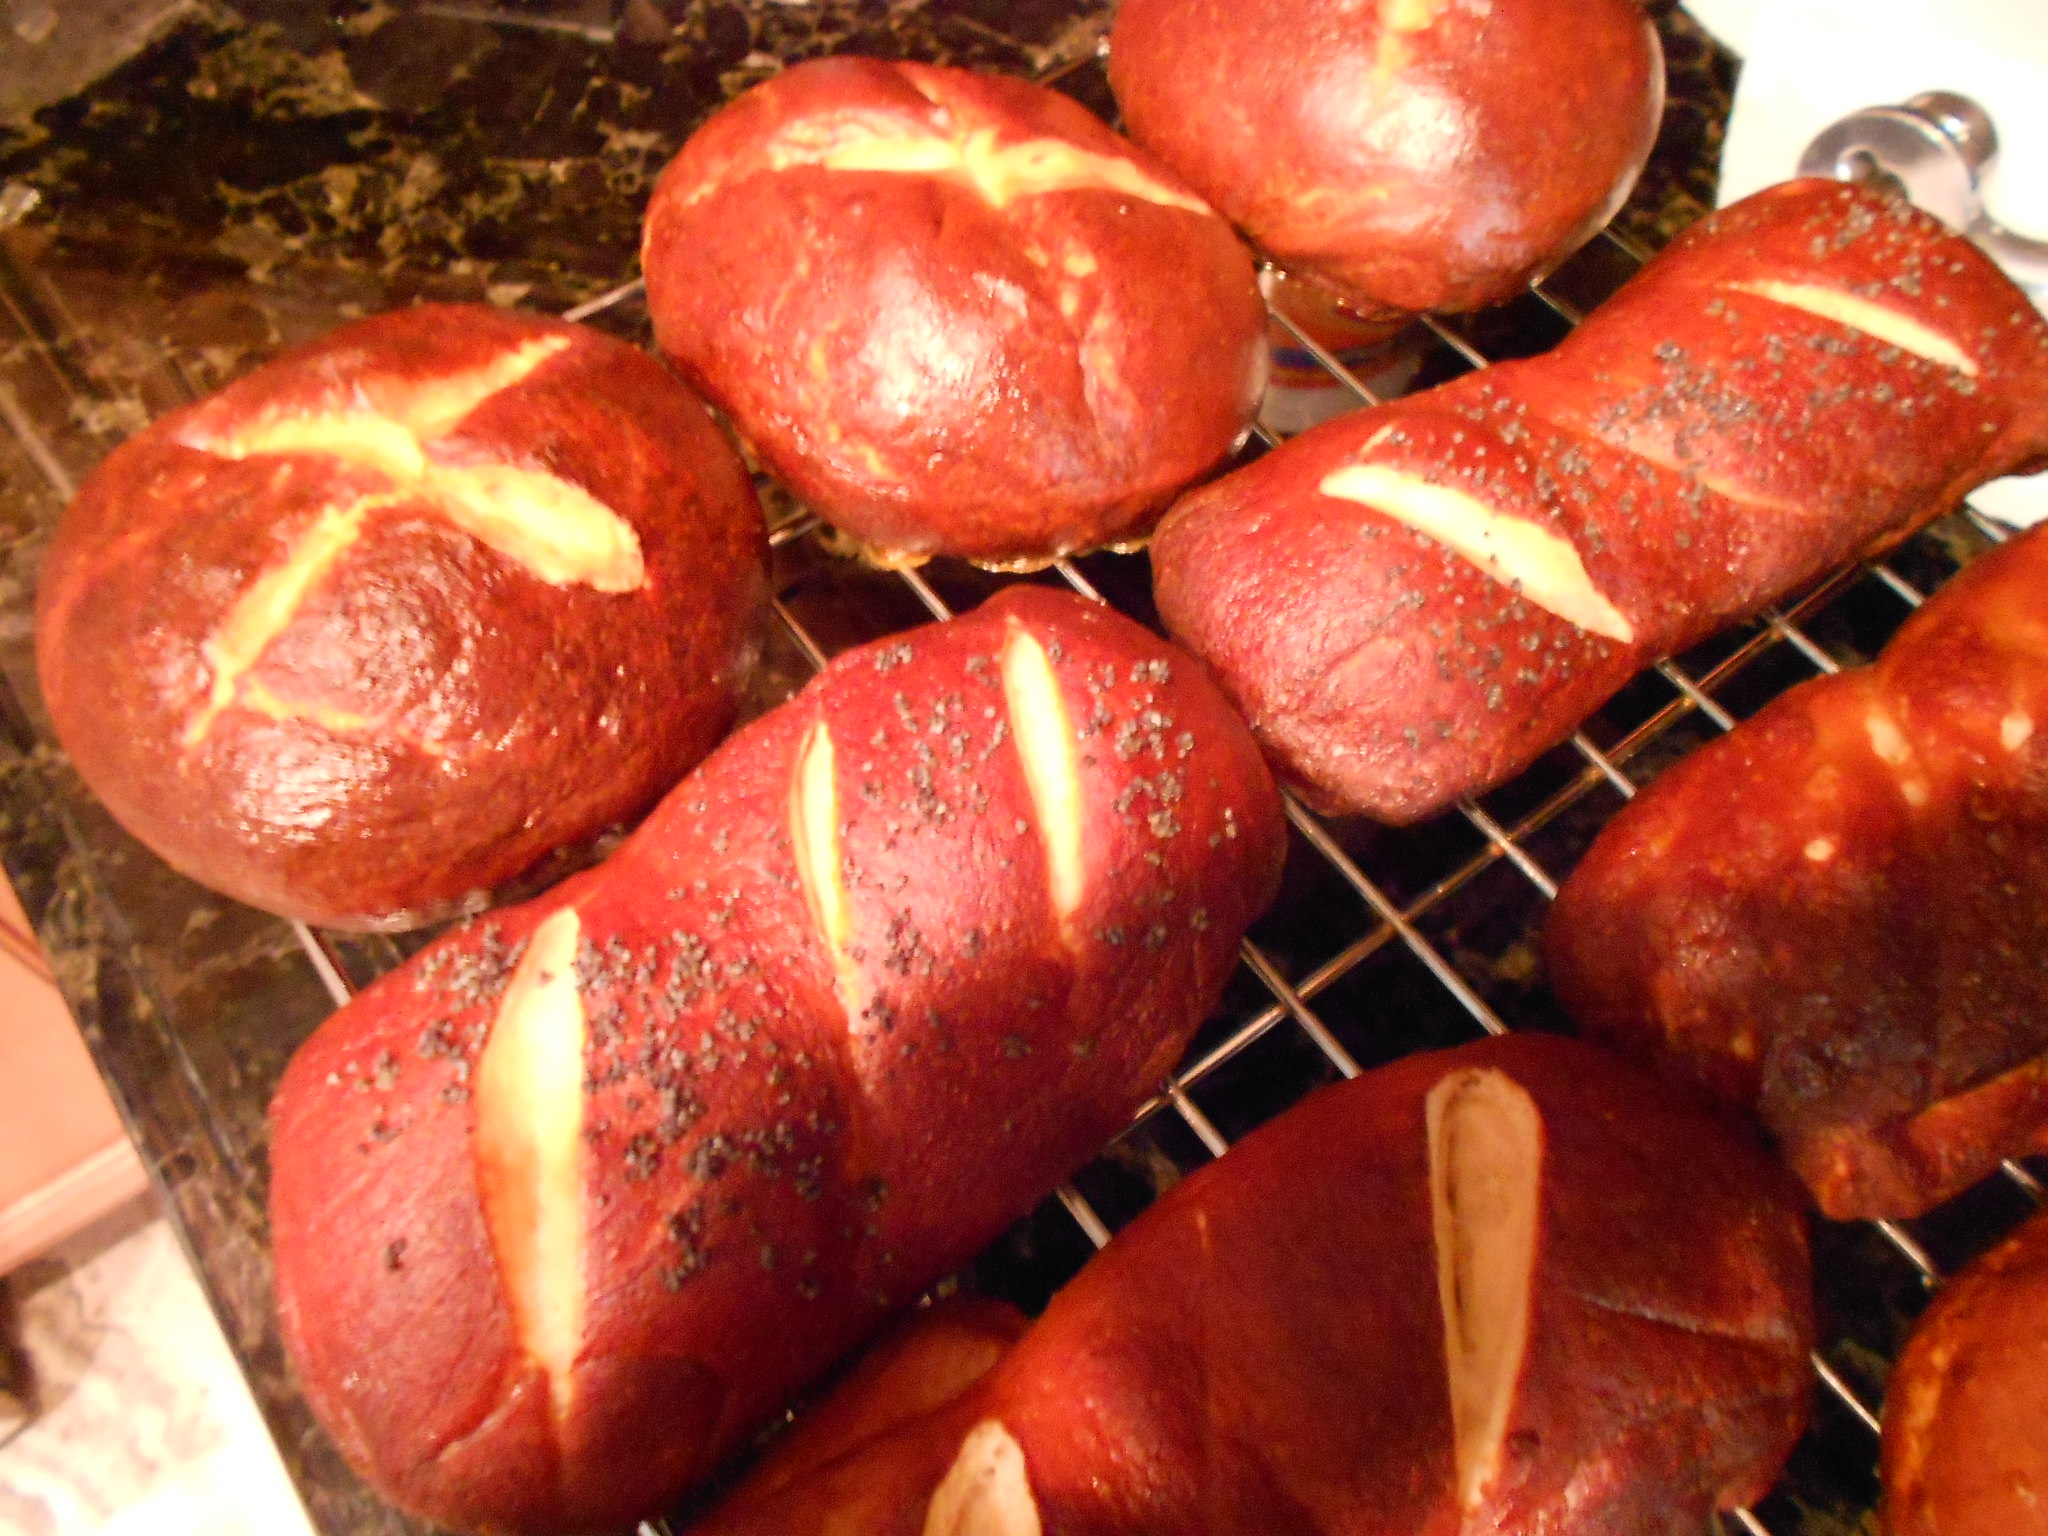
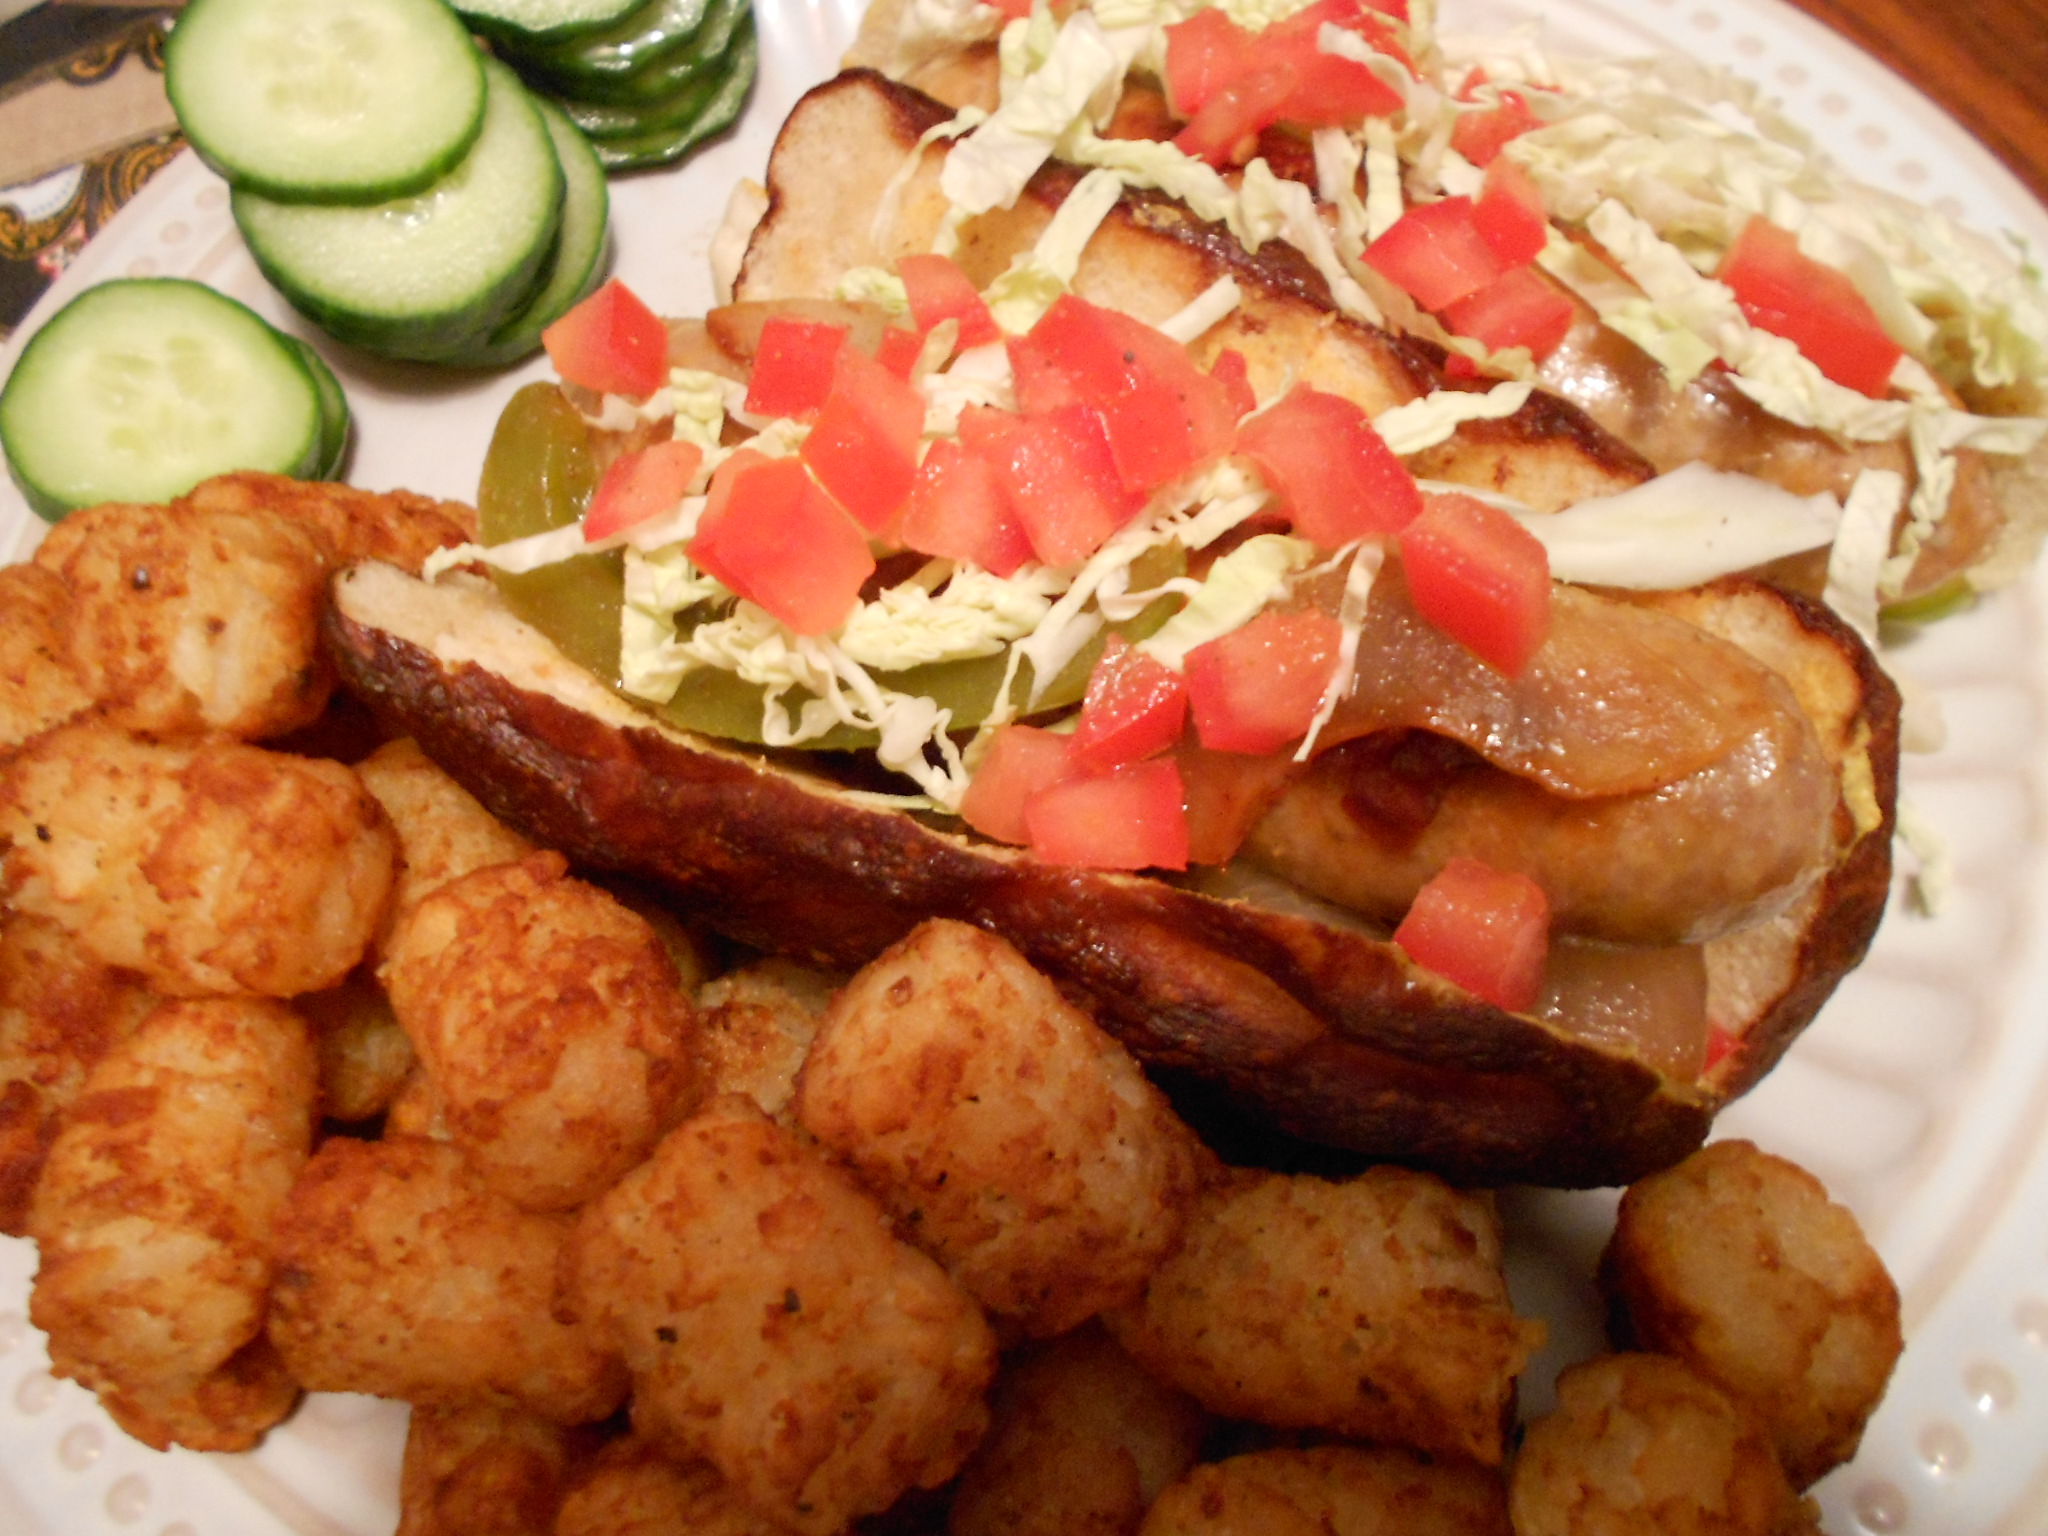
Pretzel Bread                                                                                                                                                                 Brauts with Pretzel Buns

So after experimenting, I finally found a way to have Pretzel buns, rolls, loaves....you name it and you can even freeze them to have them keep longer. I use plastic wrap and then foil to freeze each roll. I then take them out, remove the plastic and re-wrap the bread in the same foil I used to freeze it in. Set the oven at 375 degrees and 10 to 15 minutes later, I have warm freshly baked Pretzel bread! YUM.

Let's get started......

For the Dough-

1 cup of whole Milk
3 tablespoons of Butter
2 tablespoons of Brown Sugar
2 1/4 teaspoons of Active Dry yeast (1 packet if using the envelopes)
1 1/2 teaspoons of Kosher Salt
2 3/4 to 3 1/4 cups of All-Purpose Flour

1/2 teaspoon of Unsalted Butter to use in the bowl your dough will rise in

For the Wash-

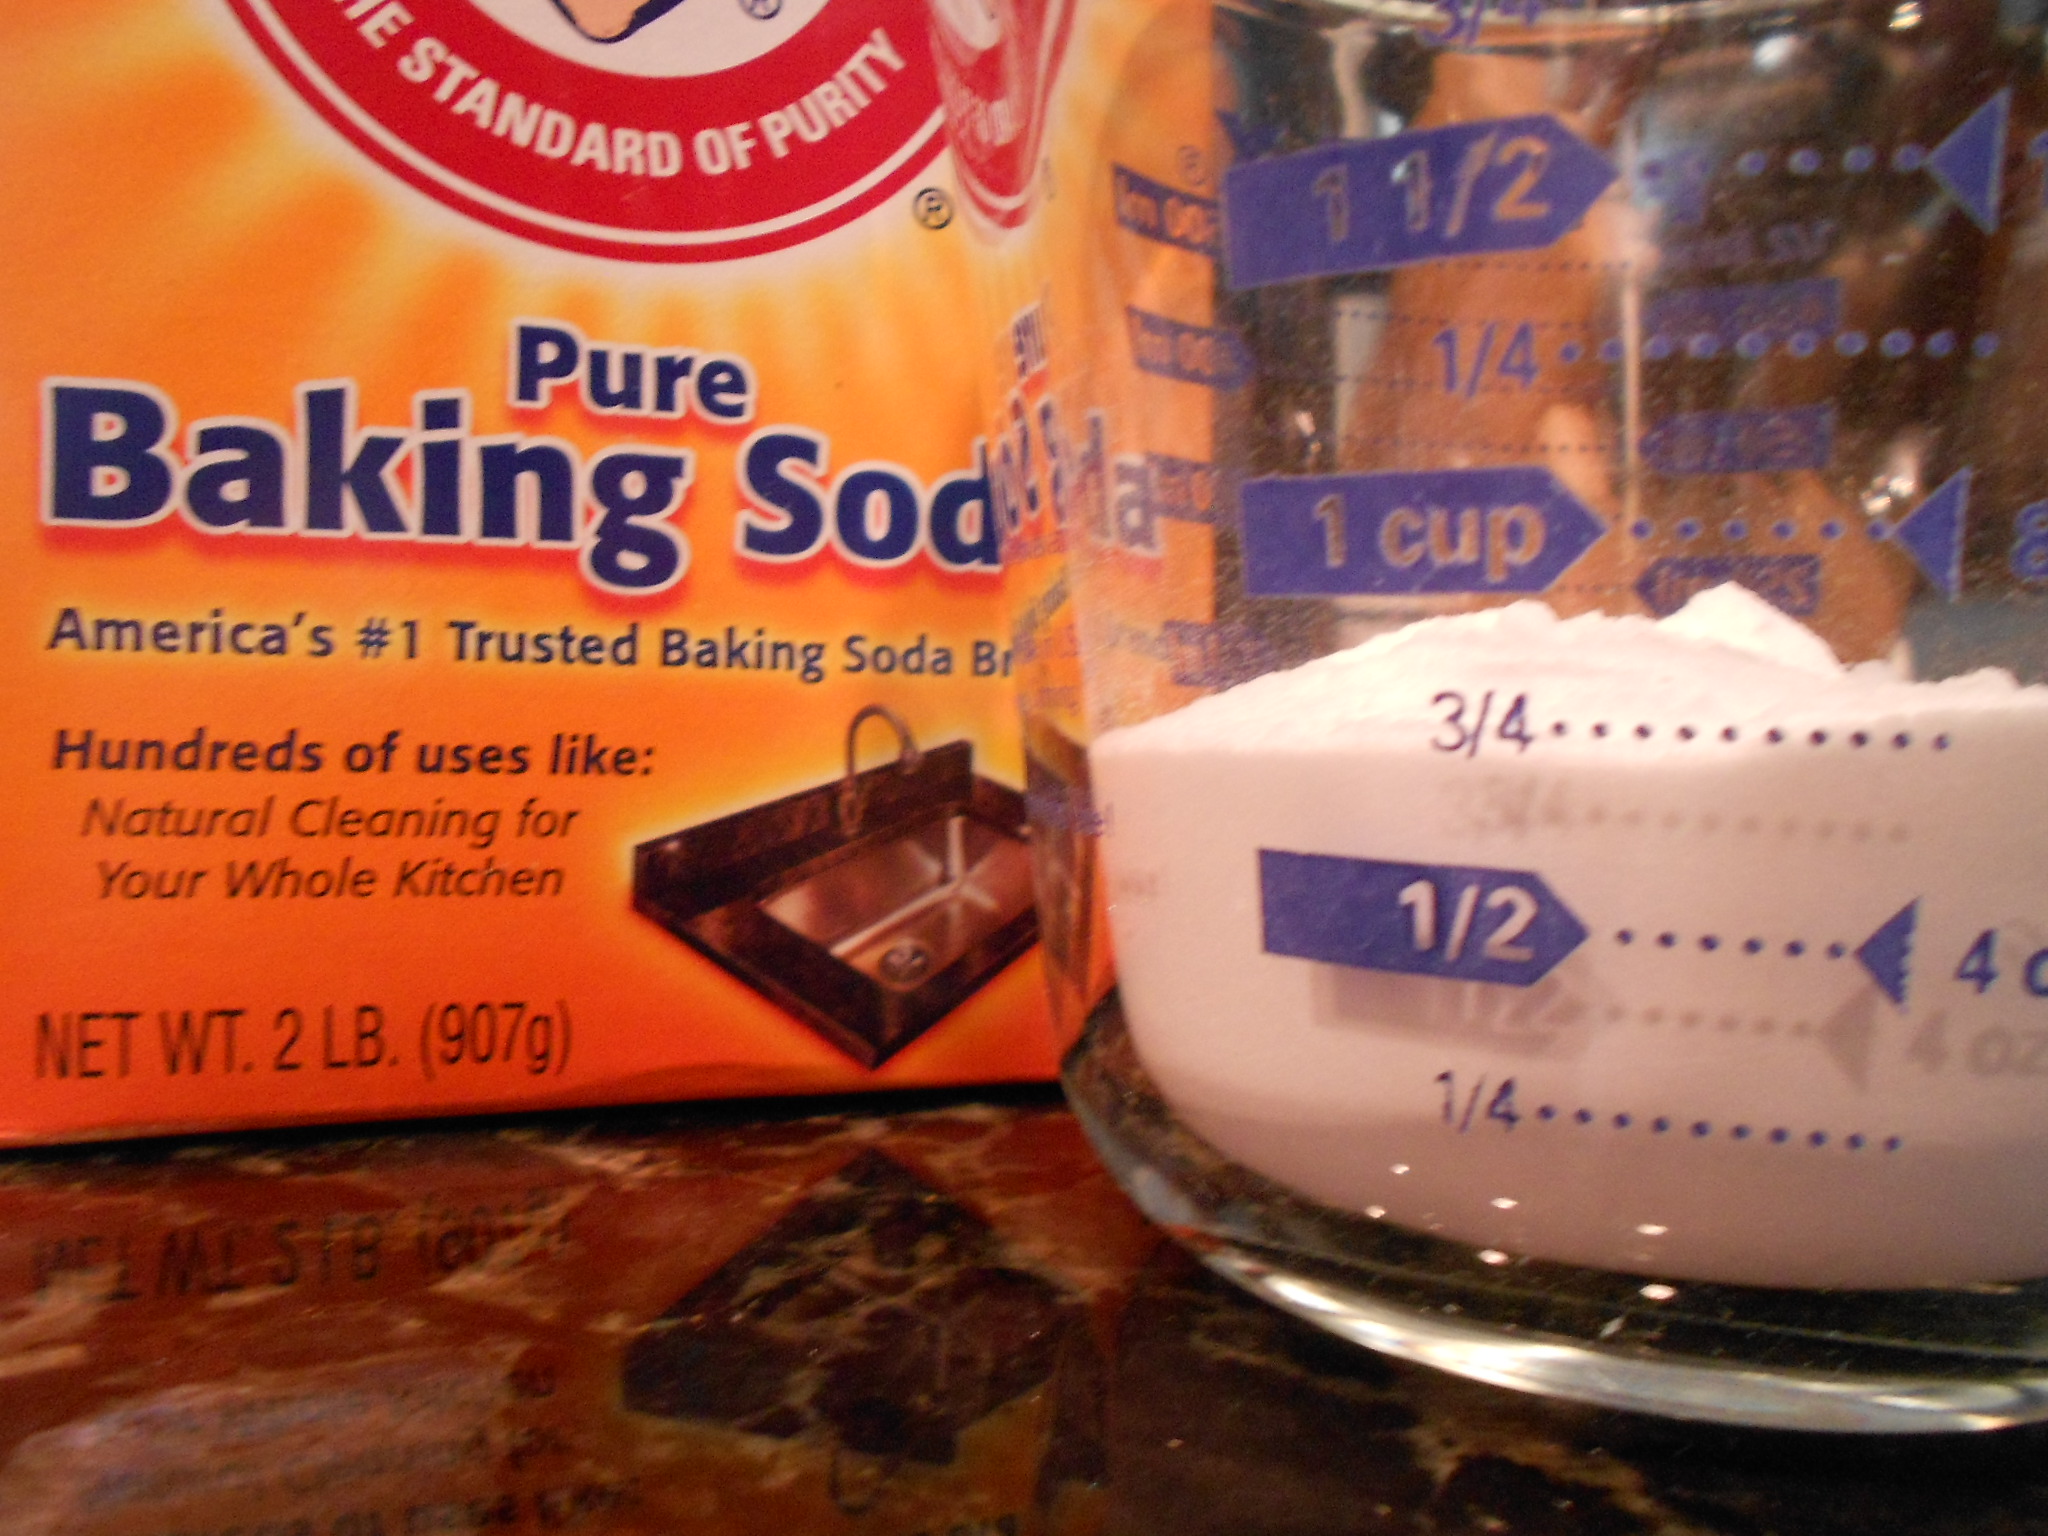
12 cups of Water
3/4 cup of Baking Soda

1 Egg and a teaspoon of Water to brush the bread before baking

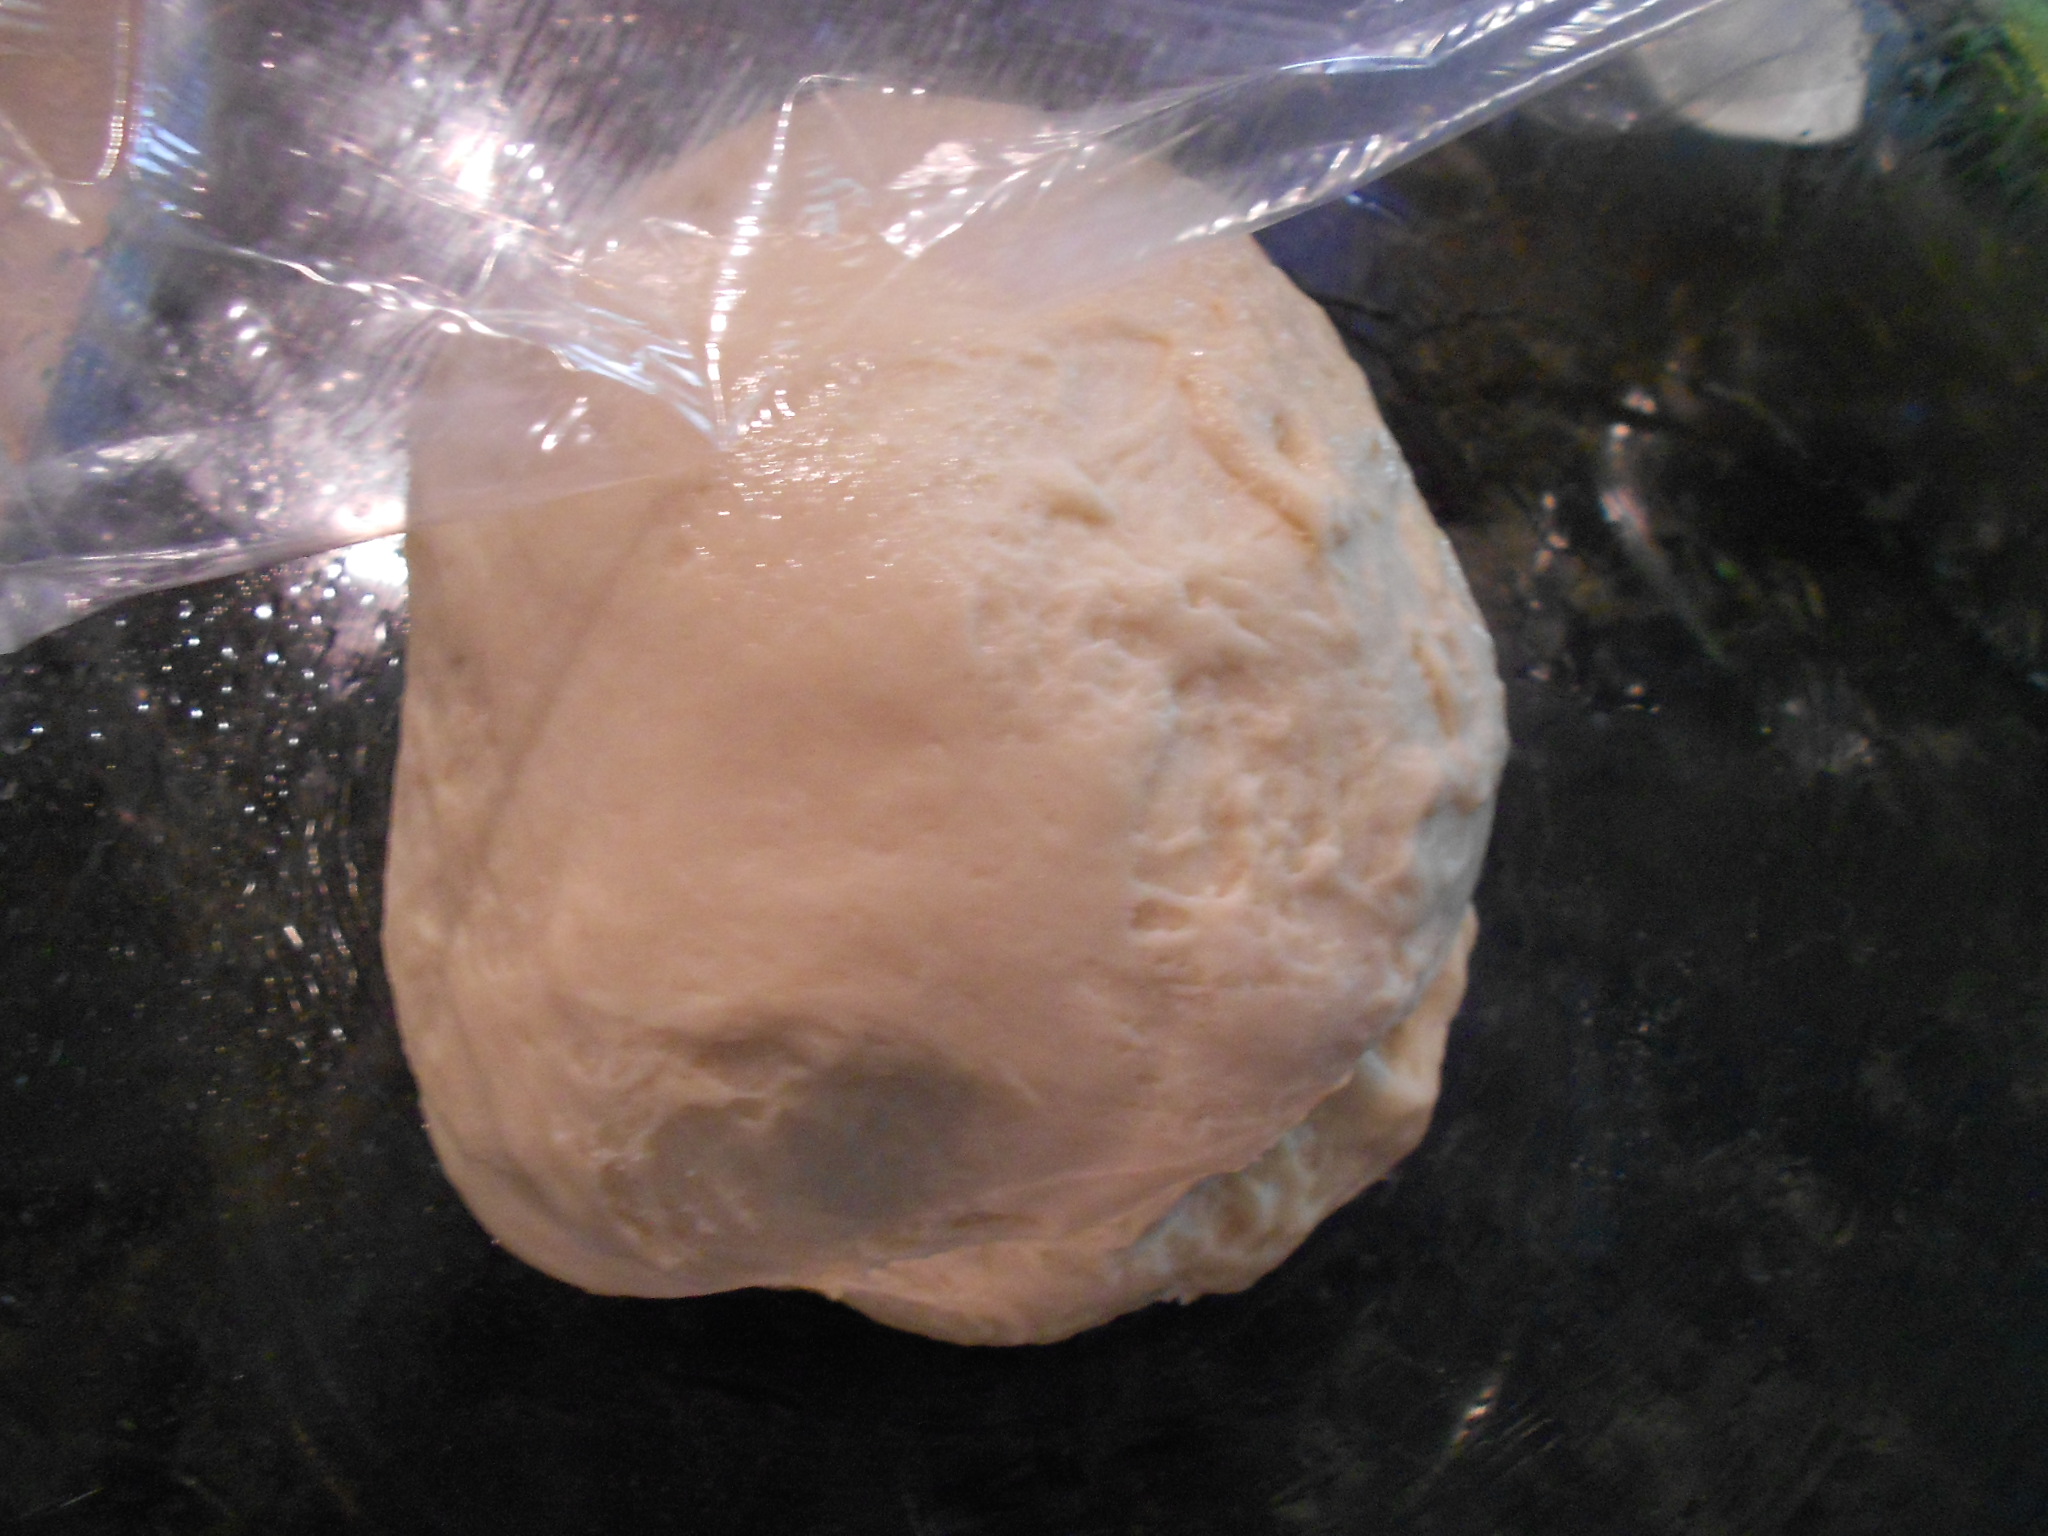
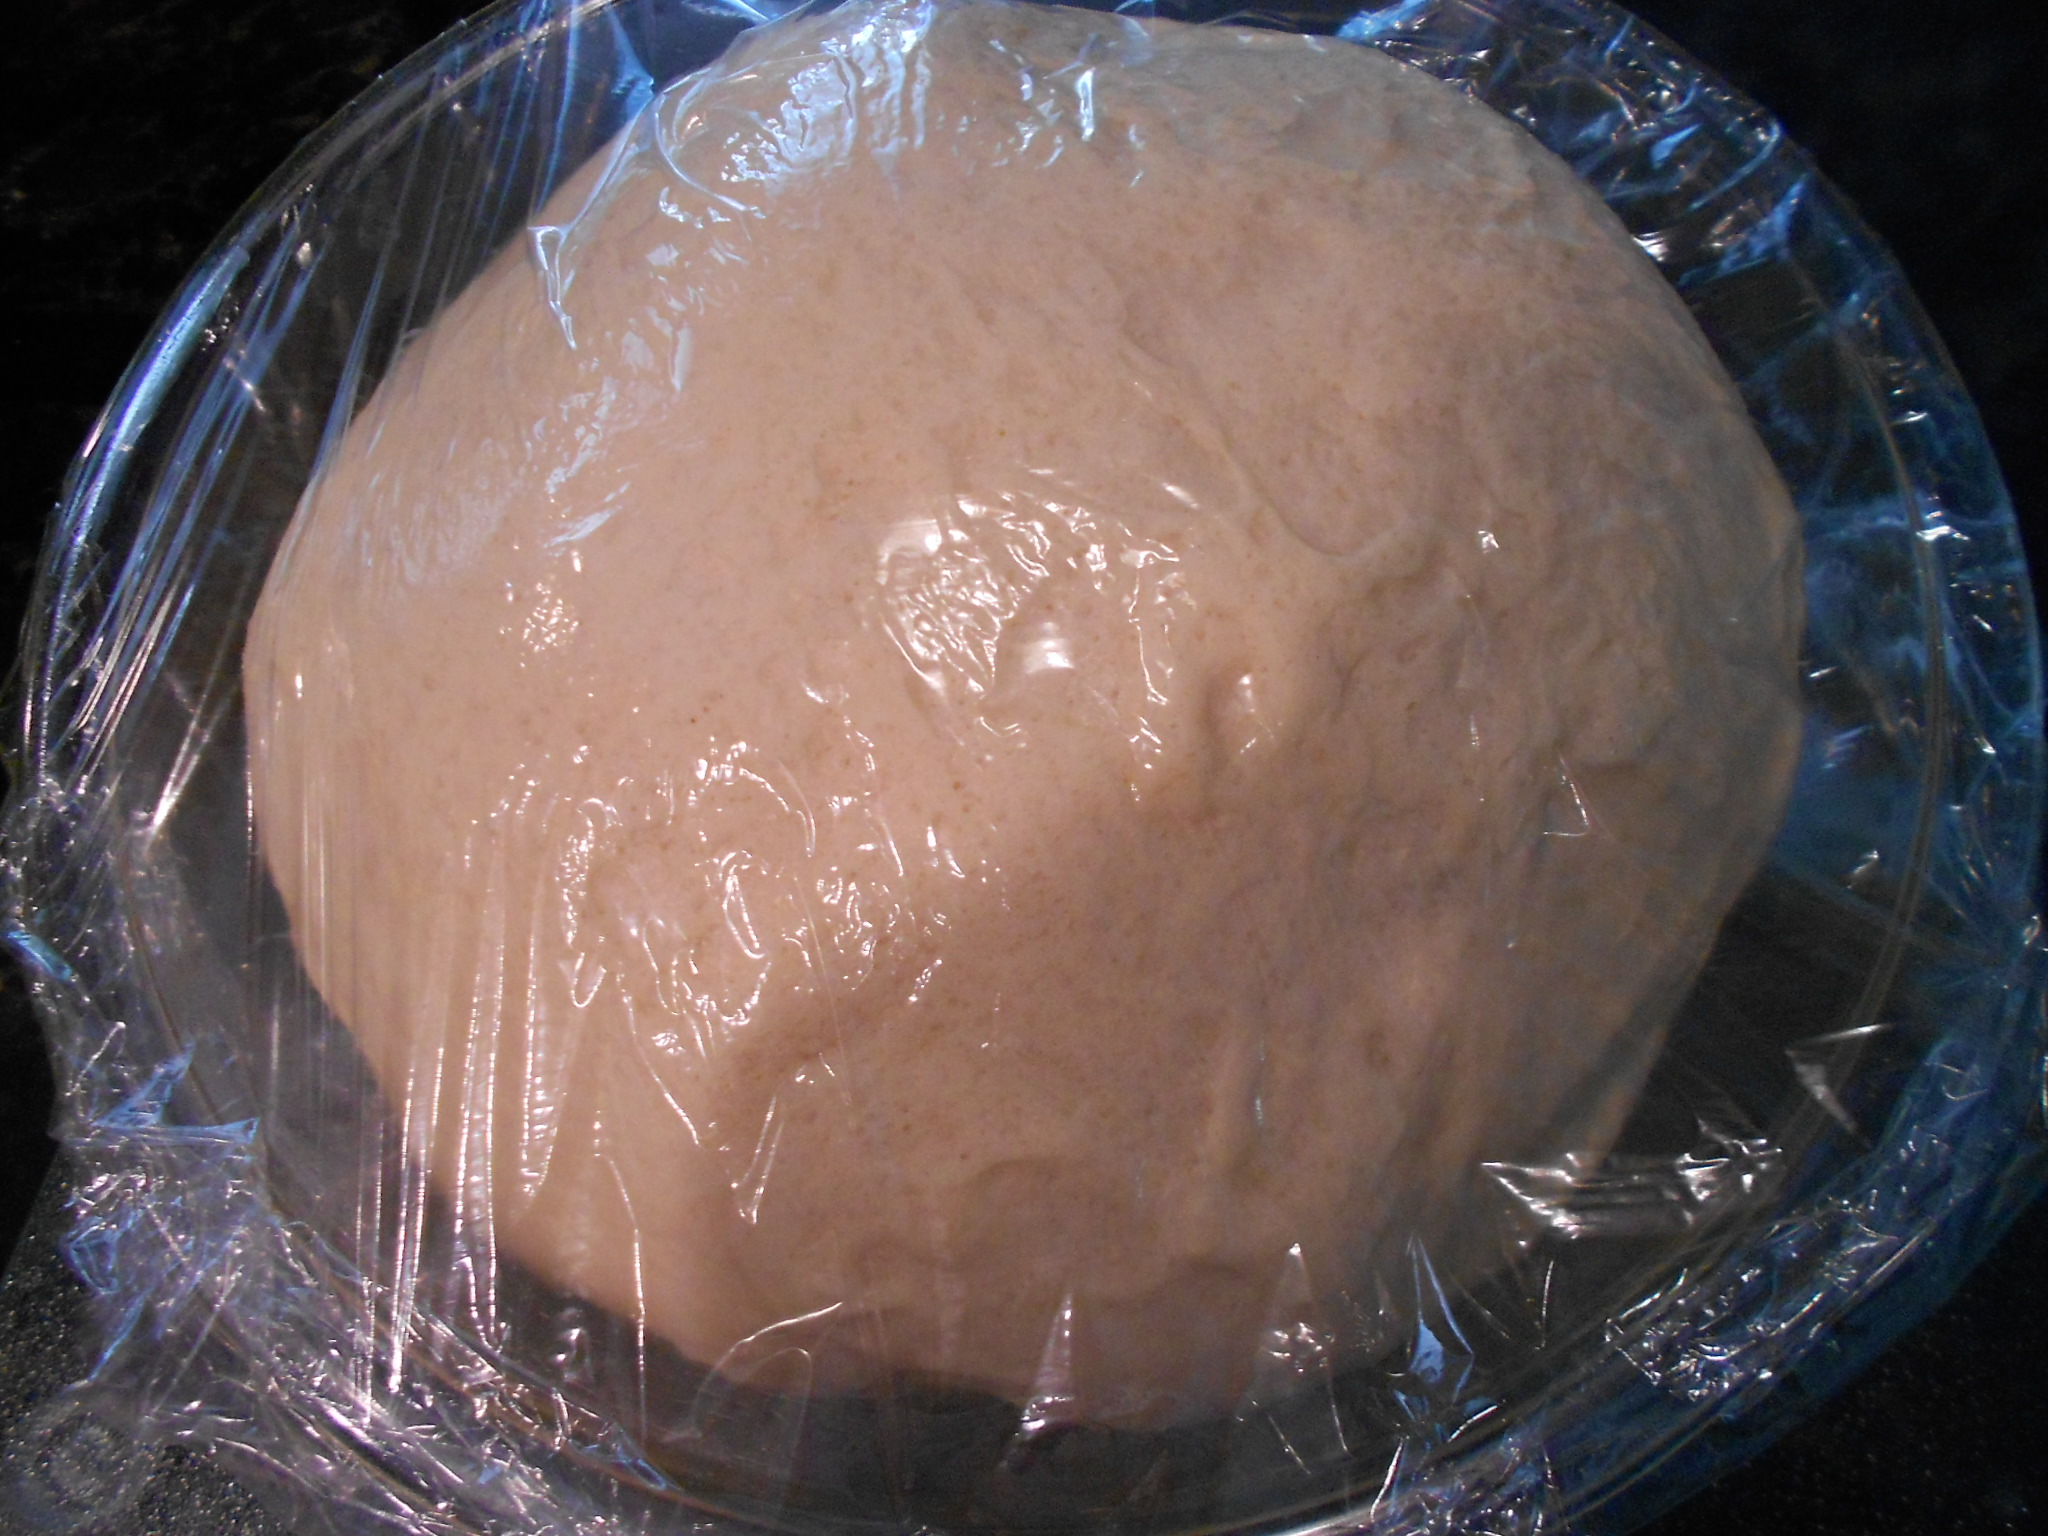
I use a microwave and warm the milk until it reaches 115 degrees. I add the butter, brown sugar and then the yeast. I use a spoon and make sure to wet the yeast enough and let it sit for about 5 minutes. While the yeast blooms, I begin to combine the salt and flour separately in a large bowl. When 5 minutes have passed, i pour the yeast mixture into the mixer's bowl with the dough hook attached. Make sure to use a spatula and get any remaining yeast into the bowl since it does not always pour out smoothly. I then begin to incorporate the flour and salt mixture slowly until I get a soft dough and this ranges between 2 3/4 to 3 1/4 cups. Not sure if the dough is smooth? Error on the side of caution and stick with 3 cups because a moist dough is better that a too dry dough in this application. Continue to knead the dough with the mixer for about 8 to 10 minutes. You want a smooth and elastic finish. I then take the greased bowl that will fit the dough but also allow room for it to proof (double in size). I dump the dough and create a loose ball, cover loosely with plastic and allow for it to rise. Takes about an hour and I use my oven as it has a "proof setting" that I set at 105 degrees.

DSCN3233

DSCN3234

Before Rise                                                                                                                                                        After 1 hour Rise

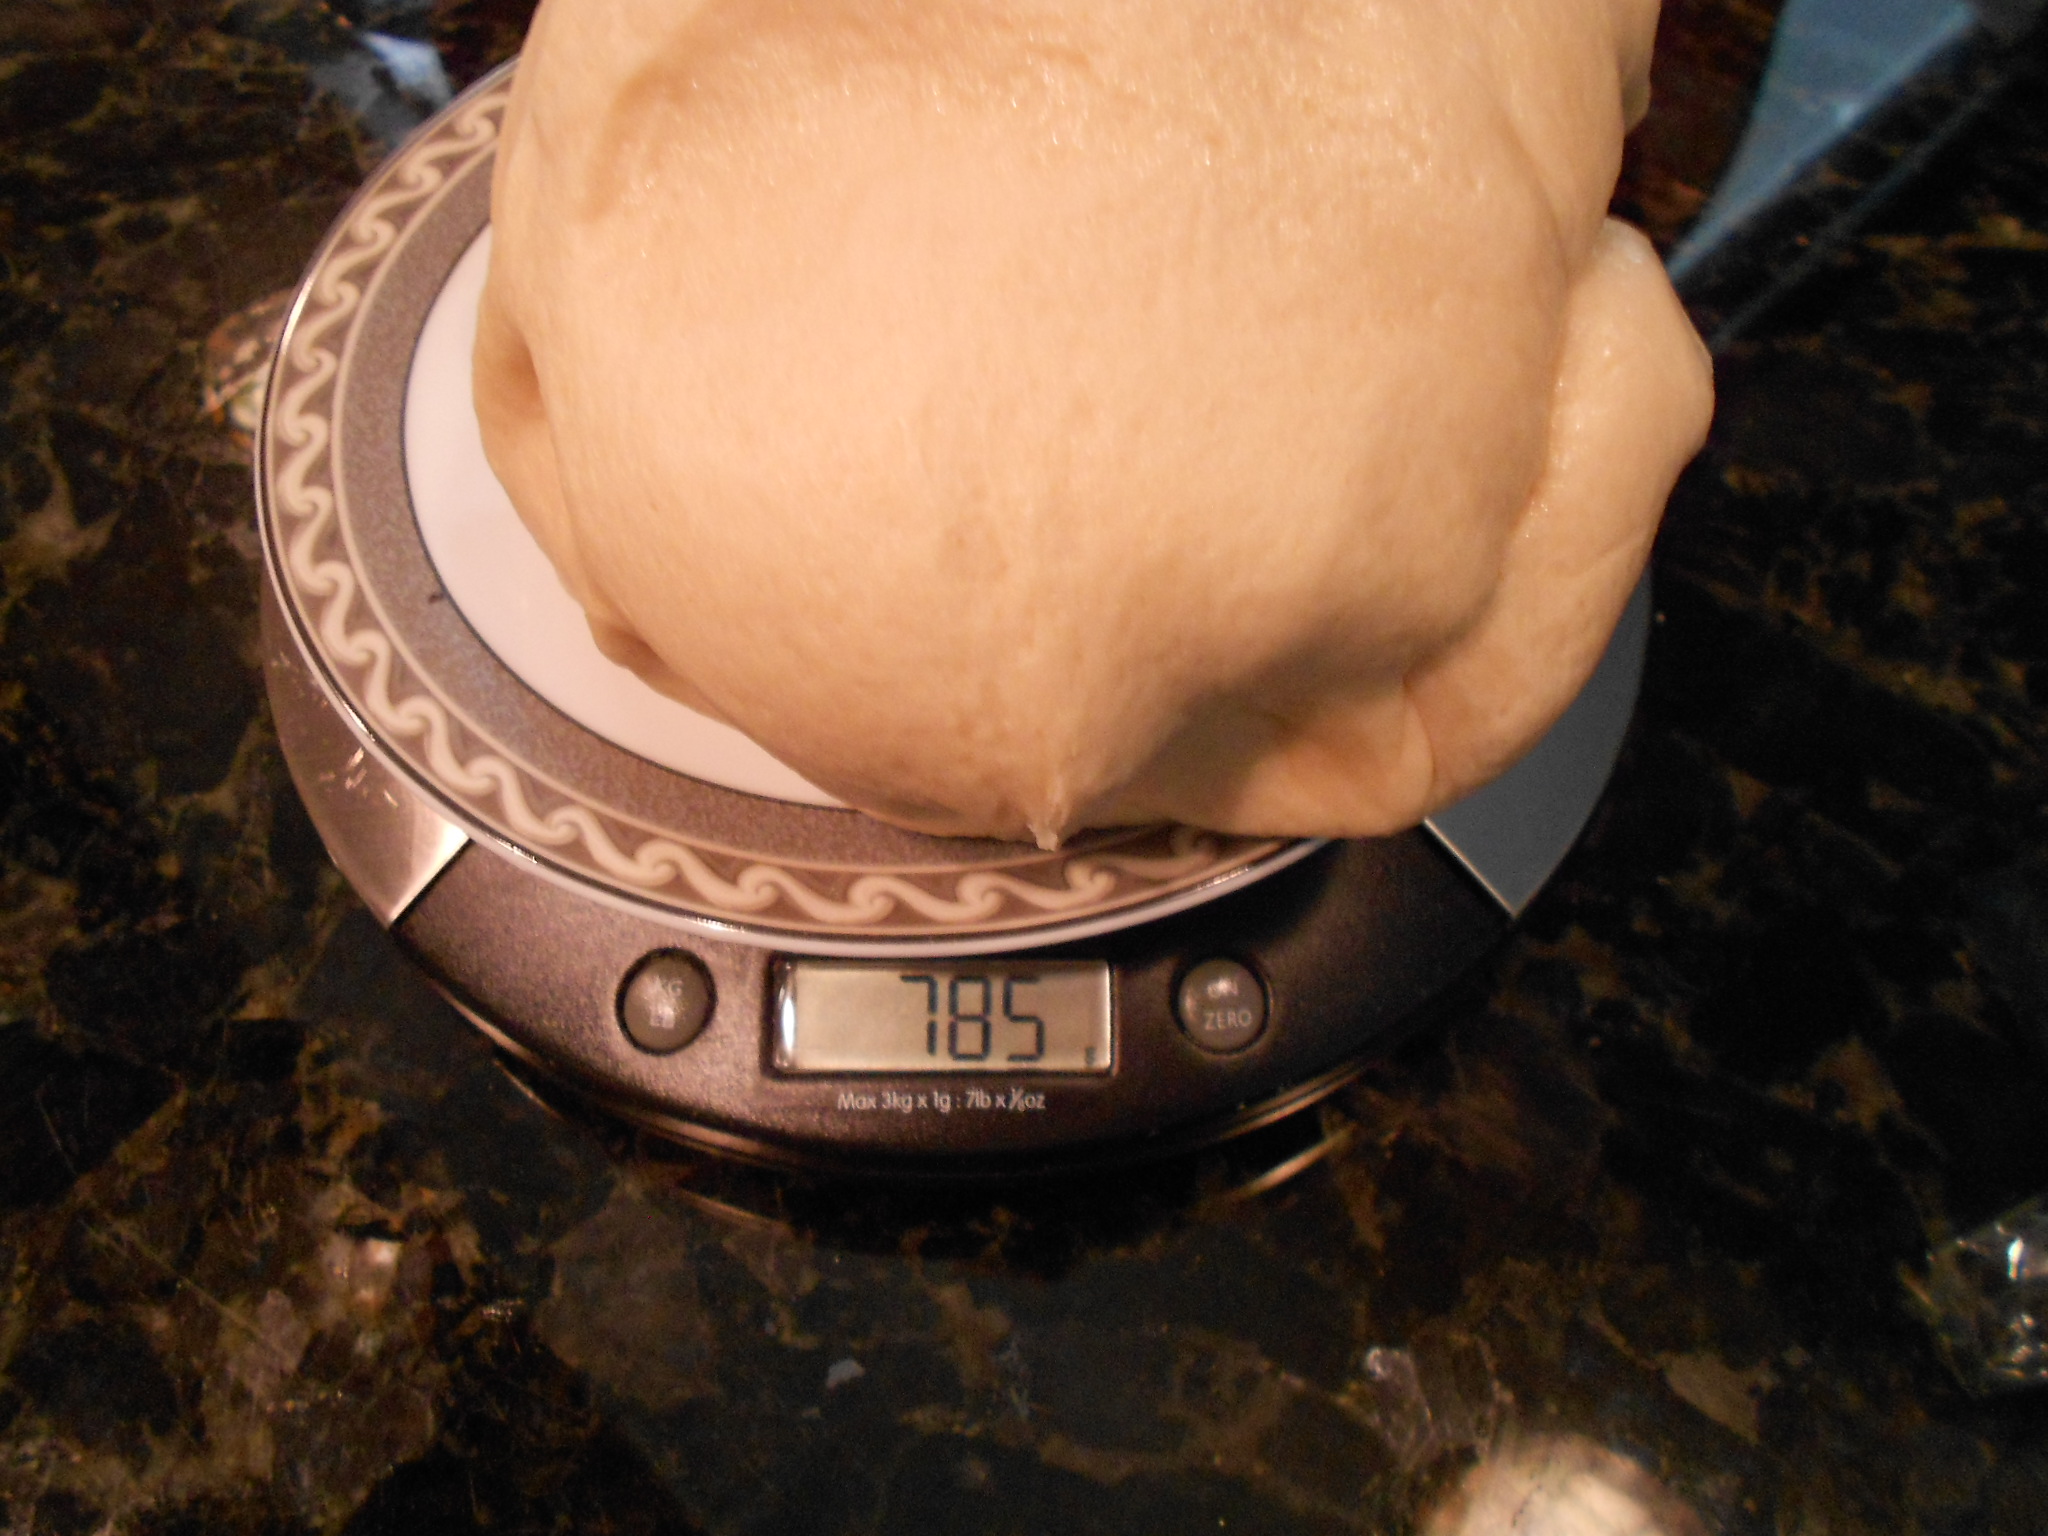
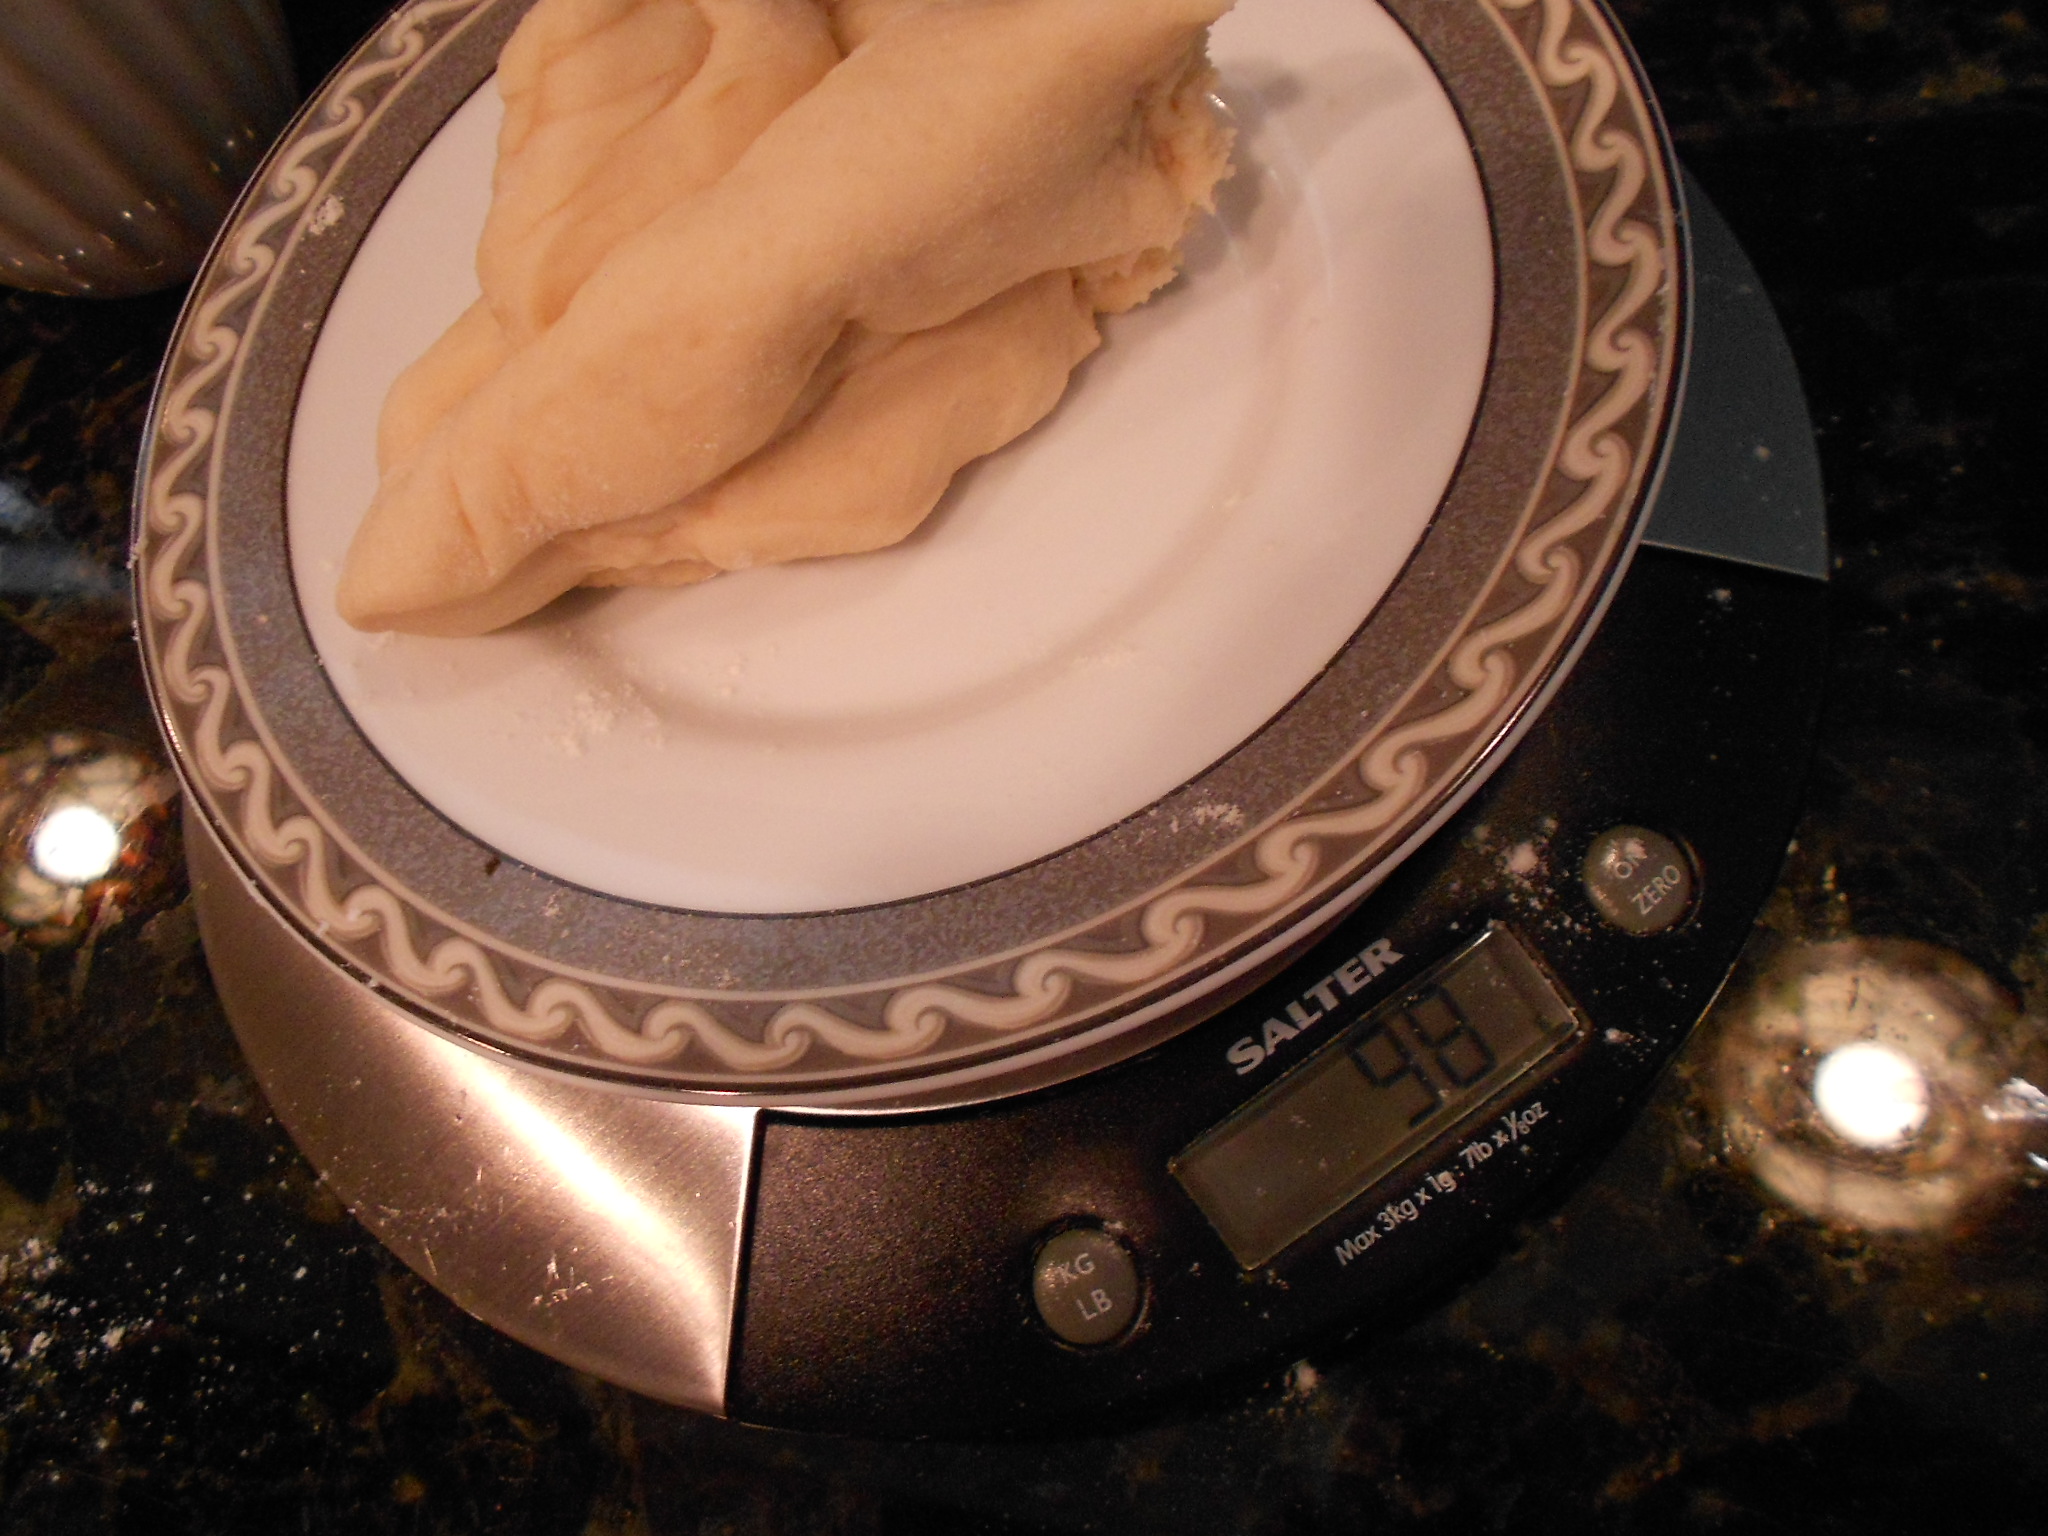
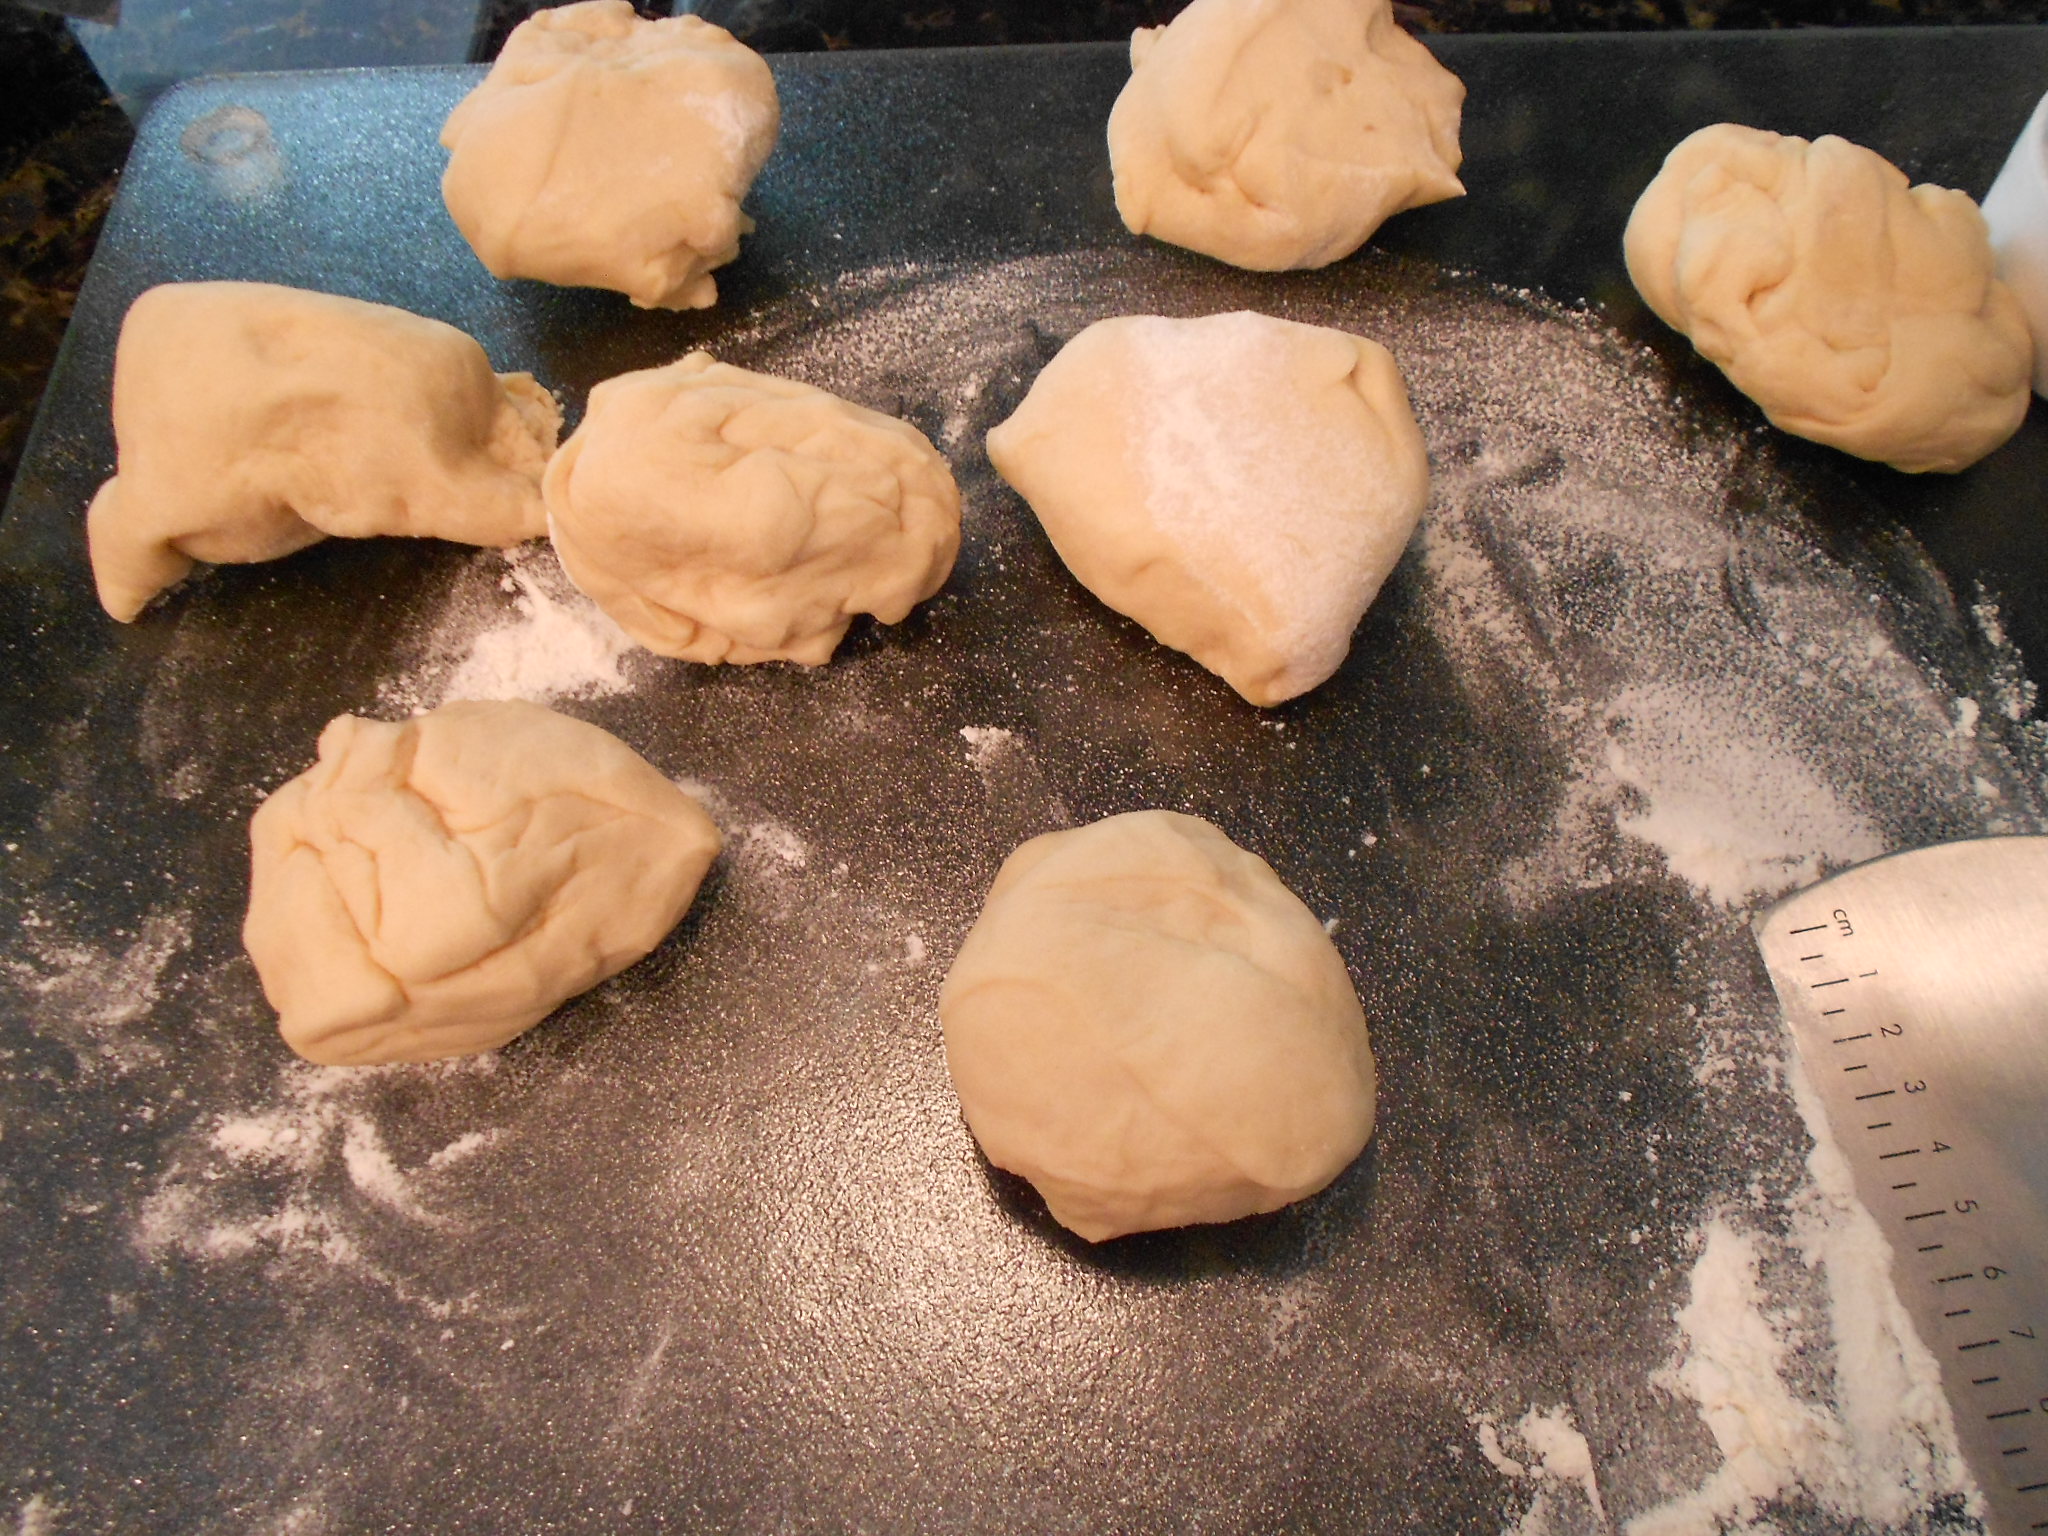
After the dough doubles in size, I begin by weighing it. This allows me to think about what I want to do so for example if I am making two large loaves, I just divide the weight in half. Making large buns, I usually divide the weight by 8. Sometimes I also make sandwich rolls or even a hot dog buns, and again divide the dough by what I desire to make. My dough weighed 785 grams so I felt a bun weighing about 95 to 100 grams, would make a good size individual loaf. I made round rolls and sandwich long buns with this batch. You make what fits best with your meals :)

DSCN3236

DSCN3237

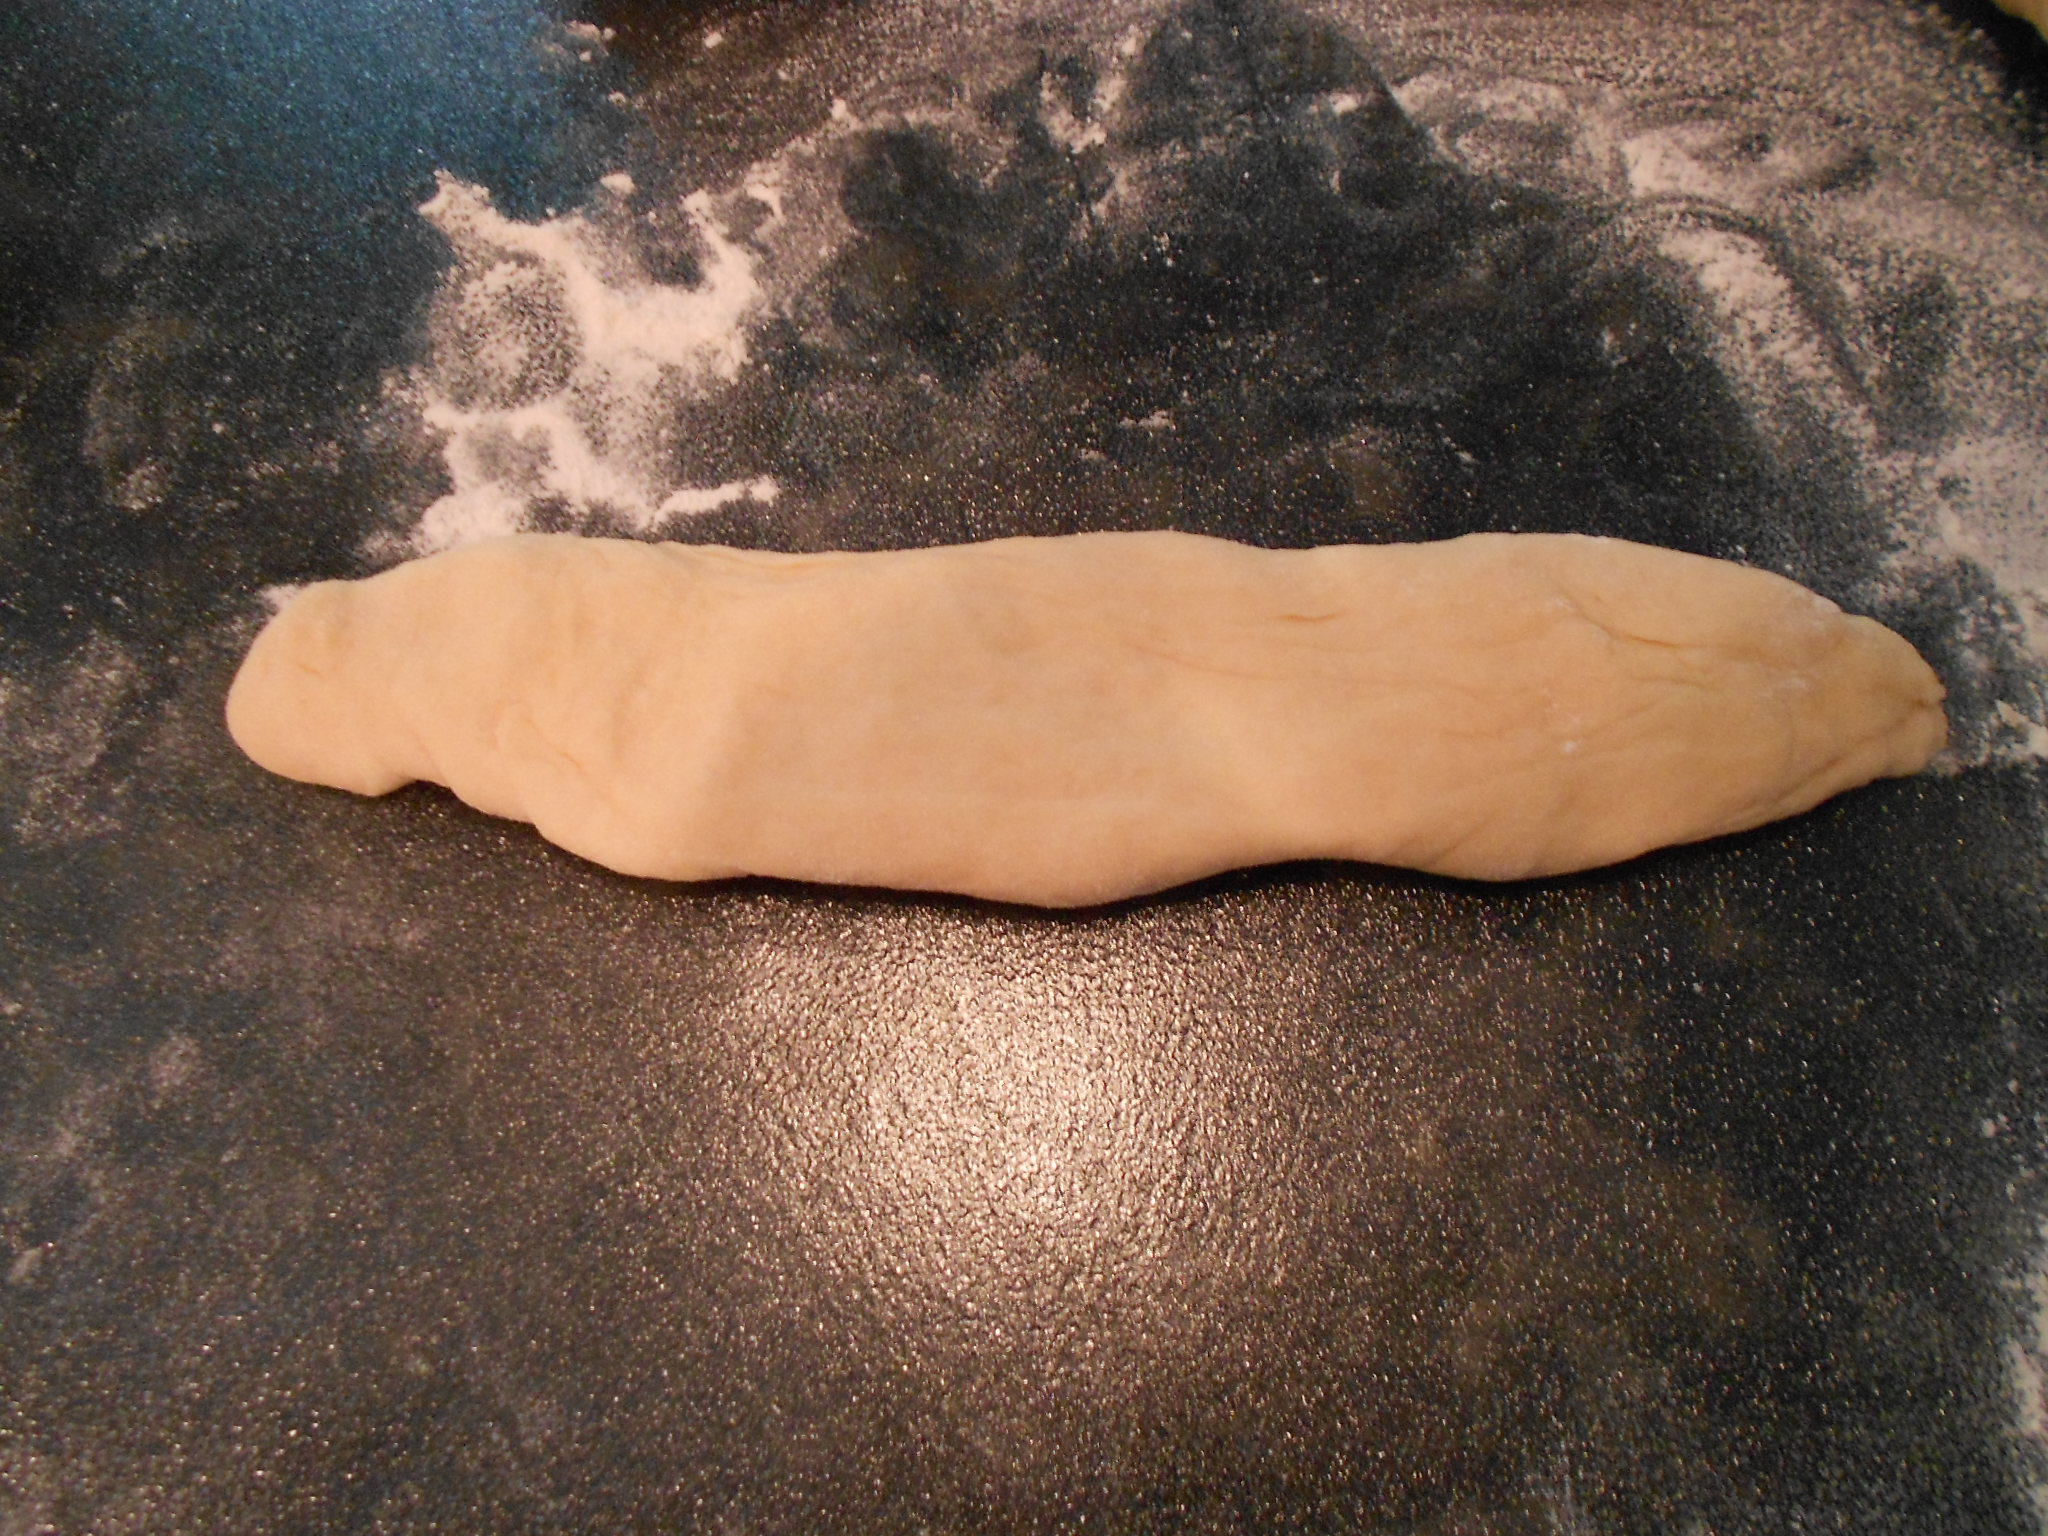
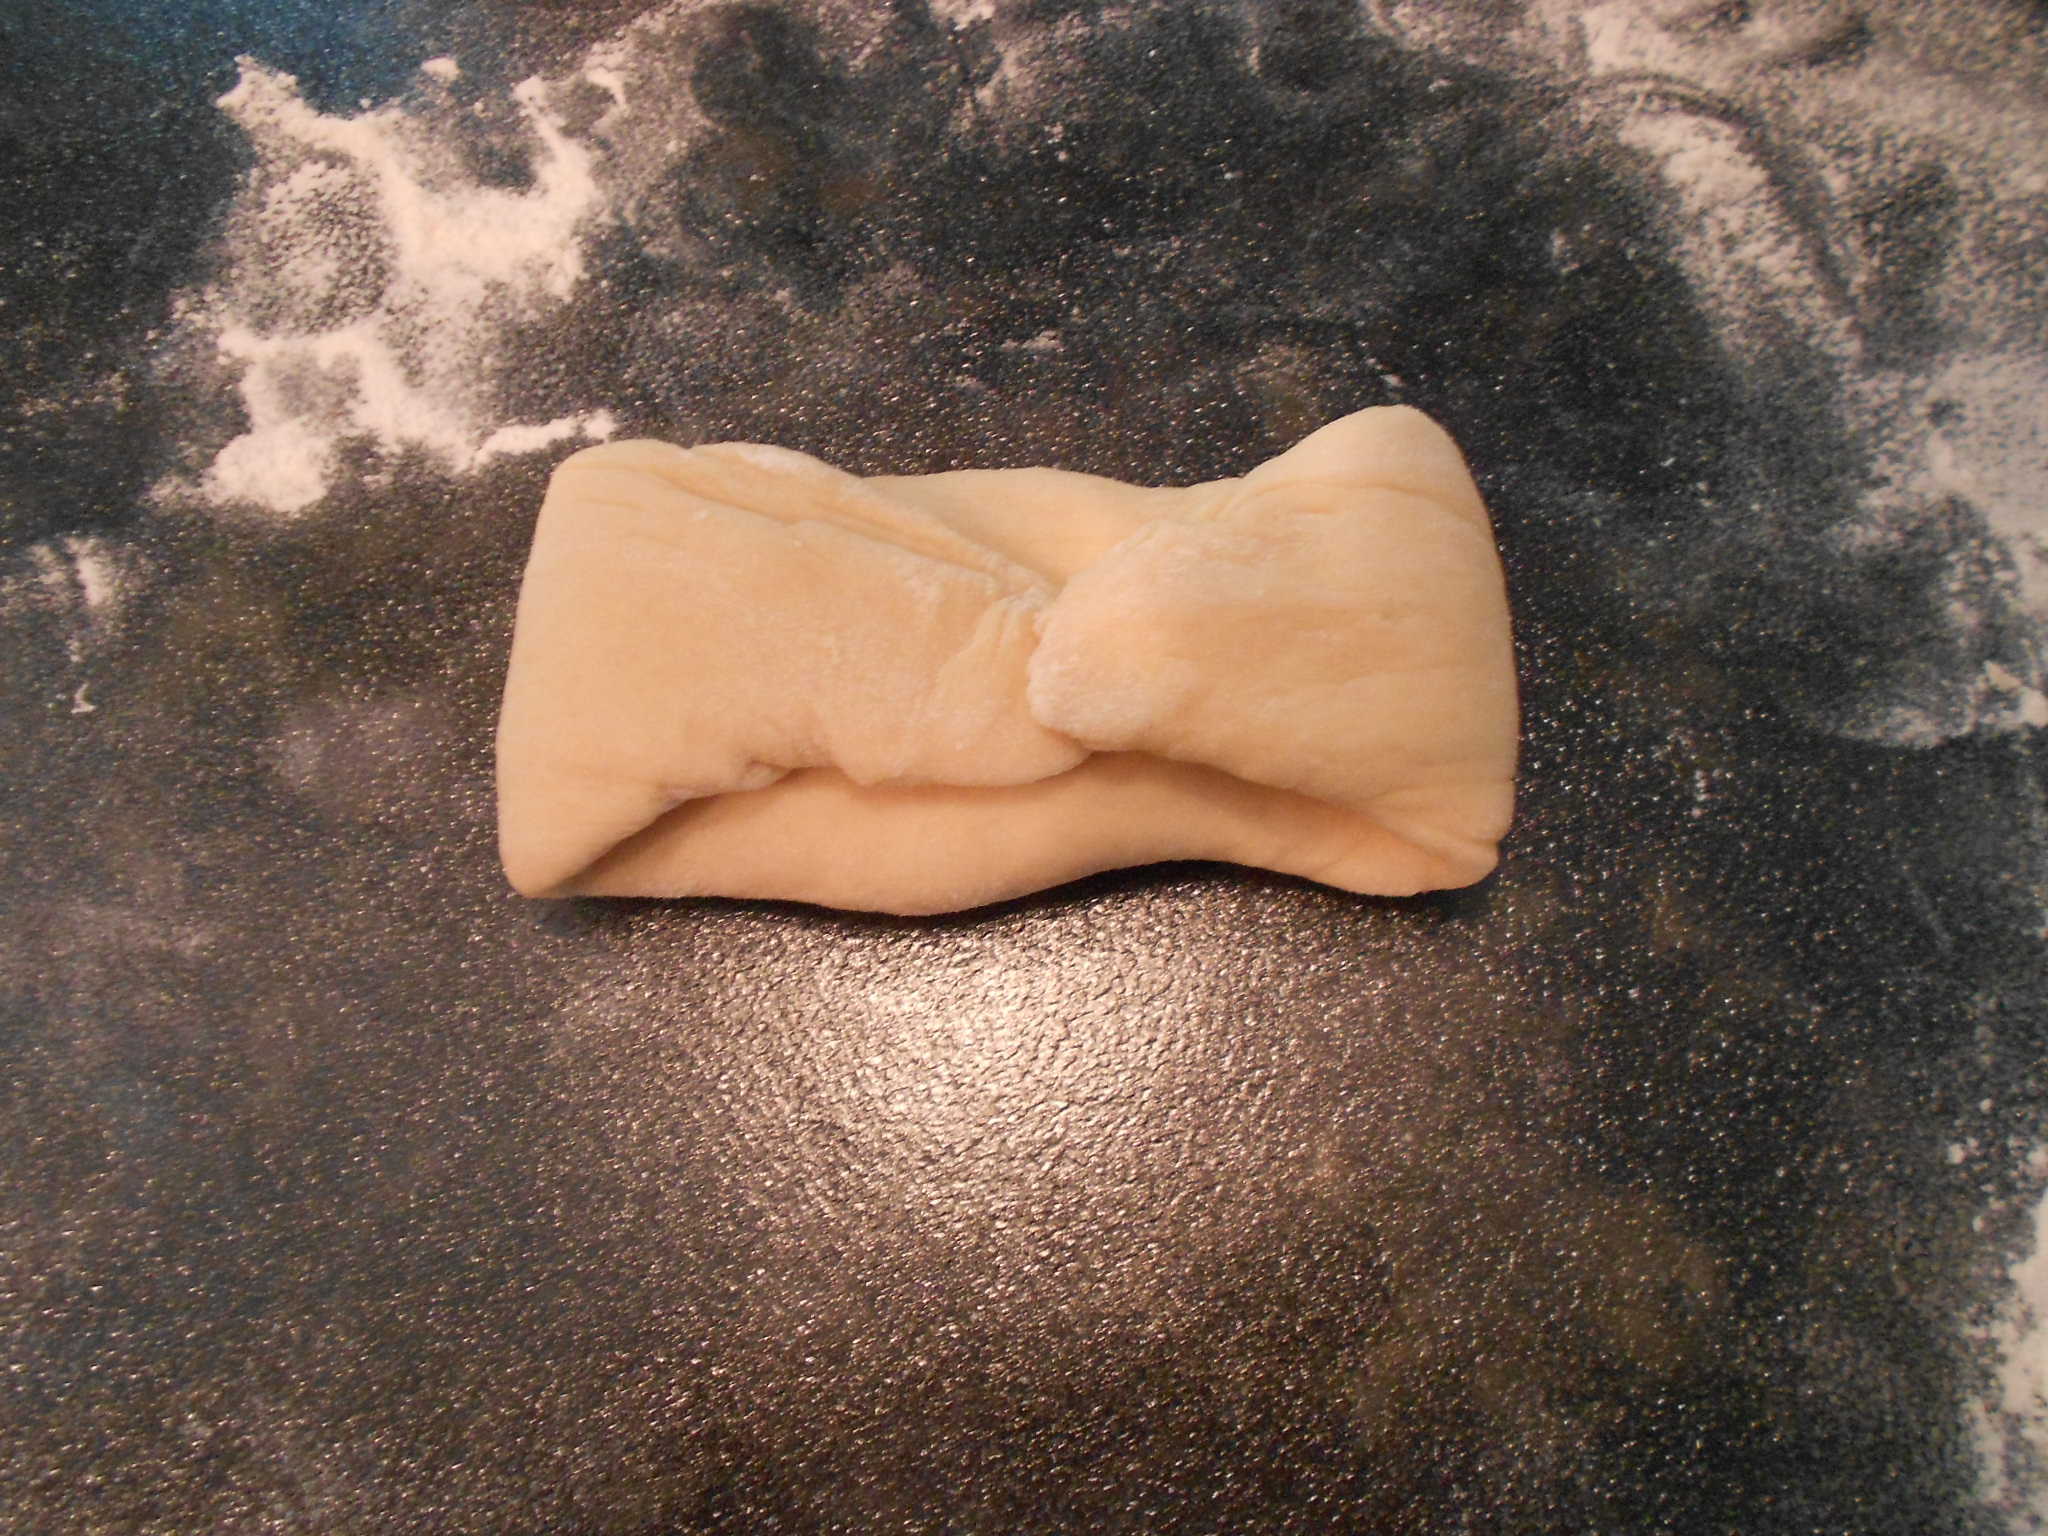
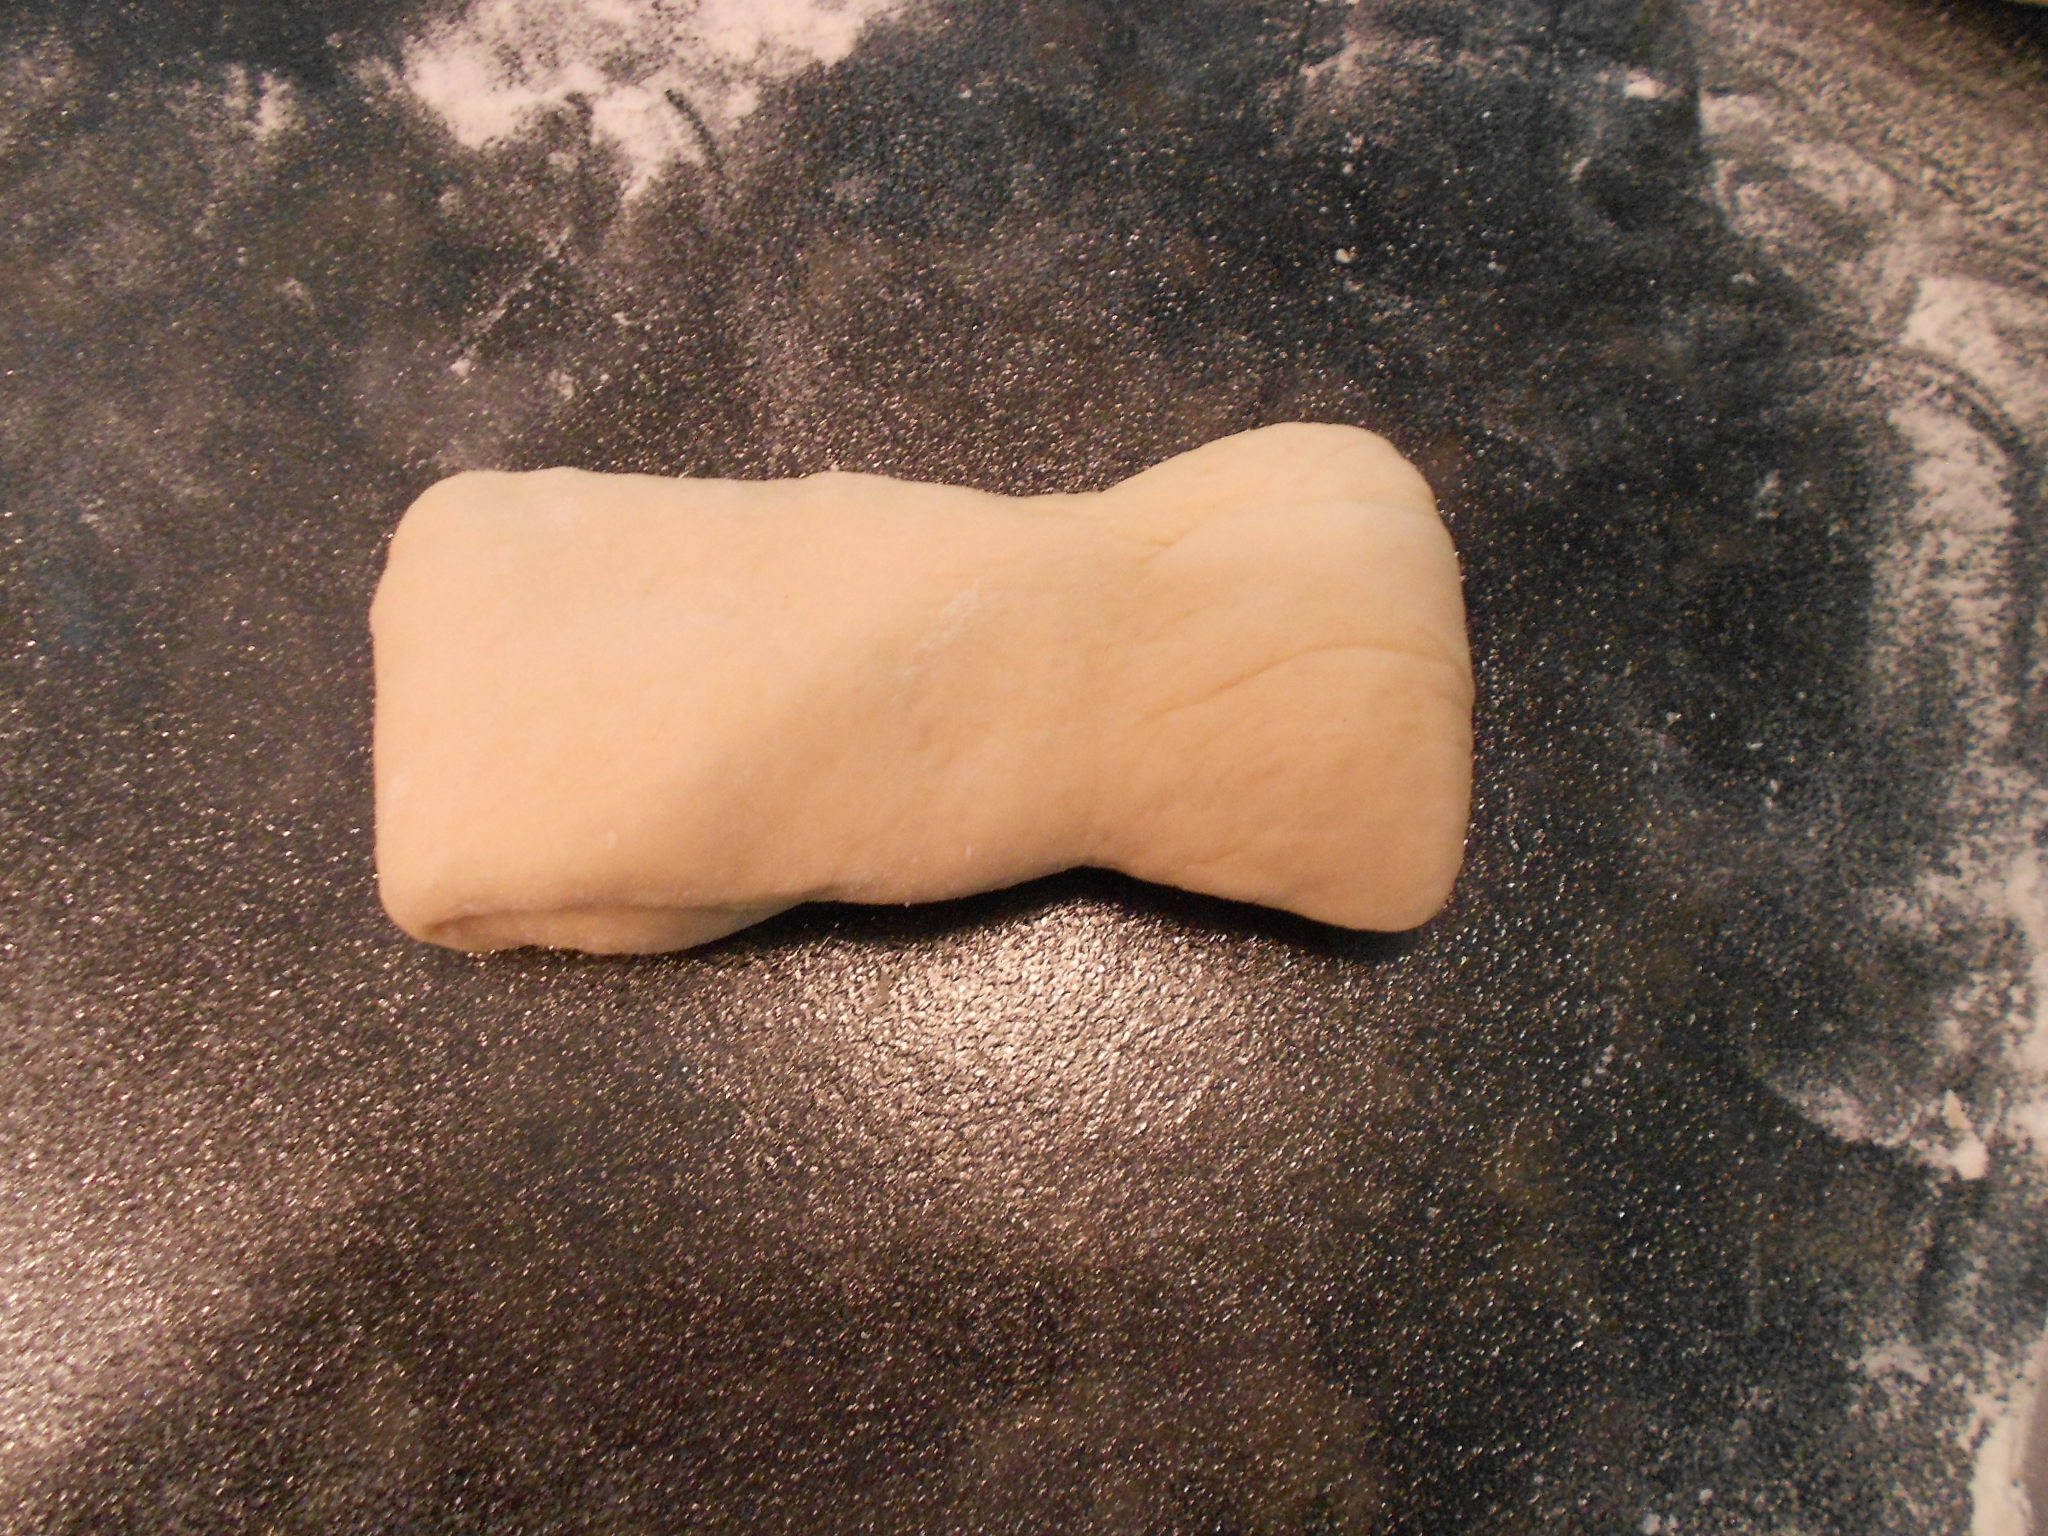
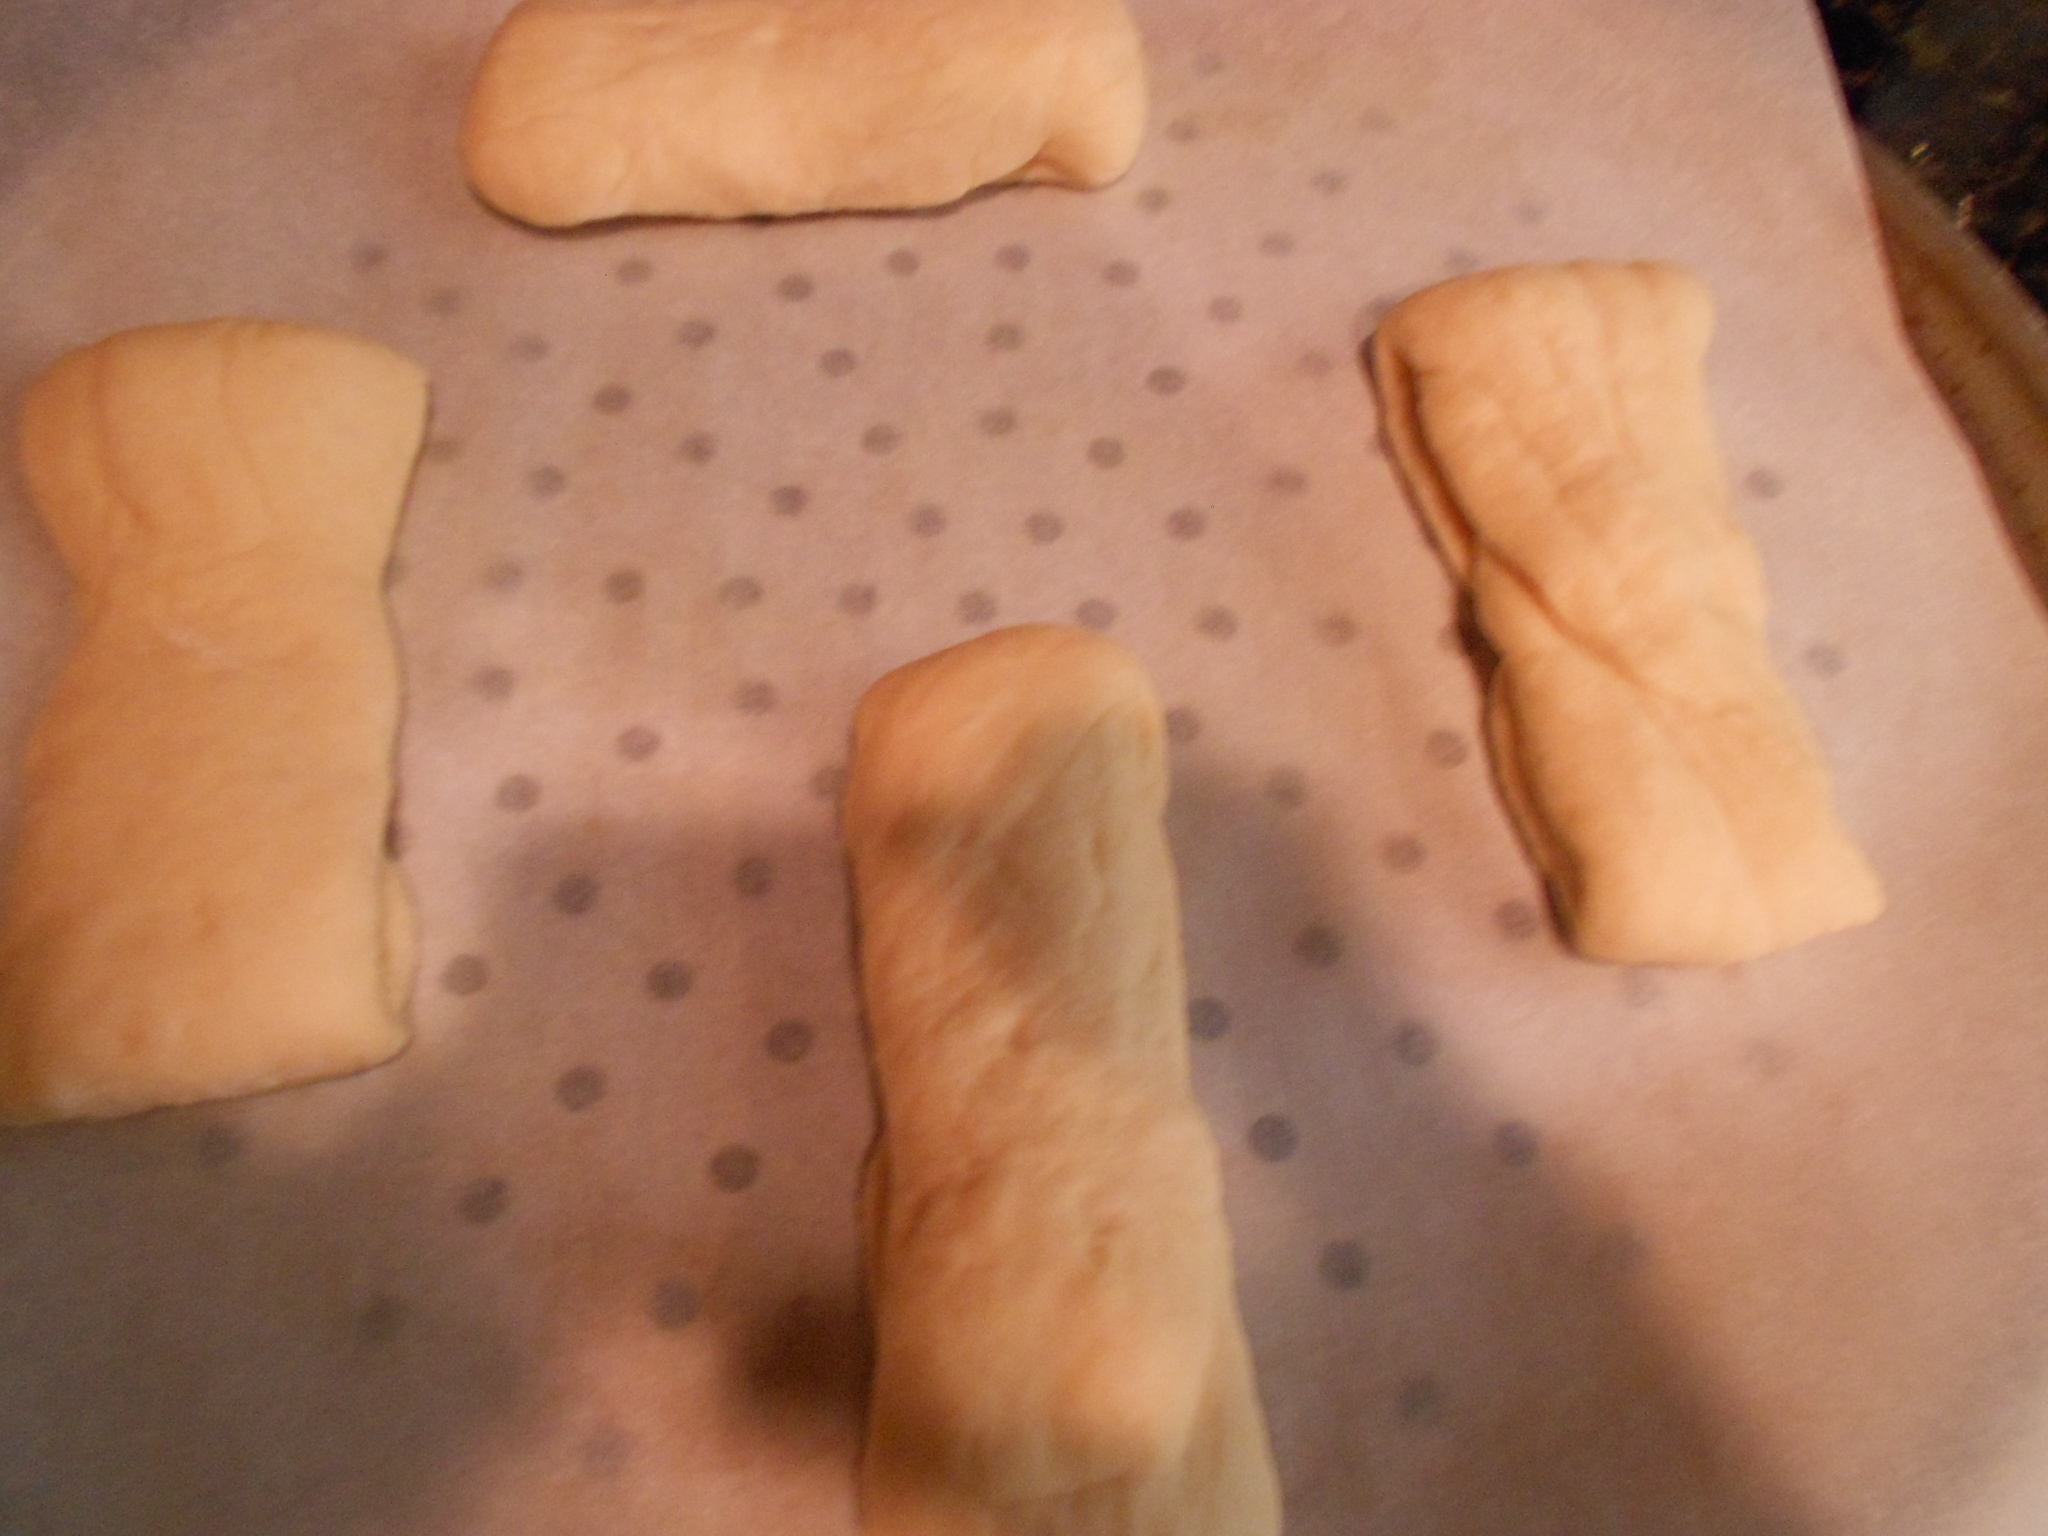
To make a sandwich long bun, I just make a snake with the dough and then fold each end in. My snake is about 12 inches long so when both ends come together, the roll is almost 6 inches. Buns I just make balls with a flat bottom.

DSCN3238

DSCN3239

DSCN3241

DSCN3242

I then allow the buns to rise between 25 to 30 minutes. I put a towel over the pans and again return the dough to my oven on the proof setting at 105 degrees.

DSCN3252


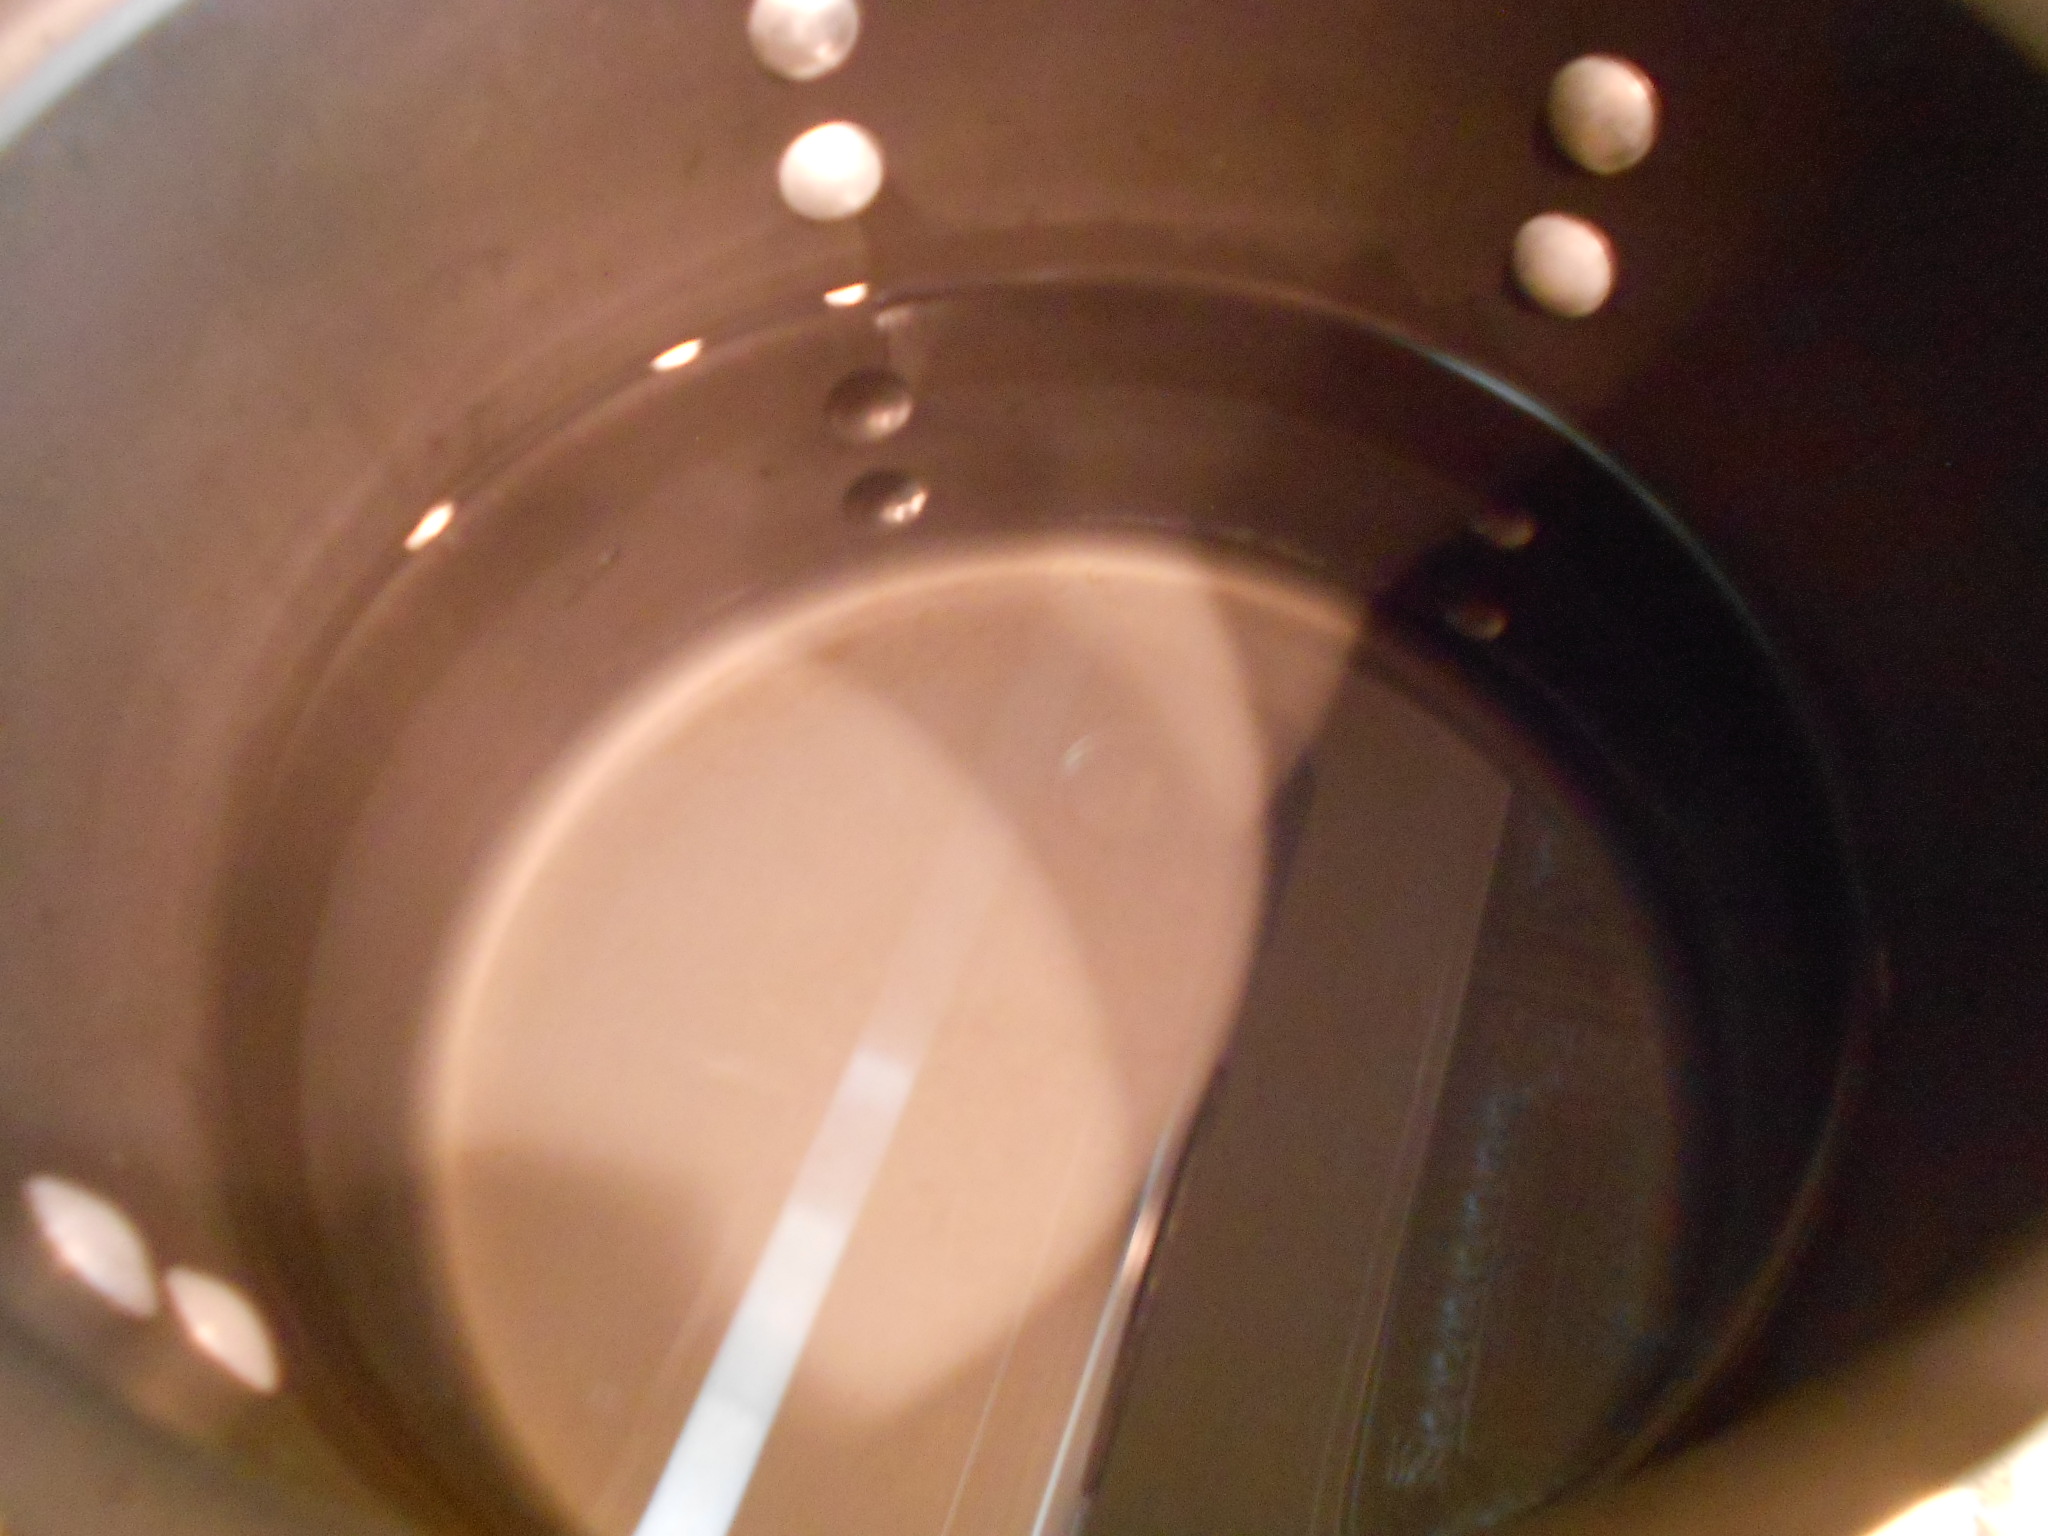
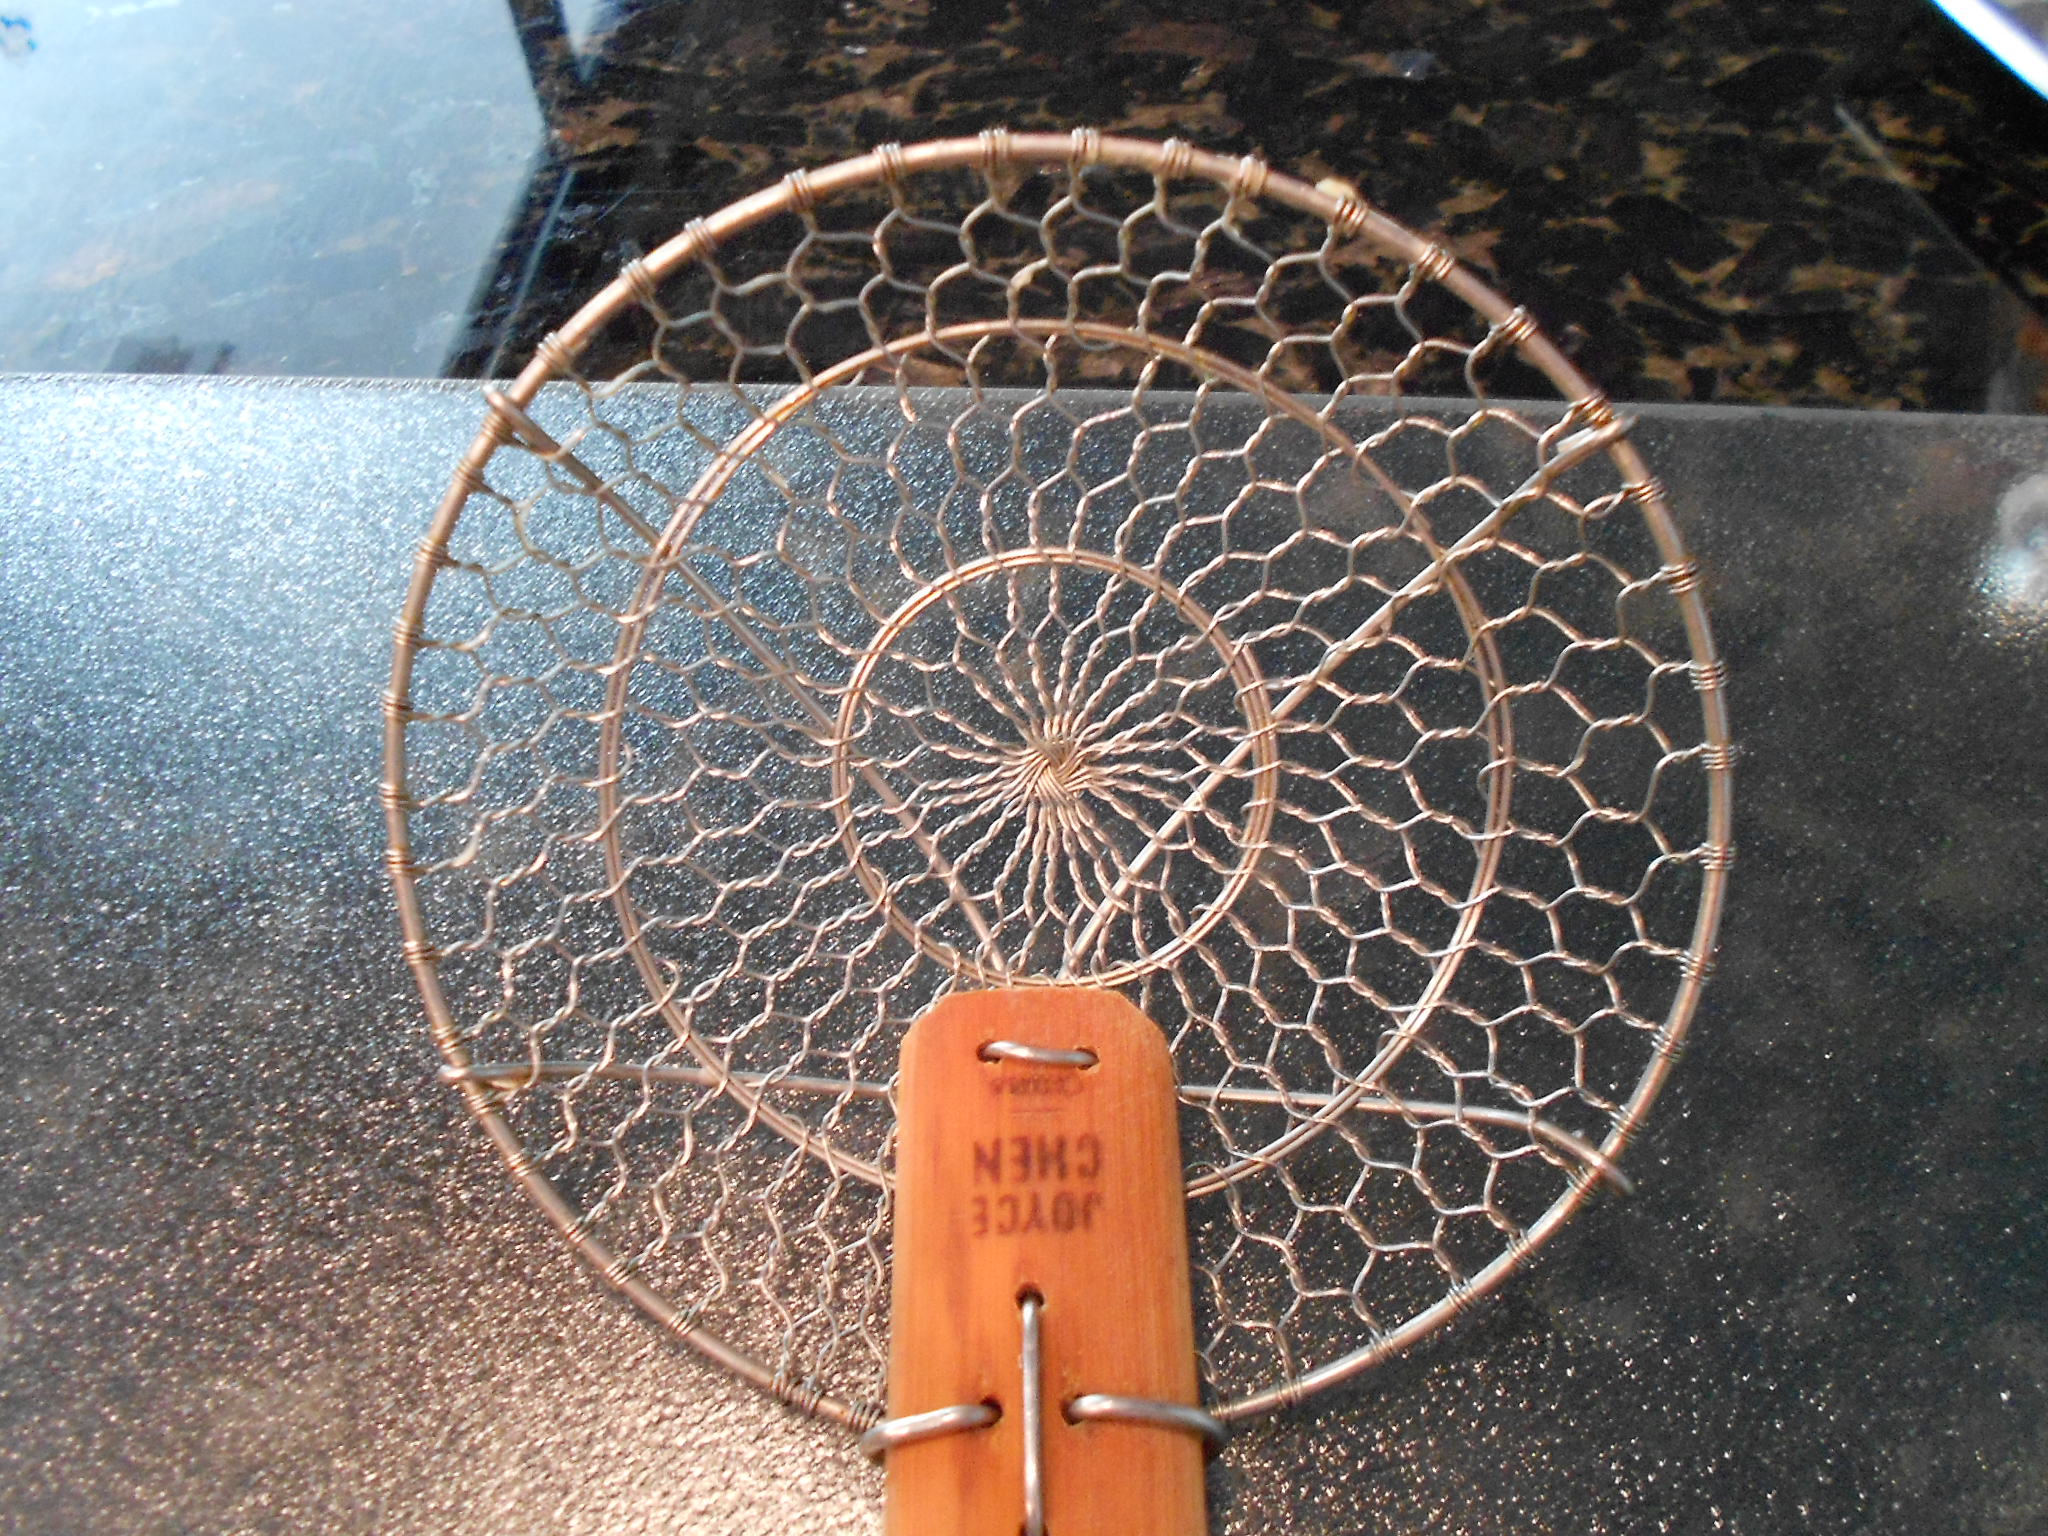
While my buns rise, I begin to mix the water and baking soda. Bring your wash to a boil and then have a steady simmer going. I take out my spider spoon, because this helps me picking up the buns without a mess of water coming with them.

DSCN3246

DSCN3249

DSCN3251

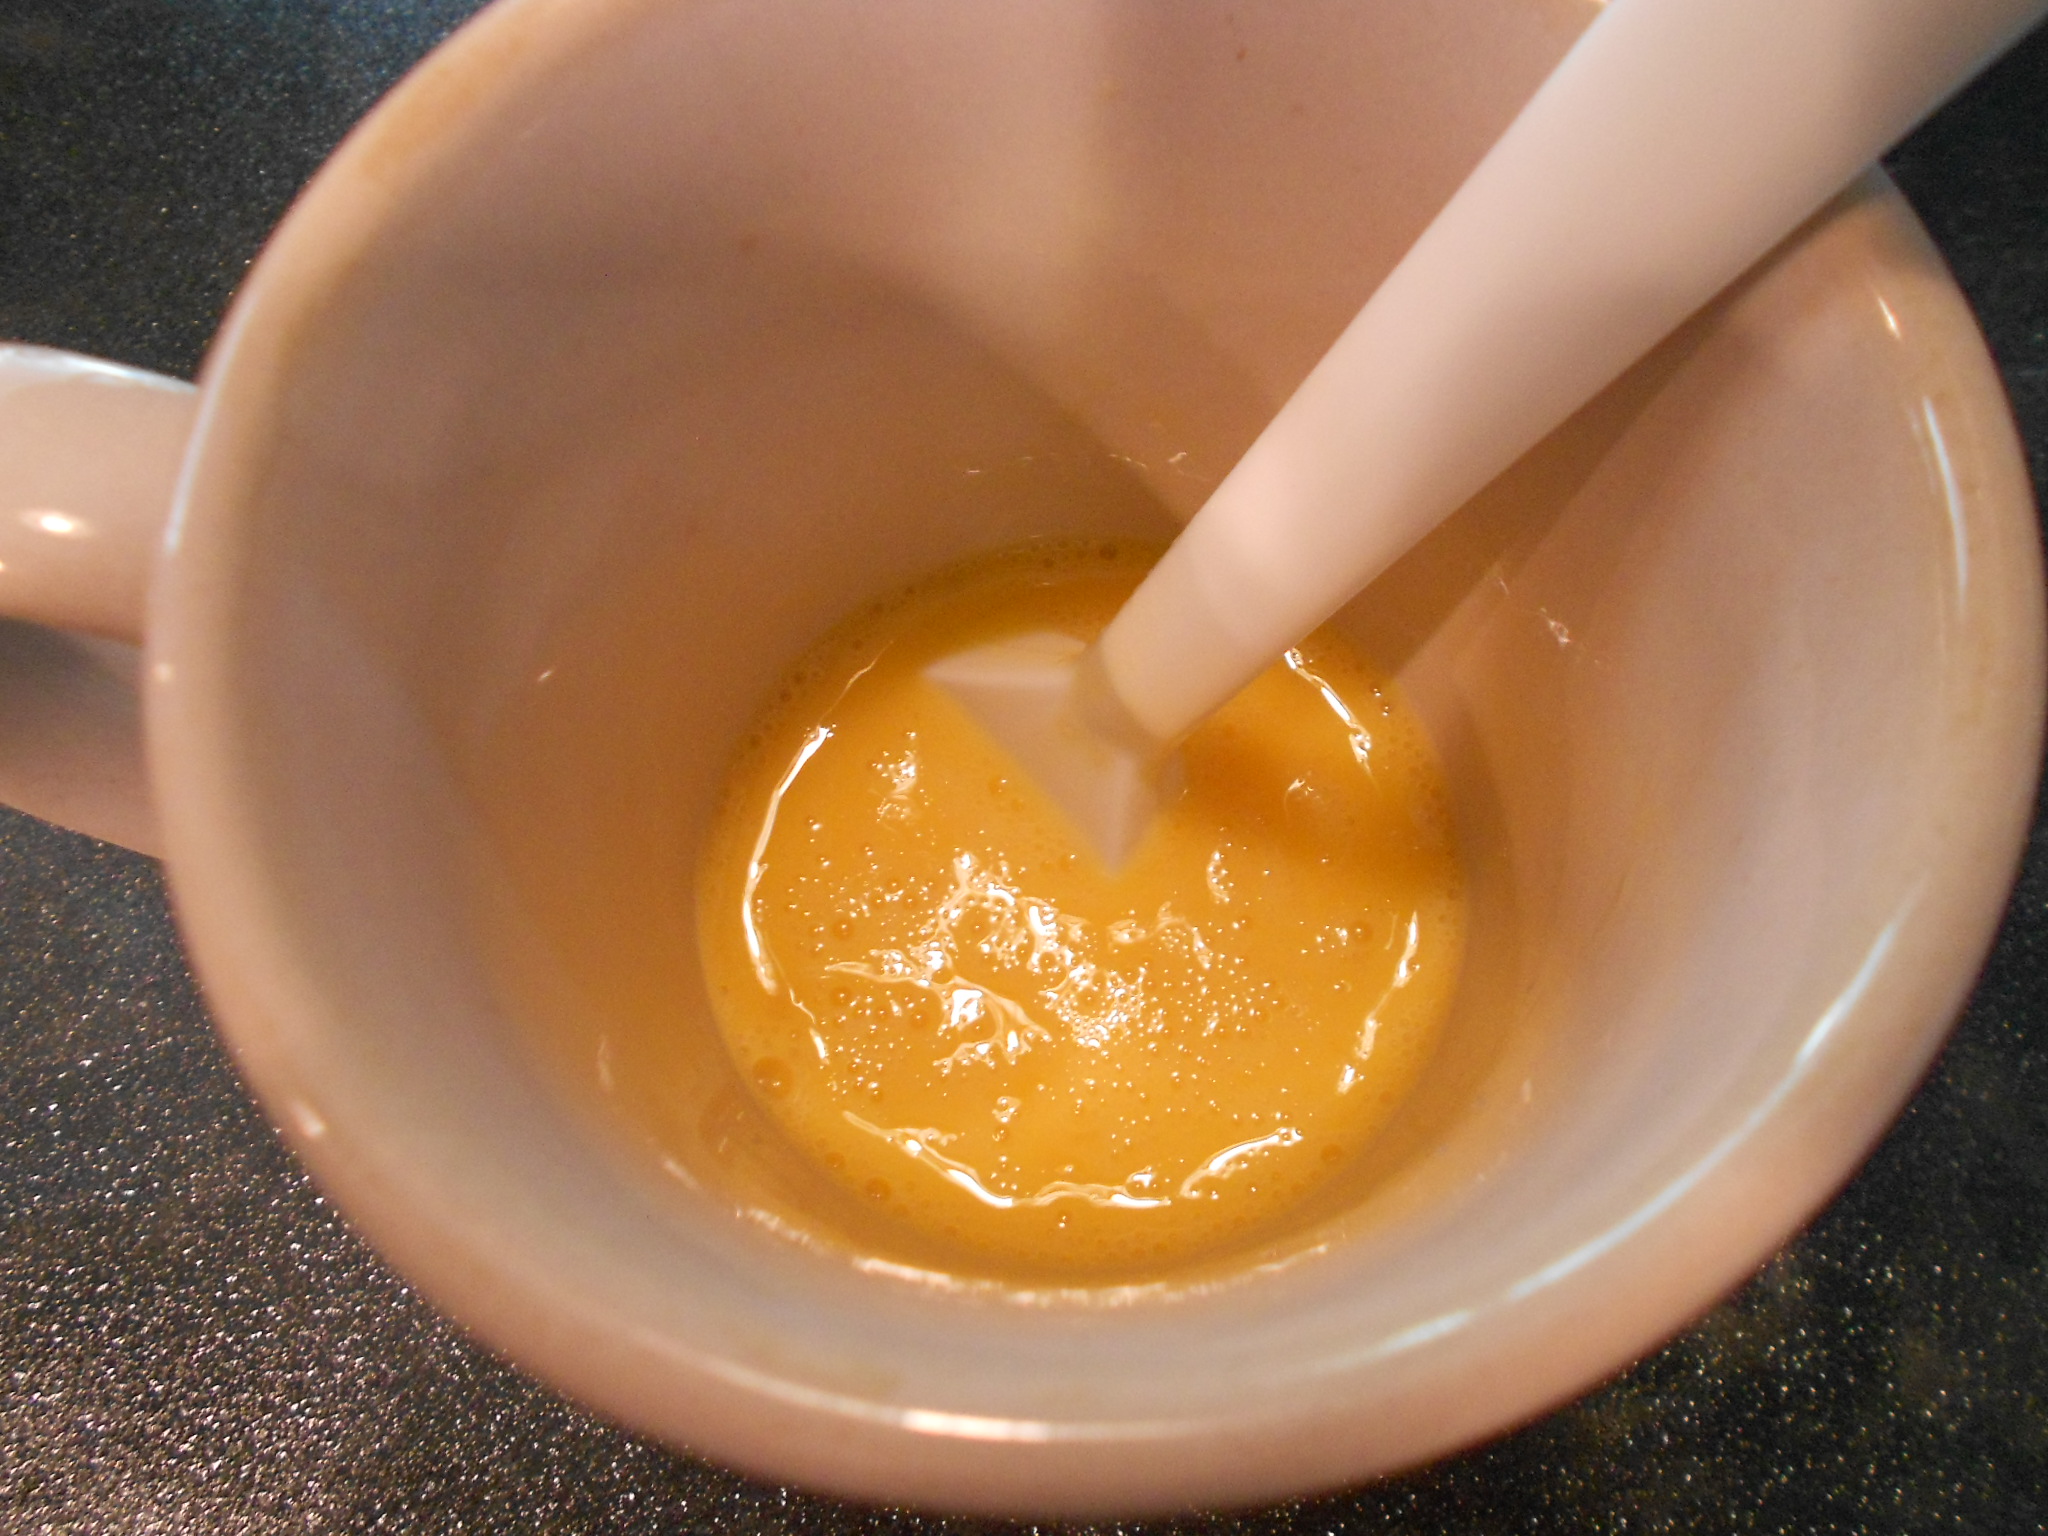
I also crack the egg and add the water for the wash. Also a good time to set your oven to 400 degrees. I use the convection setting for bread.

DSCN3245

DSCN3244

DSCN3243

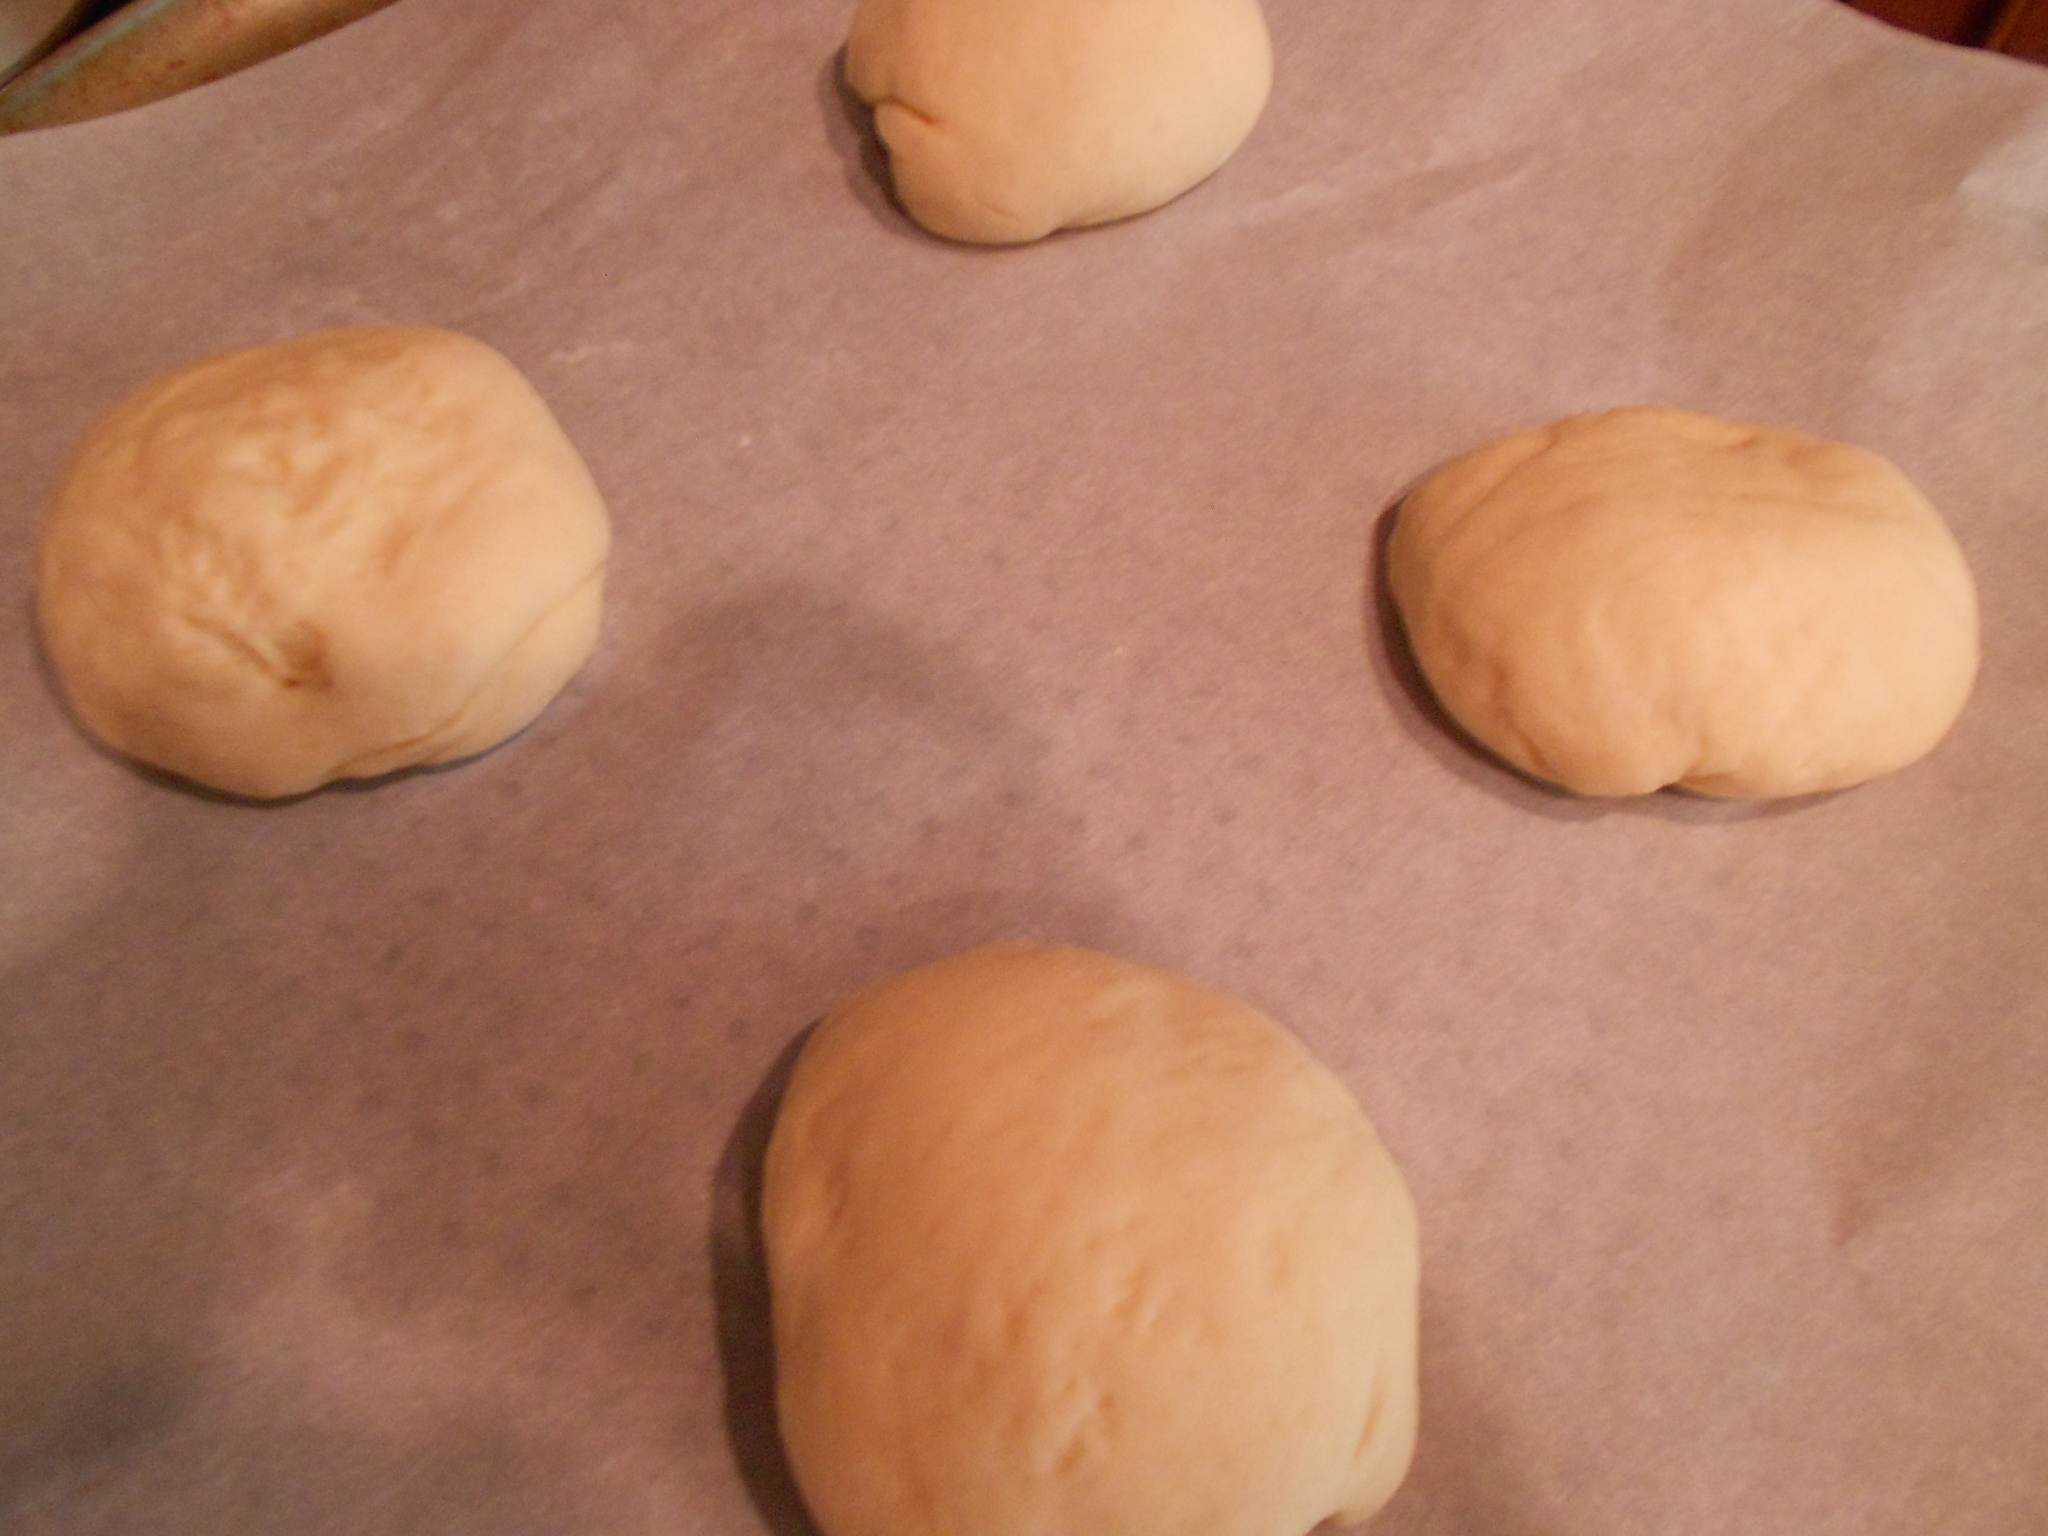
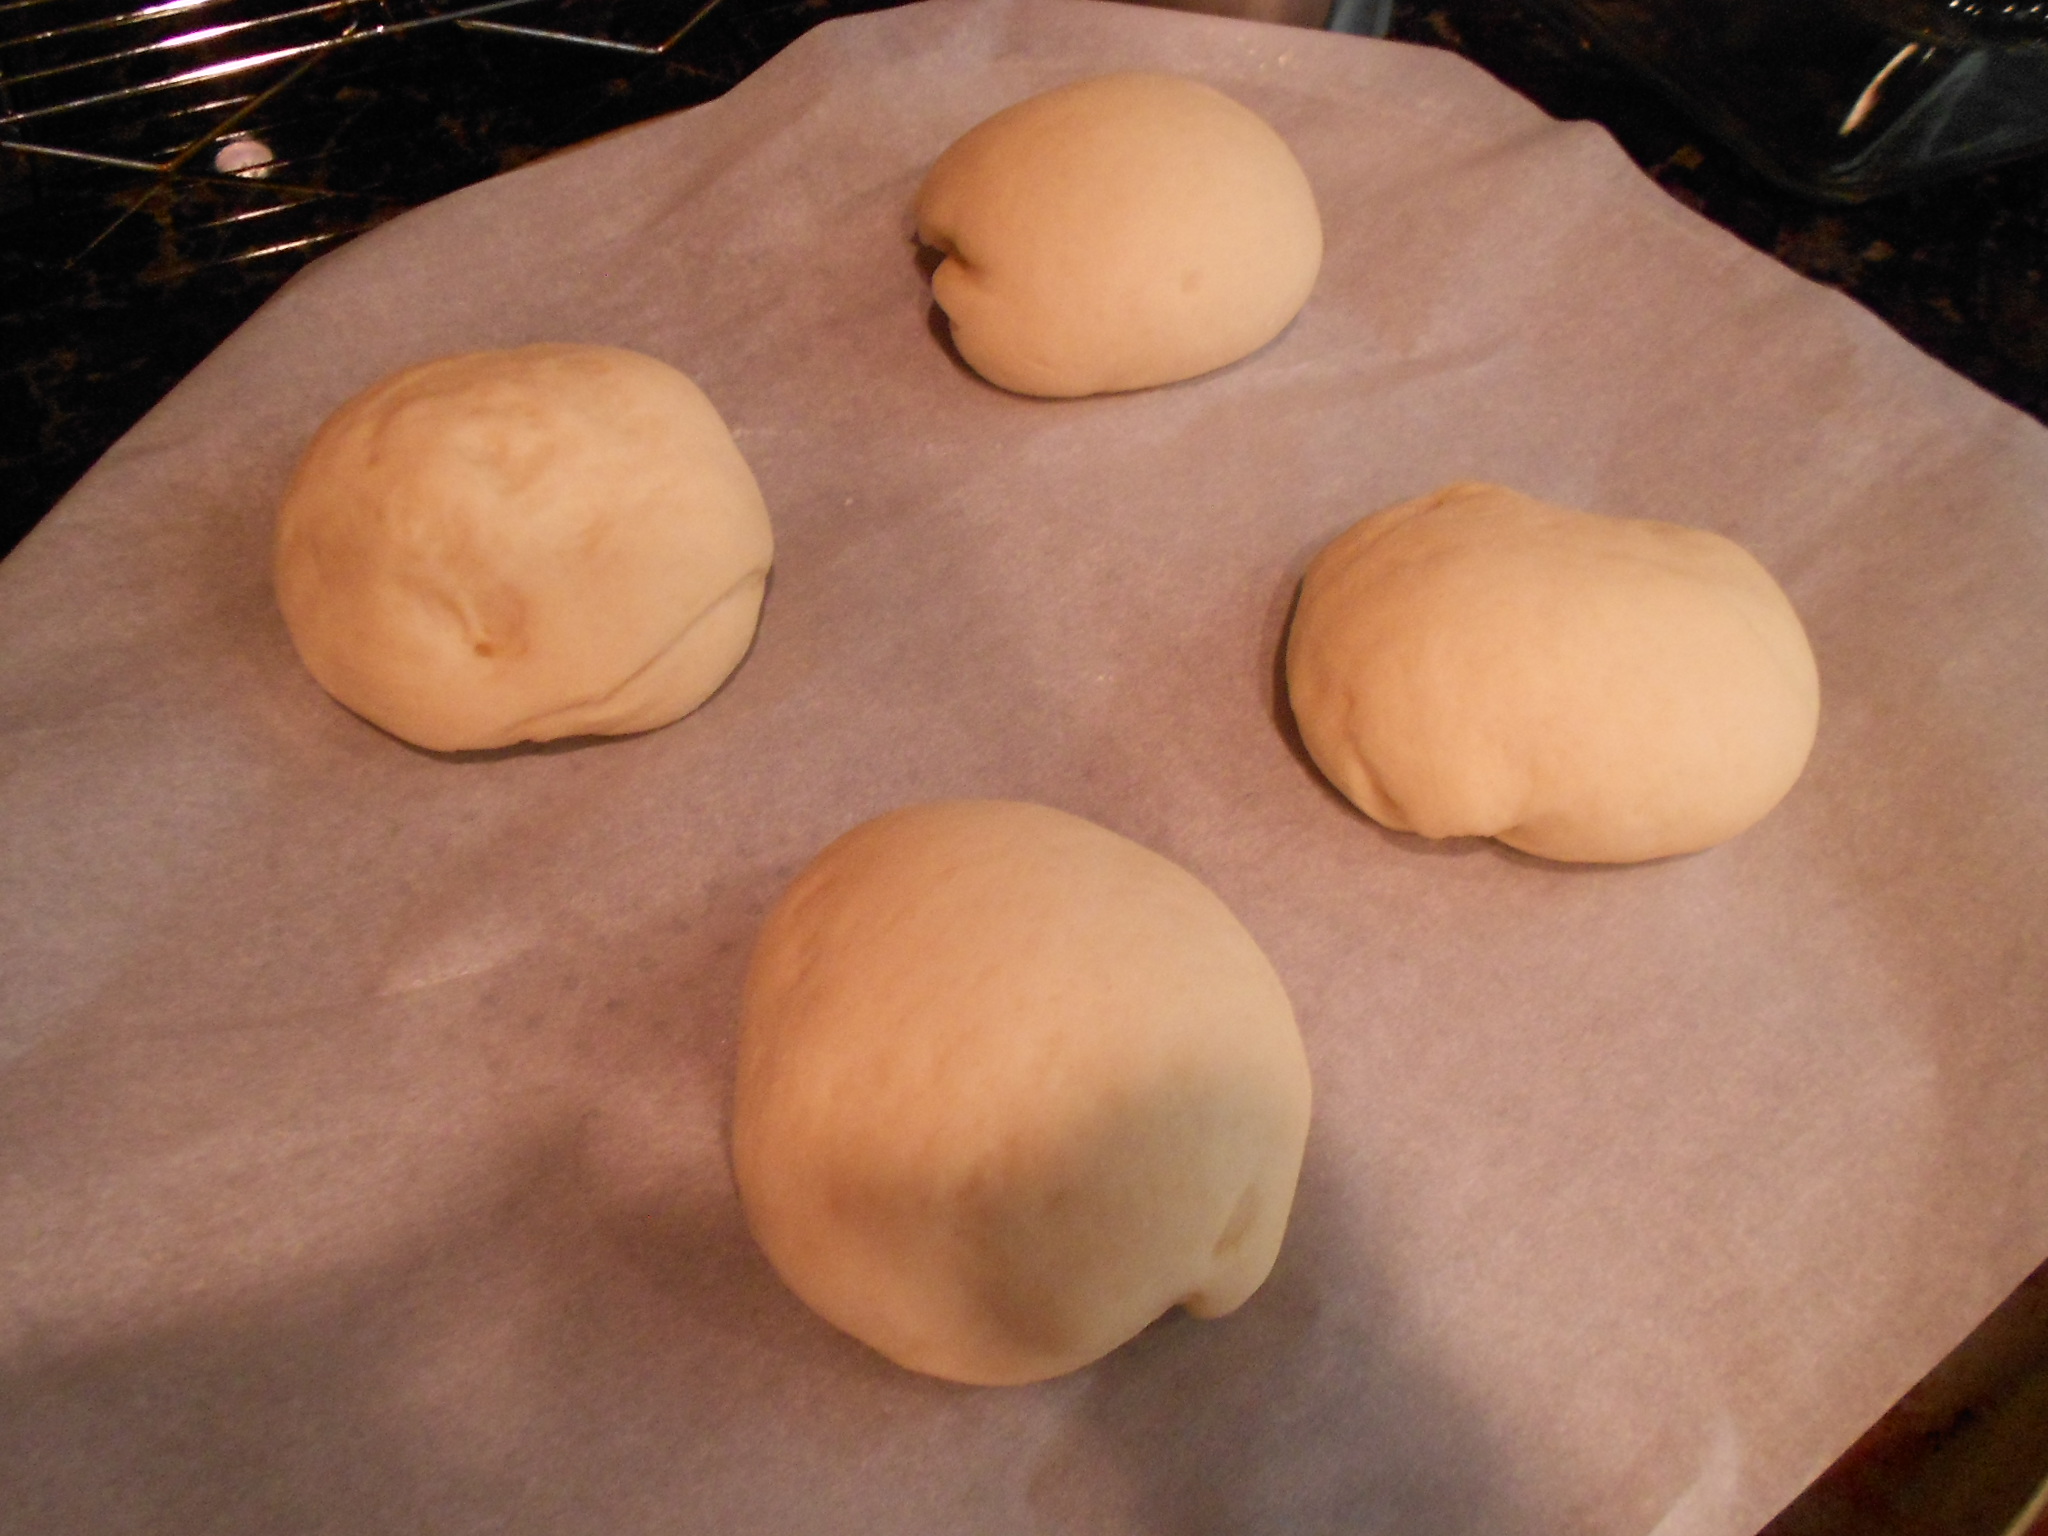
Buns have risen so now it's time to "pretzel-ize" them. Just like you would do with bagels, you put one or two buns in and allow them to remain in the baking soda solution for 3 minutes on each side and I use the assistance of a timer because I can get distracted easily. After 6 minutes are up, I remove the buns and place them on parchment and the pan I will be using to bake them on. I have found my pizza pan (with holes) works better when it comes to texture but a cookie sheet works fine if that is all you have at hand.

DSCN3253

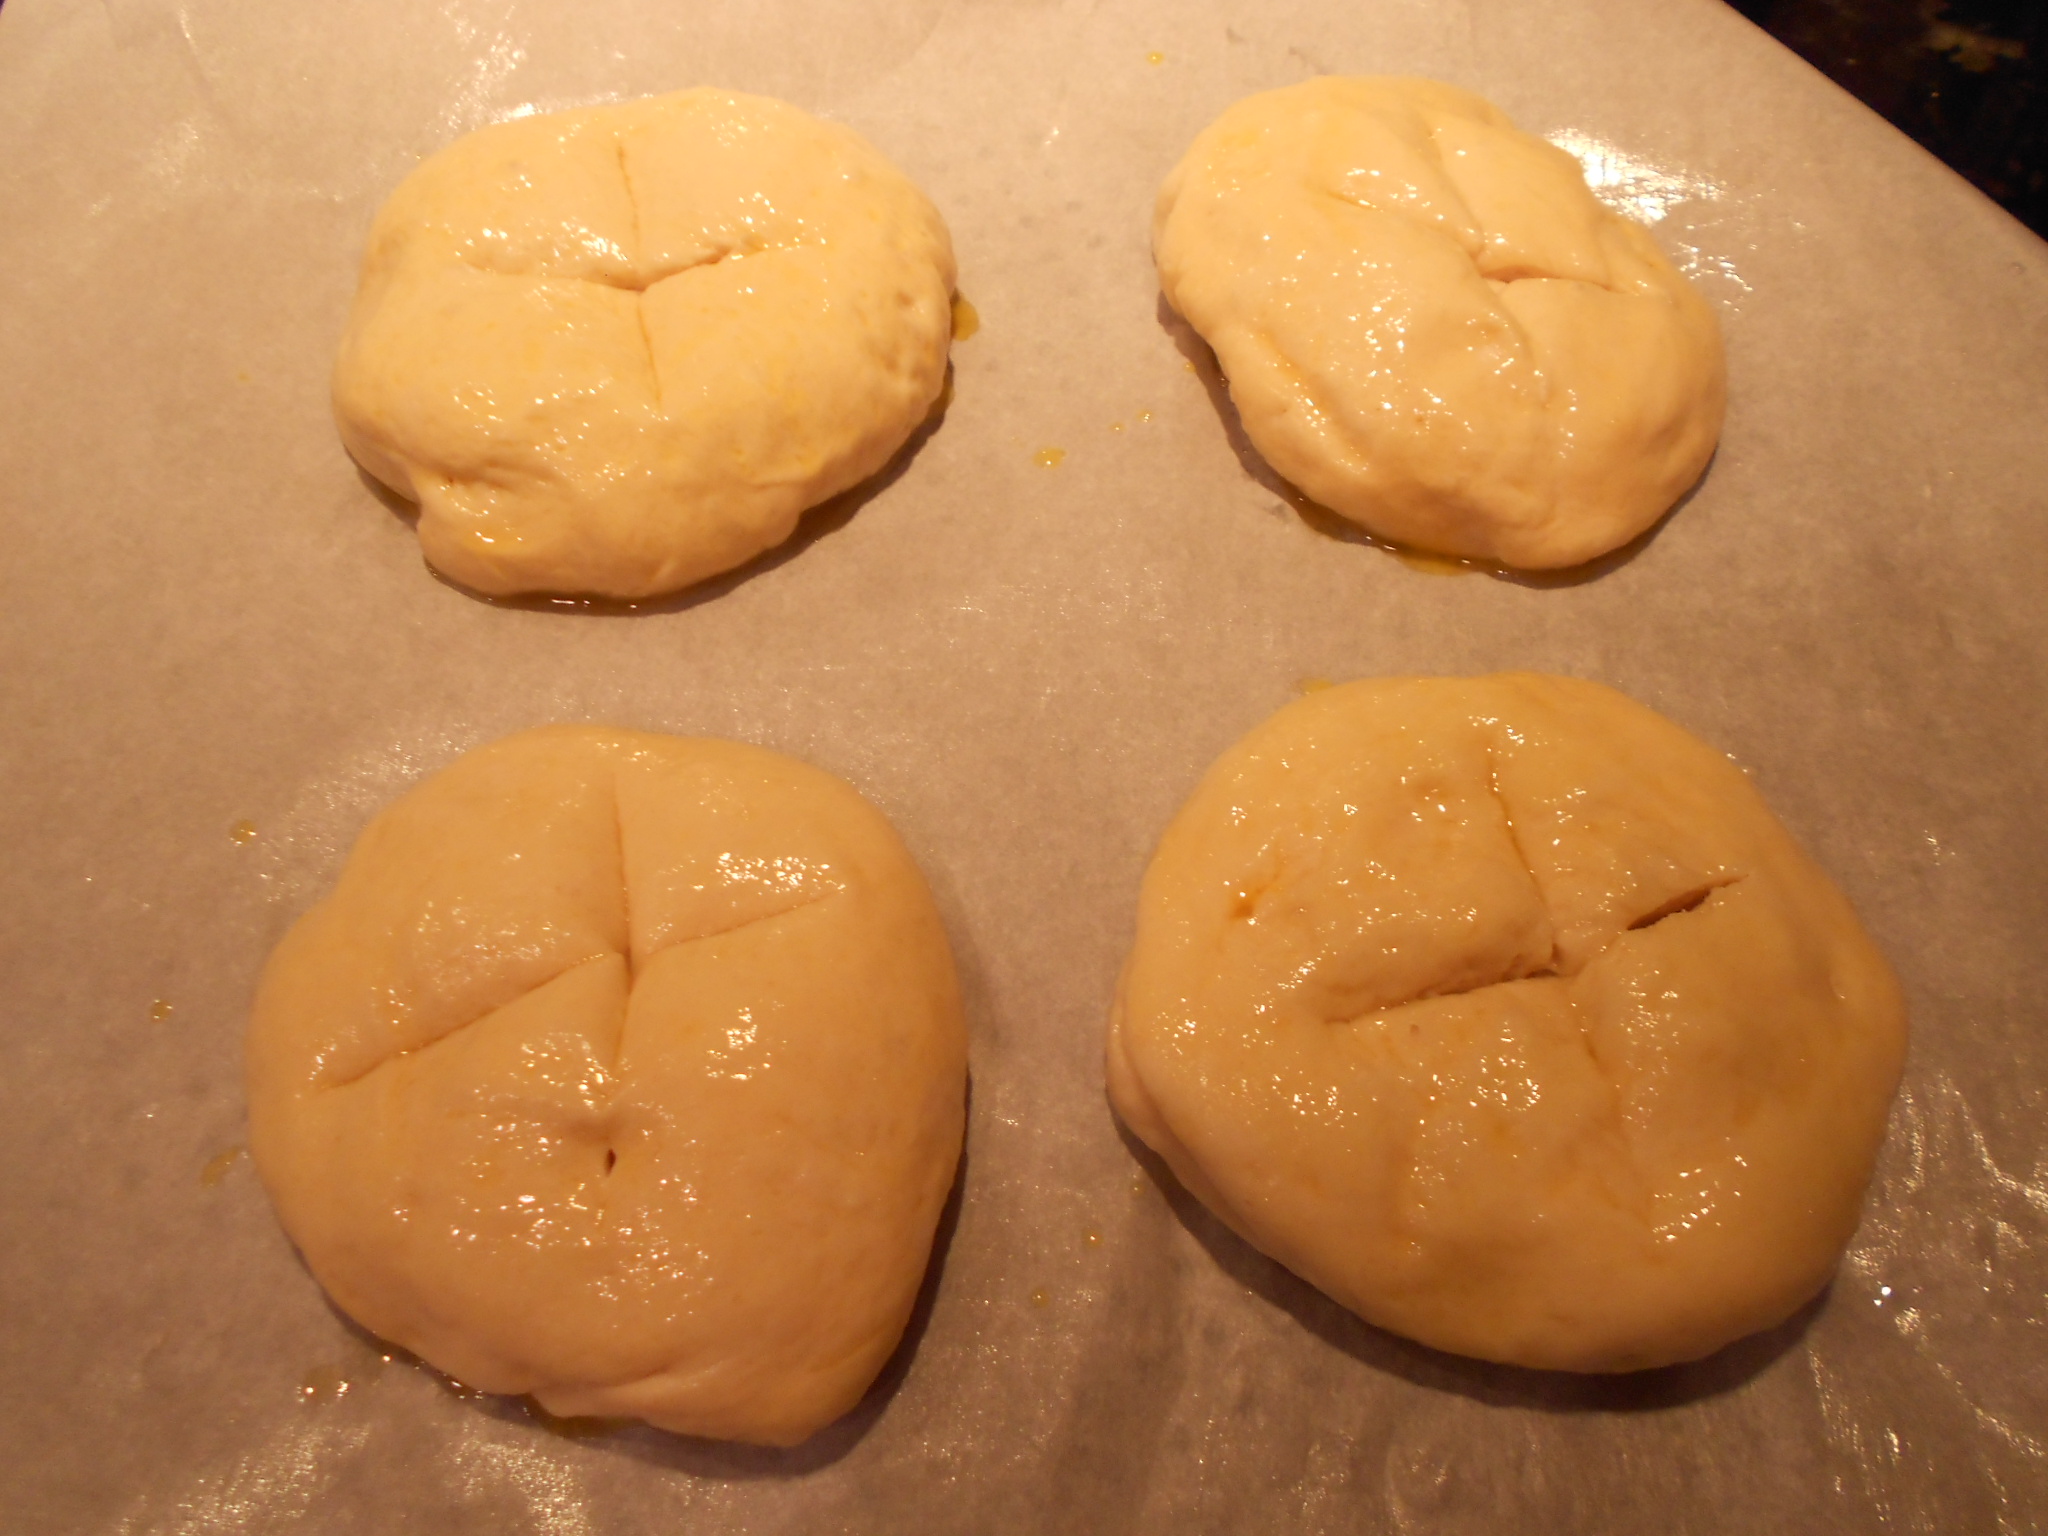
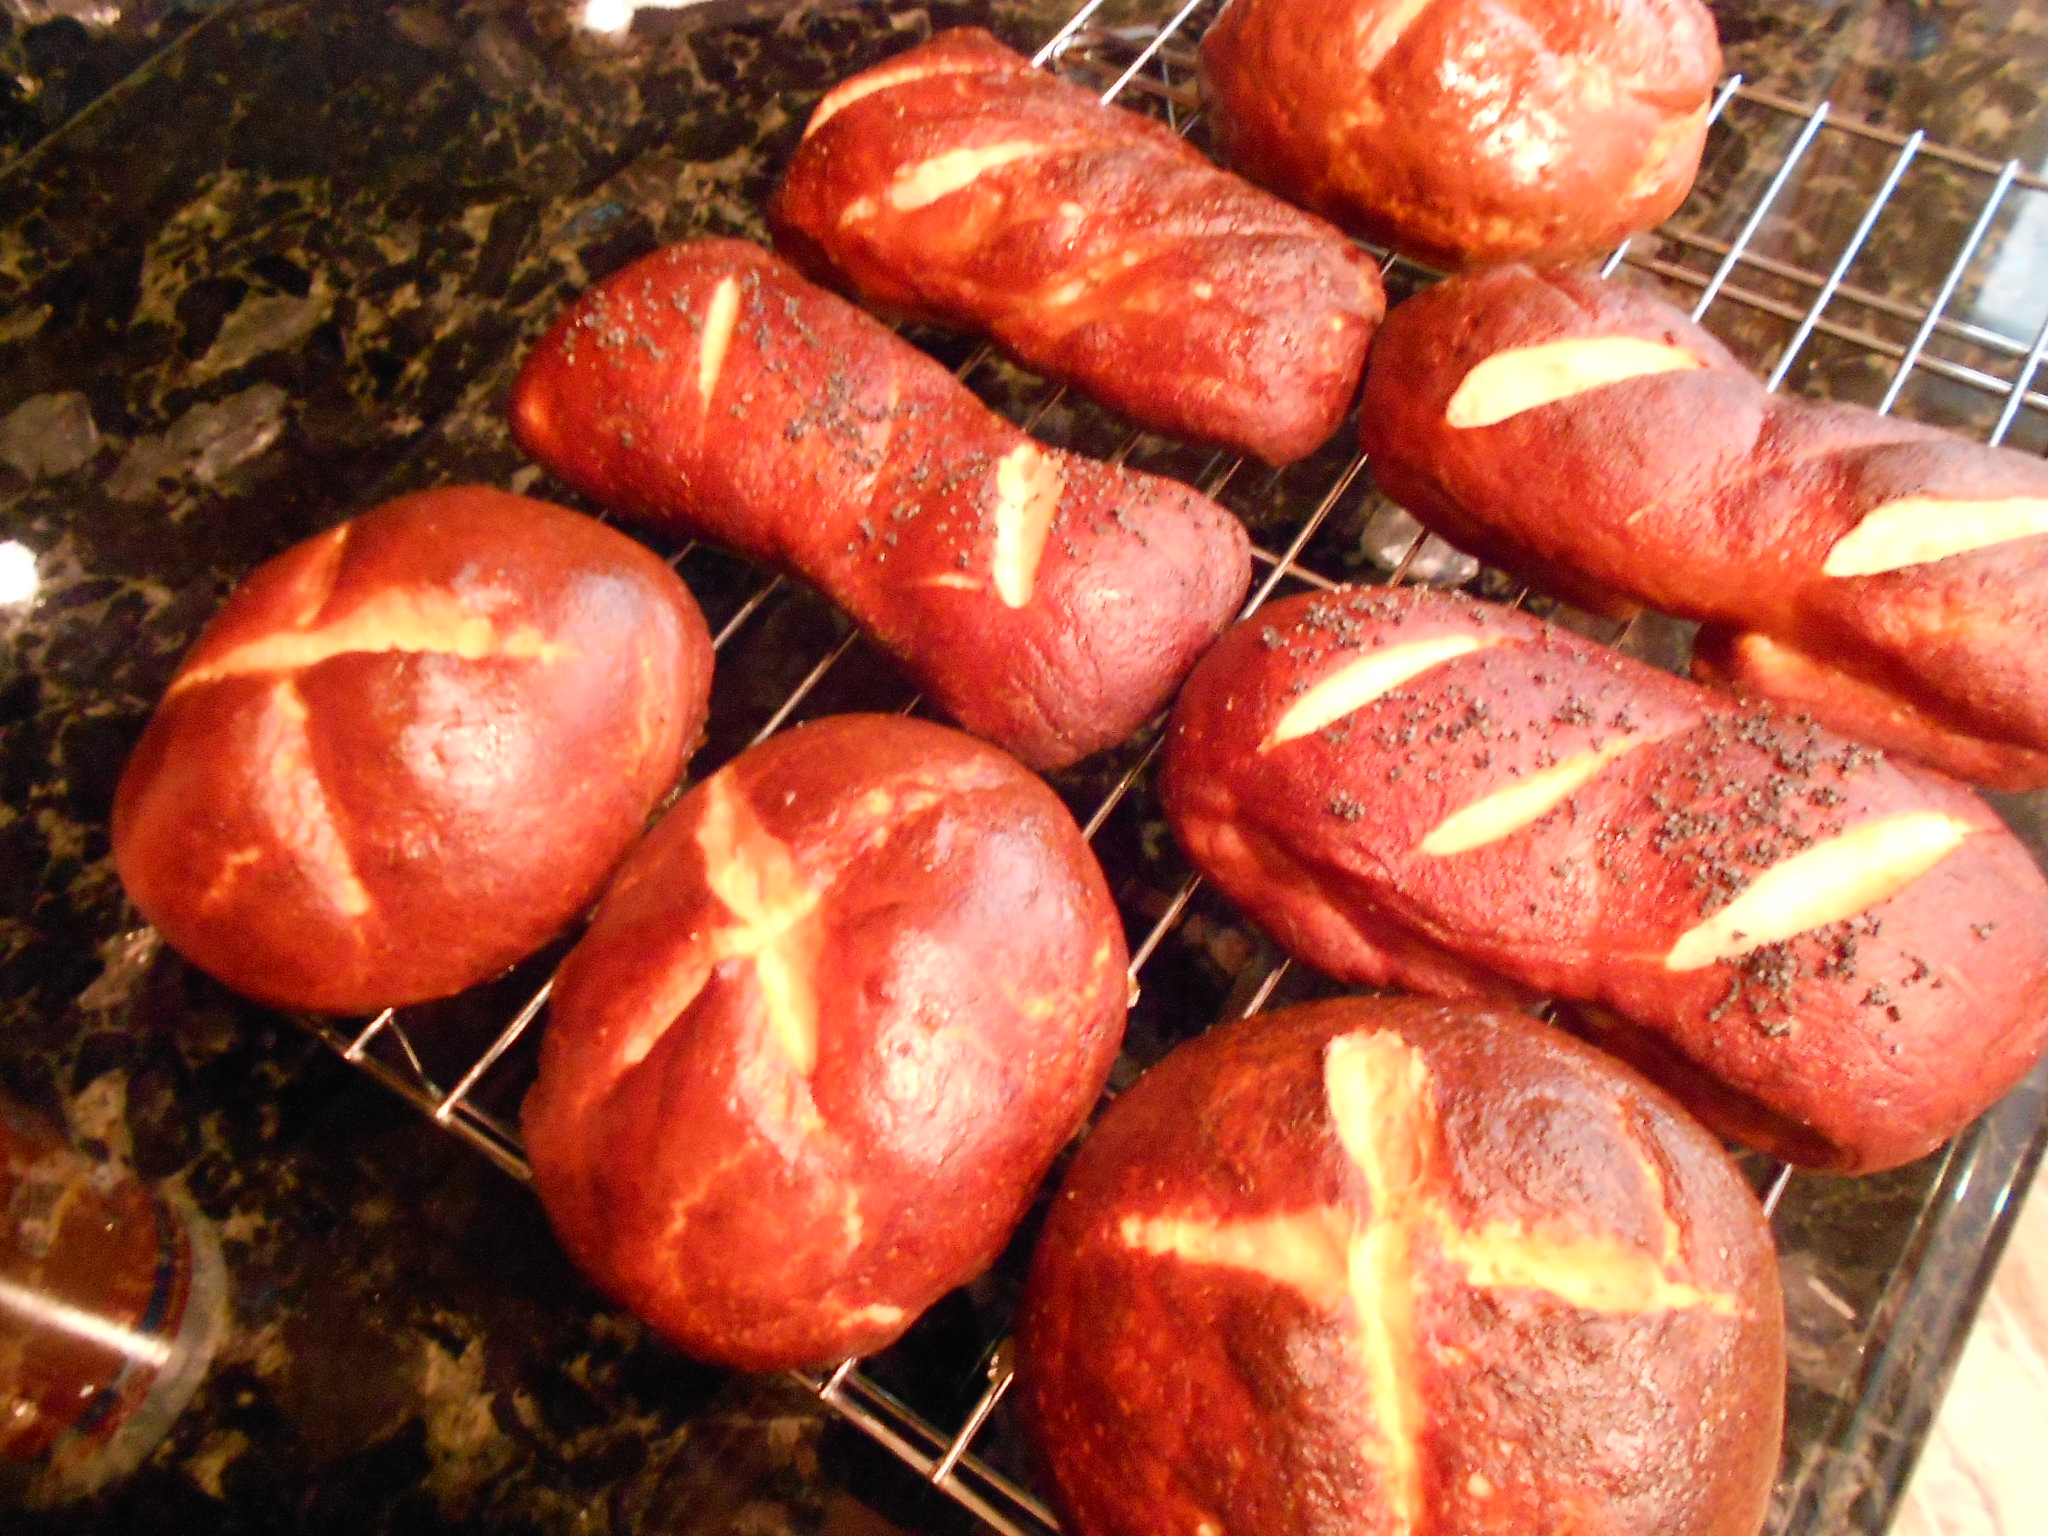
Give your bread(s) a brushing with the egg wash and then using a sharp knife, cut an "X" cross on top or slits, whichever you like. I do crosses on the round buns and slits on the longer ones to distinguish their use.  You may also sprinkle Poppy seeds if you wish to have some at this point.

DSCN3260

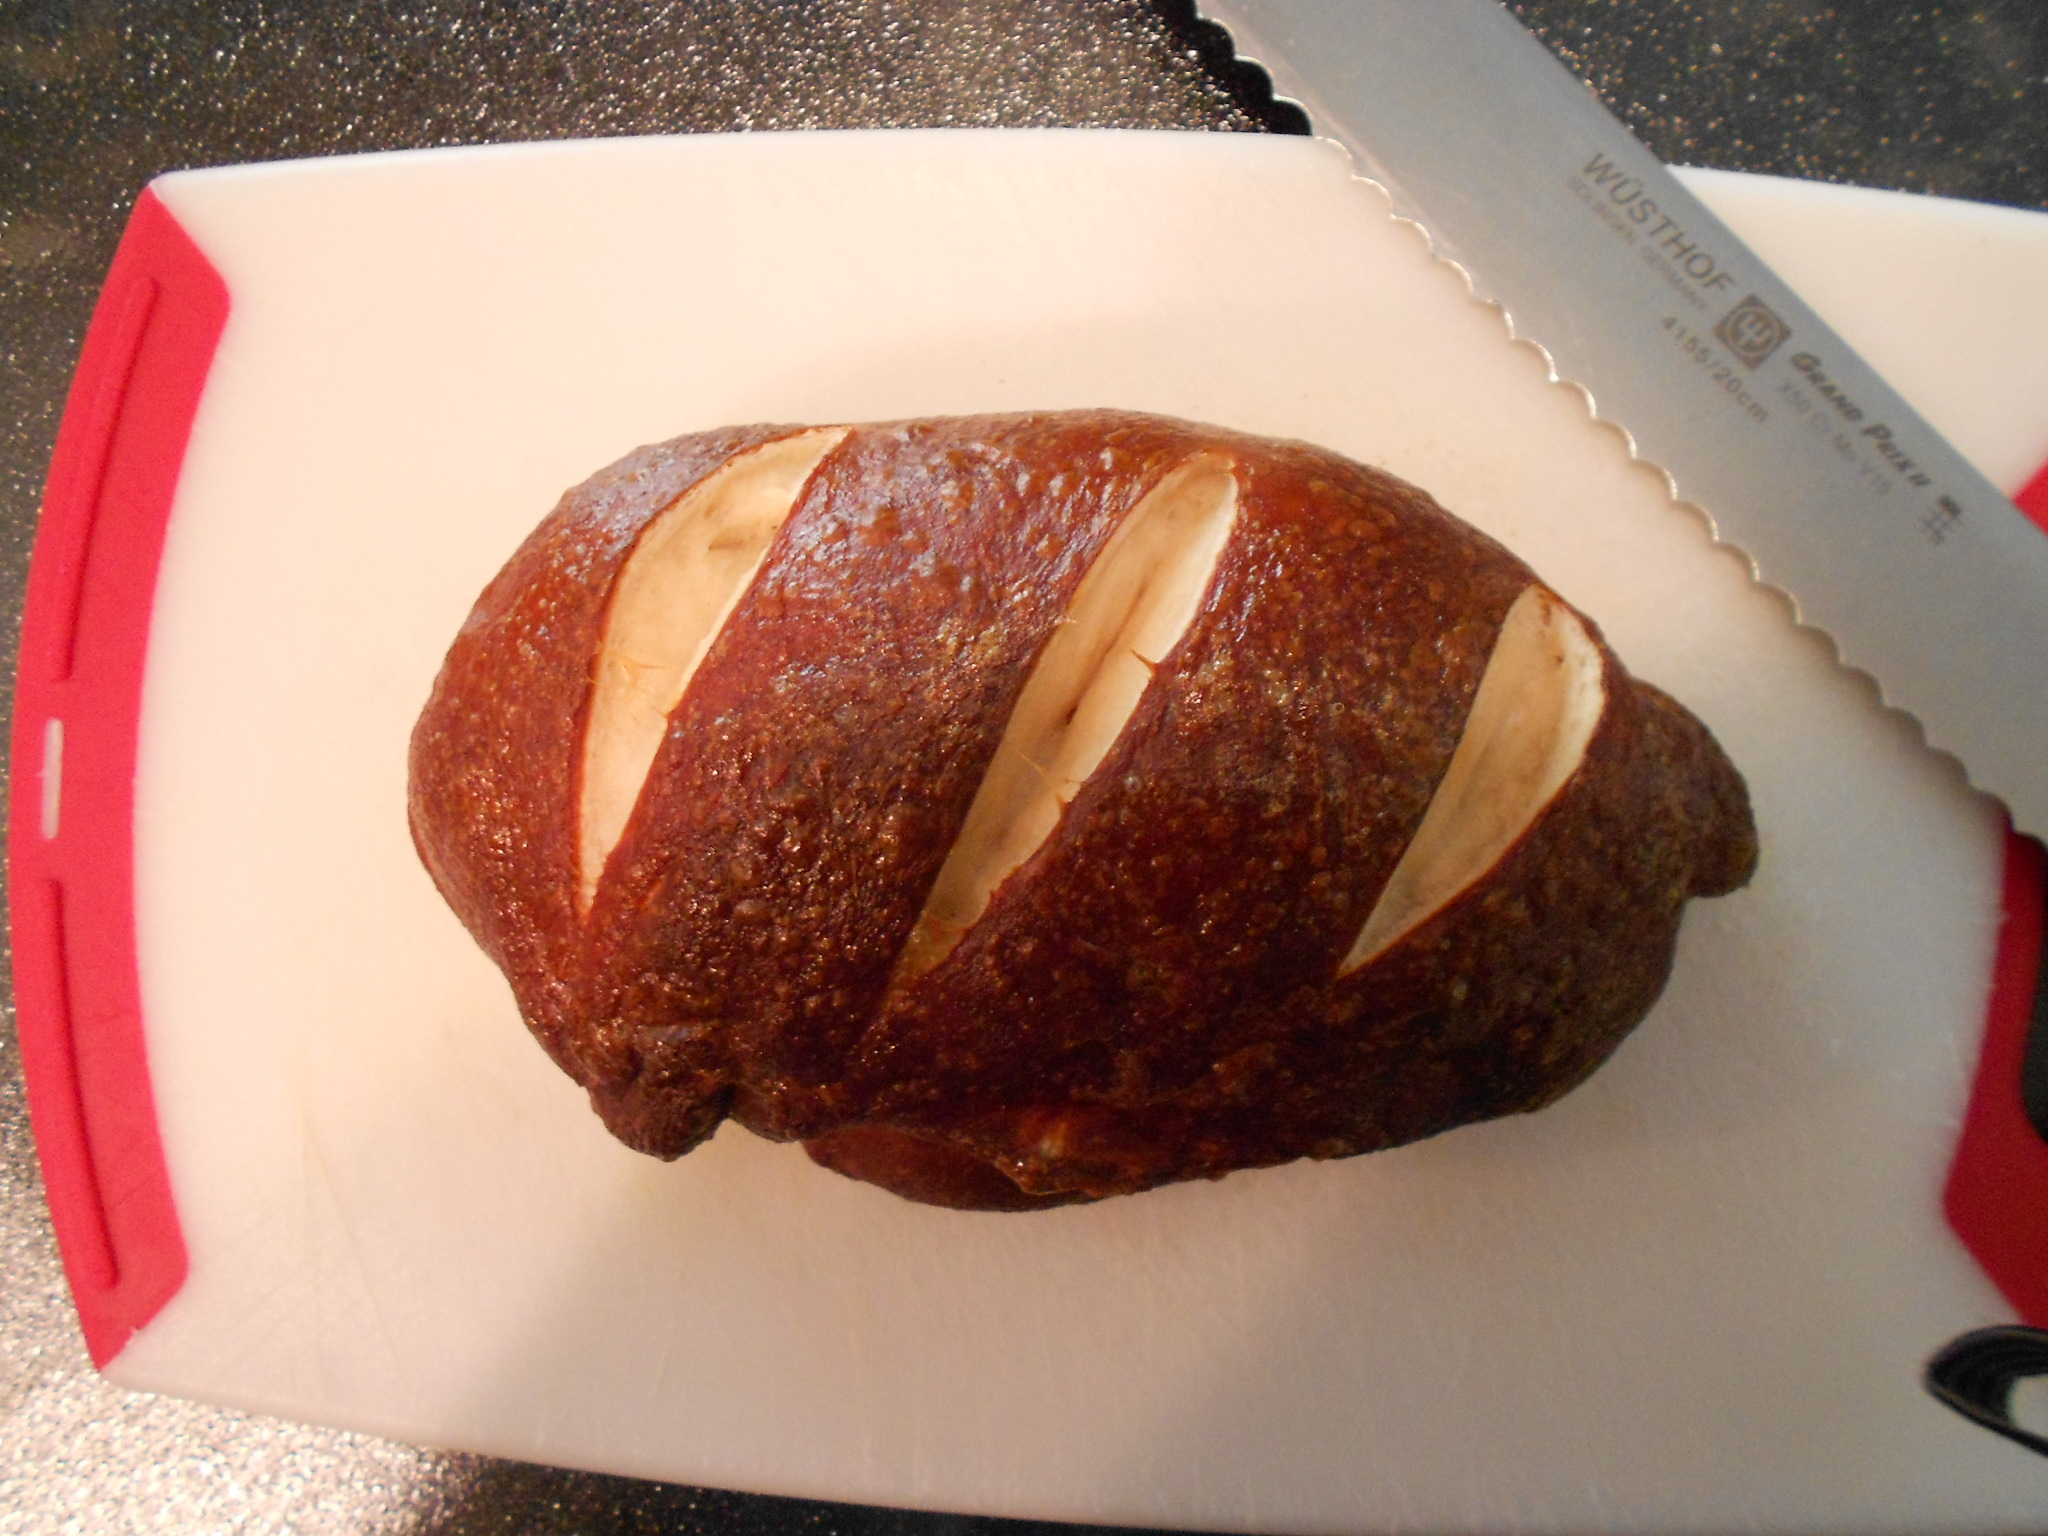
Pop them in the oven at the 400 degrees setting for about 10 minutes and then reduce to 375 degrees and bake until done. Okay, because buns, loaves, rolls, ect., vary on size, this is why I leave this part open regarding time. Mine took between 5 to 8 minutes on the 375 degrees setting and I take them out when they look as dark as you see pictured. Once you remove the bread, cool on a rack and try not to munch but I always give in to the smell and figure I test out the rolls to make sure they are good. Cool for about an hour or two and then you can freeze them like I described above.

DSCN3153

These guys are good as-is, for sandwiches and you can even make your own pretzel crisps, which I have used for even accompanying hummus and spreads. To make the crisps, you just slice a cool loaf and then toast them and allow them to cool. Best dipping bread EVER!!!!  Enjoy!

DSCN3264DSCN3155

Wednesday, April 10, 2013

Herbs de Provence & Chives Rolls.... Cheddar Cheese, Poppy Seed, and Sesame Seed Versions

DSCN1788

I wanted to make a new recipe this last Easter when it came to rolls and I had planned to test several recipes out but then the day came, and I needed something fast because I had no back-up plan.  It is difficult to always know what guests like or dislike because some just go with it to be polite.  I wanted a recipe that pleased all and on Easter morning this is what I made.  Who said you can't think on the fly on a holiday?  I was also influenced by a bushy Chive plant I have in a pot, which was getting taller and fuller.  I see it from my kitchen so it was sort of waving at me for attention :)

Rolls:

1 cup of Whole Milk

2 1/2 teaspoons of Active Dry Yeast

2 tablespoons of White Sugar

1 tablespoon of Honey (I used a Orange Blossom variety)

1 Egg at room temperature (whisked)

6 1/2 tablespoon Unsalted Butter (melted), you will use about 1 stick in the end.

3 1/2 cups of All-Purpose Flour

1 1/4 teaspoon of Kosher Salt

1 teaspoon of Herbs de Provence Herbs (dry)


Filling:

1/4 cup or to taste of fresh Chives


Basting:

1/2 teaspoon of Olive Oil

1 teaspoon of Unsalted Butter (soften)


Toppers:

1/2 cup of Cheddar Cheese*

Sesame Seeds

Poppy Seeds


*Don't have seeds or don't like them, just up the cheese amount to 3/4 cup.  You can even mix cheeses if Cheddar is not all you want.

<p>

You begin by heating up the 1 cup of milk until warm.  I tend to need to give my cup a quick 30 seconds in the microwave but I know some take more or less.  I always shoot to aim between 105 to 110 degrees.  I then add the yeast, sugar, and the honey.  I mix the ingredients together with a spoon.  My oven has a "proofing" mode so within 5 minutes at 105 degrees, the yeast is activated and foaming.  You want it to expand and build a good amount of foam, so it may take about 10 minutes if it is cool and on the counter.


DSCN1735


I then empty the cup into my mixer's bowl that has the dough hook attached.  I add the egg and 6 1/2 tablespoons of unsalted melted butter.


DSCN1739


On low, I mix everything until it's incorporated, stopping a few times to scrape the bottom and edges.


DSCN1740


I add the salt and Herbs de Provence to the flour.


DSCN1732


In small increments, I add the flour mix, again stopping to scrape down with a spatula any ingredients that are trying to rebel :).  After I added all the flour, I mix on low for about 2 to 3 minutes.


DSCN1741


I then increase the speed to medium and knead until a soft and smooth dough forms.  This takes about 10 to 12 minutes.


DSCN1743


I transfer the dough to a floured surface and work it flat, to about a 10 to 12 inched square.


DSCN1744


You fold one third of the dough into the center and then the other third (from the top) over.


DSCN1745 DSCN1746 DSCN1747


It's sort of like folding a letter in how you fold the flaps.  Turn the dough and fold again until you are left with a square (small one).  I take some of the butter and butter a large bowl.  I place the dough square in the bowl, cover with plastic wrap, and then proof for 1 hour.  You pretty much want it to double at least in size.


DSCN1748


I take more of the left-over butter and butter a lasagna dish (any baking pan) that is 9 x 13 inches in size.


Once the dough has proofed, I take it out of the bowl and dump it onto a floured surface.


DSCN1753


I roll out the dough to a 15 inch square and sprinkle on the fresh chives.


DSCN1756


Begin to roll tightly from the bottom up to make a log.  Just like you would cinnamon rolls.


DSCN1759


DSCN1764


You then take a floured knife or a dough scraper and start slicing.  I was able to yield 16 buns on my first take, but you will get between 14 to 15 if you measure right.  I always make small ones that I call "taste testers" :) and these are usually the two corners of the log.


DSCN1766


I placed the buns in the buttered lasagna dish and then covered it with plastic wrap, which I lightly rubbed with olive oil in case the wrap wants to stick to my buns when they are proofing.  You can use butter too if you desire.


DSCN1768


Allow the dough to proof for about an hour.  You are aiming for them to like like airy pillows.


DSCN1774


Preheat the oven to 375 degrees.  Remove the plastic wrap and bake for 12 to 15 minutes.


DSCN1783


Remove the buns from the oven and mix the basting ingredients of the olive oil and softened butter.  Baste the buns and then come the toppers.


DSCN1773


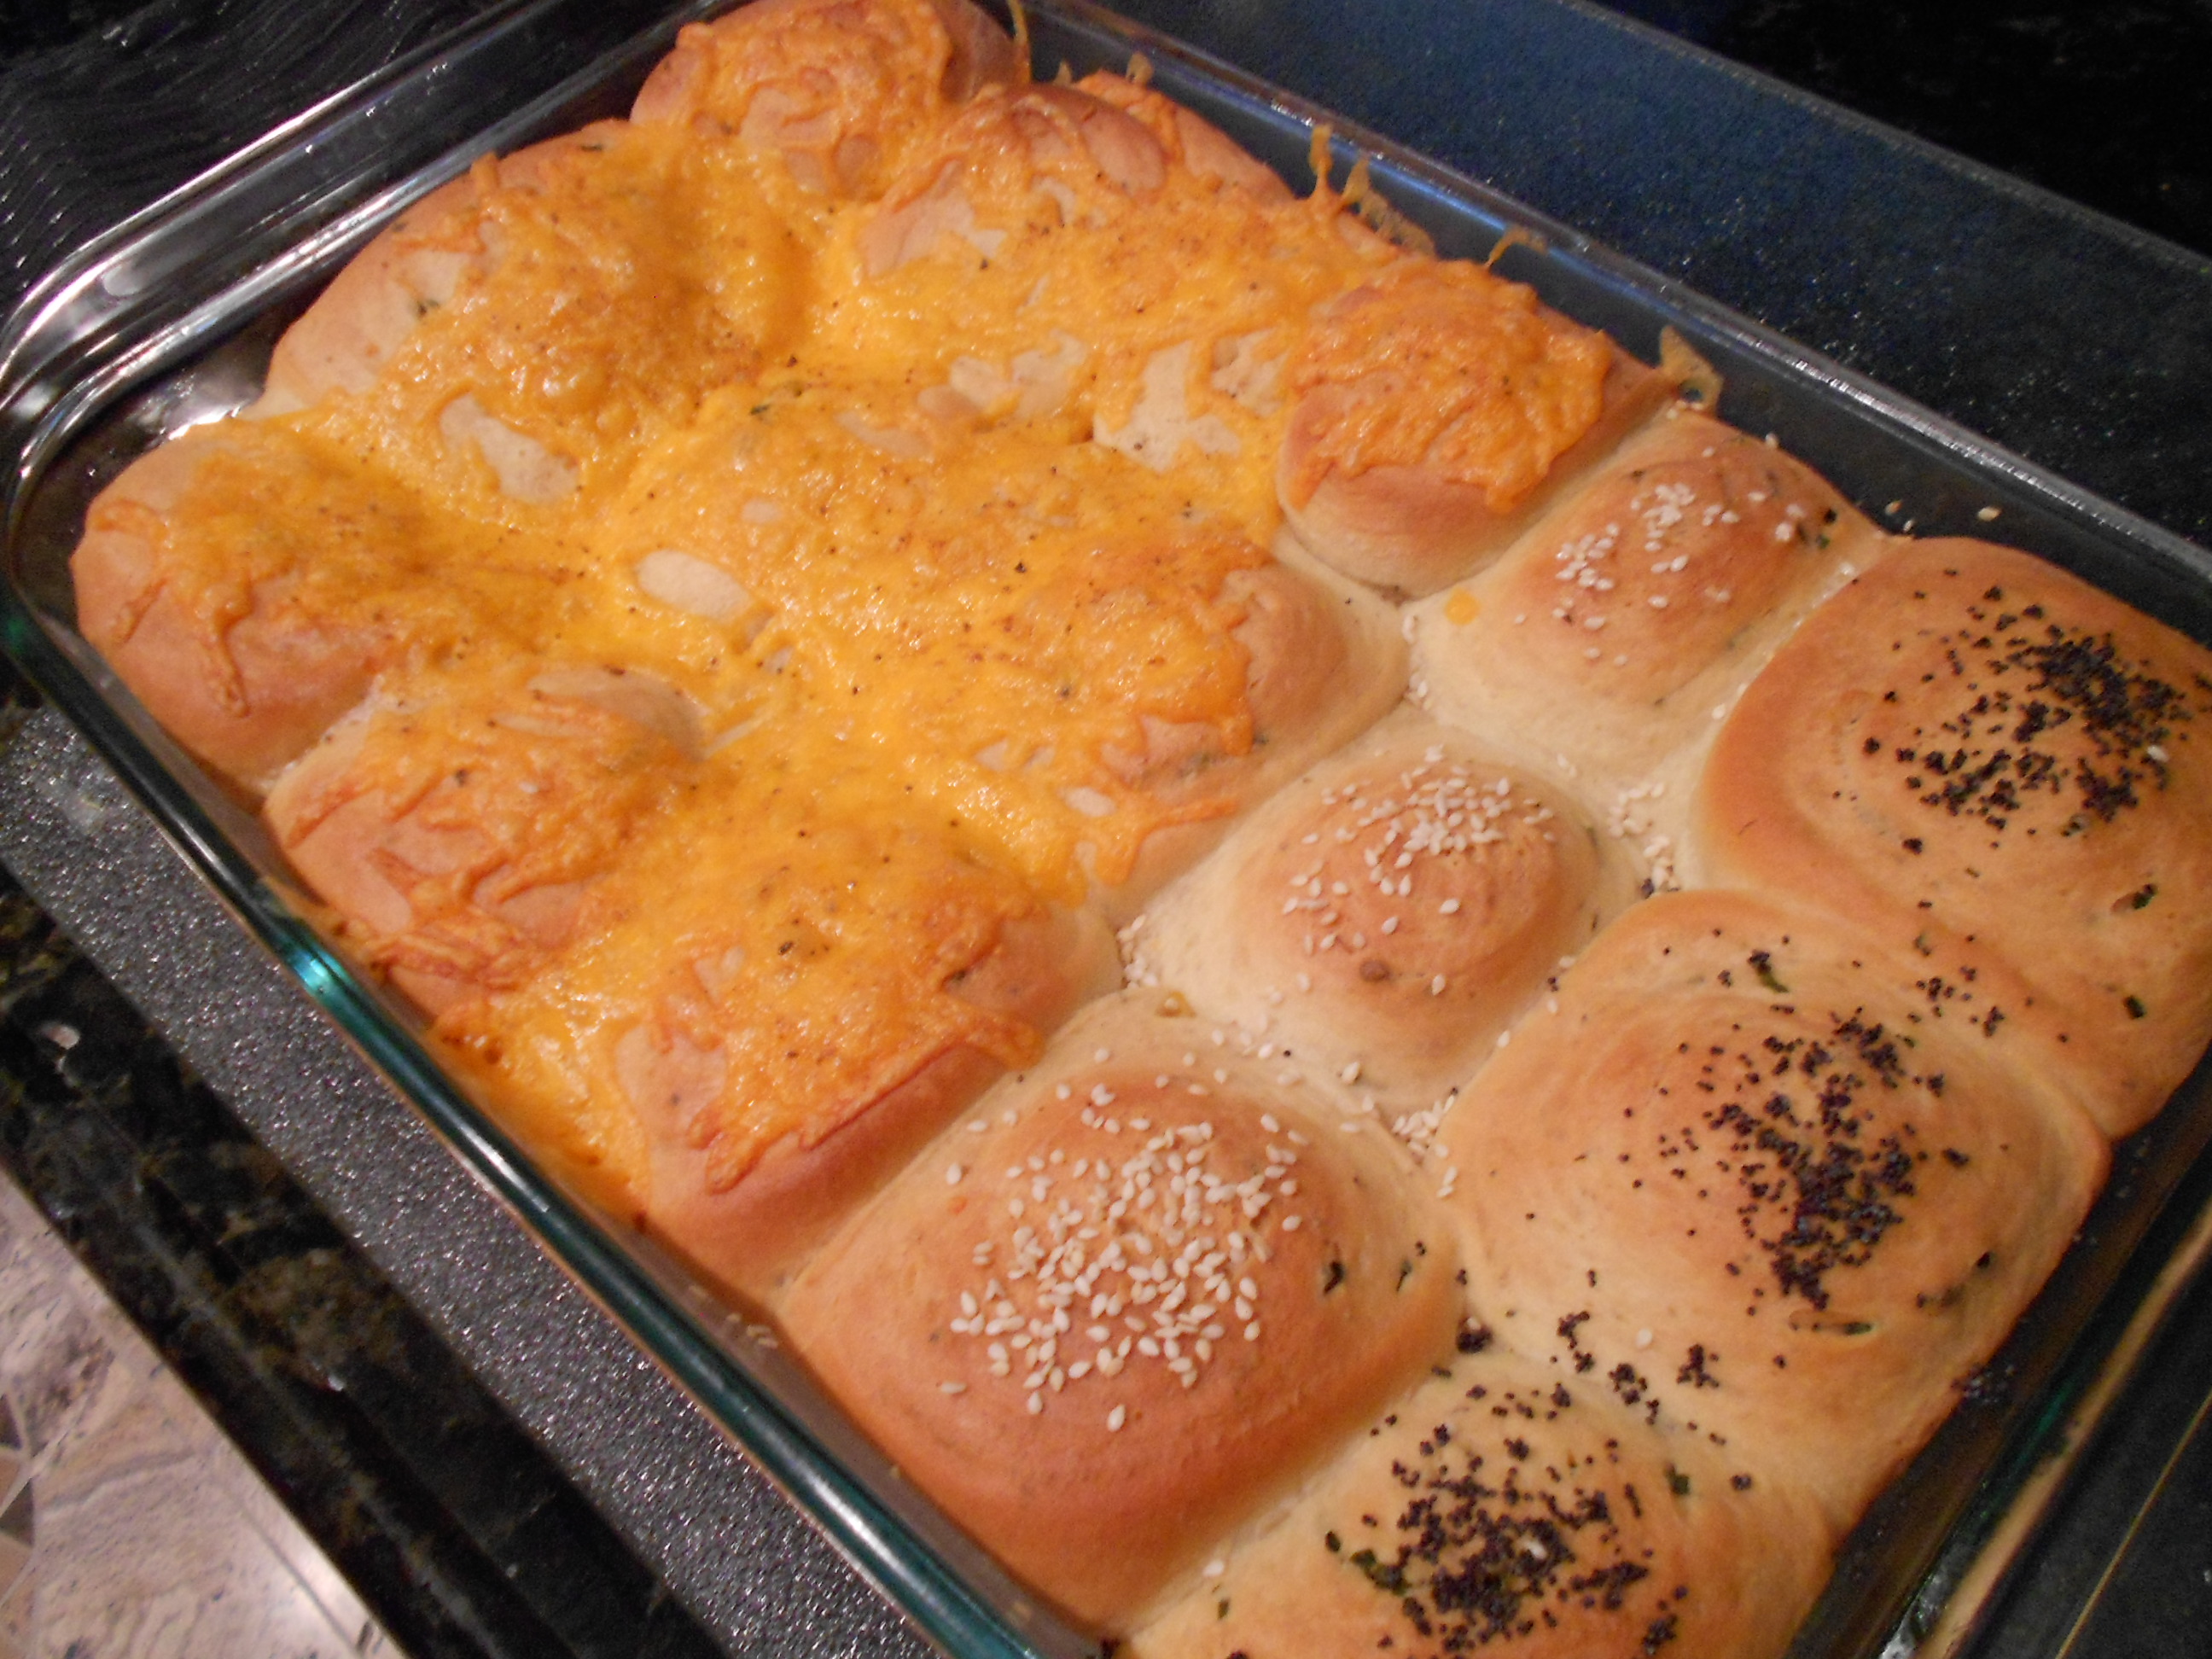
I opted for part cheddar cheese, a row of sesame and a row of poppy seeds.  The basting mix allows the seeds to stick but also adds a great flavor to the buns.


DSCN1785


Put the buns back in the oven and bake for 10 to 12 minutes.  If you notice over browning, just cover with foil to prevent any burning.


Take the buns out and I noticed I had left-over baste, so I basted the cheesy ones so they would shine pretty.  Allow to cool a bit in pan and then you start serving.  They pull away from each other whole, so no worries there but you may also use a knife if you wish.  Sometimes the cheese can make them unite but not enough that they can't pull away.


DSCN1789


To store, I waited until they cooled completely and then wrapped them with plastic wrap and stored them in the fridge.  They last great and you just take them out when you want one and allow them to come down to room temperature or give them a warm up in the oven.  They go great with a simple salad to what we had for Easter, lamb with a Pomegranate glaze.


DSCN1794


Next week comes the sweet version I made of these with some tweaks.  I had left over Pomegranate glaze from the lamb that needed to be used plus I was craving pecans with maple, so I made two different sweet versions!


Enjoy!