Showing posts with label family. Show all posts

Wednesday, January 1, 2014

Klout Perk: Braun Forehead Thermometer Model FHT 1000

IMAG0344

My newest Klout perk was a wonderful surprise when it arrived on New Year's Eve. It is the Braun Thermometer, Model FHT 1000. No longer do you have to stick a thermometer in your mouth or even your ear to check your temperature. This is a forehead thermometer that has a large color-coded screen with instant fever detection. The new Braun Forehead thermometer uses the skin's surface over the temporal artery, which is connected to the heart. You get an accurate temperature and there is no probe covers needed. The thermometer comes with a protective cap and the 2 AAA batteries it takes, so you are set right out of the box. I tried it and just in seconds had an accurate read out. The Braun FHT 1000 is for everyone in the family from infants to adults!

IMG_20140101_115440

As an added perk, Braun  is offering a $10 on-line rebate so not you can start 2014 with savings.

  • Rebate form is located here: http://www.braunthermometers.com/thermometers/rebate/


Connect with Braun on:

  • Twitter- @BraunTherms

  • On-line- www.Brauntherms.com

  • Facebook- https://www.facebook.com/braunshaversus


IMAG0347

I received the above product free of charge from Klout and Braun.  I am not obligated tp provide a positive or favorable review, just my honest opinion.  My review is based on my experience with the product and/or brand, which may differ from yours.

Tuesday, October 8, 2013

Swaggable: Sheila G's The ORIGINAL Brownie Brittle Company Review

DSCN3534

I've seen this product for the last year or so at Costco and once during the holidays, I picked up the bag but my uncertainty made me put it down on my "maybe next time" list. It's a big bag at Costco and because I could not see the product, I was worried about getting a lot of dust versus pieces of actual brittle. Then Swaggable offered me the opportunity to try the product out so it's like I was caught on camera carrying the bag to then changing my mind......spooky!

I get a parcel on Monday so that made my week brighter. Being that the product is chocolate related, this item was opened immediately because chocolate things to test in this house get priority status! Just in case you wonder why maybe a beauty product is not been reviewed today :). The day a beauty item comes with a chocolate bar, I may just lose it!

First Impressions:
Upon opening the first bag, you get an intense chocolate smell. It just starts to hypnotize you and worse, those that may be standing near you too. So, when you purchase a bag, I warn you to open it in an empty room if you are not the sharing type. I looked inside and was amazed to see the brittle shaped into squares. This brittle tends to not break into shards and the usual uneven pieces that turn into powder or even poke bags open. These squares are a perfect snack size and most were in perfect shape. They almost resemble thin cookies.....the wafer kind. I notice there is a healthy amount of chocolate chips, so I have not been cheated, in case you were worried. I notice you get little crumbles so very much like you would imagine a very thin chocolate chip cookie to be like. Smells like brownies, so I take a bite. The product is just like the company advertises, it tastes like the edge of a brownie square....you know, what comes it contact with the pan and crisps up from the butters and oils released by the chocolate and cocoa. Just think of someone baking brownies and shaving off the crispy edges but being kind enough to keep it looking (square) pretty. You get that airiness and it is a light crisp with an intense chocolate flavor. I liked it and finished off my square and went throughout my day.

DSCN3535

The Taste Test:
The next morning I wake up and I am making my breakfast bowl of pumpkin granola clusters, almonds, accompanied by Almond milk and I spot the taped up bag of the brownie brittle. I open it and take 2 squares out and crumble them on top and I start to move on over to my lap top while taking a bite. Oh my.....it made my breakfast sinfully delicious. I started to think of brownie brittle over yogurt and then brownie brittle with ice cream and even baking a cheesecake with a brownie brittle bottom......let's say I got carried away. It seems my appreciation of the brownie brittle square alone was under valued on Monday until I paired it up with other stuff and it seriously shined!!! I saw the literature they enclosed and they have other flavors like:

  • Toffee Crunch (so curious as I LOVE toffee)

  • Salted Caramel (must try!)

  • Mint Chocolate Chip

  • and of course, The Chocolate chip one I tried


Sheila G's Brownie Brittle is 120 calories for one ounce and it will satisfy a chocolate craving in less than that. Things to note is that the product does contain corn syrup solids and I understand it is sometimes needed to achieve the desired texture. You do see sugar and cocoa and my only dislike in the list of ingredients was the caramel coloring. I am not a fan of dyes and prefer a less fantastic color if the taste and texture are there but other than that, this brittle has less going on than your common candy bar and more chocolate satisfaction!

DSCN3532

Check them out on-line at:

  • Website- http://browniebrittle.com/

  • Store Locator- http://browniebrittle.com/find-a-store/

  • Facebook- https://www.facebook.com/BrownieBrittle

  • Twitter- https://twitter.com/BrownieBrittle

  • Pinterest- http://www.pinterest.com/browniebrittle/


I received the above product from Swaggable and Sheila G's, free of charge. I am not obligated in providing positive/favorable feedback, just my honest opinion. My review is based on my experience with the brand and/or it's products, which may differ from yours.

Wednesday, October 2, 2013

Pretzel Bread Recipe

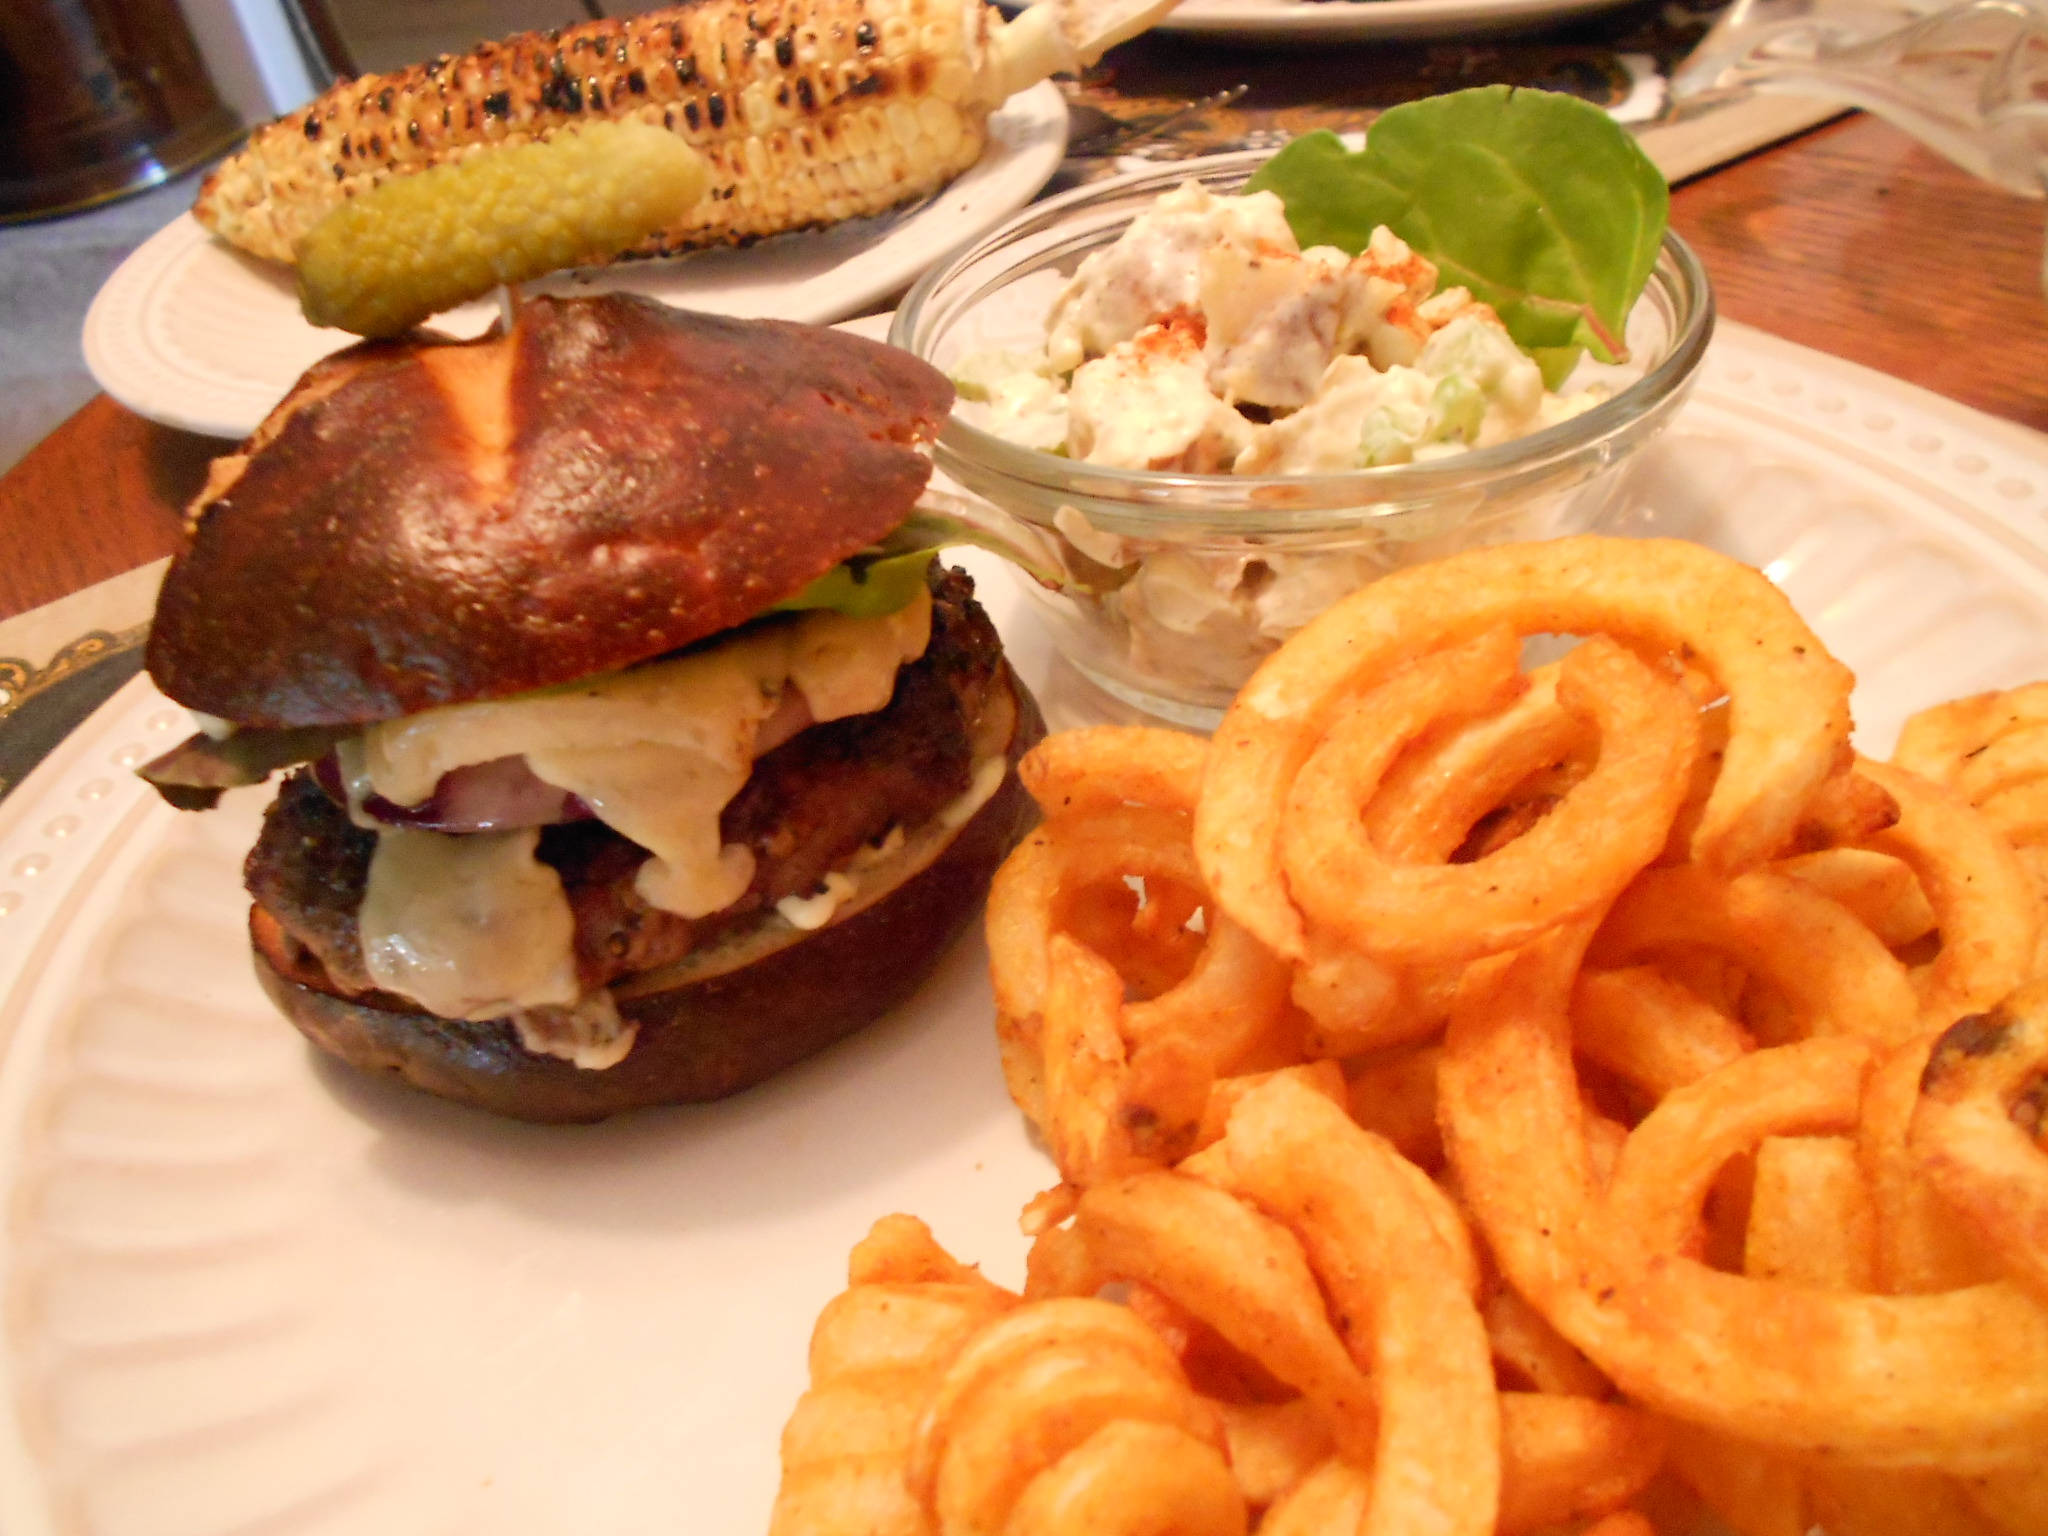
DSCN3351 Pretzel Burger

Everybody loves pretzel bread. Everybody. We see the commercials from drive-thru joints to restaurants, and I was purchasing the 4 bun bag at Trader Joe's until they discontinued it. So I started purchasing it at Costco then and after two purchases, they suddenly stop making it. I have heard they consider it a "seasonal item", but whatever the reason, I wanted Pretzel Bread and was tired of hunting. Yes, I even tried Fresh & Easy's Pretzel buns and they just taste like salty white bread, so I think they just paint their burger buns brown and call it Pretzel bread!

DSCN3263DSCN3266

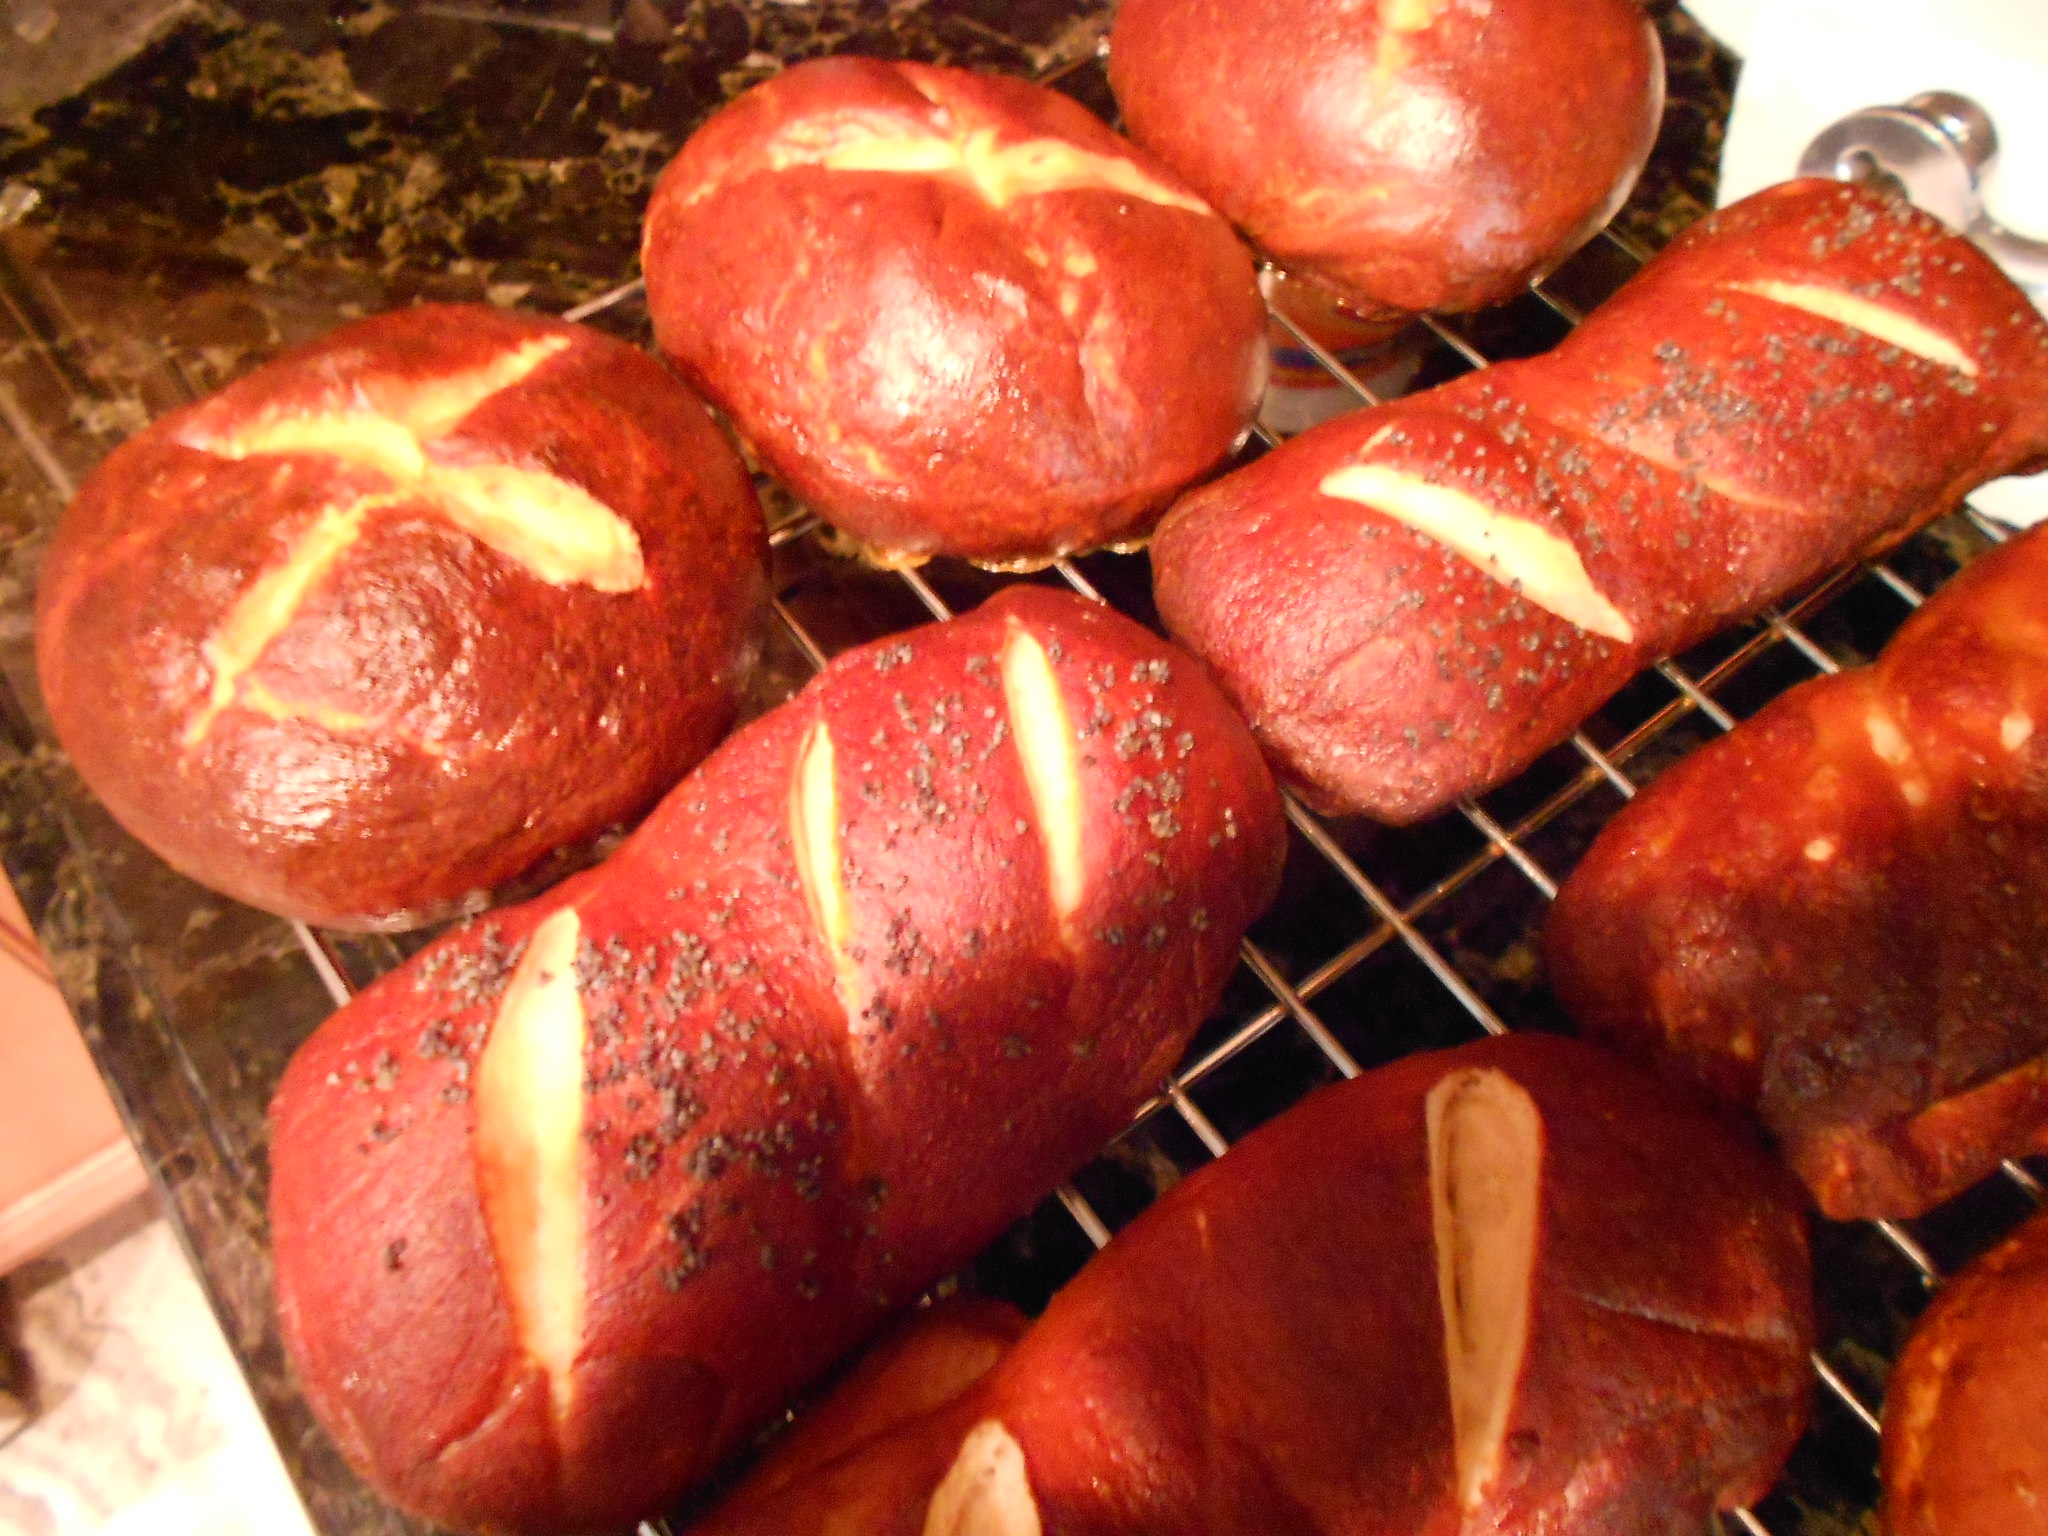
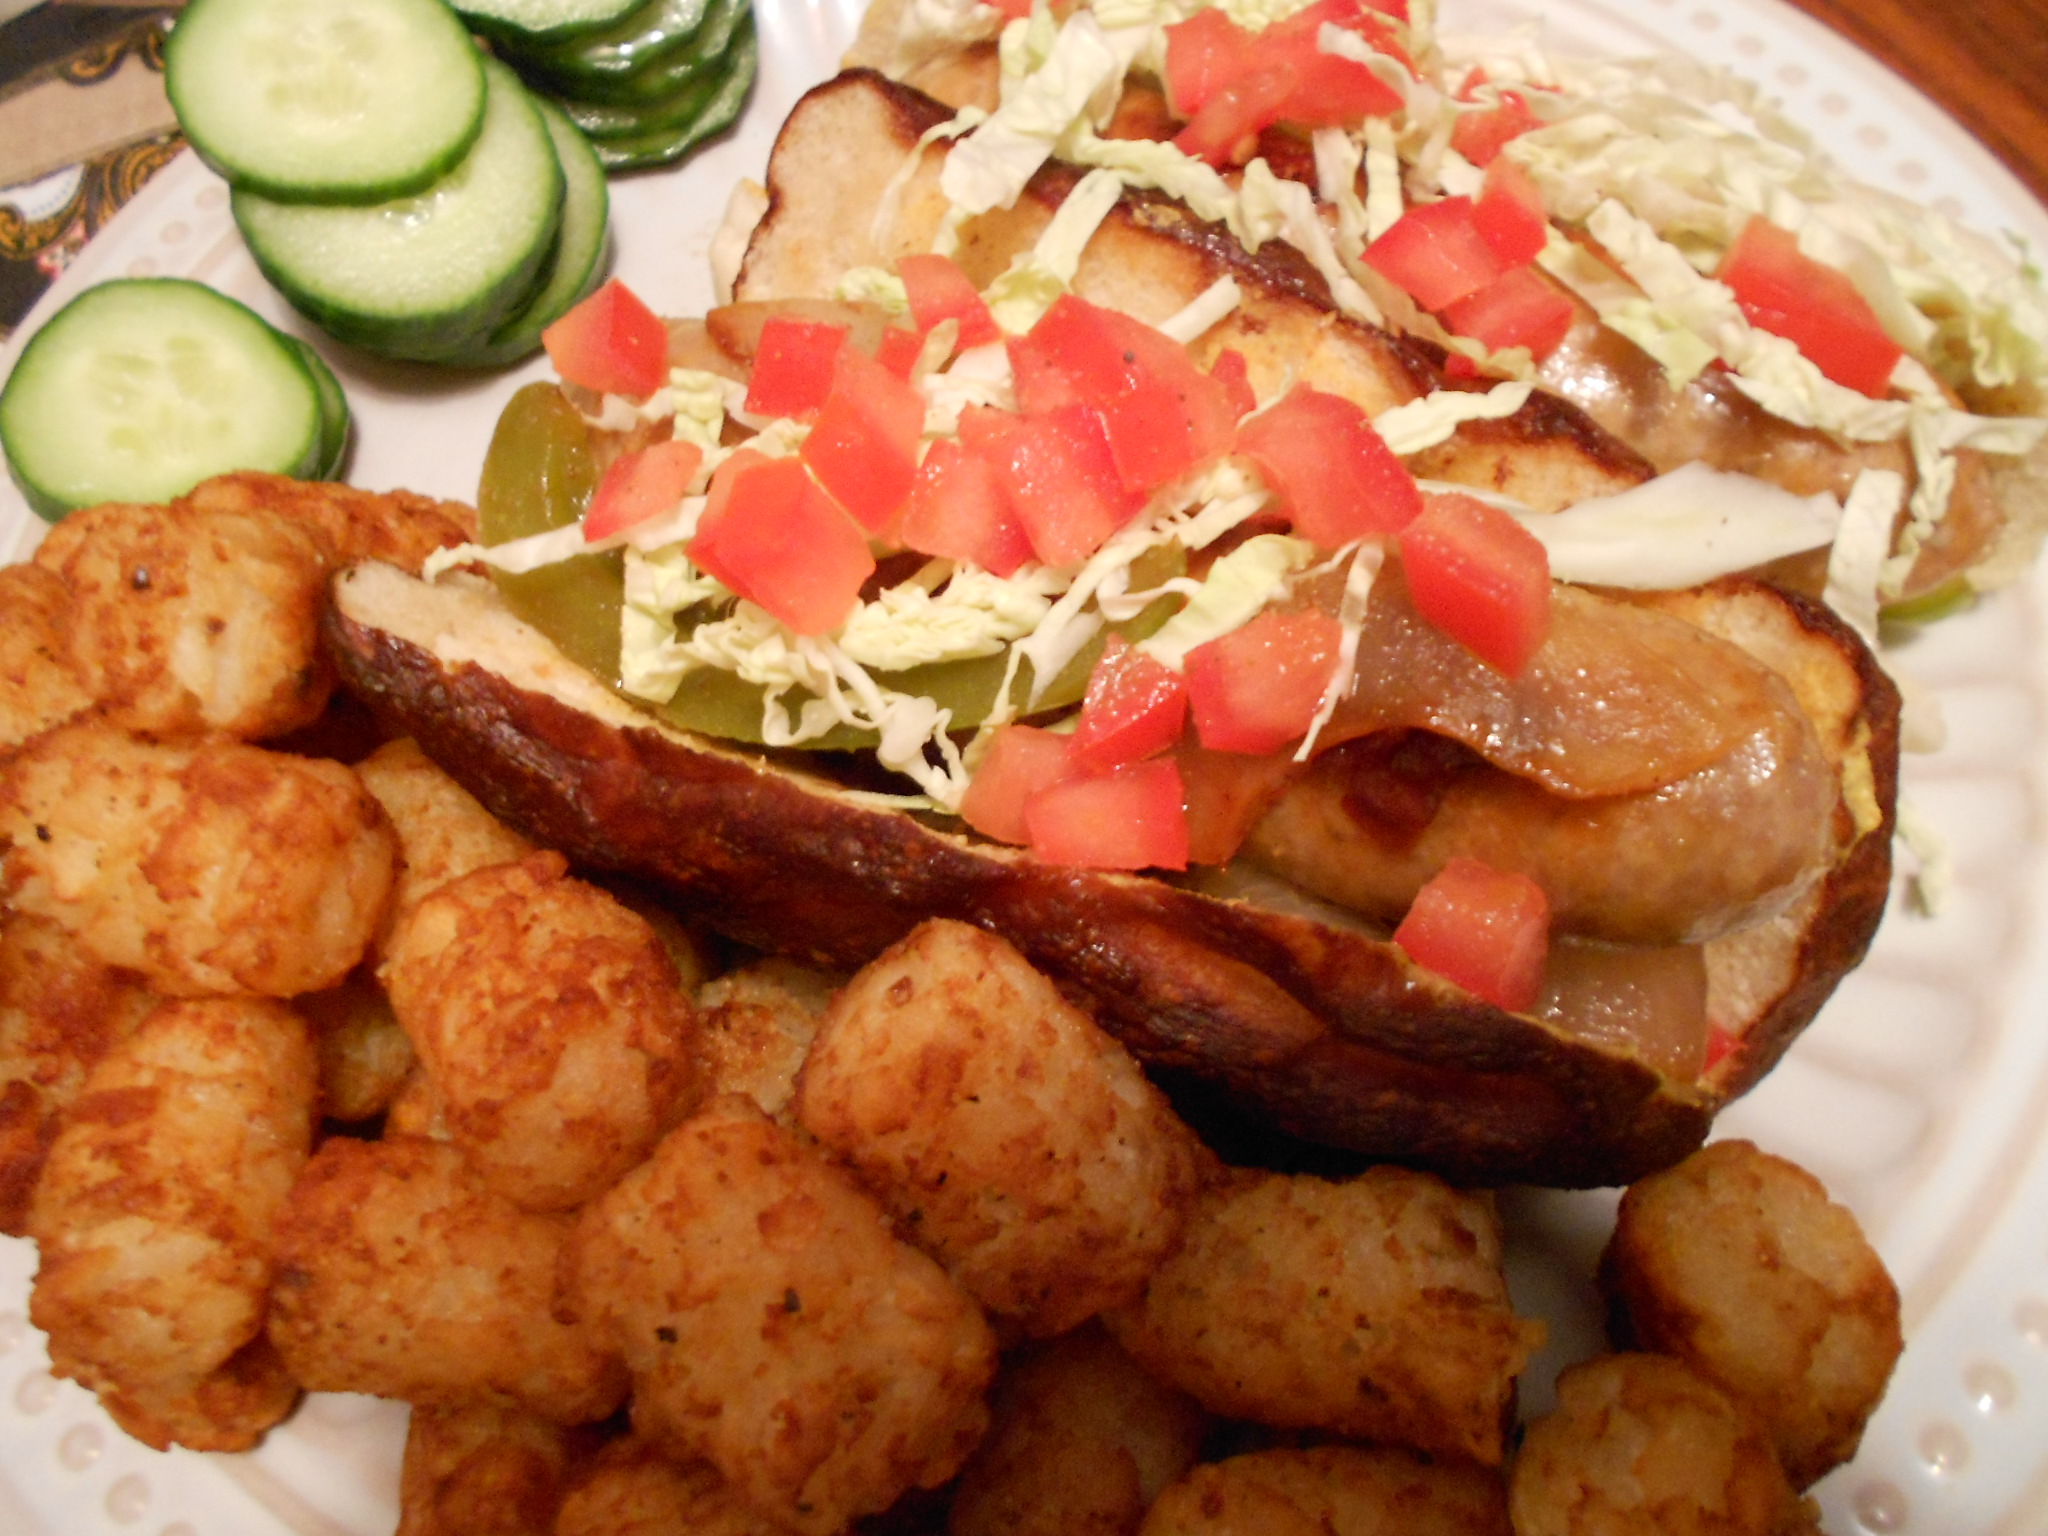
Pretzel Bread                                                                                                                                                                 Brauts with Pretzel Buns

So after experimenting, I finally found a way to have Pretzel buns, rolls, loaves....you name it and you can even freeze them to have them keep longer. I use plastic wrap and then foil to freeze each roll. I then take them out, remove the plastic and re-wrap the bread in the same foil I used to freeze it in. Set the oven at 375 degrees and 10 to 15 minutes later, I have warm freshly baked Pretzel bread! YUM.

Let's get started......

For the Dough-

1 cup of whole Milk
3 tablespoons of Butter
2 tablespoons of Brown Sugar
2 1/4 teaspoons of Active Dry yeast (1 packet if using the envelopes)
1 1/2 teaspoons of Kosher Salt
2 3/4 to 3 1/4 cups of All-Purpose Flour

1/2 teaspoon of Unsalted Butter to use in the bowl your dough will rise in

For the Wash-

12 cups of Water
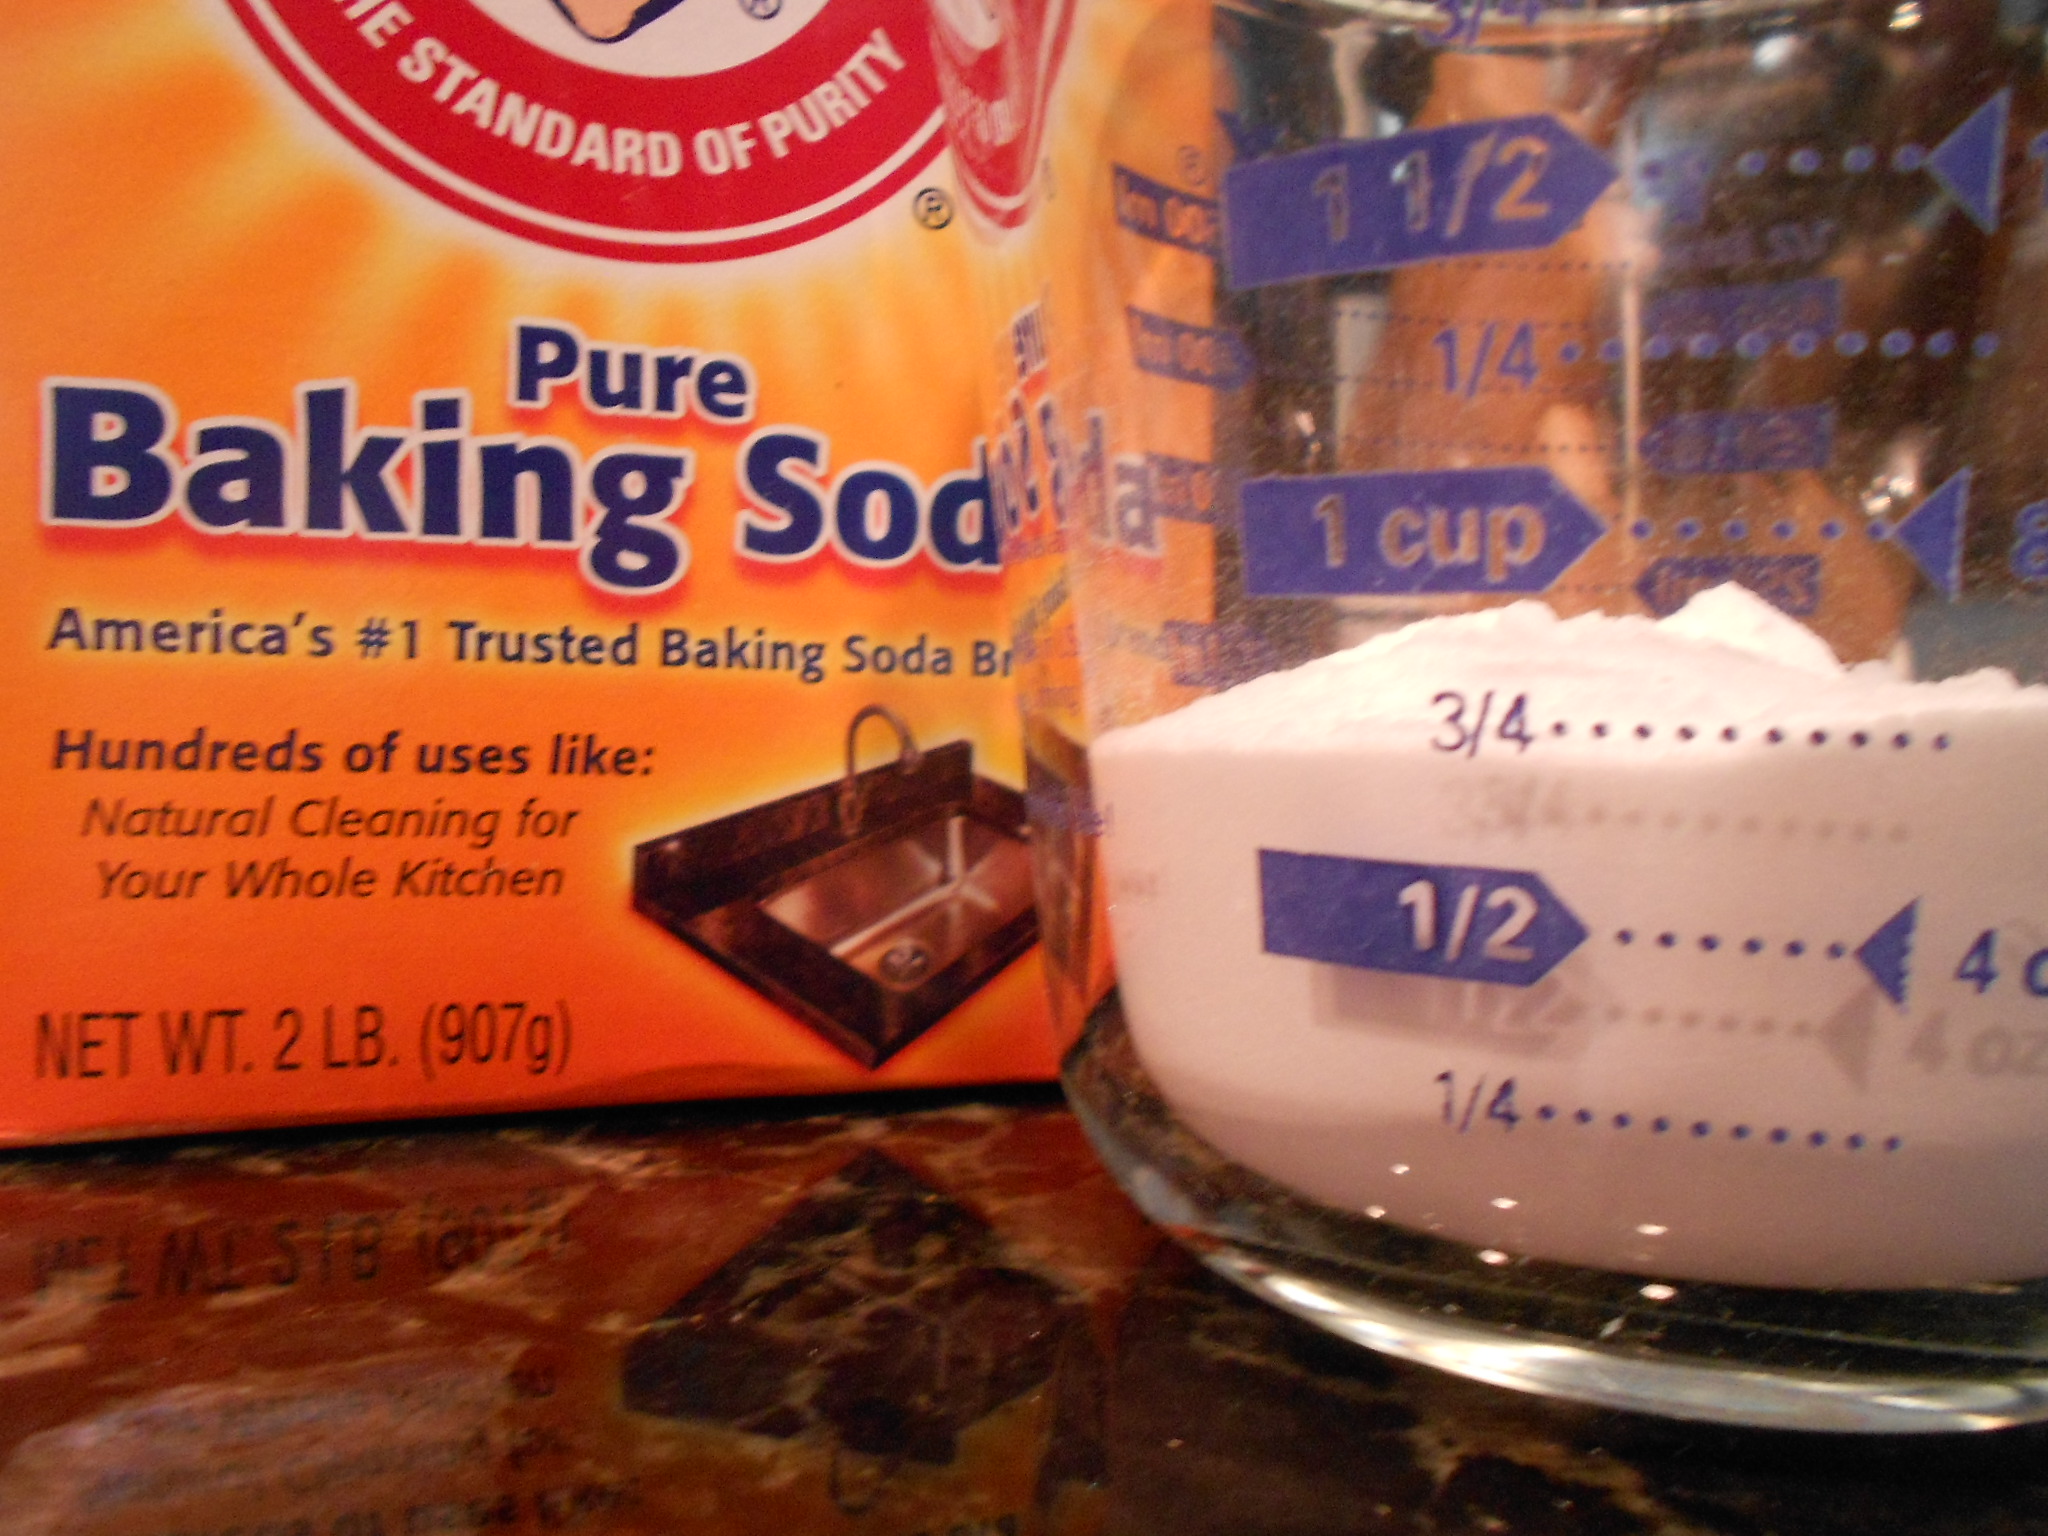
3/4 cup of Baking Soda

1 Egg and a teaspoon of Water to brush the bread before baking

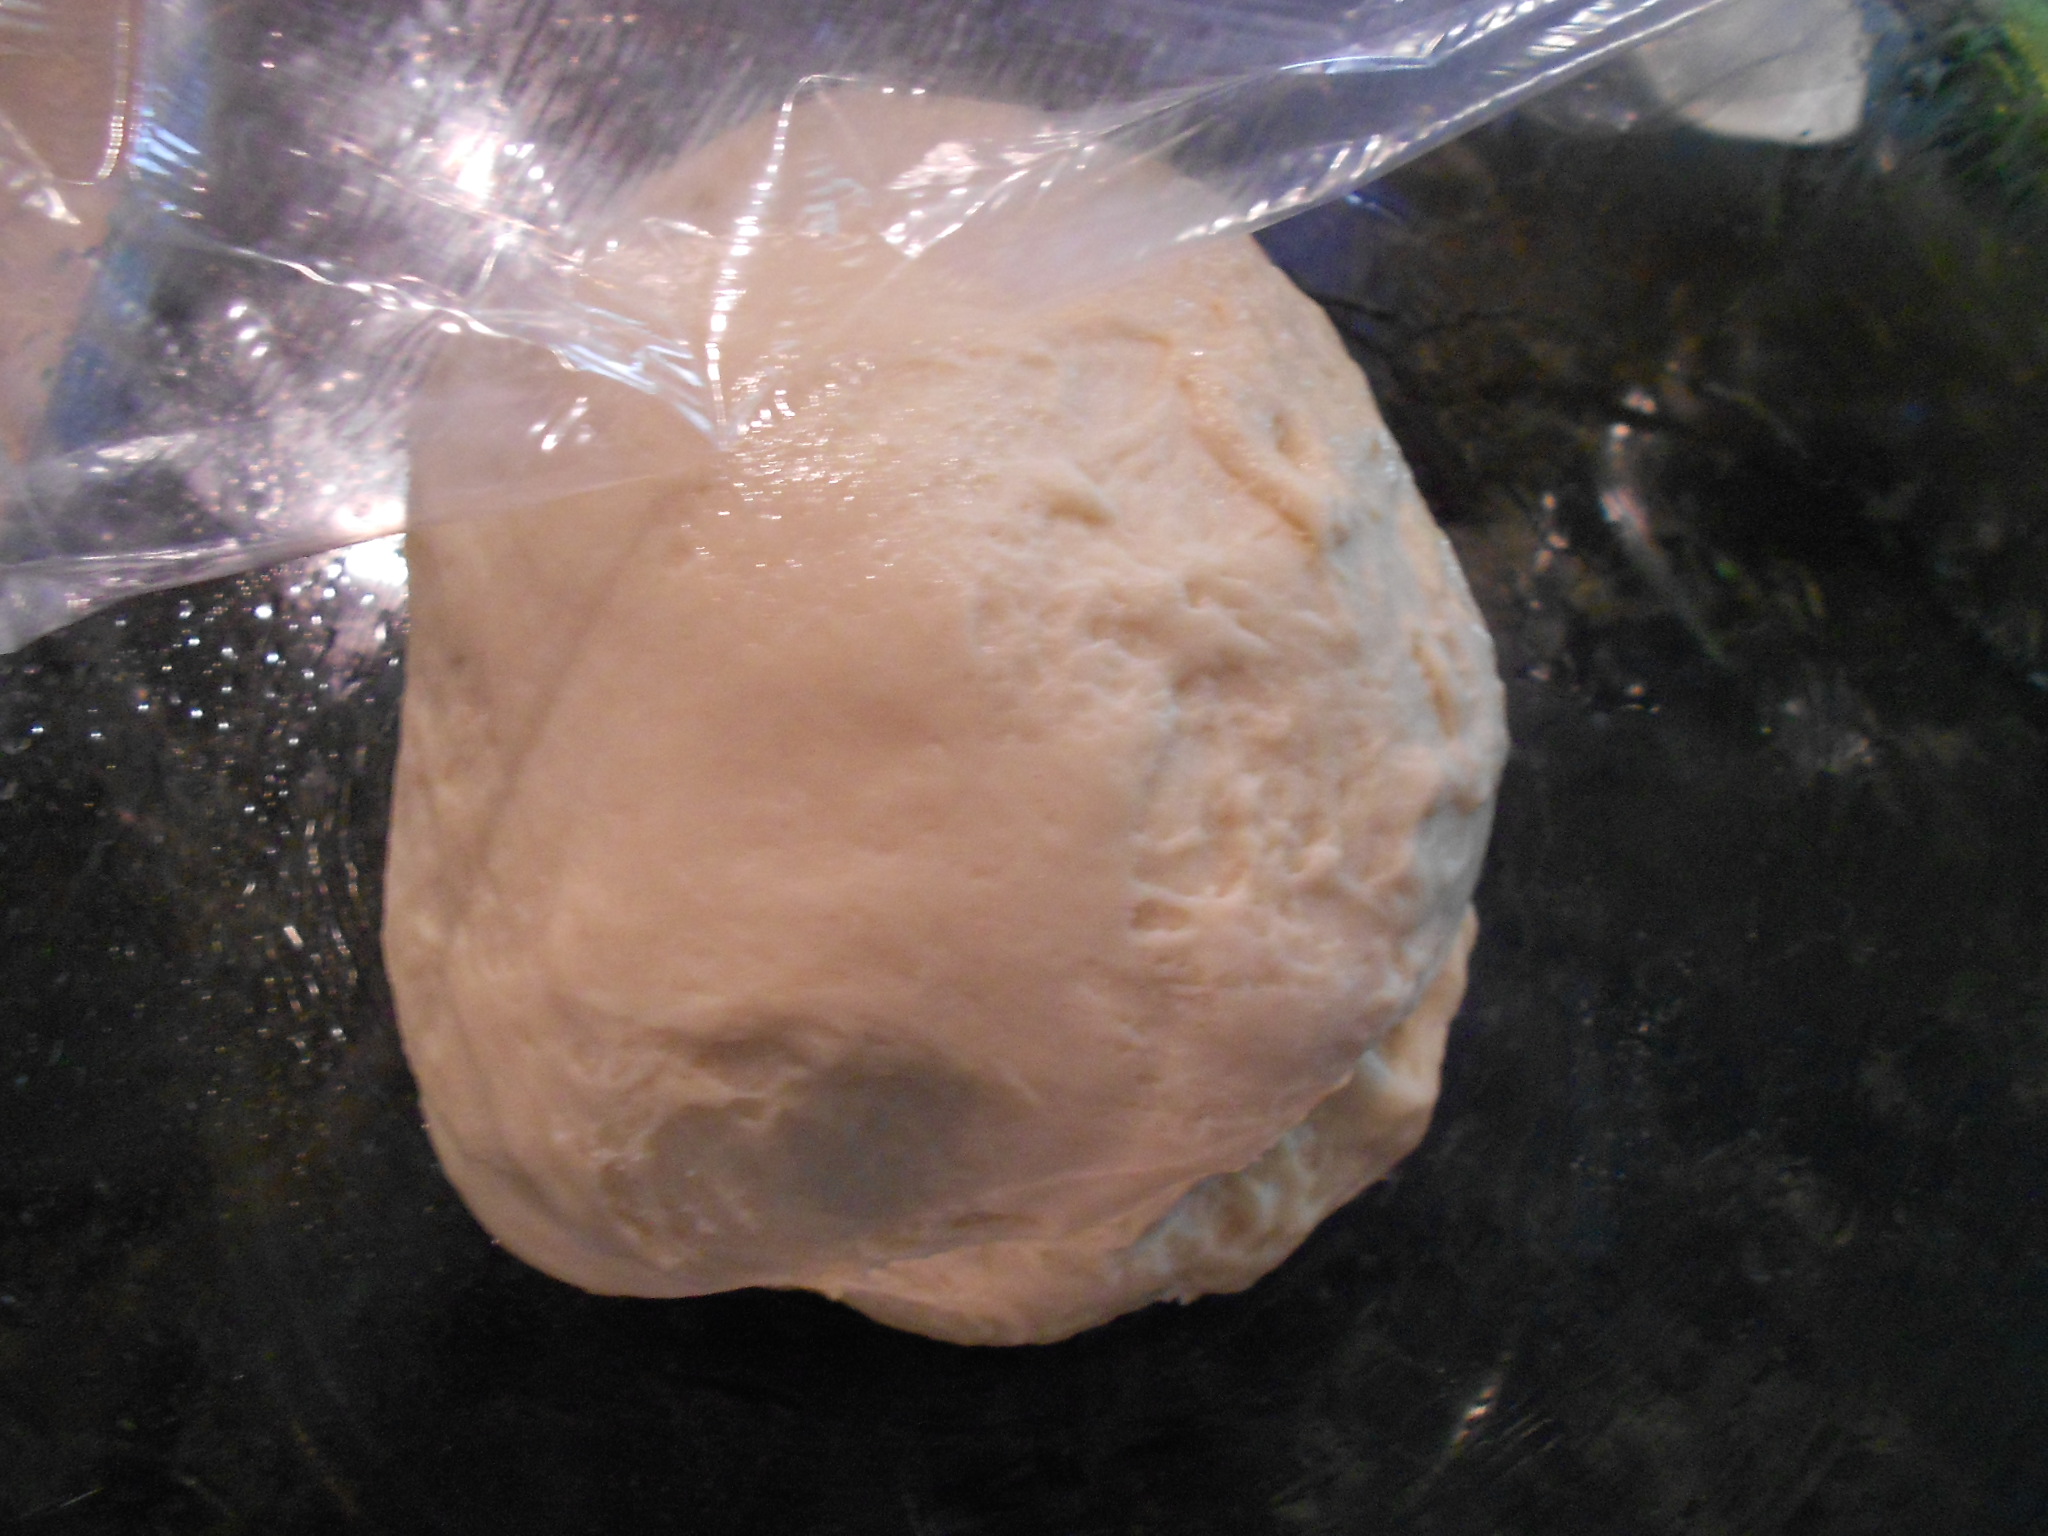
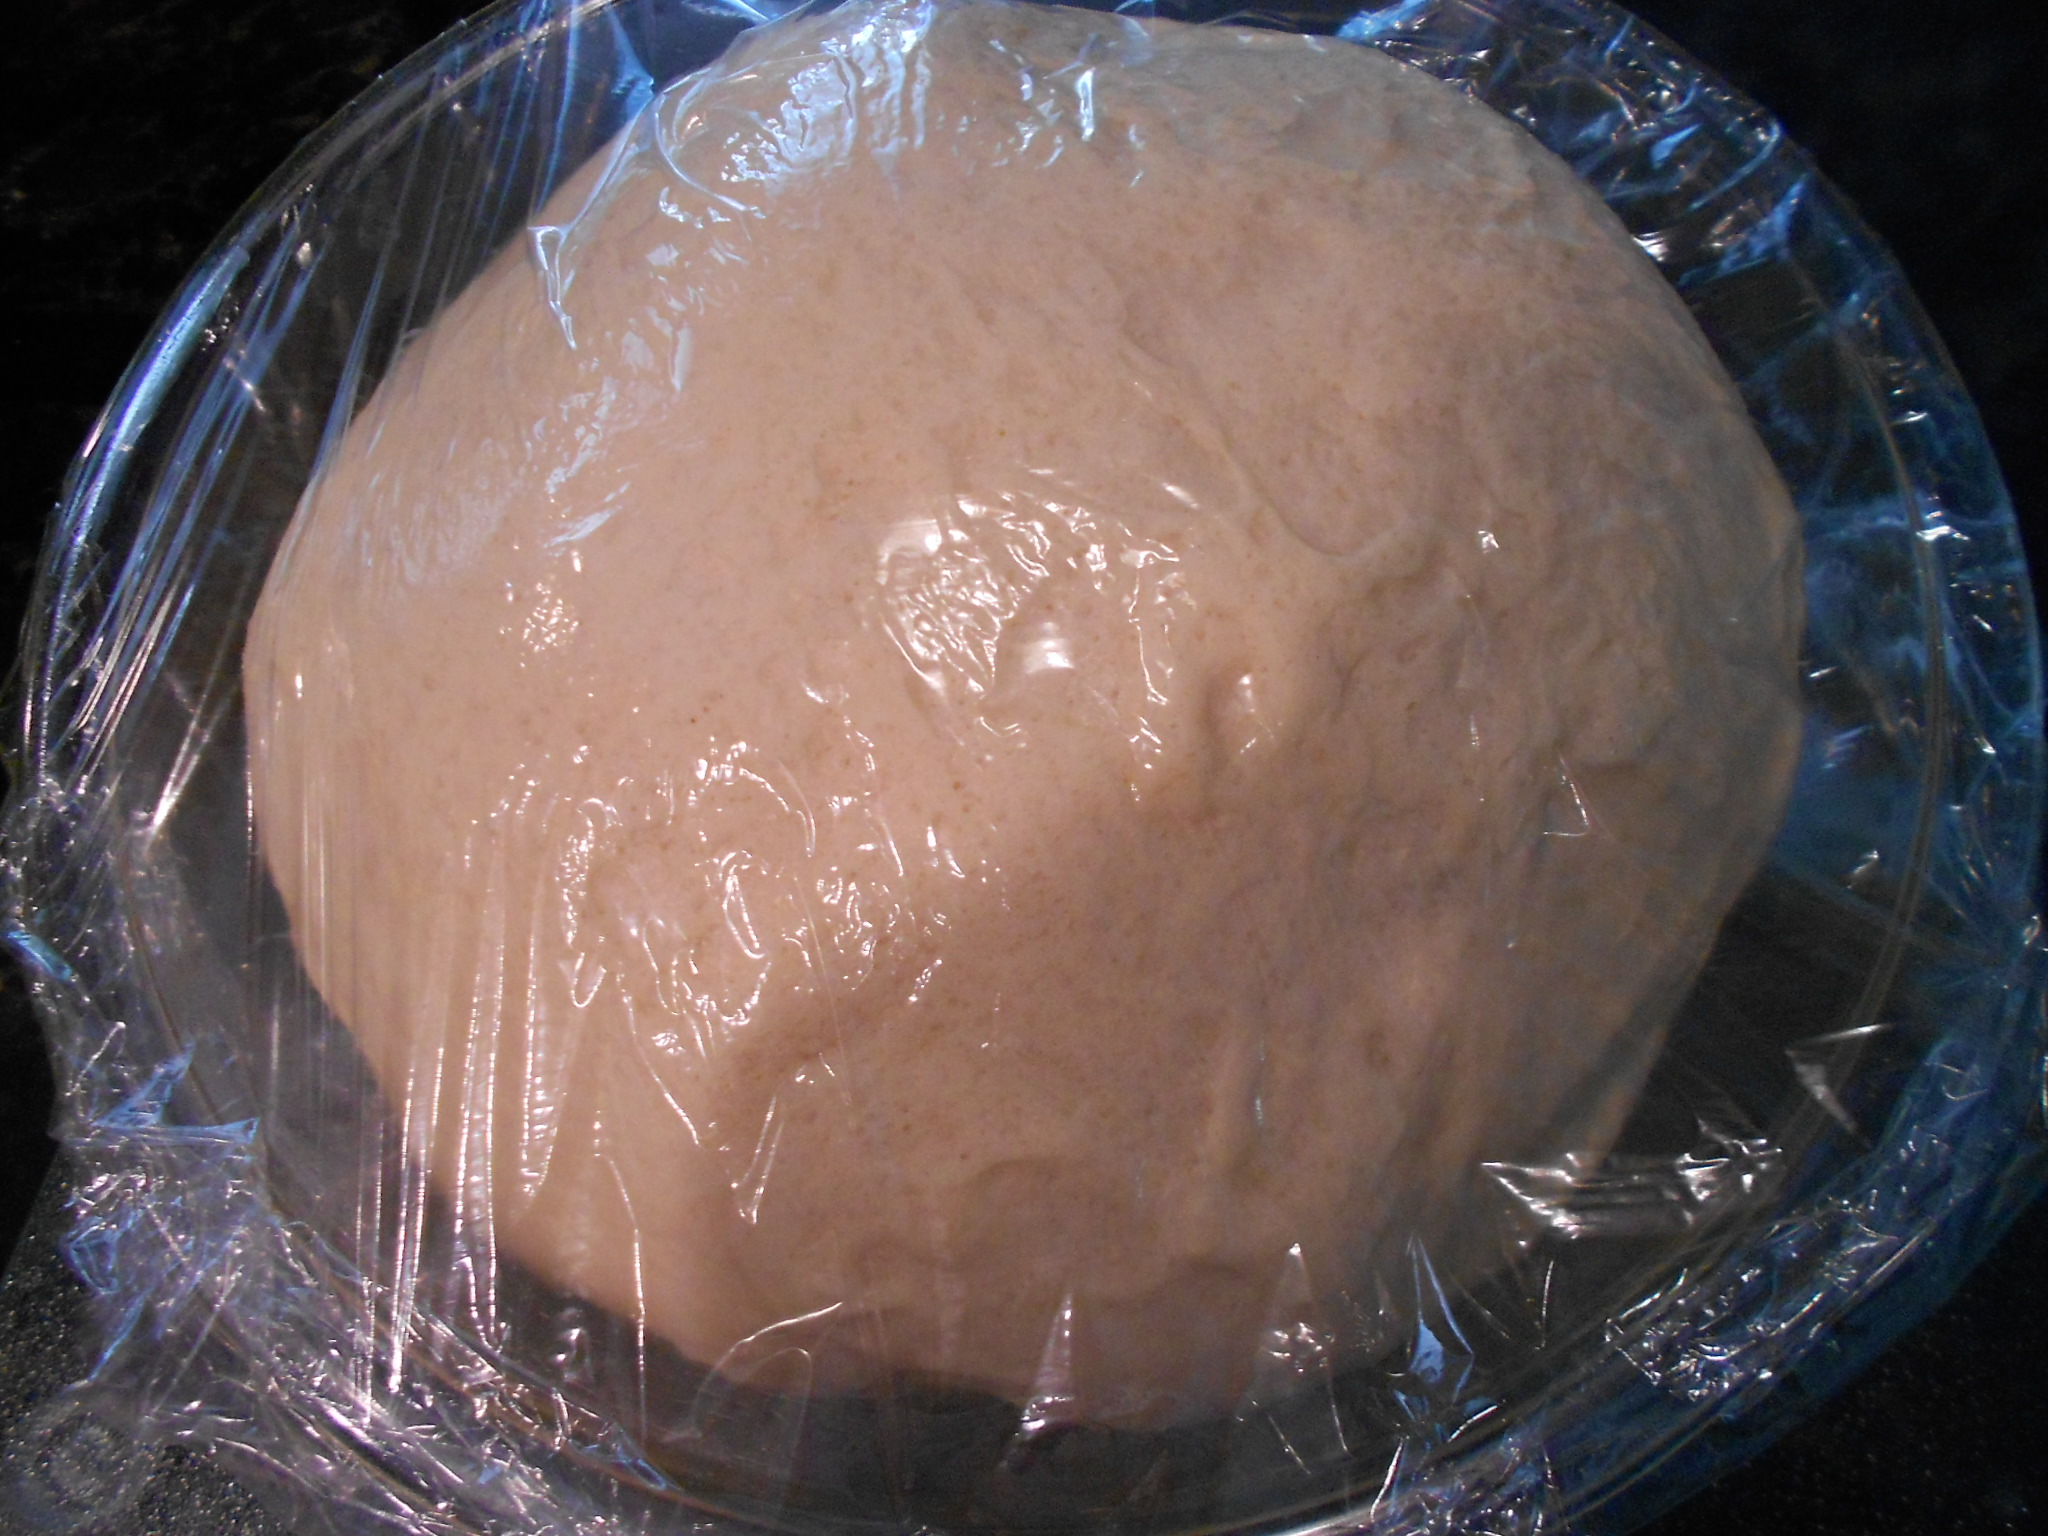
I use a microwave and warm the milk until it reaches 115 degrees. I add the butter, brown sugar and then the yeast. I use a spoon and make sure to wet the yeast enough and let it sit for about 5 minutes. While the yeast blooms, I begin to combine the salt and flour separately in a large bowl. When 5 minutes have passed, i pour the yeast mixture into the mixer's bowl with the dough hook attached. Make sure to use a spatula and get any remaining yeast into the bowl since it does not always pour out smoothly. I then begin to incorporate the flour and salt mixture slowly until I get a soft dough and this ranges between 2 3/4 to 3 1/4 cups. Not sure if the dough is smooth? Error on the side of caution and stick with 3 cups because a moist dough is better that a too dry dough in this application. Continue to knead the dough with the mixer for about 8 to 10 minutes. You want a smooth and elastic finish. I then take the greased bowl that will fit the dough but also allow room for it to proof (double in size). I dump the dough and create a loose ball, cover loosely with plastic and allow for it to rise. Takes about an hour and I use my oven as it has a "proof setting" that I set at 105 degrees.

DSCN3233

DSCN3234

Before Rise                                                                                                                                                        After 1 hour Rise

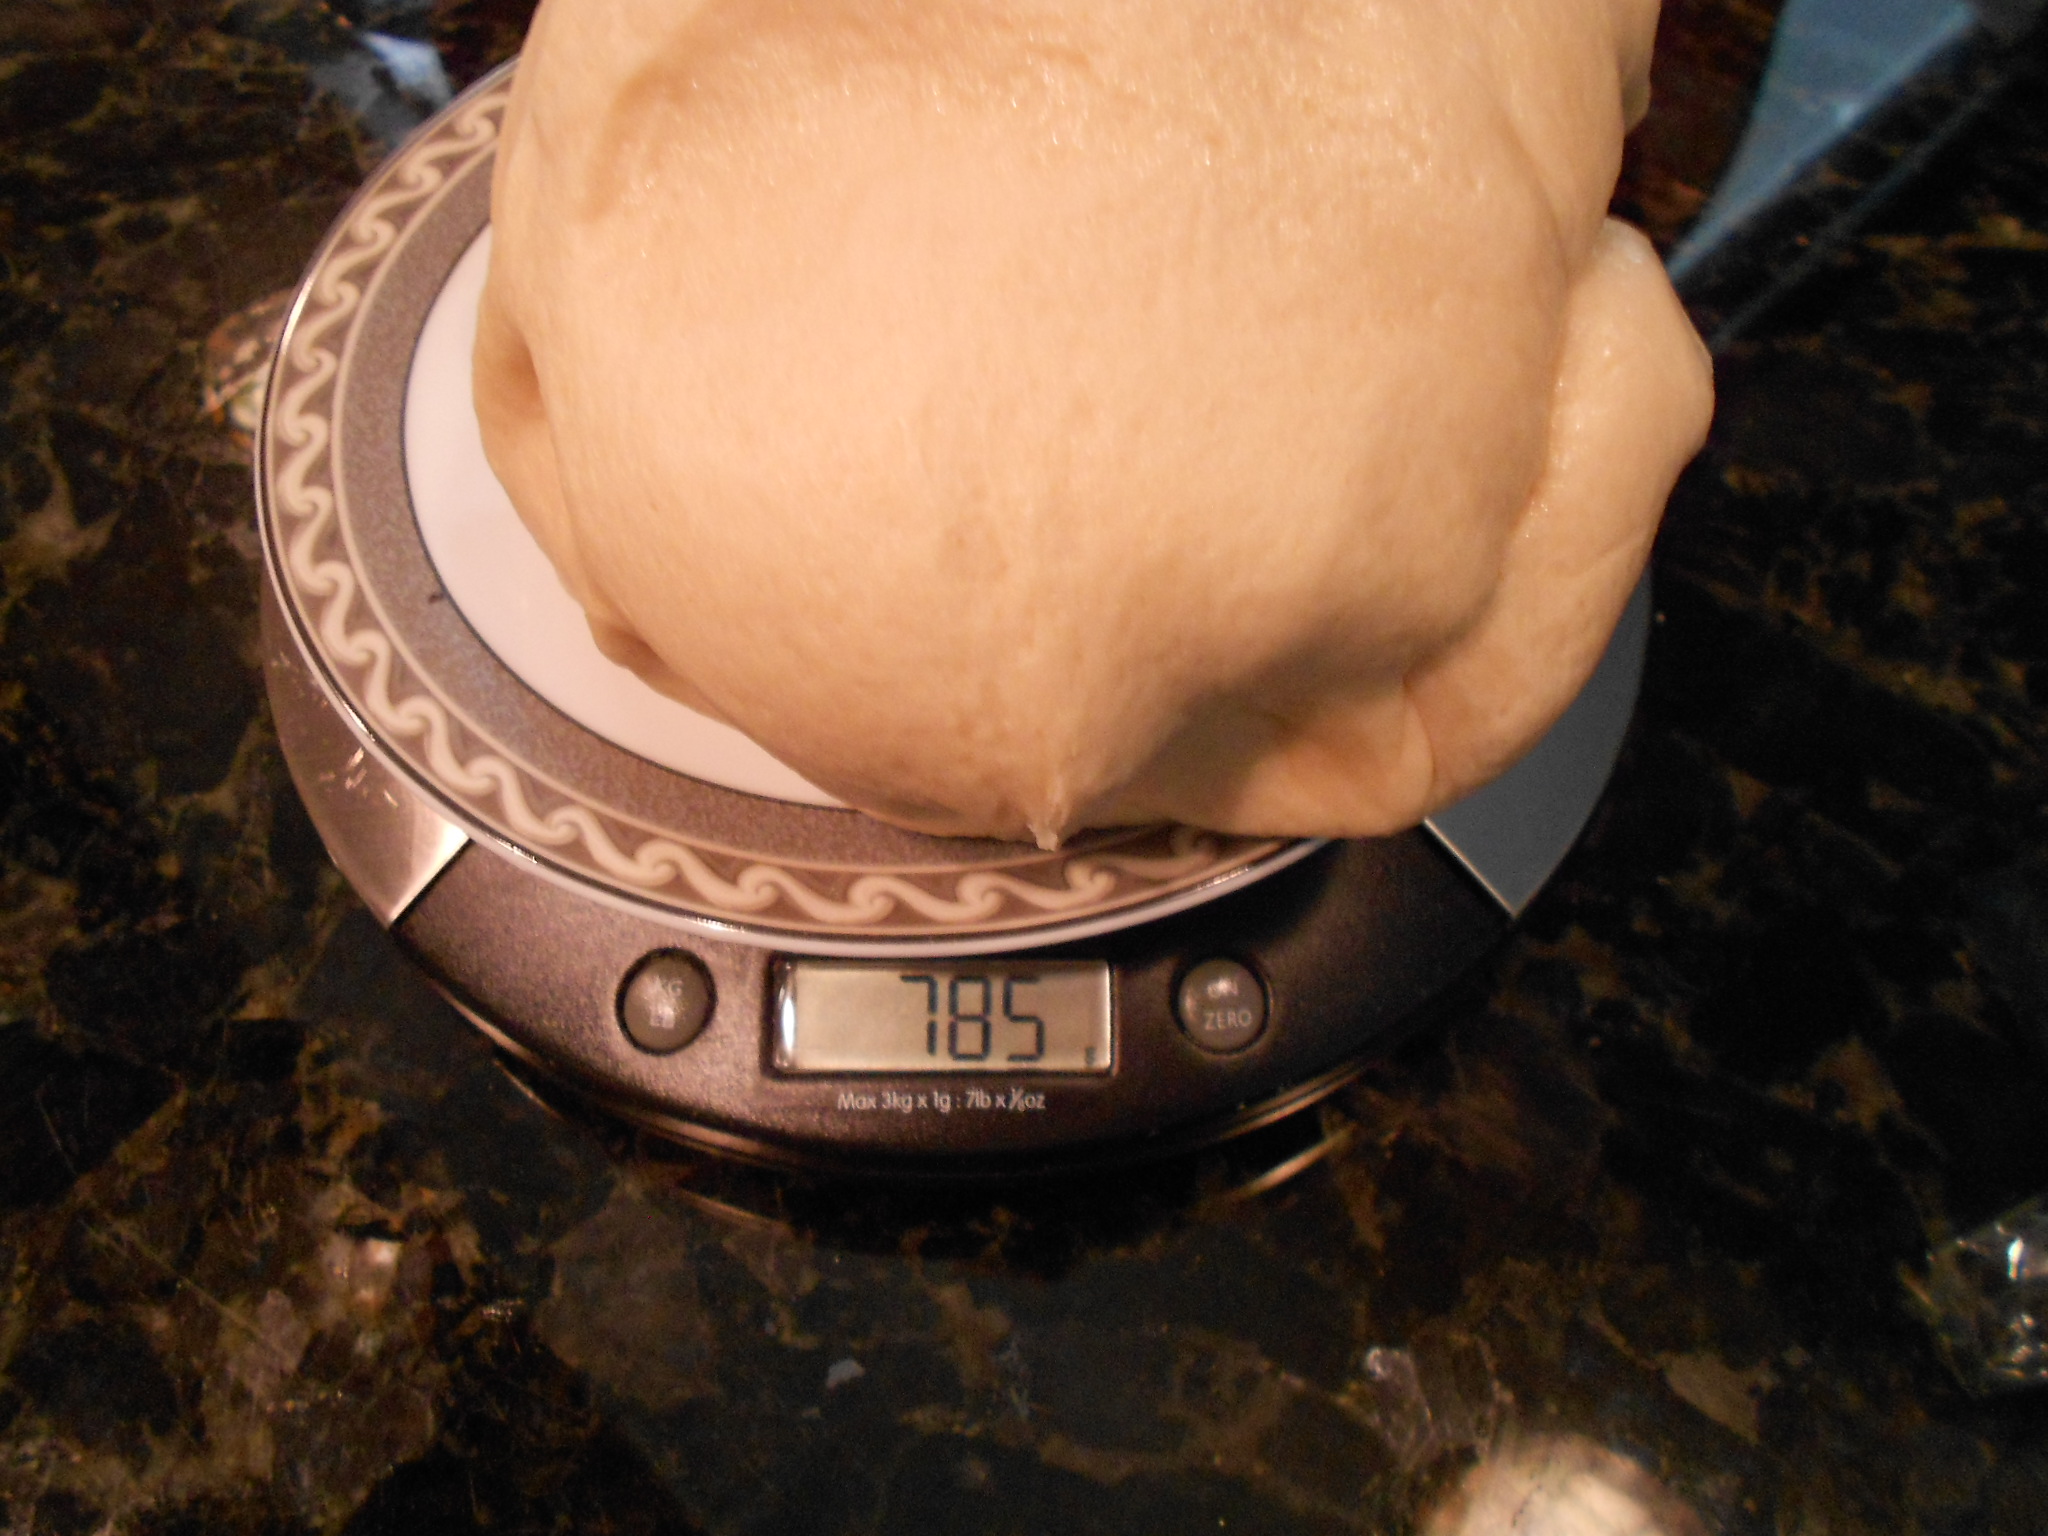
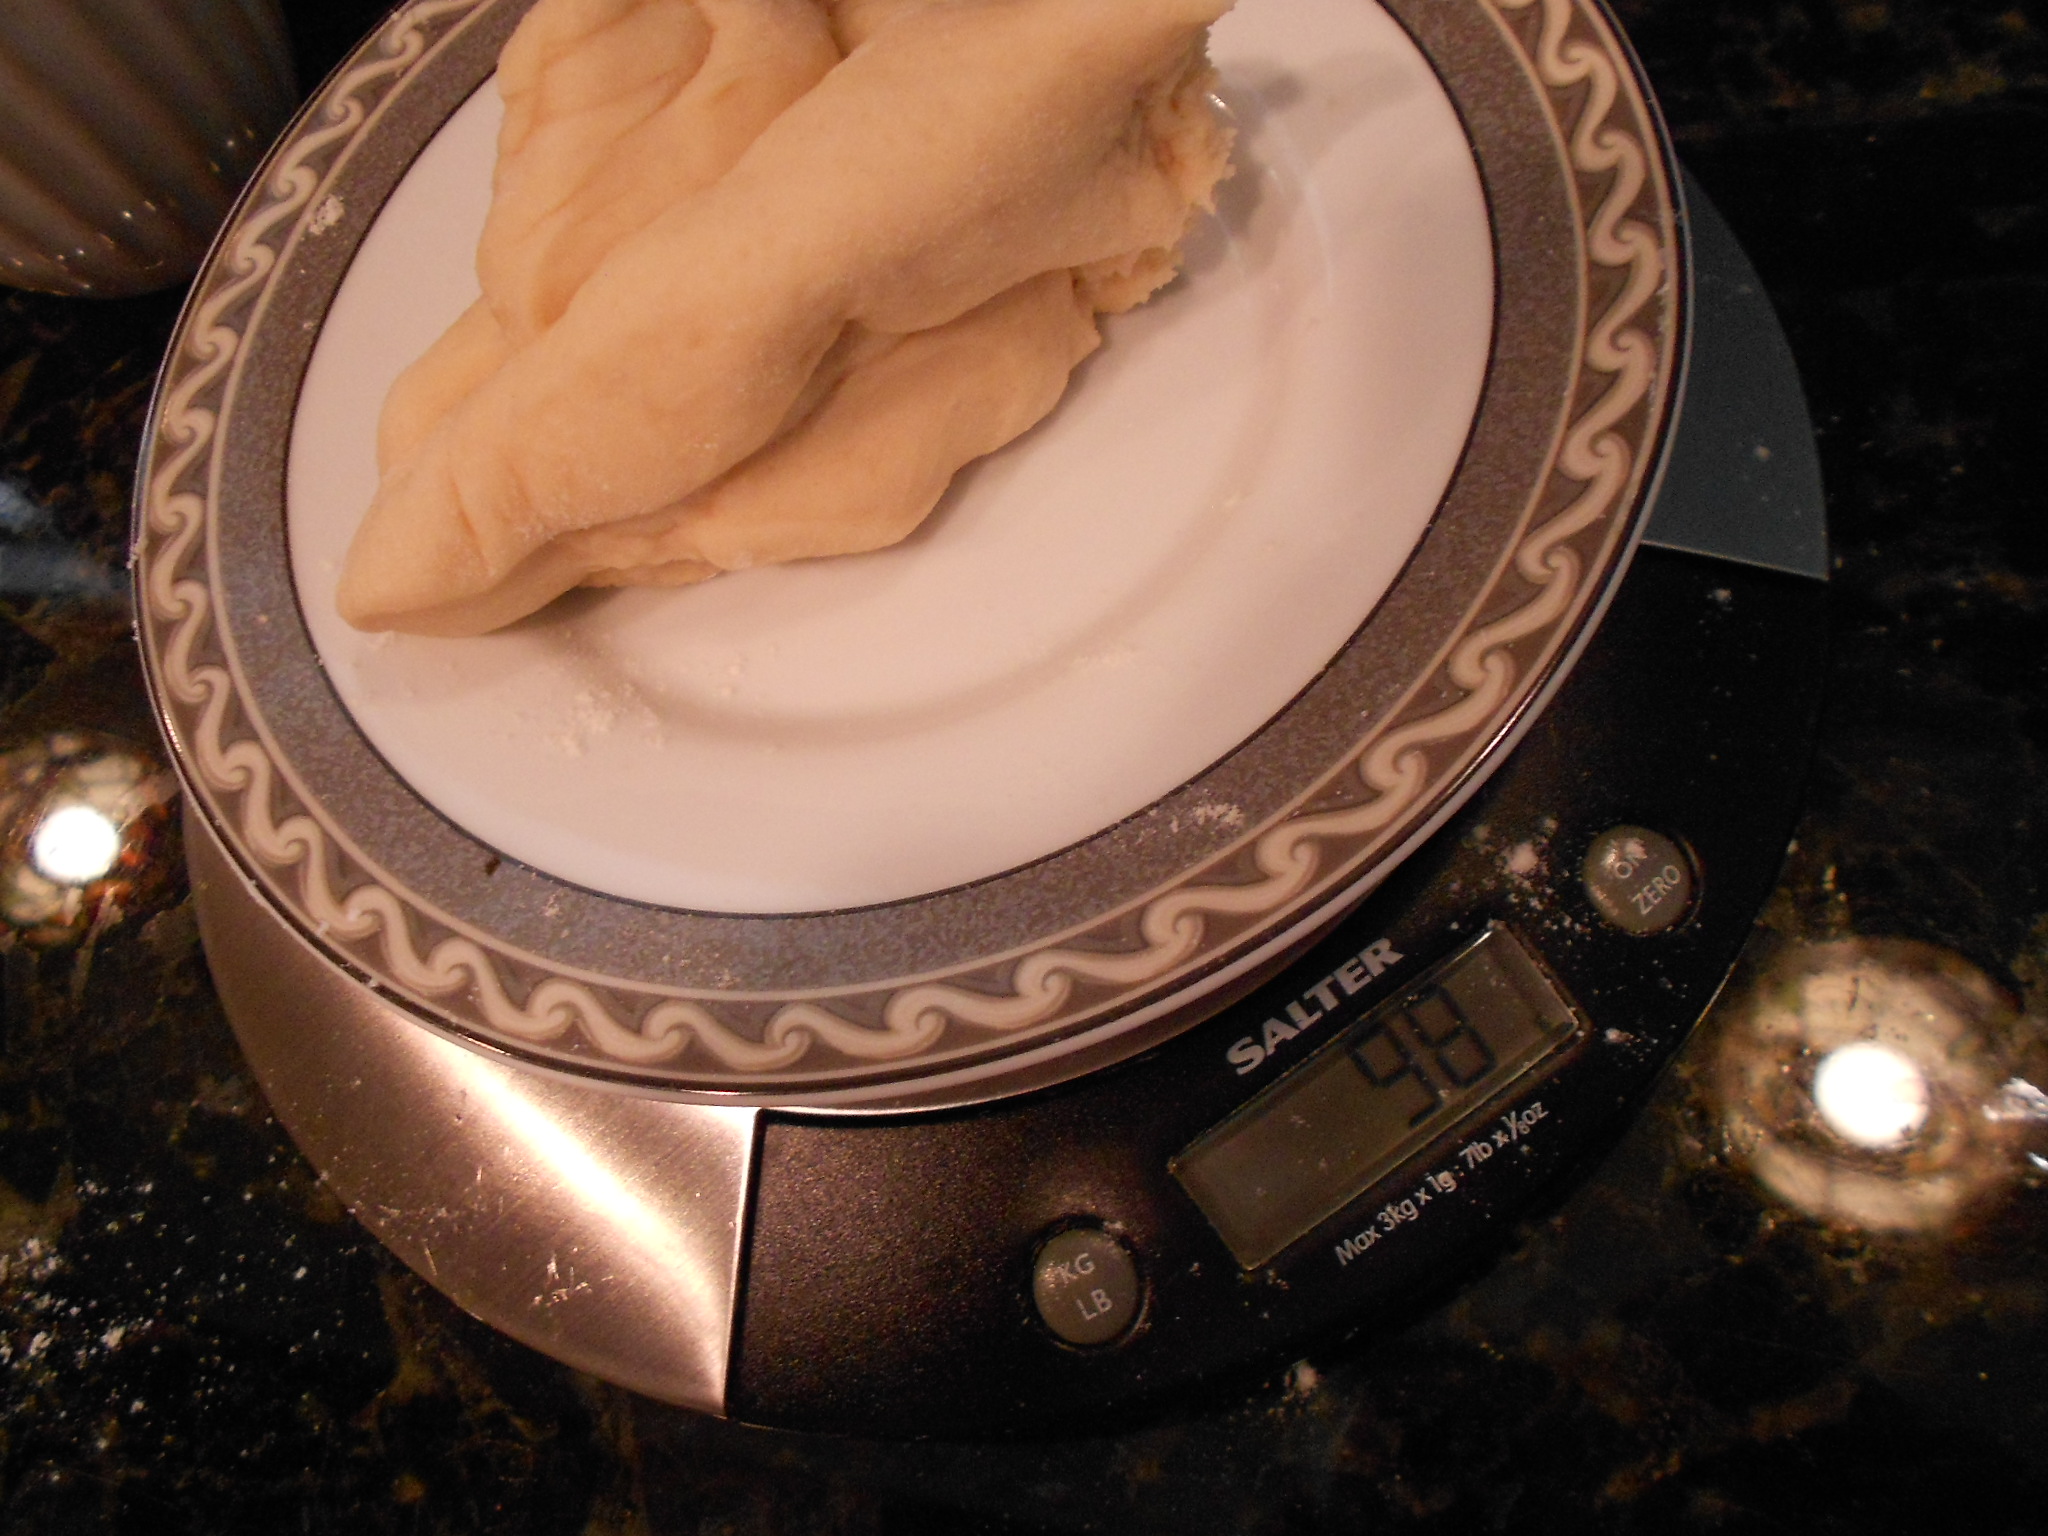
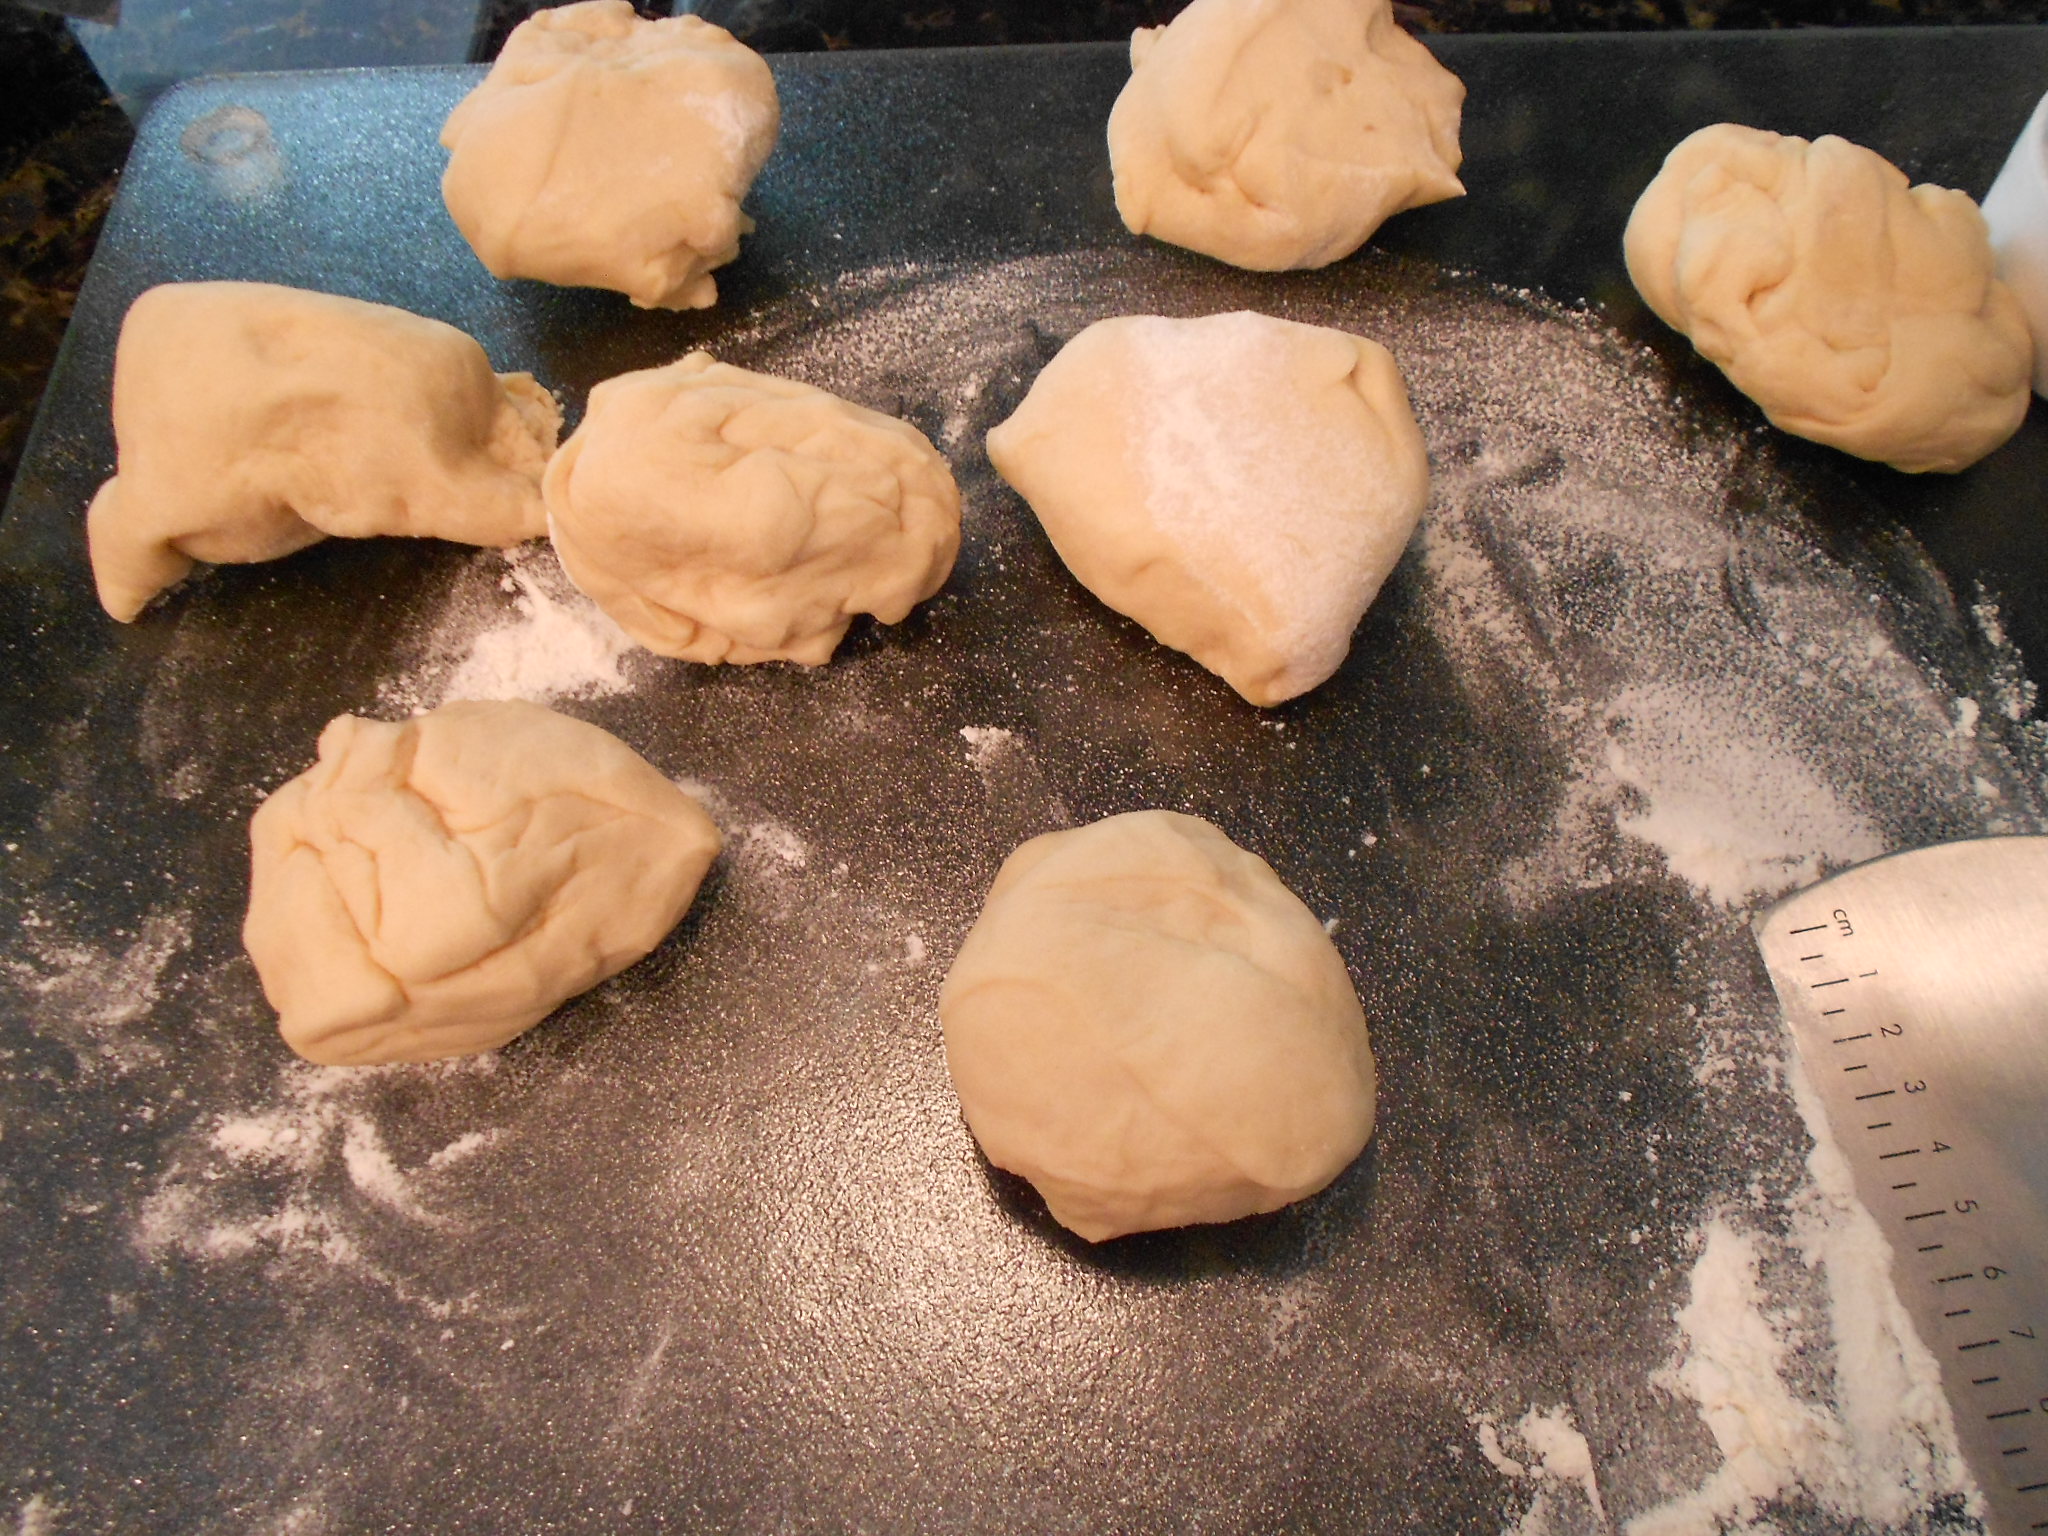
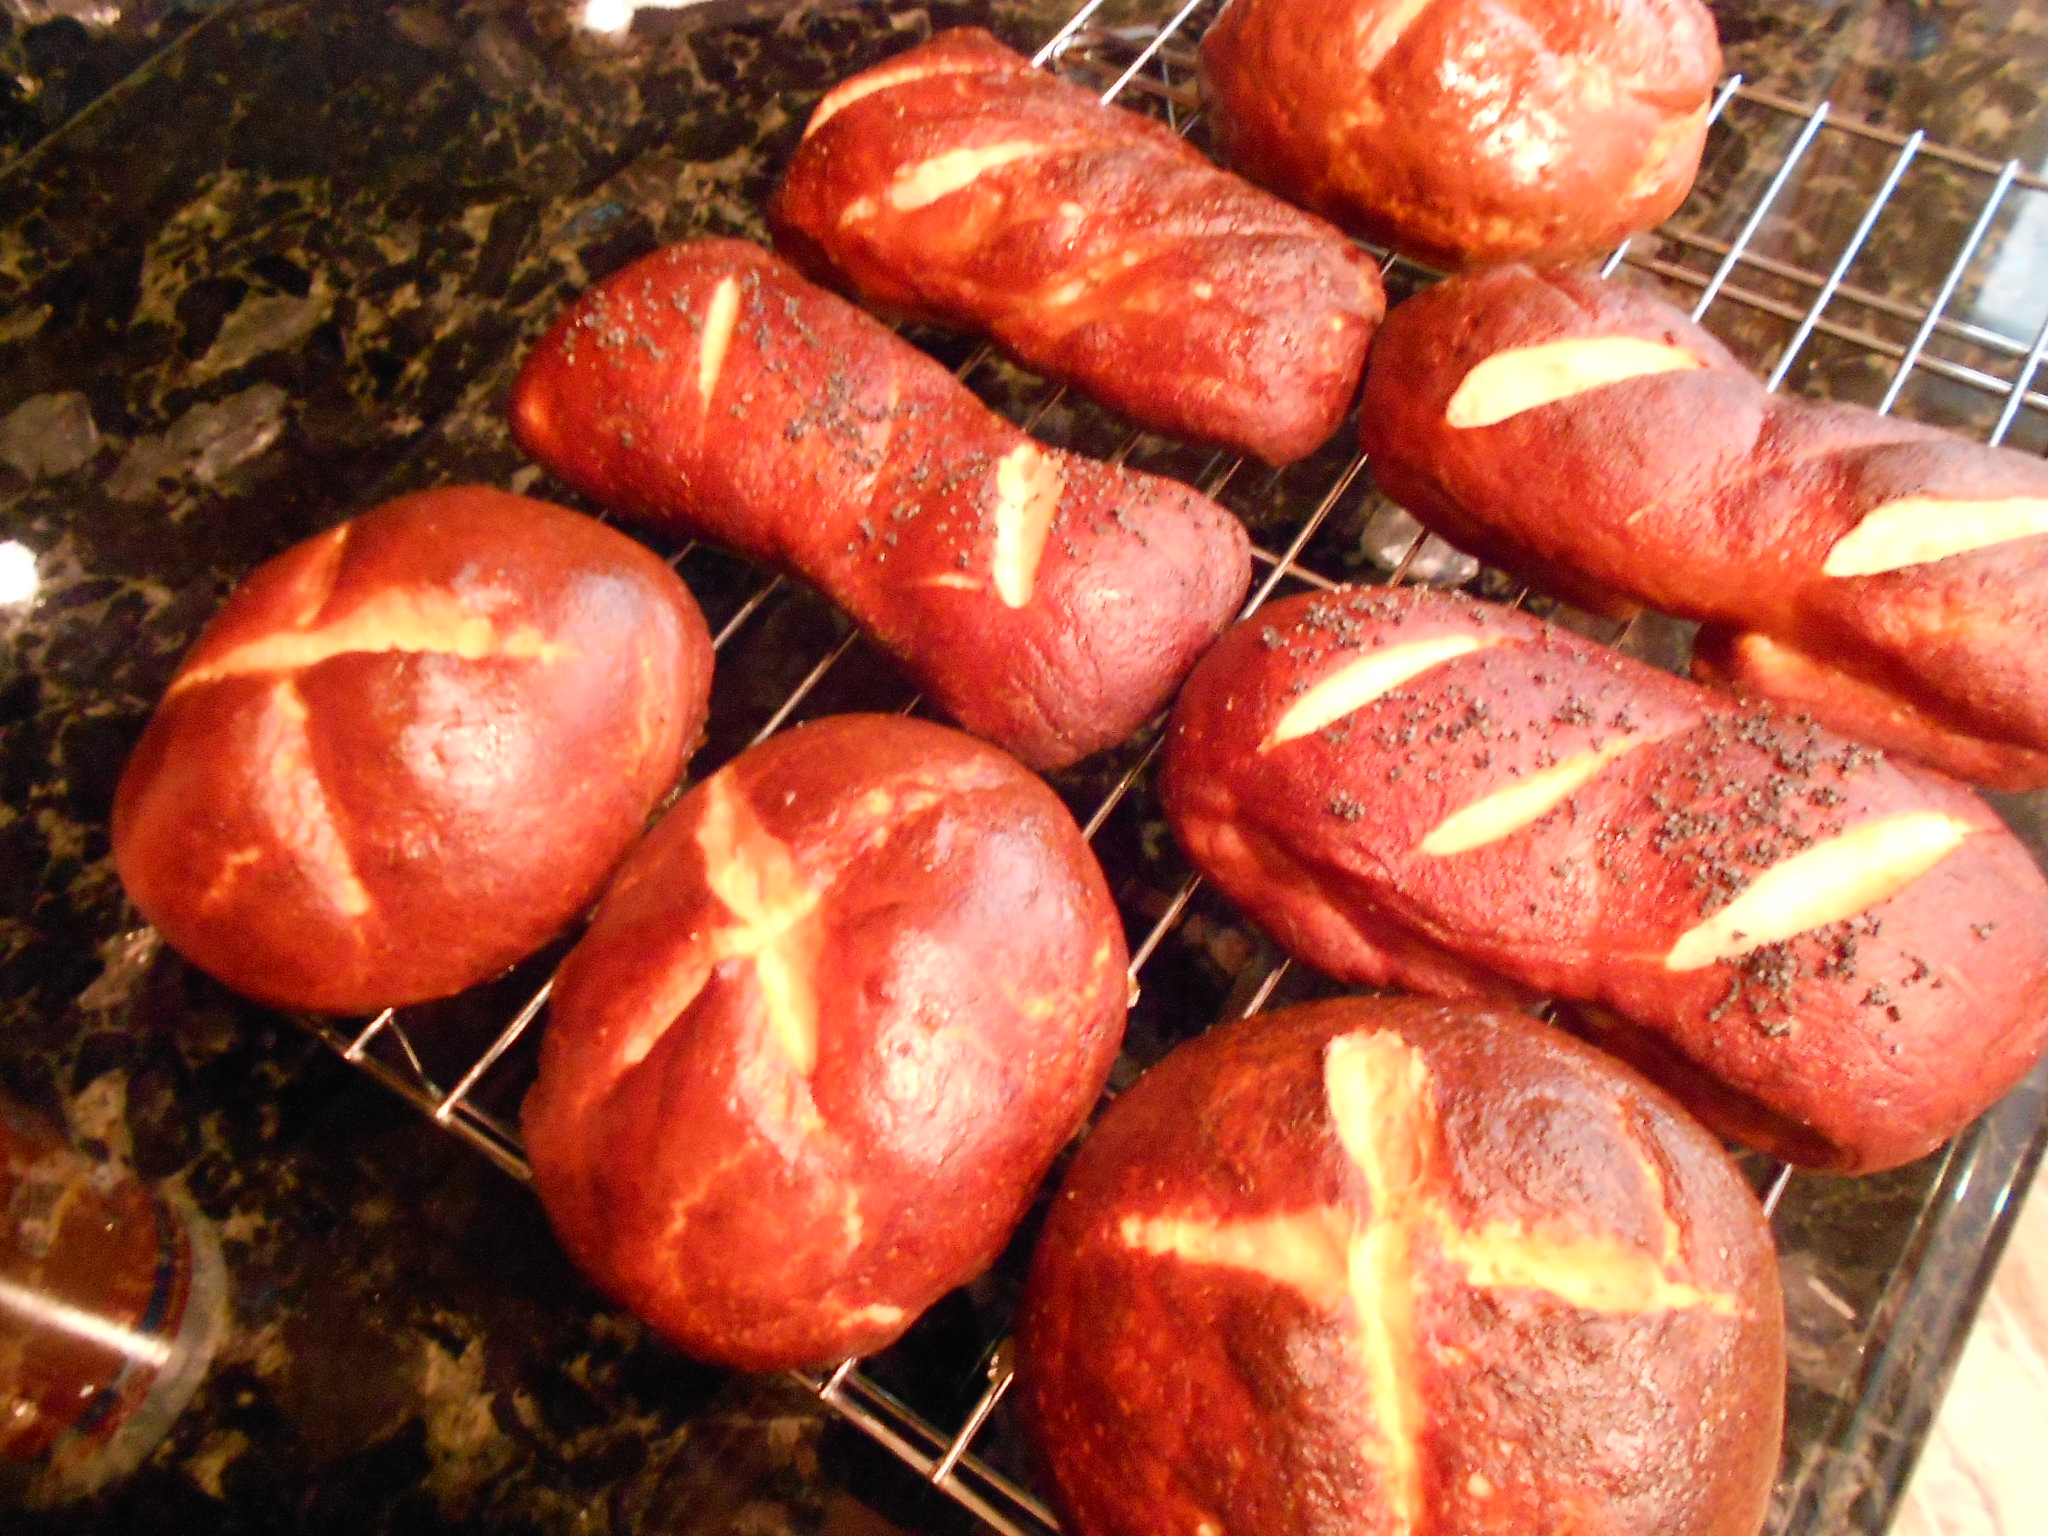
After the dough doubles in size, I begin by weighing it. This allows me to think about what I want to do so for example if I am making two large loaves, I just divide the weight in half. Making large buns, I usually divide the weight by 8. Sometimes I also make sandwich rolls or even a hot dog buns, and again divide the dough by what I desire to make. My dough weighed 785 grams so I felt a bun weighing about 95 to 100 grams, would make a good size individual loaf. I made round rolls and sandwich long buns with this batch. You make what fits best with your meals :)

DSCN3236

DSCN3237

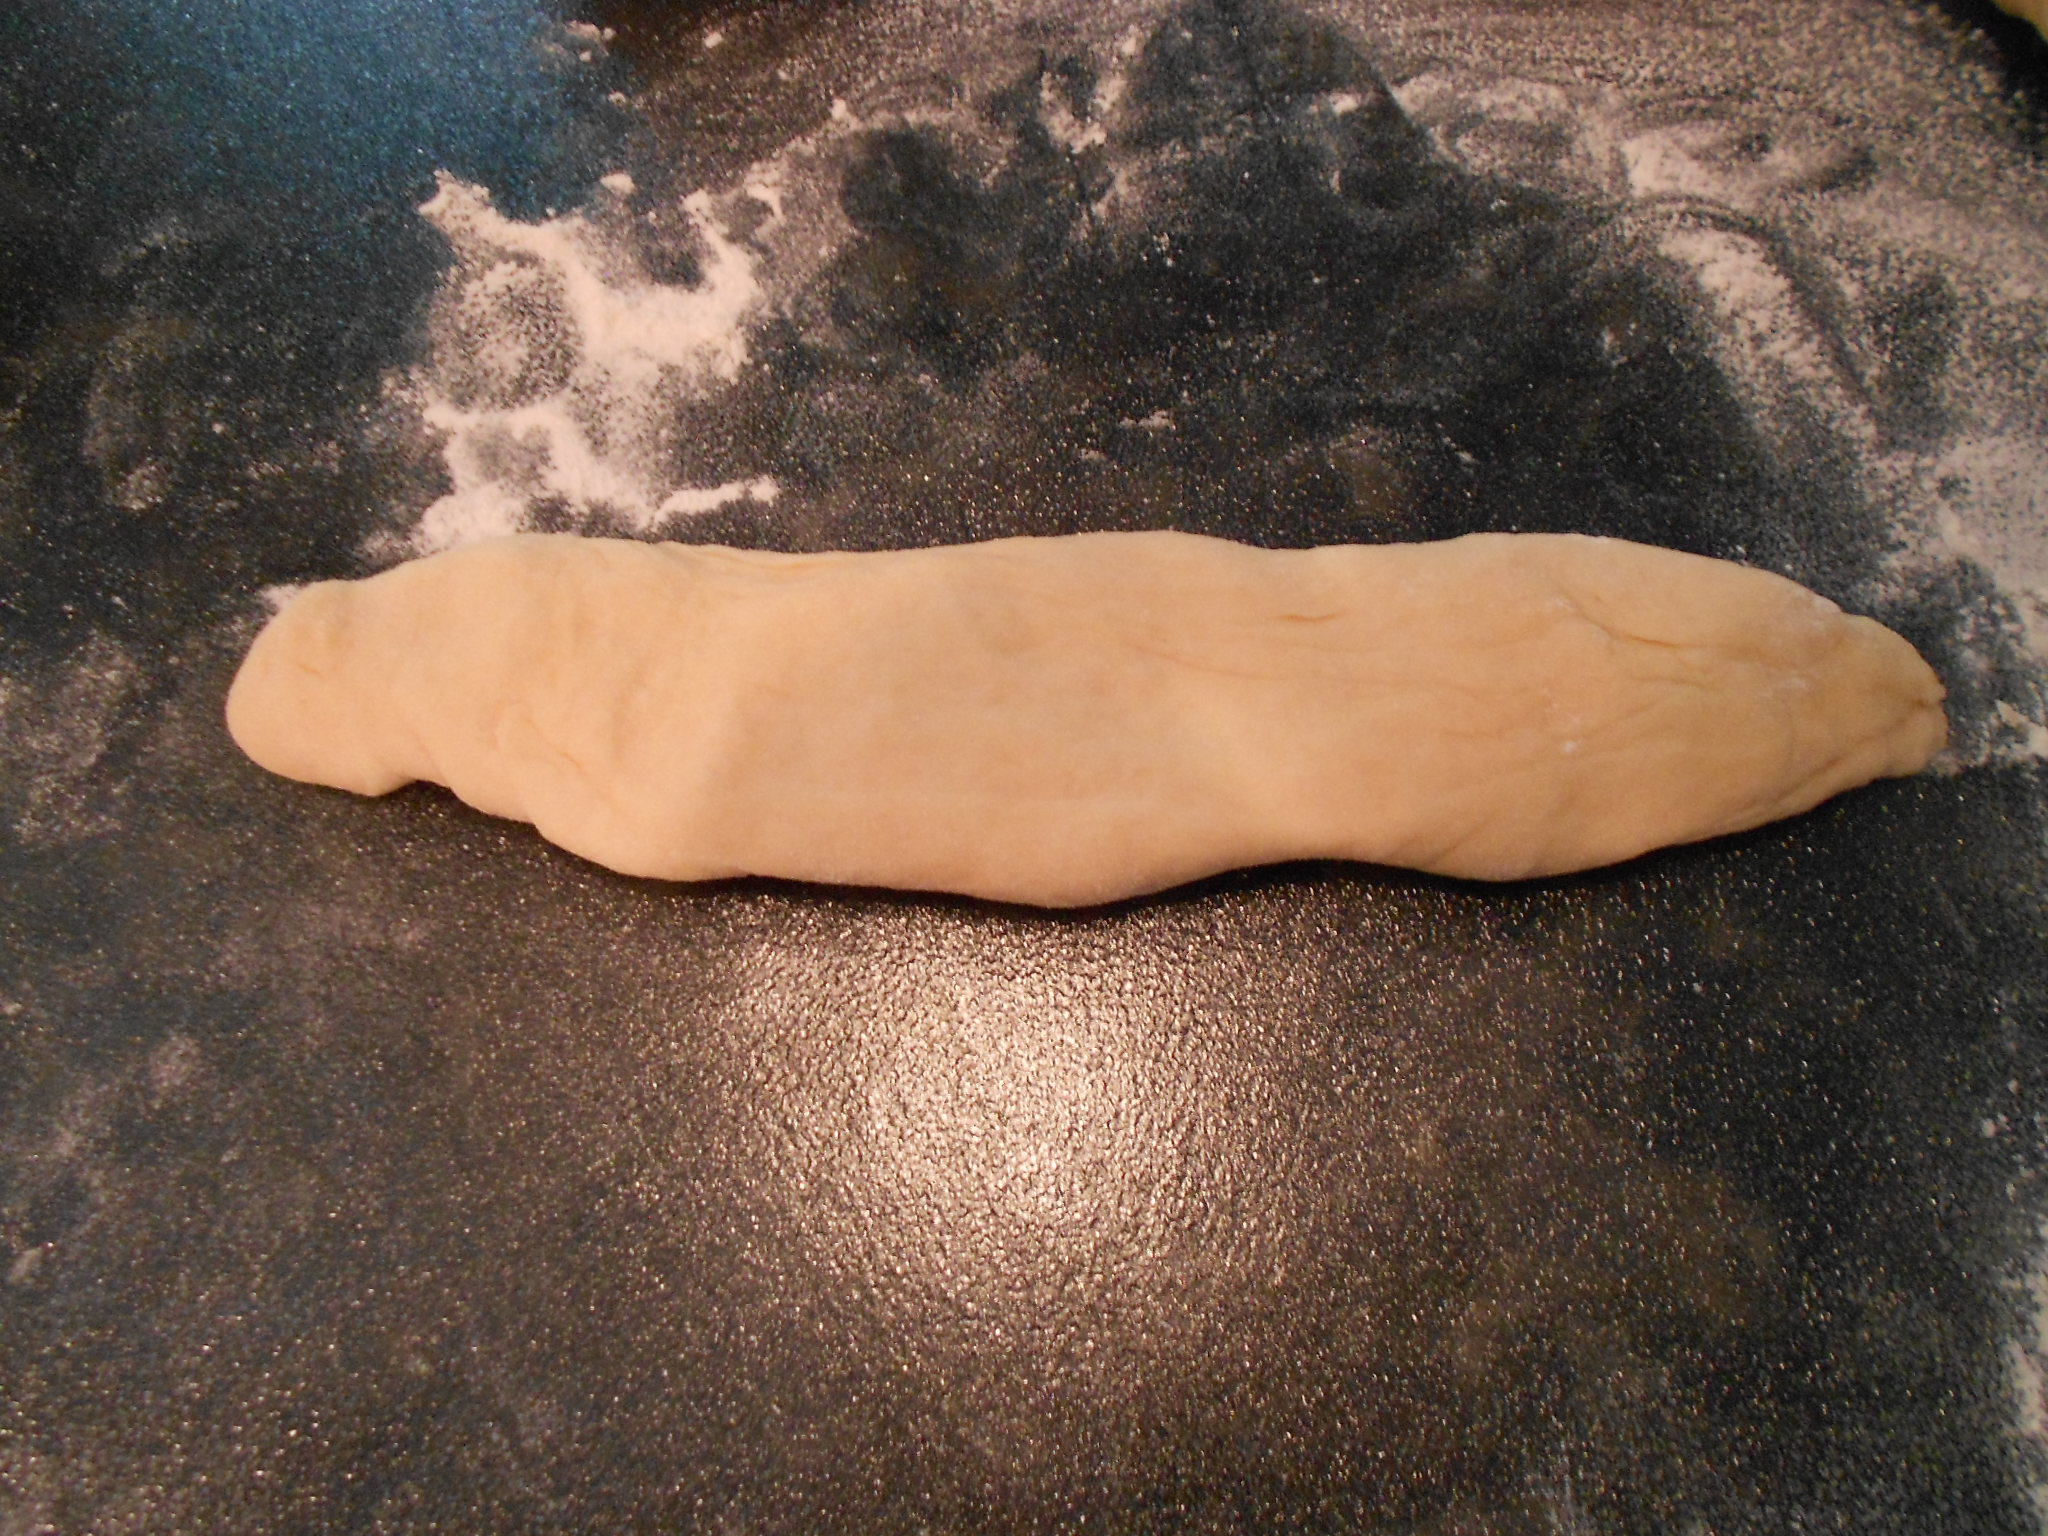
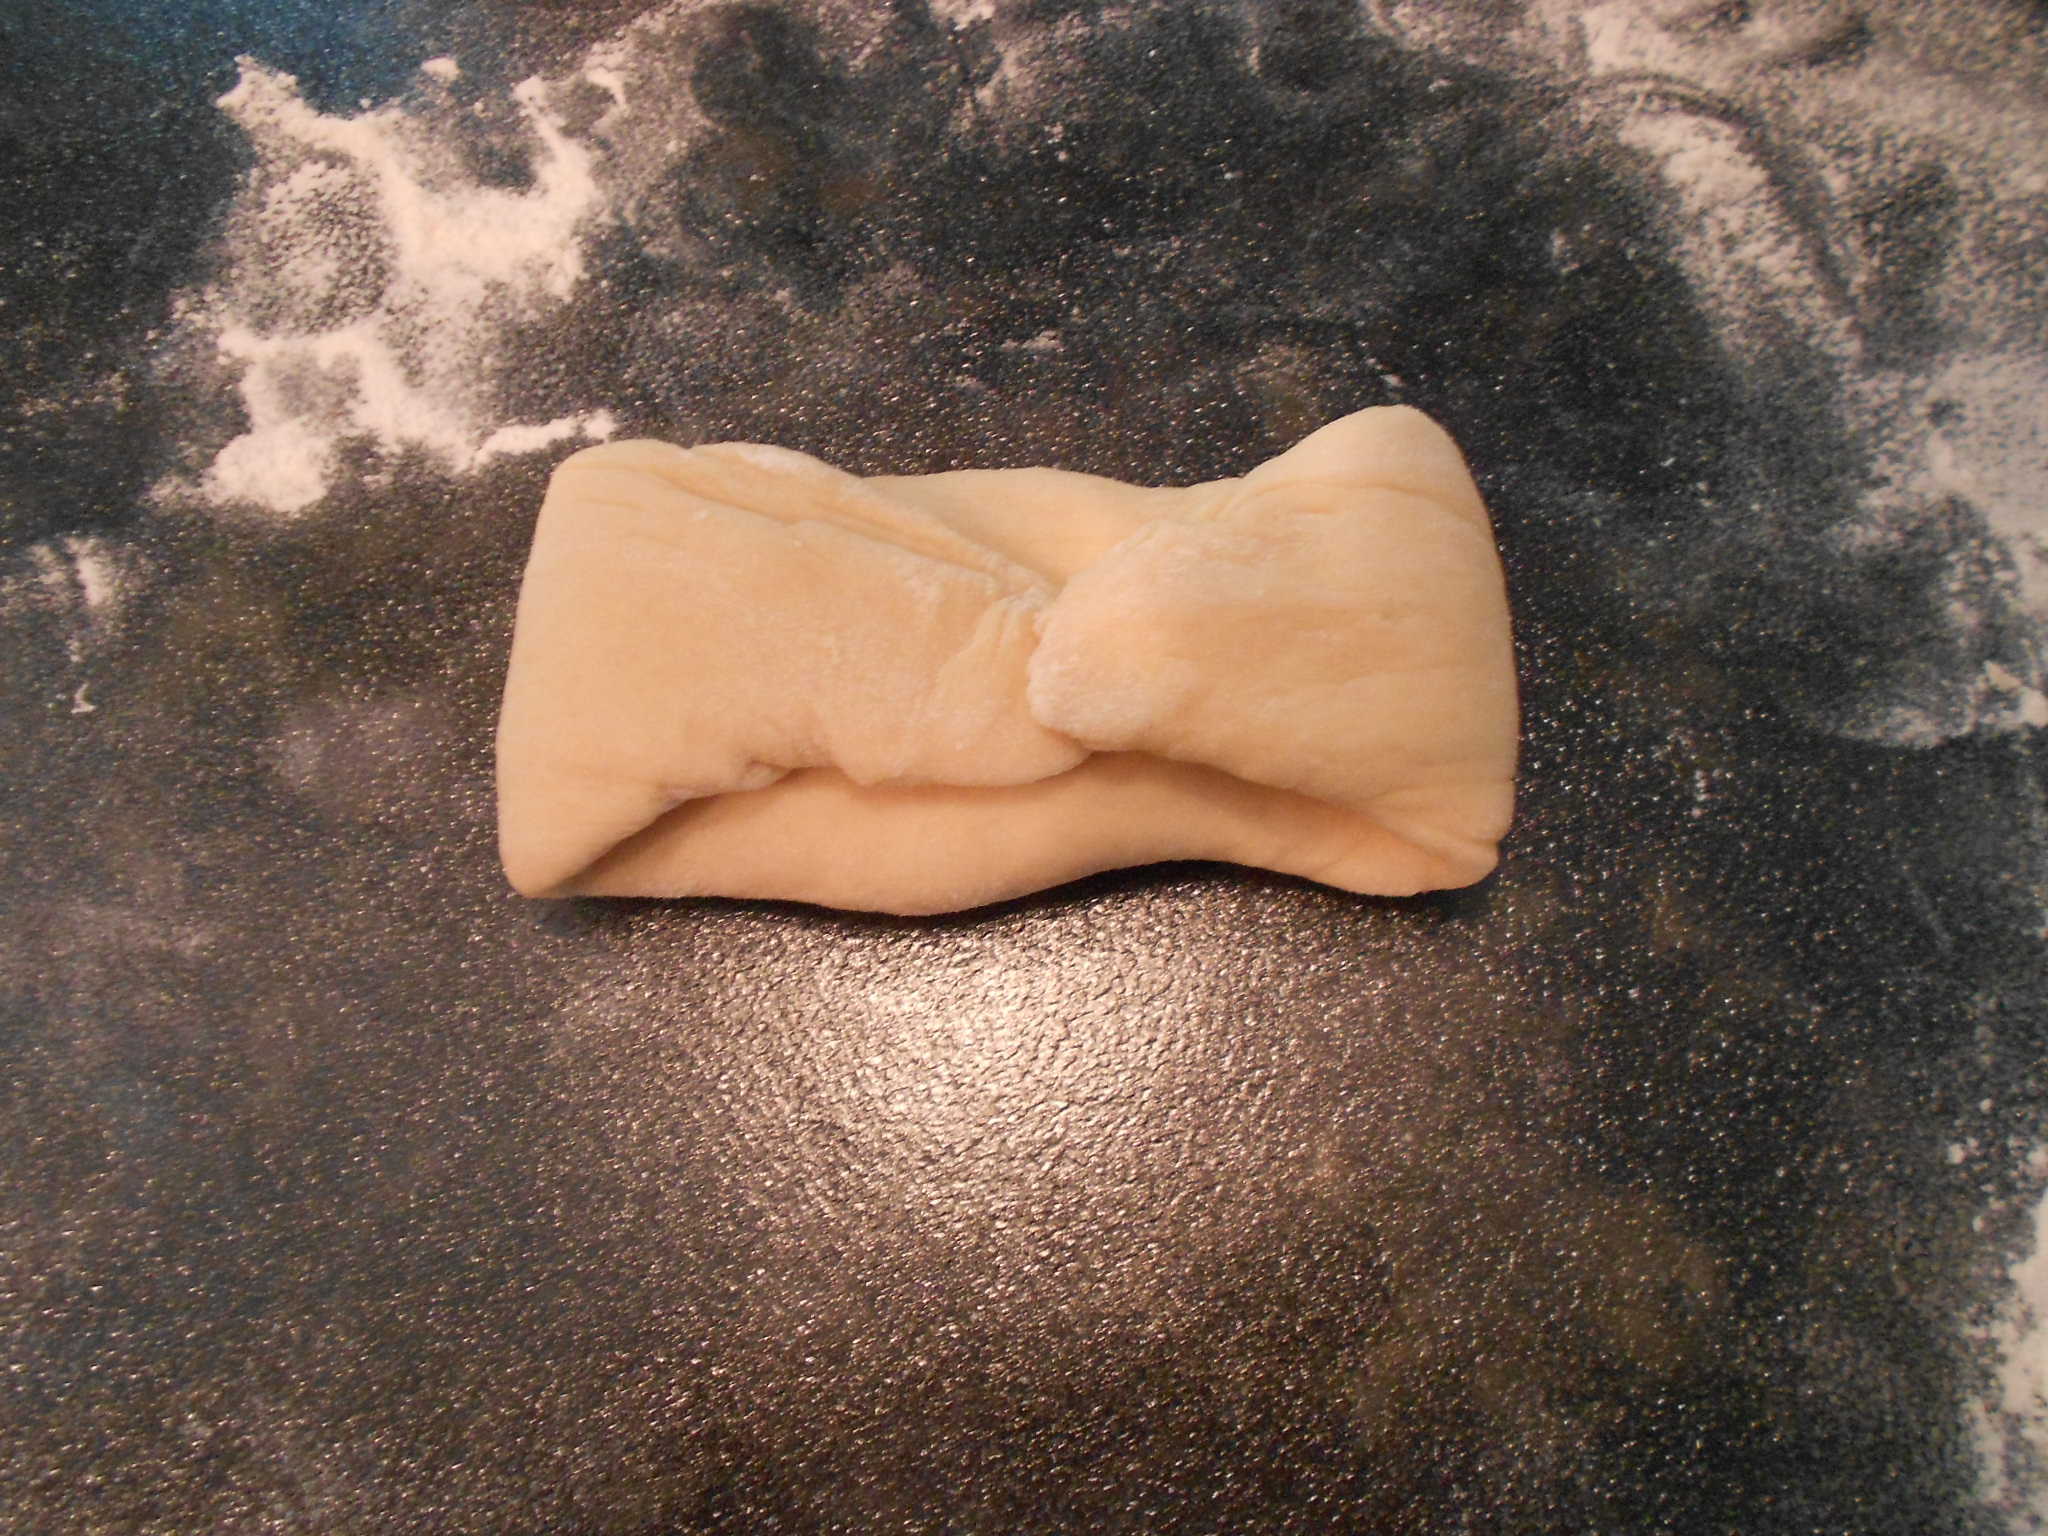
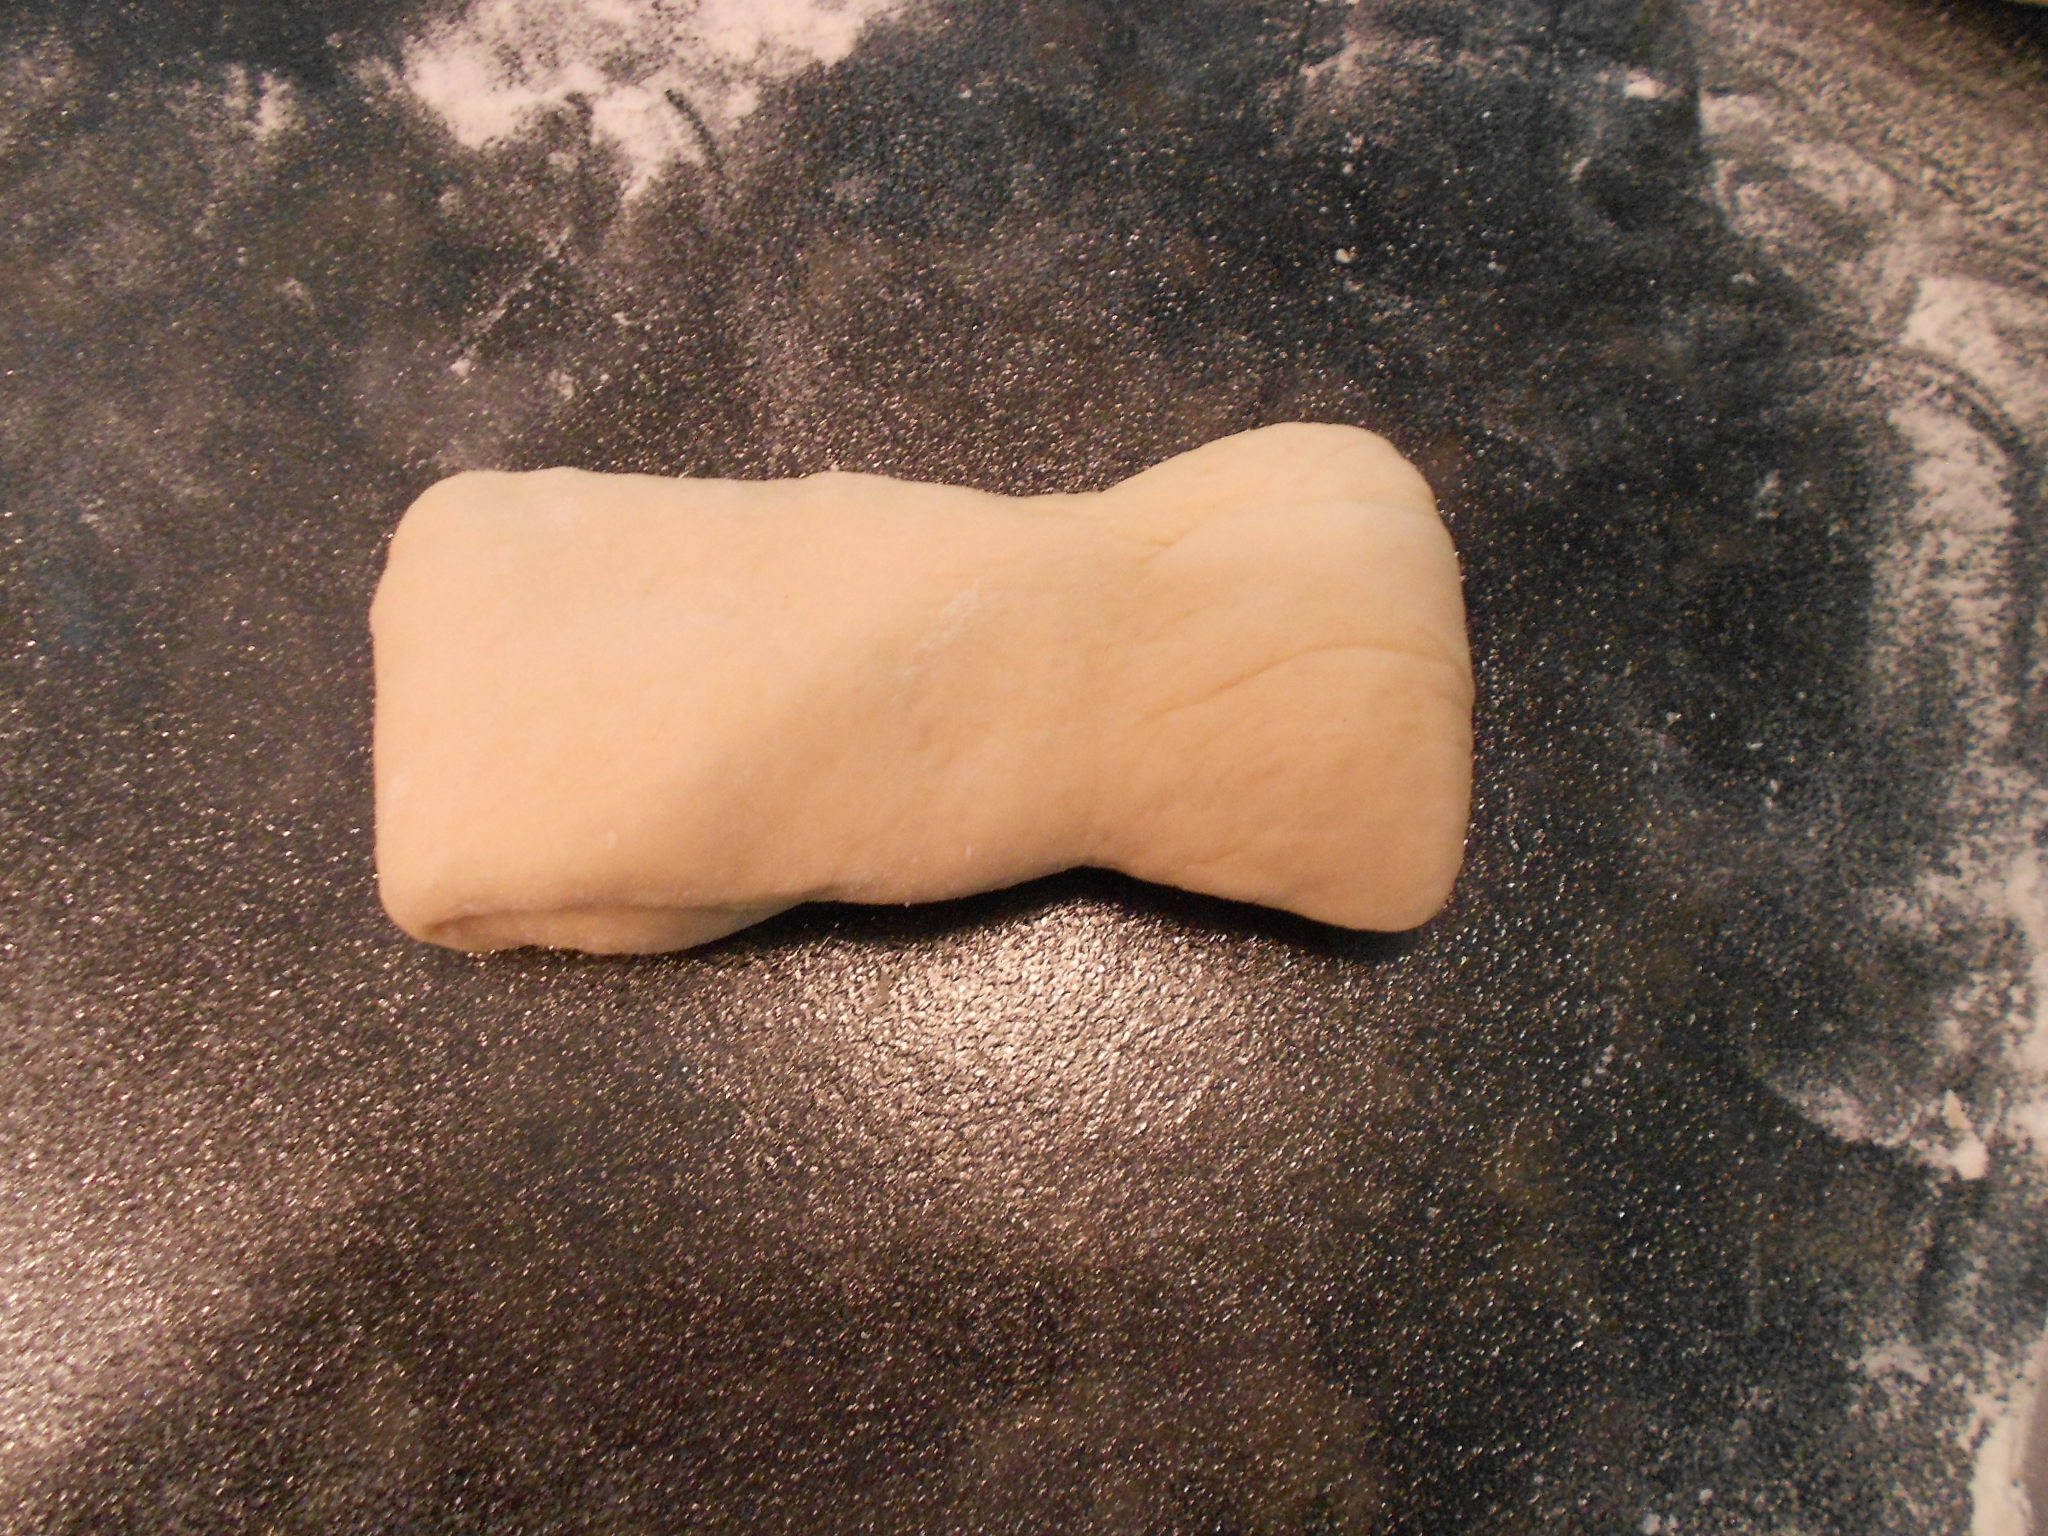
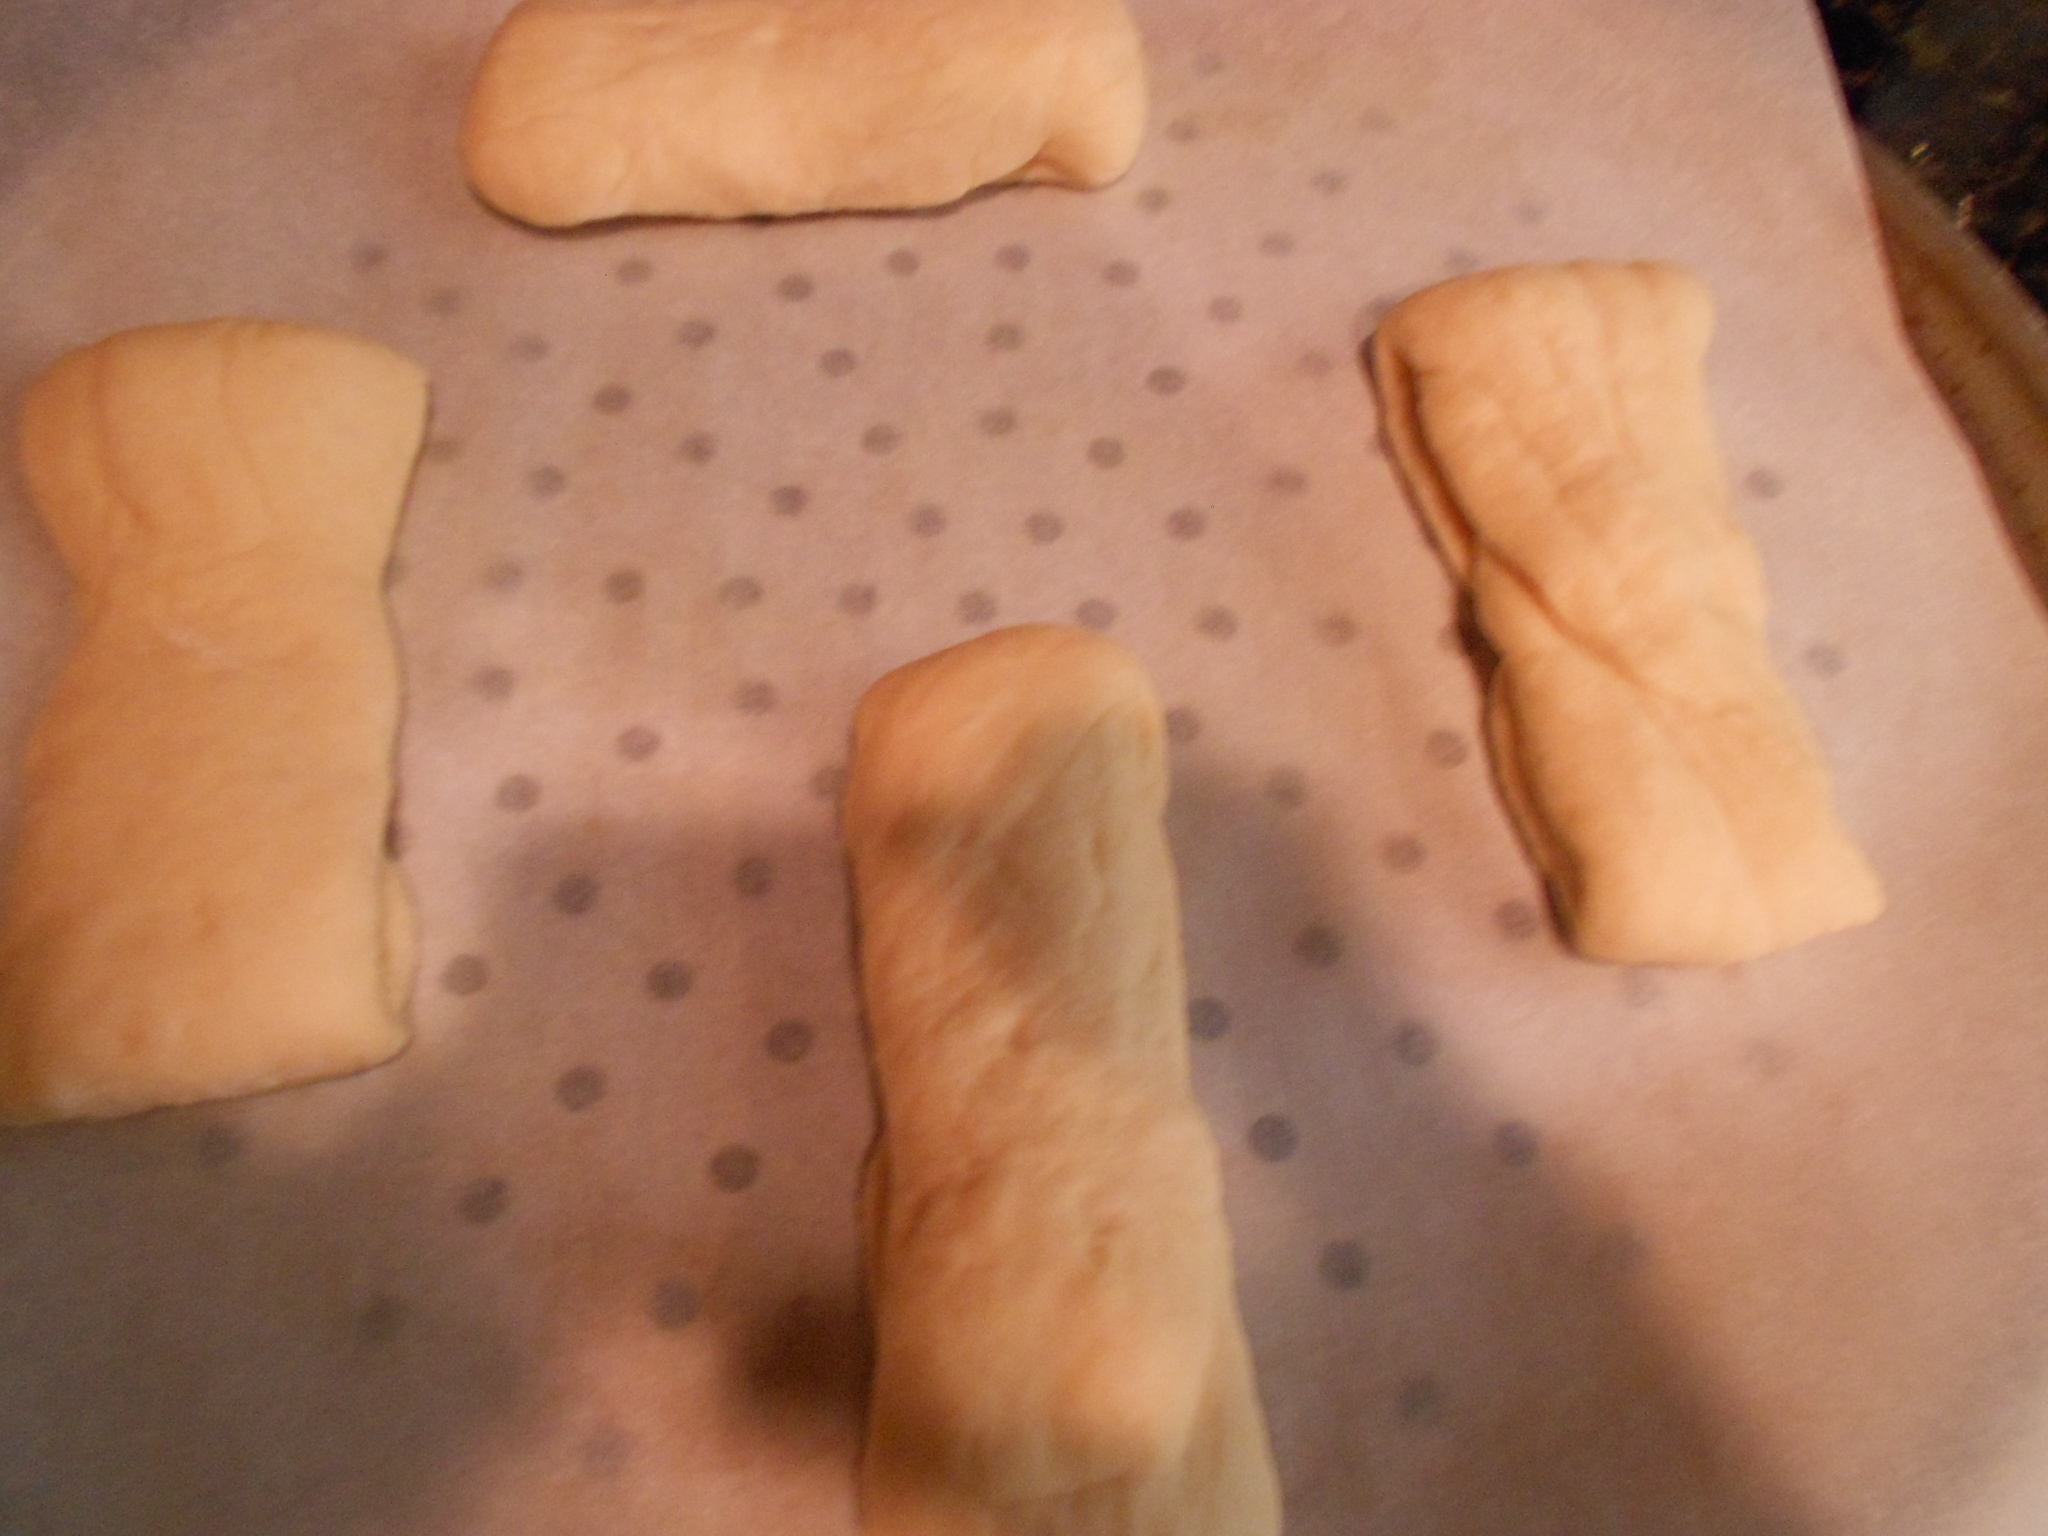
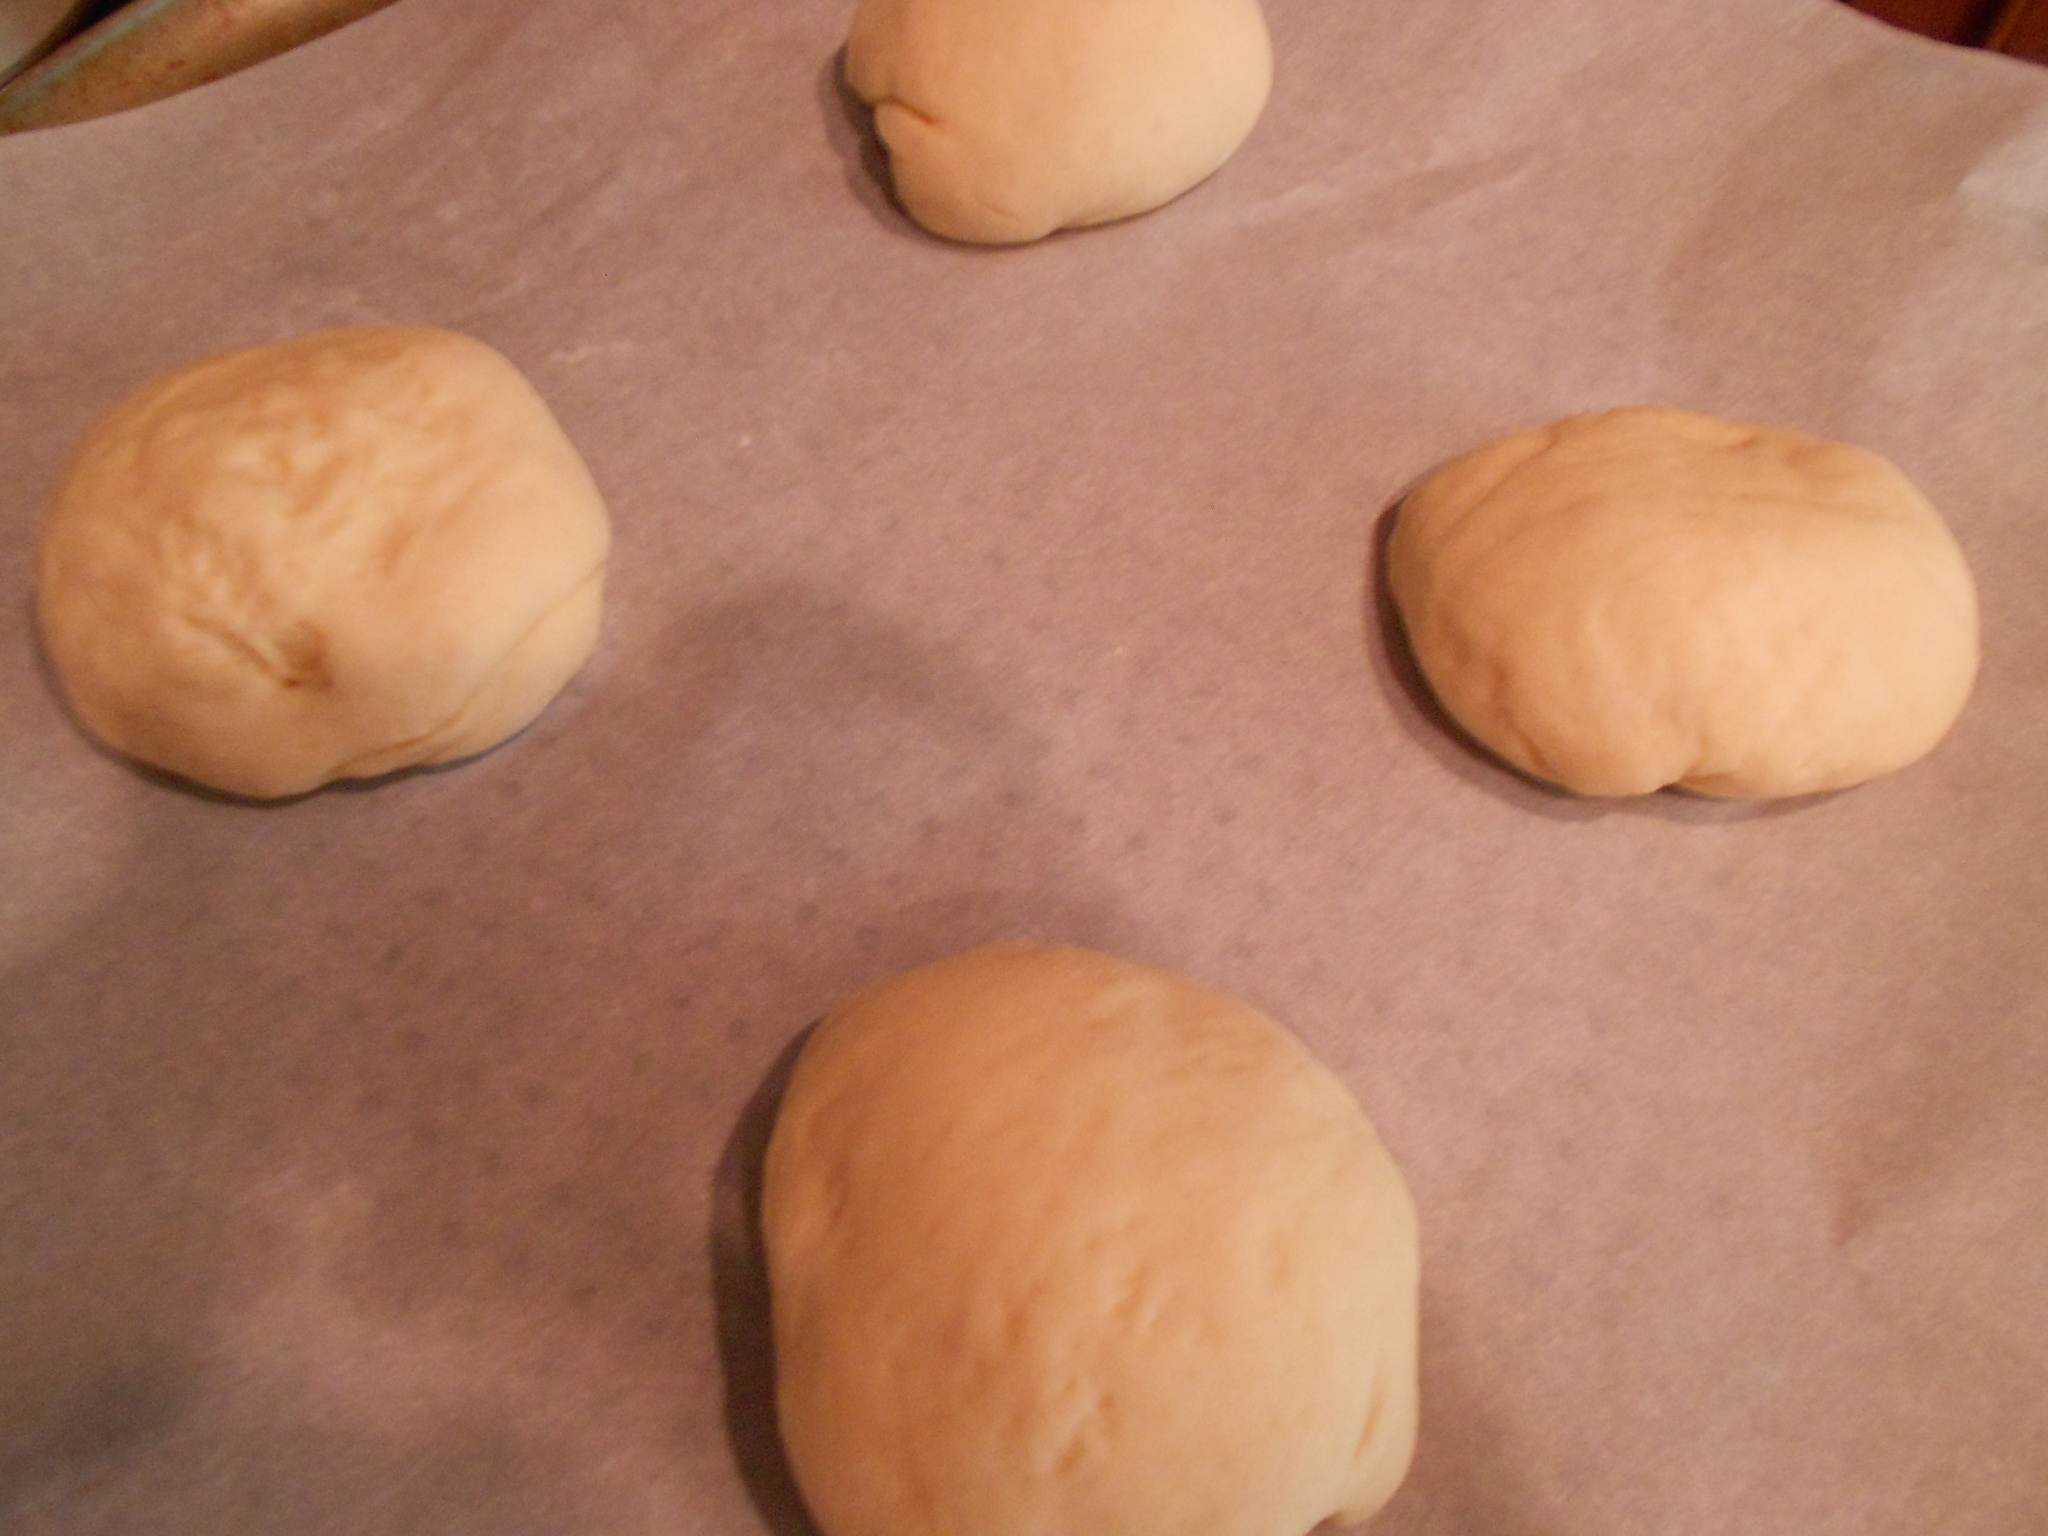
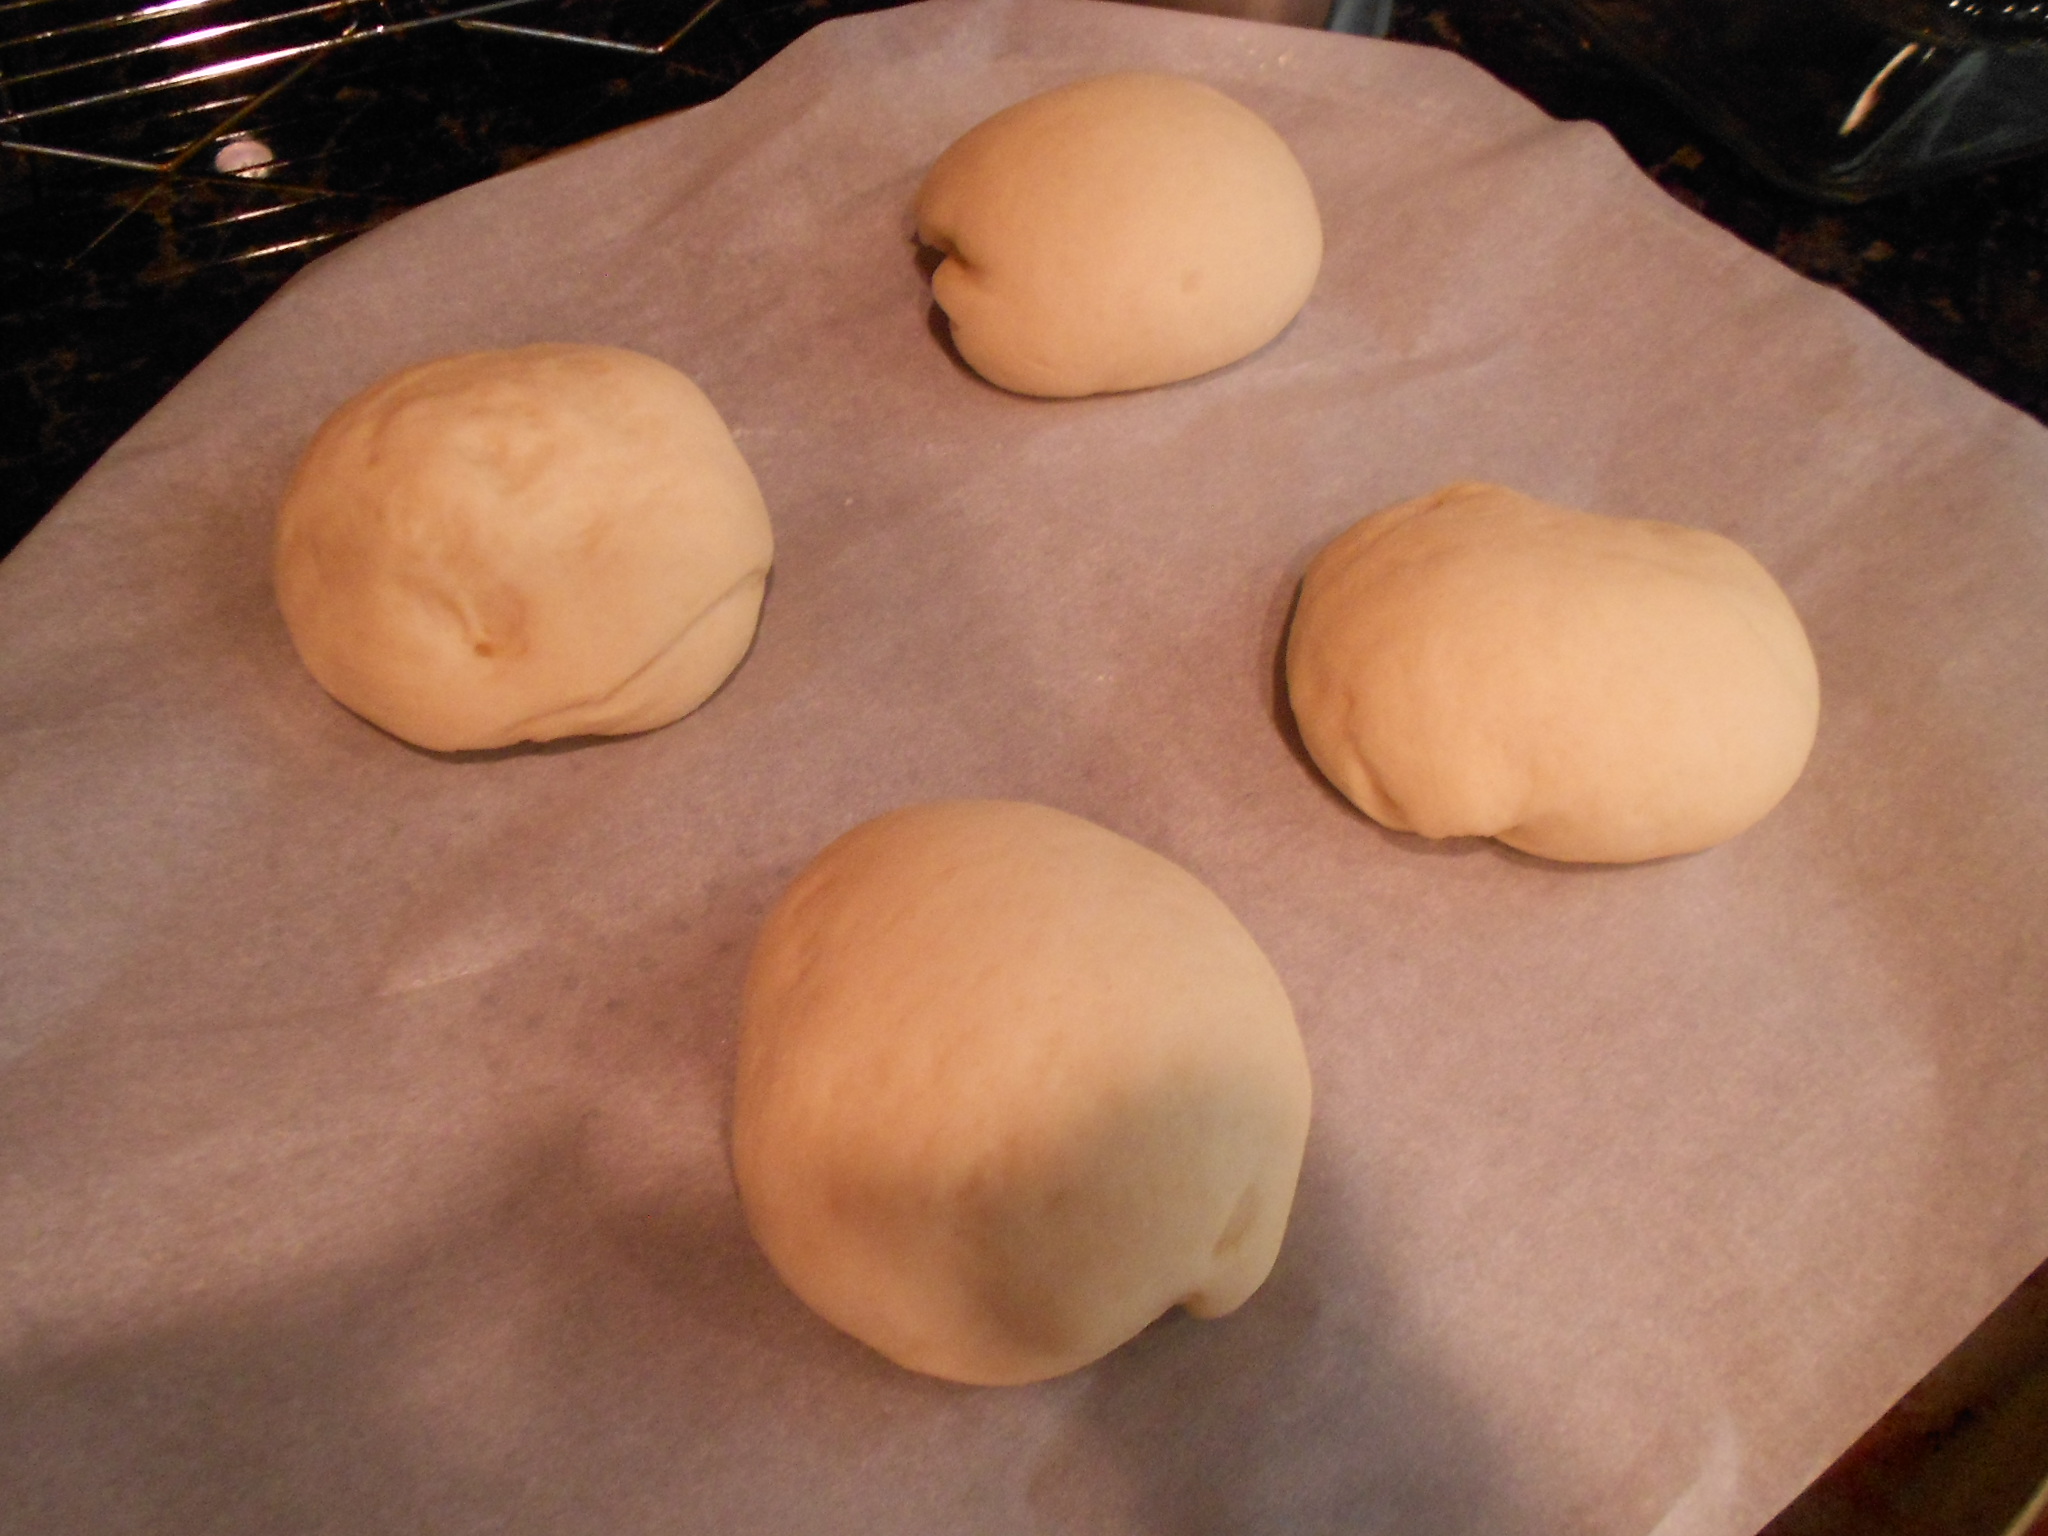
To make a sandwich long bun, I just make a snake with the dough and then fold each end in. My snake is about 12 inches long so when both ends come together, the roll is almost 6 inches. Buns I just make balls with a flat bottom.

DSCN3238

DSCN3239

DSCN3241

DSCN3242

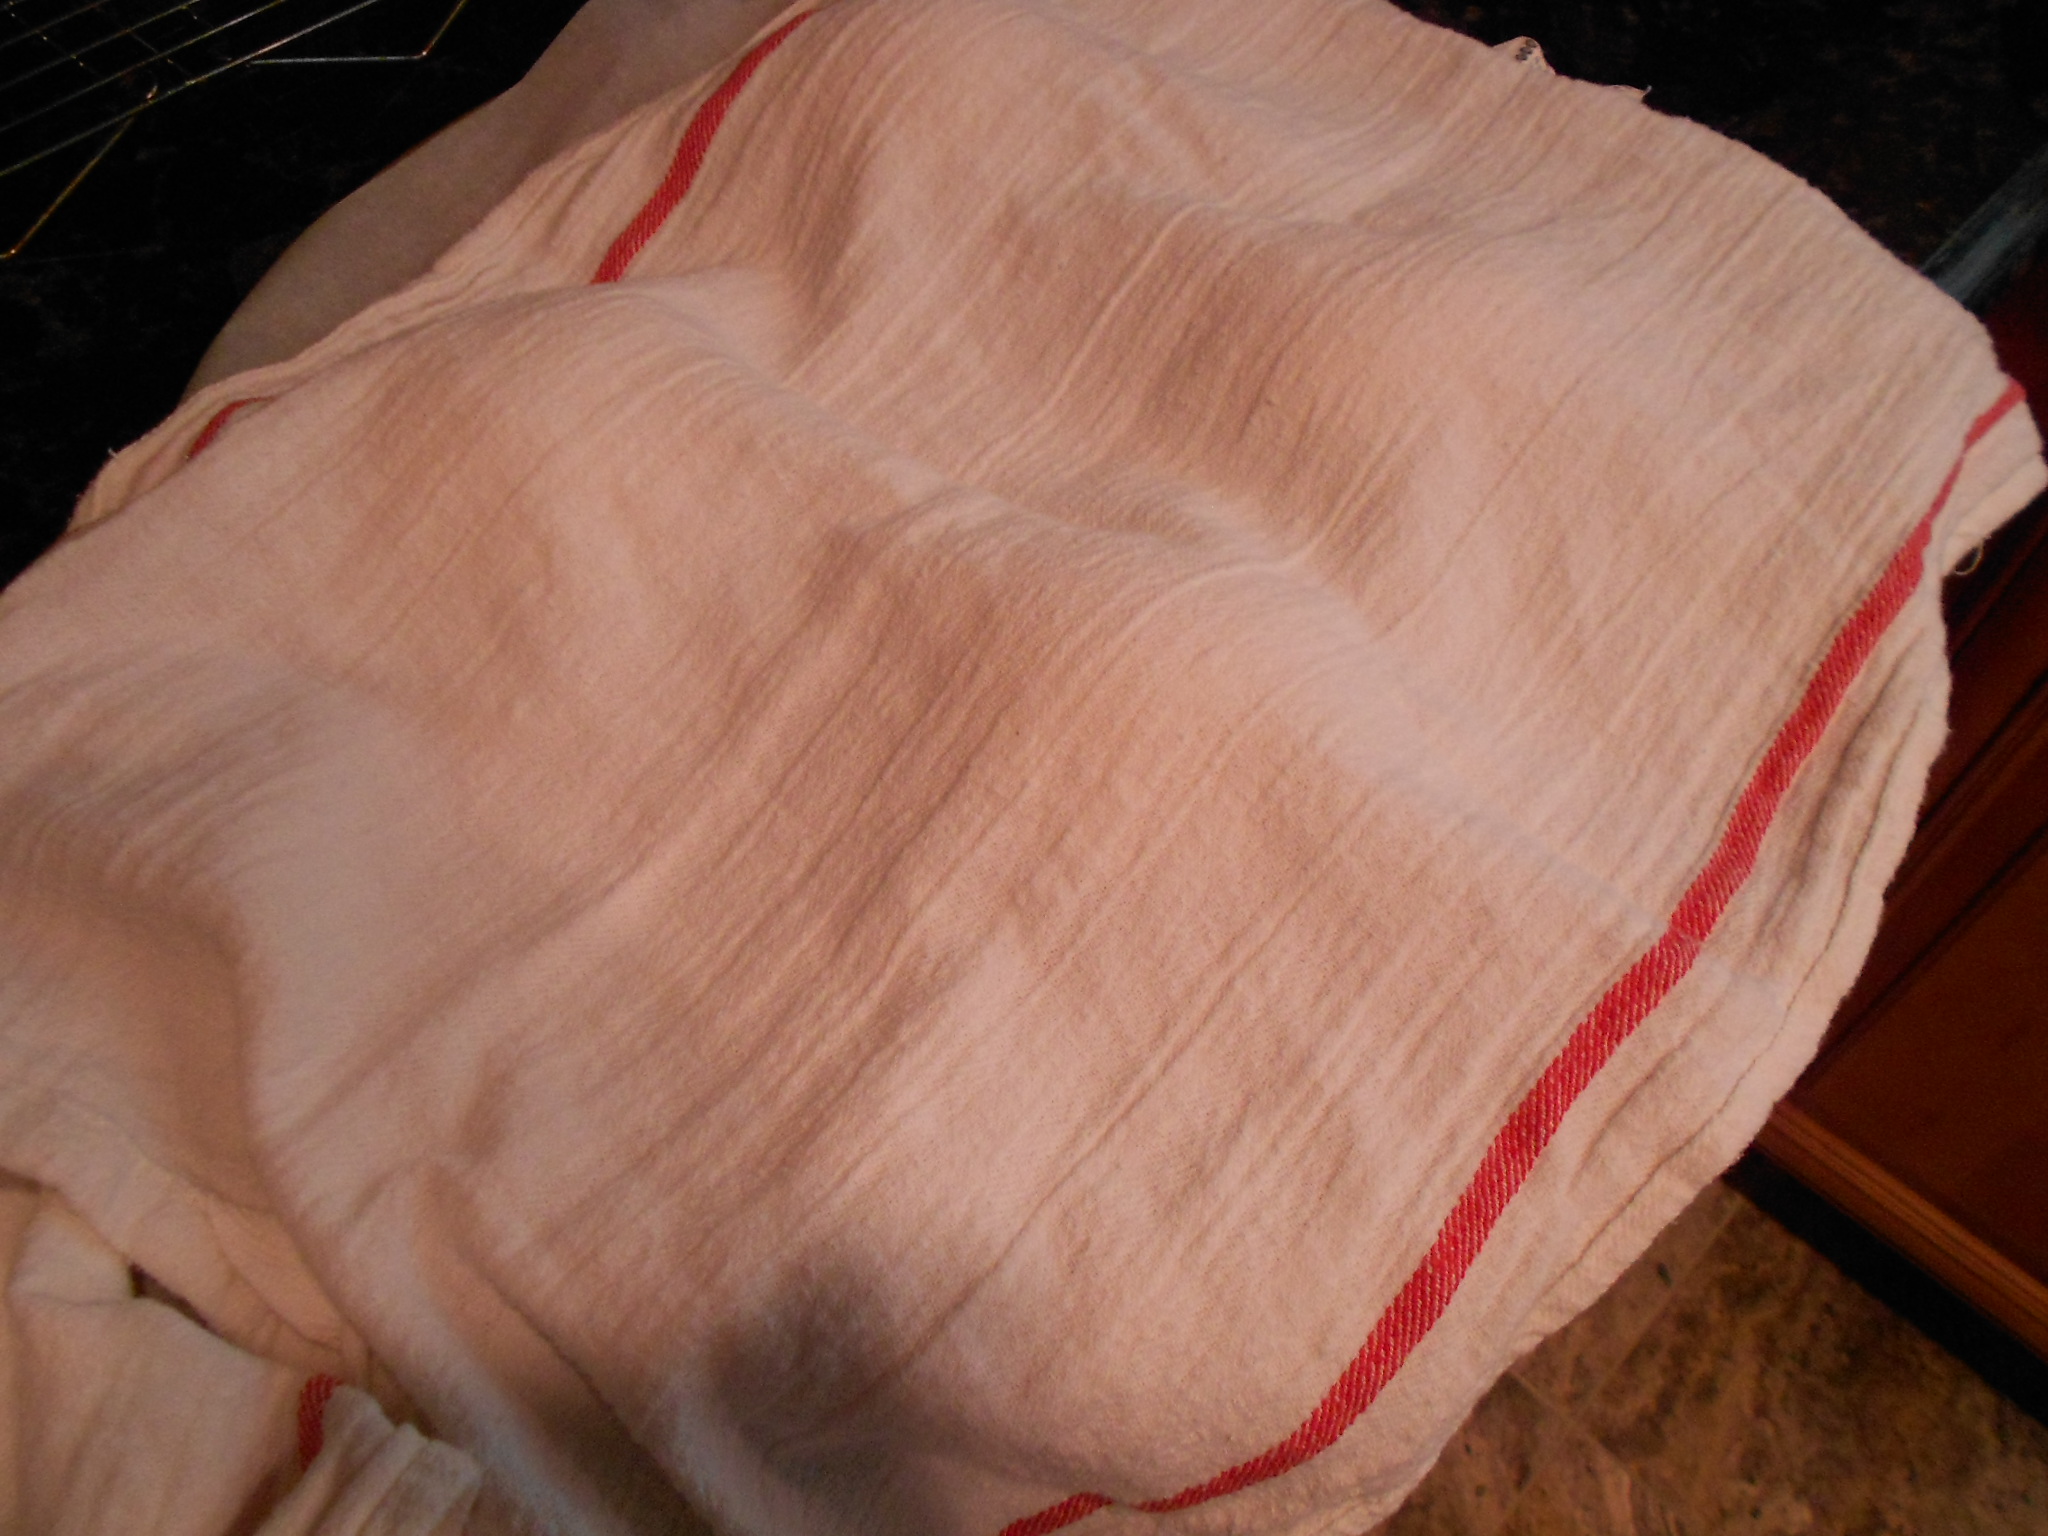
I then allow the buns to rise between 25 to 30 minutes. I put a towel over the pans and again return the dough to my oven on the proof setting at 105 degrees.

DSCN3252


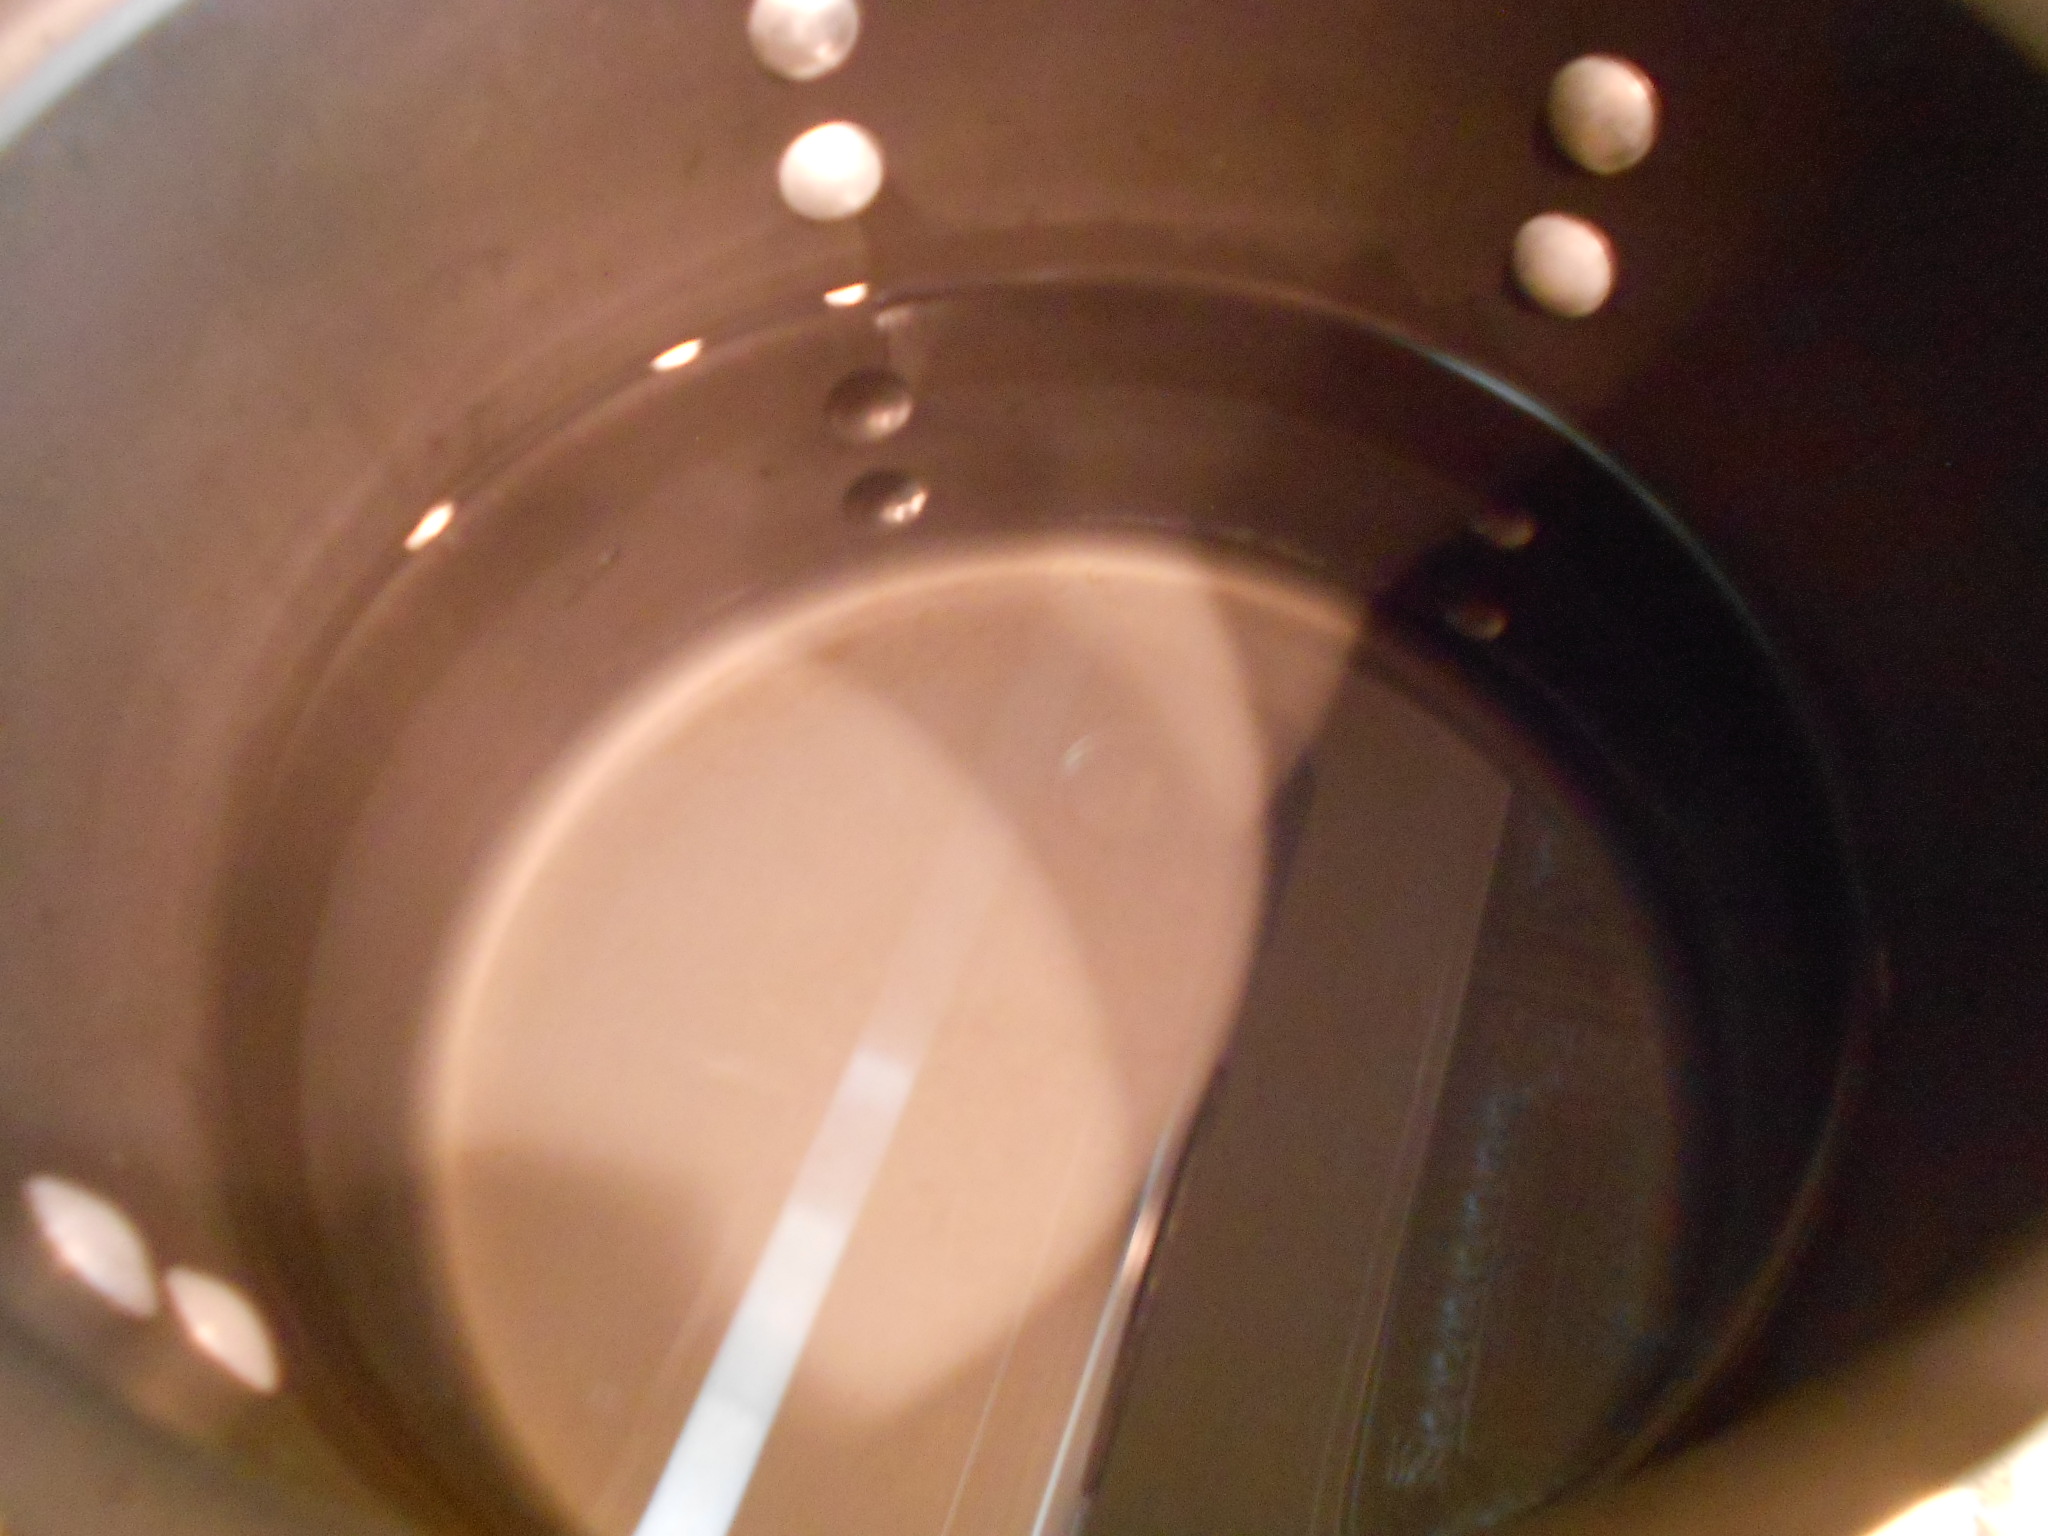
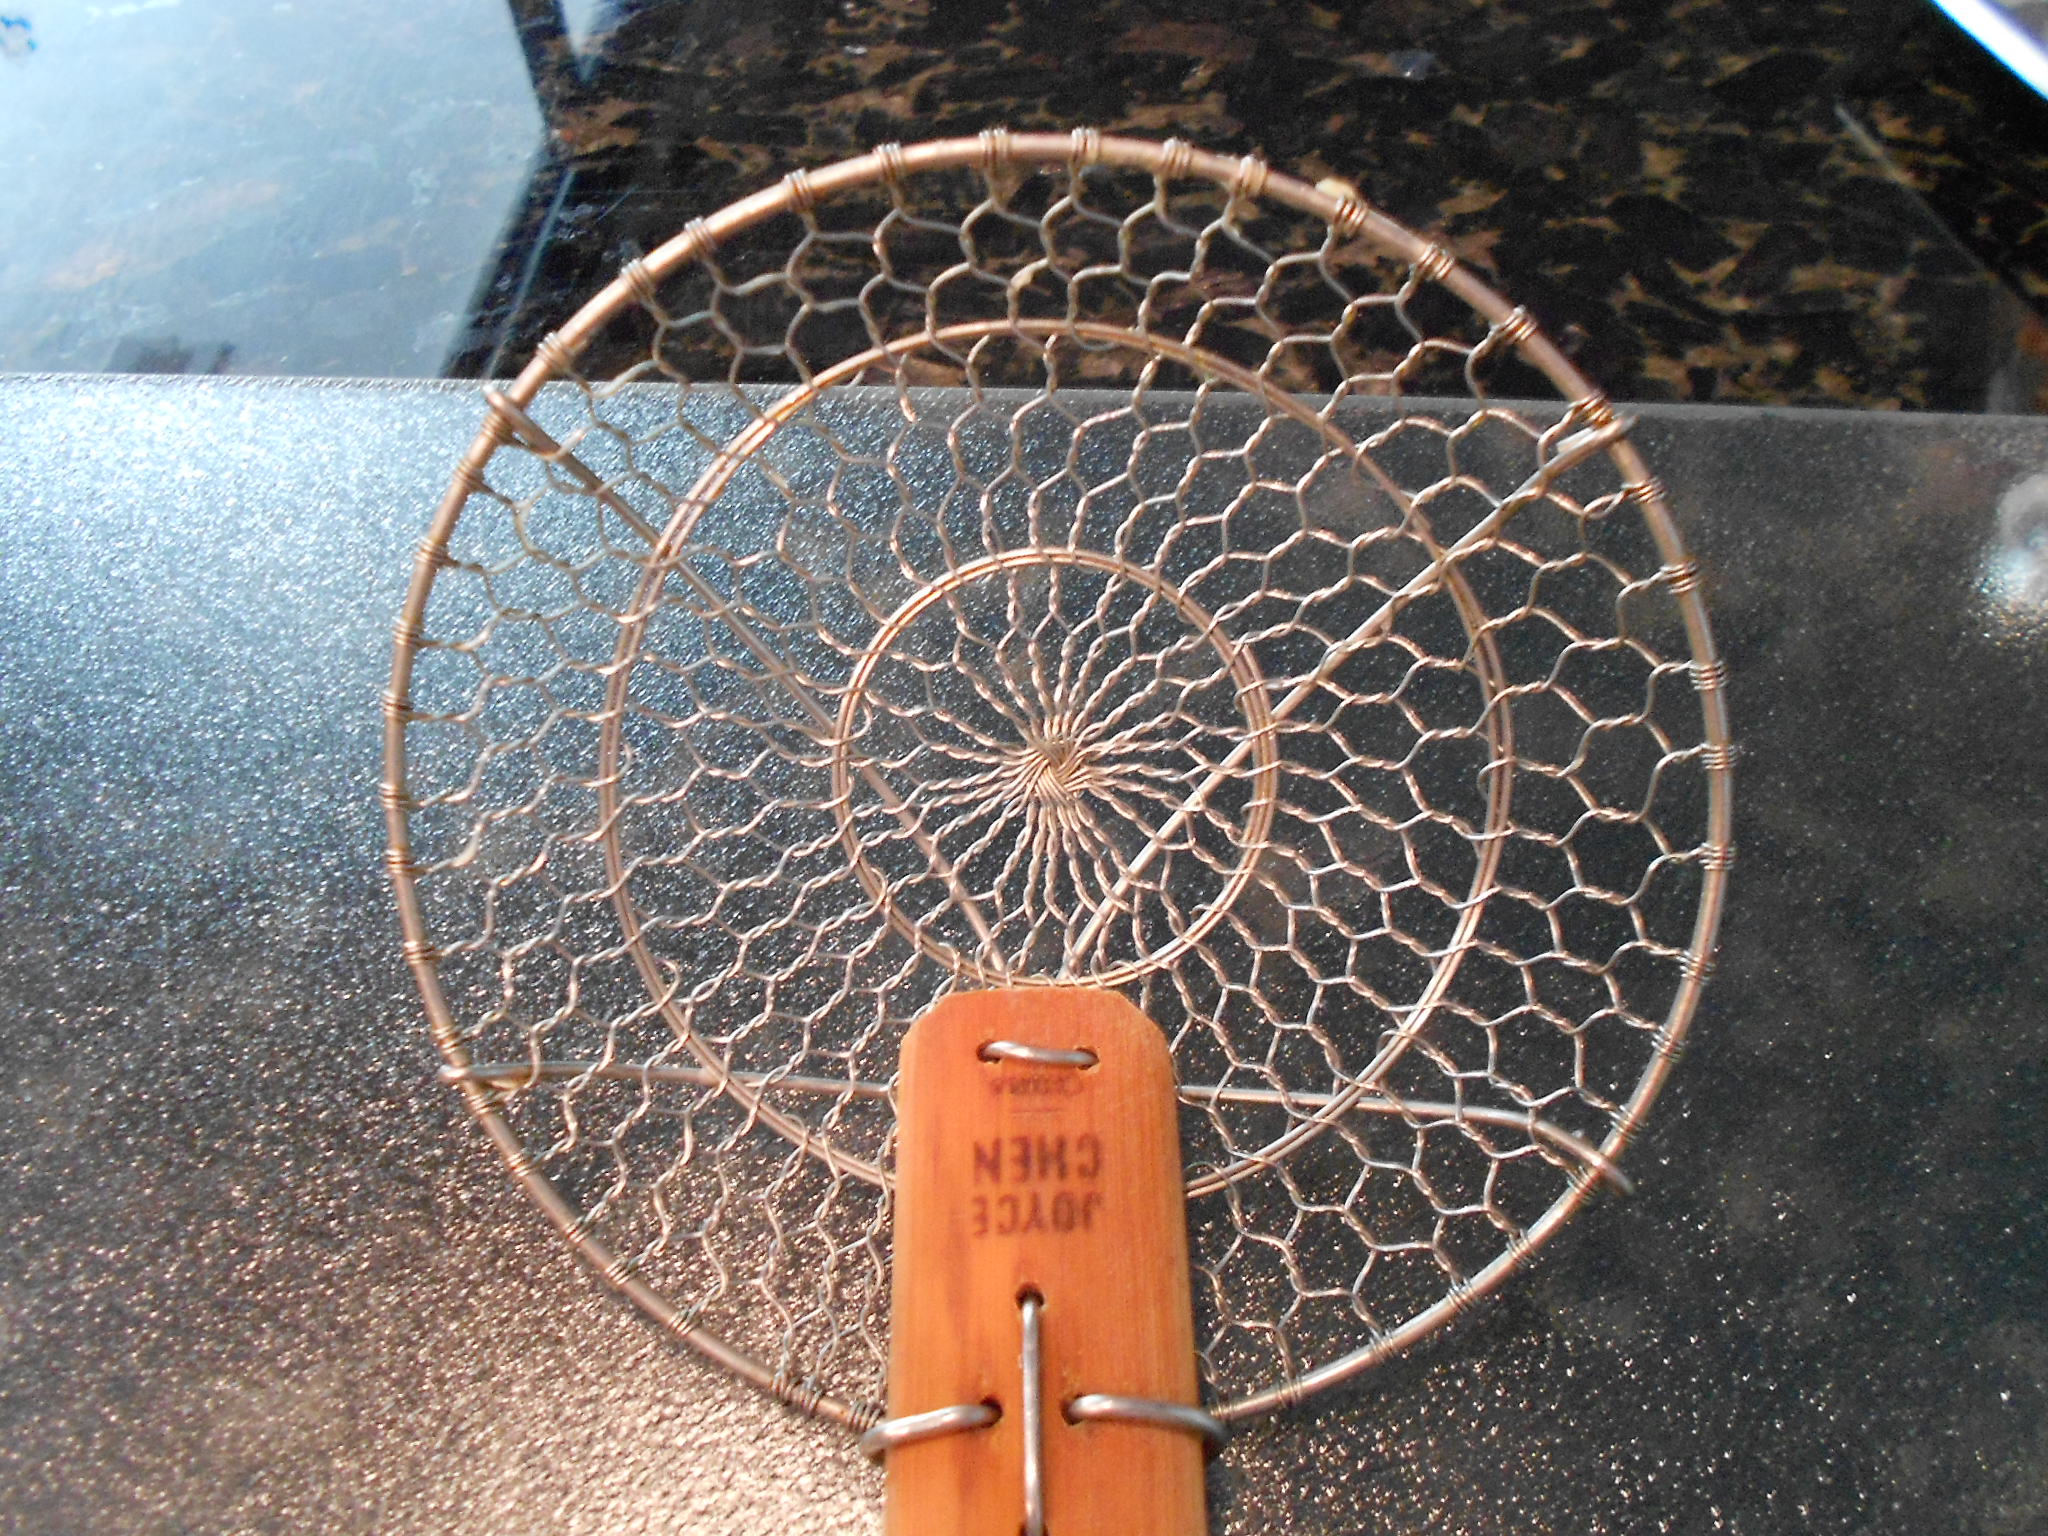
While my buns rise, I begin to mix the water and baking soda. Bring your wash to a boil and then have a steady simmer going. I take out my spider spoon, because this helps me picking up the buns without a mess of water coming with them.

DSCN3246

DSCN3249

DSCN3251

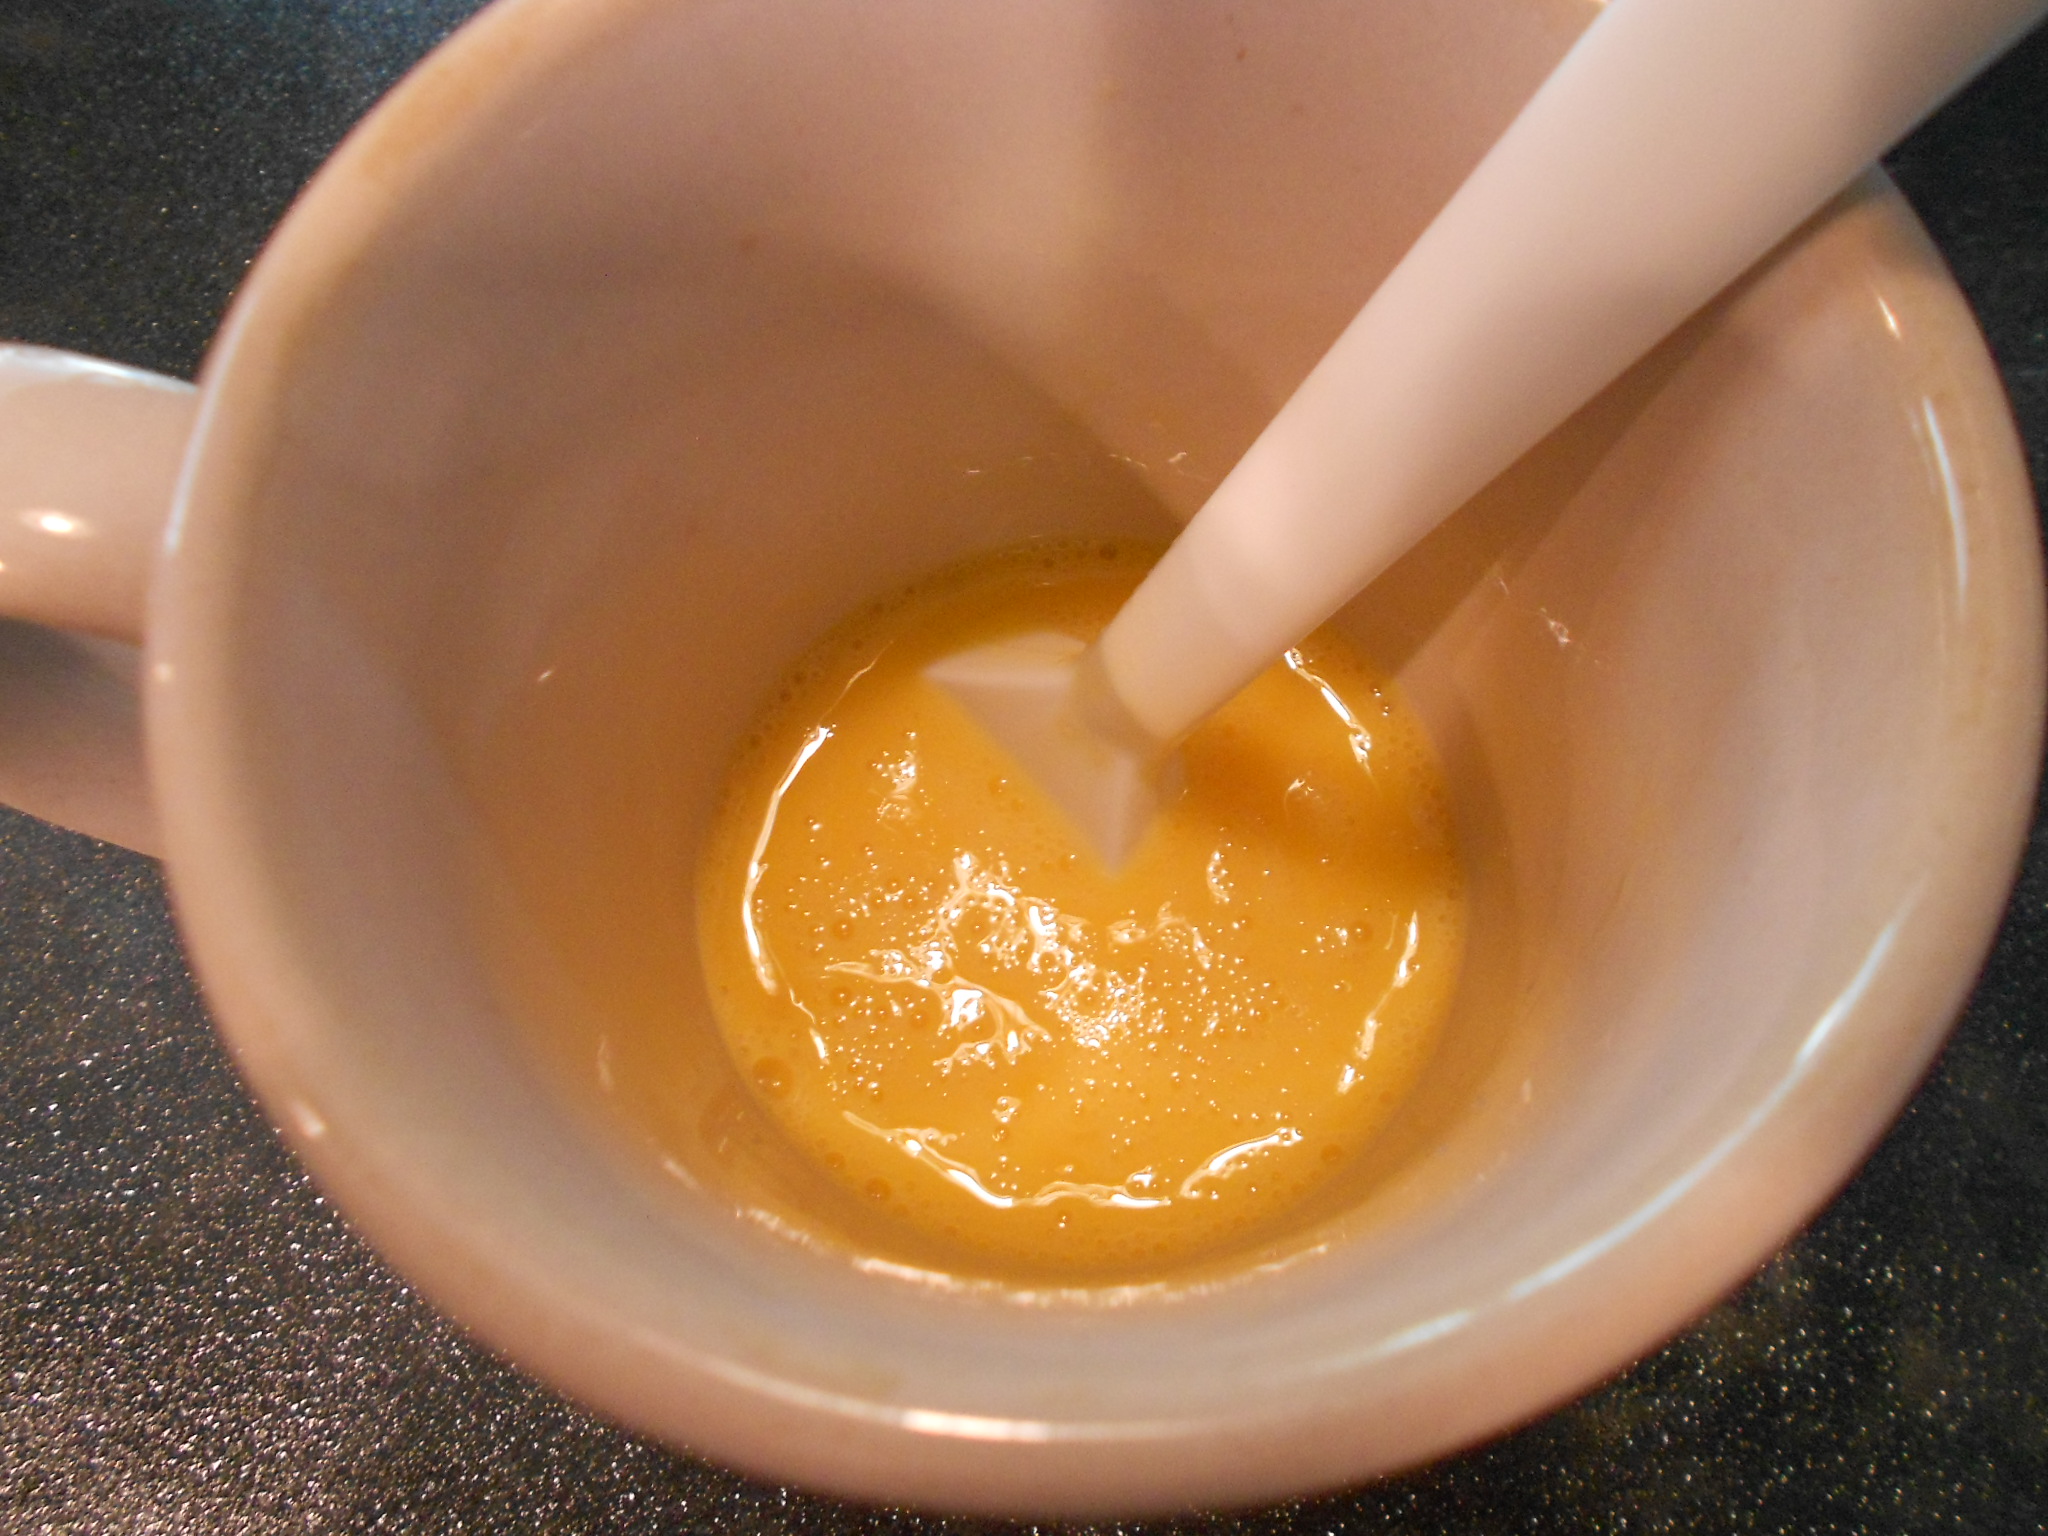
I also crack the egg and add the water for the wash. Also a good time to set your oven to 400 degrees. I use the convection setting for bread.

DSCN3245

DSCN3244

DSCN3243

Buns have risen so now it's time to "pretzel-ize" them. Just like you would do with bagels, you put one or two buns in and allow them to remain in the baking soda solution for 3 minutes on each side and I use the assistance of a timer because I can get distracted easily. After 6 minutes are up, I remove the buns and place them on parchment and the pan I will be using to bake them on. I have found my pizza pan (with holes) works better when it comes to texture but a cookie sheet works fine if that is all you have at hand.

DSCN3253

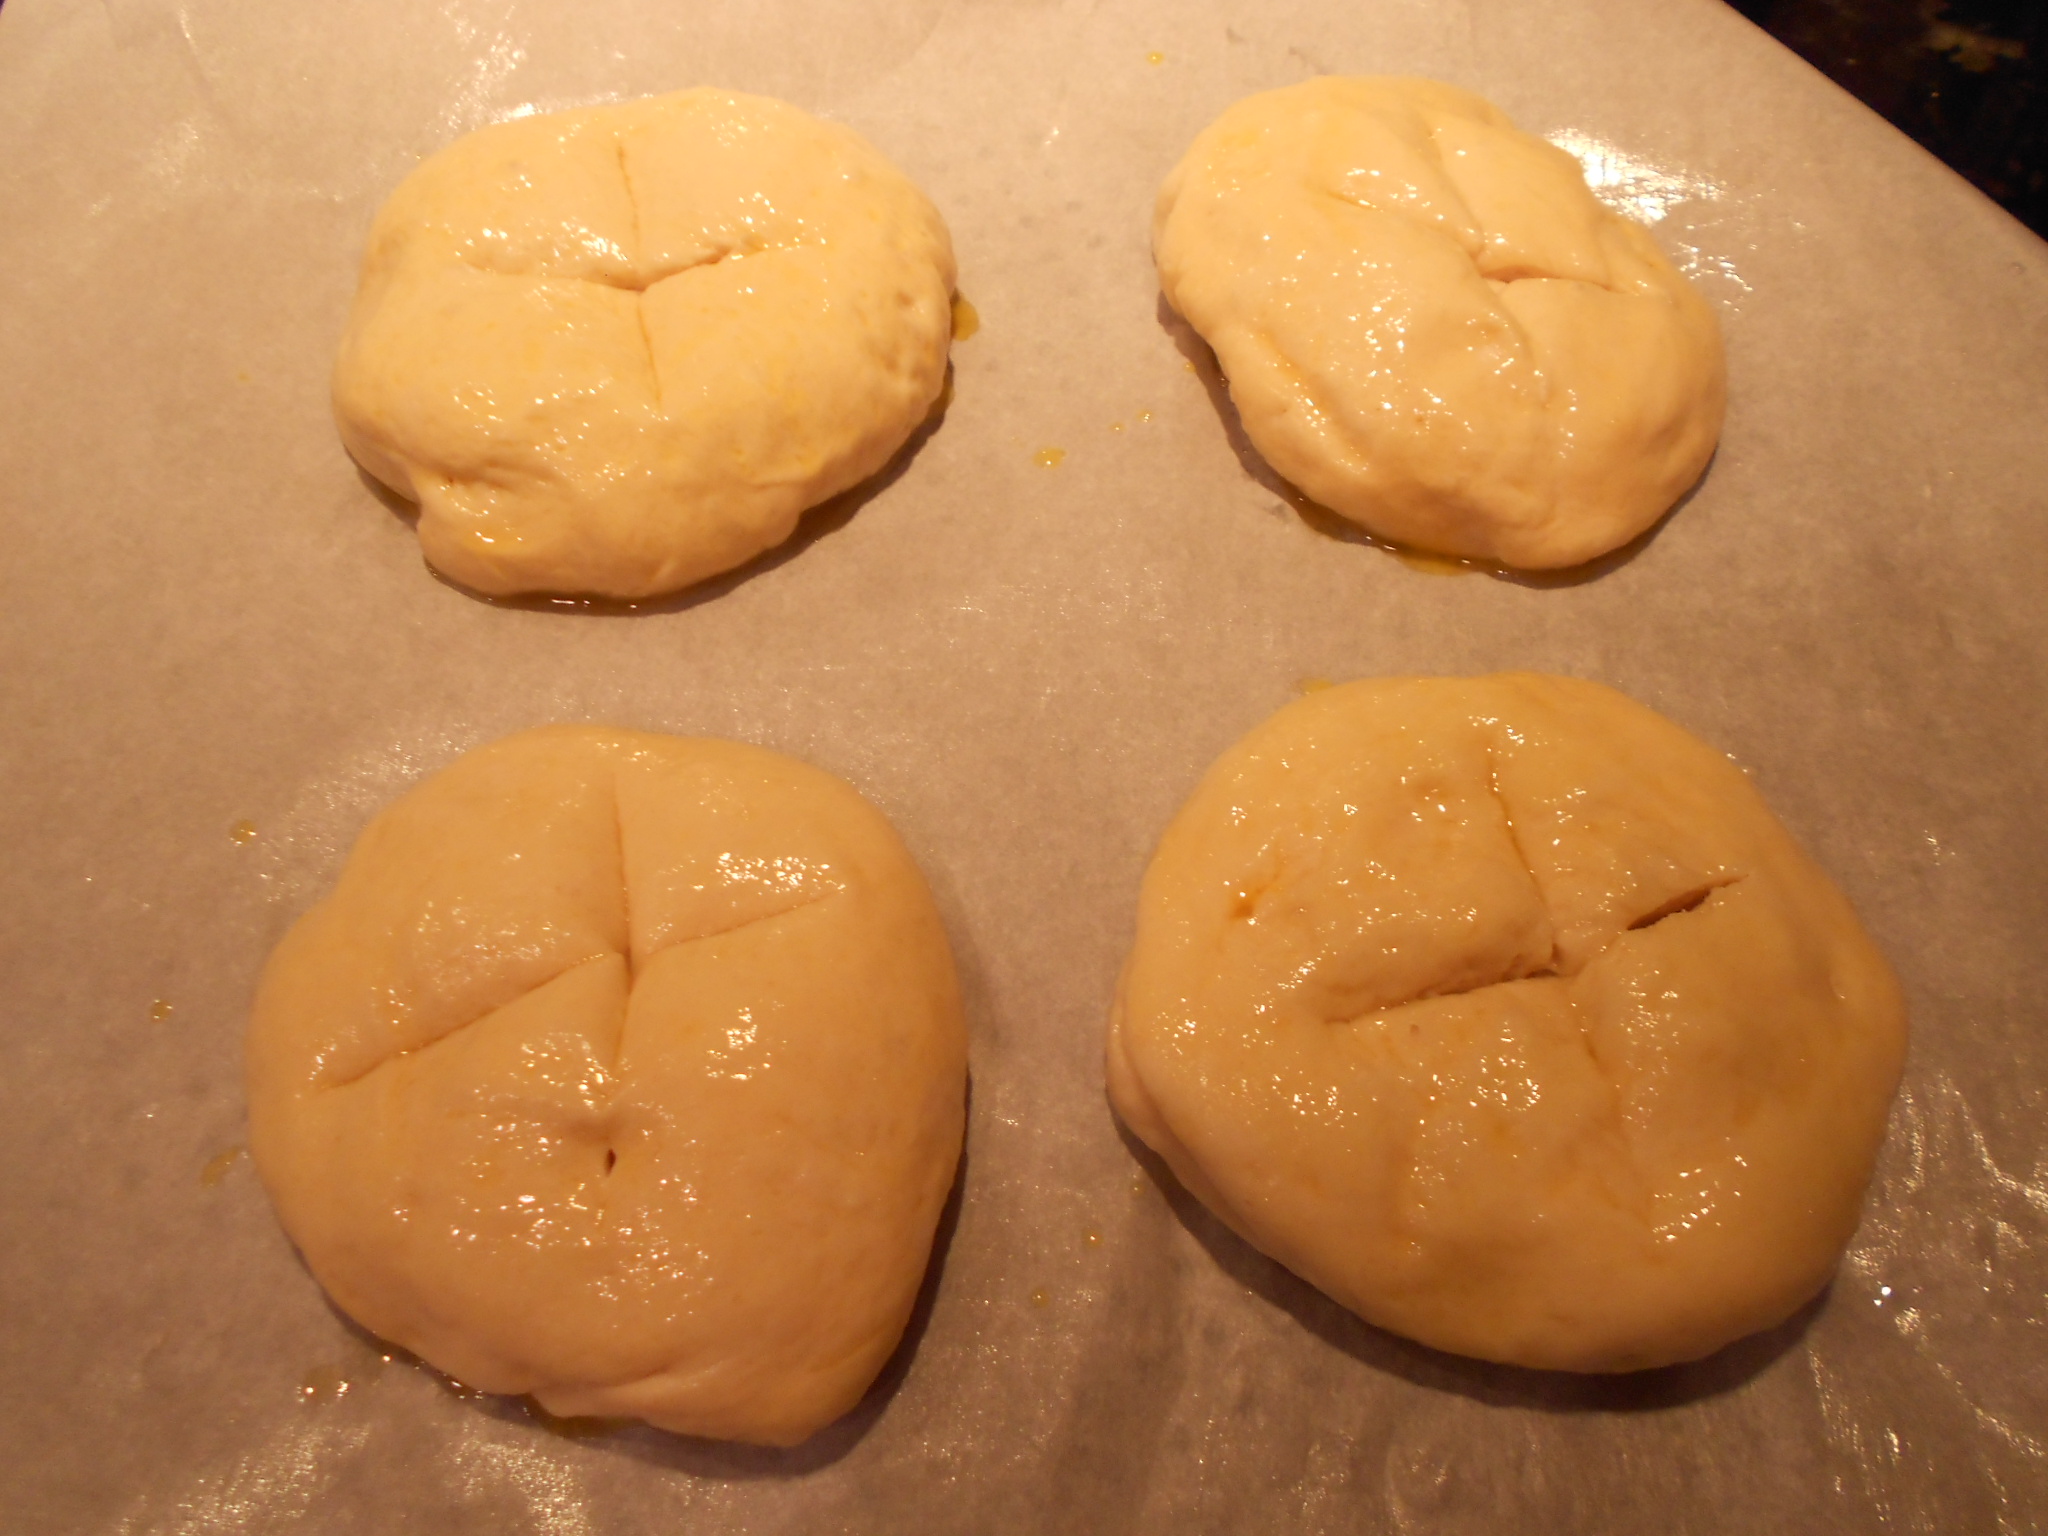
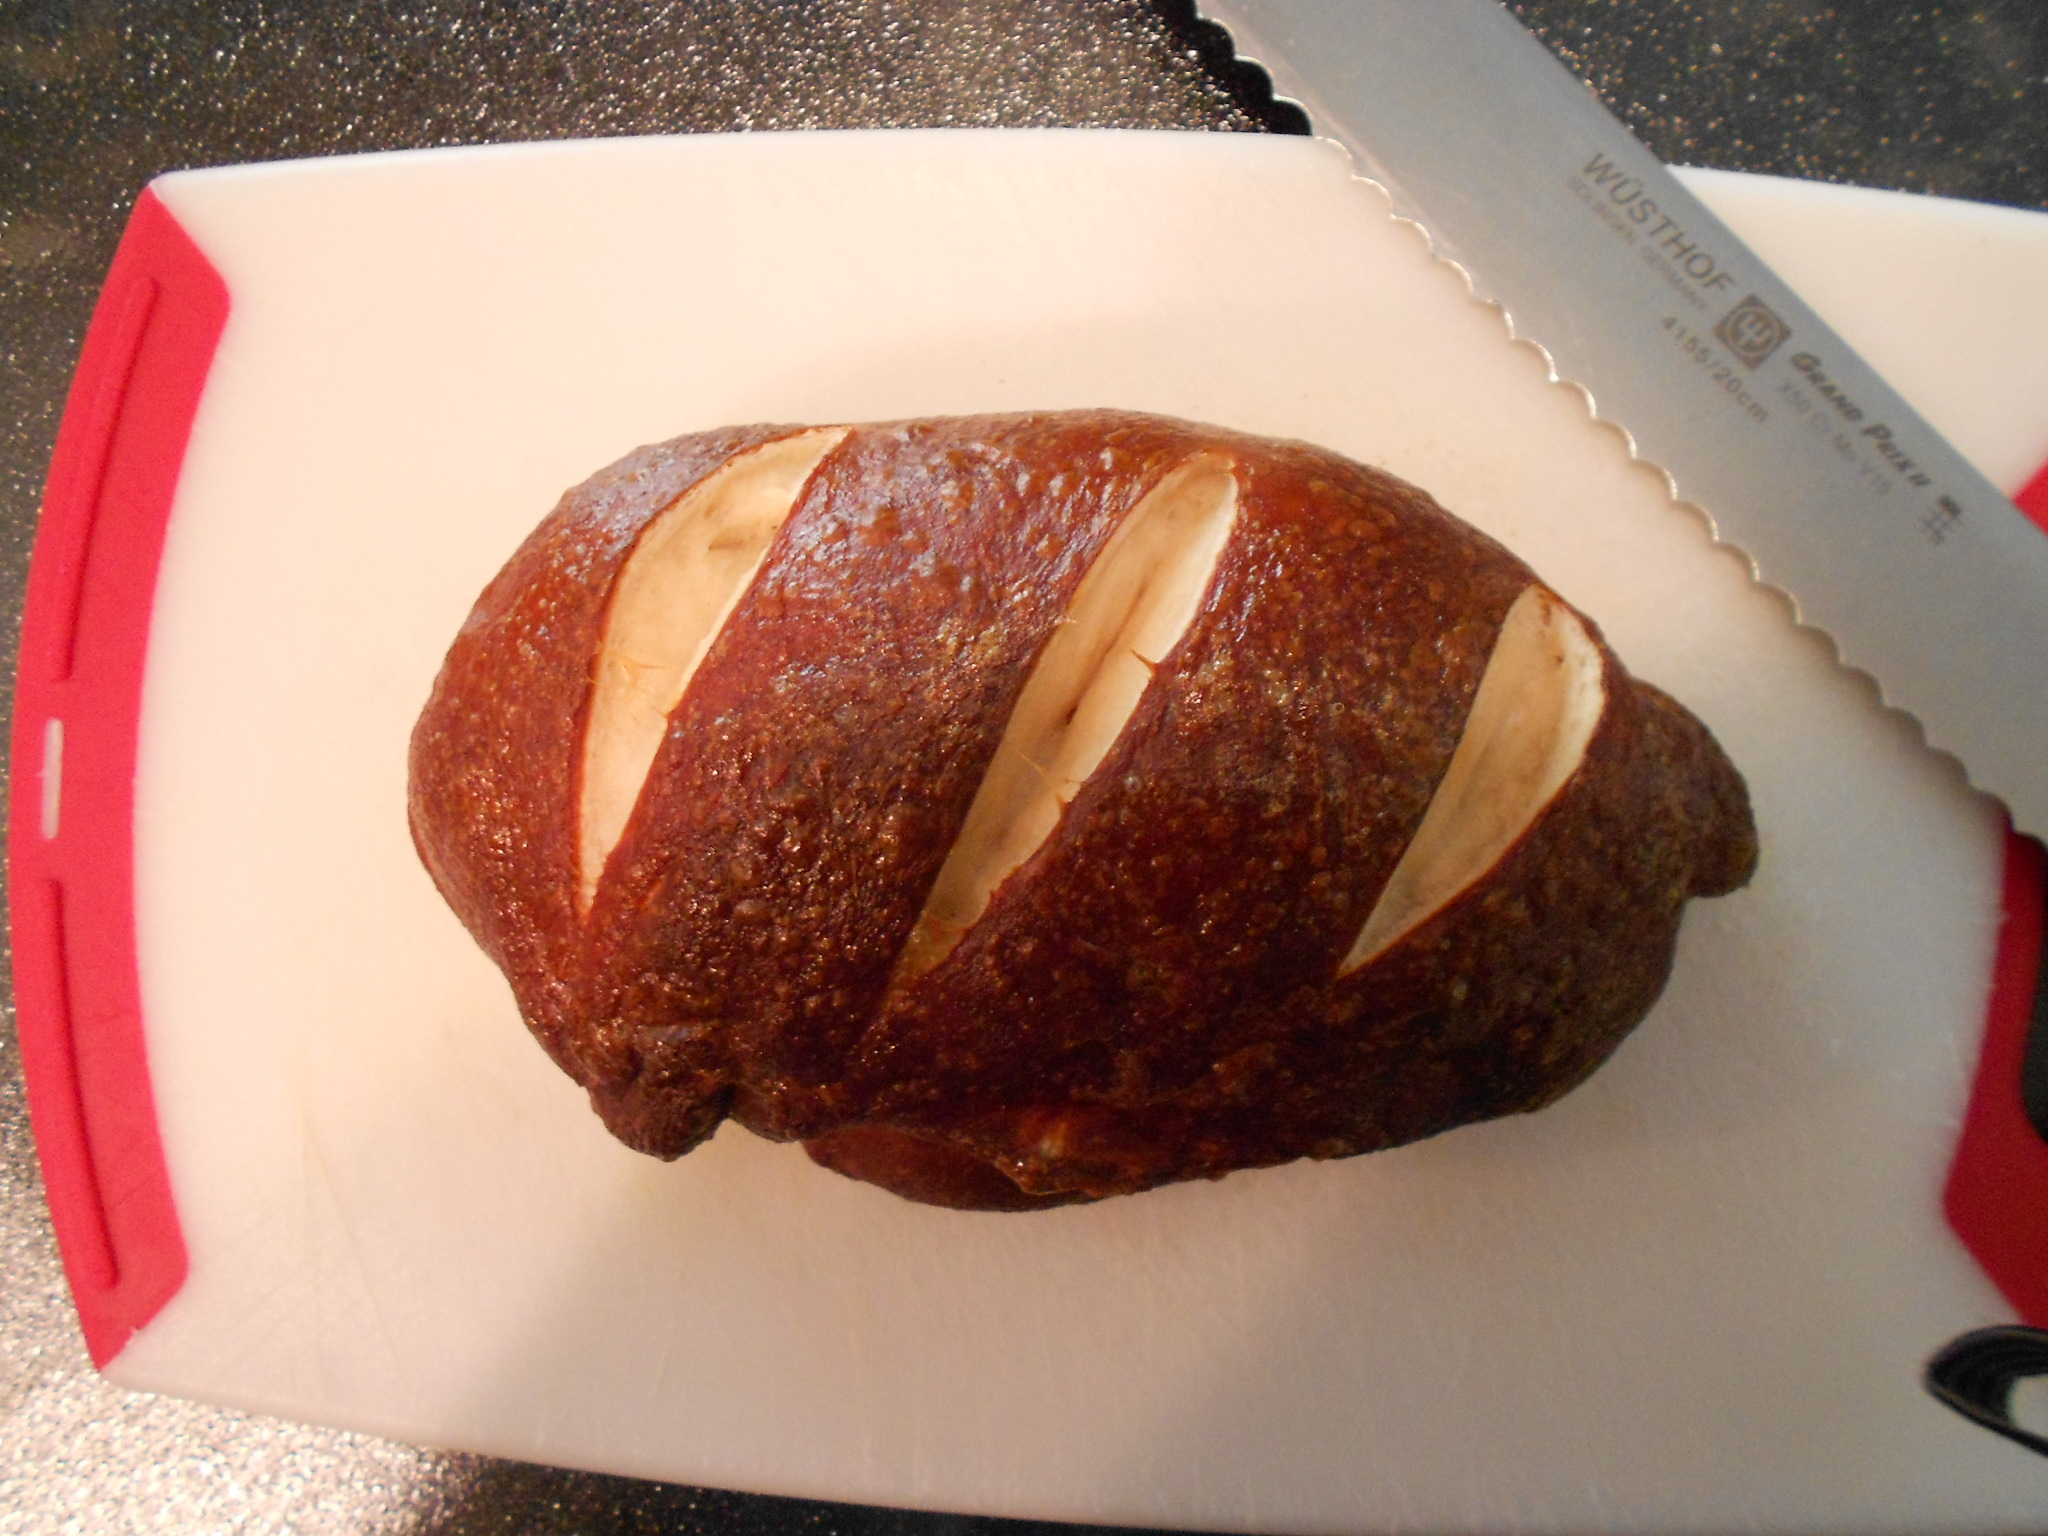
Give your bread(s) a brushing with the egg wash and then using a sharp knife, cut an "X" cross on top or slits, whichever you like. I do crosses on the round buns and slits on the longer ones to distinguish their use.  You may also sprinkle Poppy seeds if you wish to have some at this point.

DSCN3260

Pop them in the oven at the 400 degrees setting for about 10 minutes and then reduce to 375 degrees and bake until done. Okay, because buns, loaves, rolls, ect., vary on size, this is why I leave this part open regarding time. Mine took between 5 to 8 minutes on the 375 degrees setting and I take them out when they look as dark as you see pictured. Once you remove the bread, cool on a rack and try not to munch but I always give in to the smell and figure I test out the rolls to make sure they are good. Cool for about an hour or two and then you can freeze them like I described above.

DSCN3153

These guys are good as-is, for sandwiches and you can even make your own pretzel crisps, which I have used for even accompanying hummus and spreads. To make the crisps, you just slice a cool loaf and then toast them and allow them to cool. Best dipping bread EVER!!!!  Enjoy!

DSCN3264DSCN3155

Friday, May 10, 2013

Crowdtap: Conttonelle Clean Care Products

When it come to clean, it's really hard to compromise. Far too often we all get tempted by bargain brands, "cheap" prices, "ultra, mega super jumbo" rolls, "club-sized" pricing, and every other gimmick under the sun, it all circles back to clean.

DSCN1868

I was a Kirkland Signature user for years. It was hard to compete with the quantity for the price, especially with prices rising so fast for home basics like TP, paper towels, and cleaning products. Then, as all Kirkland products seem to do anymore, the quality of the tissue started to slide. It took more to get clean. It wasn't strong enough. Then, it happened:

The lint.

We all dread it, we've all dealt with it, we all hate it. And Kirkland had it in spades! And not just on your person. It was everywhere. With every tear it was snowing in the bathroom. And that was it. It was time to find a new brand. For so long we assumed the only choices were cheap, red or blue. Then we discovered Cottonelle. Crowdtap, in it's impeccable timing, offered us a chance to take Cottonelle's line of personal cleaning products, and not just for us, for all our invited guests as well! Hot diggity!

I can safely say that this household is hooked on the Cottonelle Clean Routine. We got plenty of TP, and Cottonelle's moist flushable wipes too! Let's just say if you're not using these, you only think you're getting clean! Cottonelle really went all-out with the quality, too. Quilted, thick, strong, dual-ply. I can't believe we spent so much time with so many other inferior brands. If your'e still thinking you're saving money by buying cheap, take it from me, you're sacrificing clean at the altar of cheap, and it's not a sacrifice you want to be making.


I received the above product free of charge from Crowdtap.  I am not obligated to provide a favorable/positive review, just my honest opinion.  My review is based on my experience with the product, which may differ from yours.

Tuesday, May 7, 2013

Fresh Pineapple Upside Down Buttermilk Cake

DSCN2227

Everyone loves pineapple upside down cake. If someone doesn't, then they haven't had it made right. Little things make the biggest differences. Like, I always just used canned Pineapple. One day I had a fresh pineapple on the counter and decided to try my recipe with it. Best ever, and I have never gone back! One of my easier cakes to make and perfect during the warmer months. Bakes quickly and you can serve it warm, room temperature or even cold. The buttermilk keeps the cake moist and gives it a unique flavor that is not typically associated with cakes. So, I hope this breaks up the usual and you enjoy it as much as we do.

Let's begin....

Glaze:

  • 4 tablespoons of Butter

  • 3 tablespoons of Maple Syrup

  • 1/2 cup of Brown Sugar


Fruit:

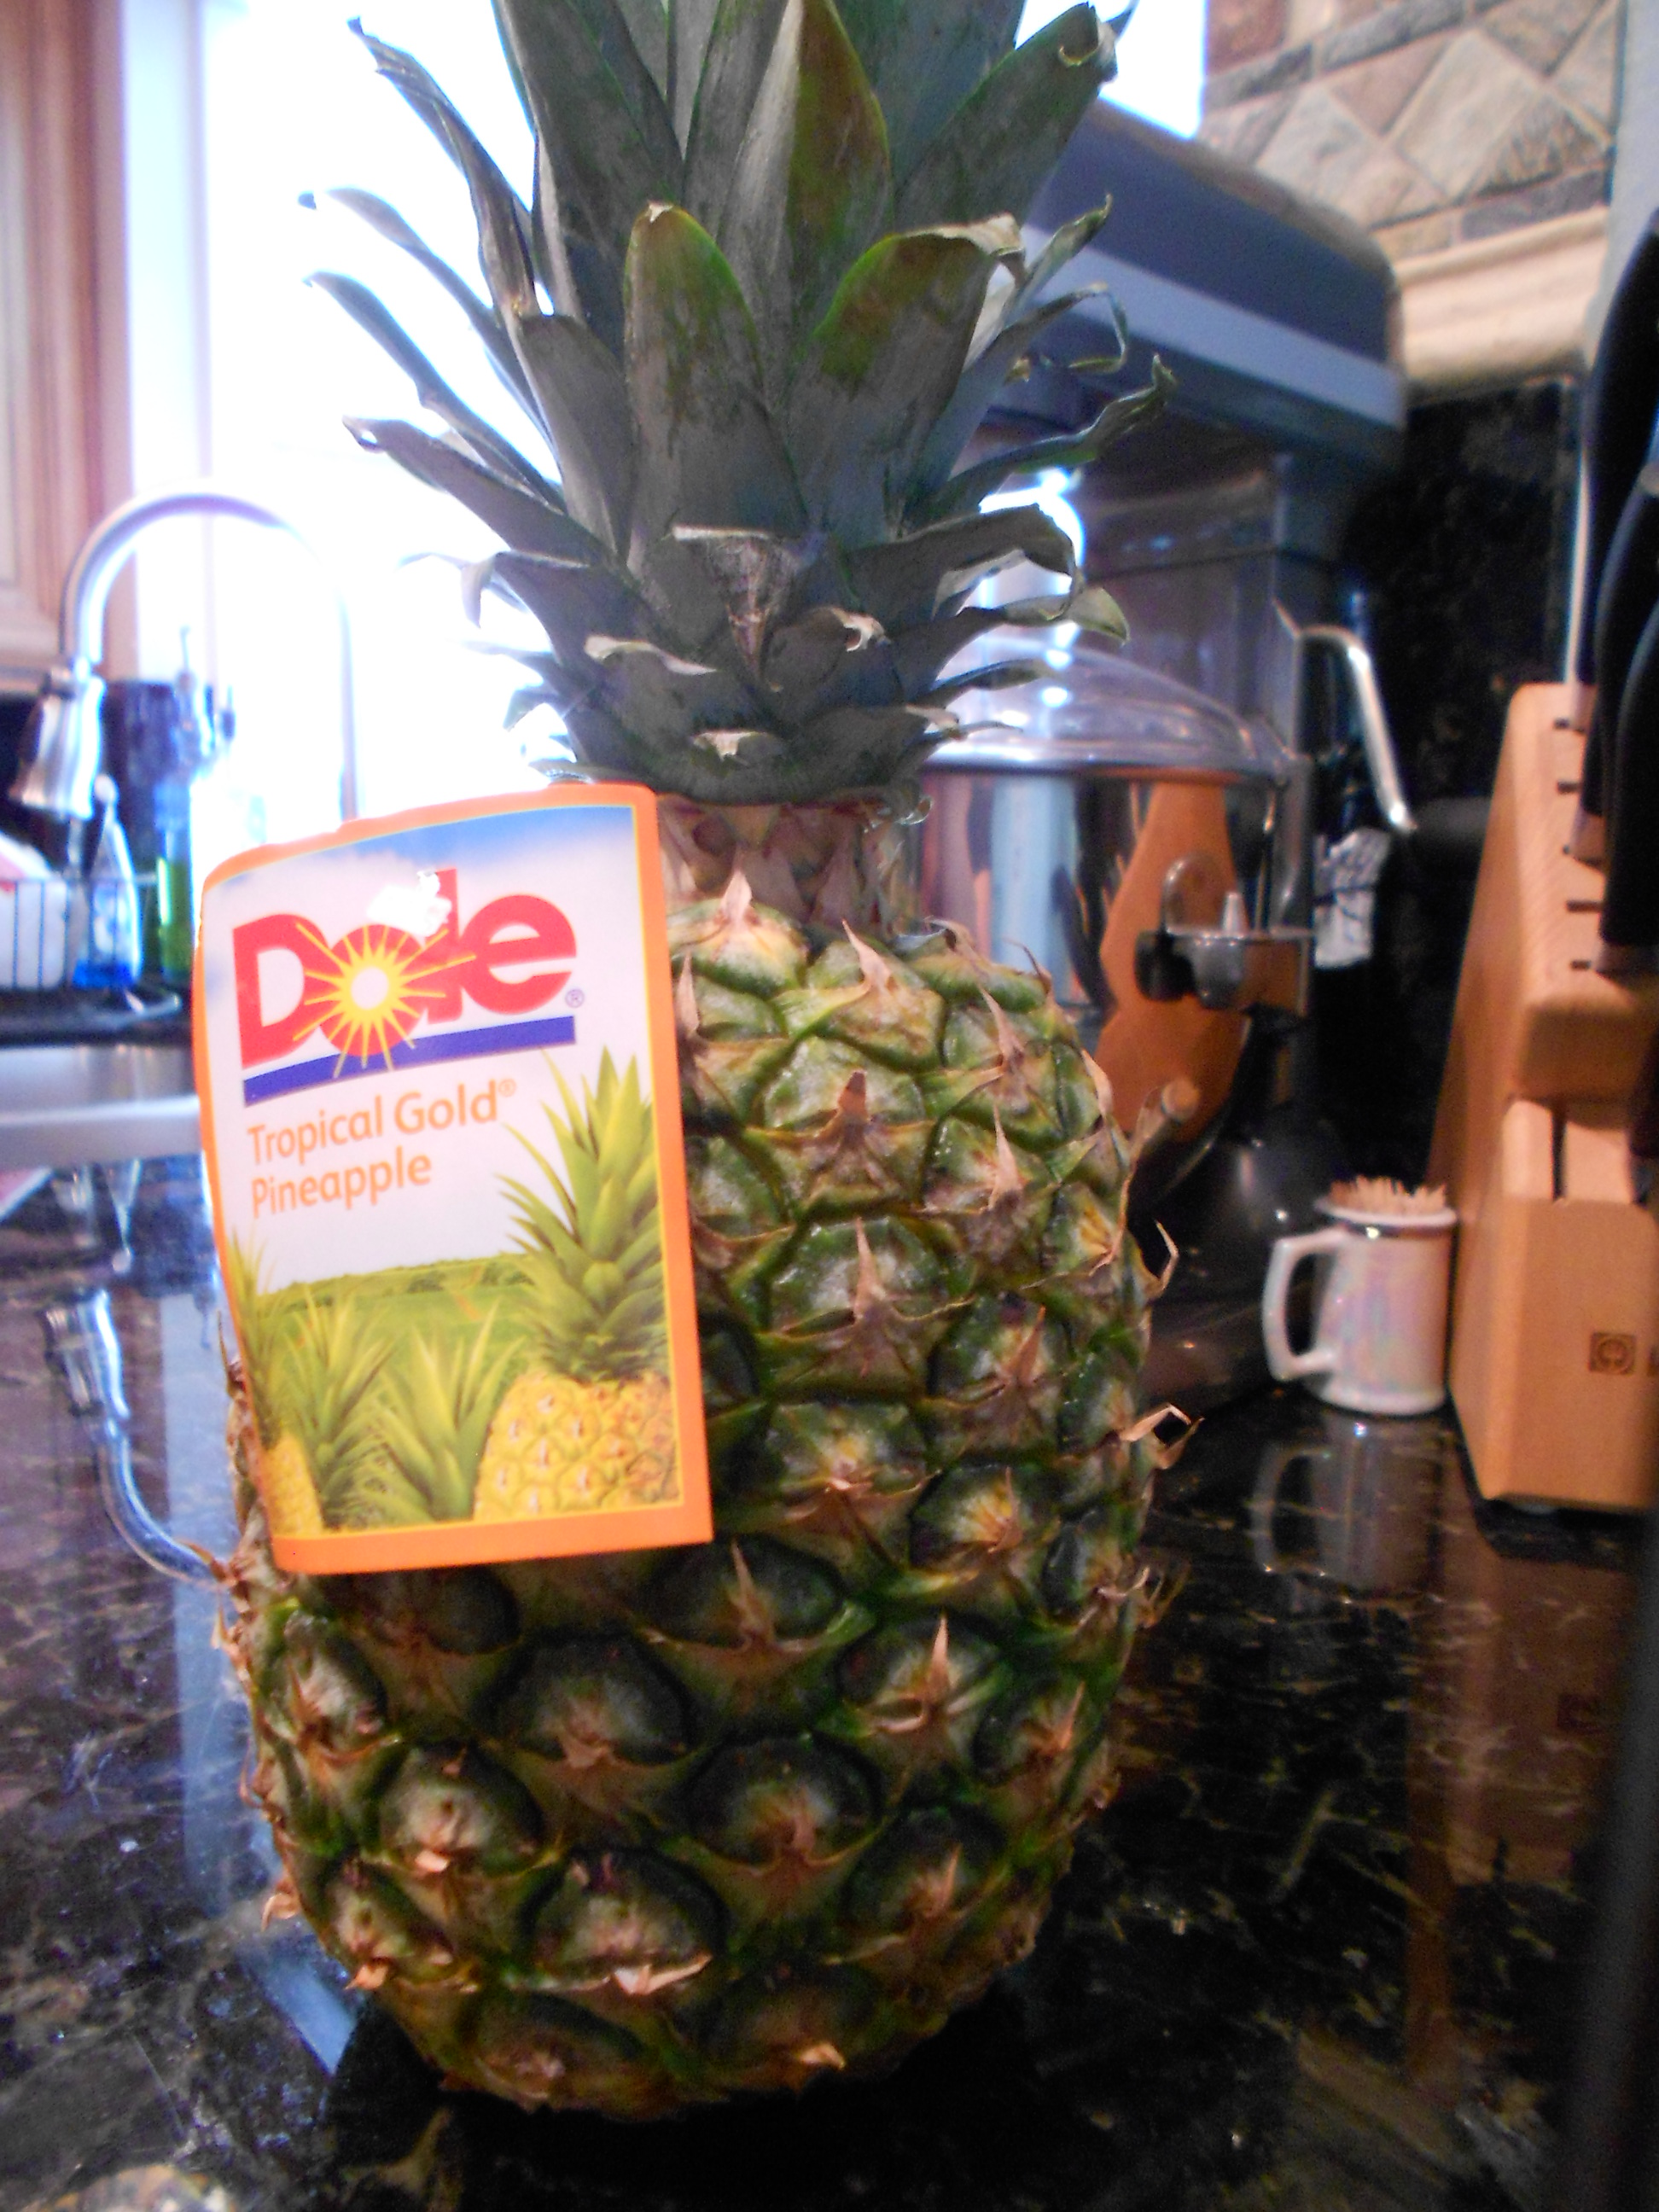
  • 1 whole fresh Pineapple (canned may be used if needed)

  • 6 Maraschino cherries


Cake Batter:

  • 1/2 cup Unsalted Butter (softened)

  • 2/3 cup of Sugar

  • 2 large Eggs (room temperature)

  • 2/3 cup of Buttermilk (room temperature)

  • 1 tablespoon of Maple Syrup

  • 1/2 teaspoon of Vanilla Extract

  • 1/2 a Vanilla Bean

  • 1 1/2 cups All-Purpose Flour

  • 1/2 teaspoon of Salt

  • 1/2 teaspoon of Baking Powder

  • 1/2 teaspoon Baking Soda

  • 1/4 teaspoon (or to taste) of Cinnamon and Nutmeg


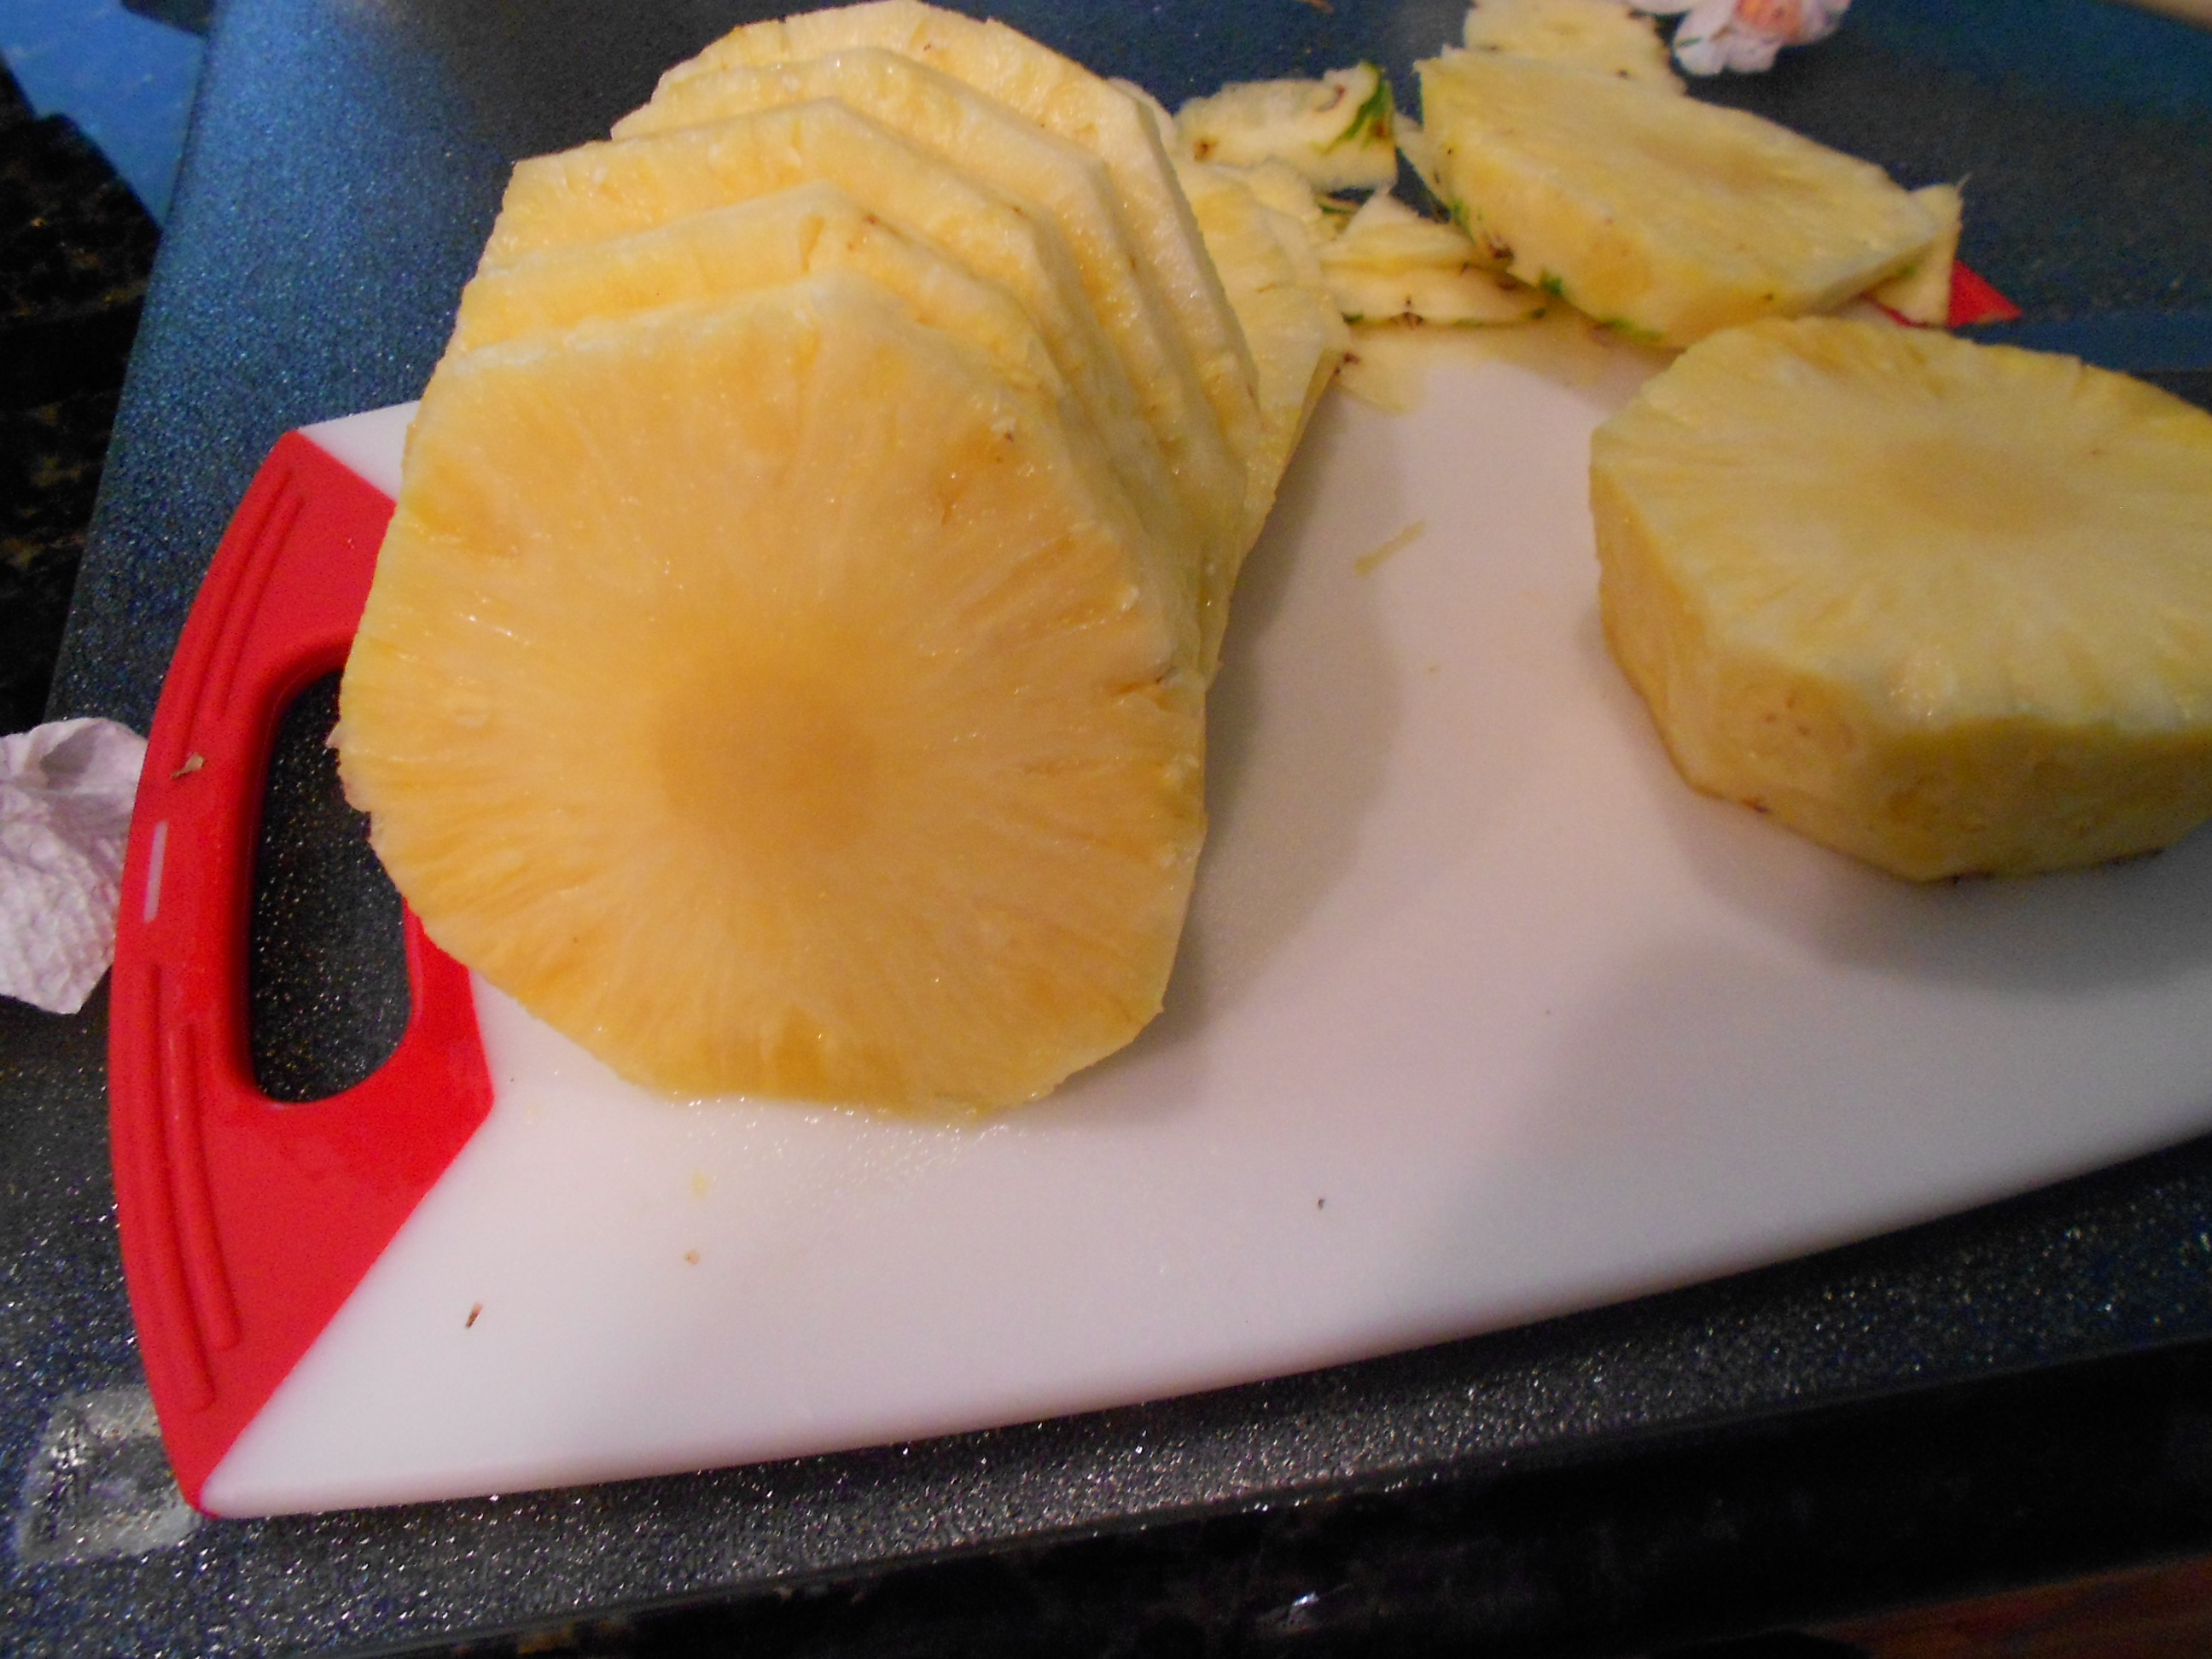
First you start by cutting your pineapple slices and coring the rounds. Set those aside and begin making your glaze.

DSCN2119

DSCN2128

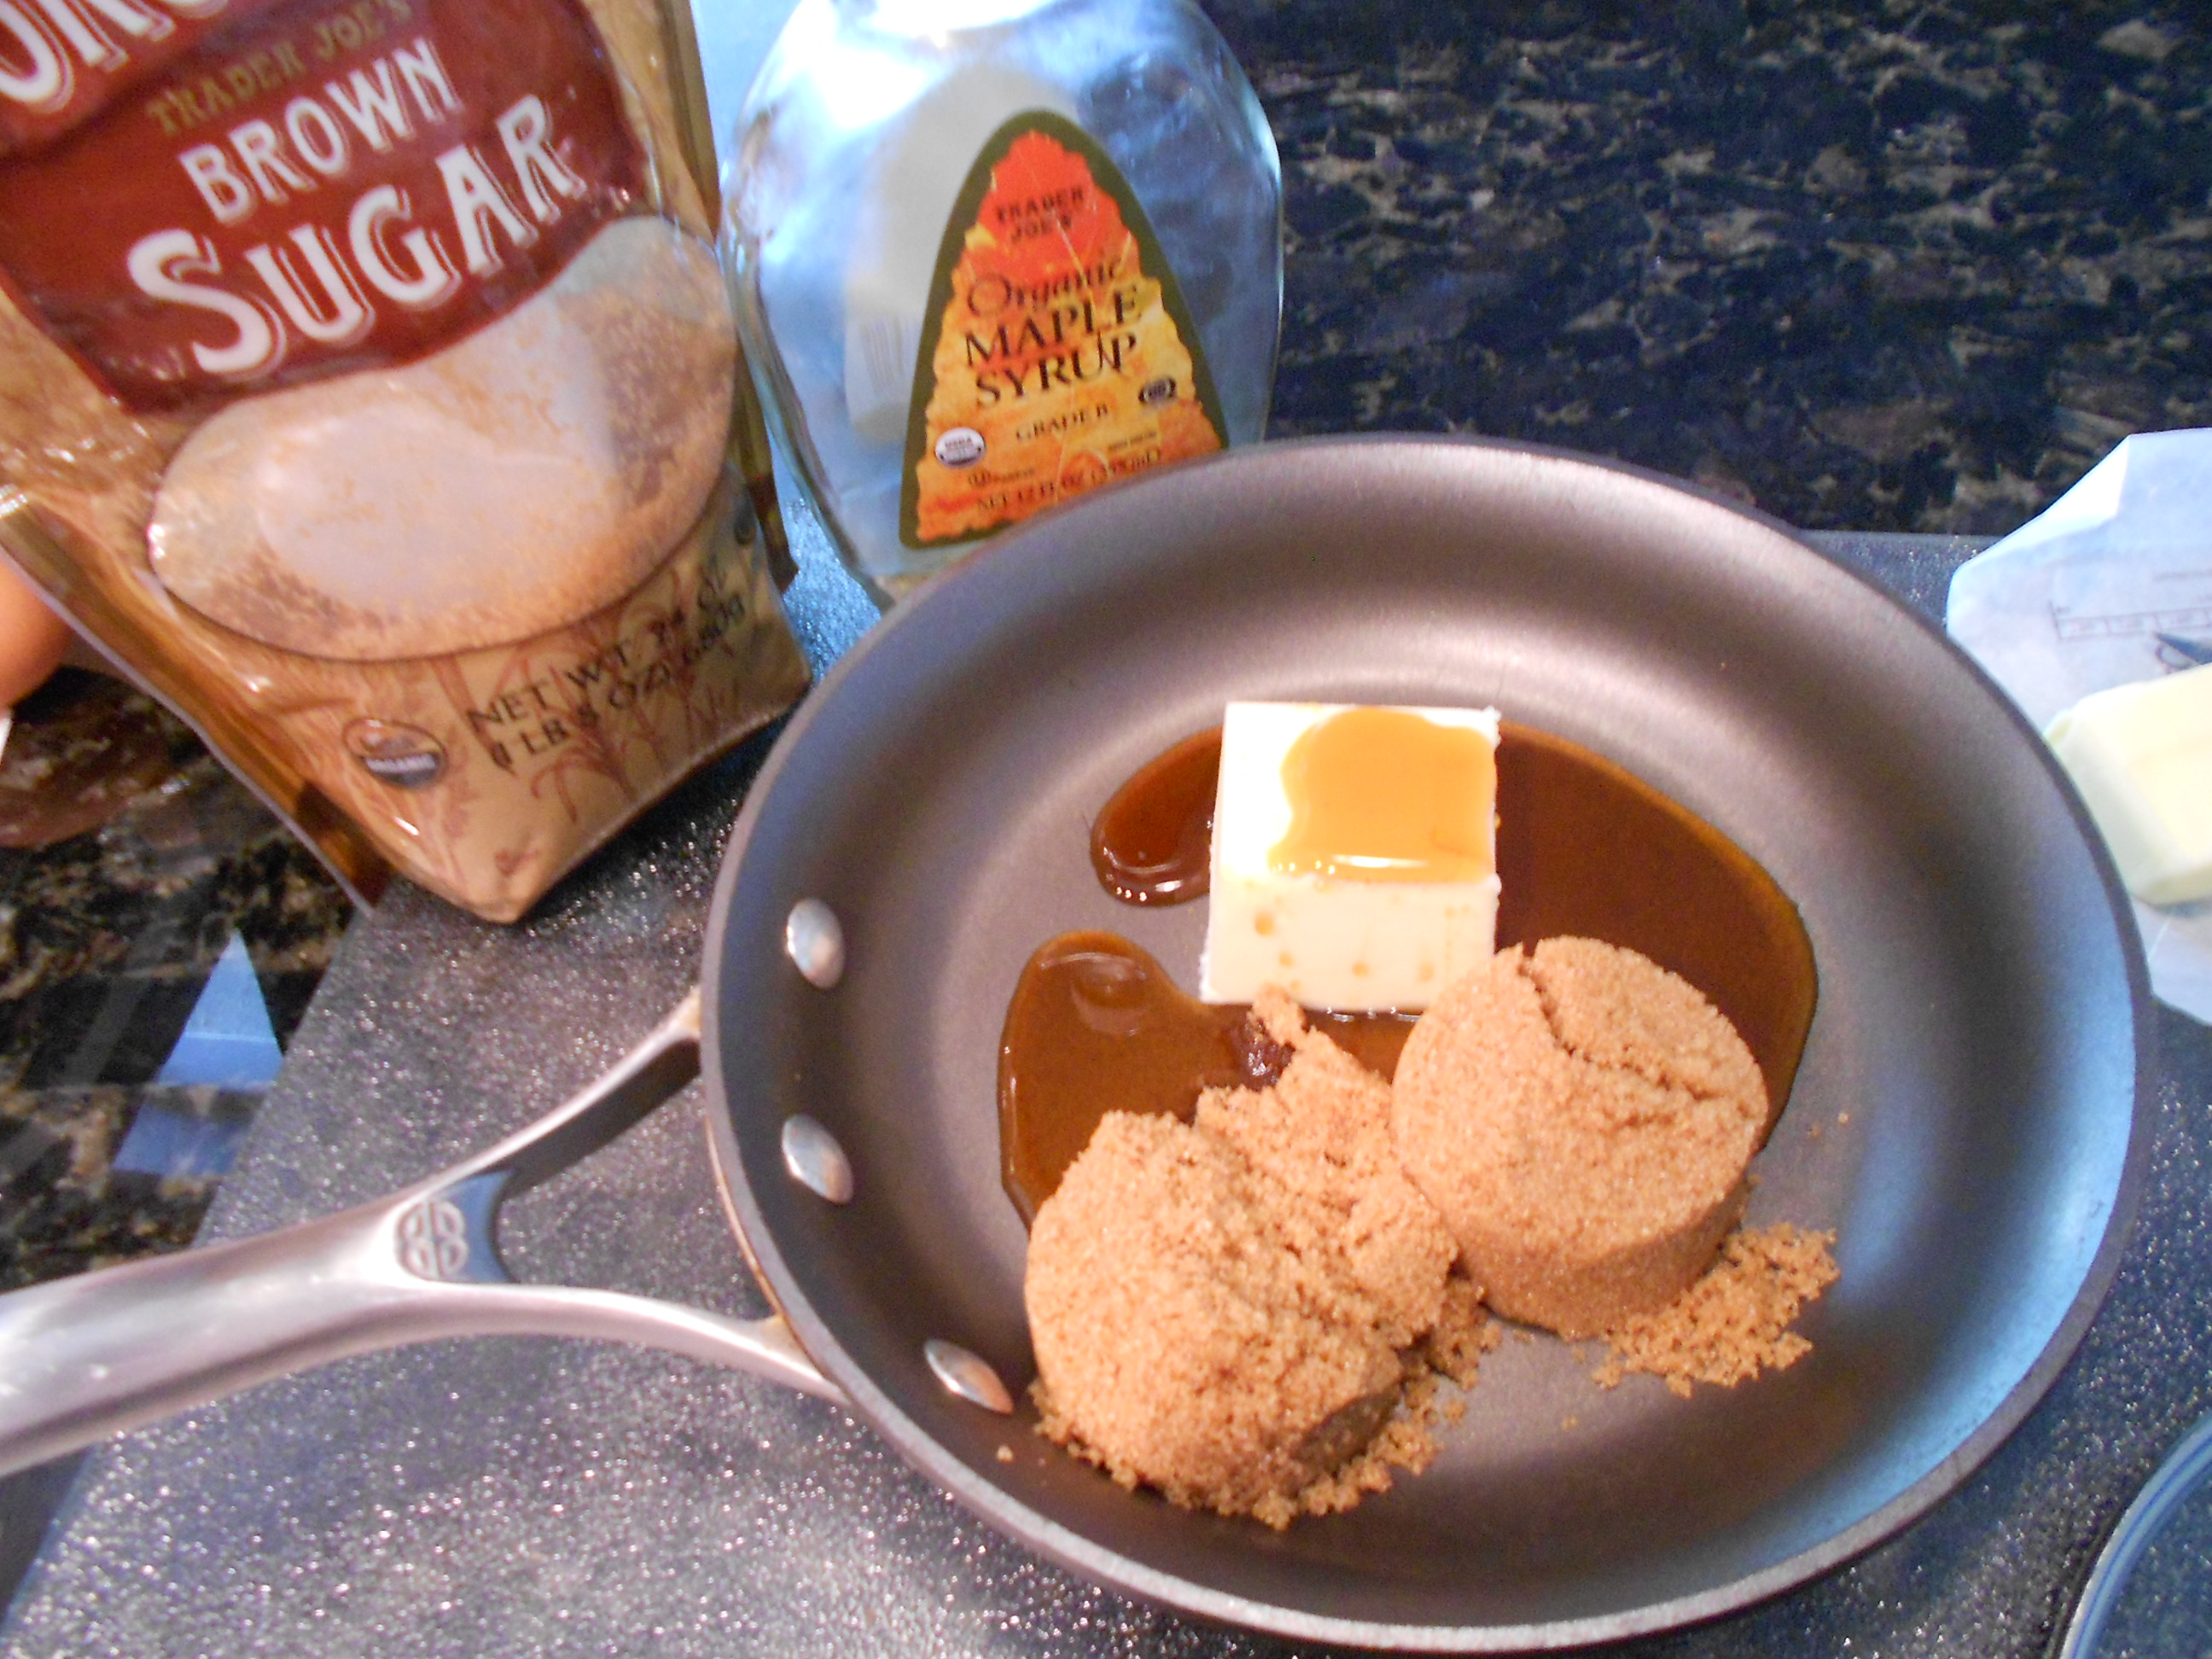
Add your butter, brown sugar and maple syrup to a nonstick pan.

DSCN2122

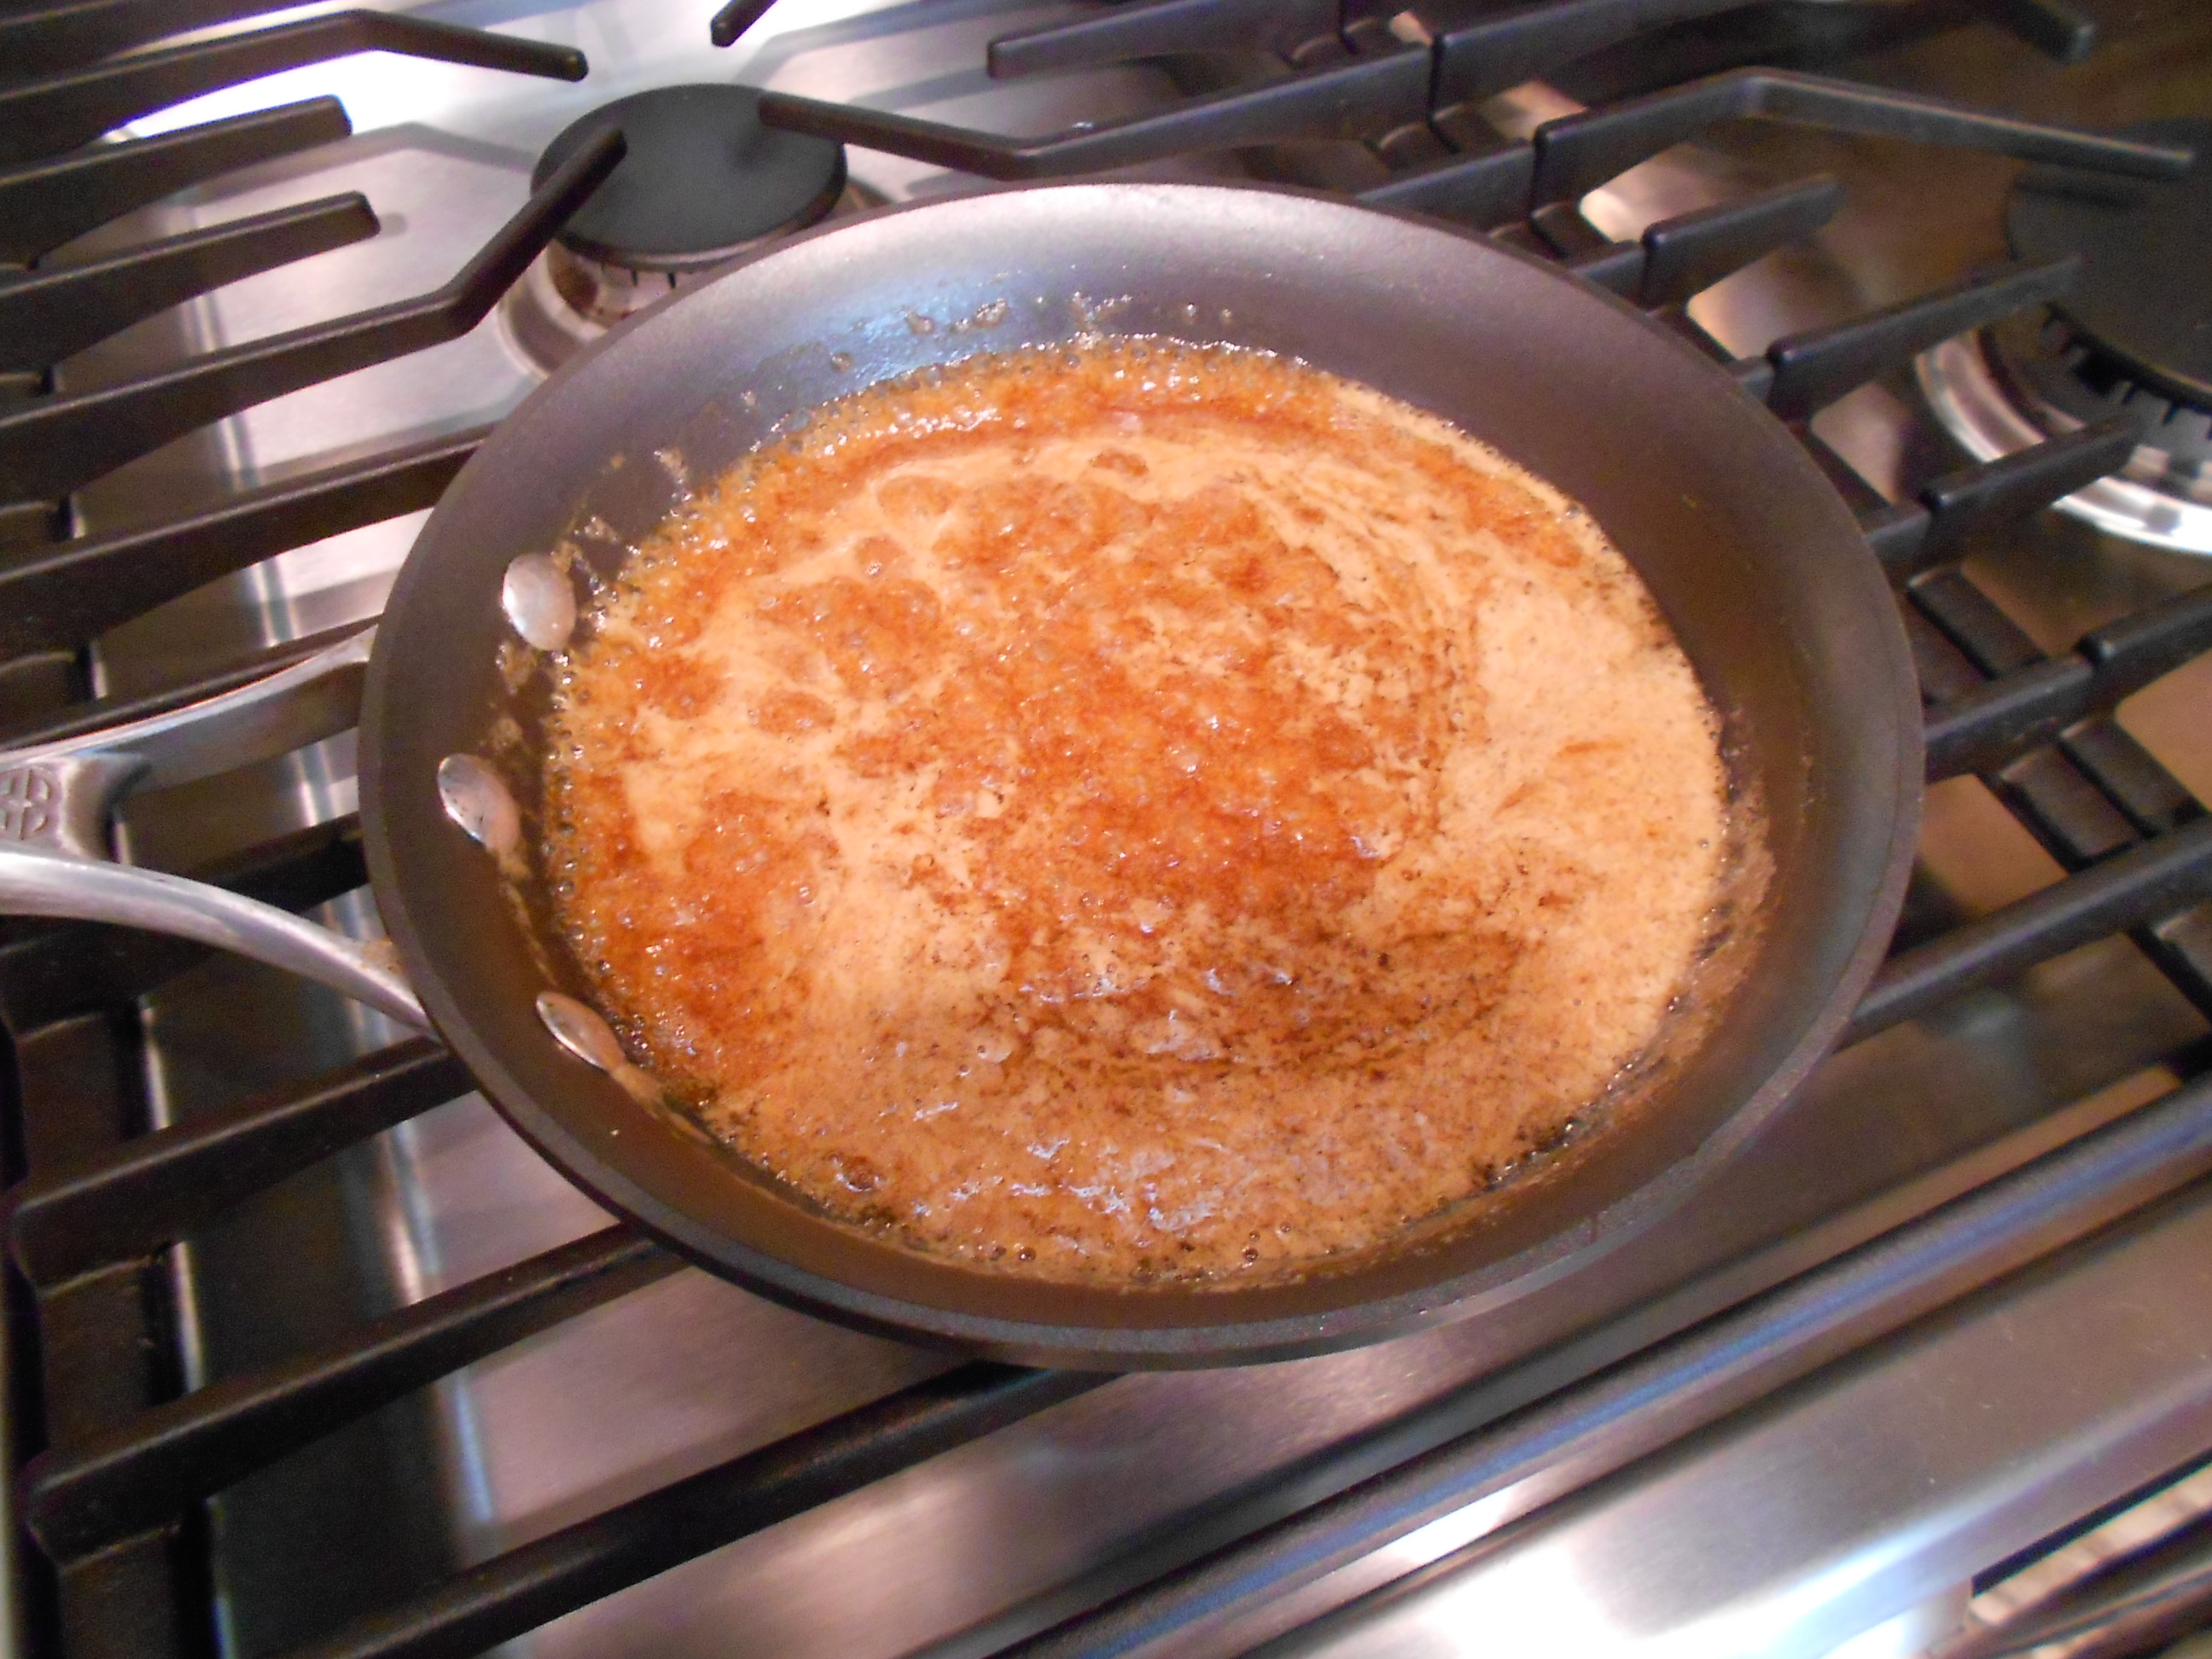
Over medium-low heat, you begin to dissolve the sugar.  I usually use a silicone spatula to make sure undissolved sugar crystals do not get stuck to the sides of the (non-stick) pan. Keep stirring and increase the heat slightly. You will reach a gentle boil as you stir and then continue cooking for about 45 seconds, and then remove the glaze from the stove.

DSCN2123

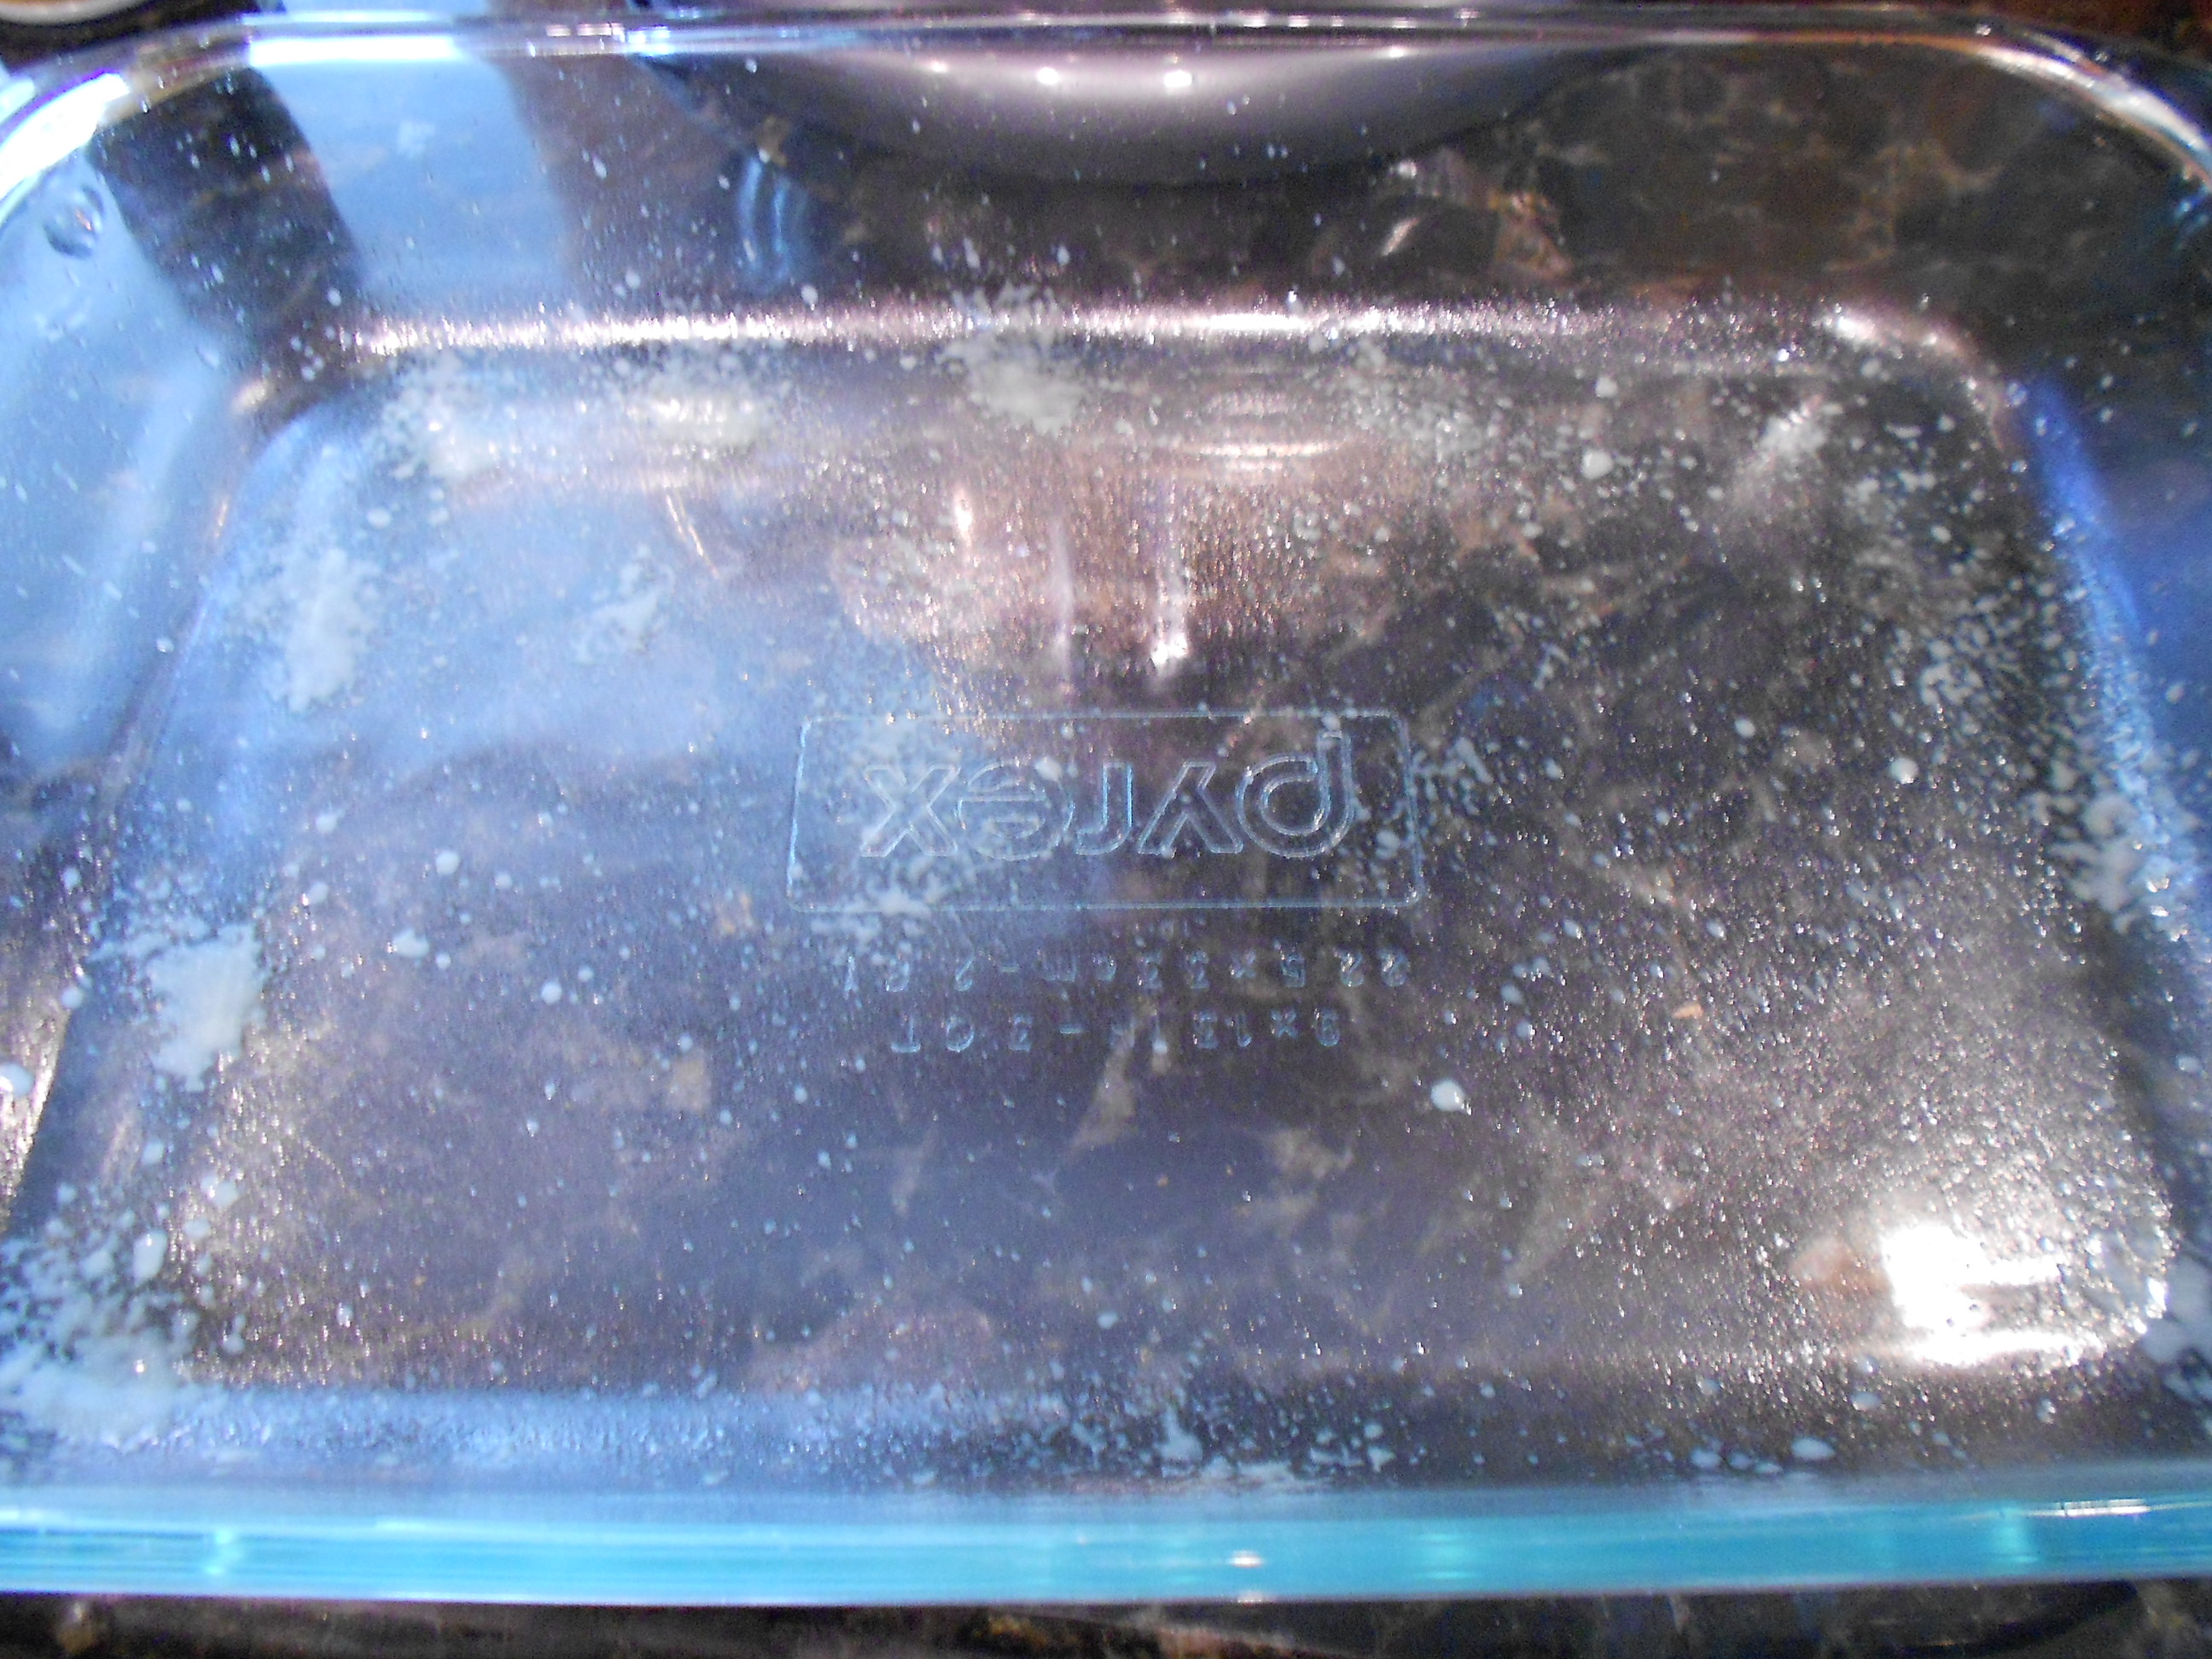
I take a large lasagna pan (sprayed with cooking spray)

DSCN2124

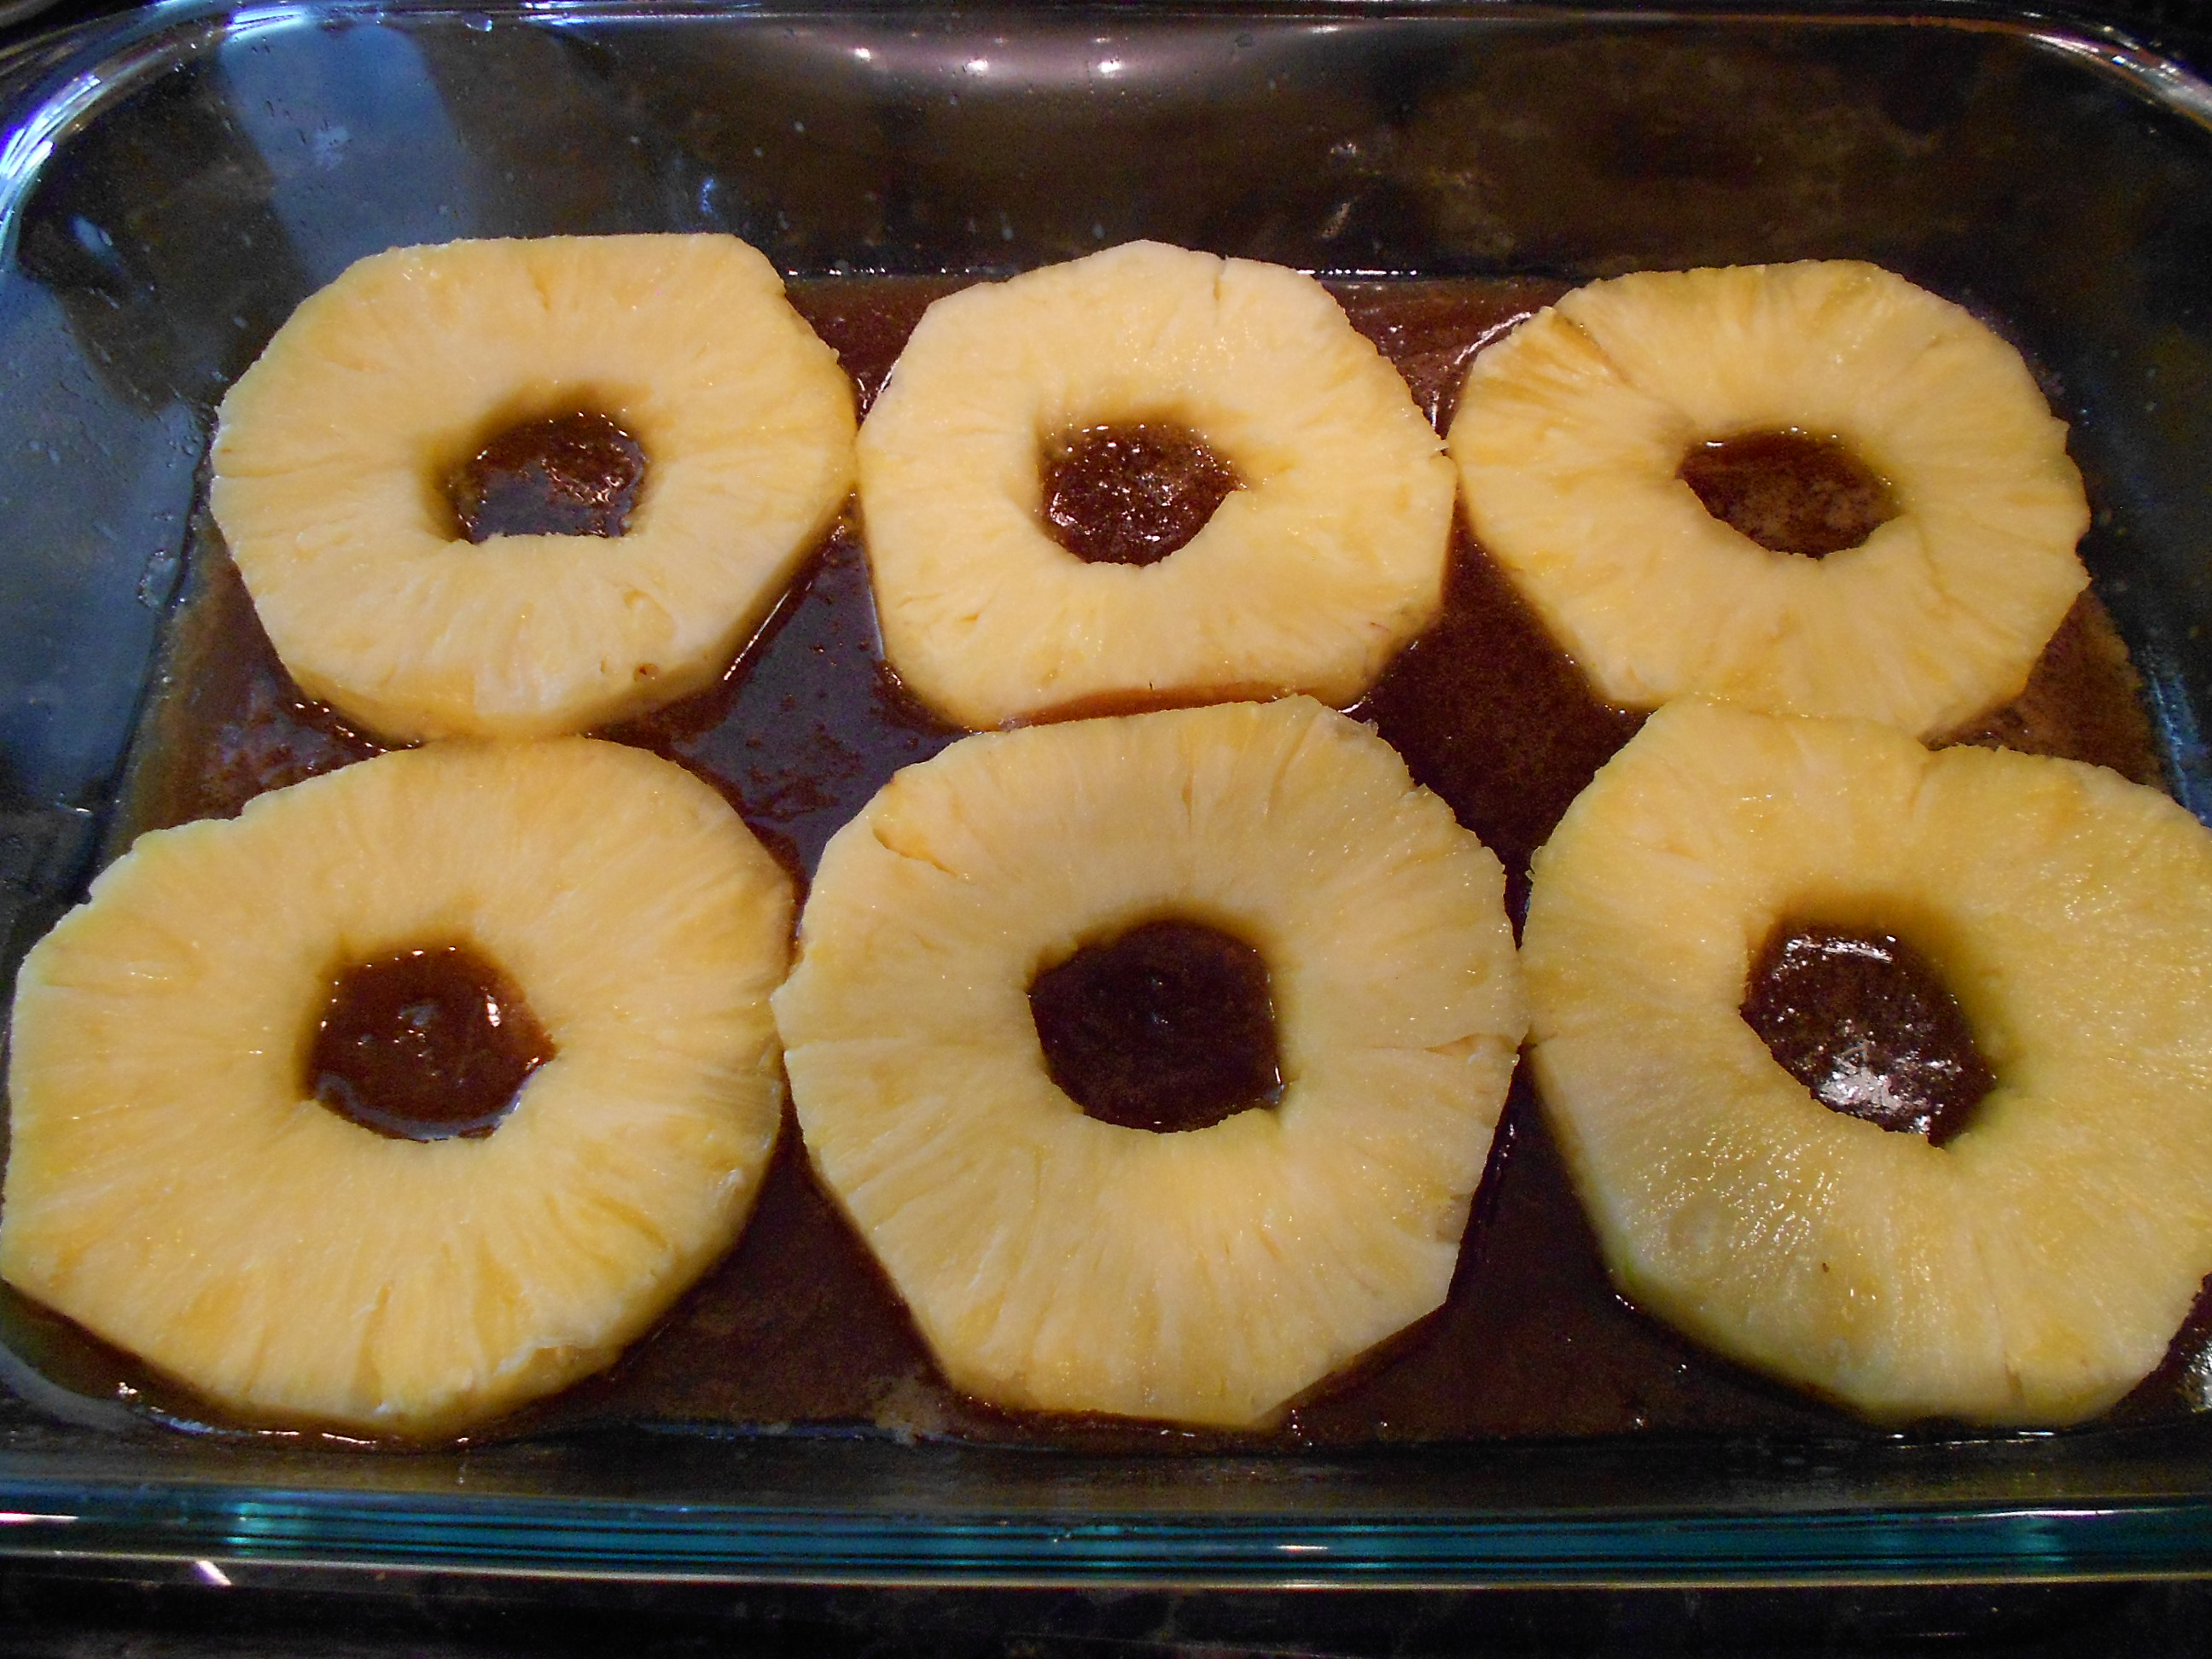
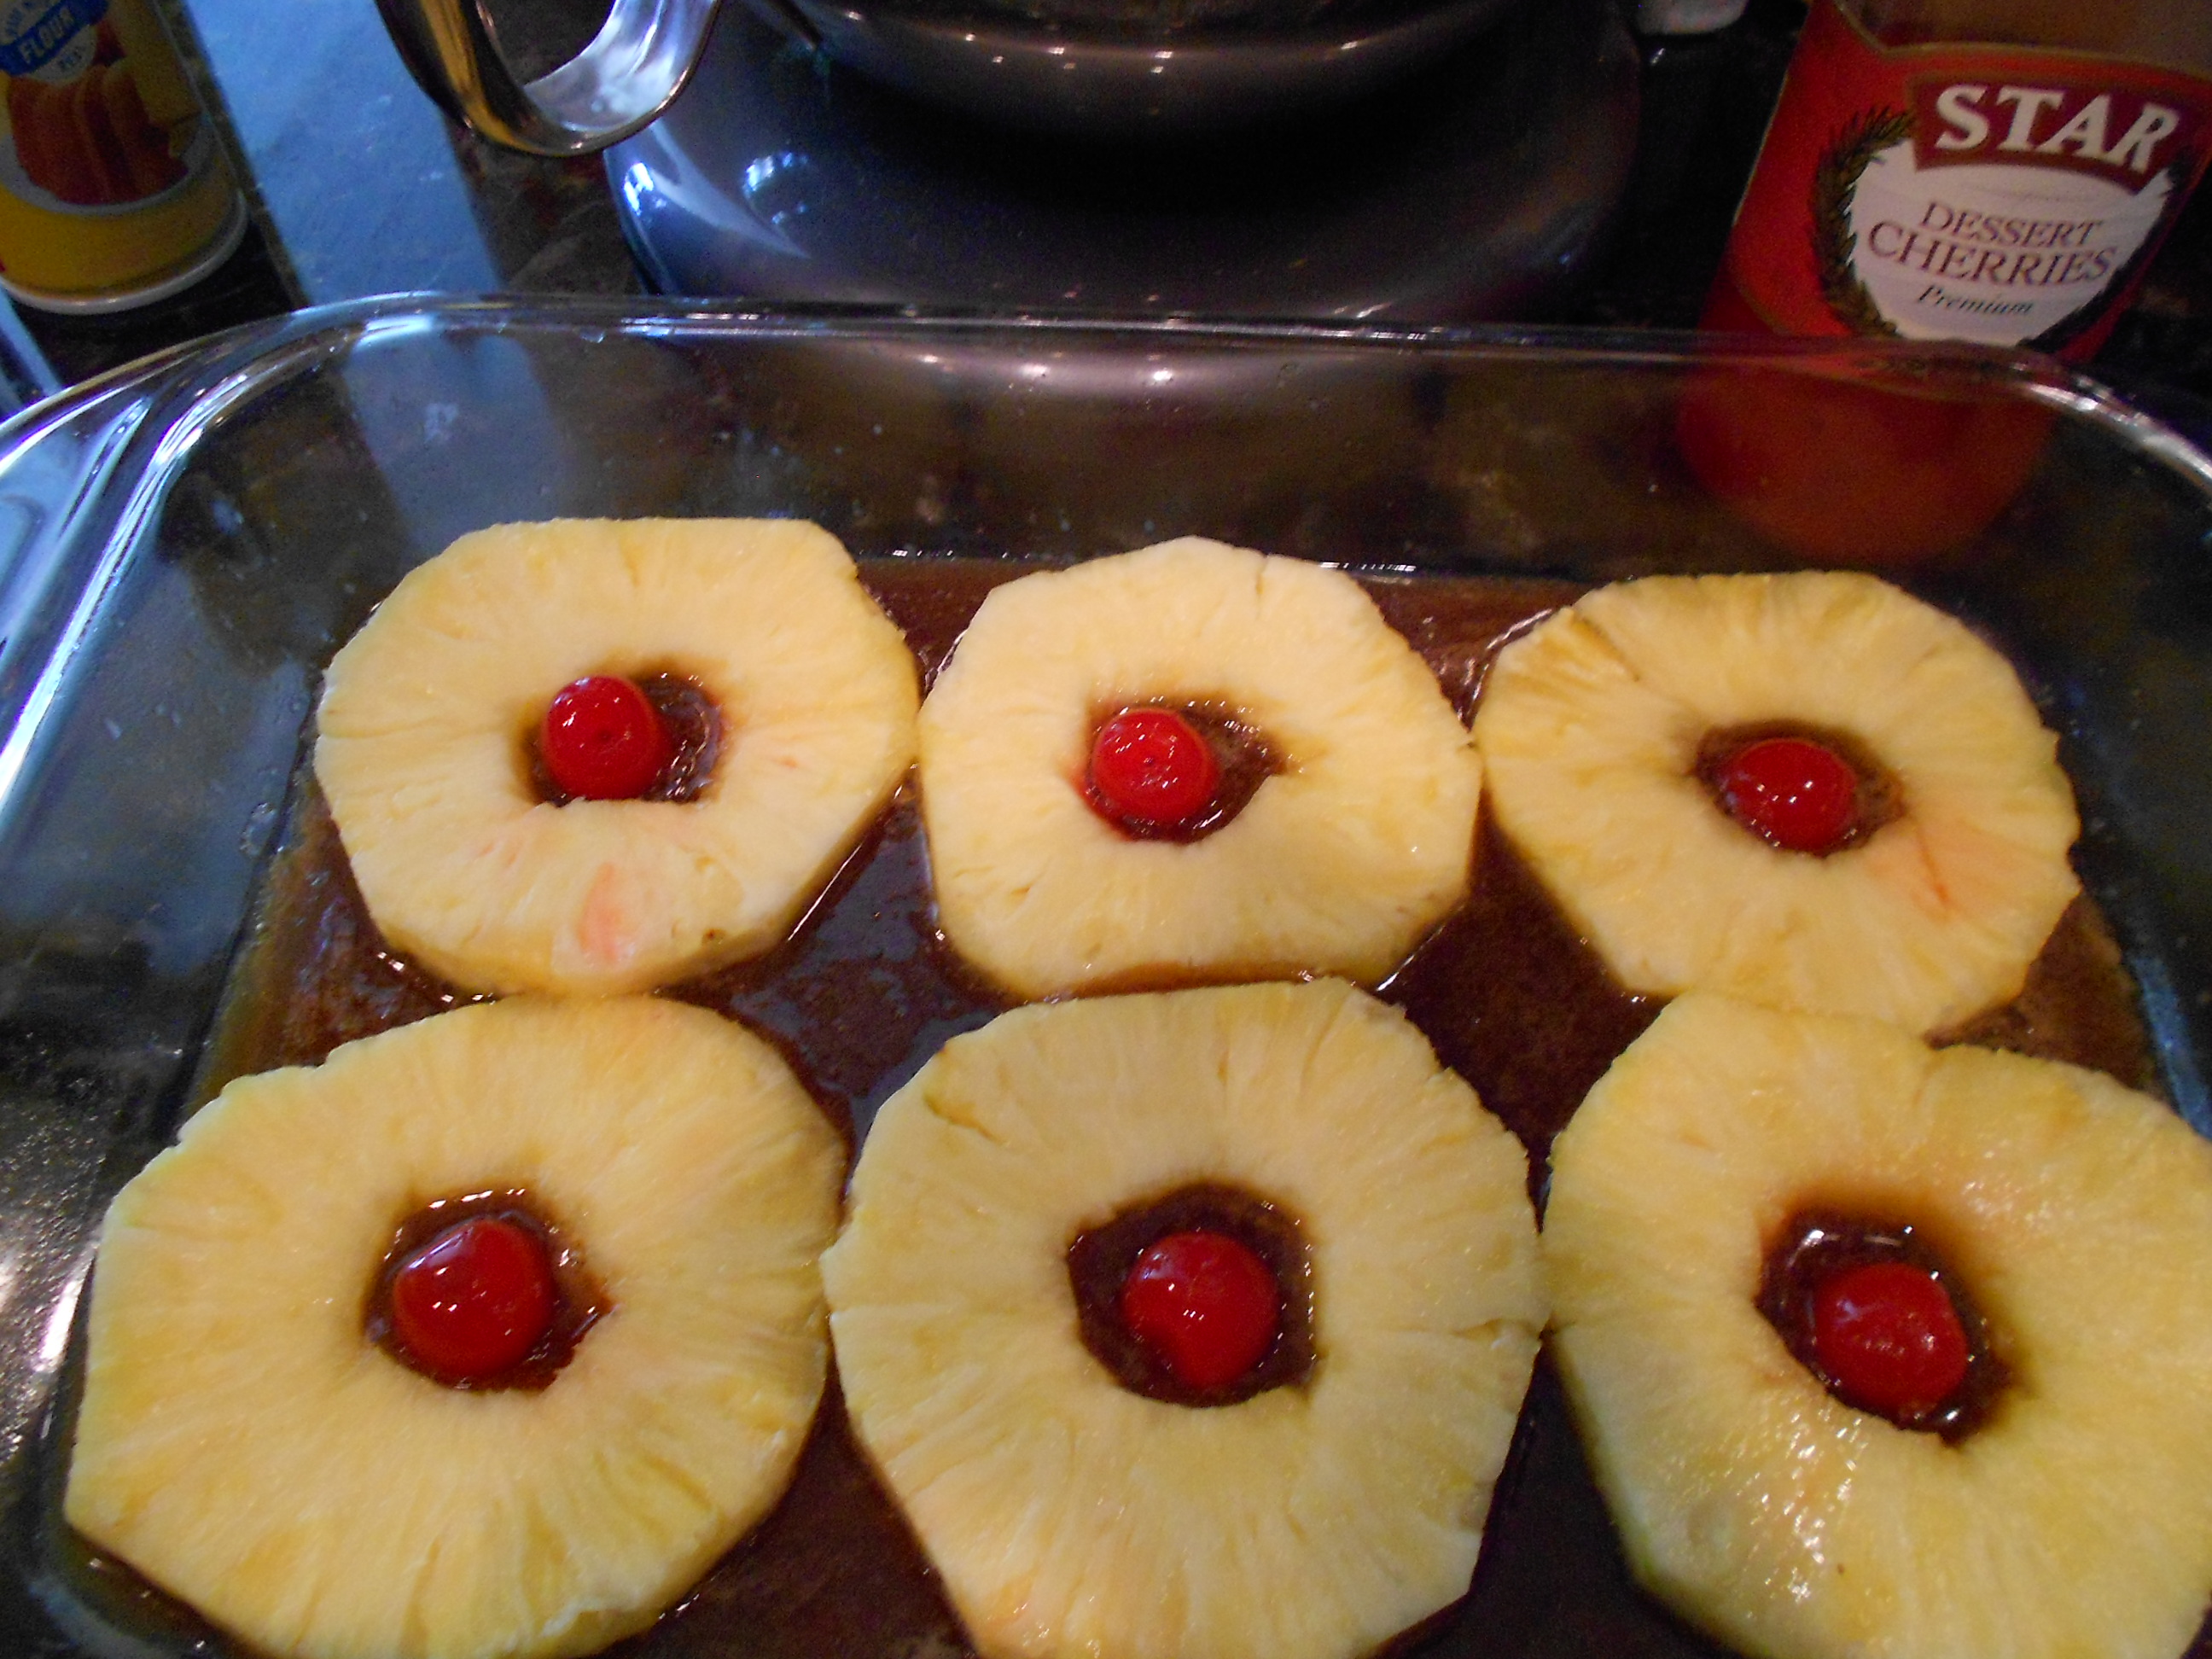
Pour the glaze carefully over and evenly.  Then place your pineapple slices carefully over the glaze.

DSCN2130

Next comes the cherries.

DSCN2133

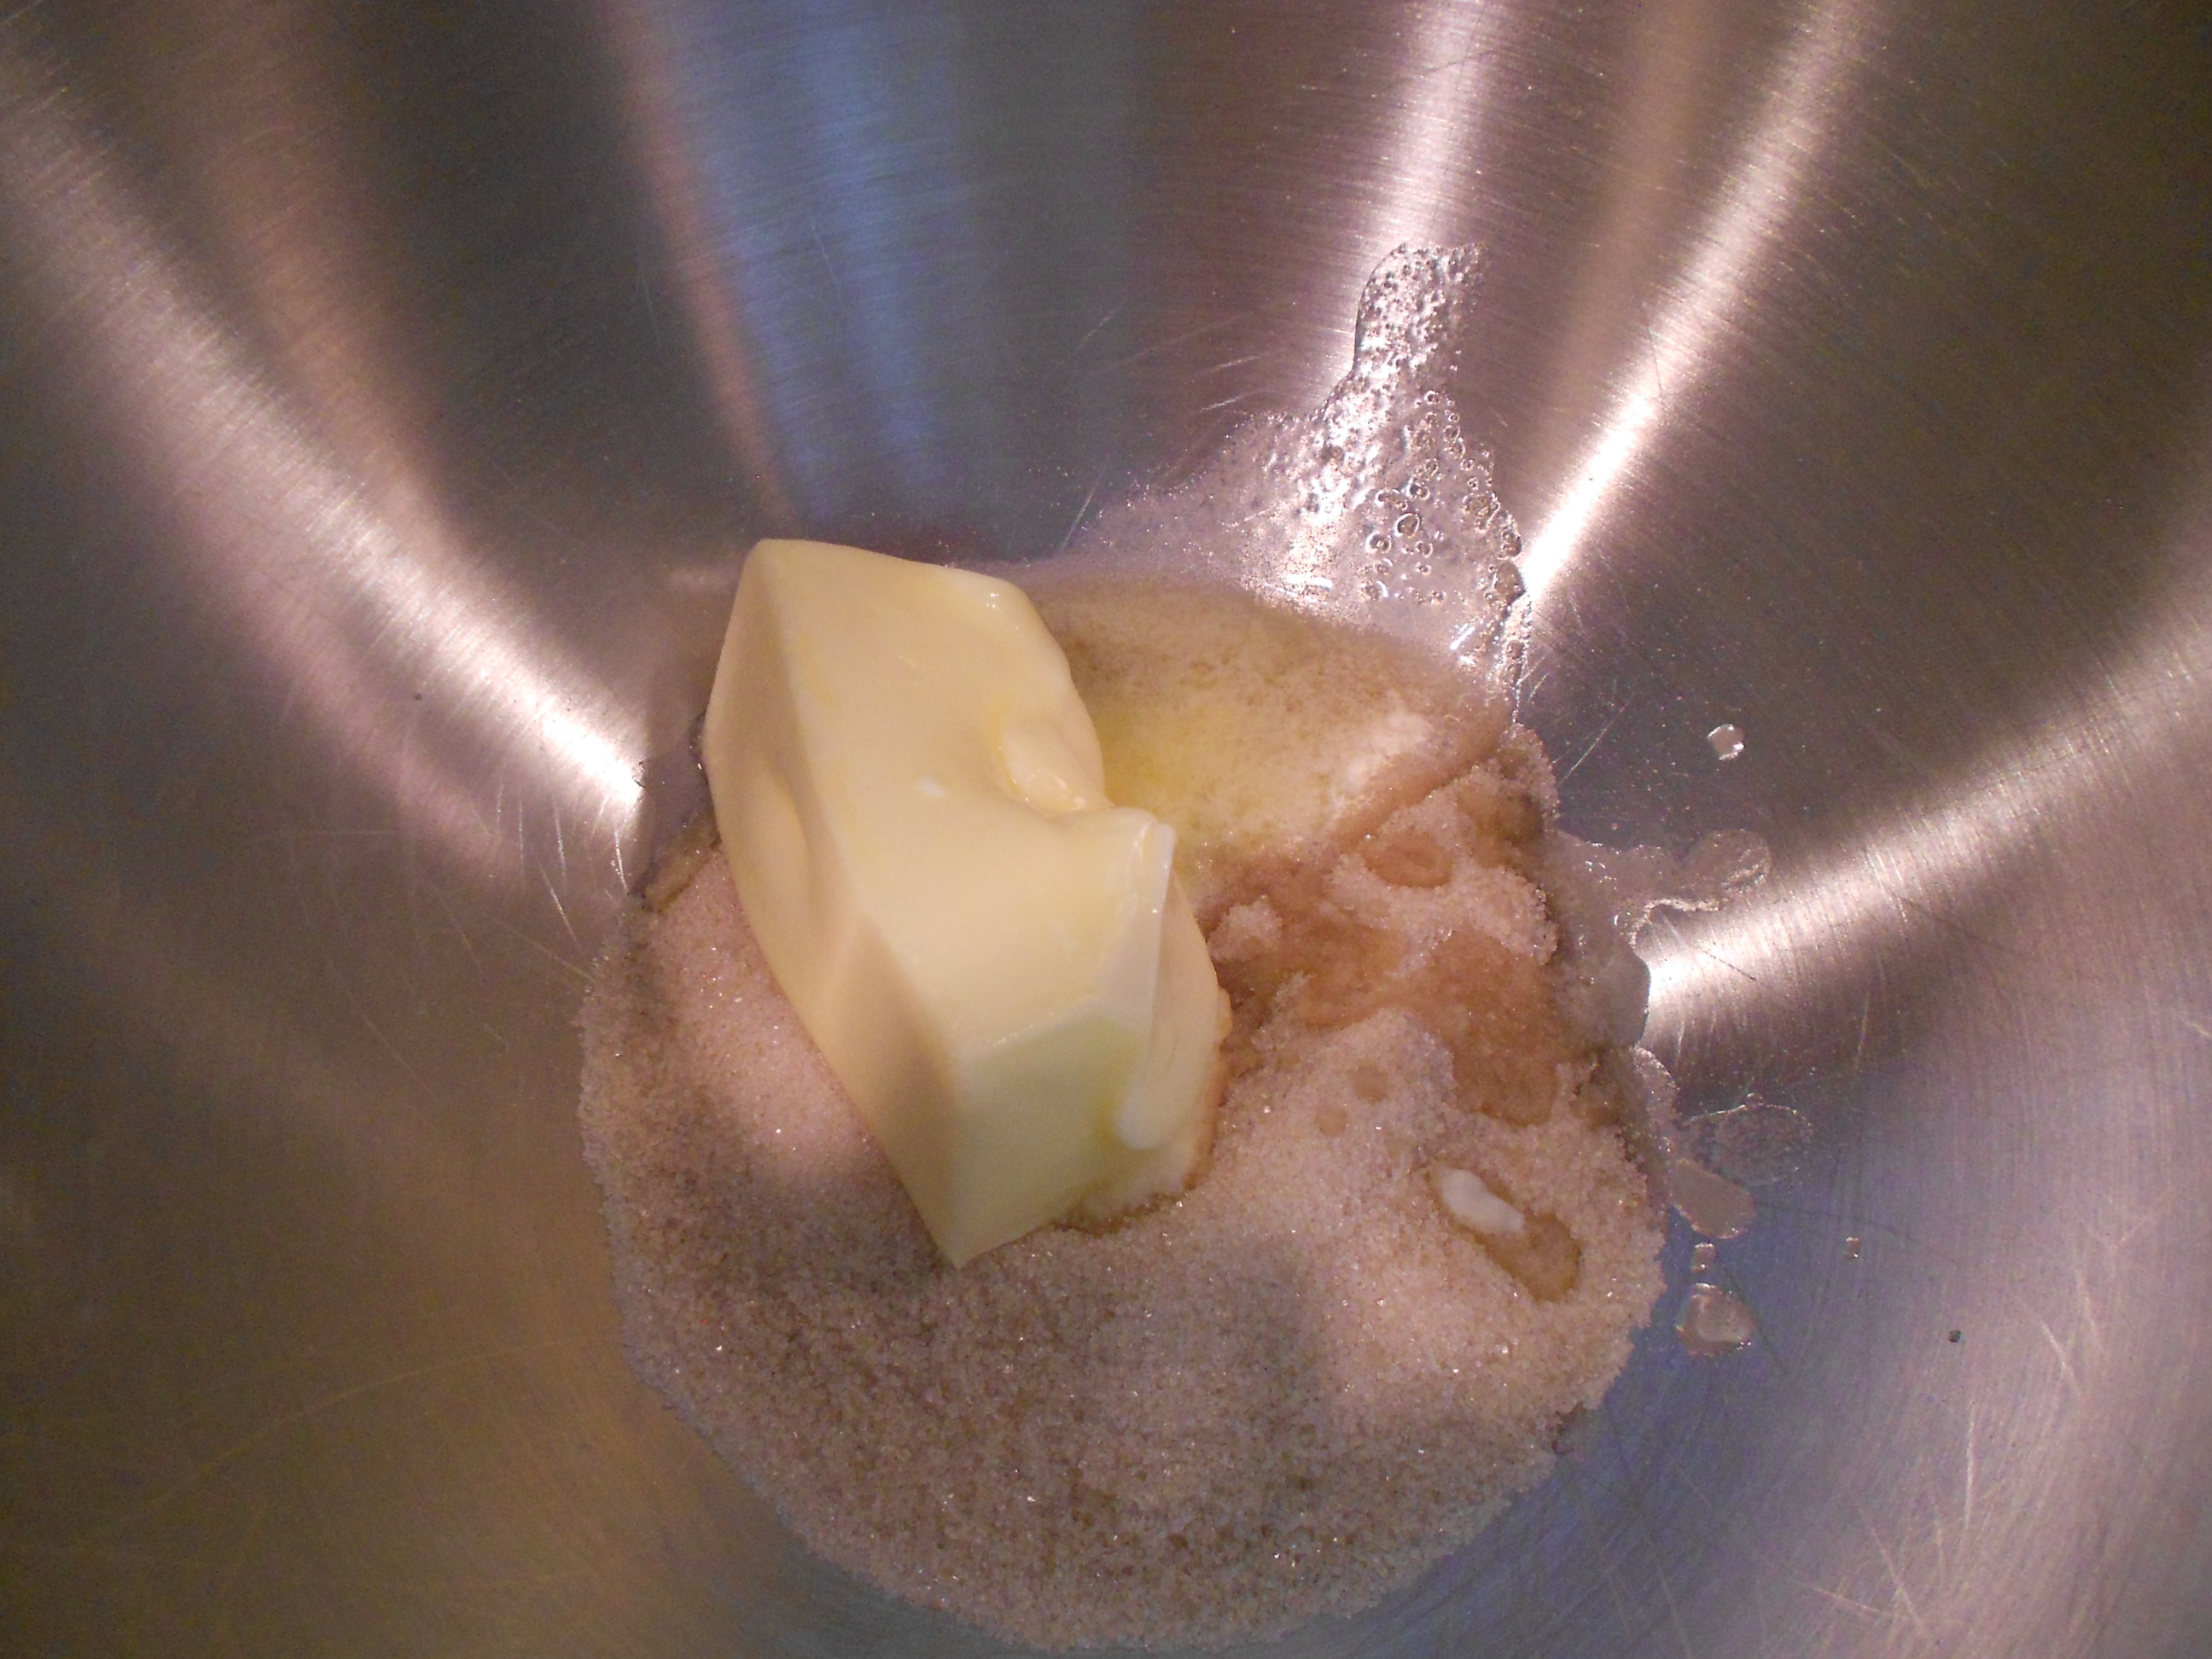
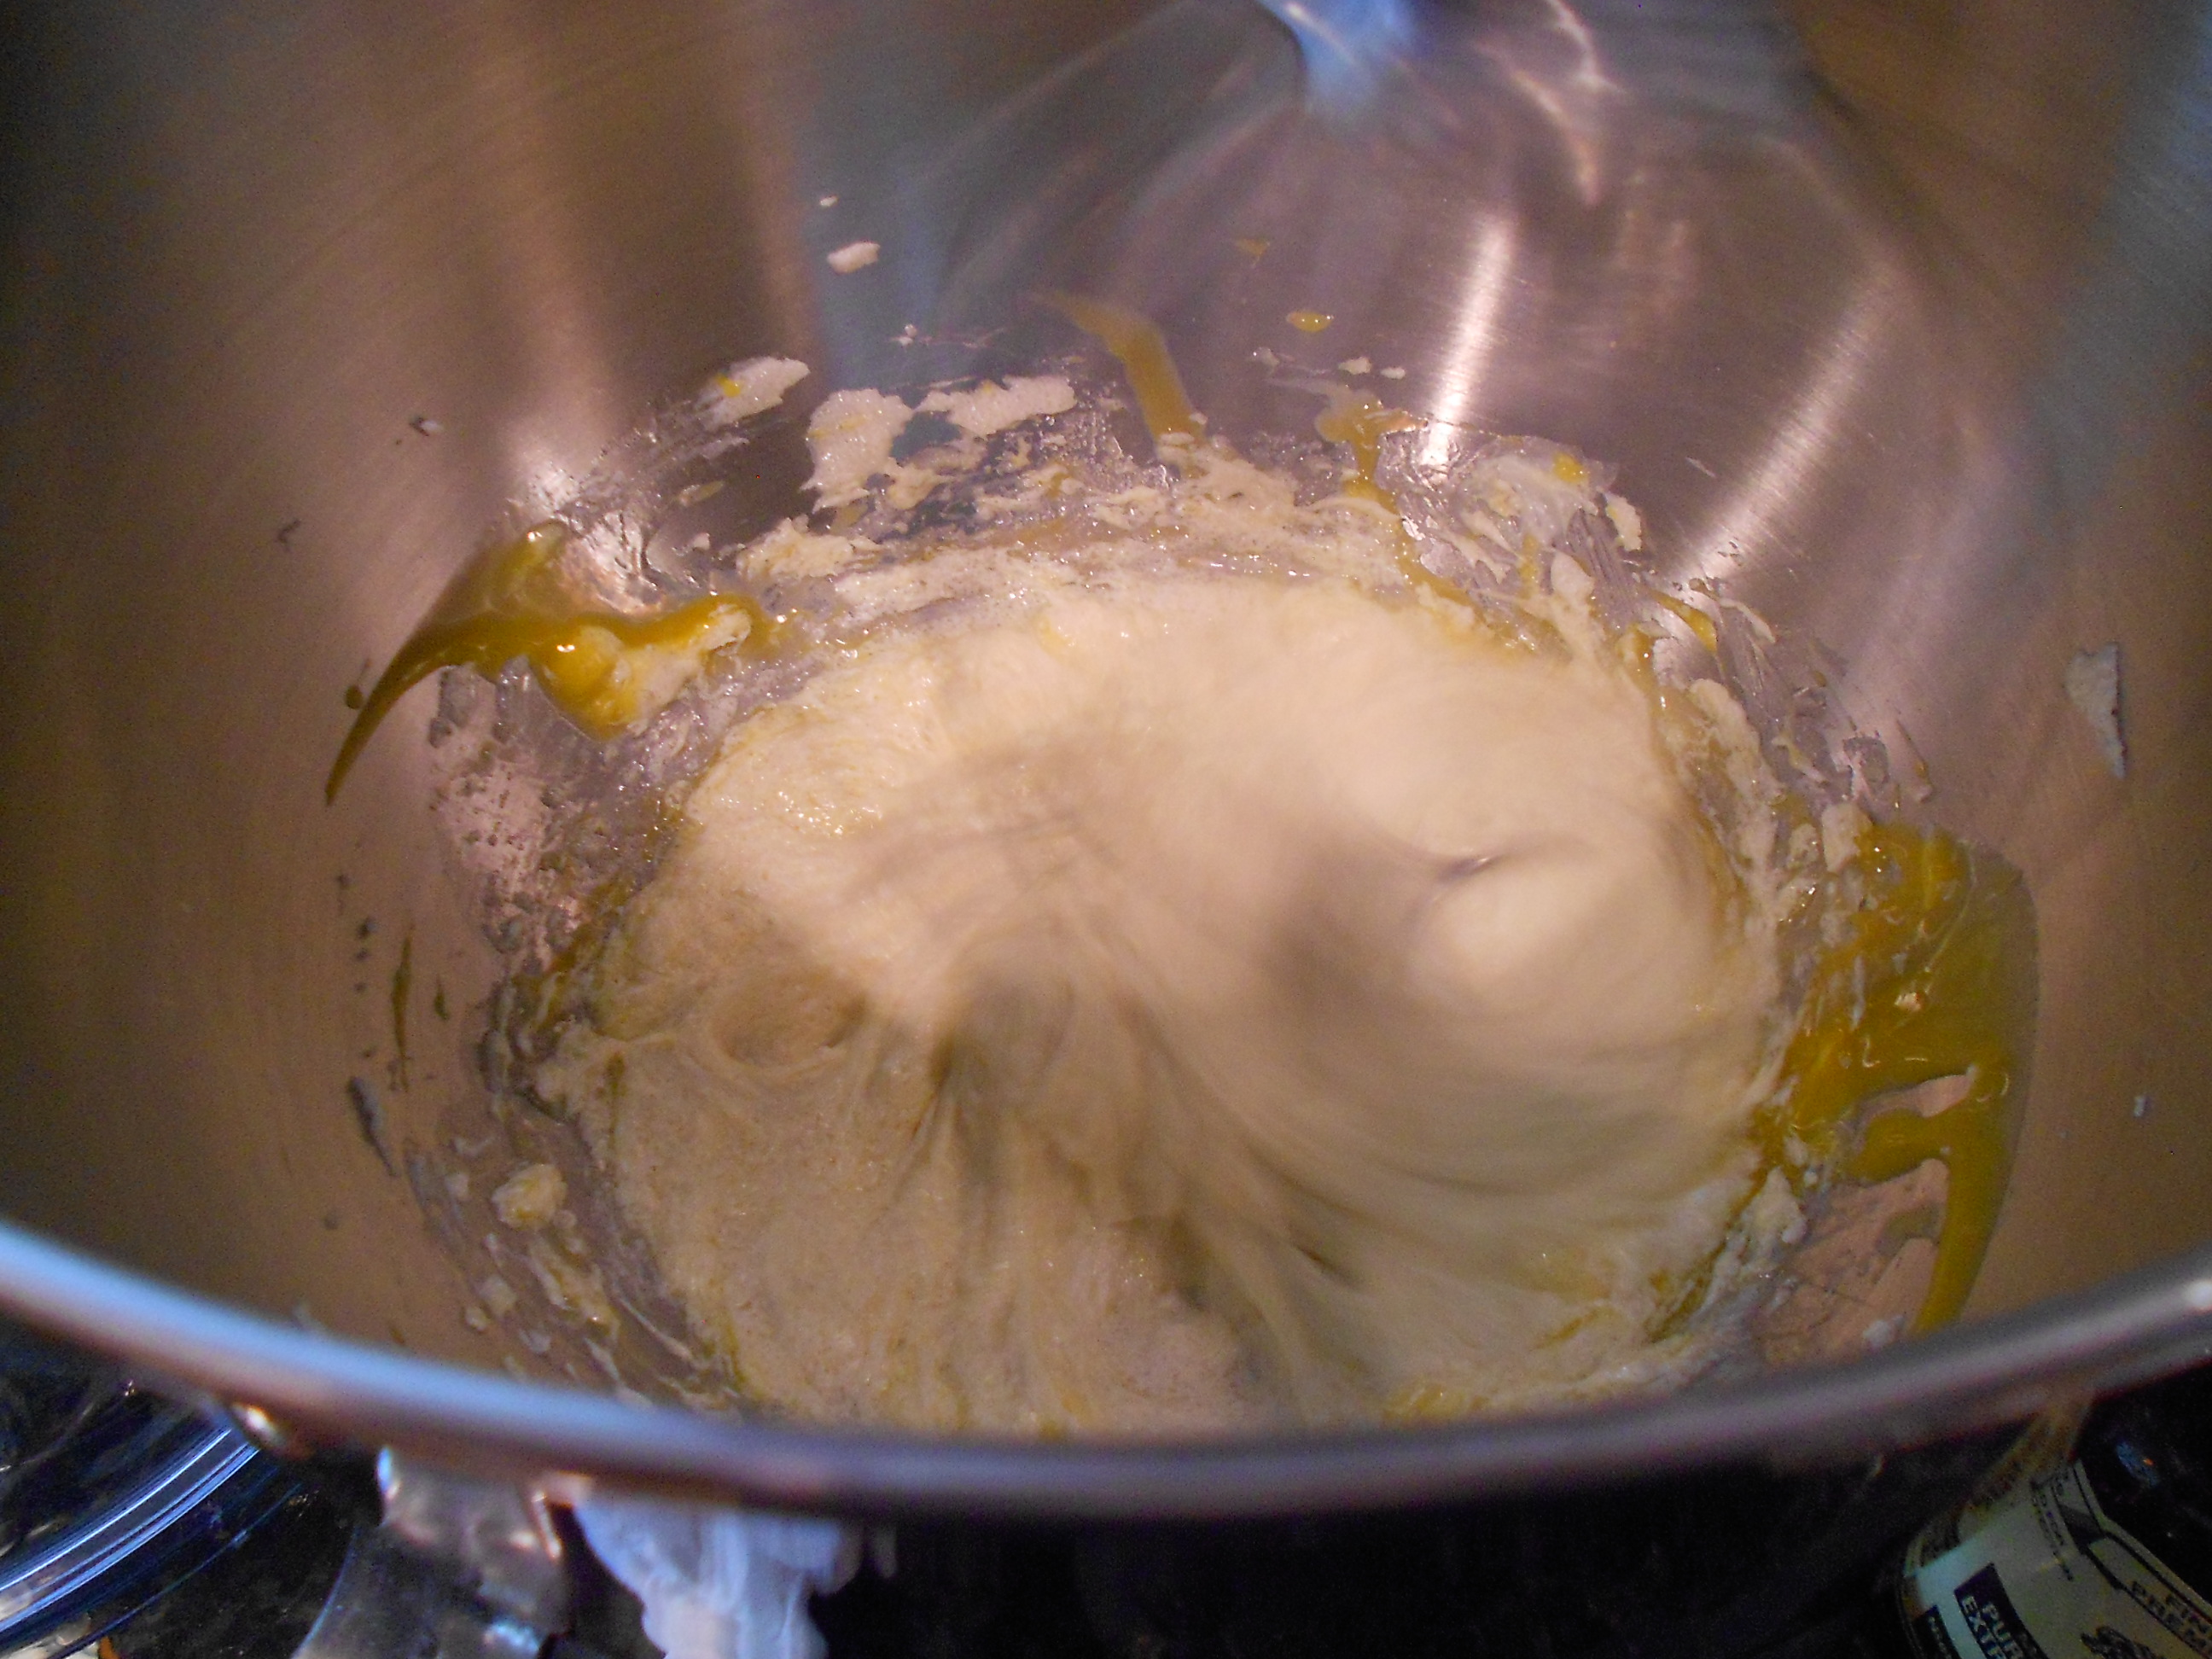
Start your cake batter by first blending the unsalted butter with the sugar, until nice and fluffy.

DSCN2134

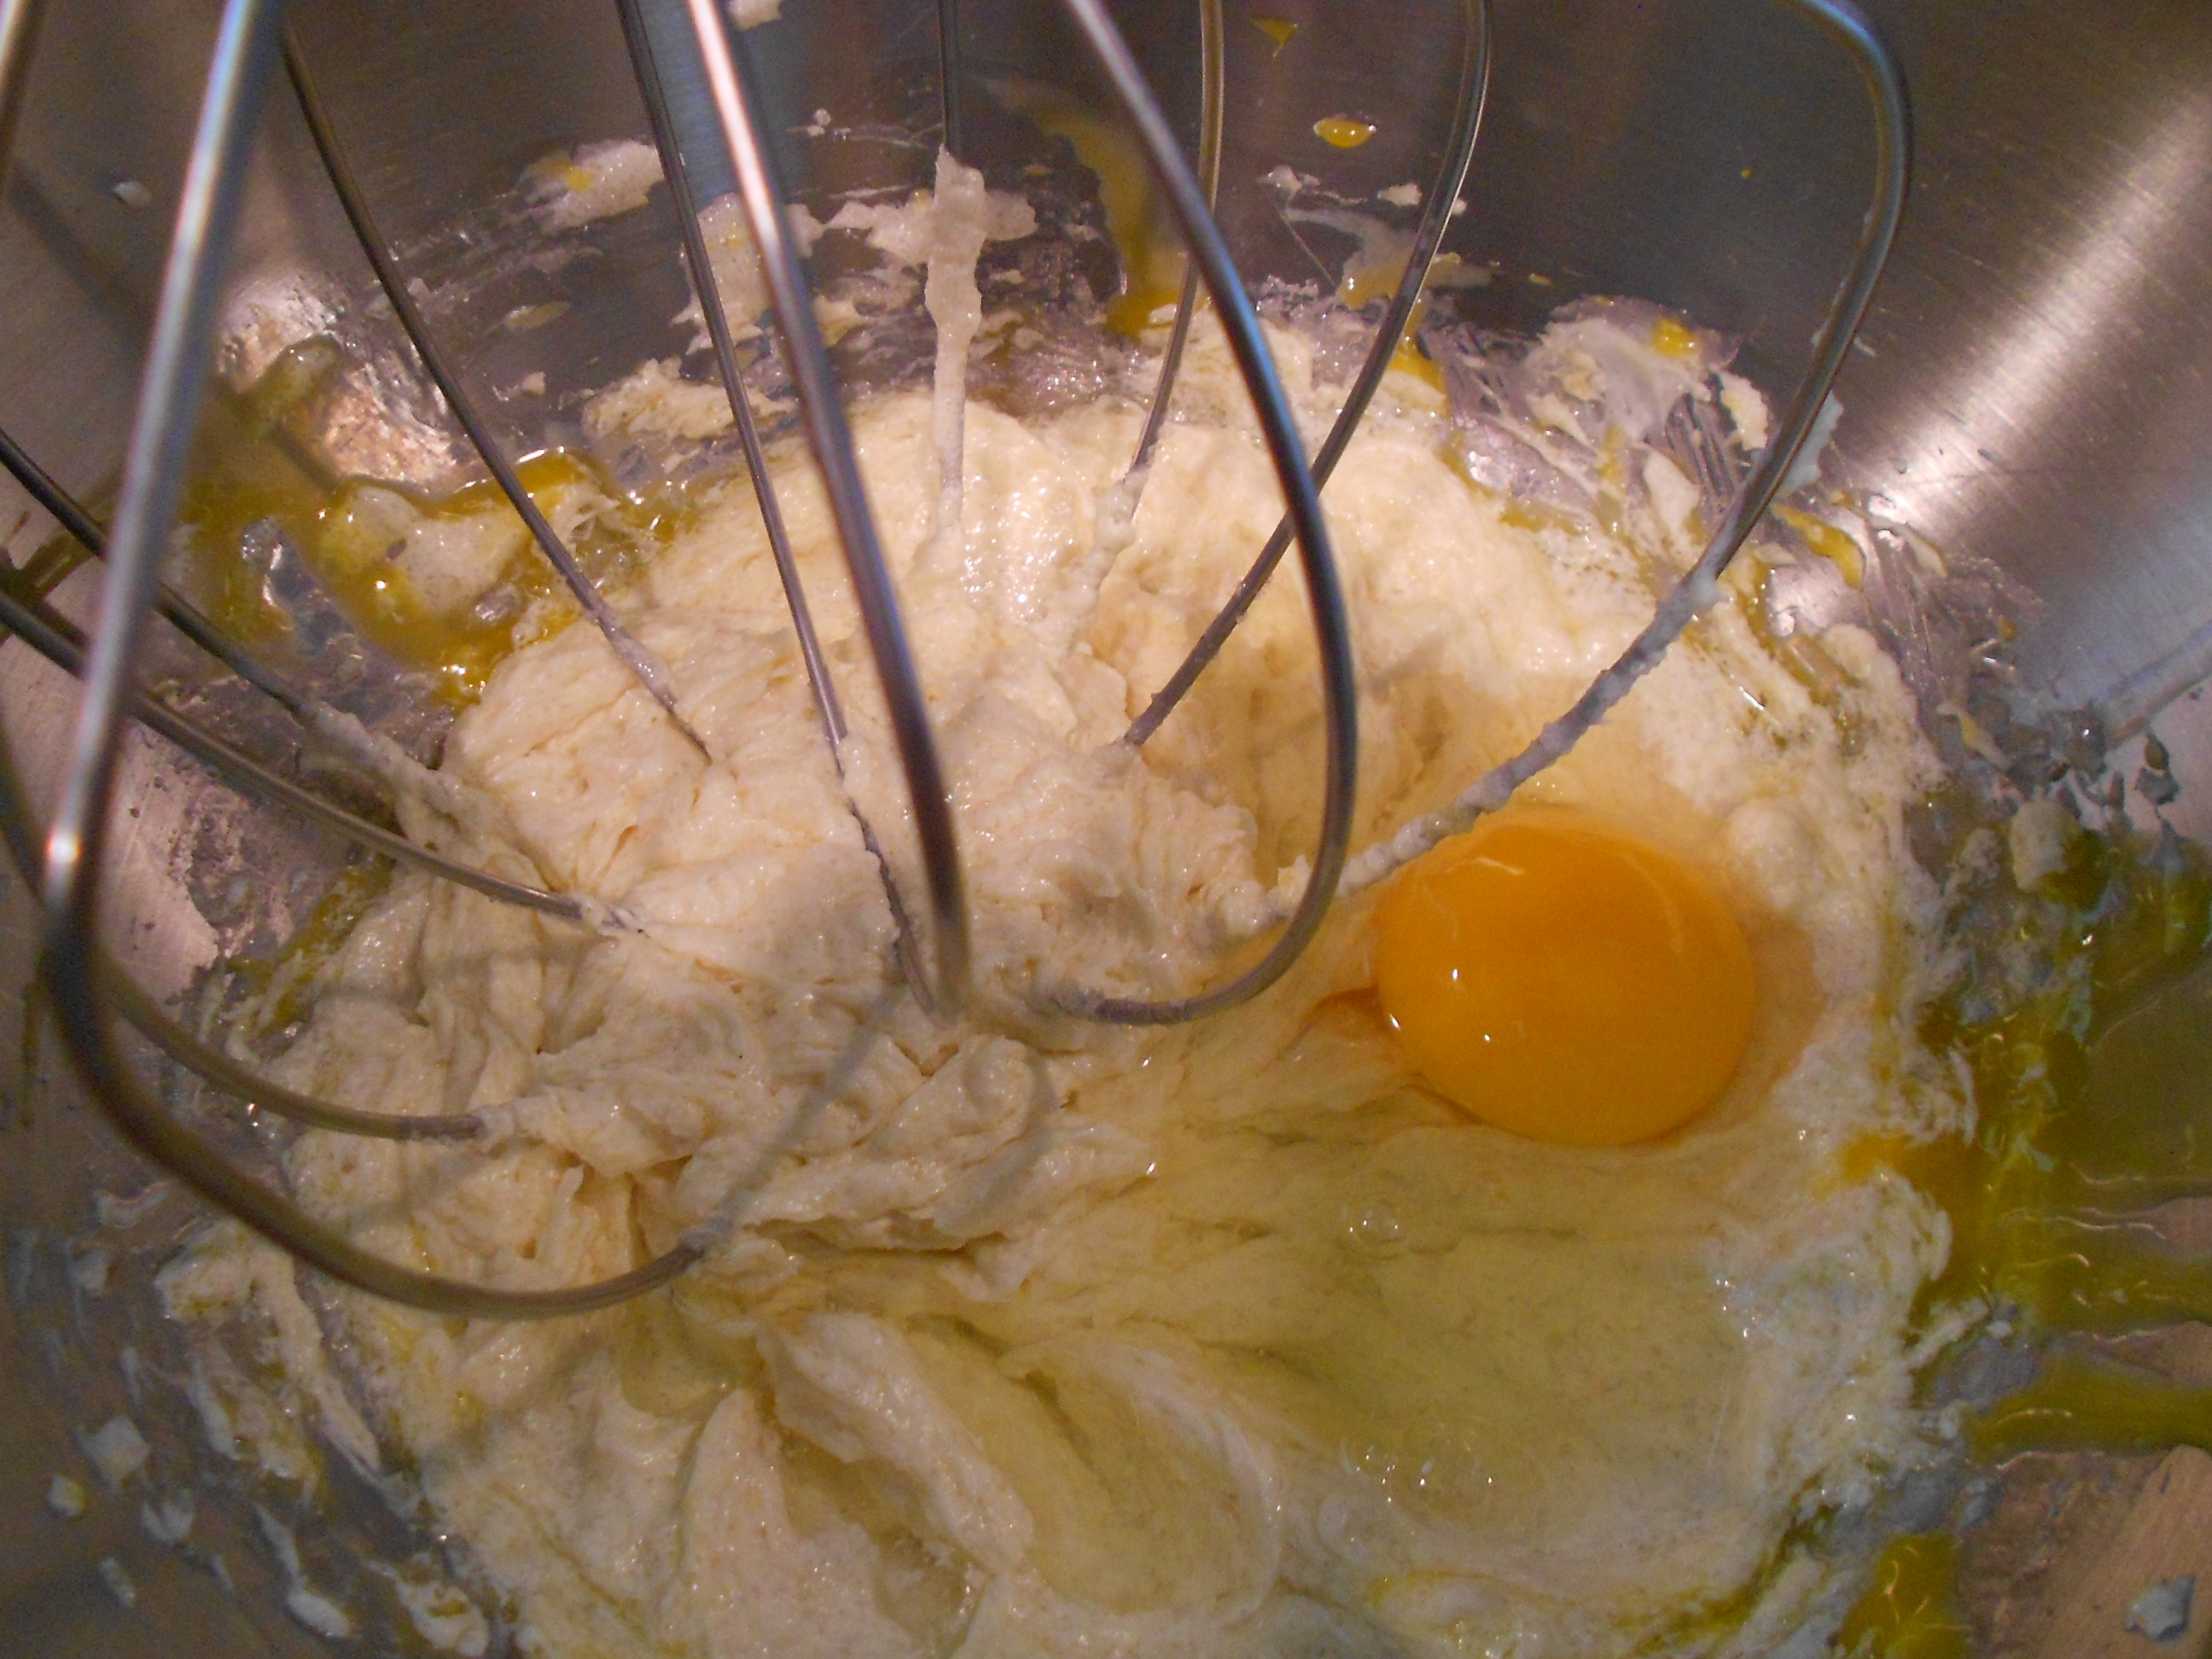
Add one egg and blend until it is incorporated into the mixture.

DSCN2135

Then add the second the egg and fully incorporate into the mixture.

DSCN2137

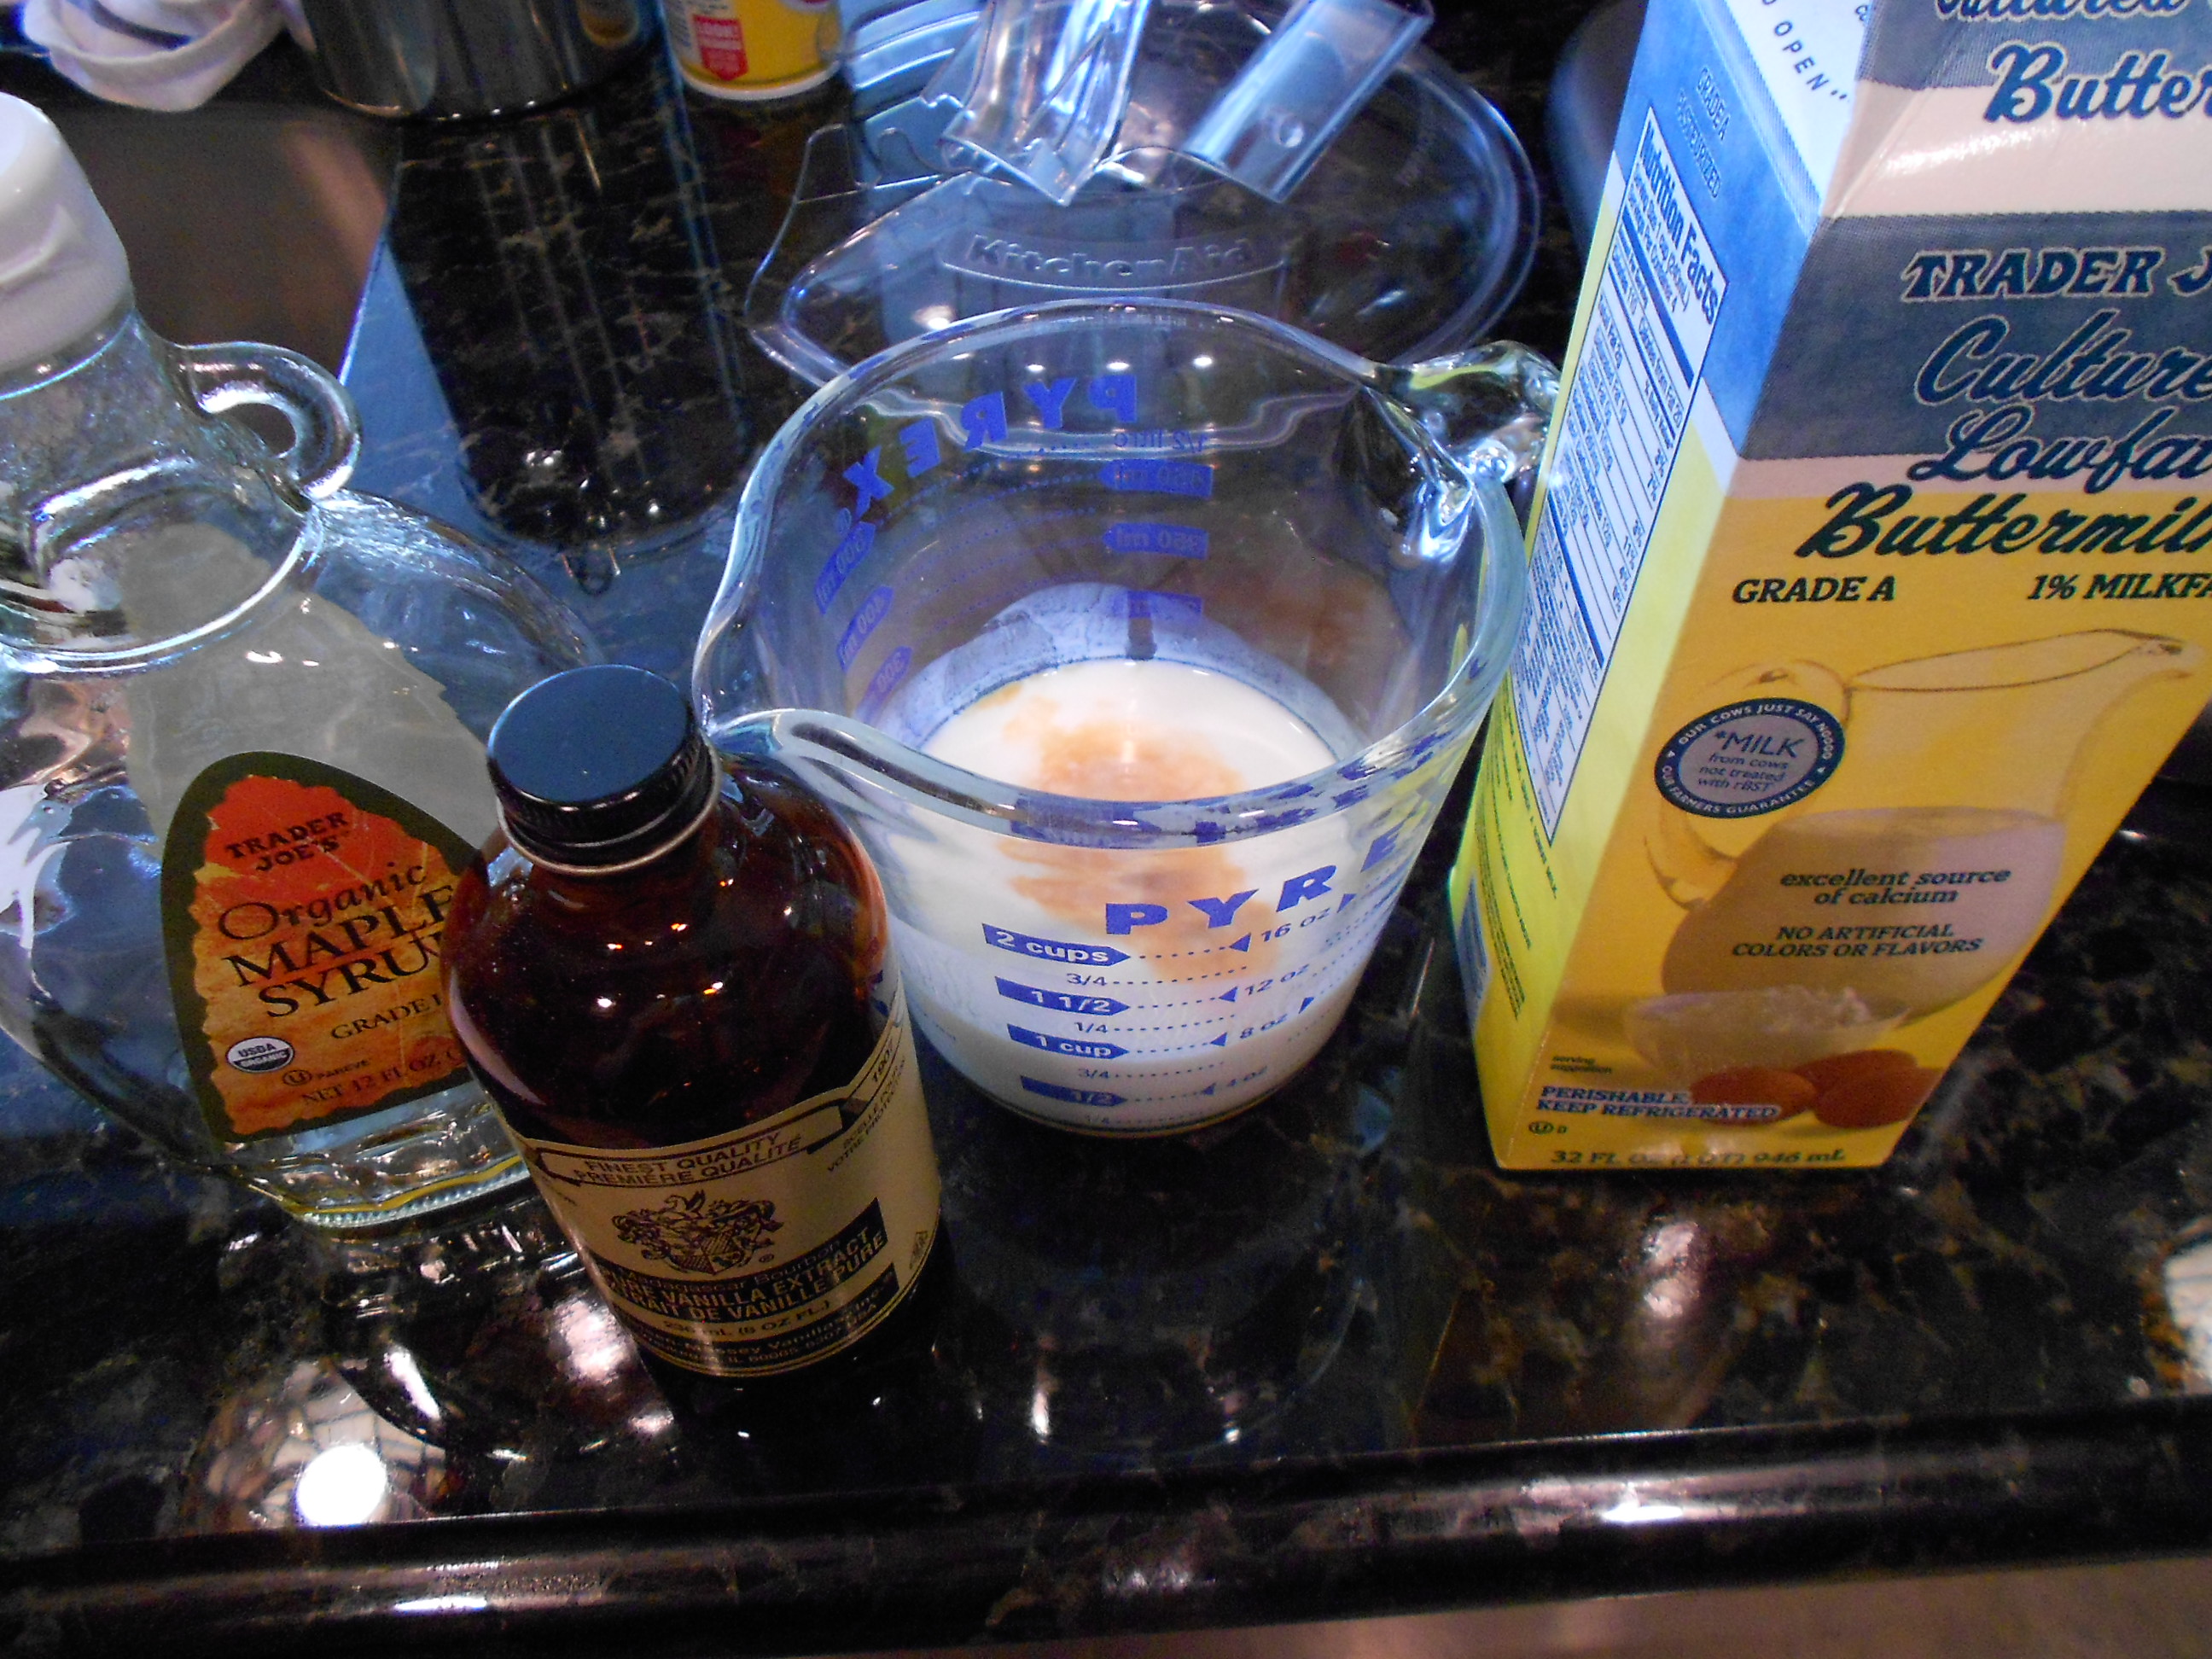
Follow with the buttermilk, maple syrup and vanilla. I tend to mix all three and pour them at the same time.  Pour only half of the mixture in.

DSCN2141

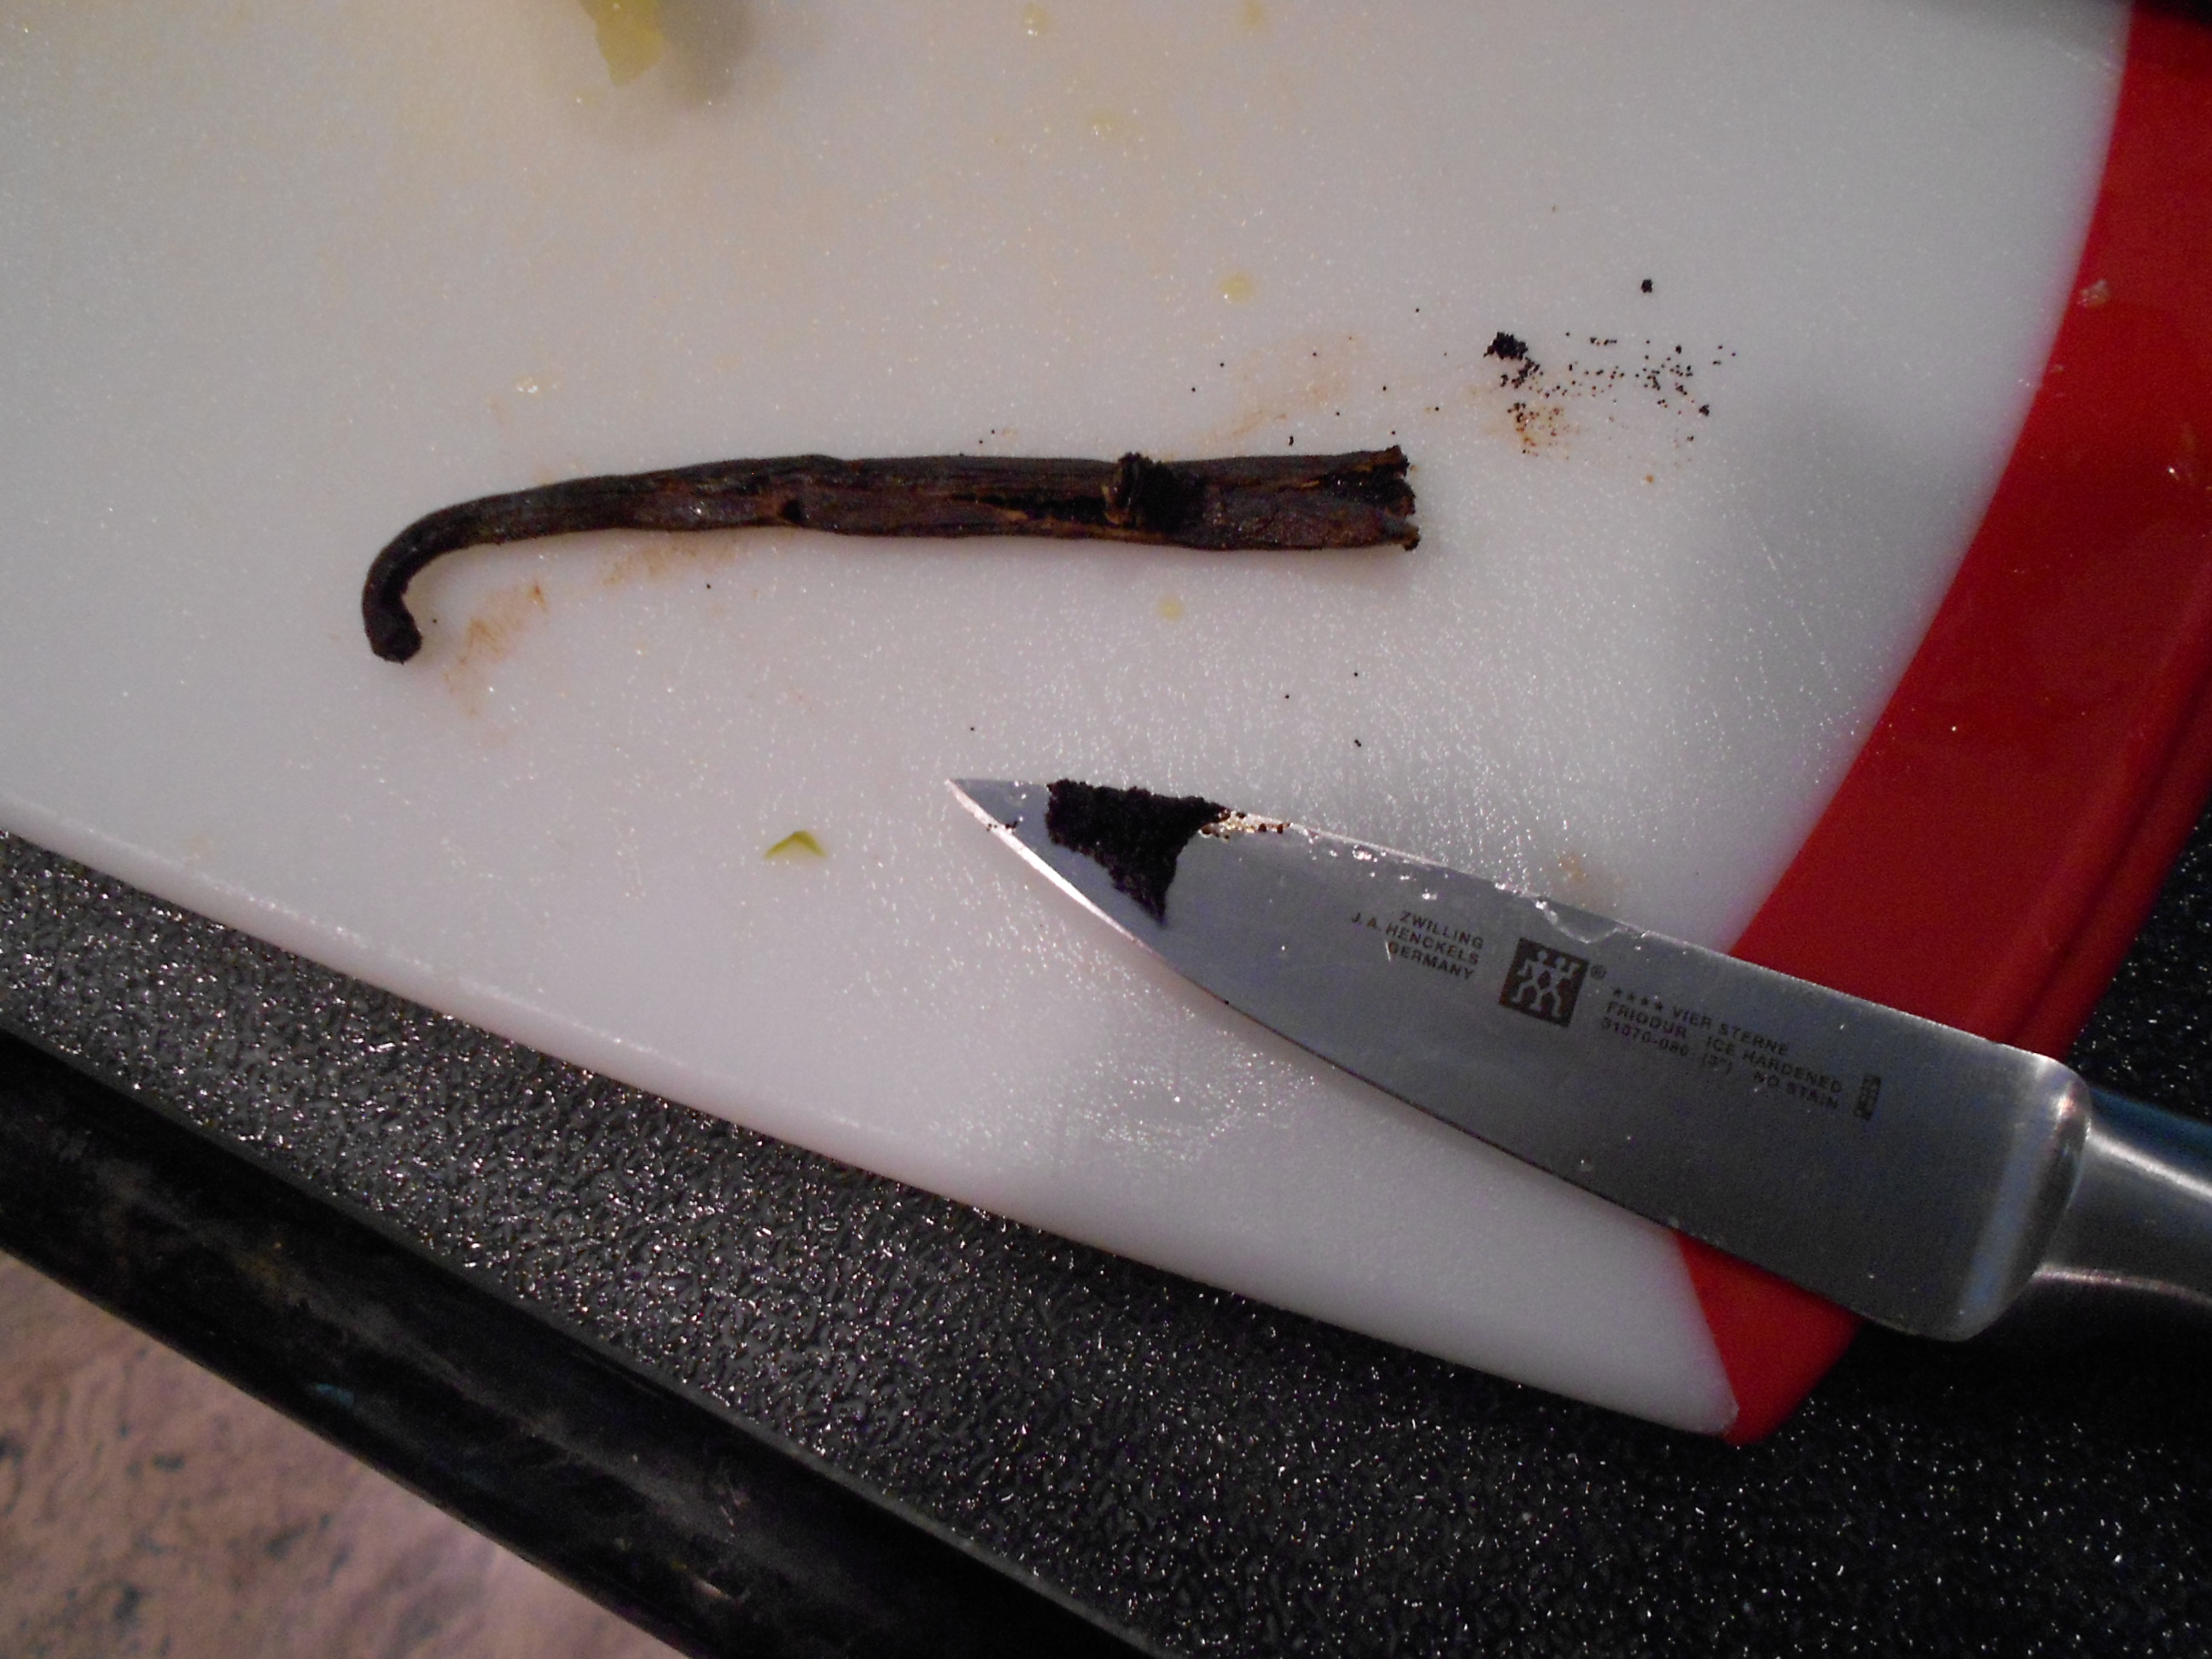
Follow by adding the 1/2 Vanilla Bean.

DSCN2144

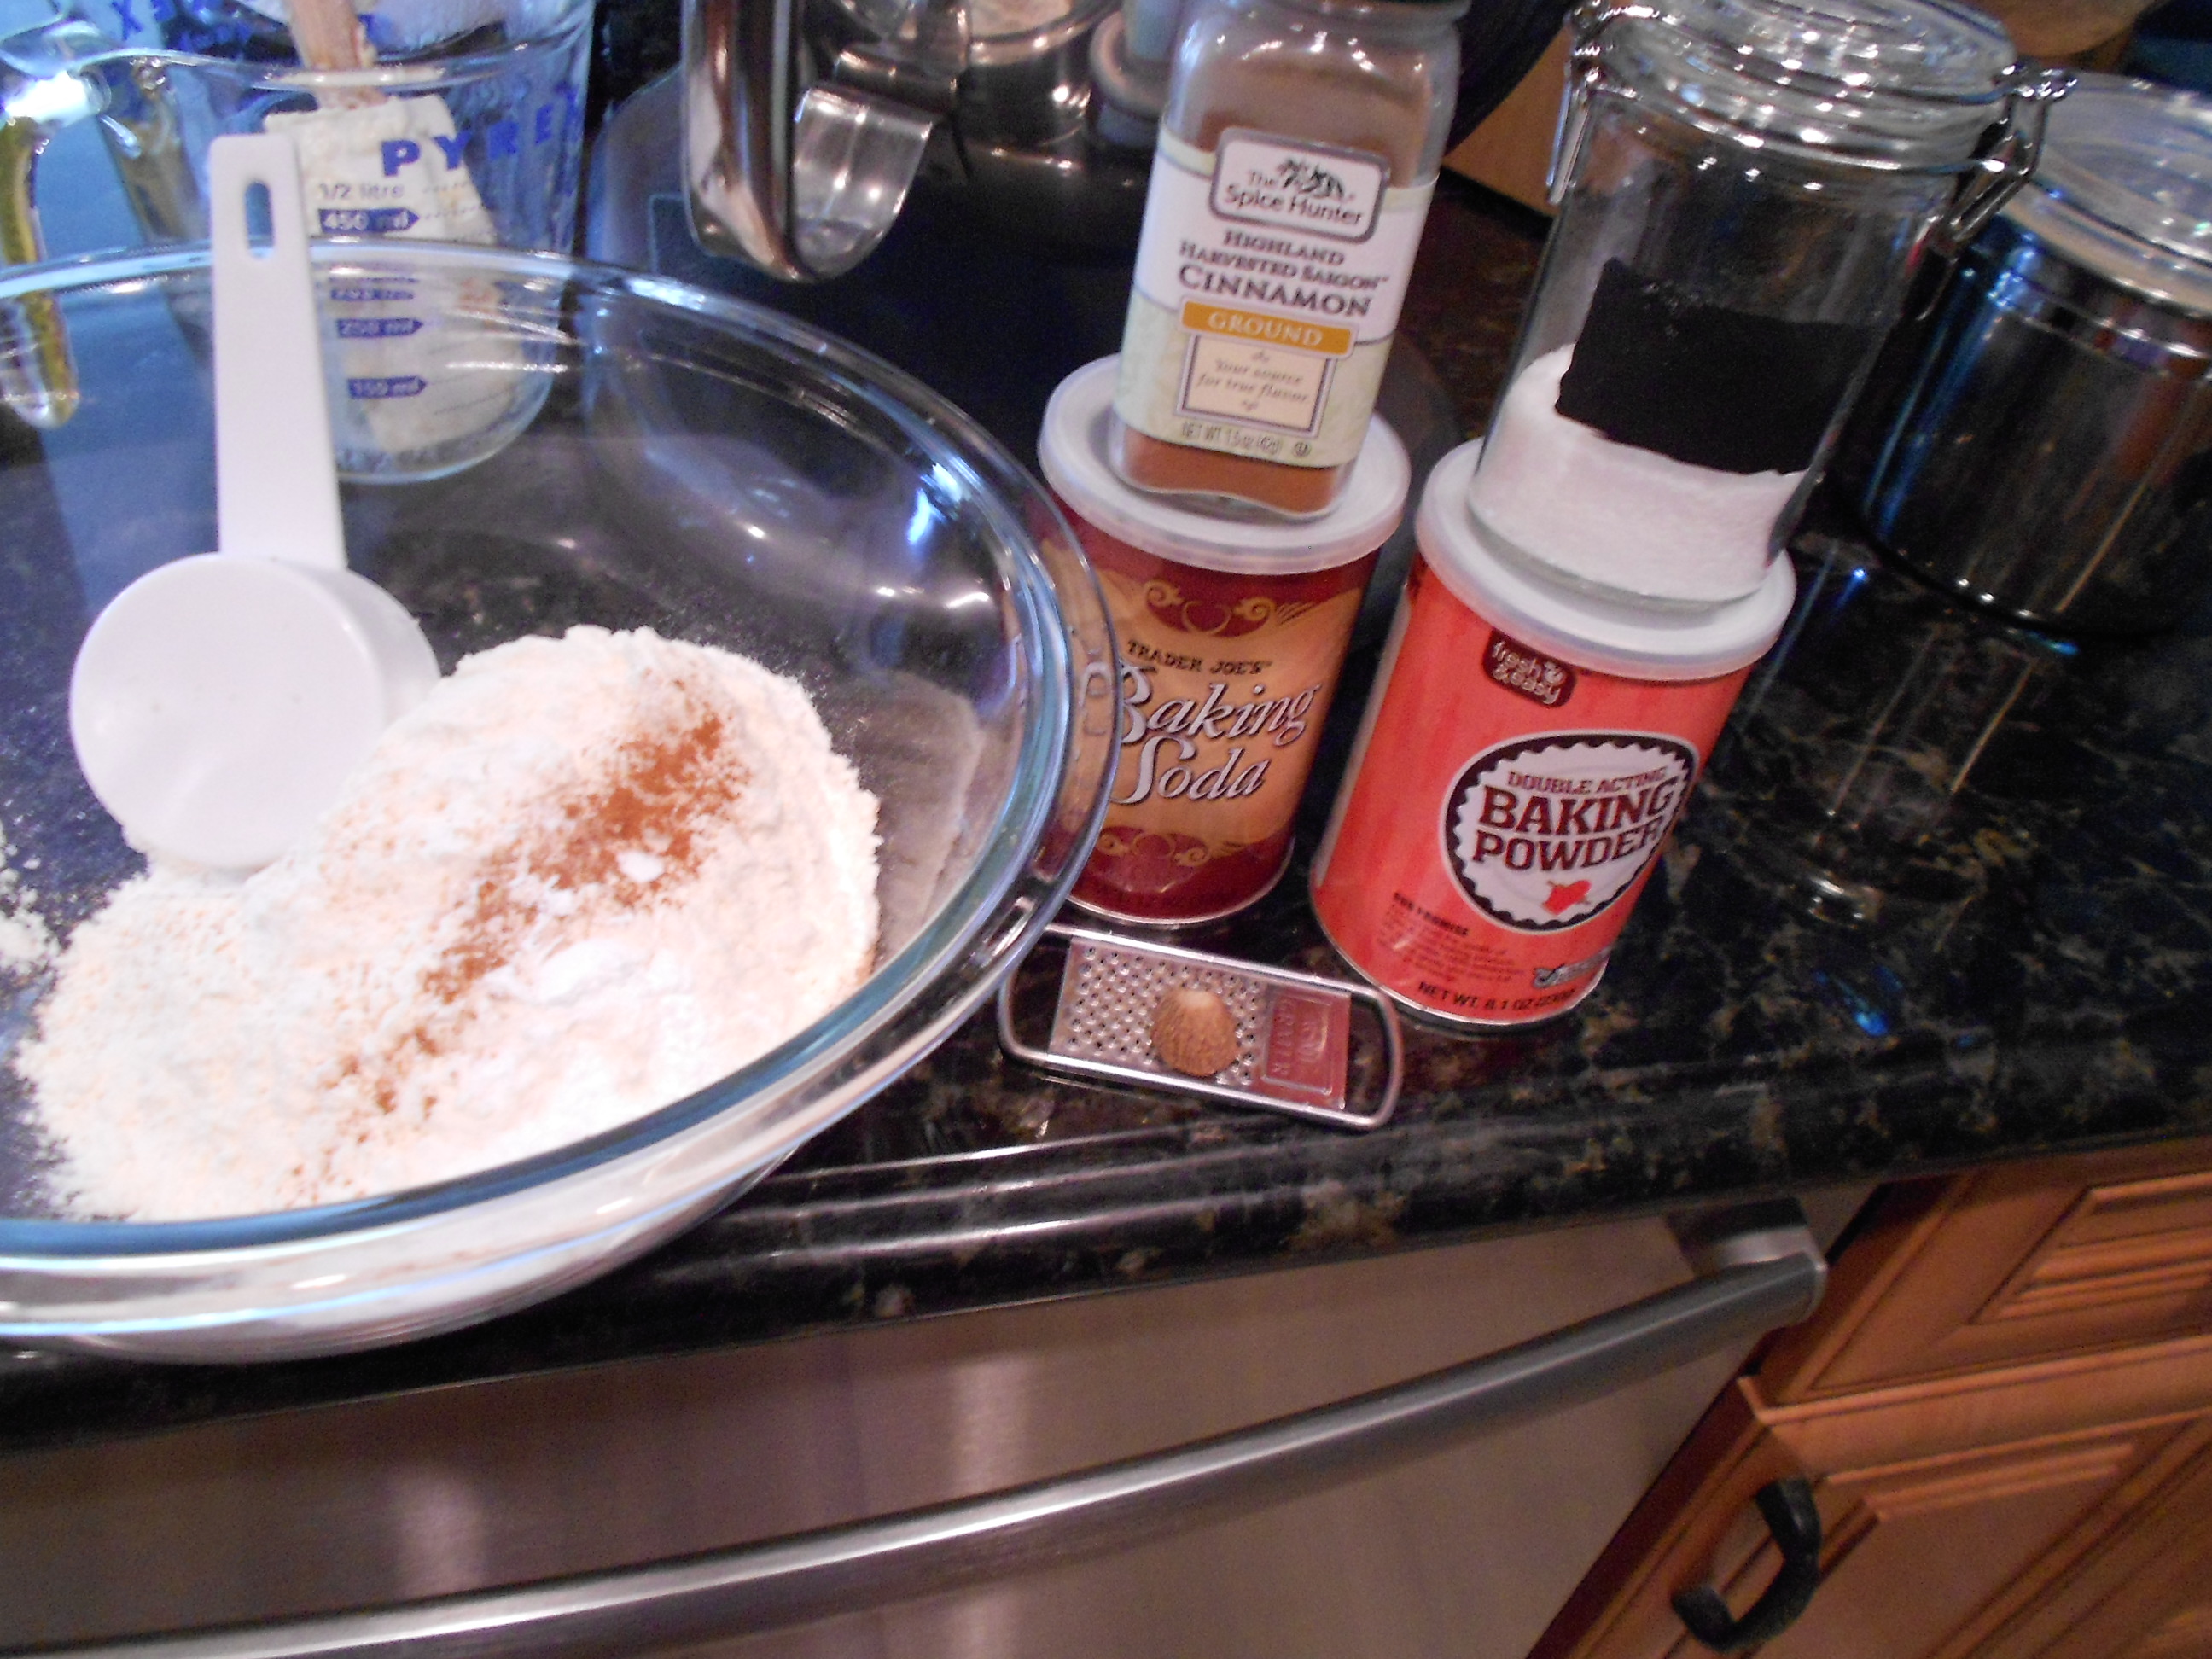
Then comes the dry ingredients. I mix the flour, salt, baking soda, baking powder, cinnamon and nutmeg in a large bowl.

DSCN2151

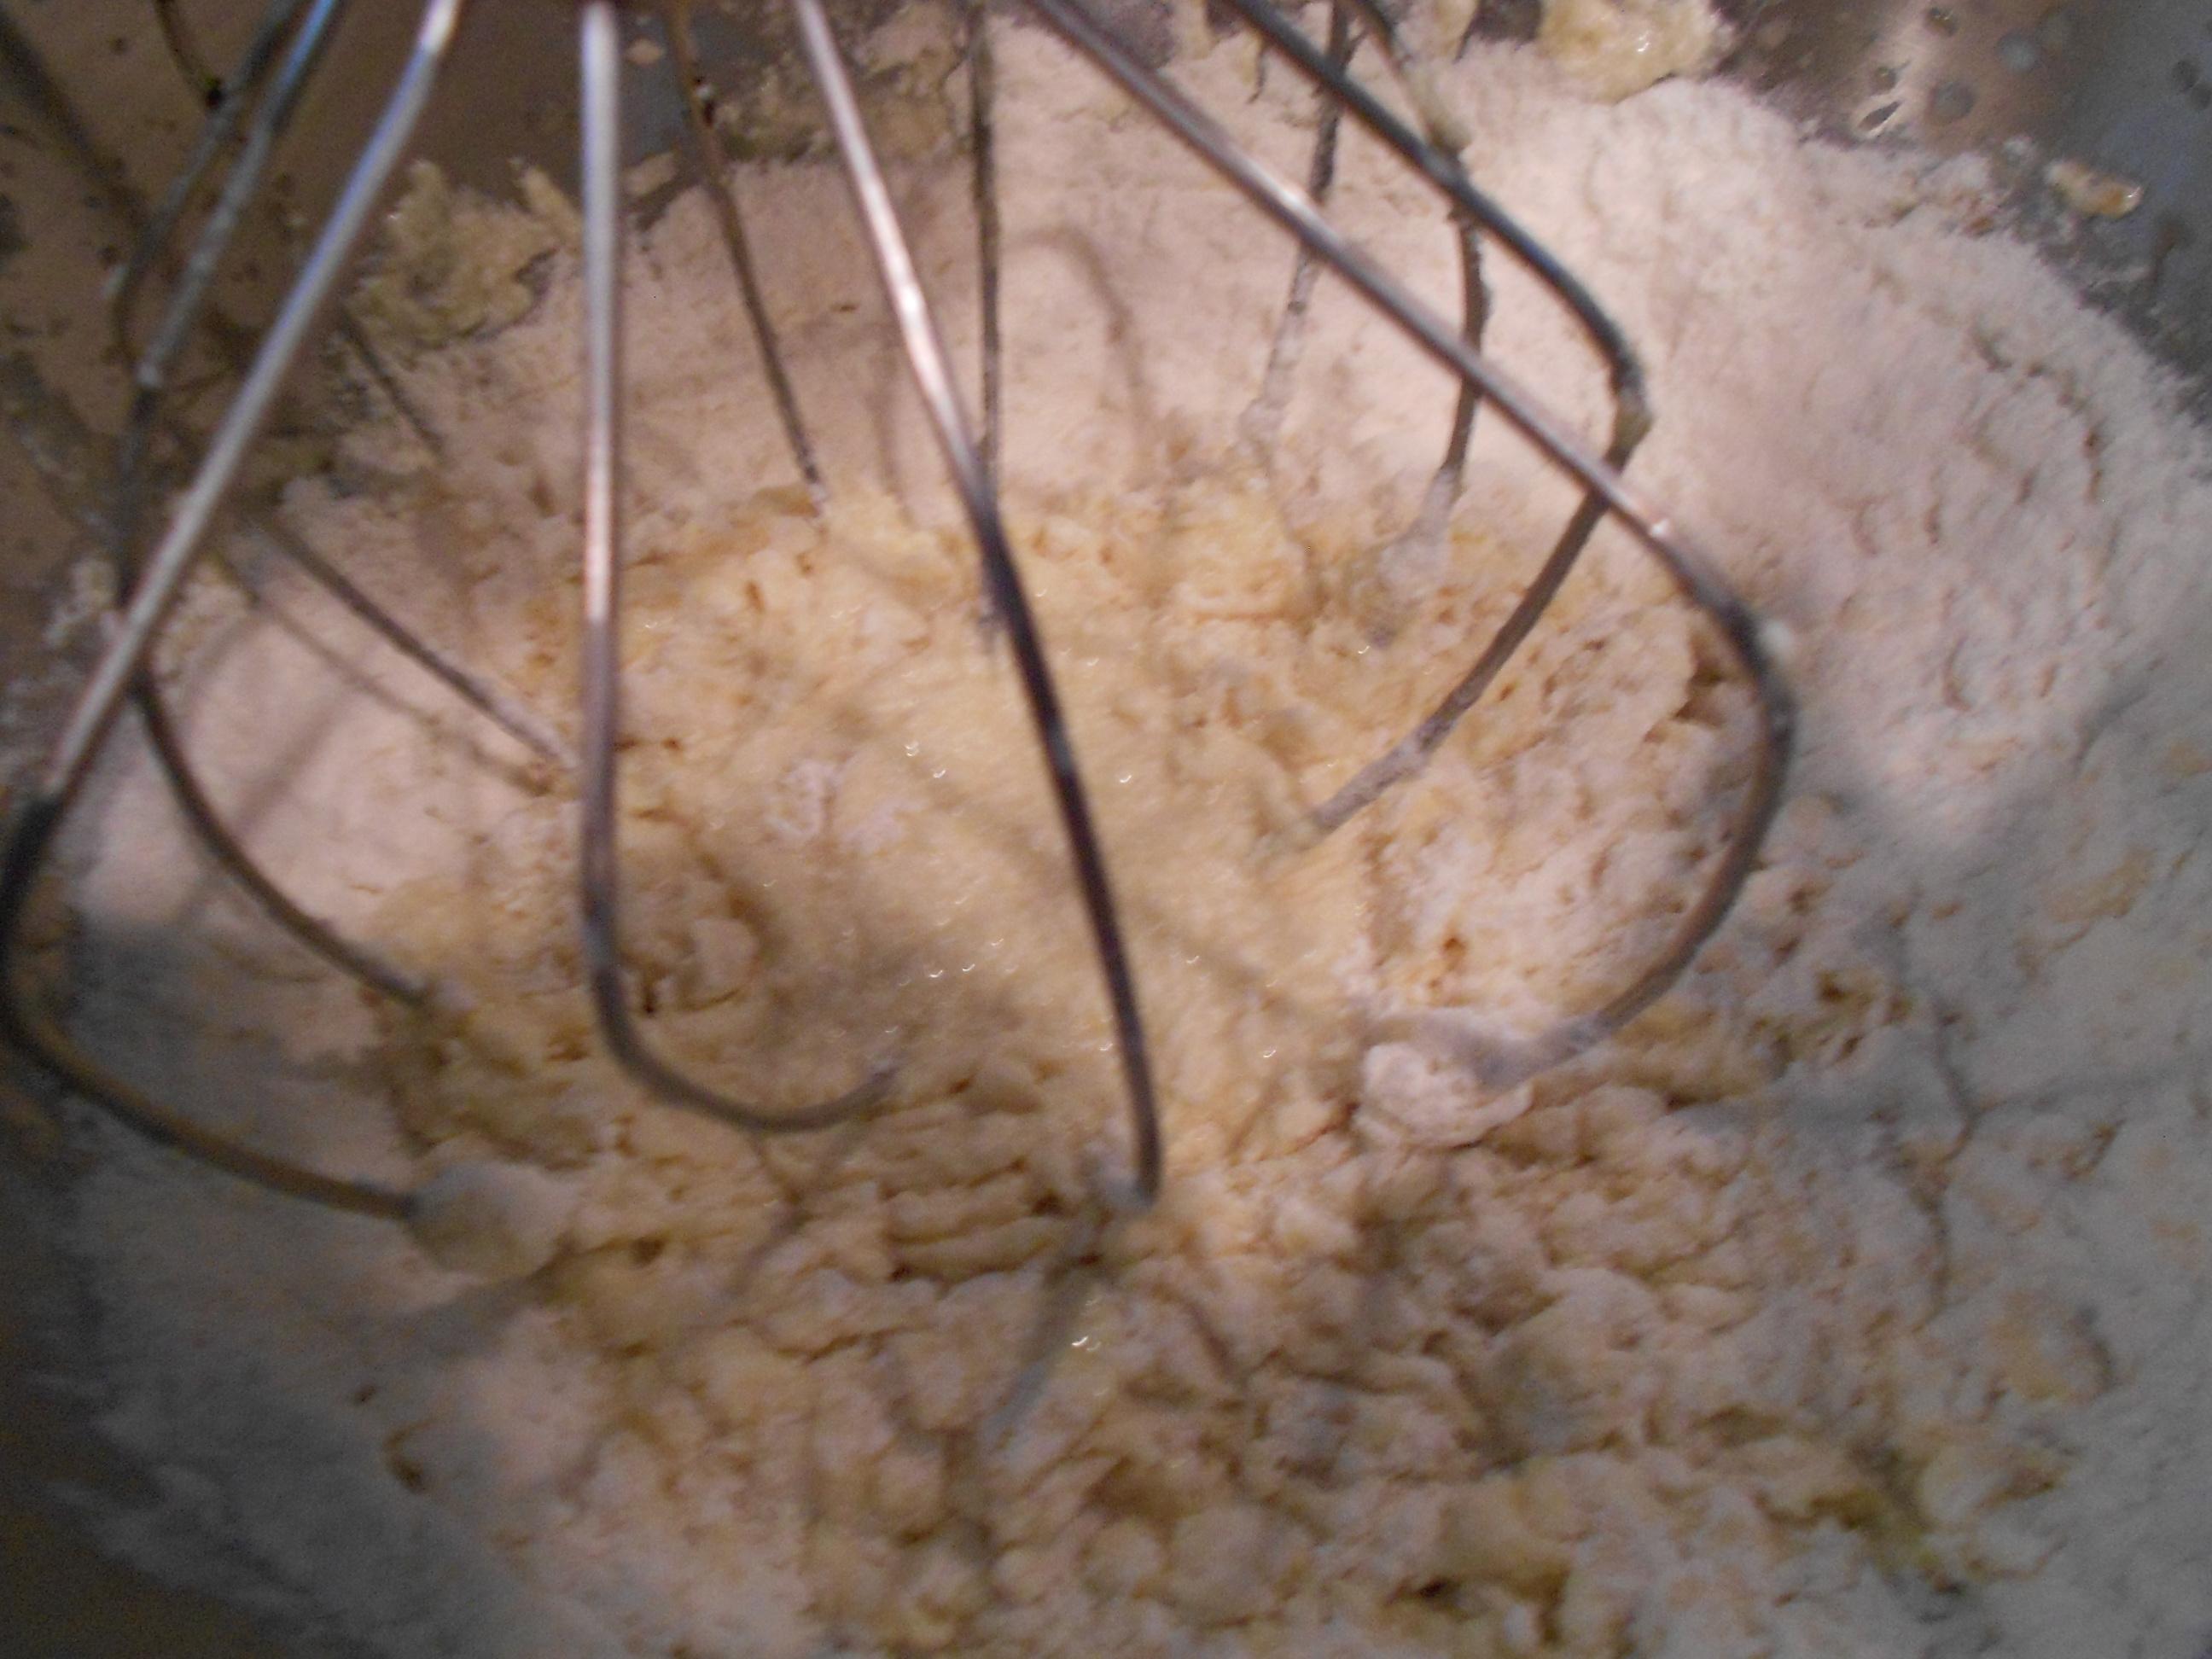
You then take half of the dry ingredients and add it to the mixer. Mix well until everything is wet, remembering to scrape the sides of the bowl.

DSCN2153

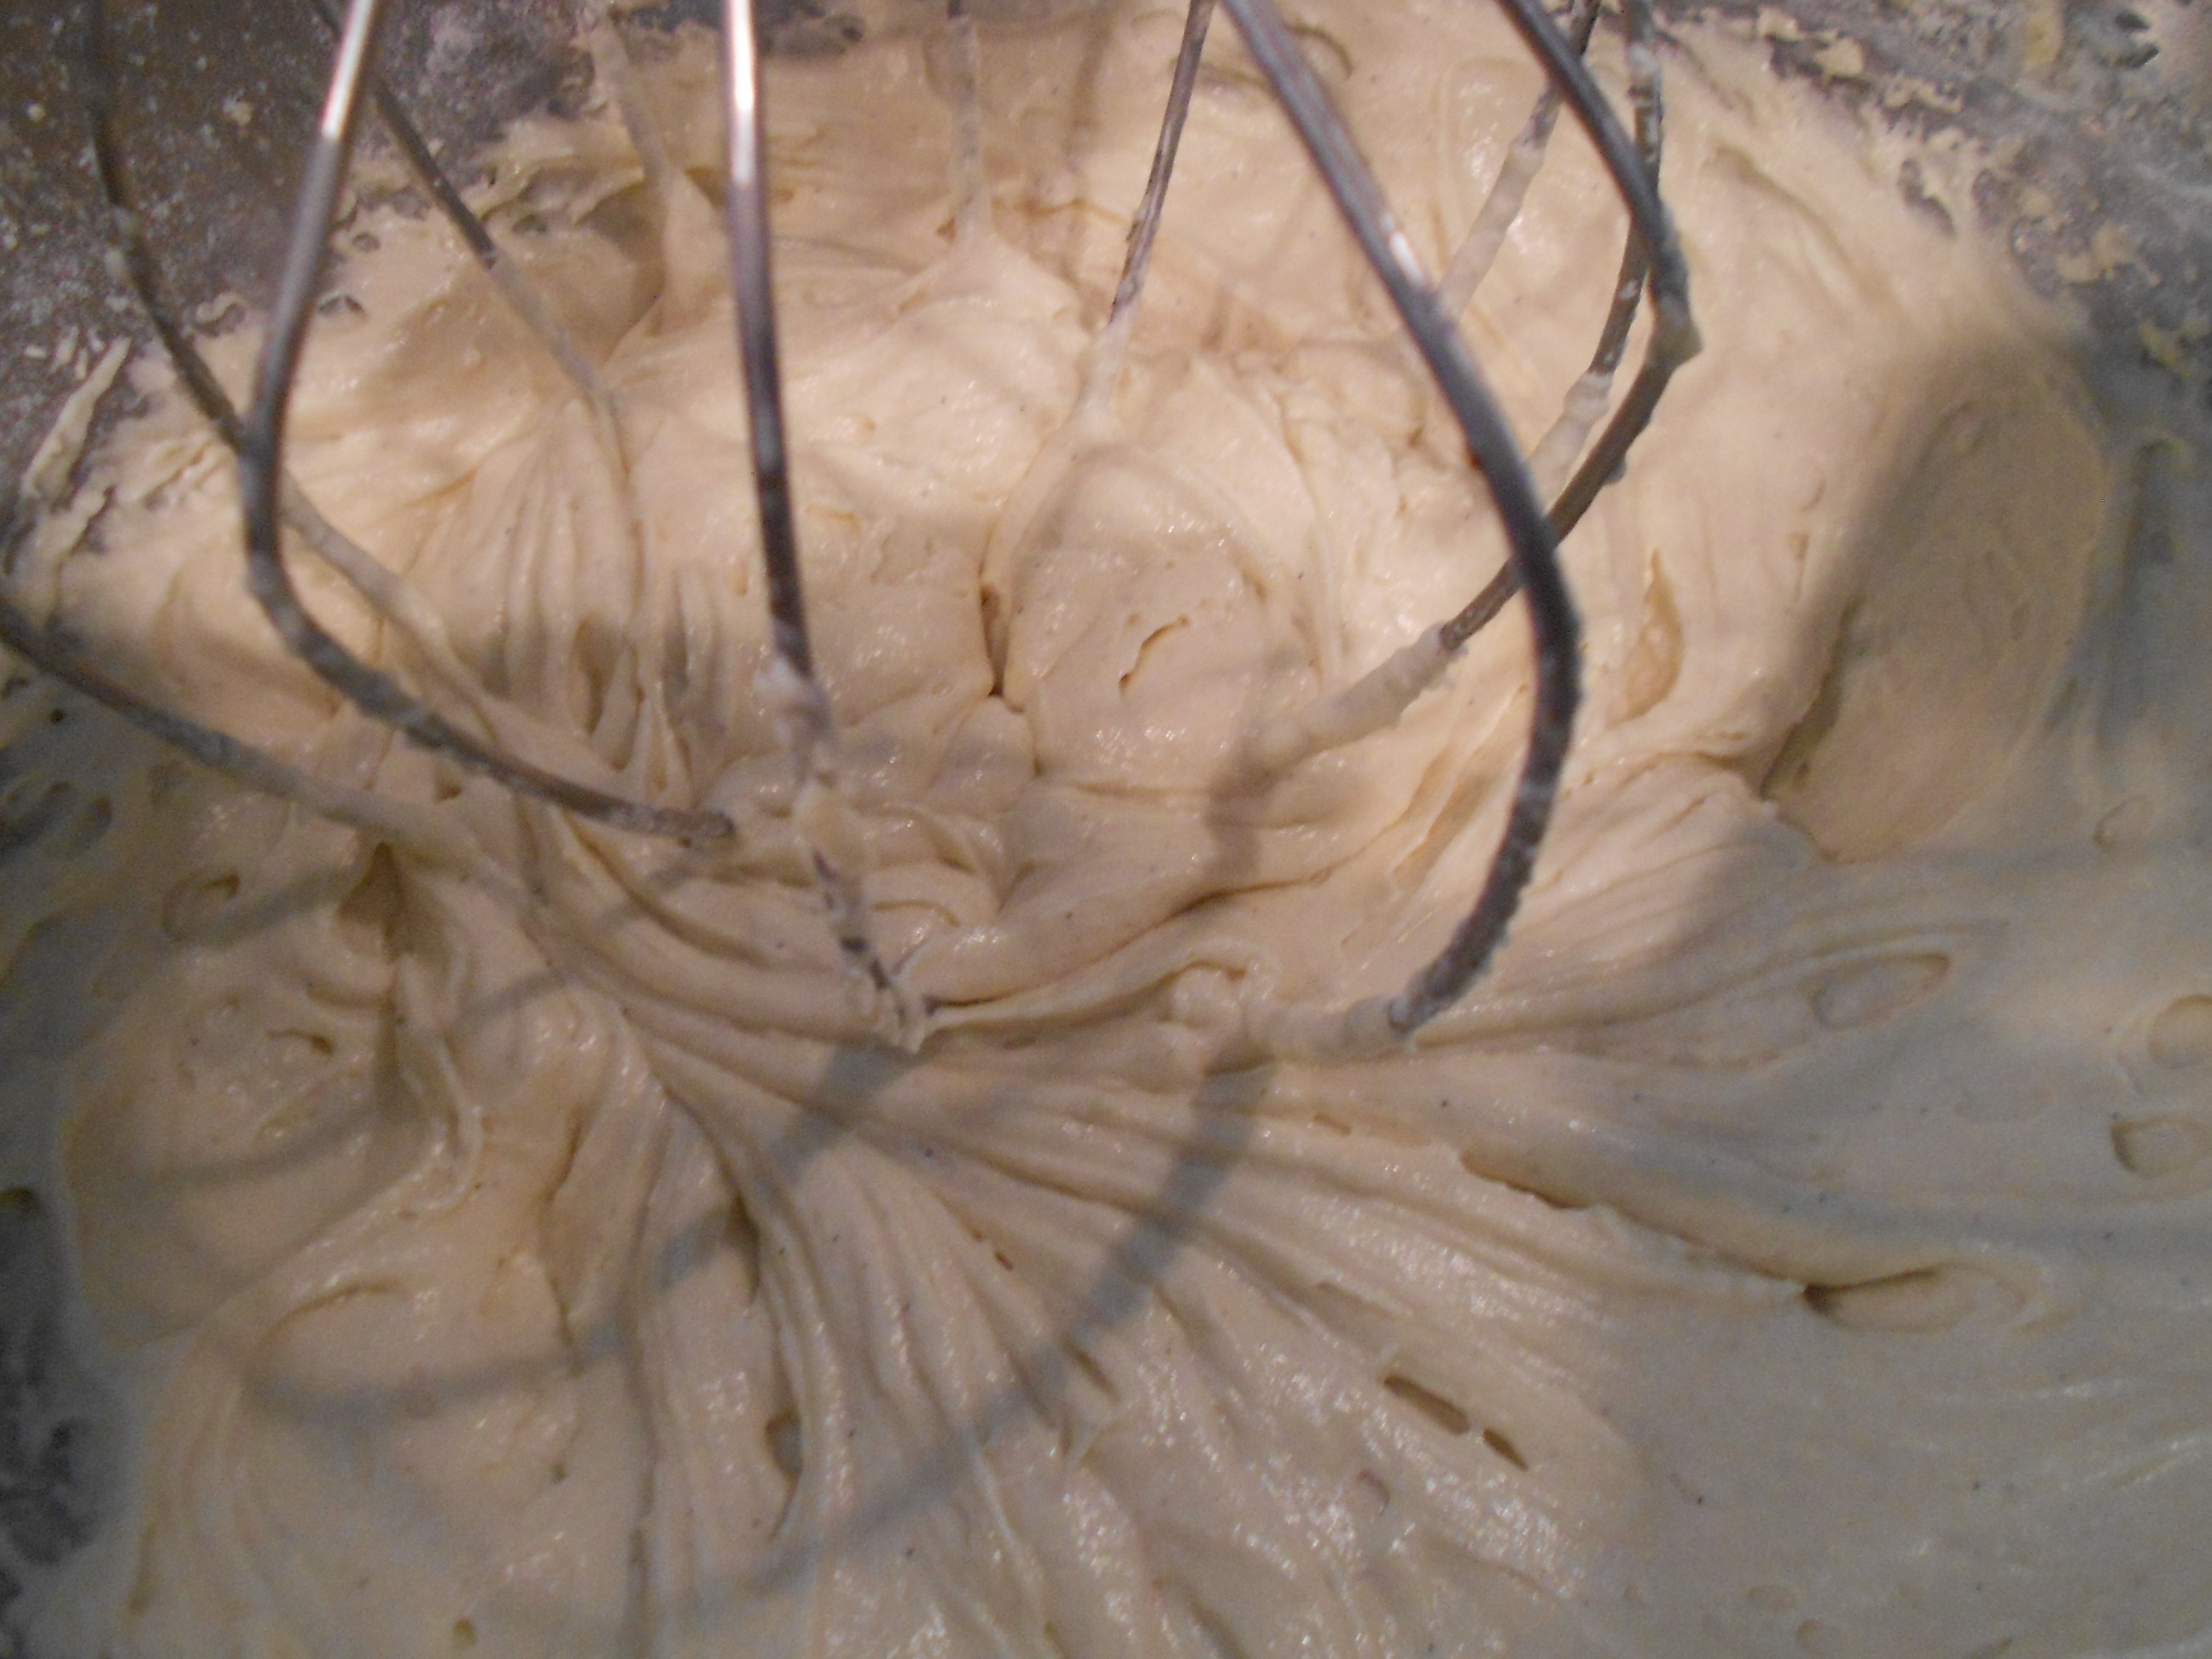
I slowly then add the second half of my buttermilk mixture intermediately with the left over half of the dry mixture. I do this so I do not over whip the batter, since this tends to produce a dryer cake if you over beat it. You will end up with a nice smooth mixture by halving the wet and dry, and not over beating.

DSCN2154

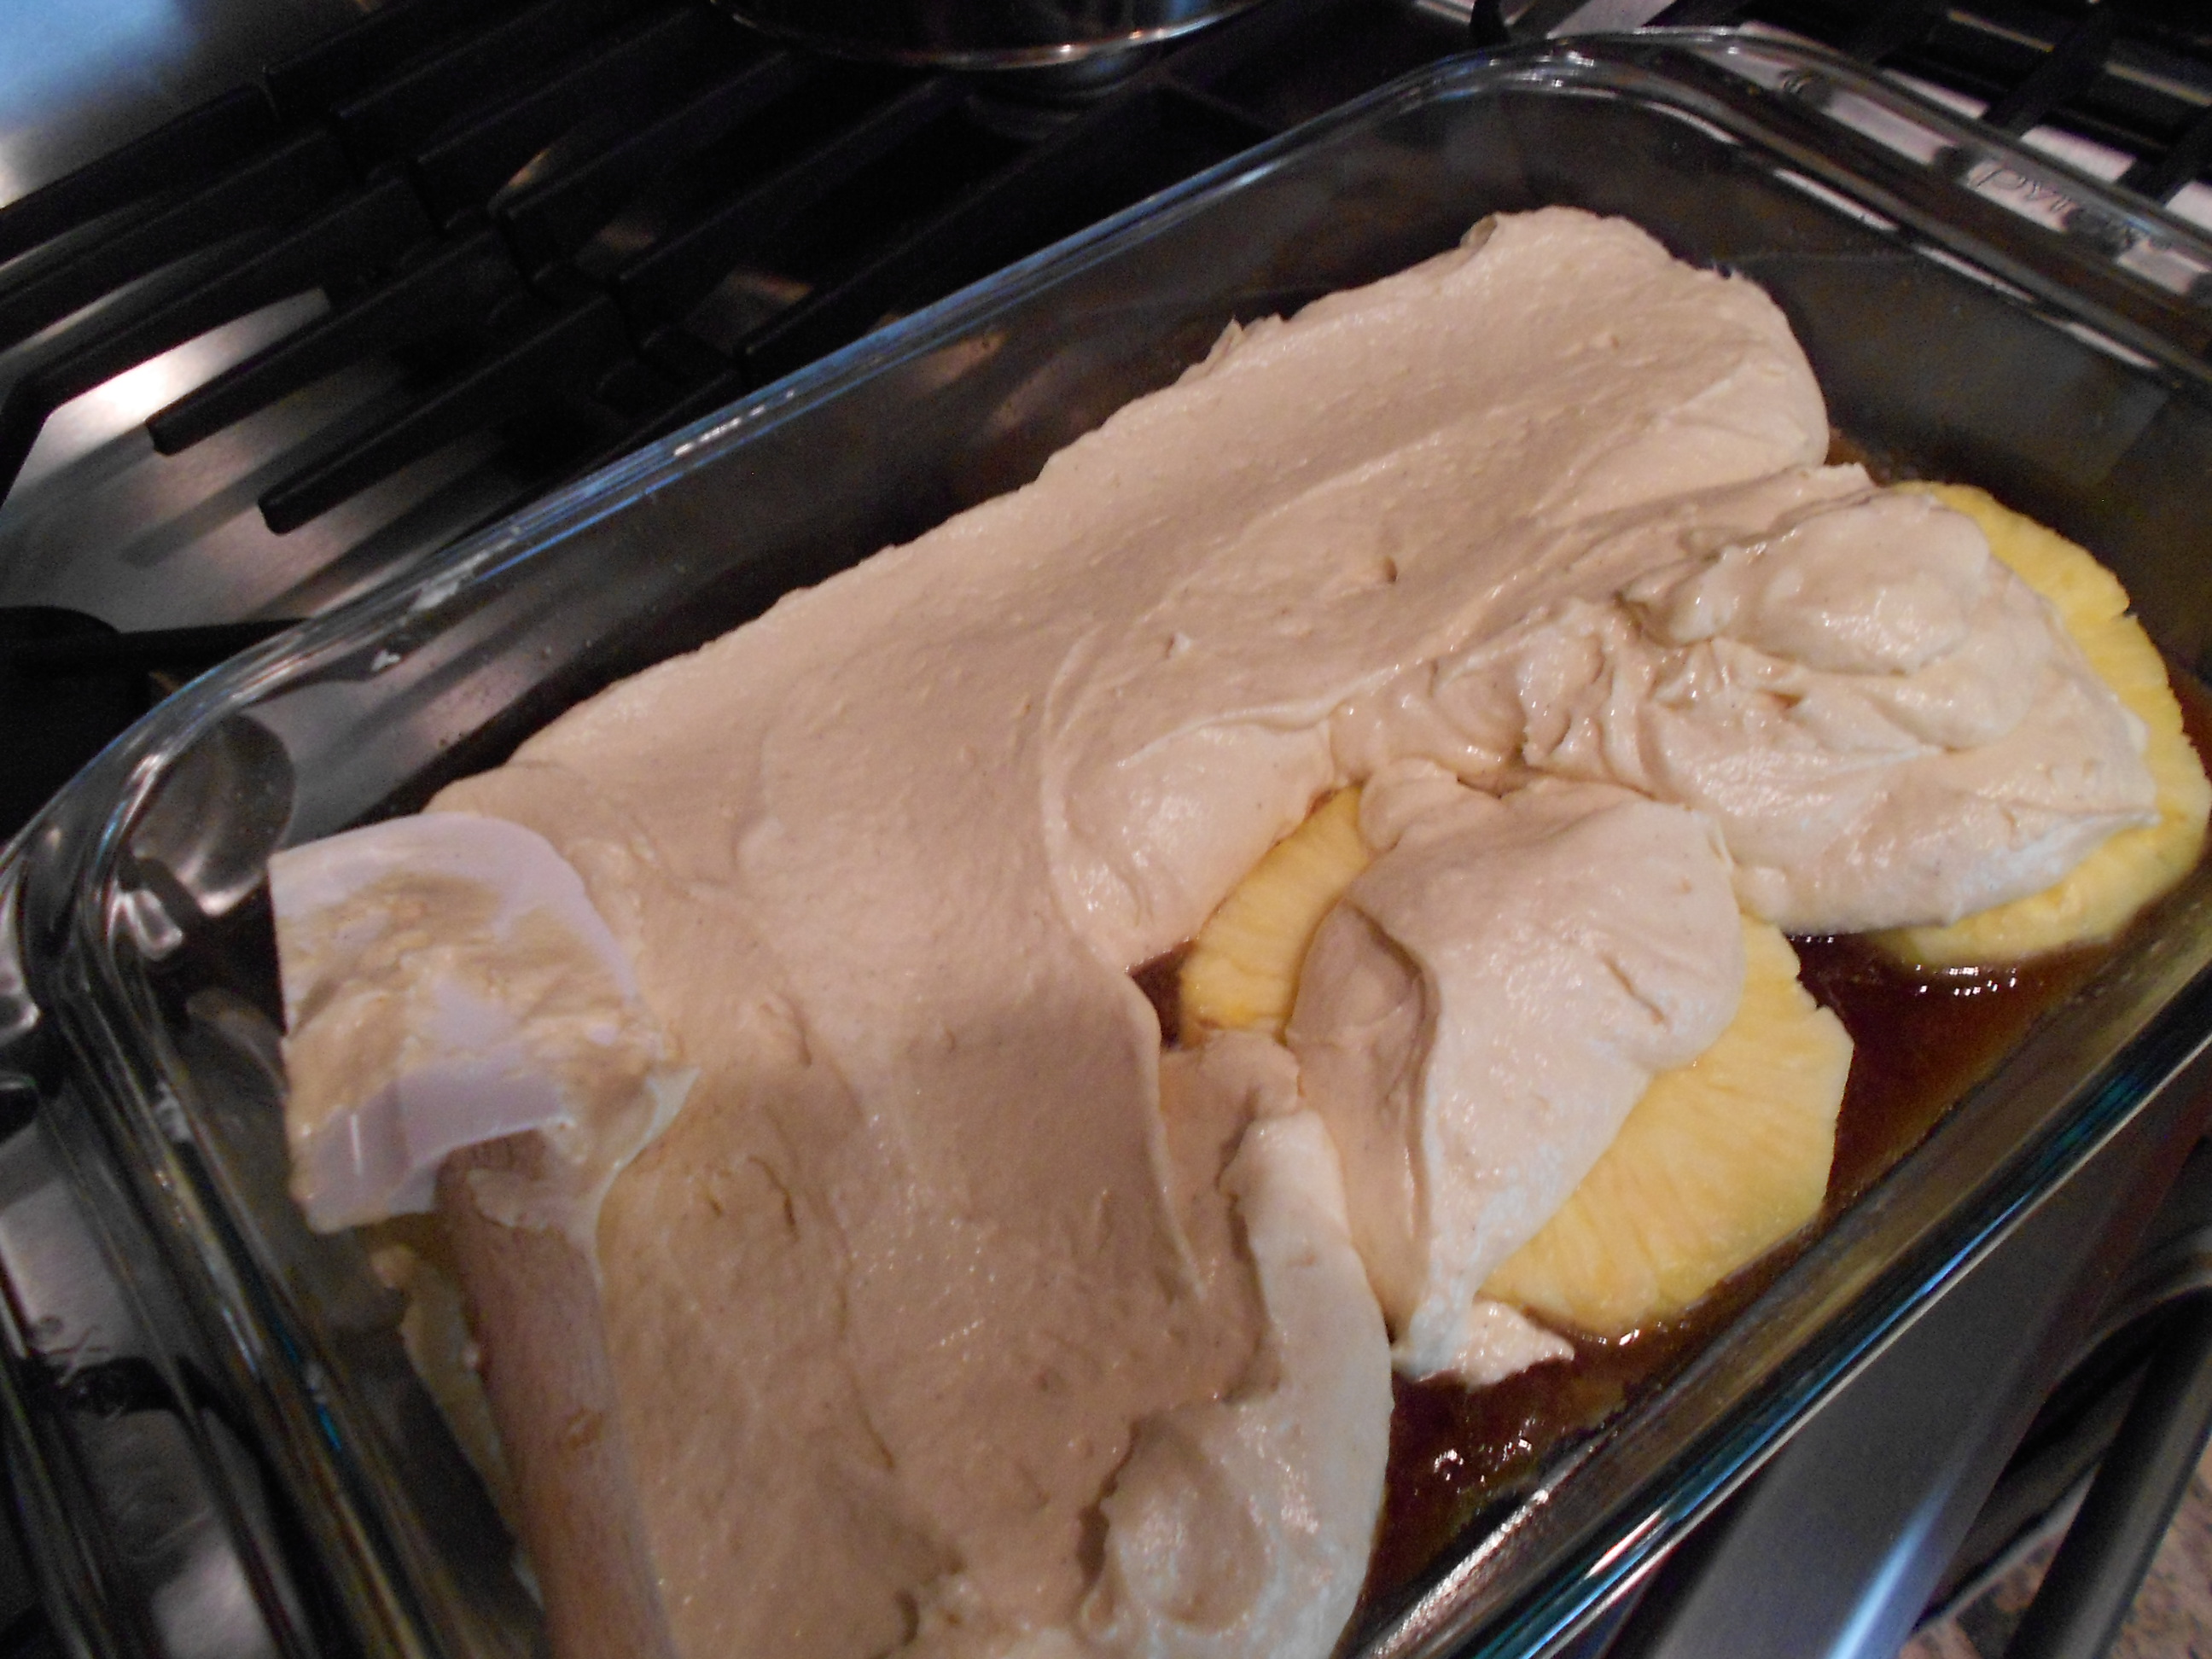
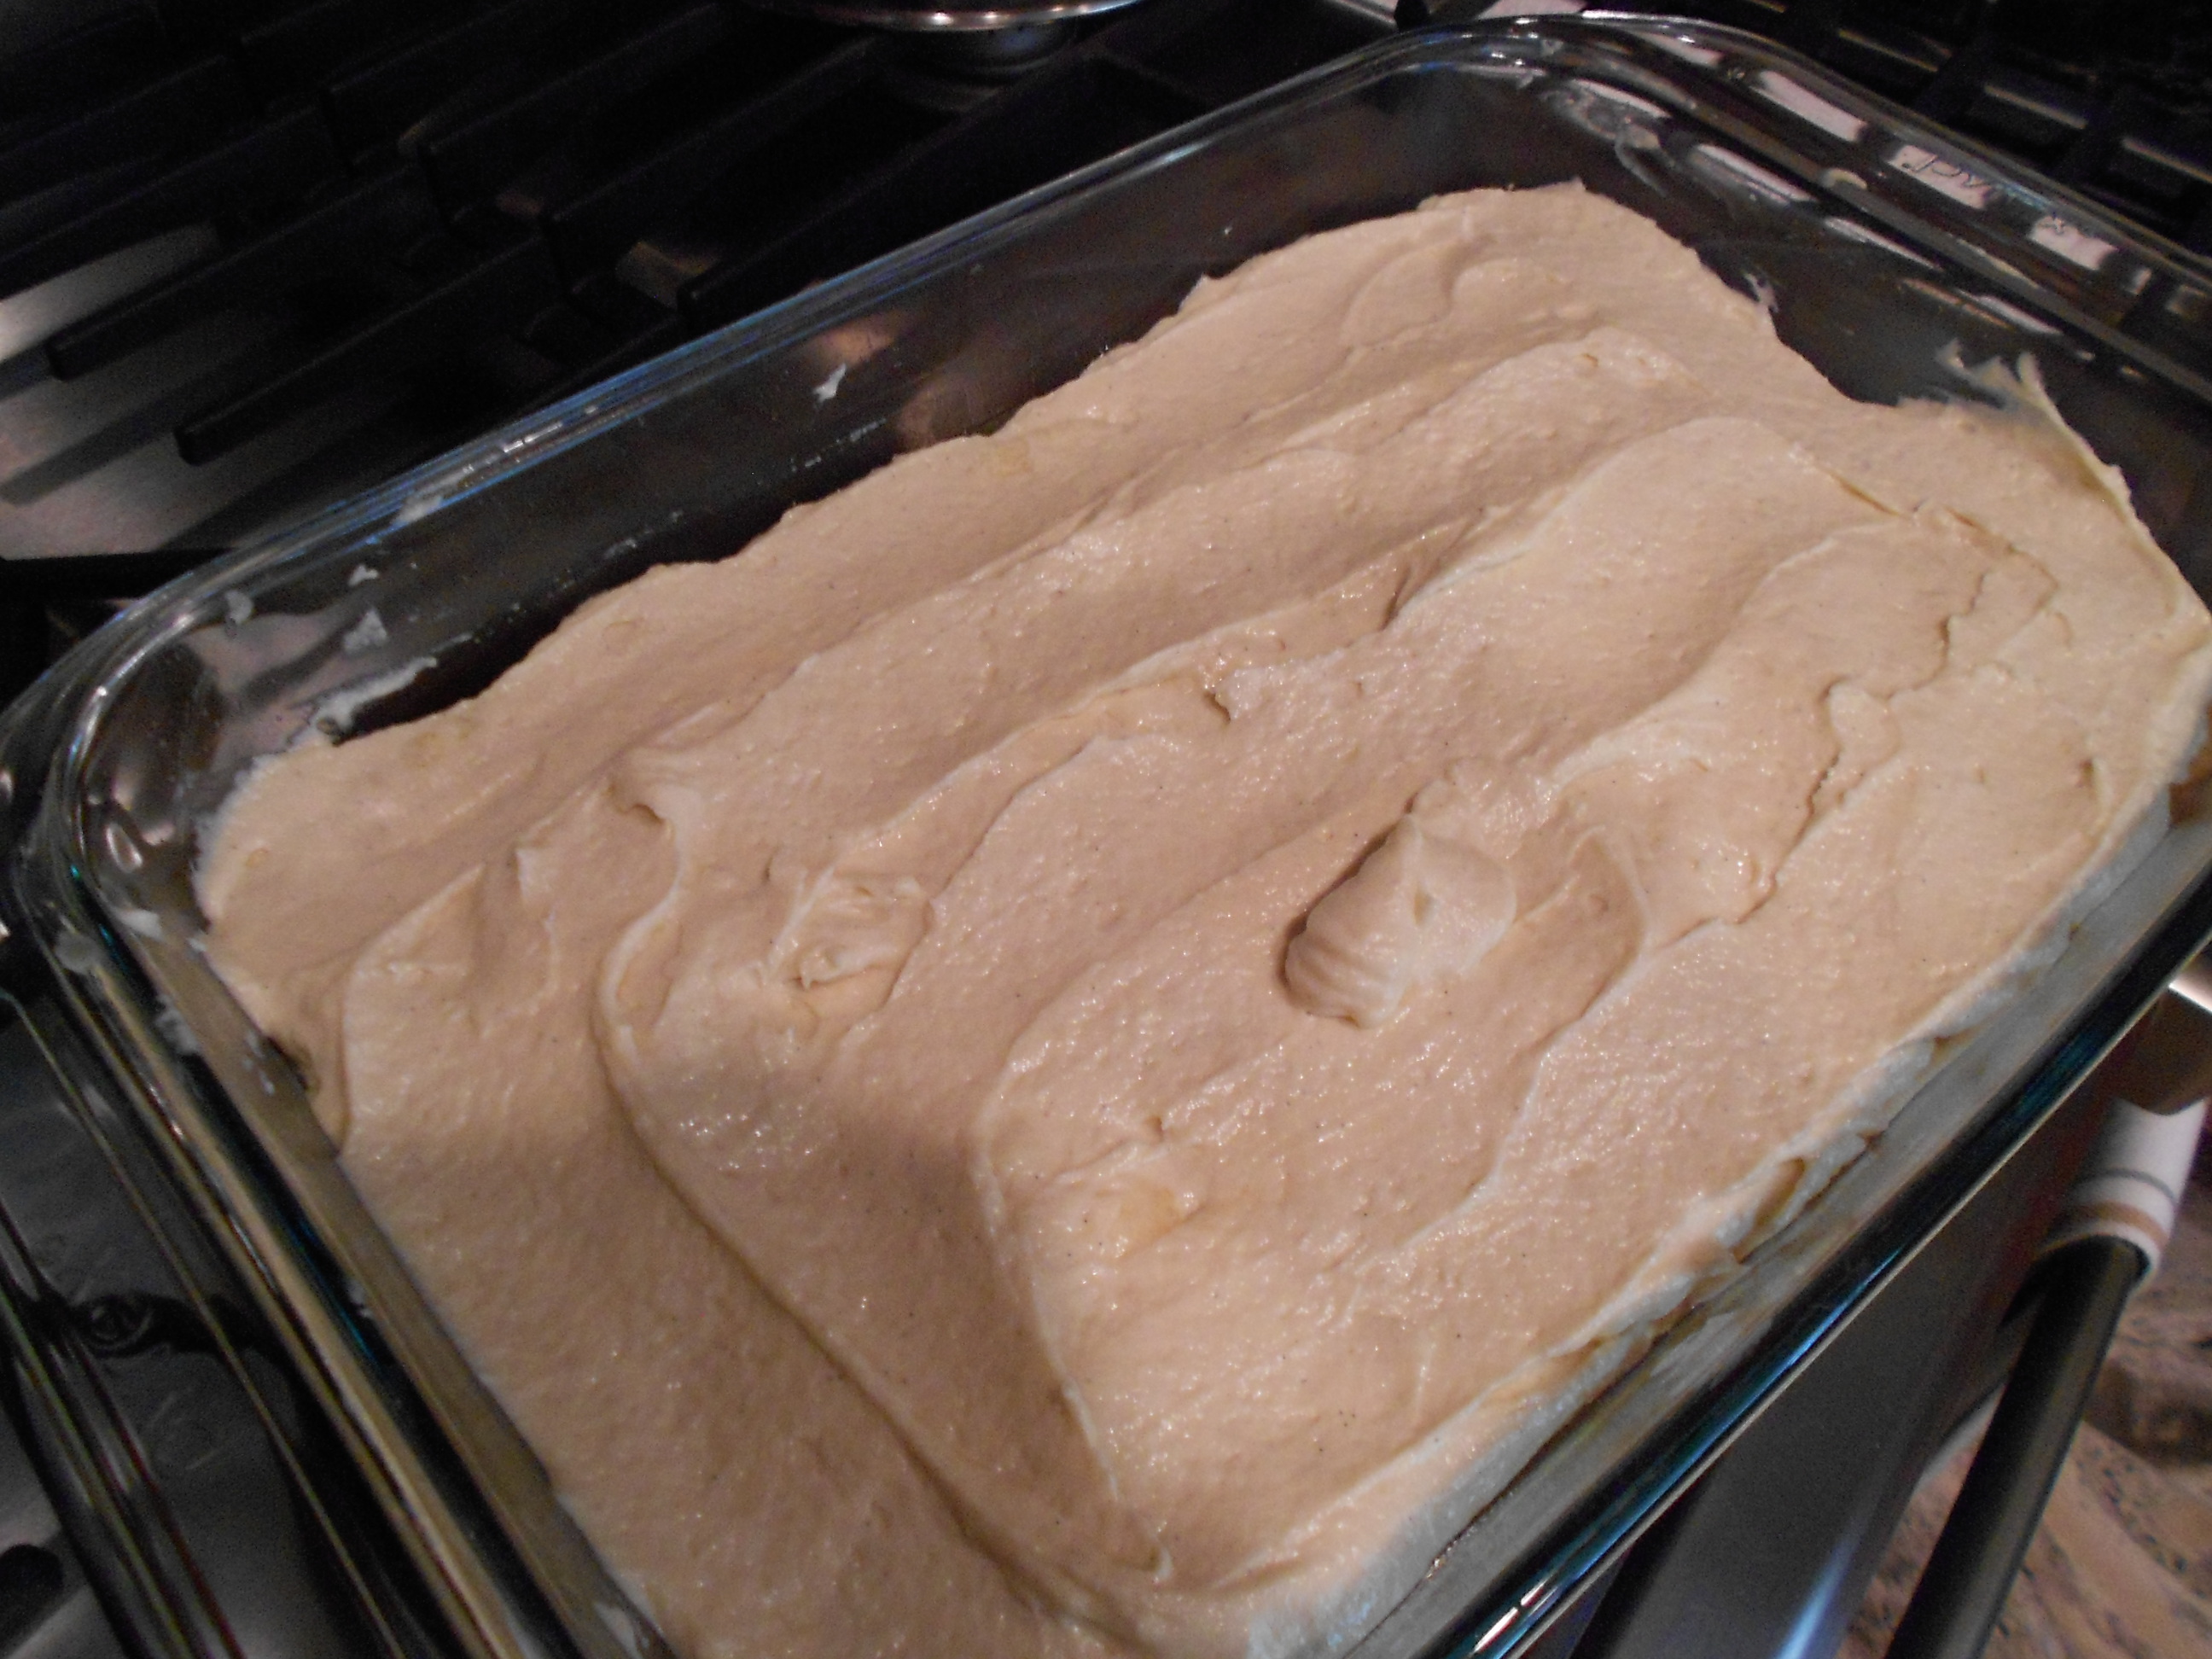
Once everything is incorporated, I take the batter and drop spoonfuls into the pan with the glaze and pineapple. I do six large spoonfuls so I can get a nice even layer without disrupting the fruit's placement.

DSCN2156

DSCN2157

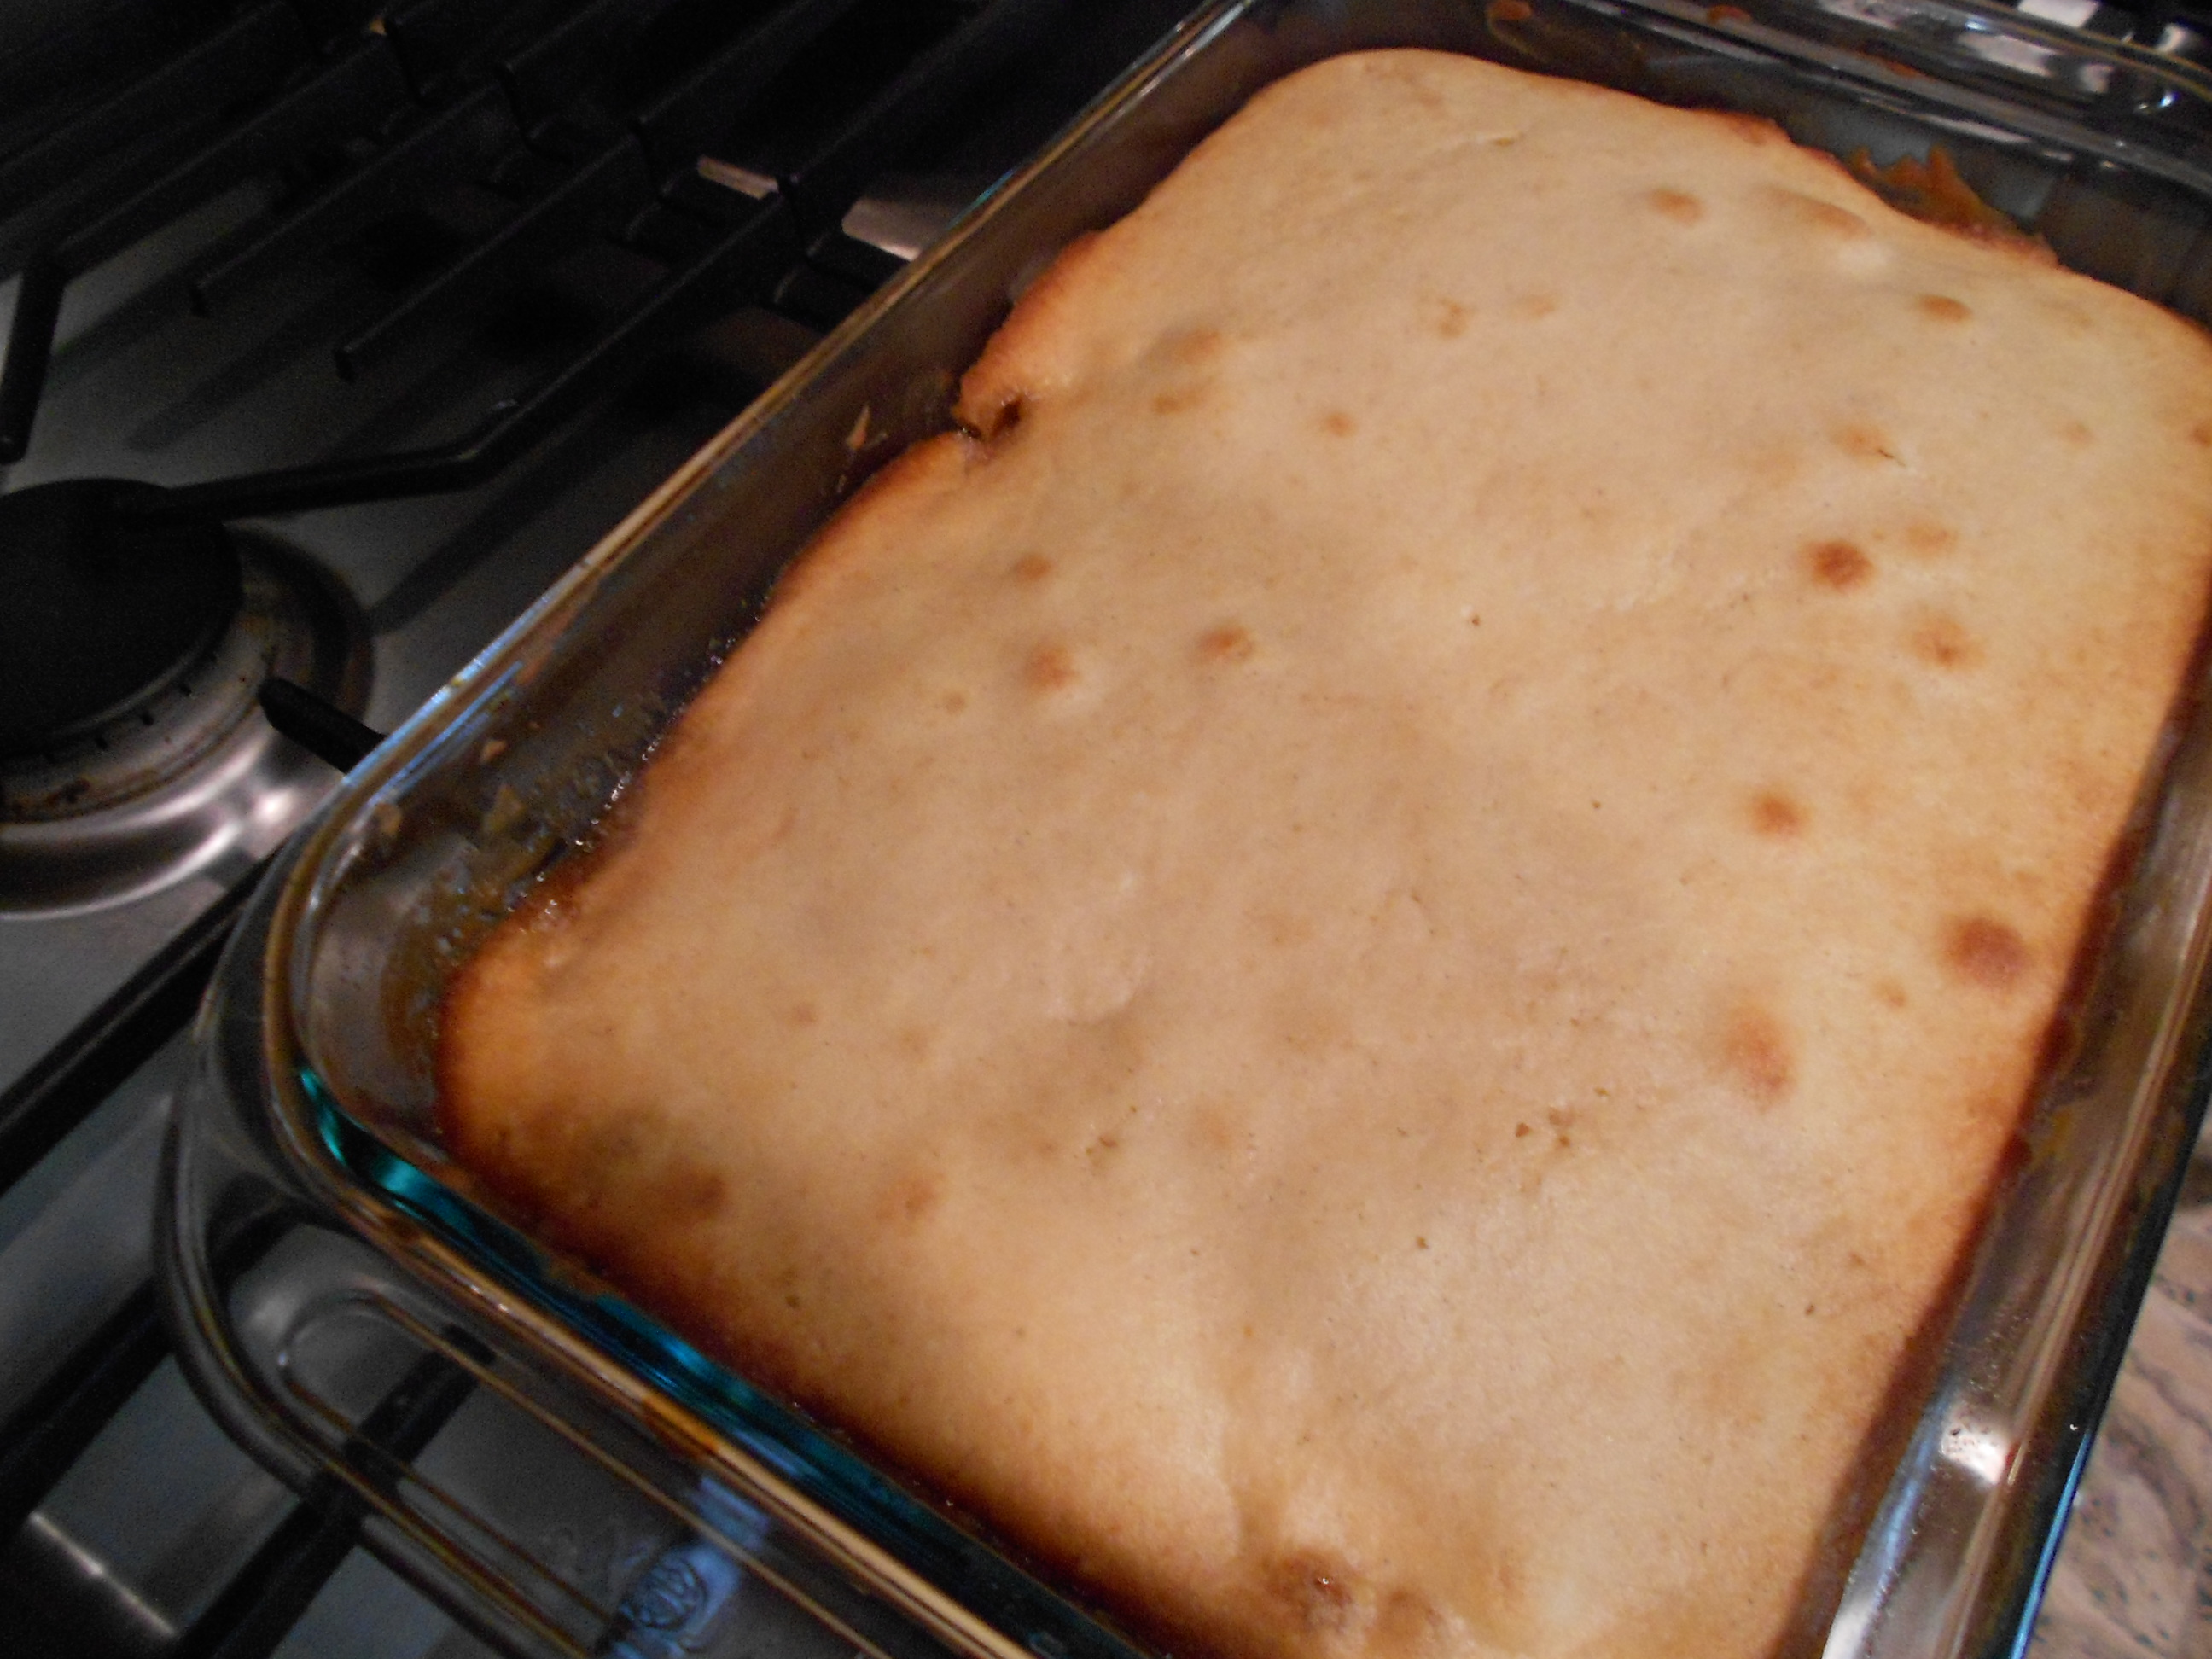
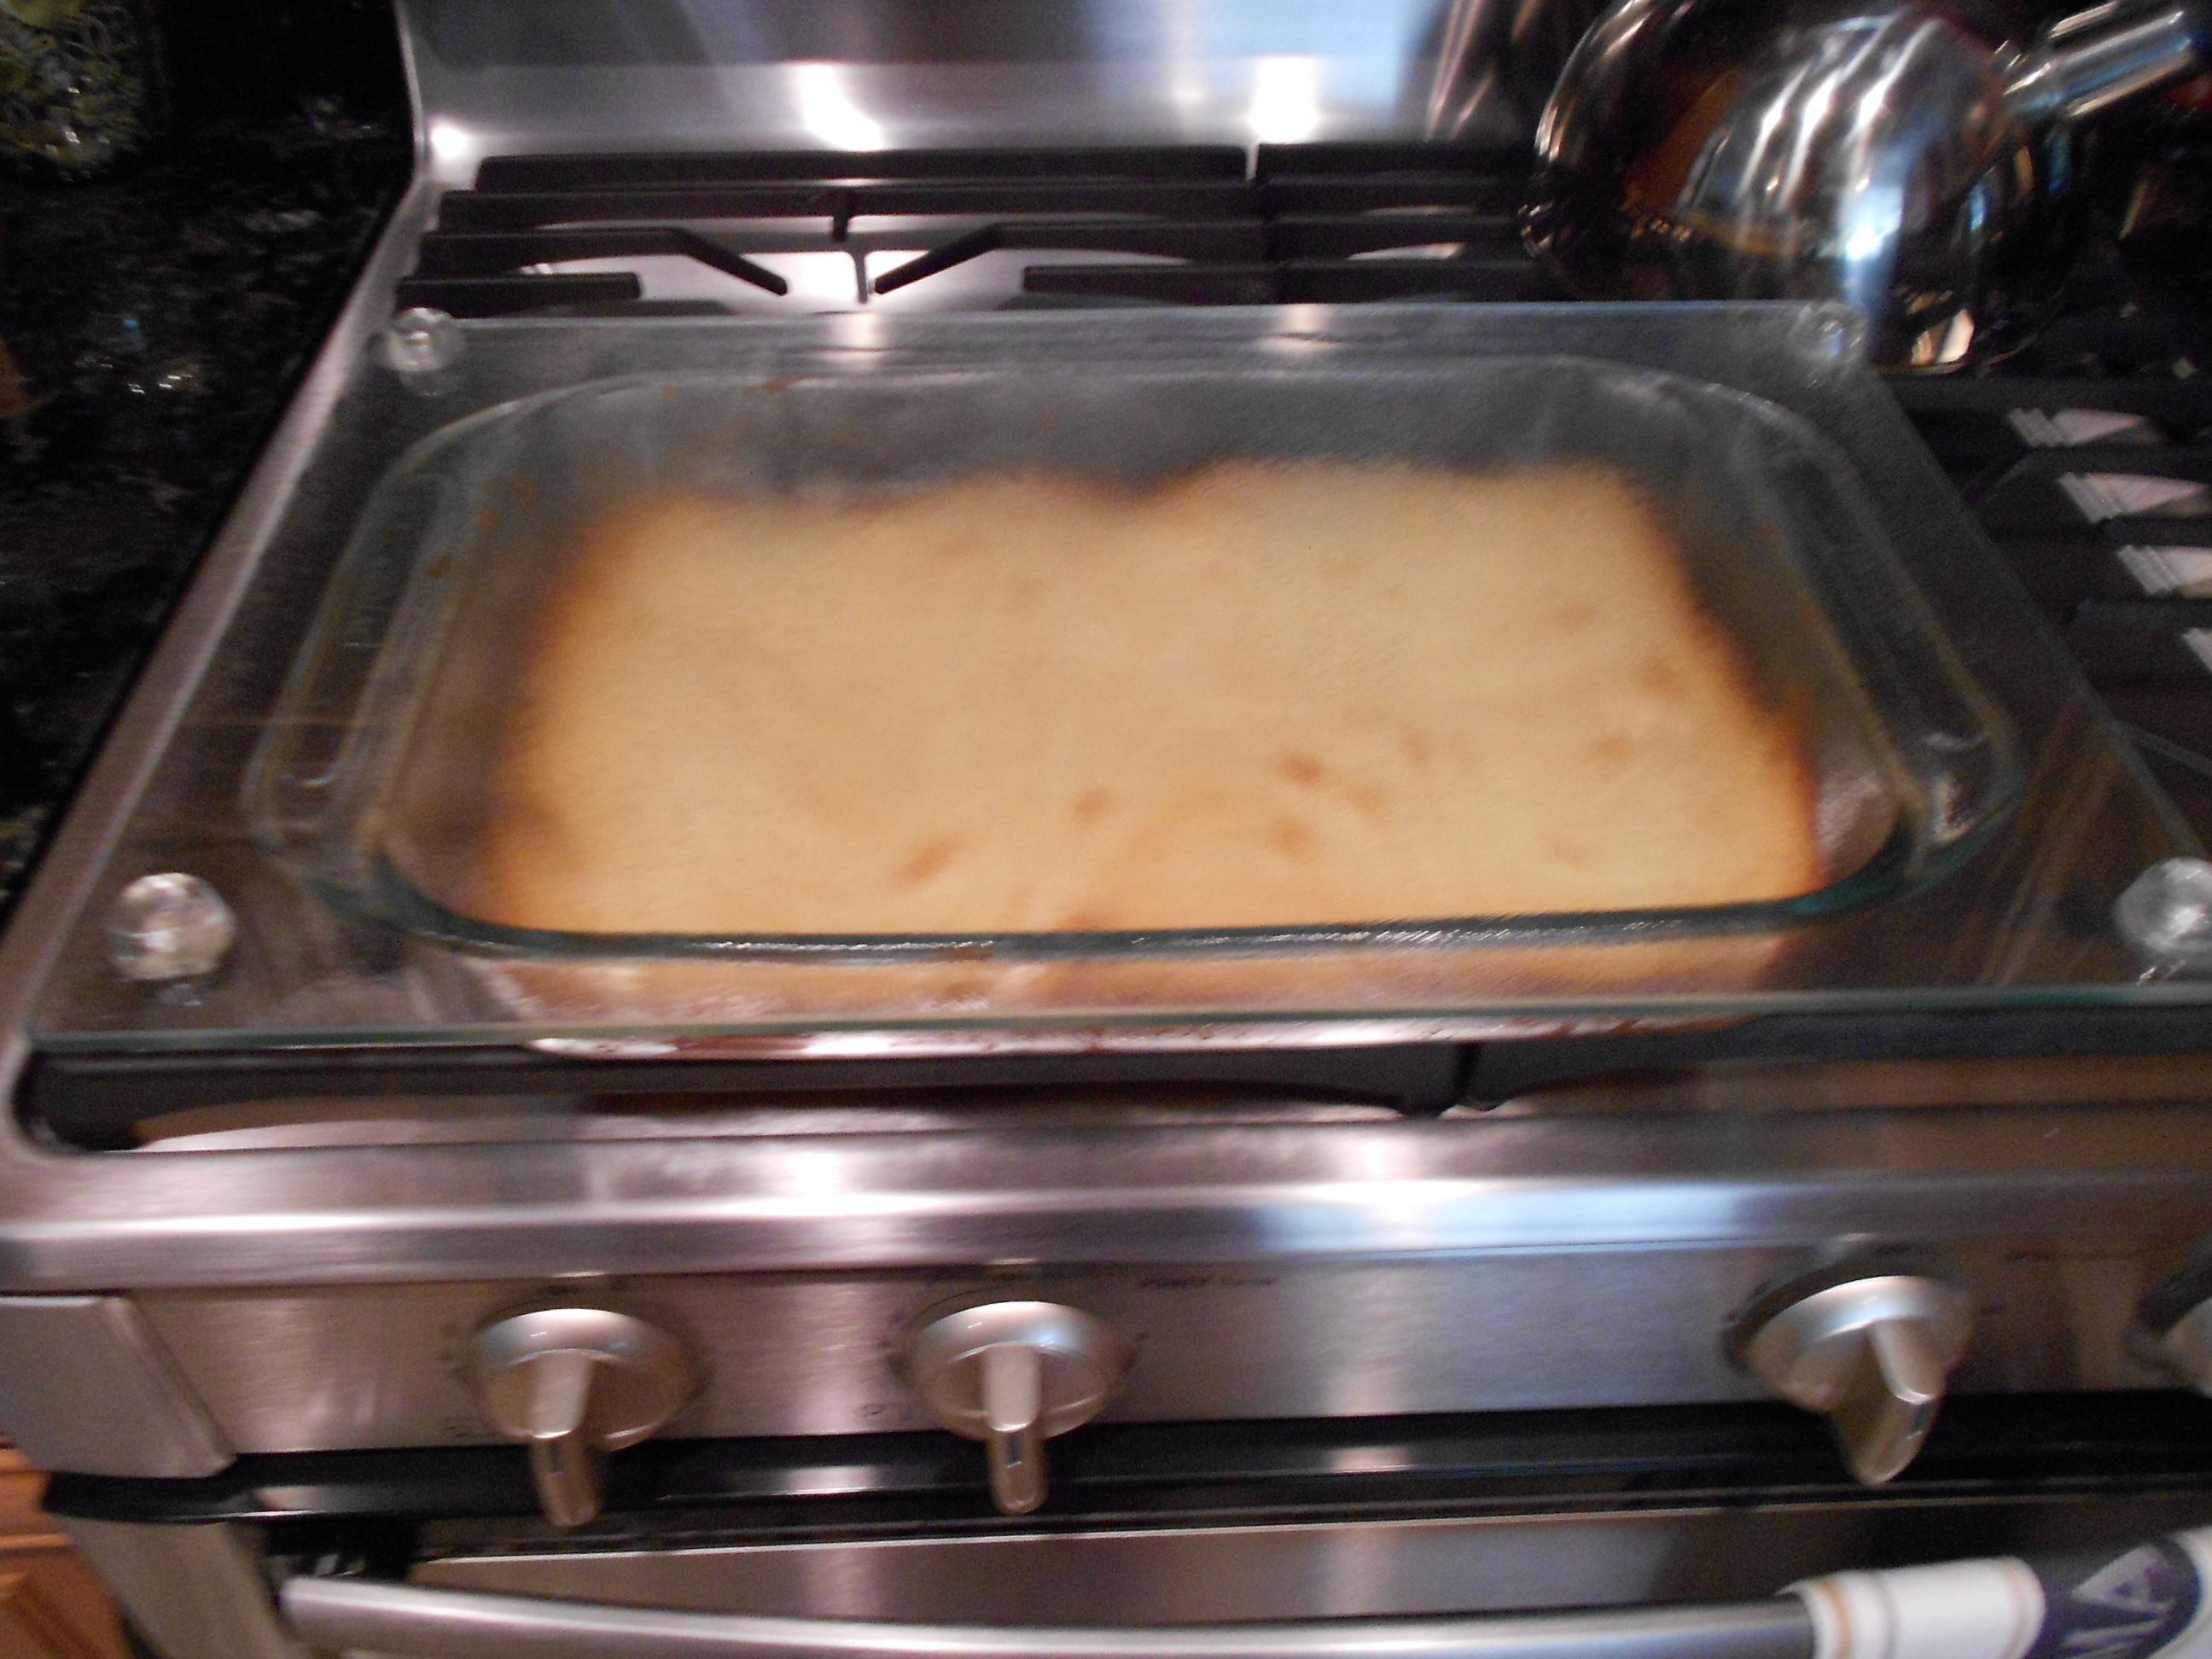
Place in oven at 350 degrees for 35 minutes or until the cake is springy to the touch. You can use a toothpick to check if the cake is done too.

DSCN2162

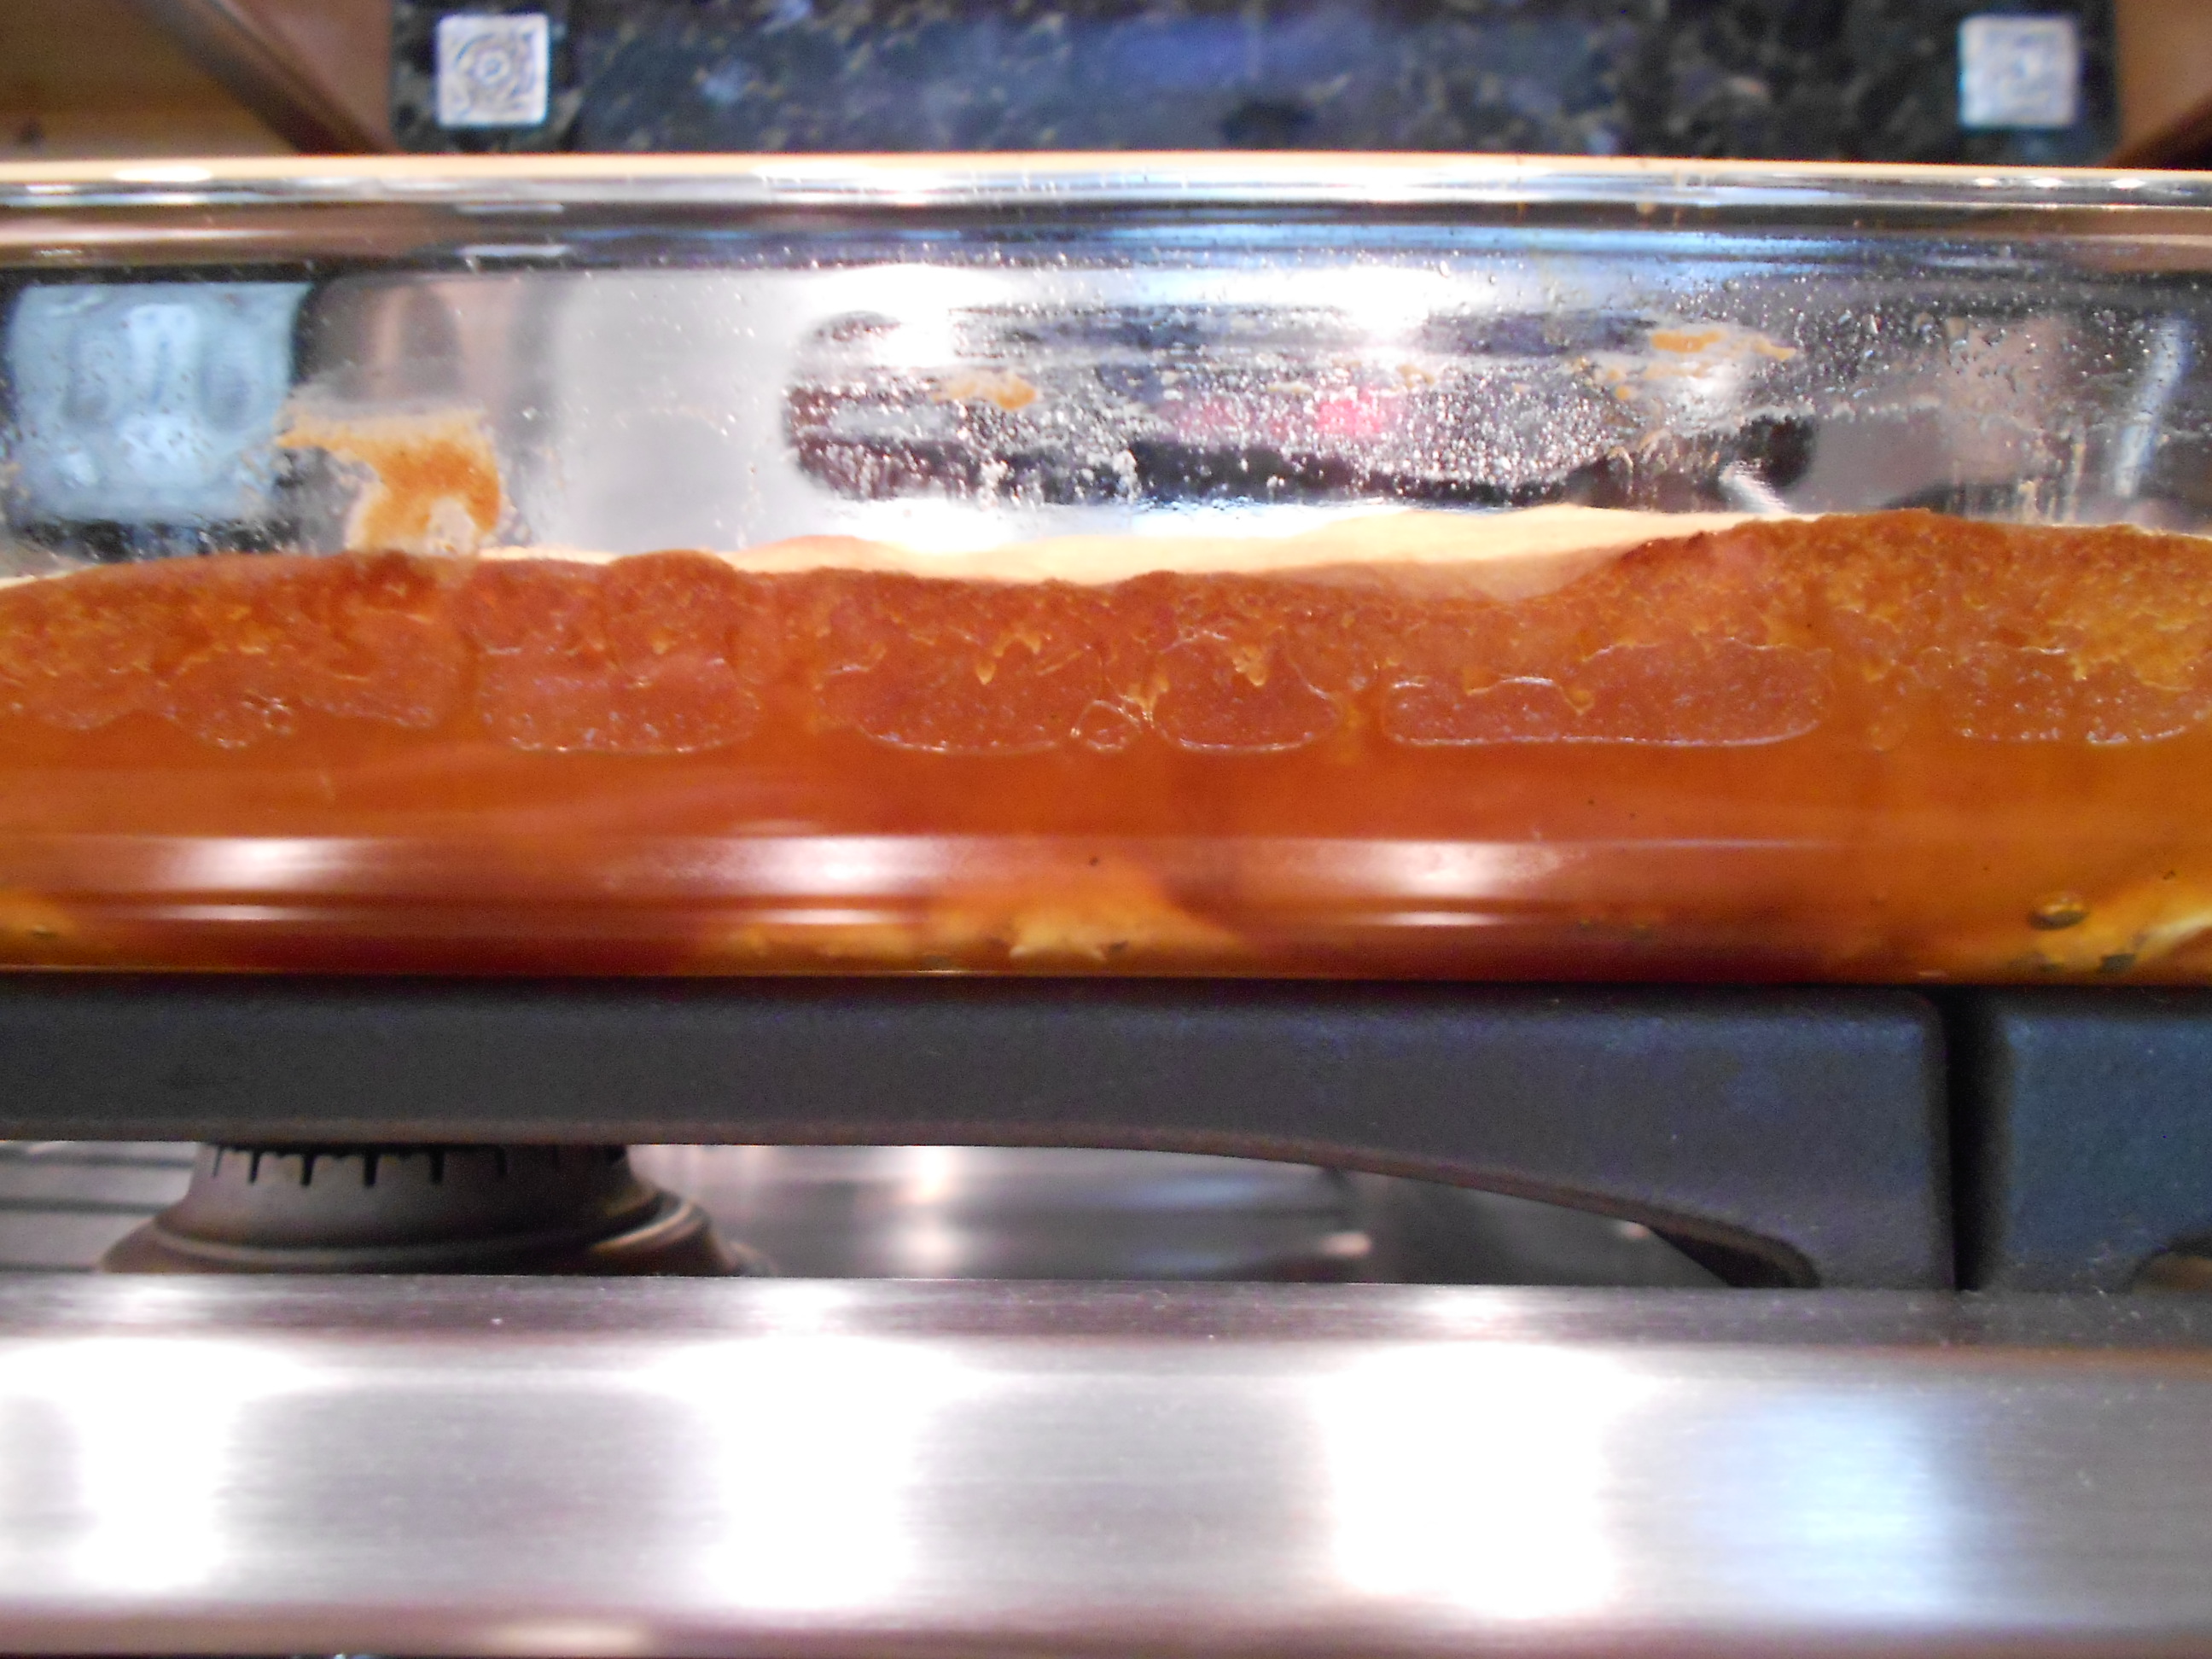
The sides will be bubbling!

DSCN2164

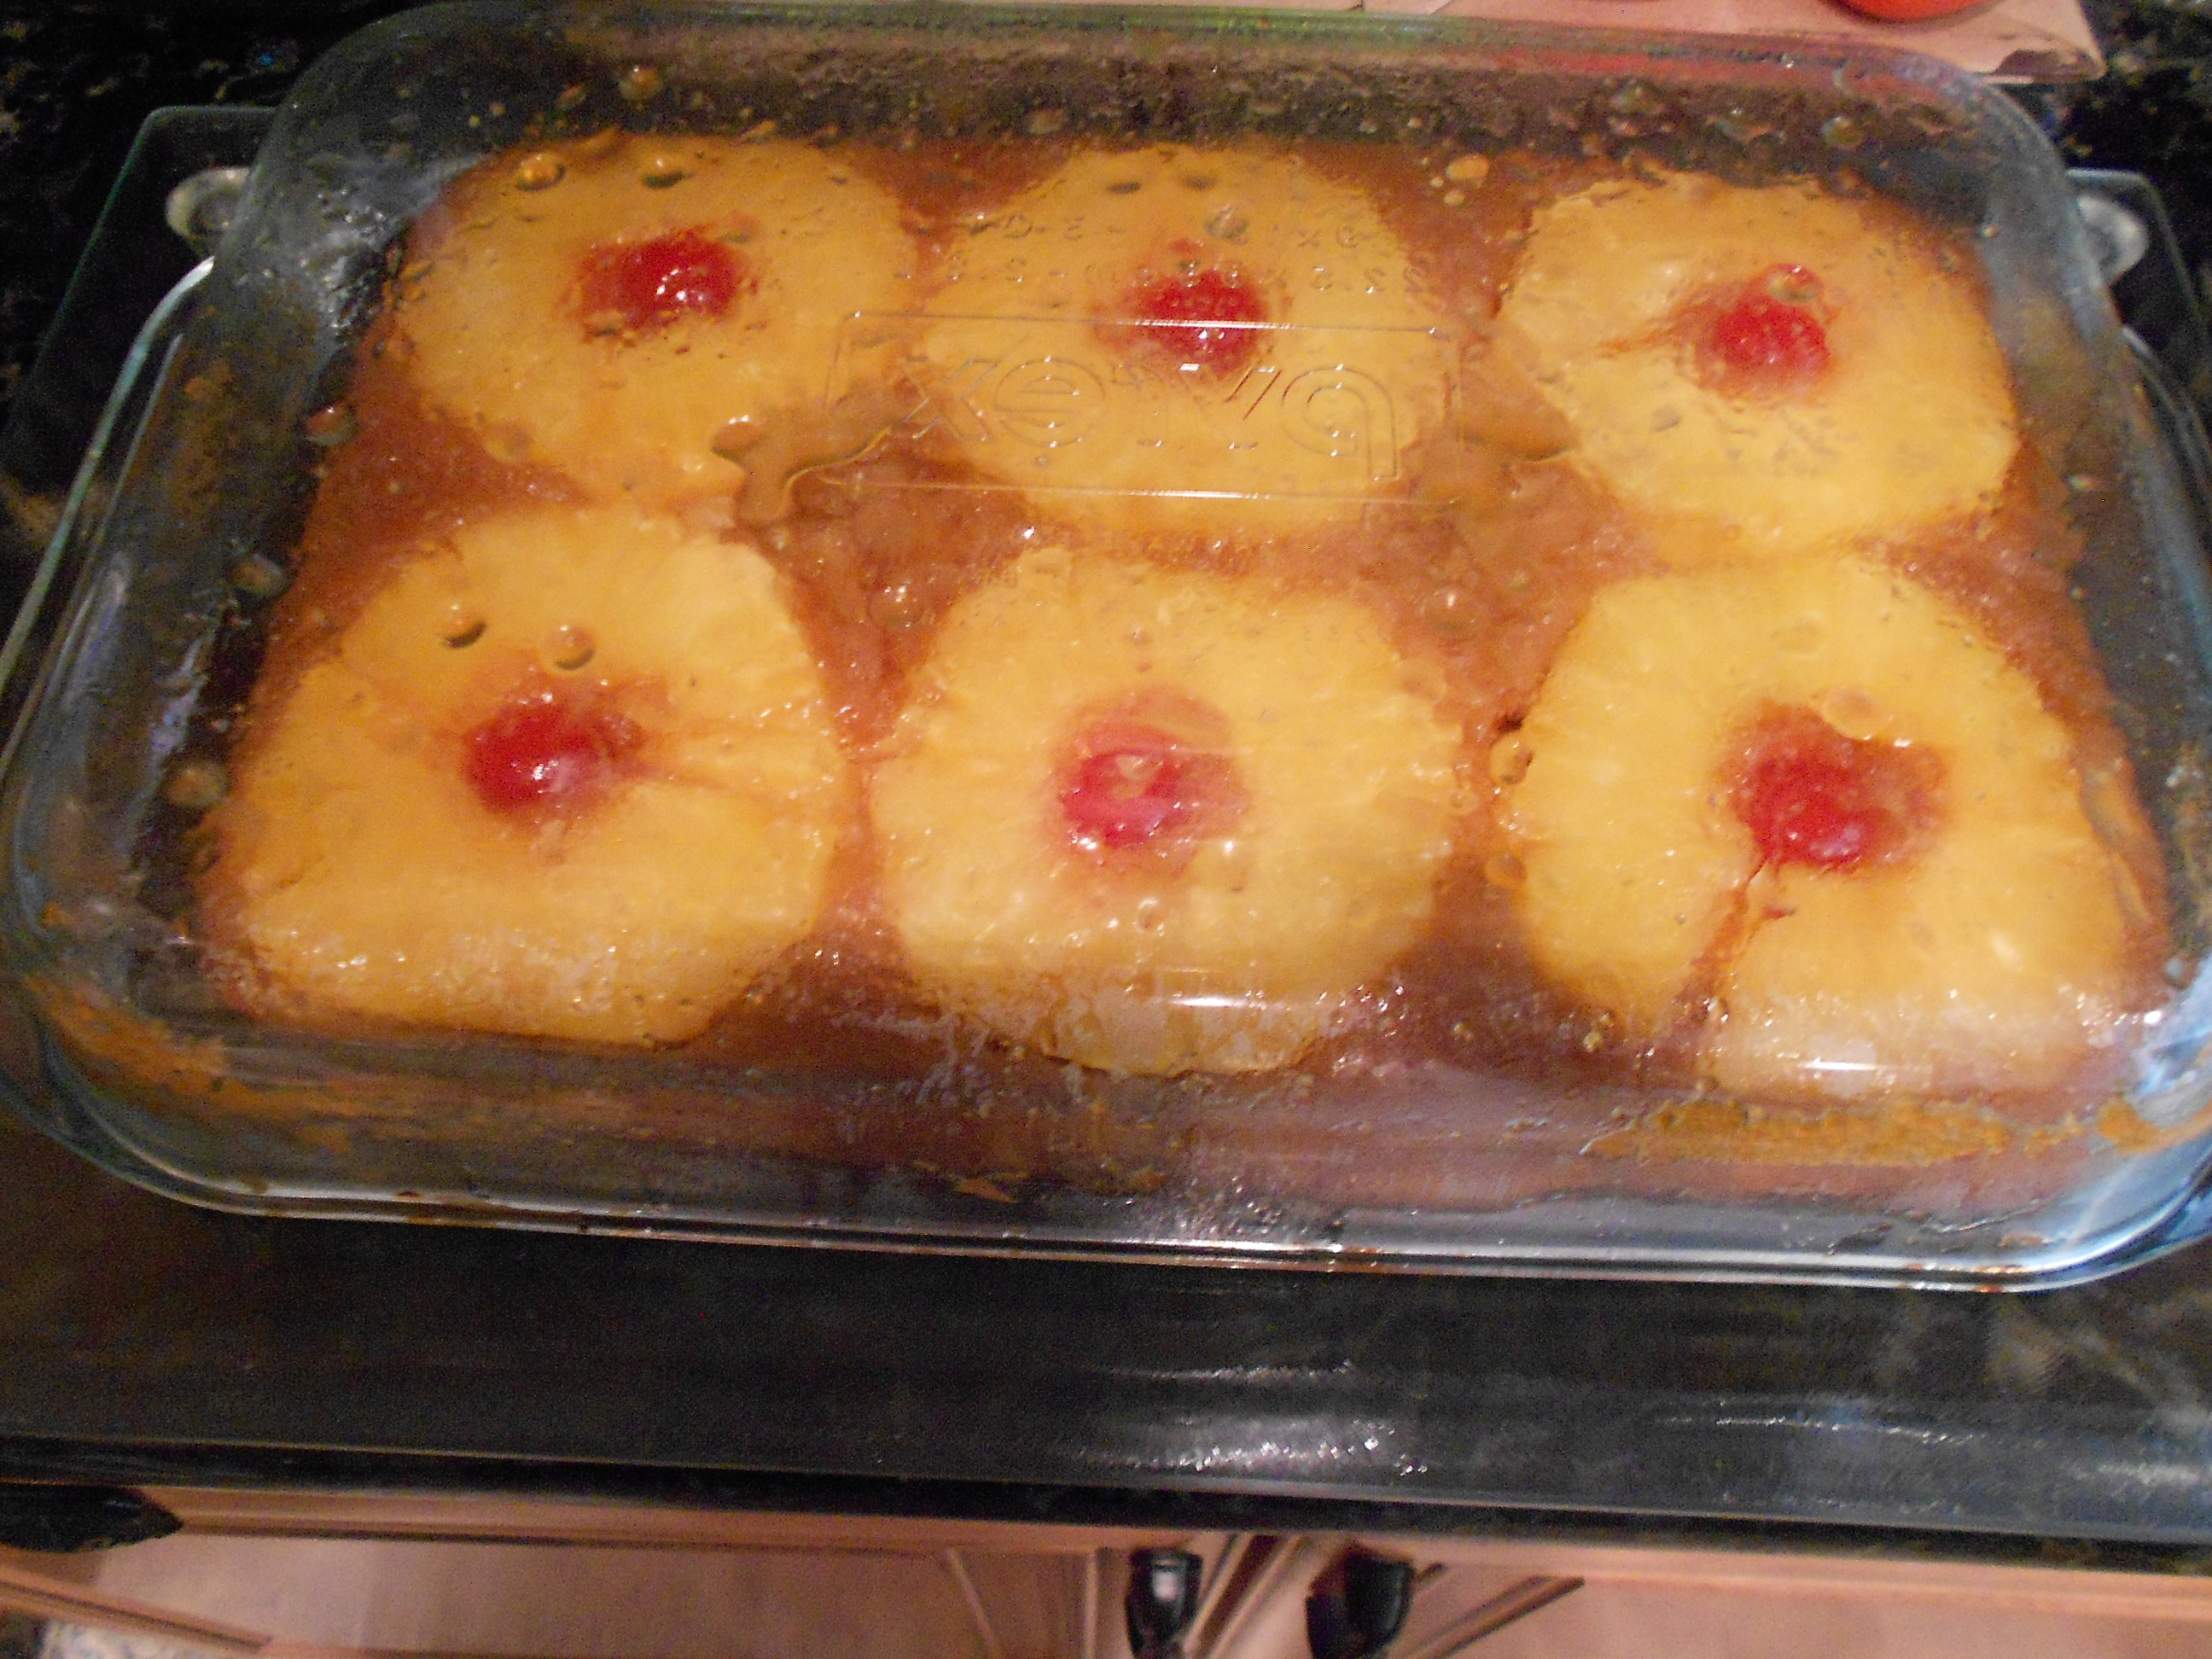
Allow the cake to cool down for 15 minutes before flipping. I usually place a glass cutting board on top of the cake pan.

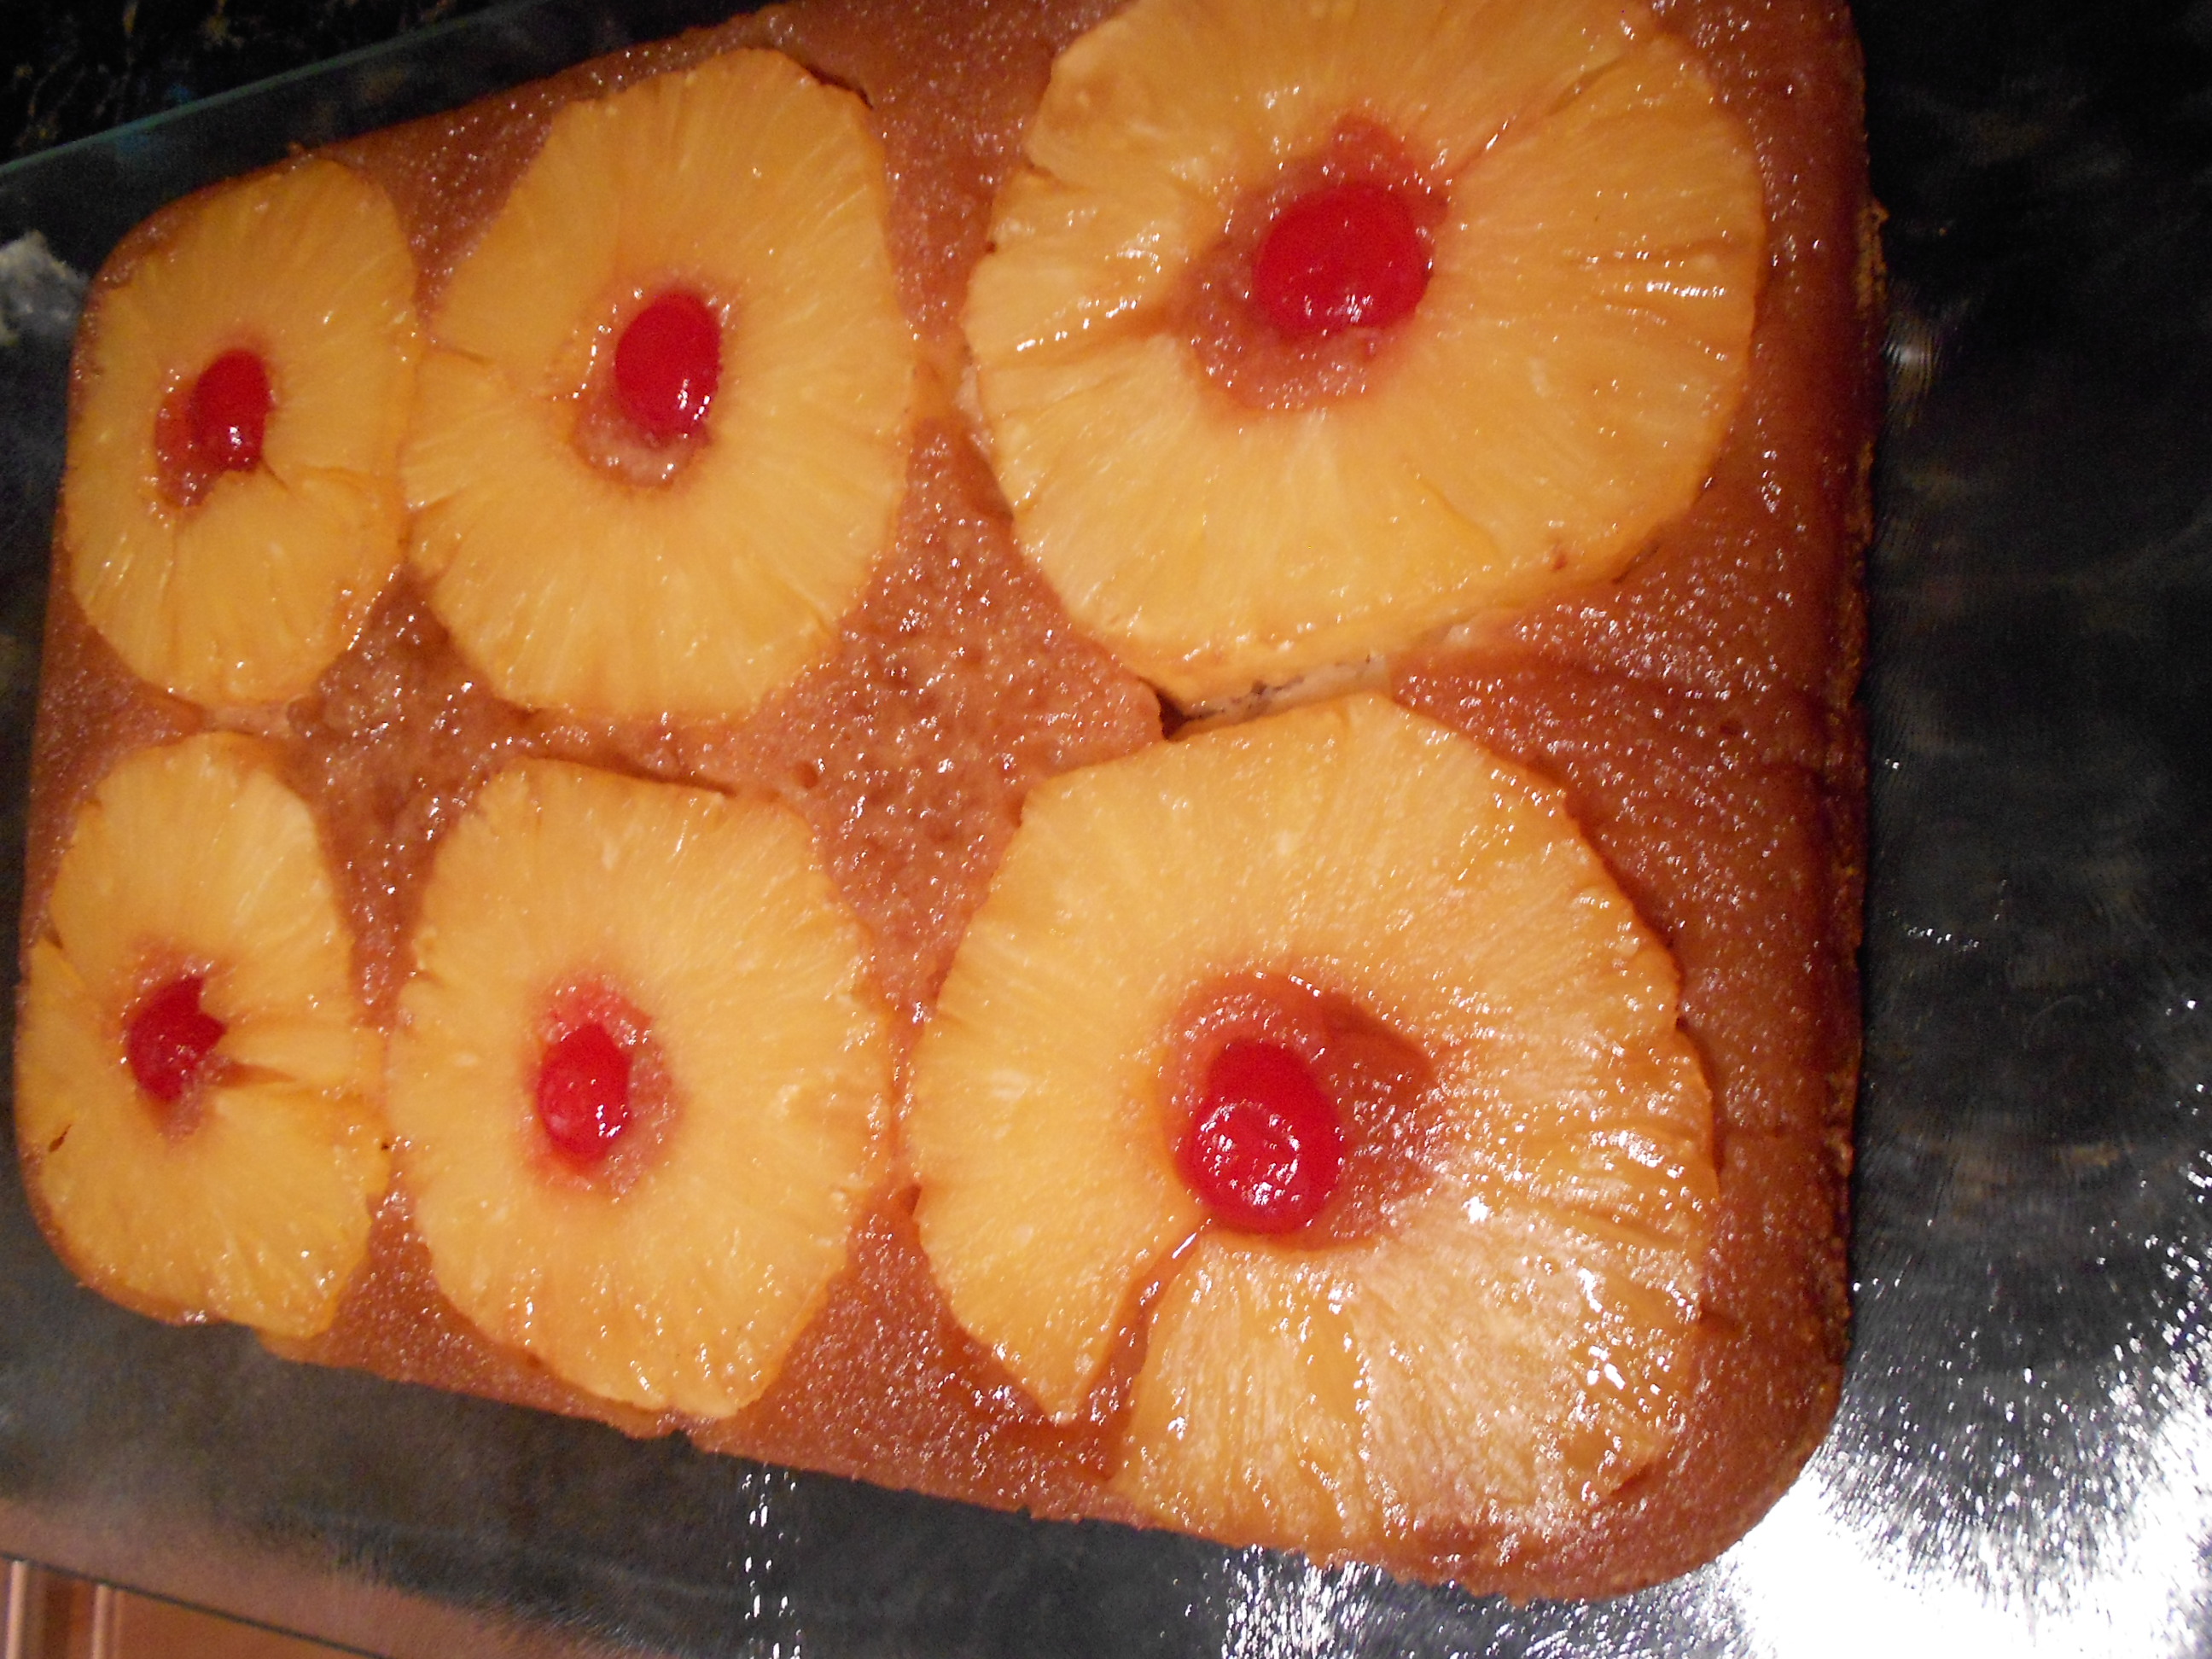
DSCN2199

Flip.

DSCN2203

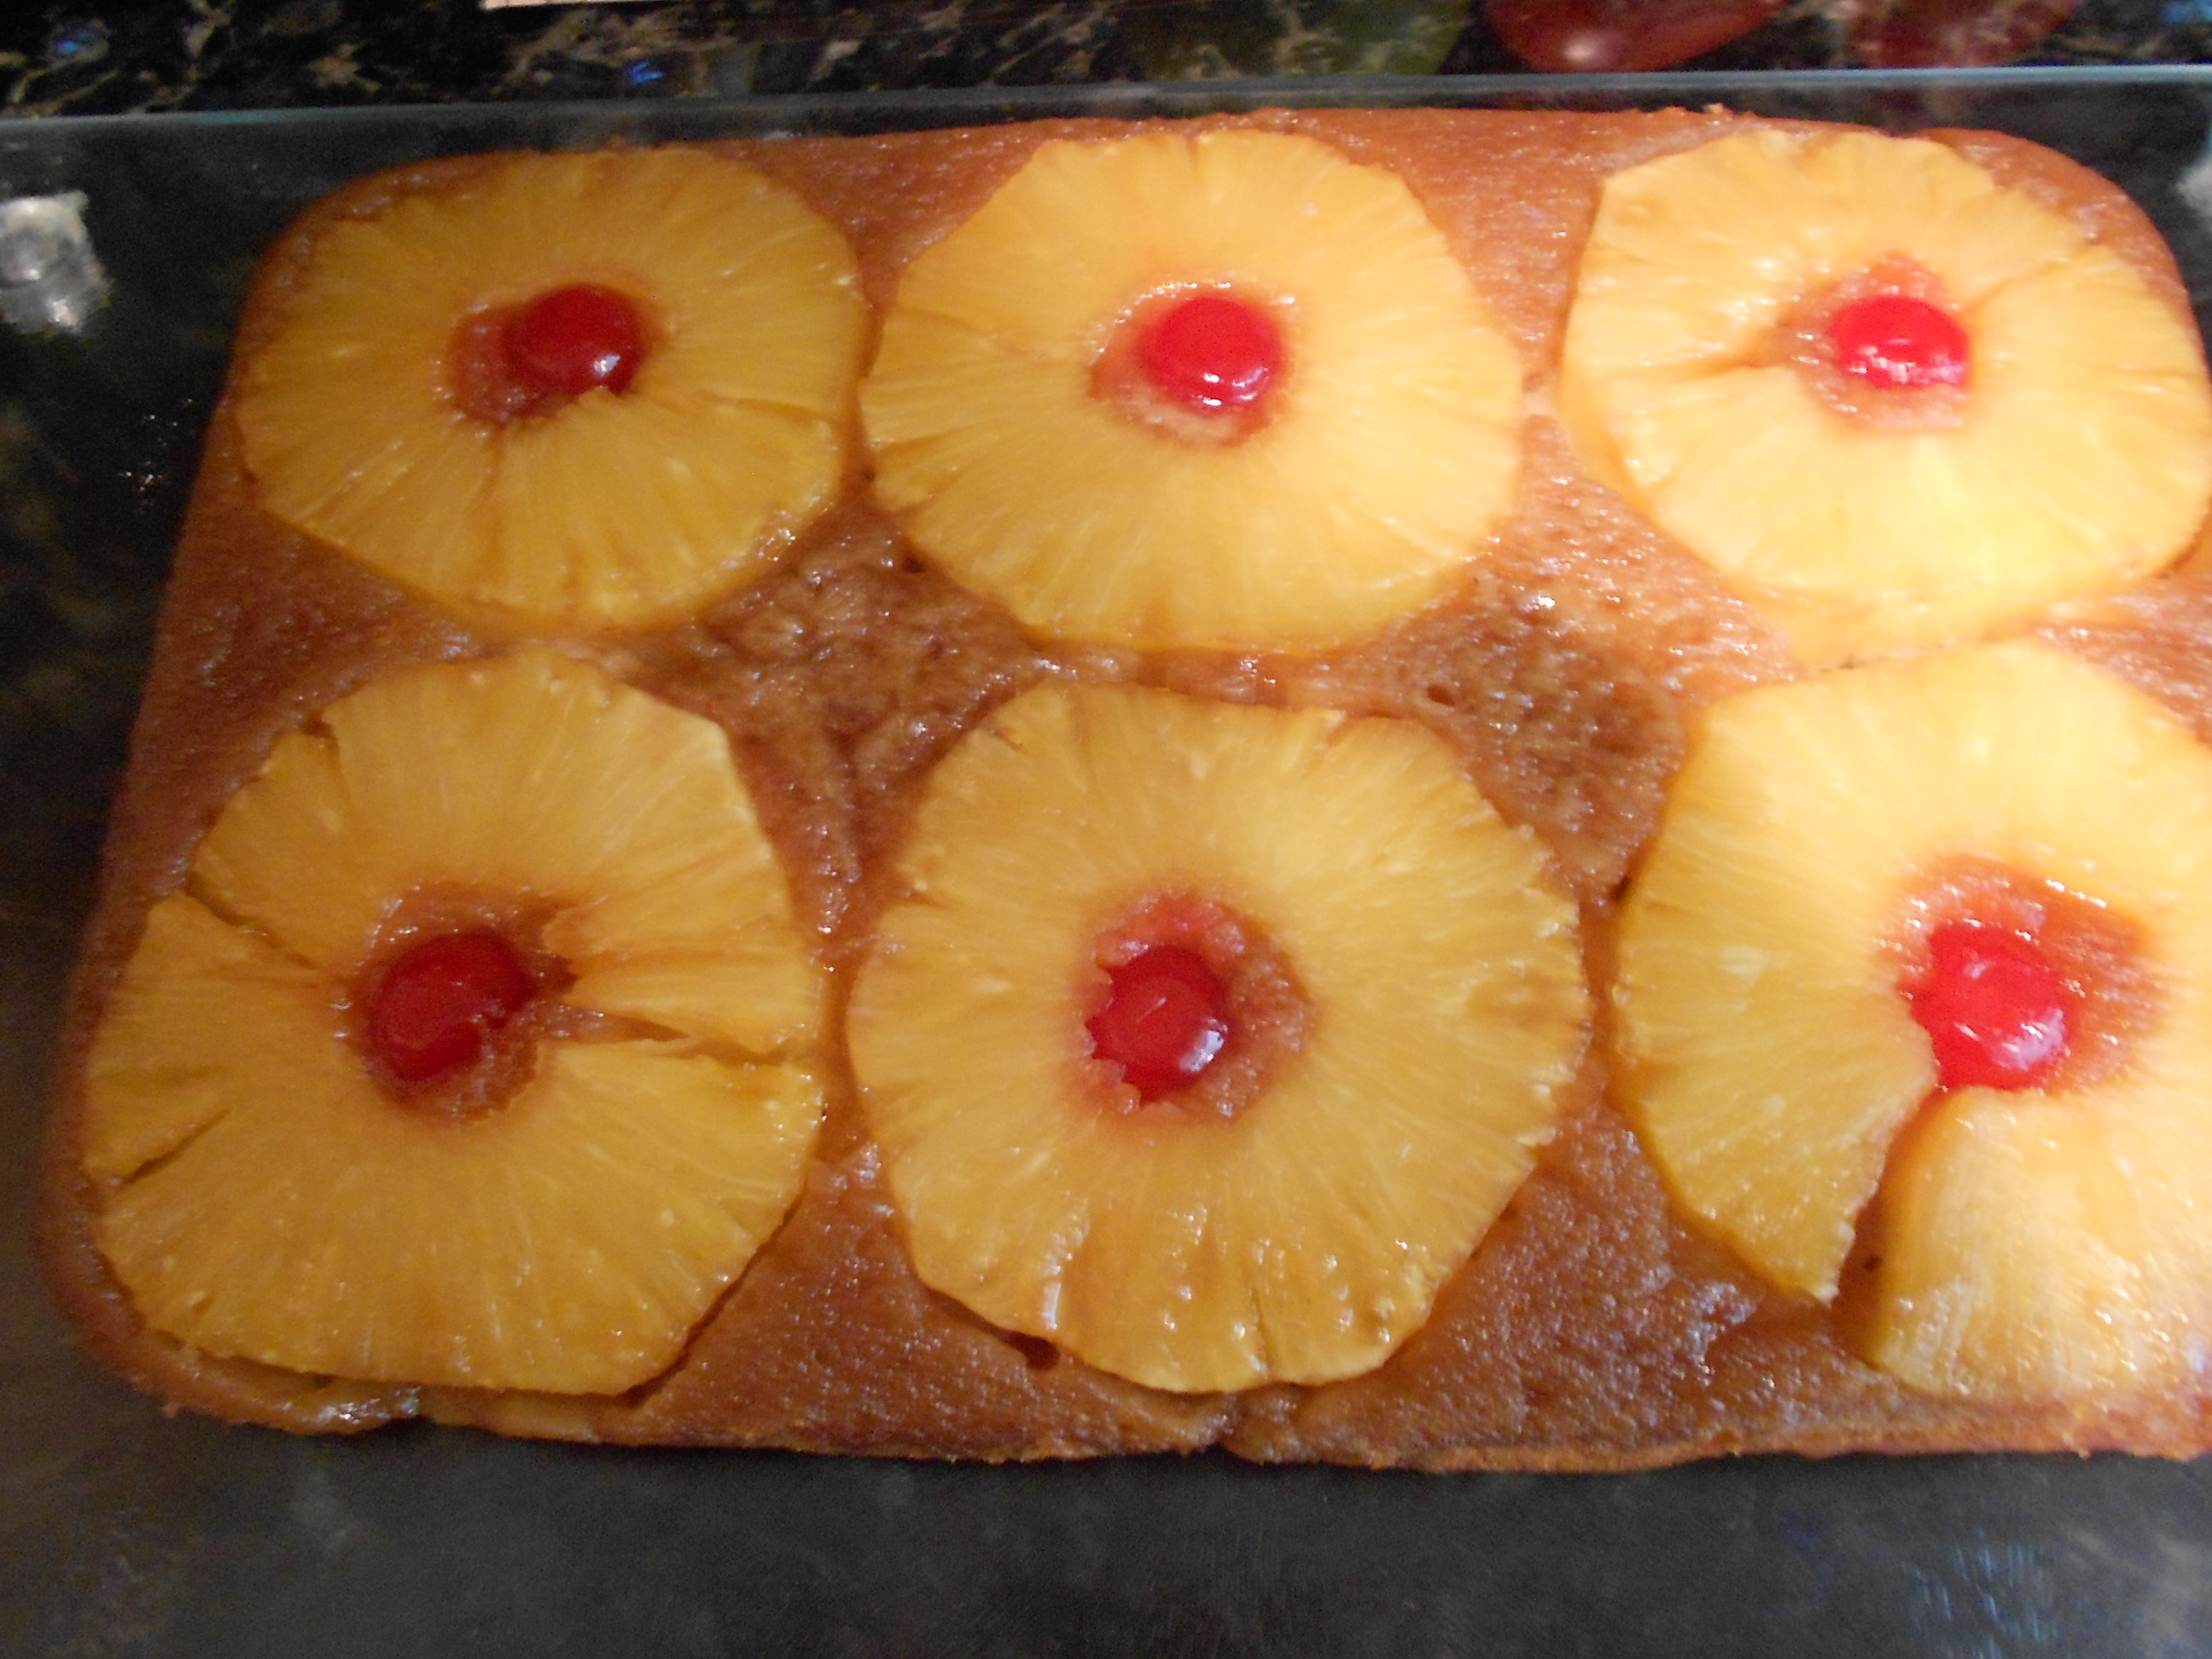
Remove pan.

DSCN2208

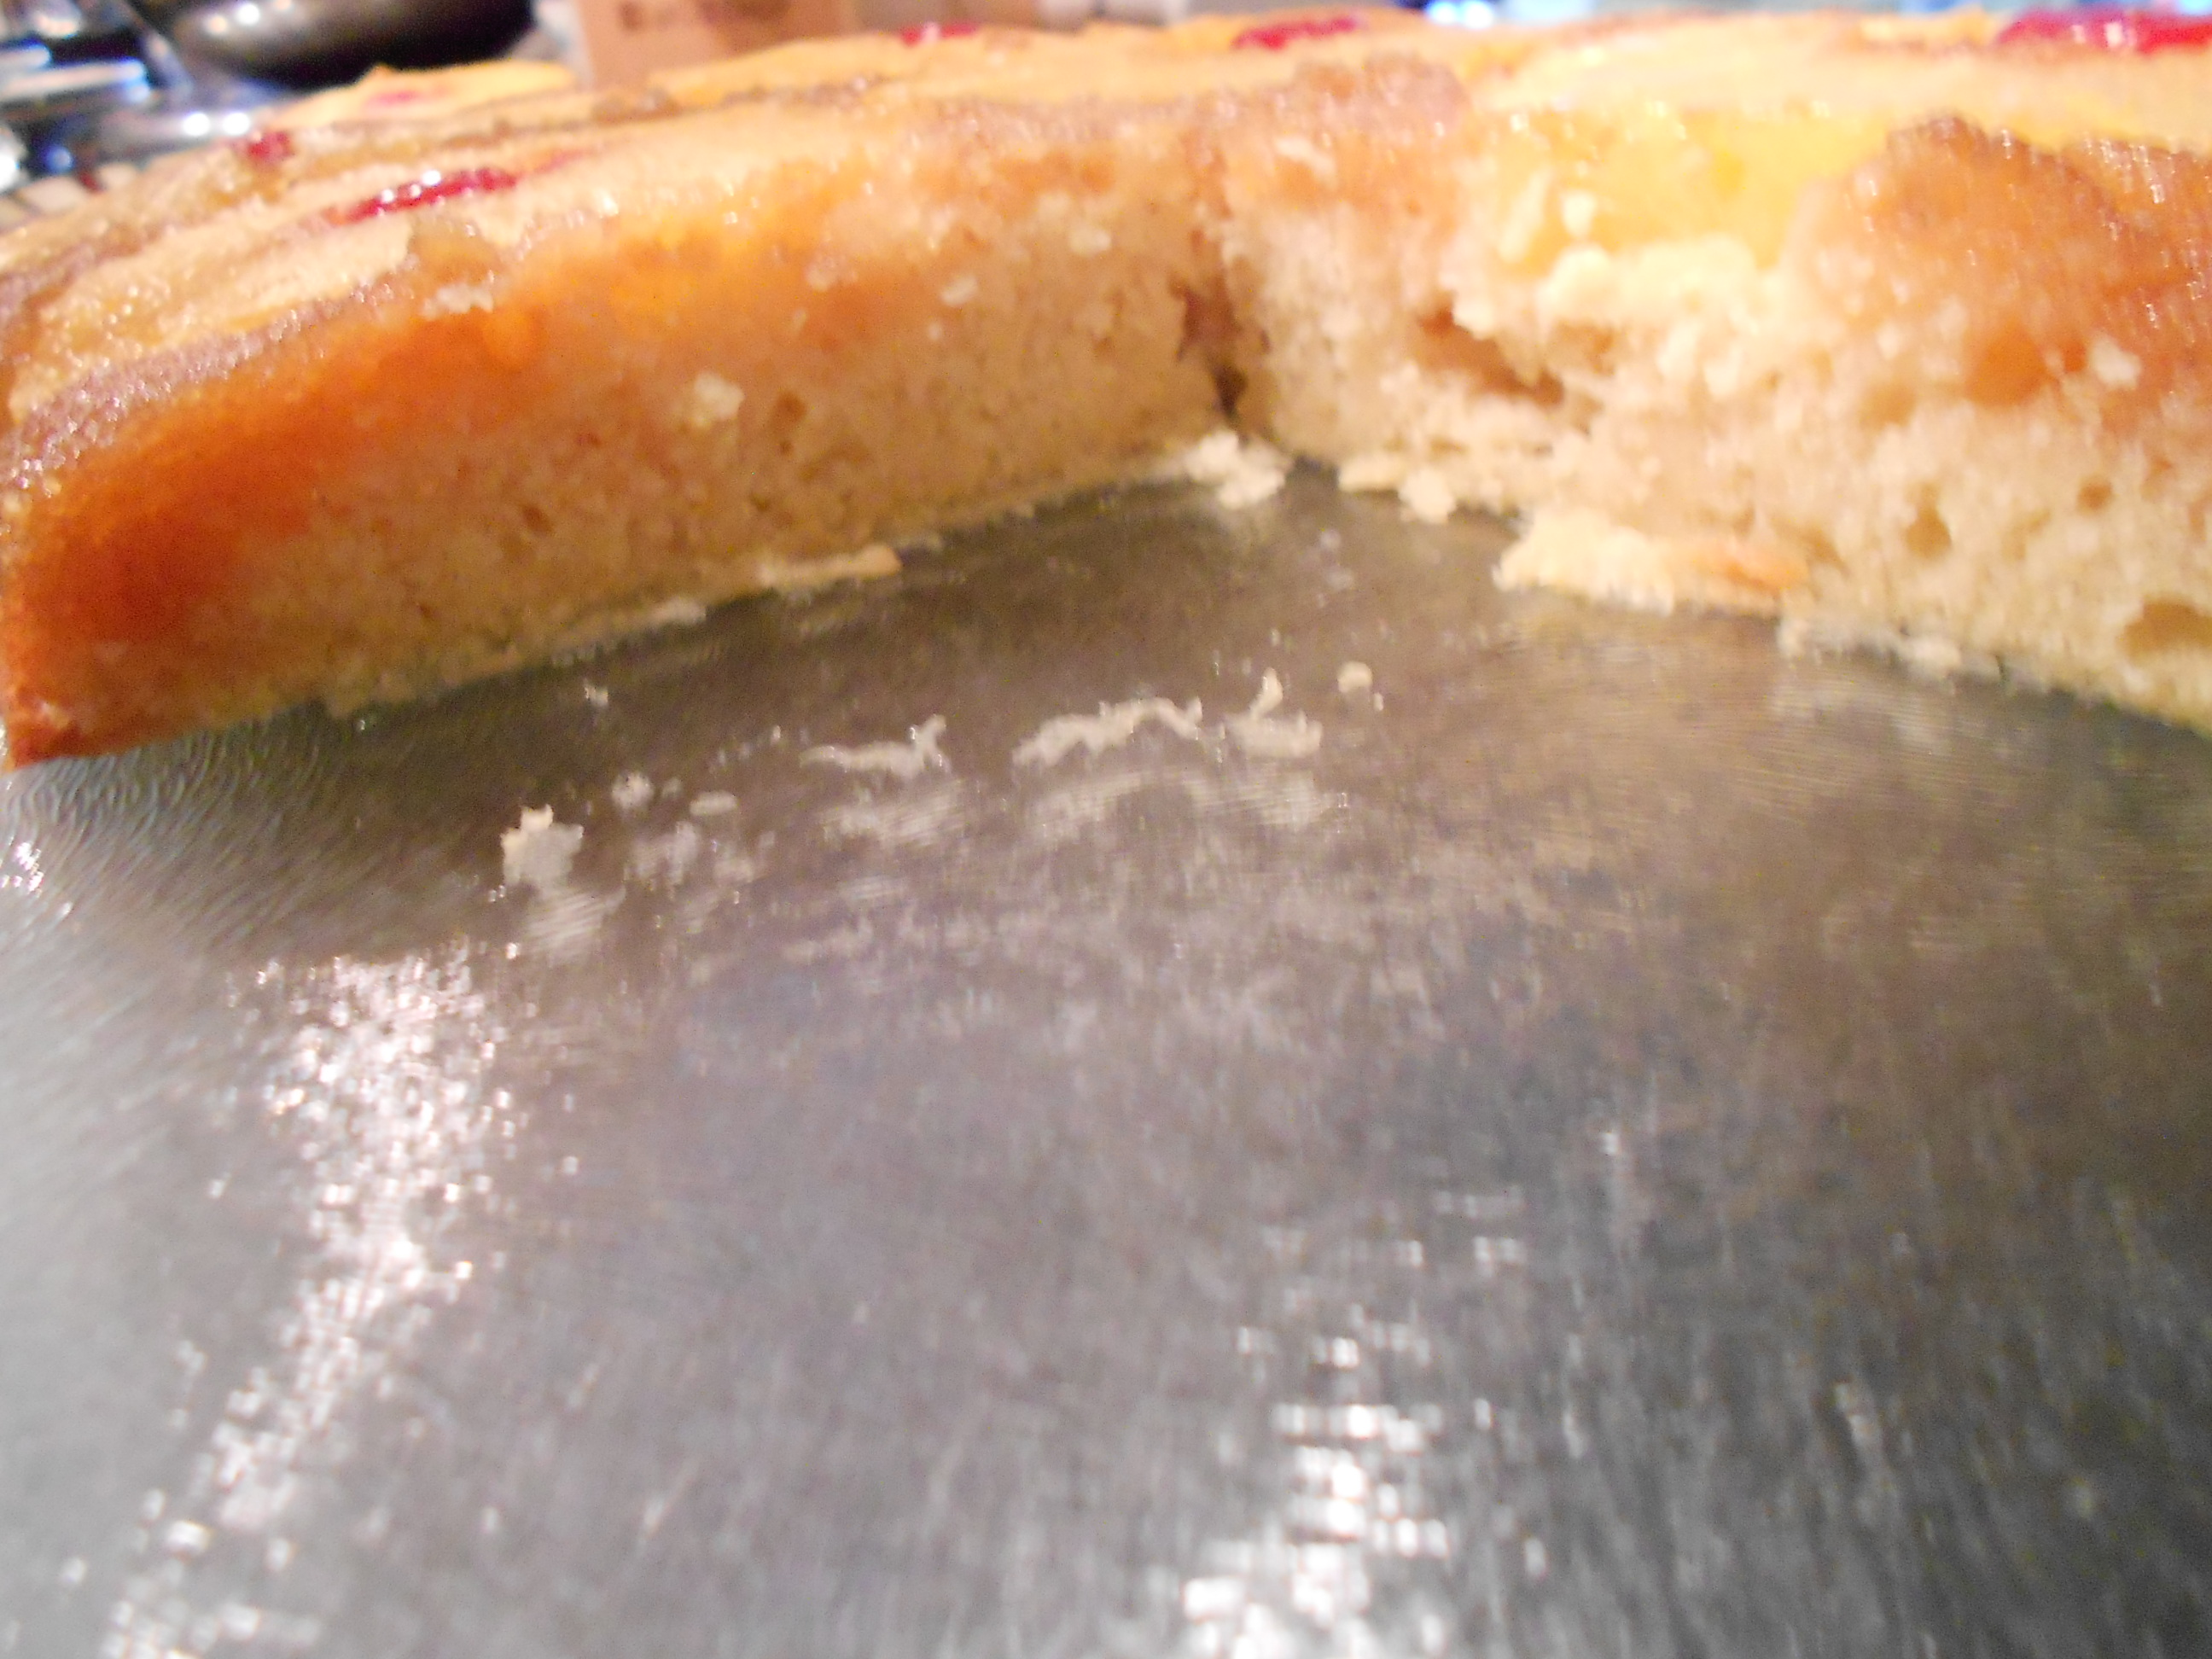
I allow for it to cool a bit more and then start cutting, usually 10 minutes.

DSCN2222

Serve with ice cream or whipped cream if desired!

DSCN2226

You can store the cooled cut cake slices in the fridge (just wrap in plastic) and it holds very well. Enjoy!
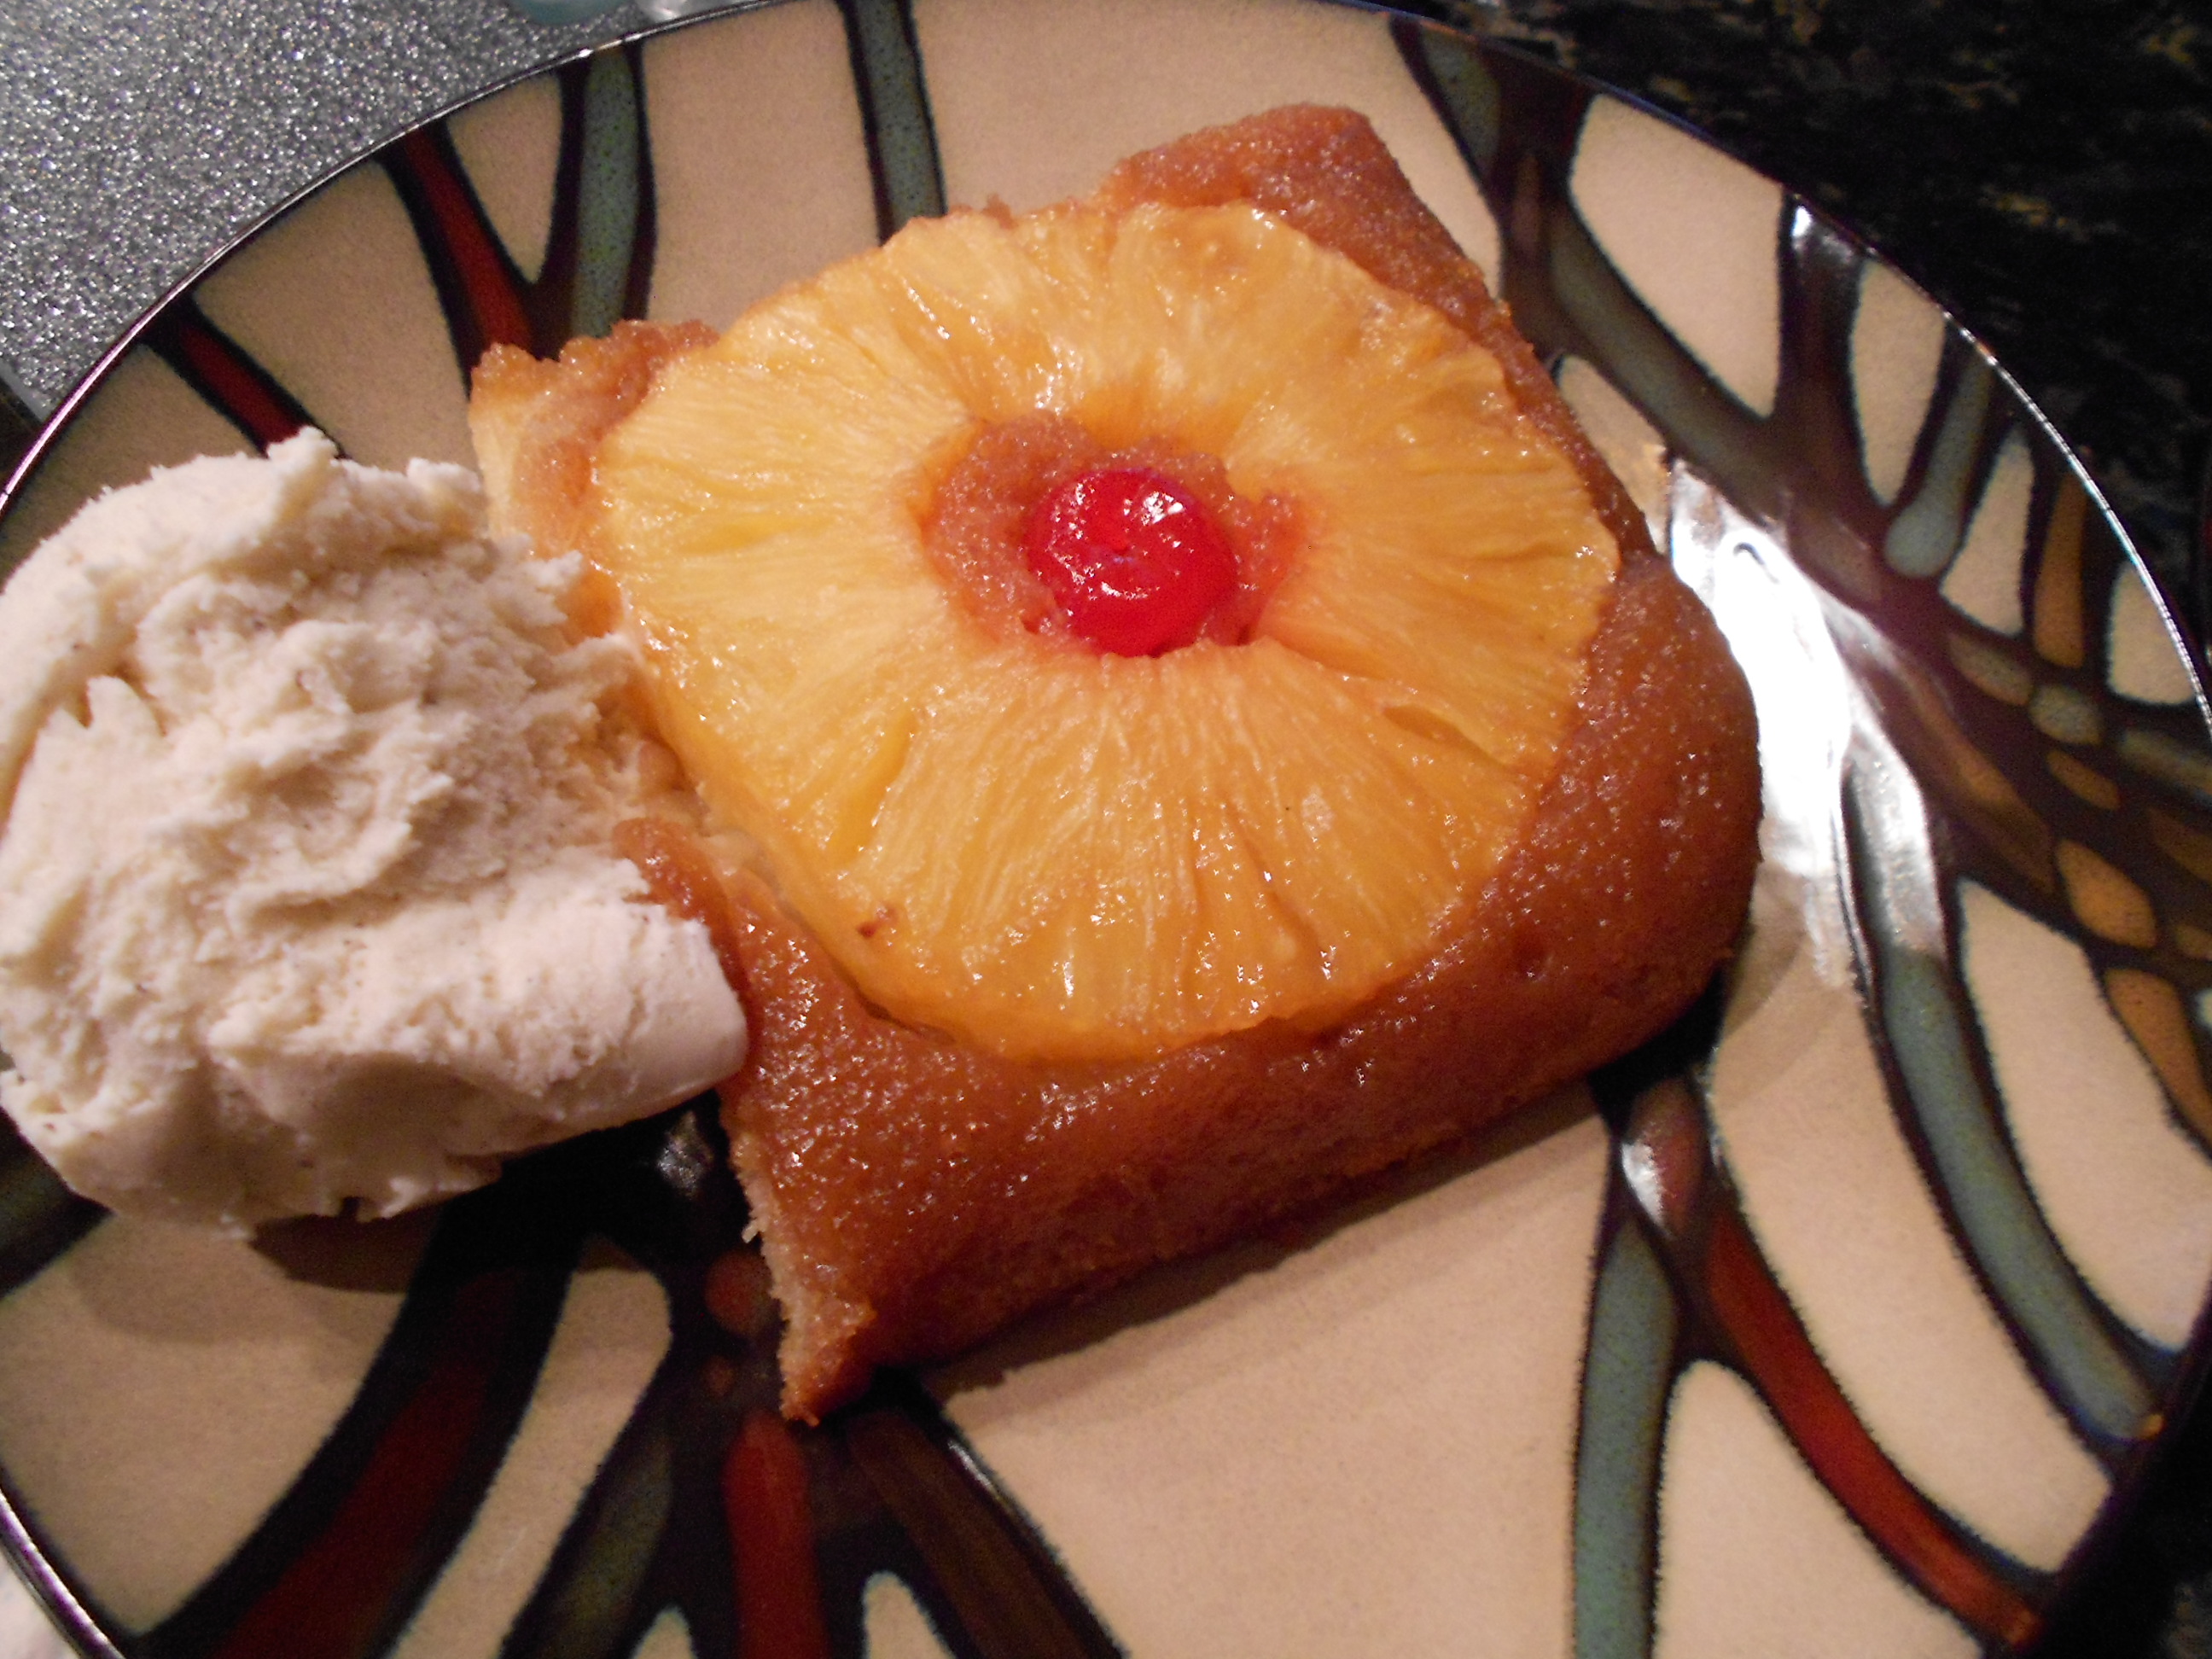
DSCN2211