I am enthusiastic about Greek yogurt and the flavors I received from Chobani, that you just knew I had to honor them by baking. I present to you, Yogurt cookies! You can make them soft or crisper by reducing the baking soda amount and cutting them thinner. They taste great and you get to choose what yogurt flavor you wish to use. I used the Chobani Fig and Orange Peel Bite but you can pick the Raspberry with Chocolate morsels or even a nice plain to get that nice tart flavor. I wanted to create a cookie that is versatile but also healthier than a sugar cookie by adding yogurt. This cookie has protein and less fat so it's a little way to indulge and still have the cookie that tastes delicious!
Greek Yogurt IceBox Cookies:
2/3 cup of Sugar
1/4 cup of Unsalted Butter (softened)
1 Egg
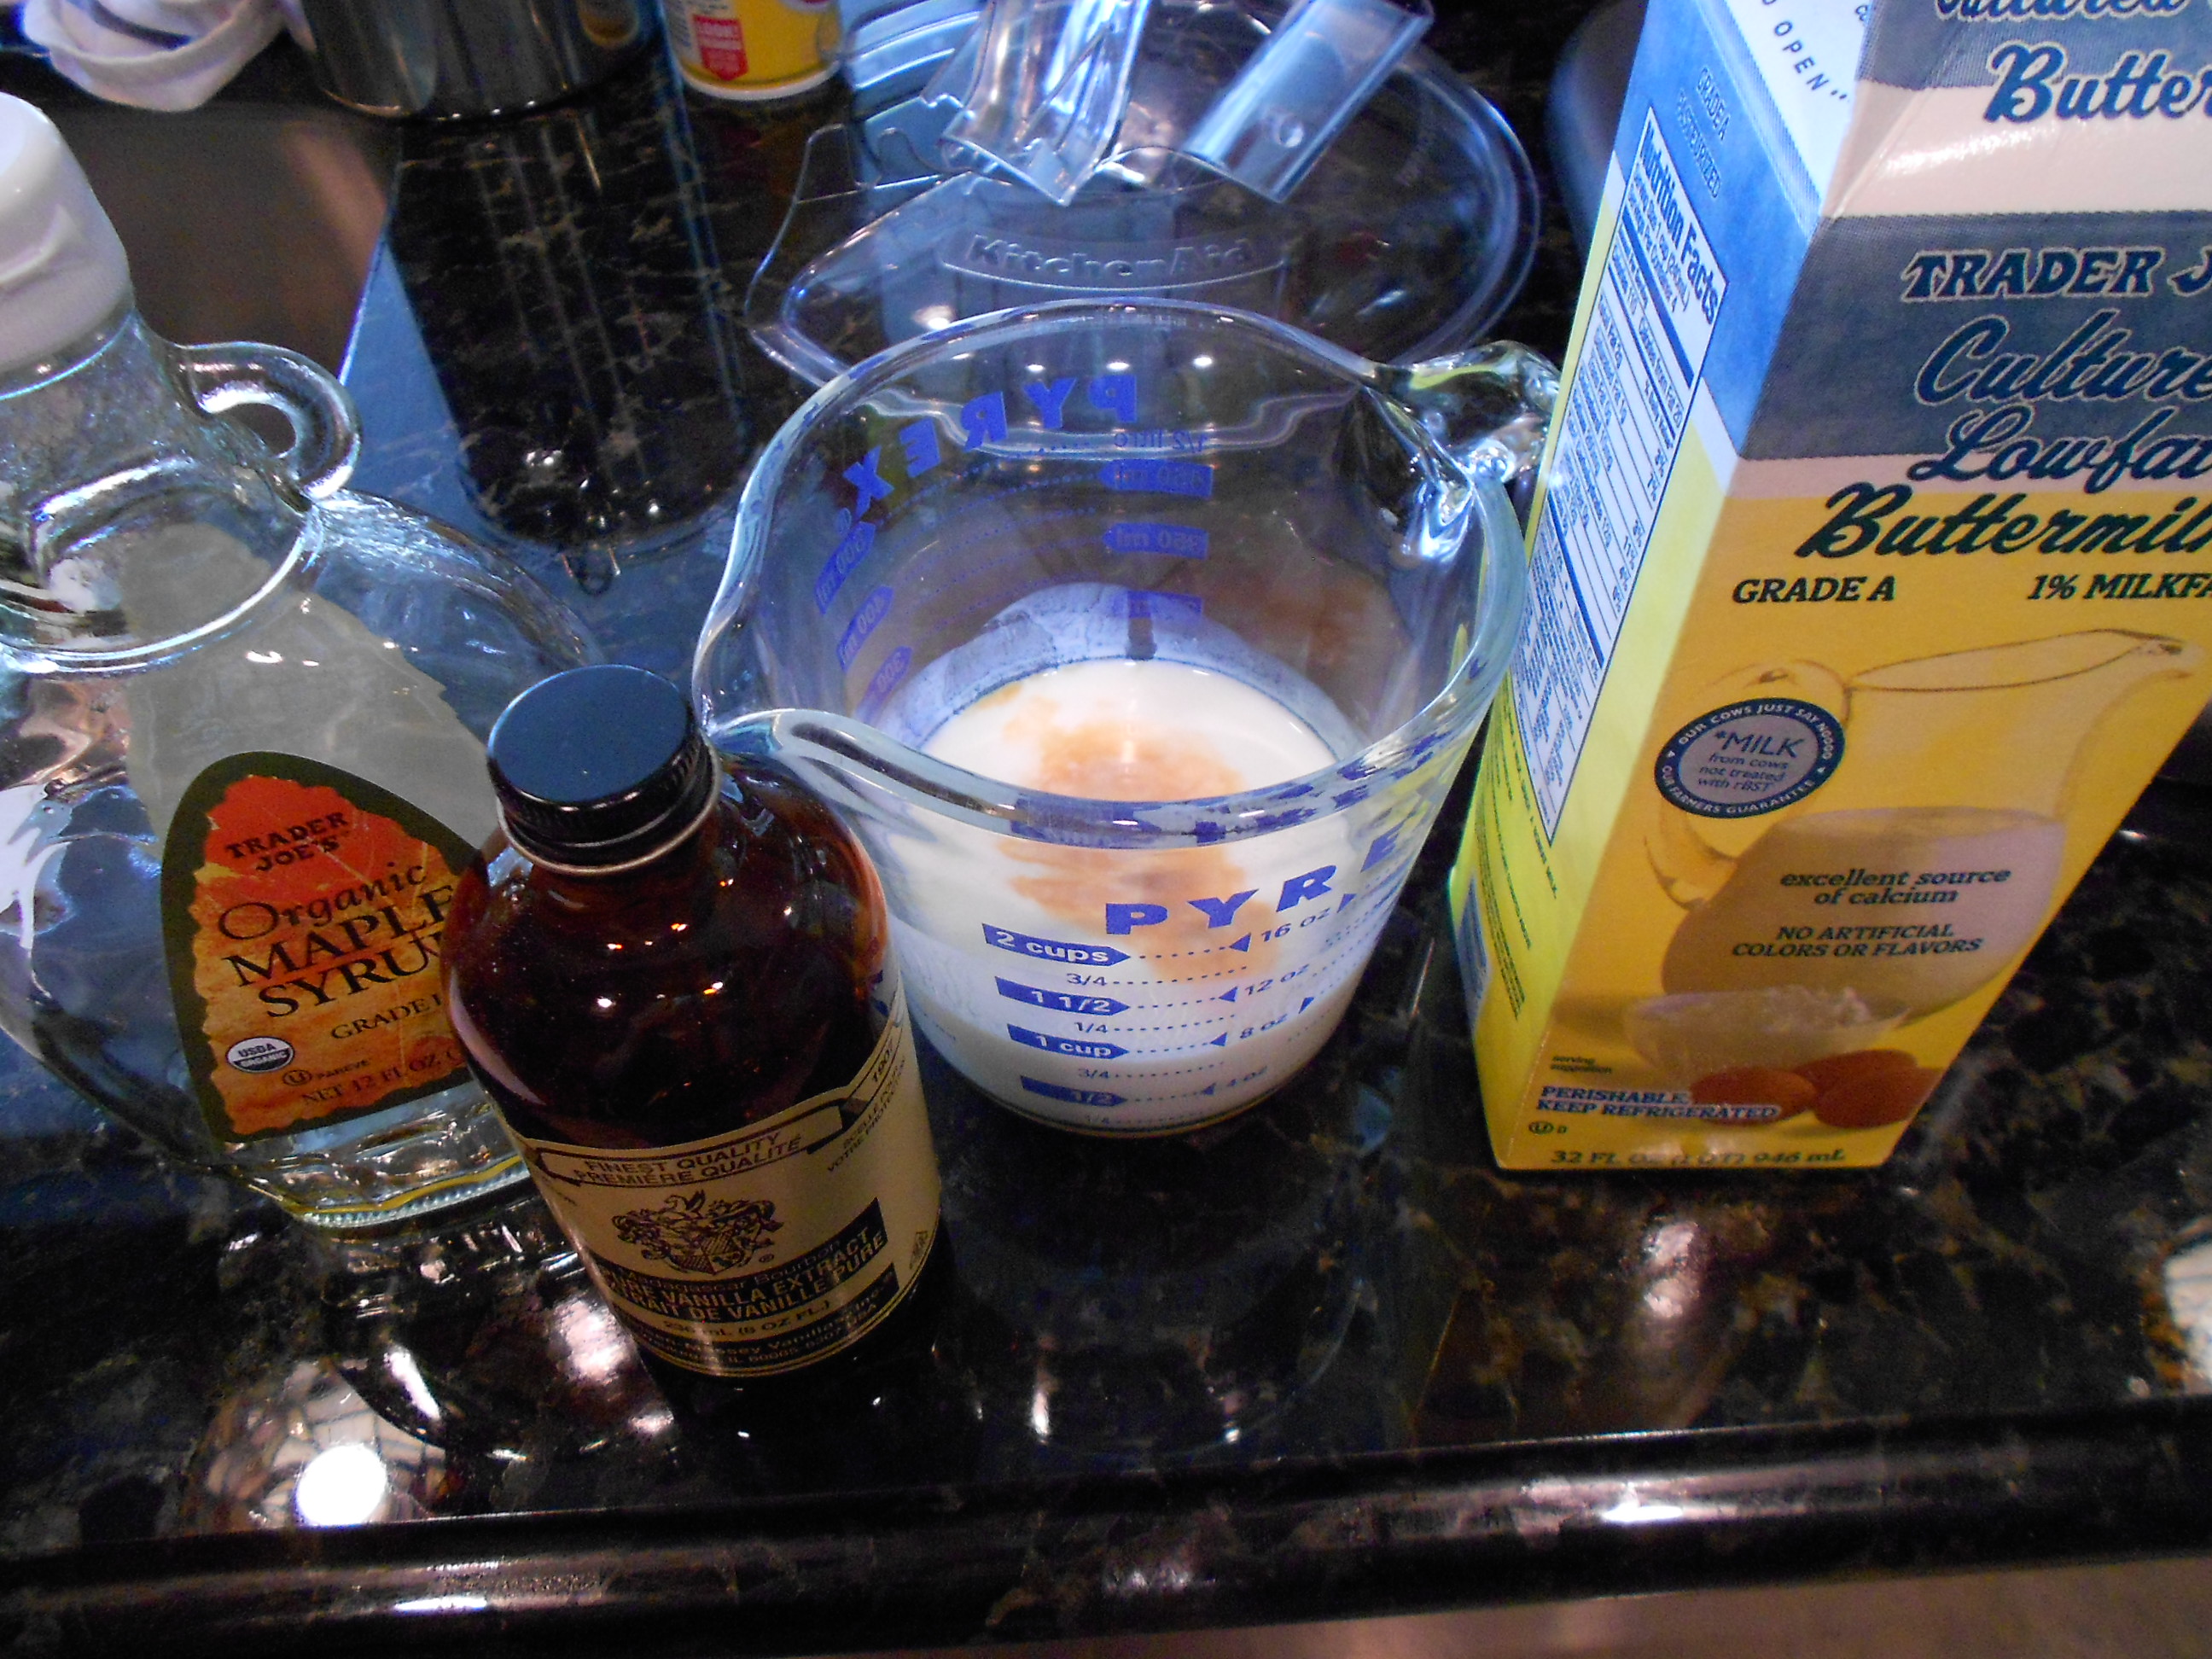
3.5 to 4.5 ounces of a Greek Yogurt of your choice (I used Chobani's Fig & Orange Peel Bite)
1 teaspoon of Vanilla Extract
2 drops of Almond Extract
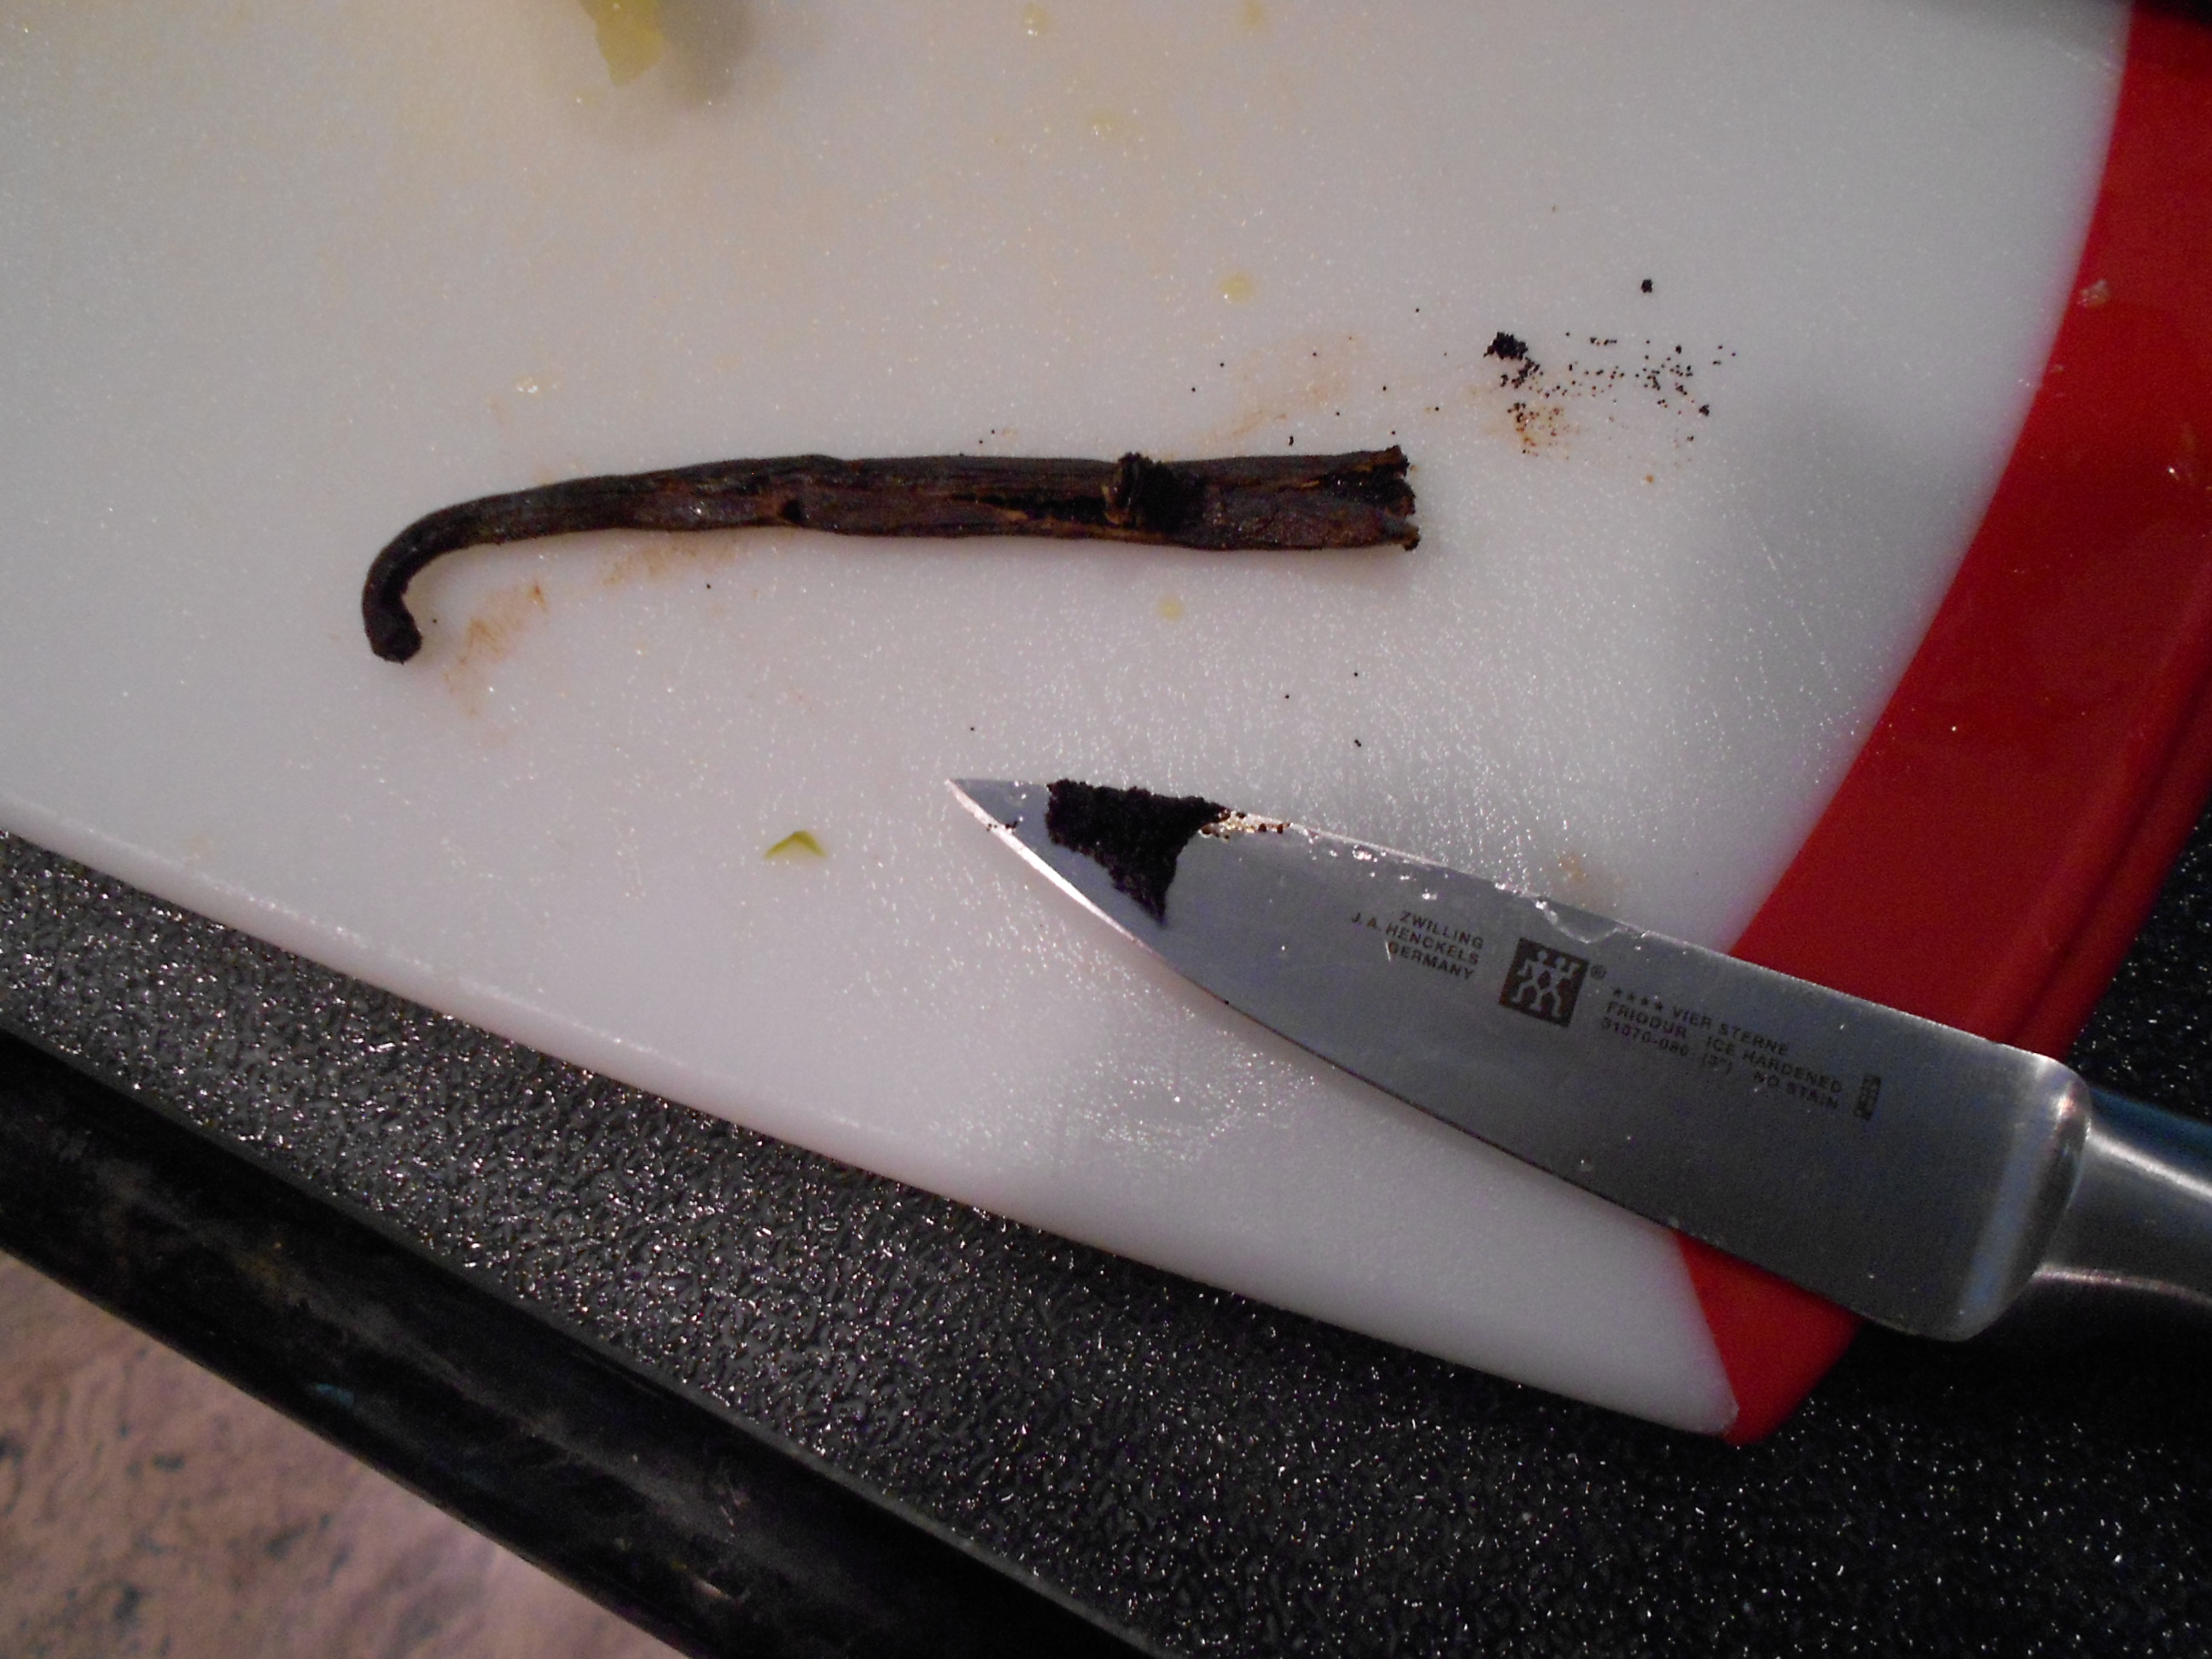
1/2 a Vanilla Bean
3/4 teaspoon of Baking Soda (want crisper cookies, use 1/4 to 1/2 a teaspoon)
Pinch of Salt
Dash of Nutmeg (optional)
2 cup of All-Purpose Flour
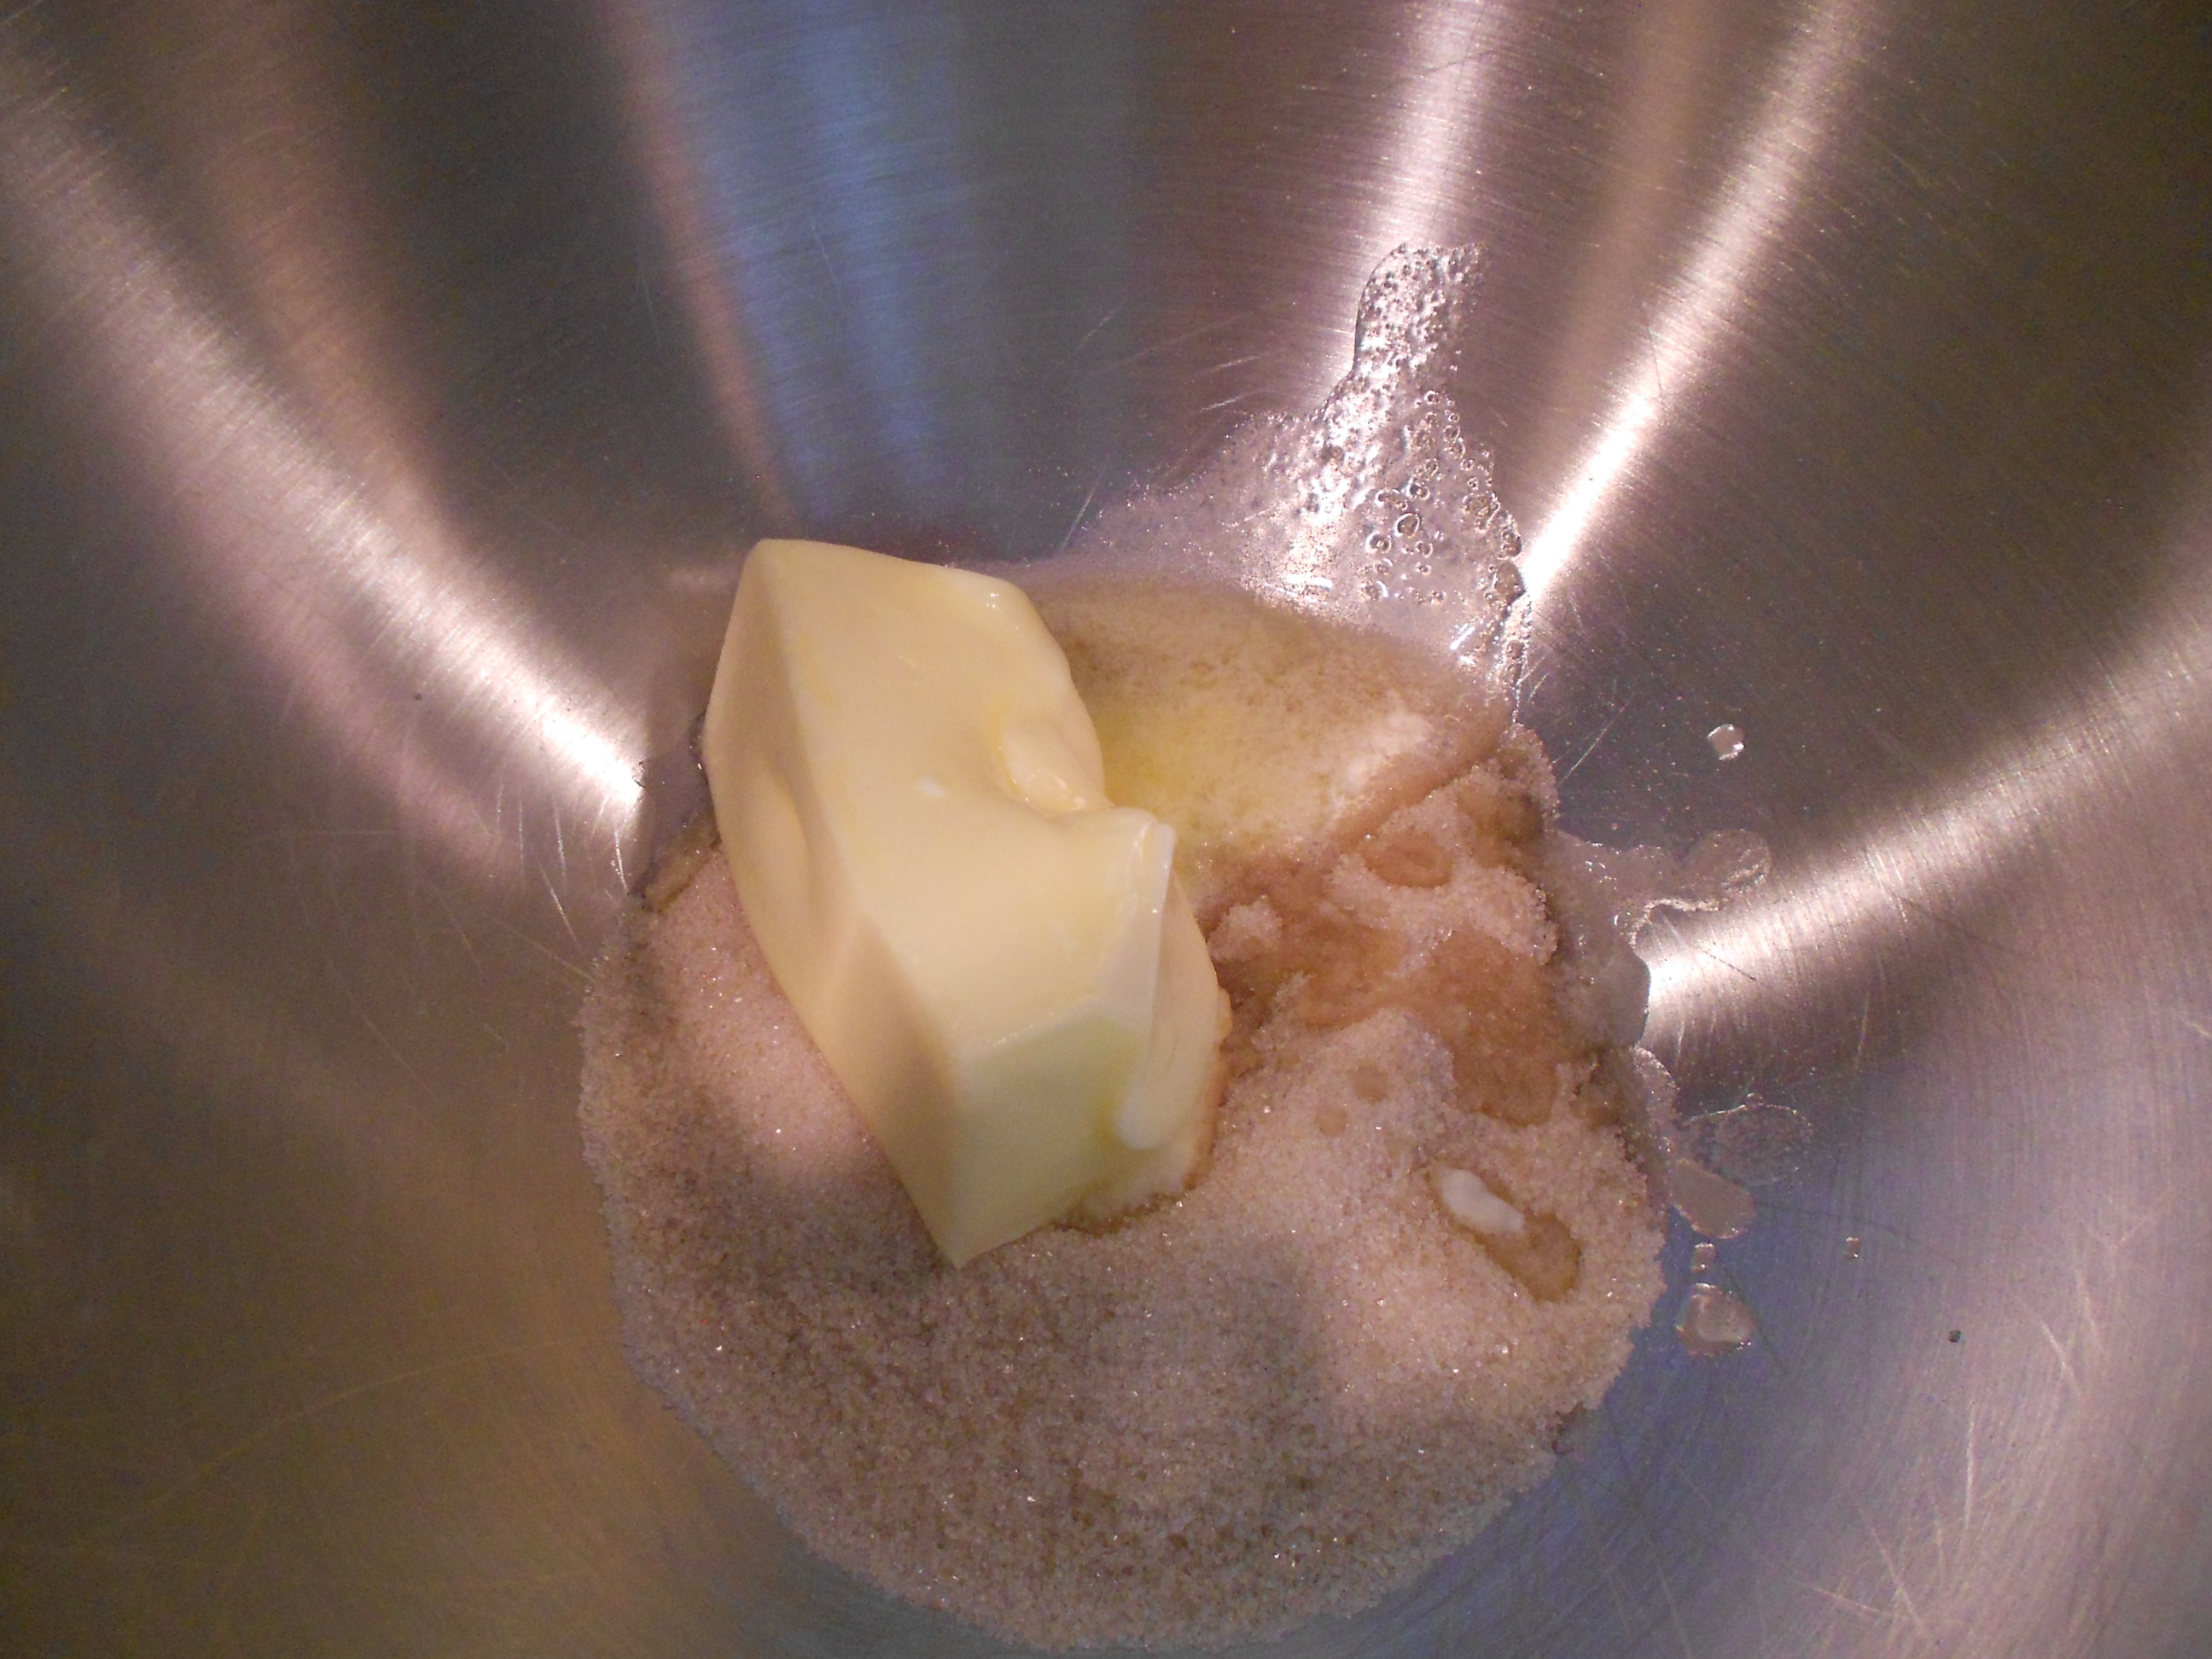
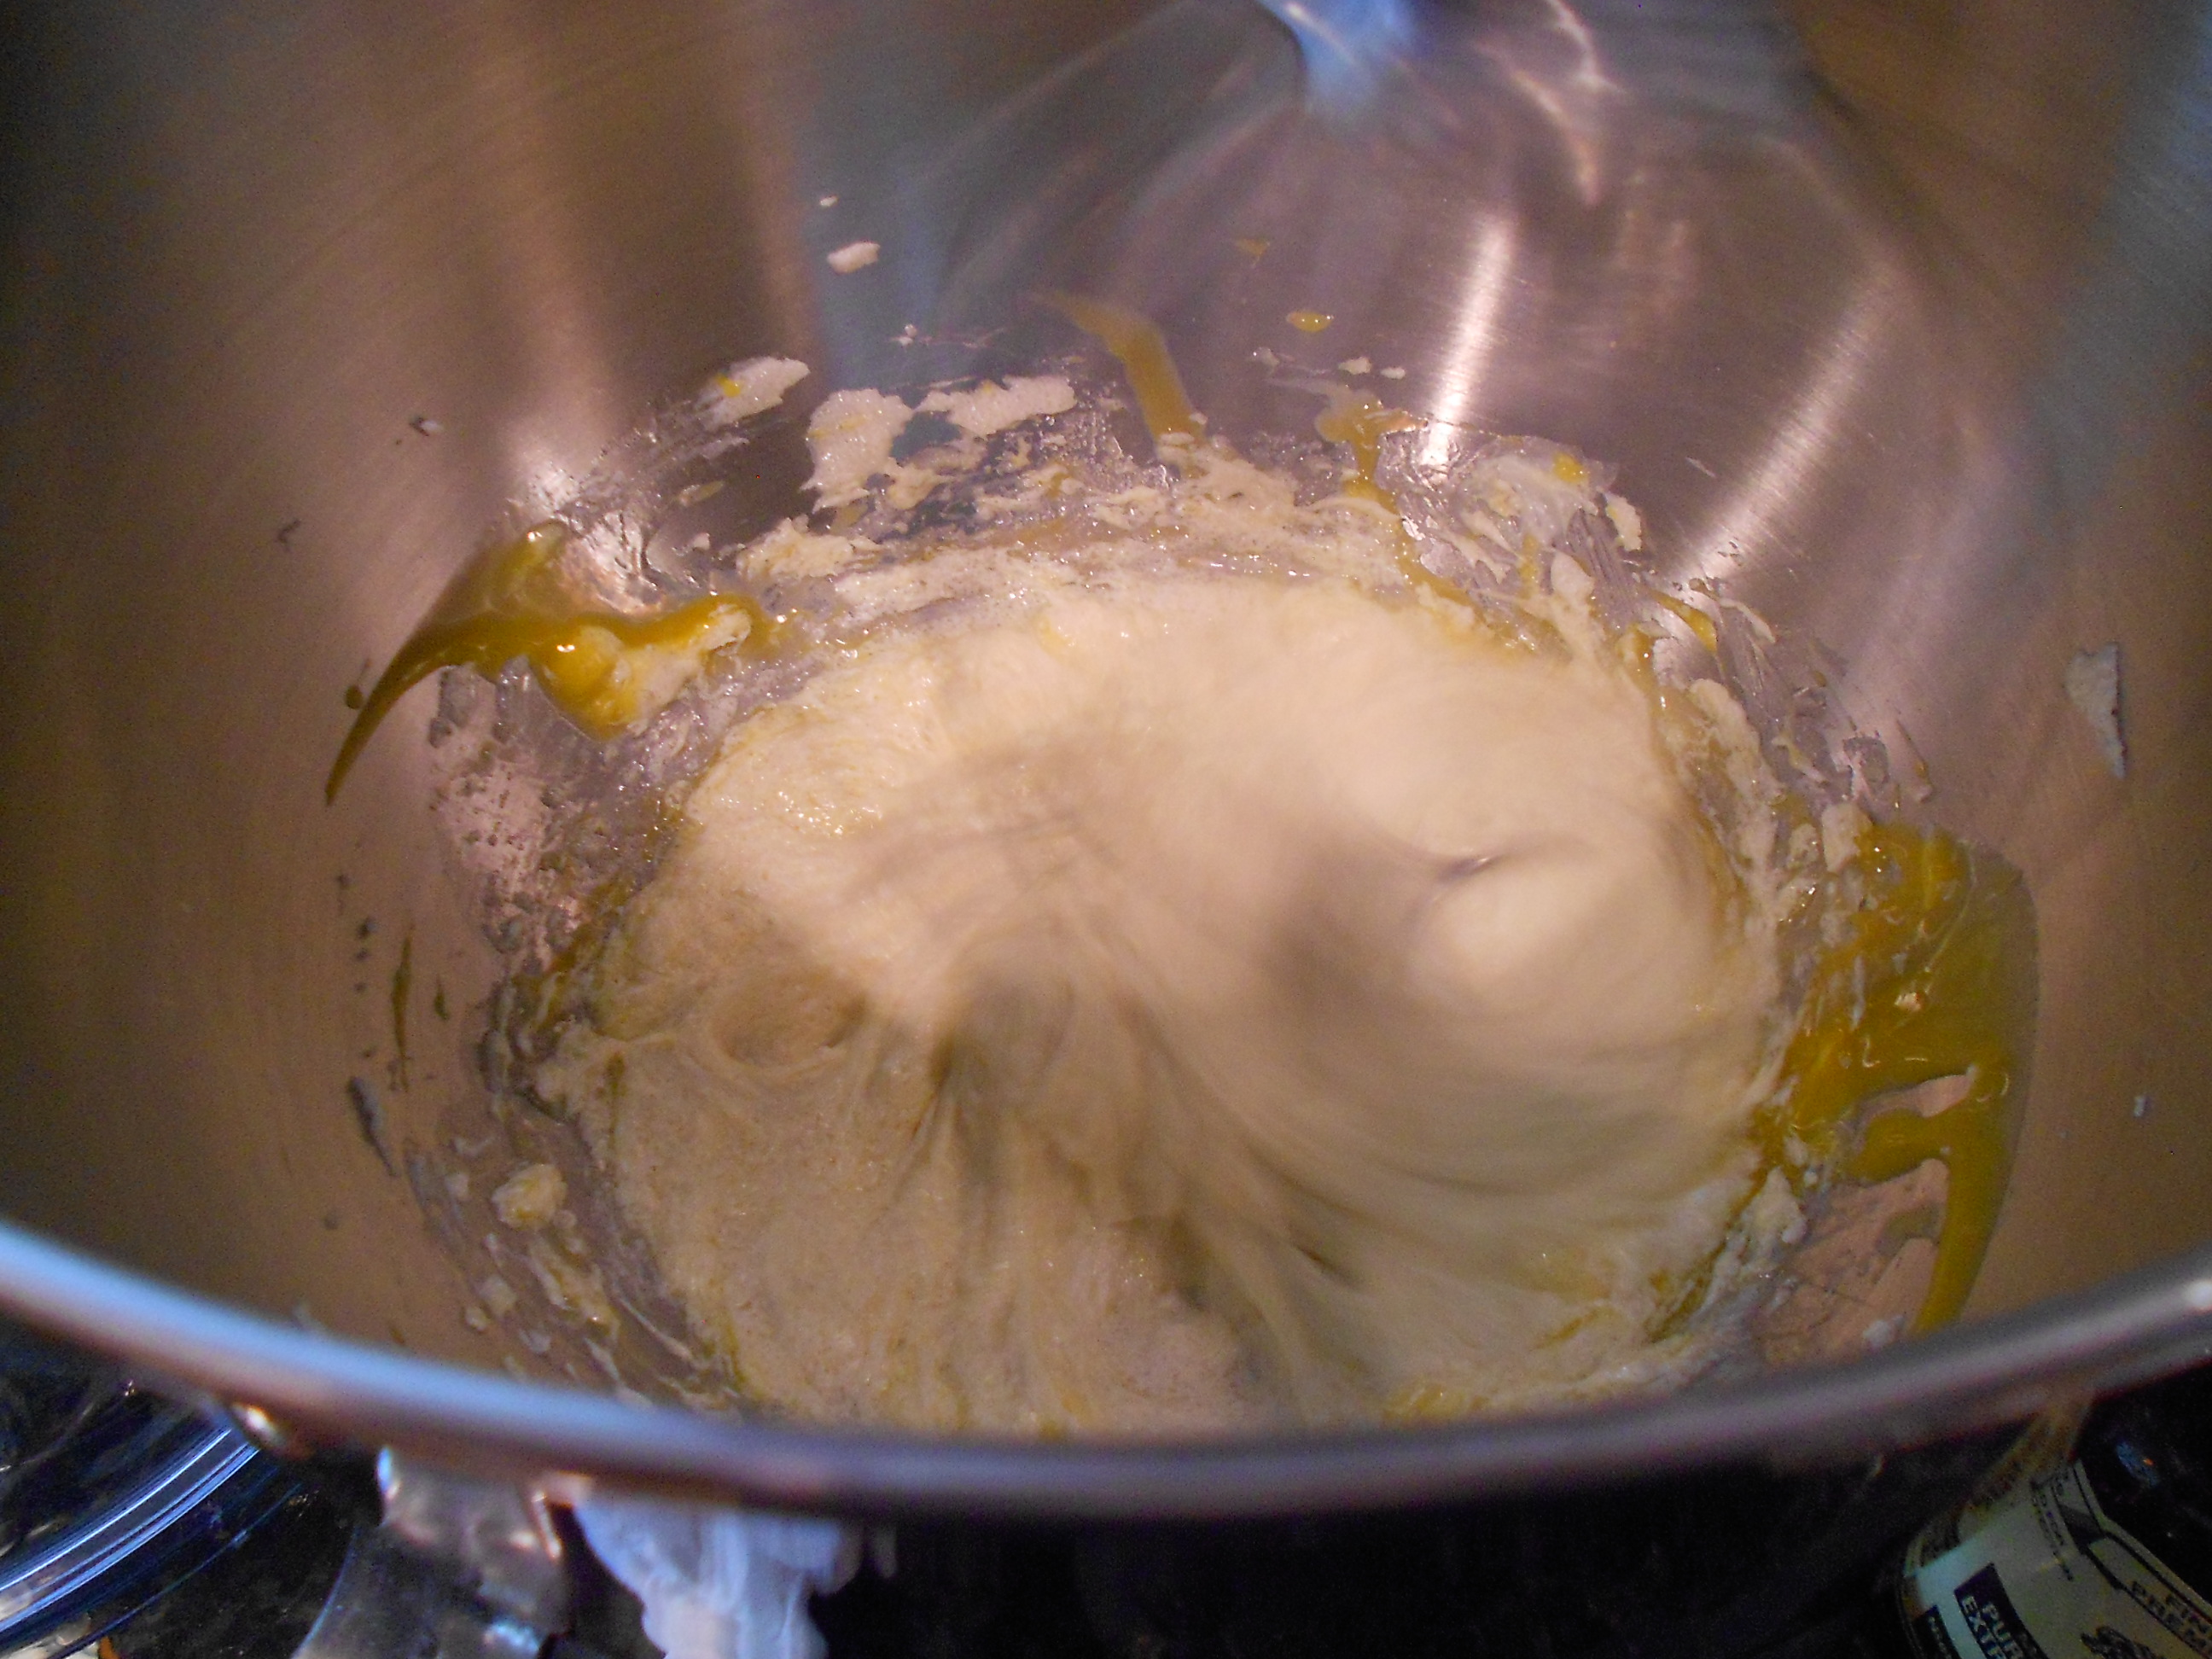
You begin by taking the sugar and the butter and beating until creamy. This takes about 1 to 2 minutes and don't forget to scrape down a few times to make sure everything is incorporated.
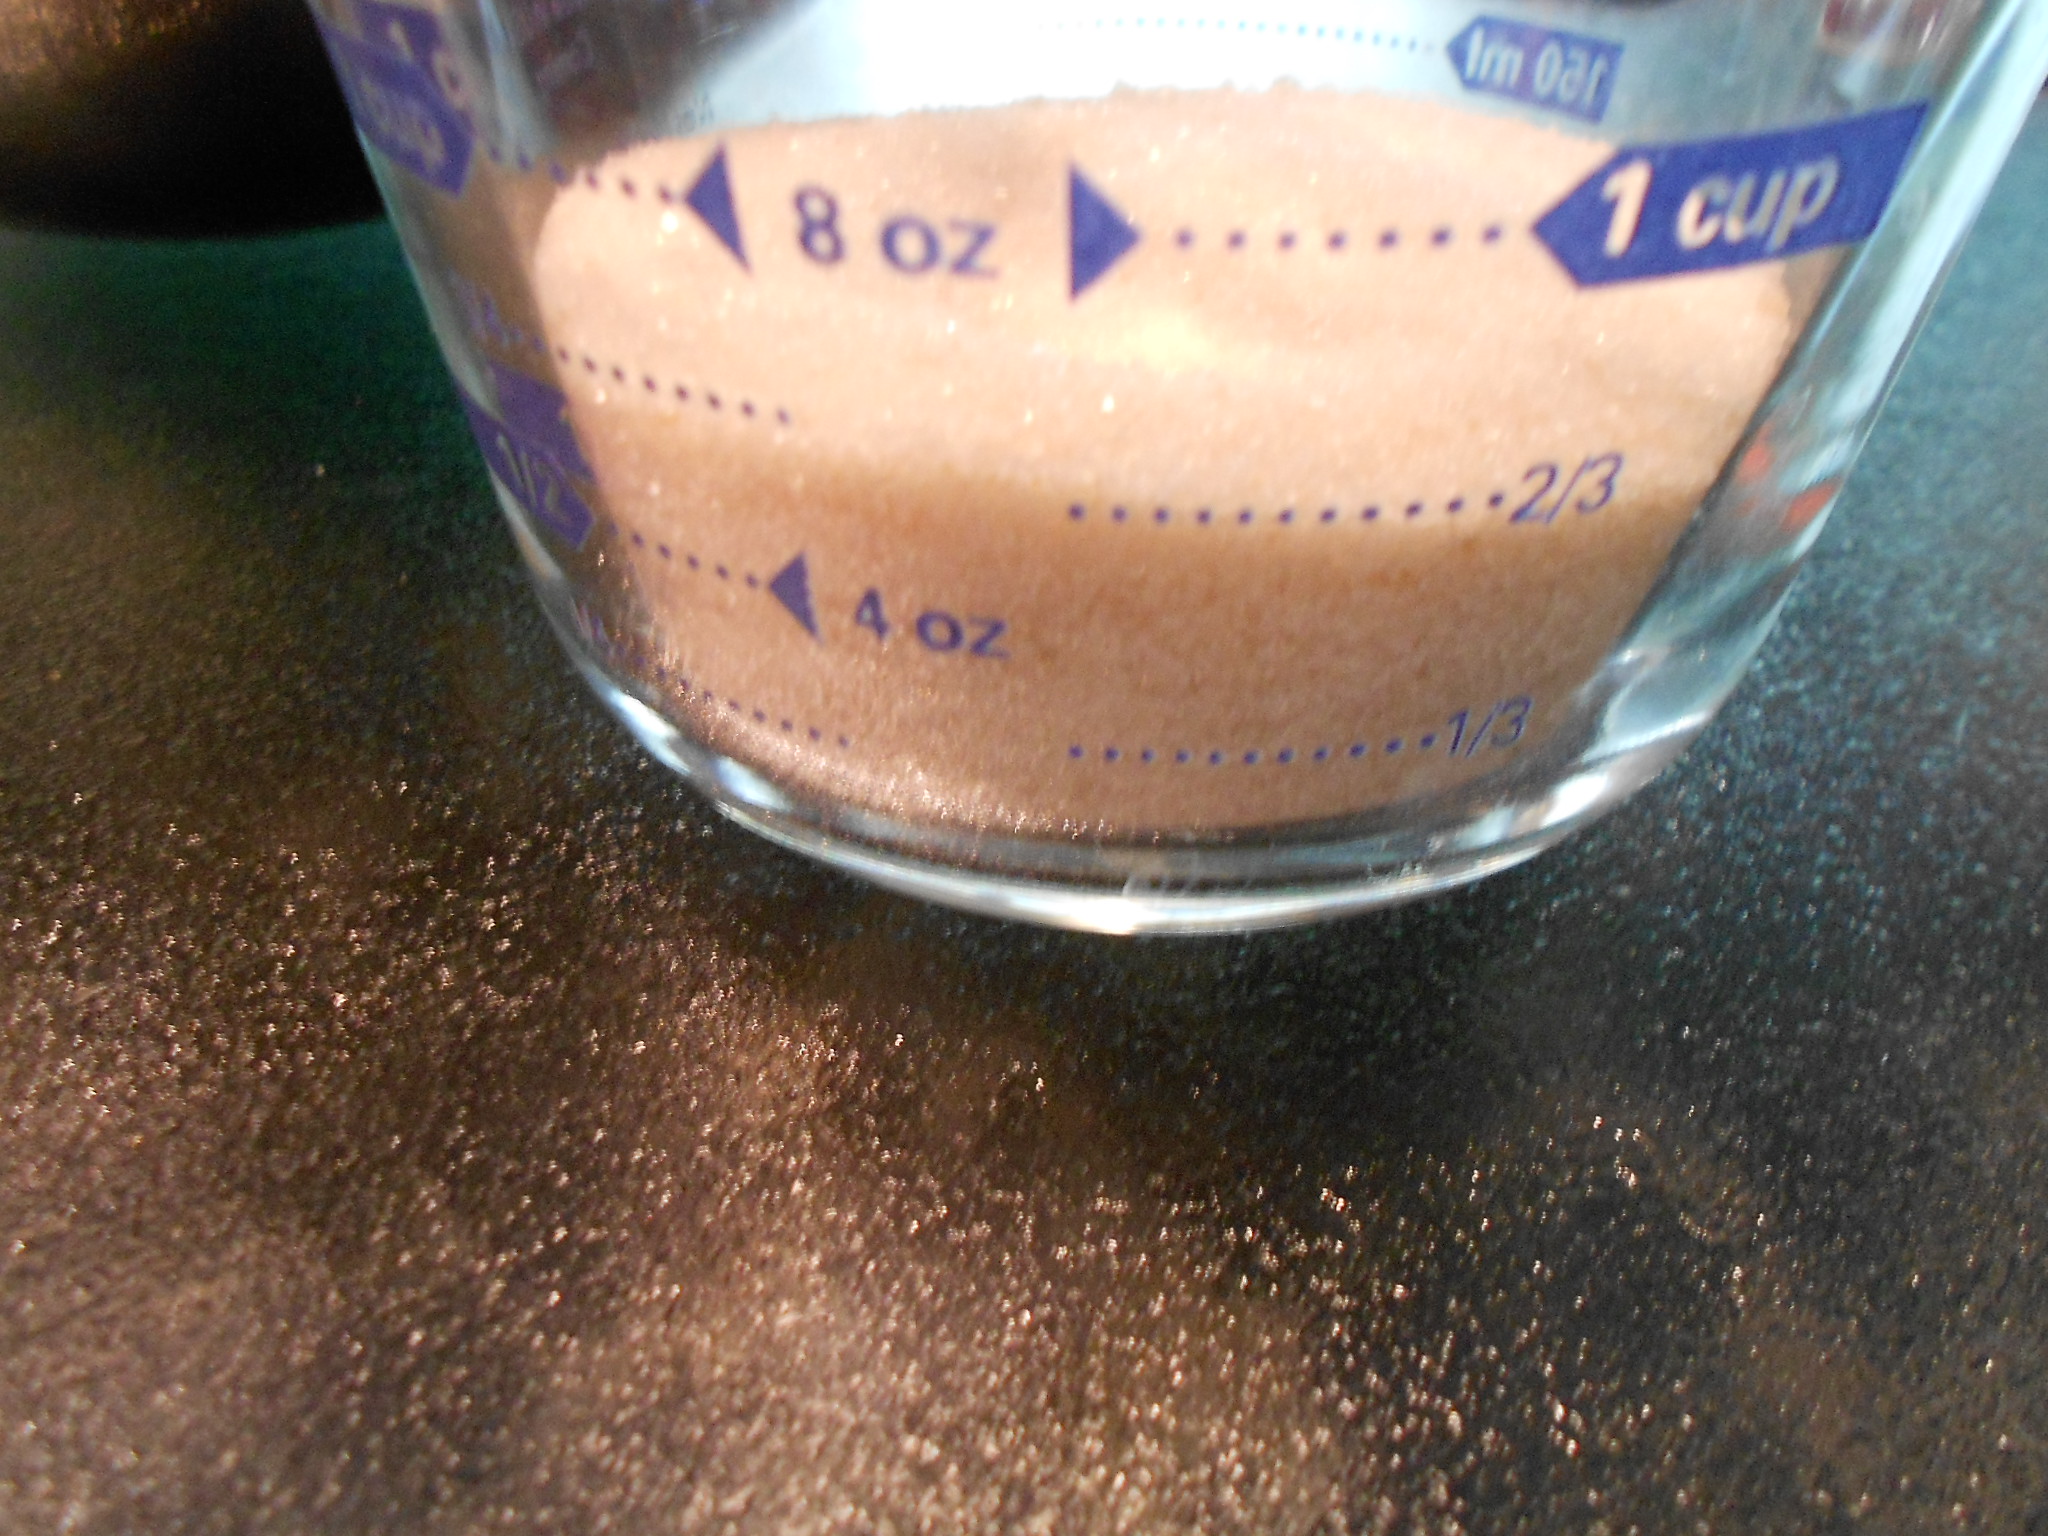
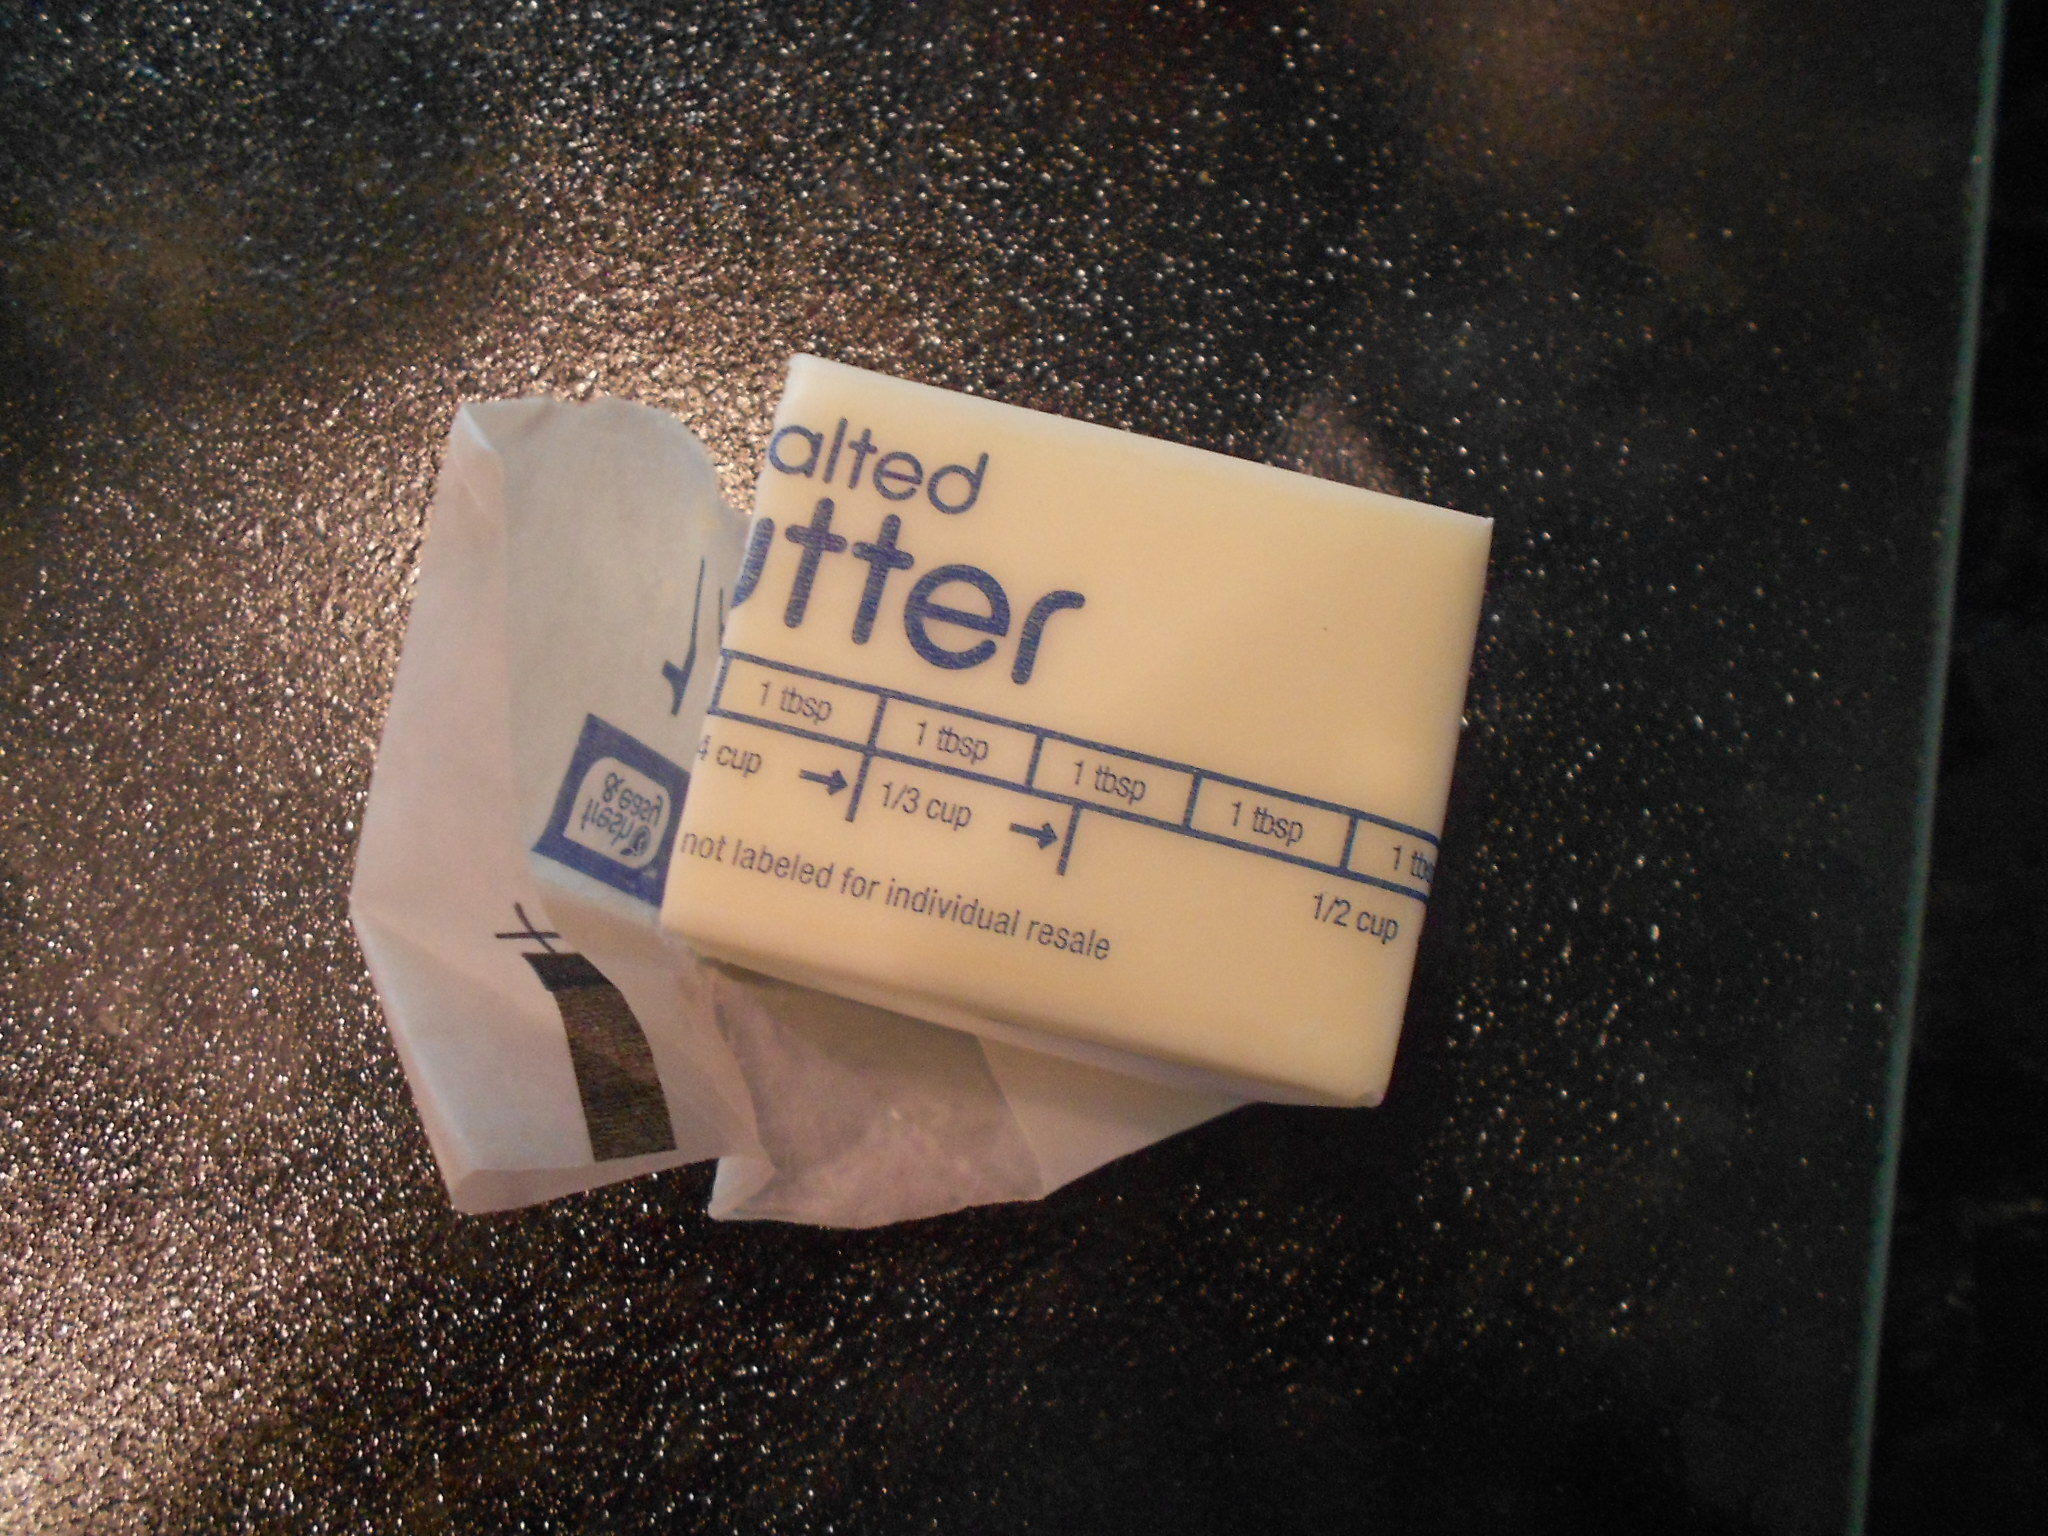
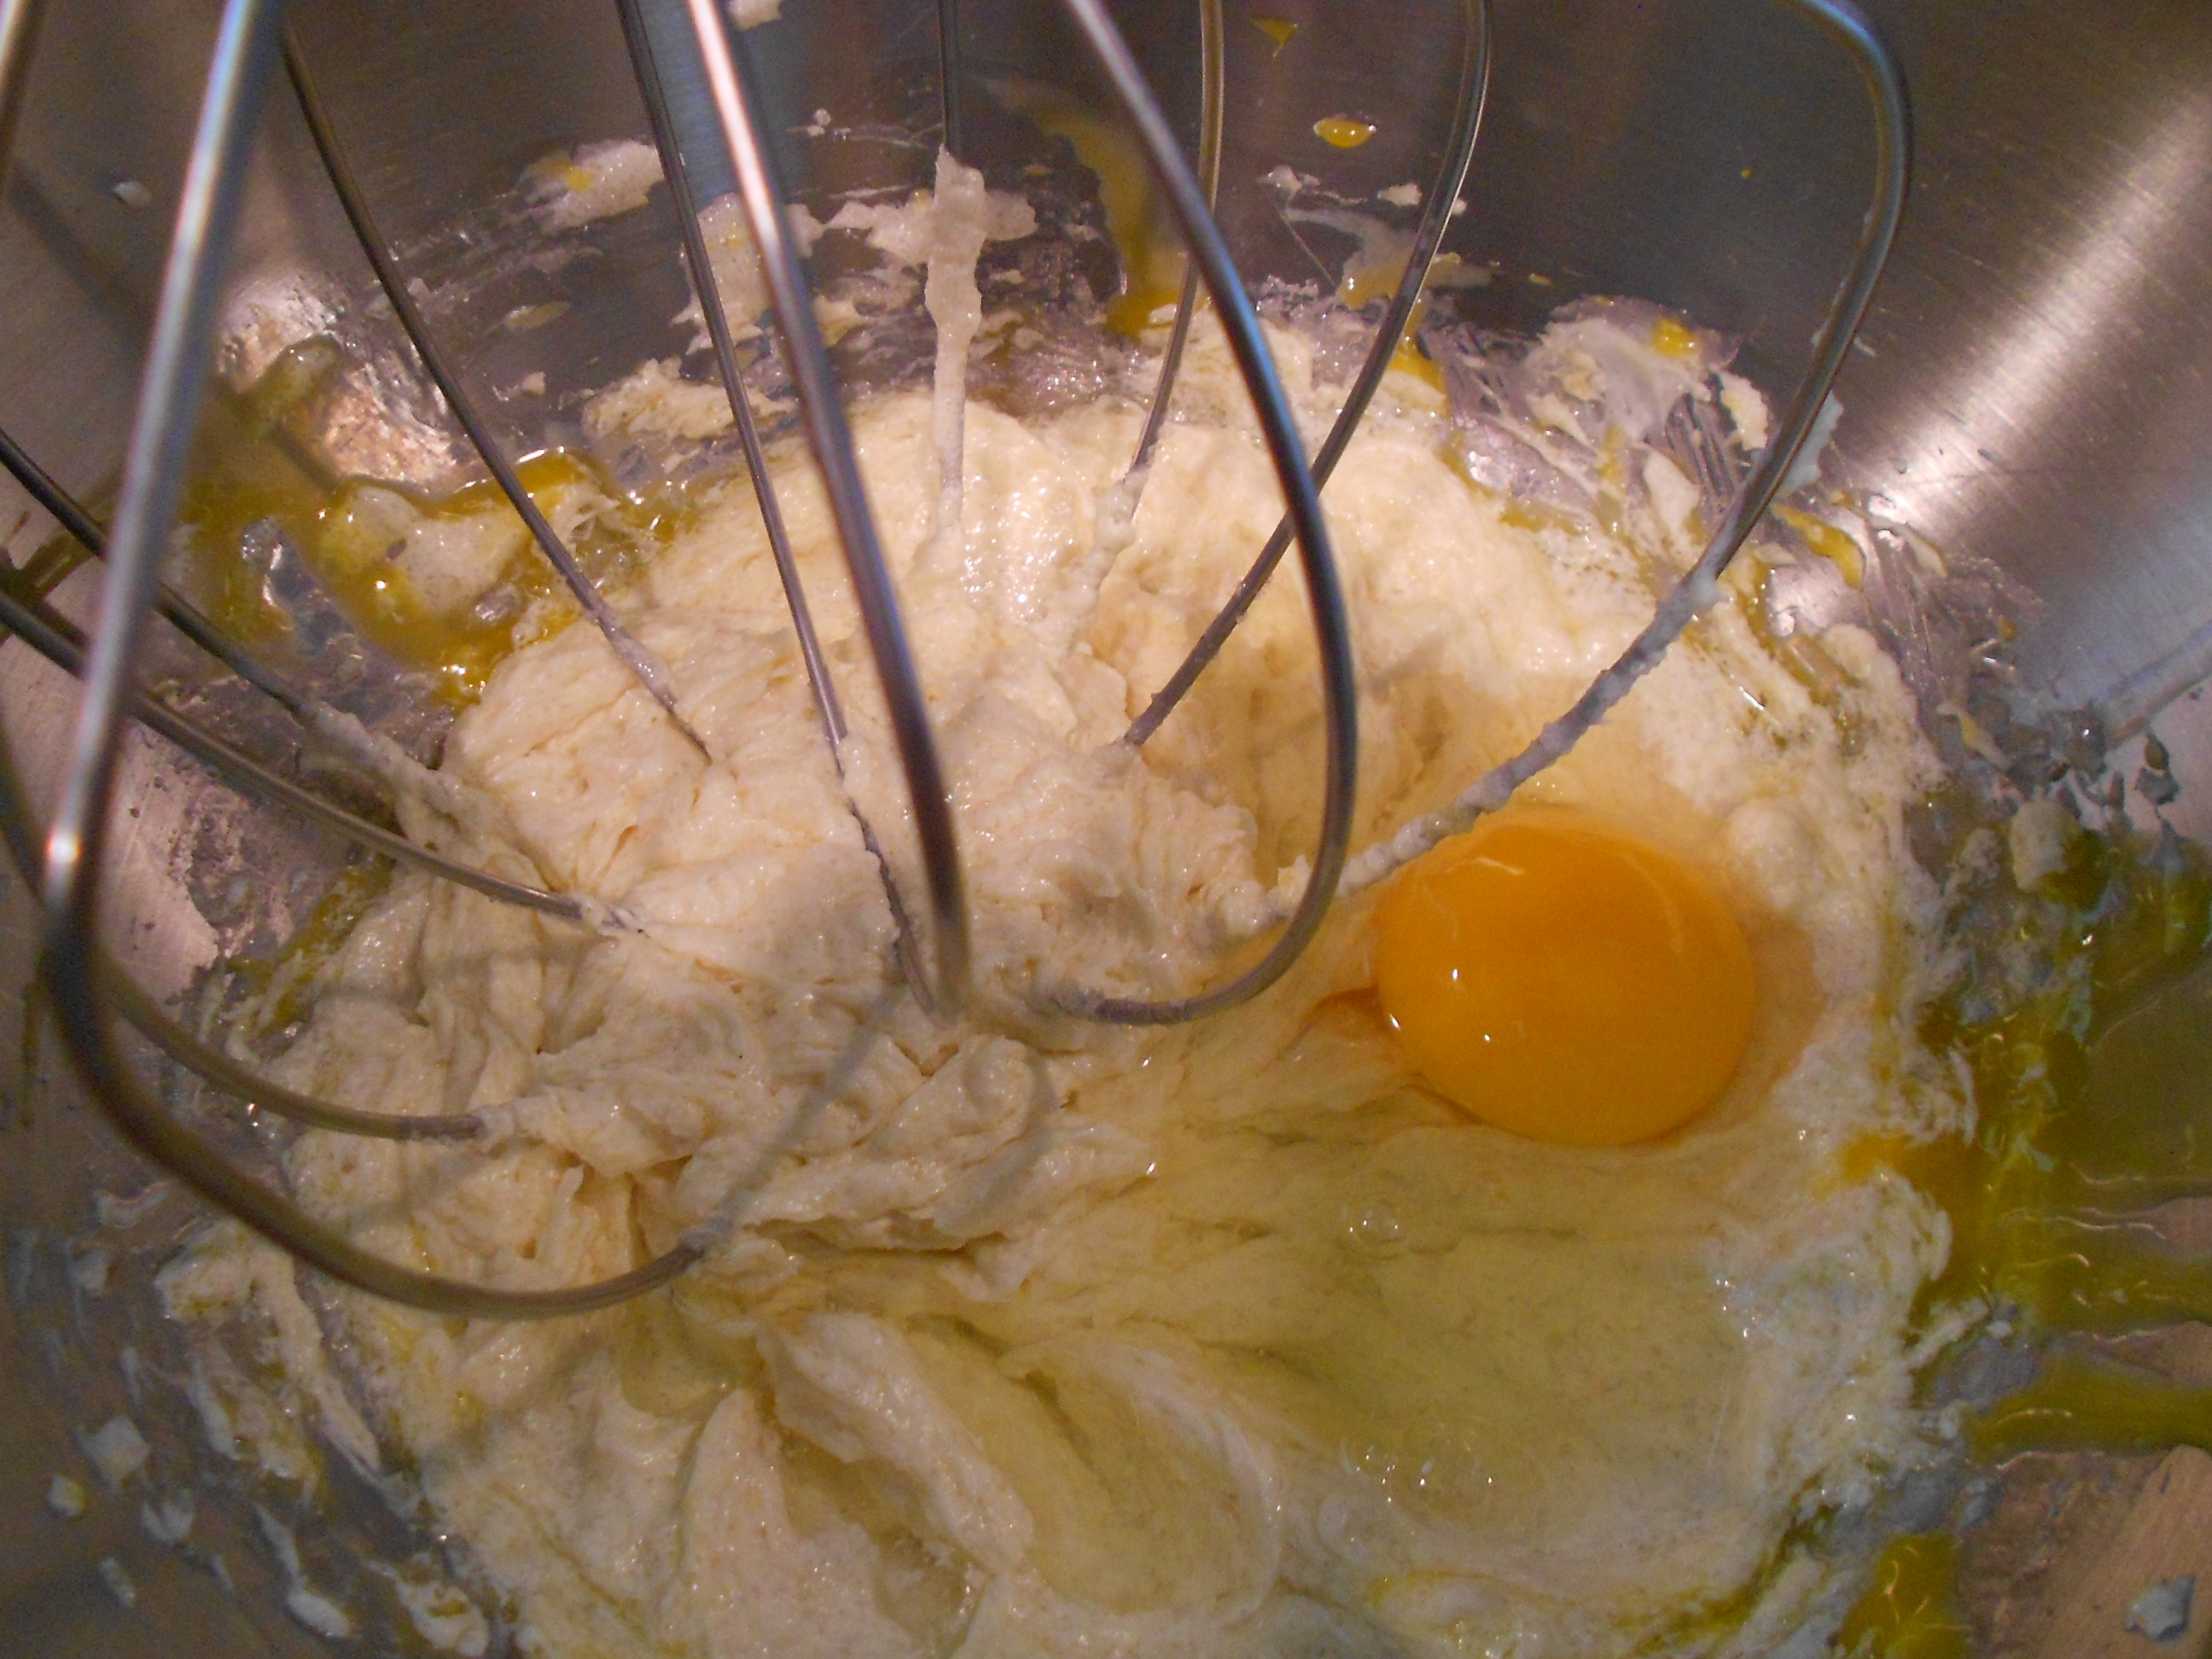
Add the egg and beat for 30 seconds and again scrape down in between. Add the Vanilla and Almond extracts and beat for a few seconds.
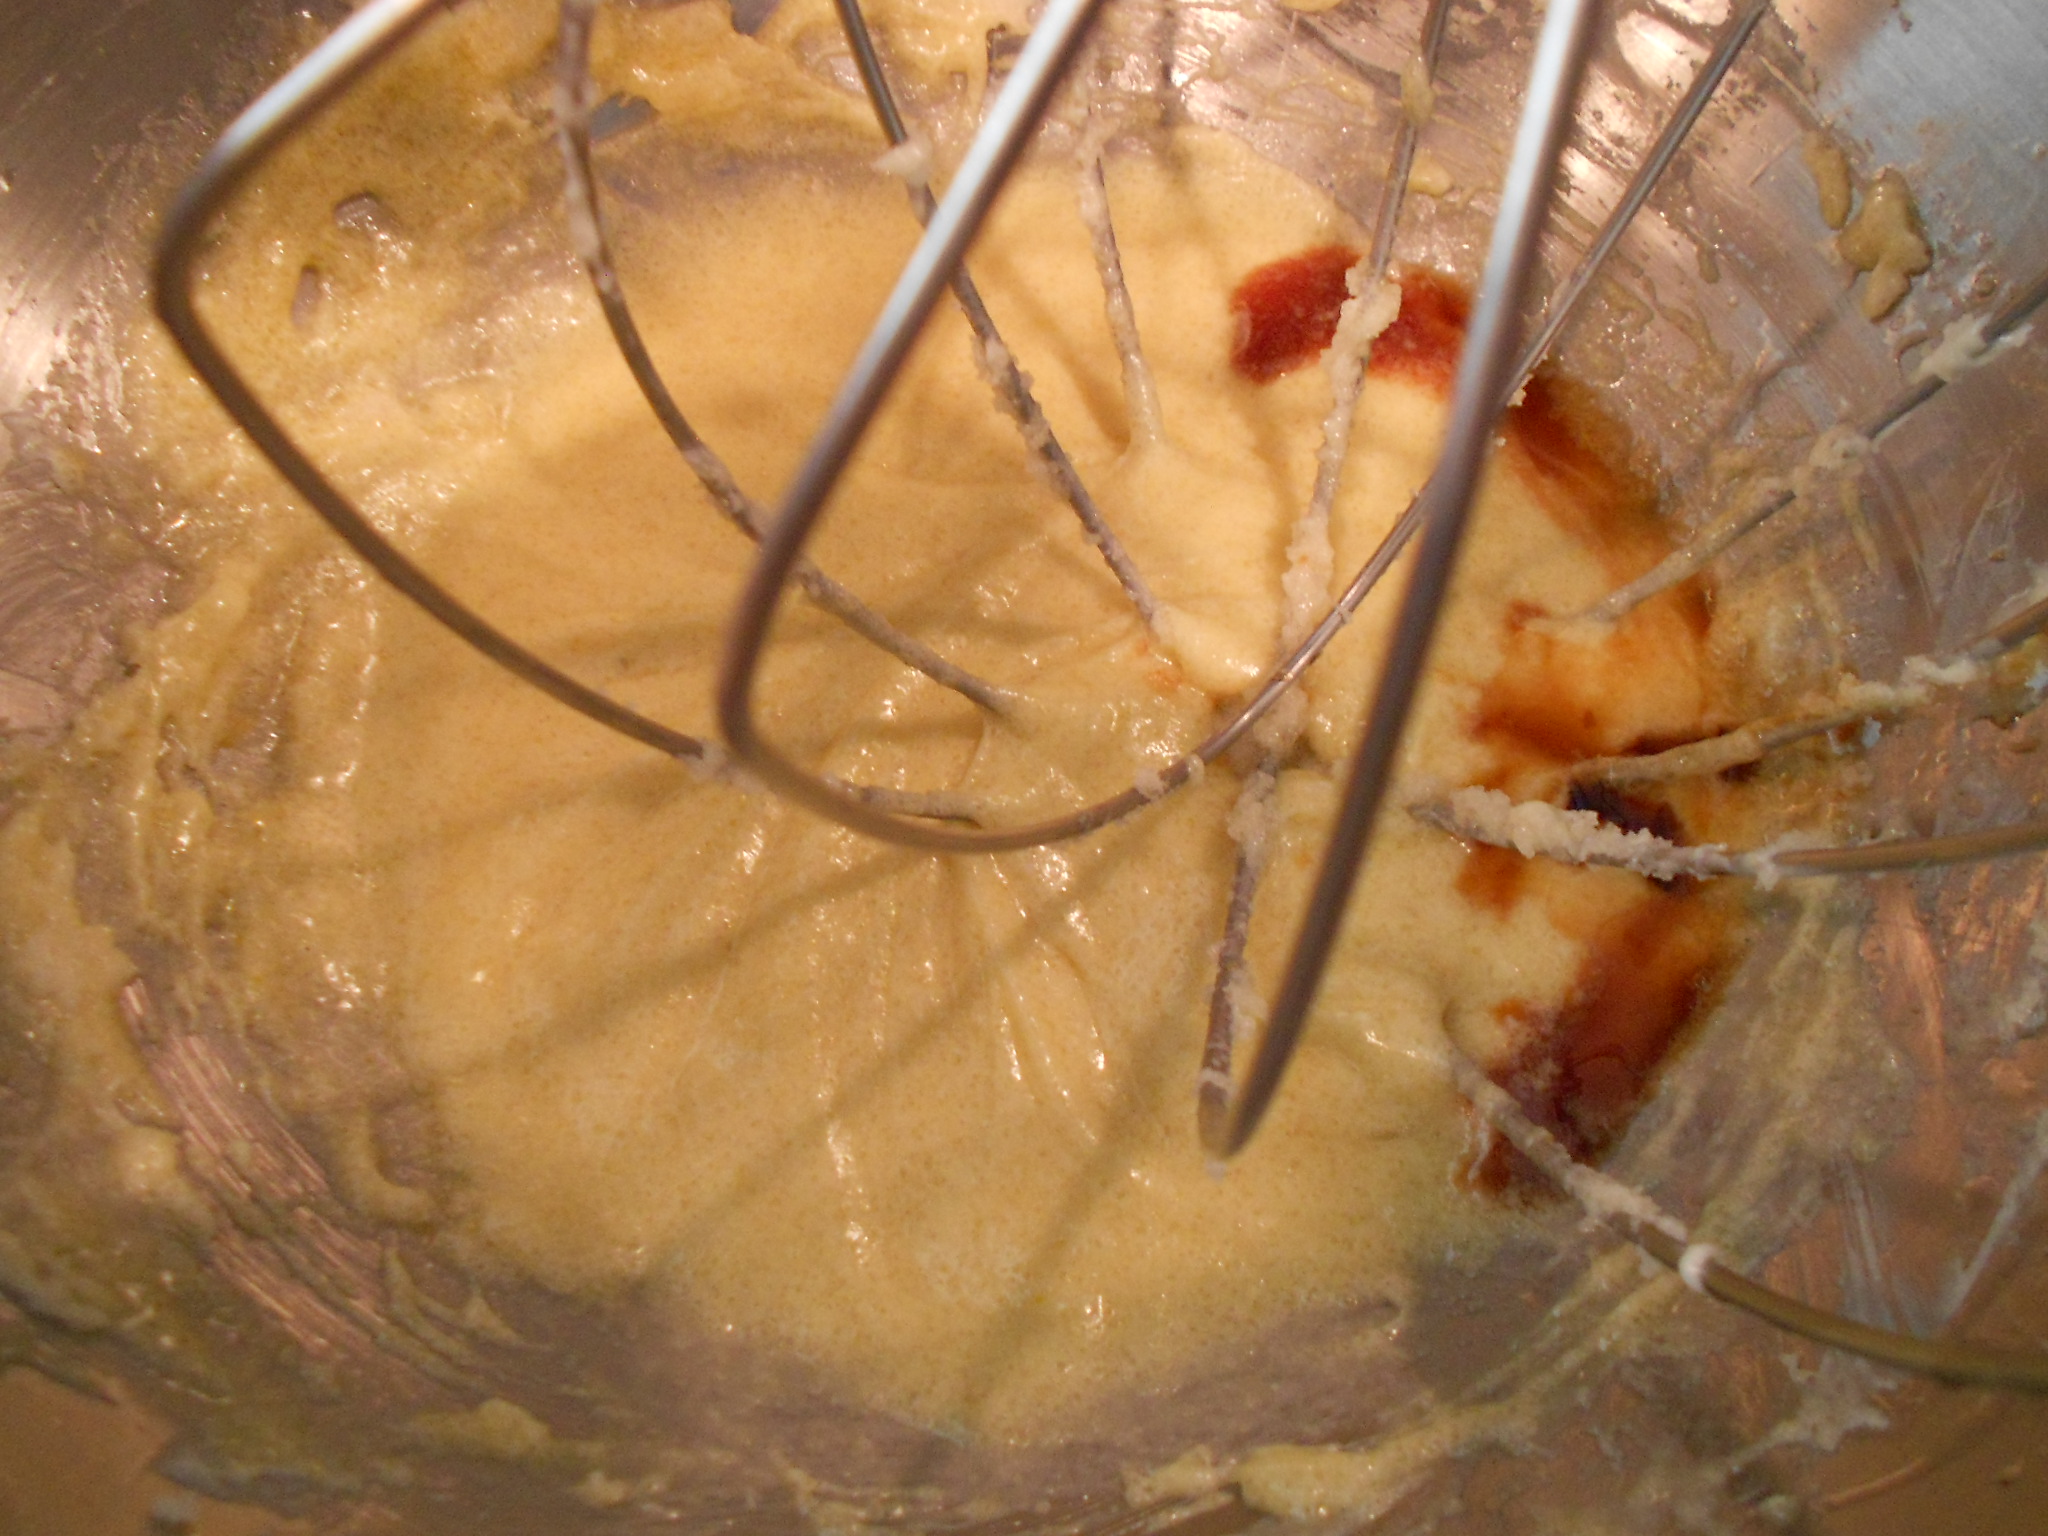
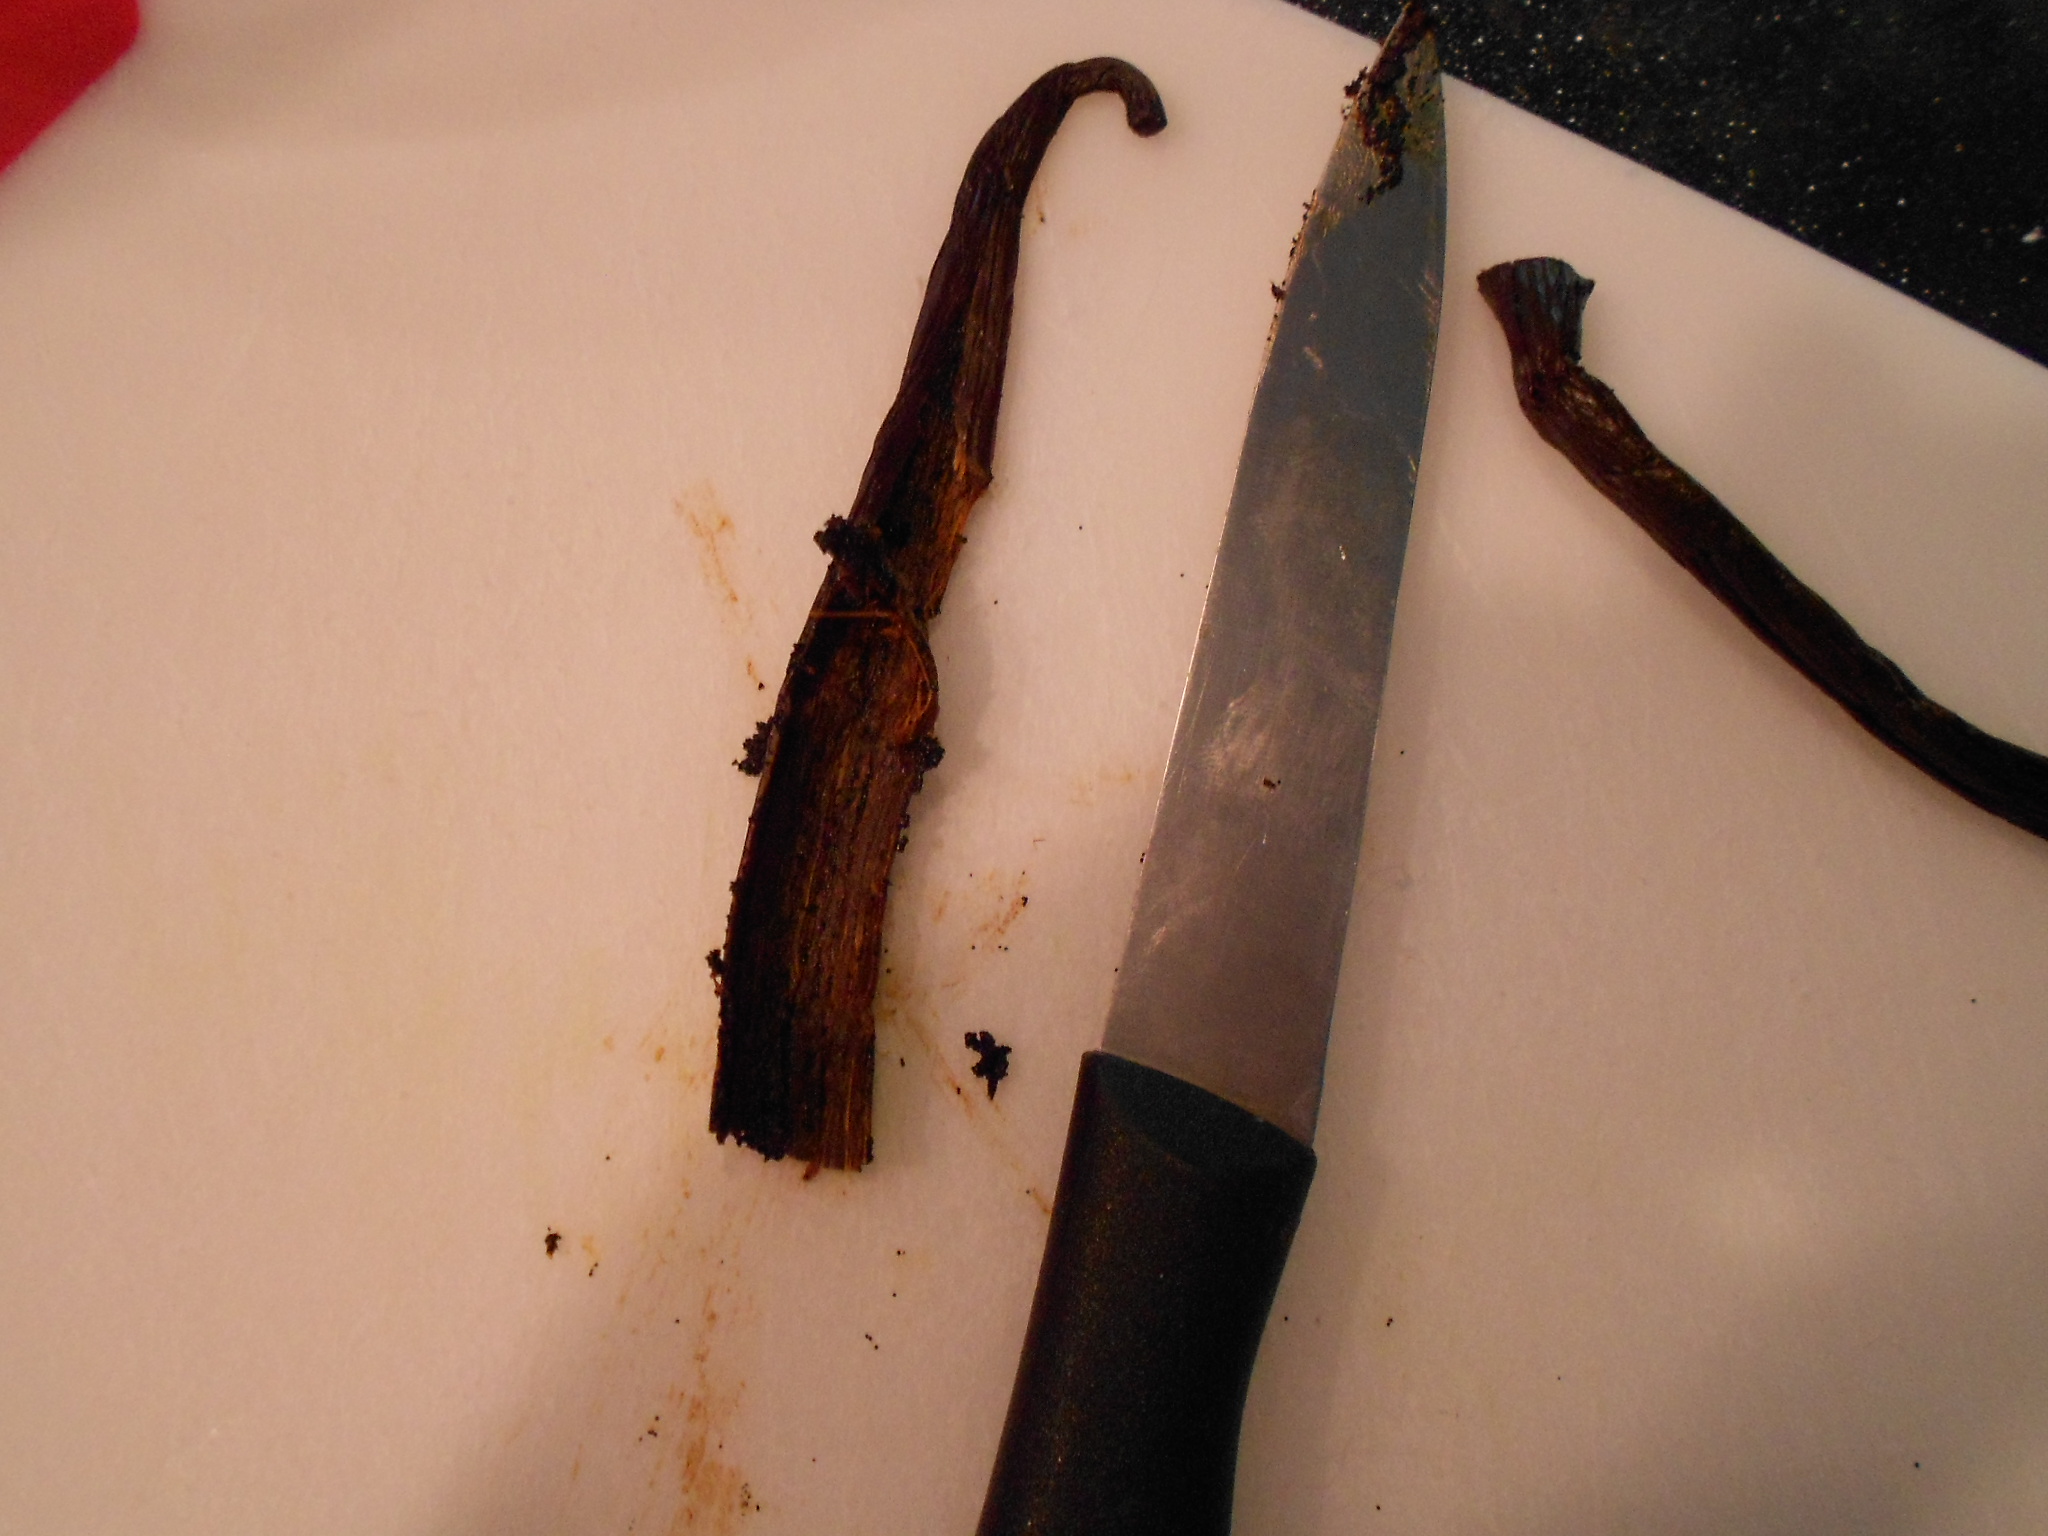
Then you can add the vanilla bean and beat for an additional 30 seconds, making sure everything combines.
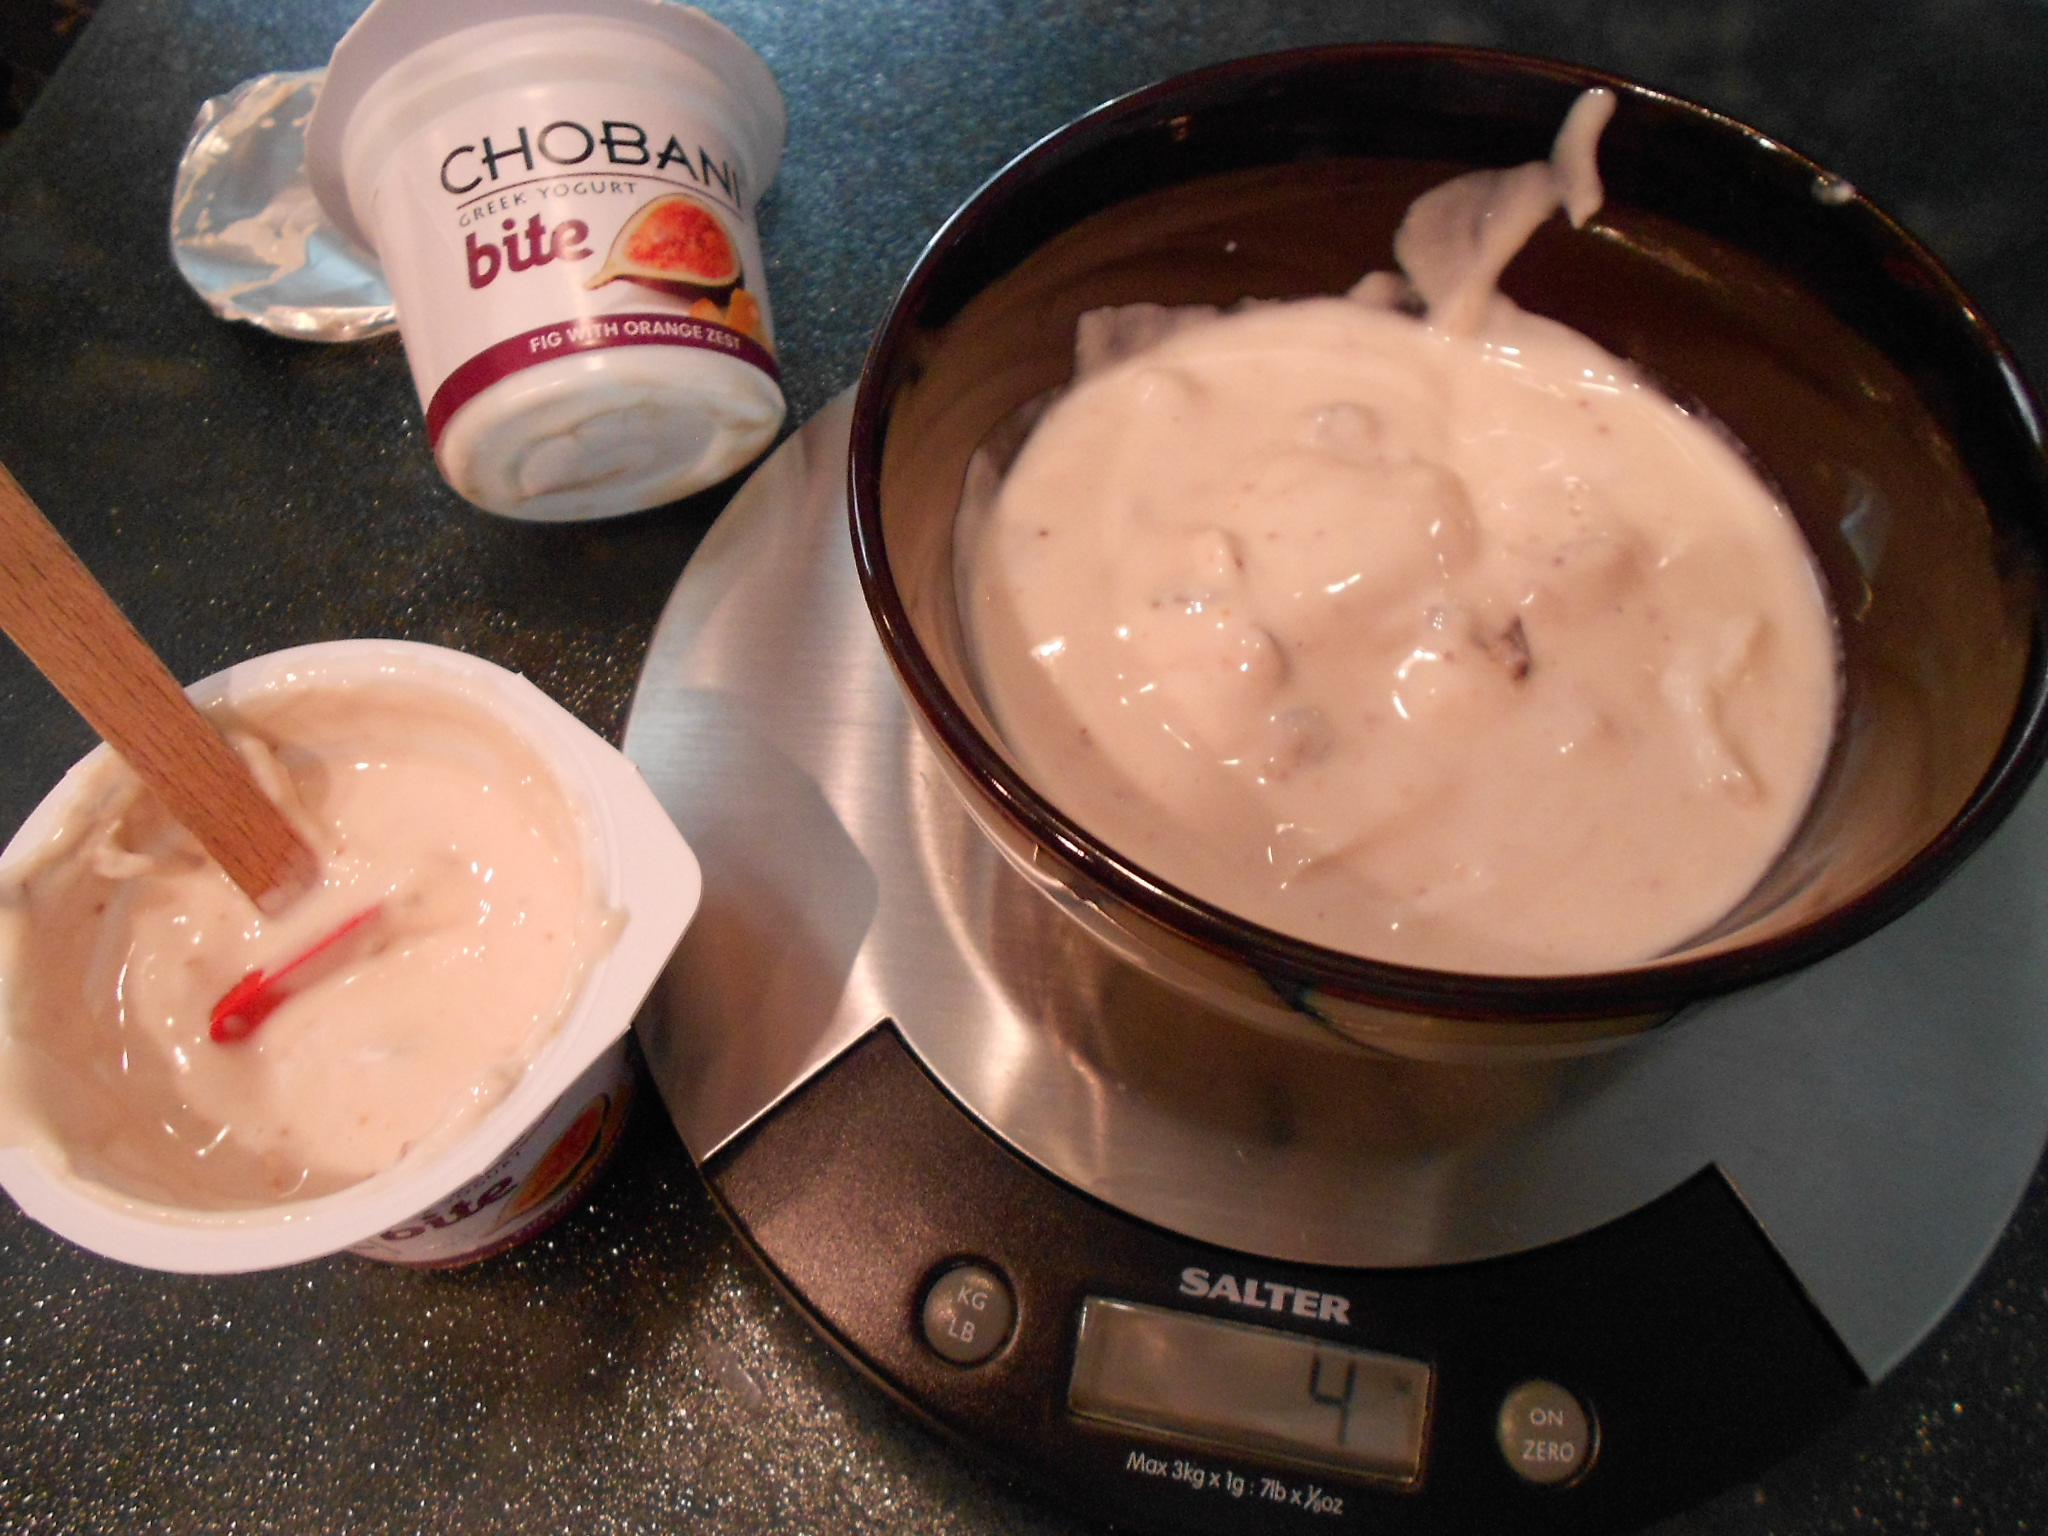
Add the Greek Yogurt and you can add between 3.5 to 4.5 ounces
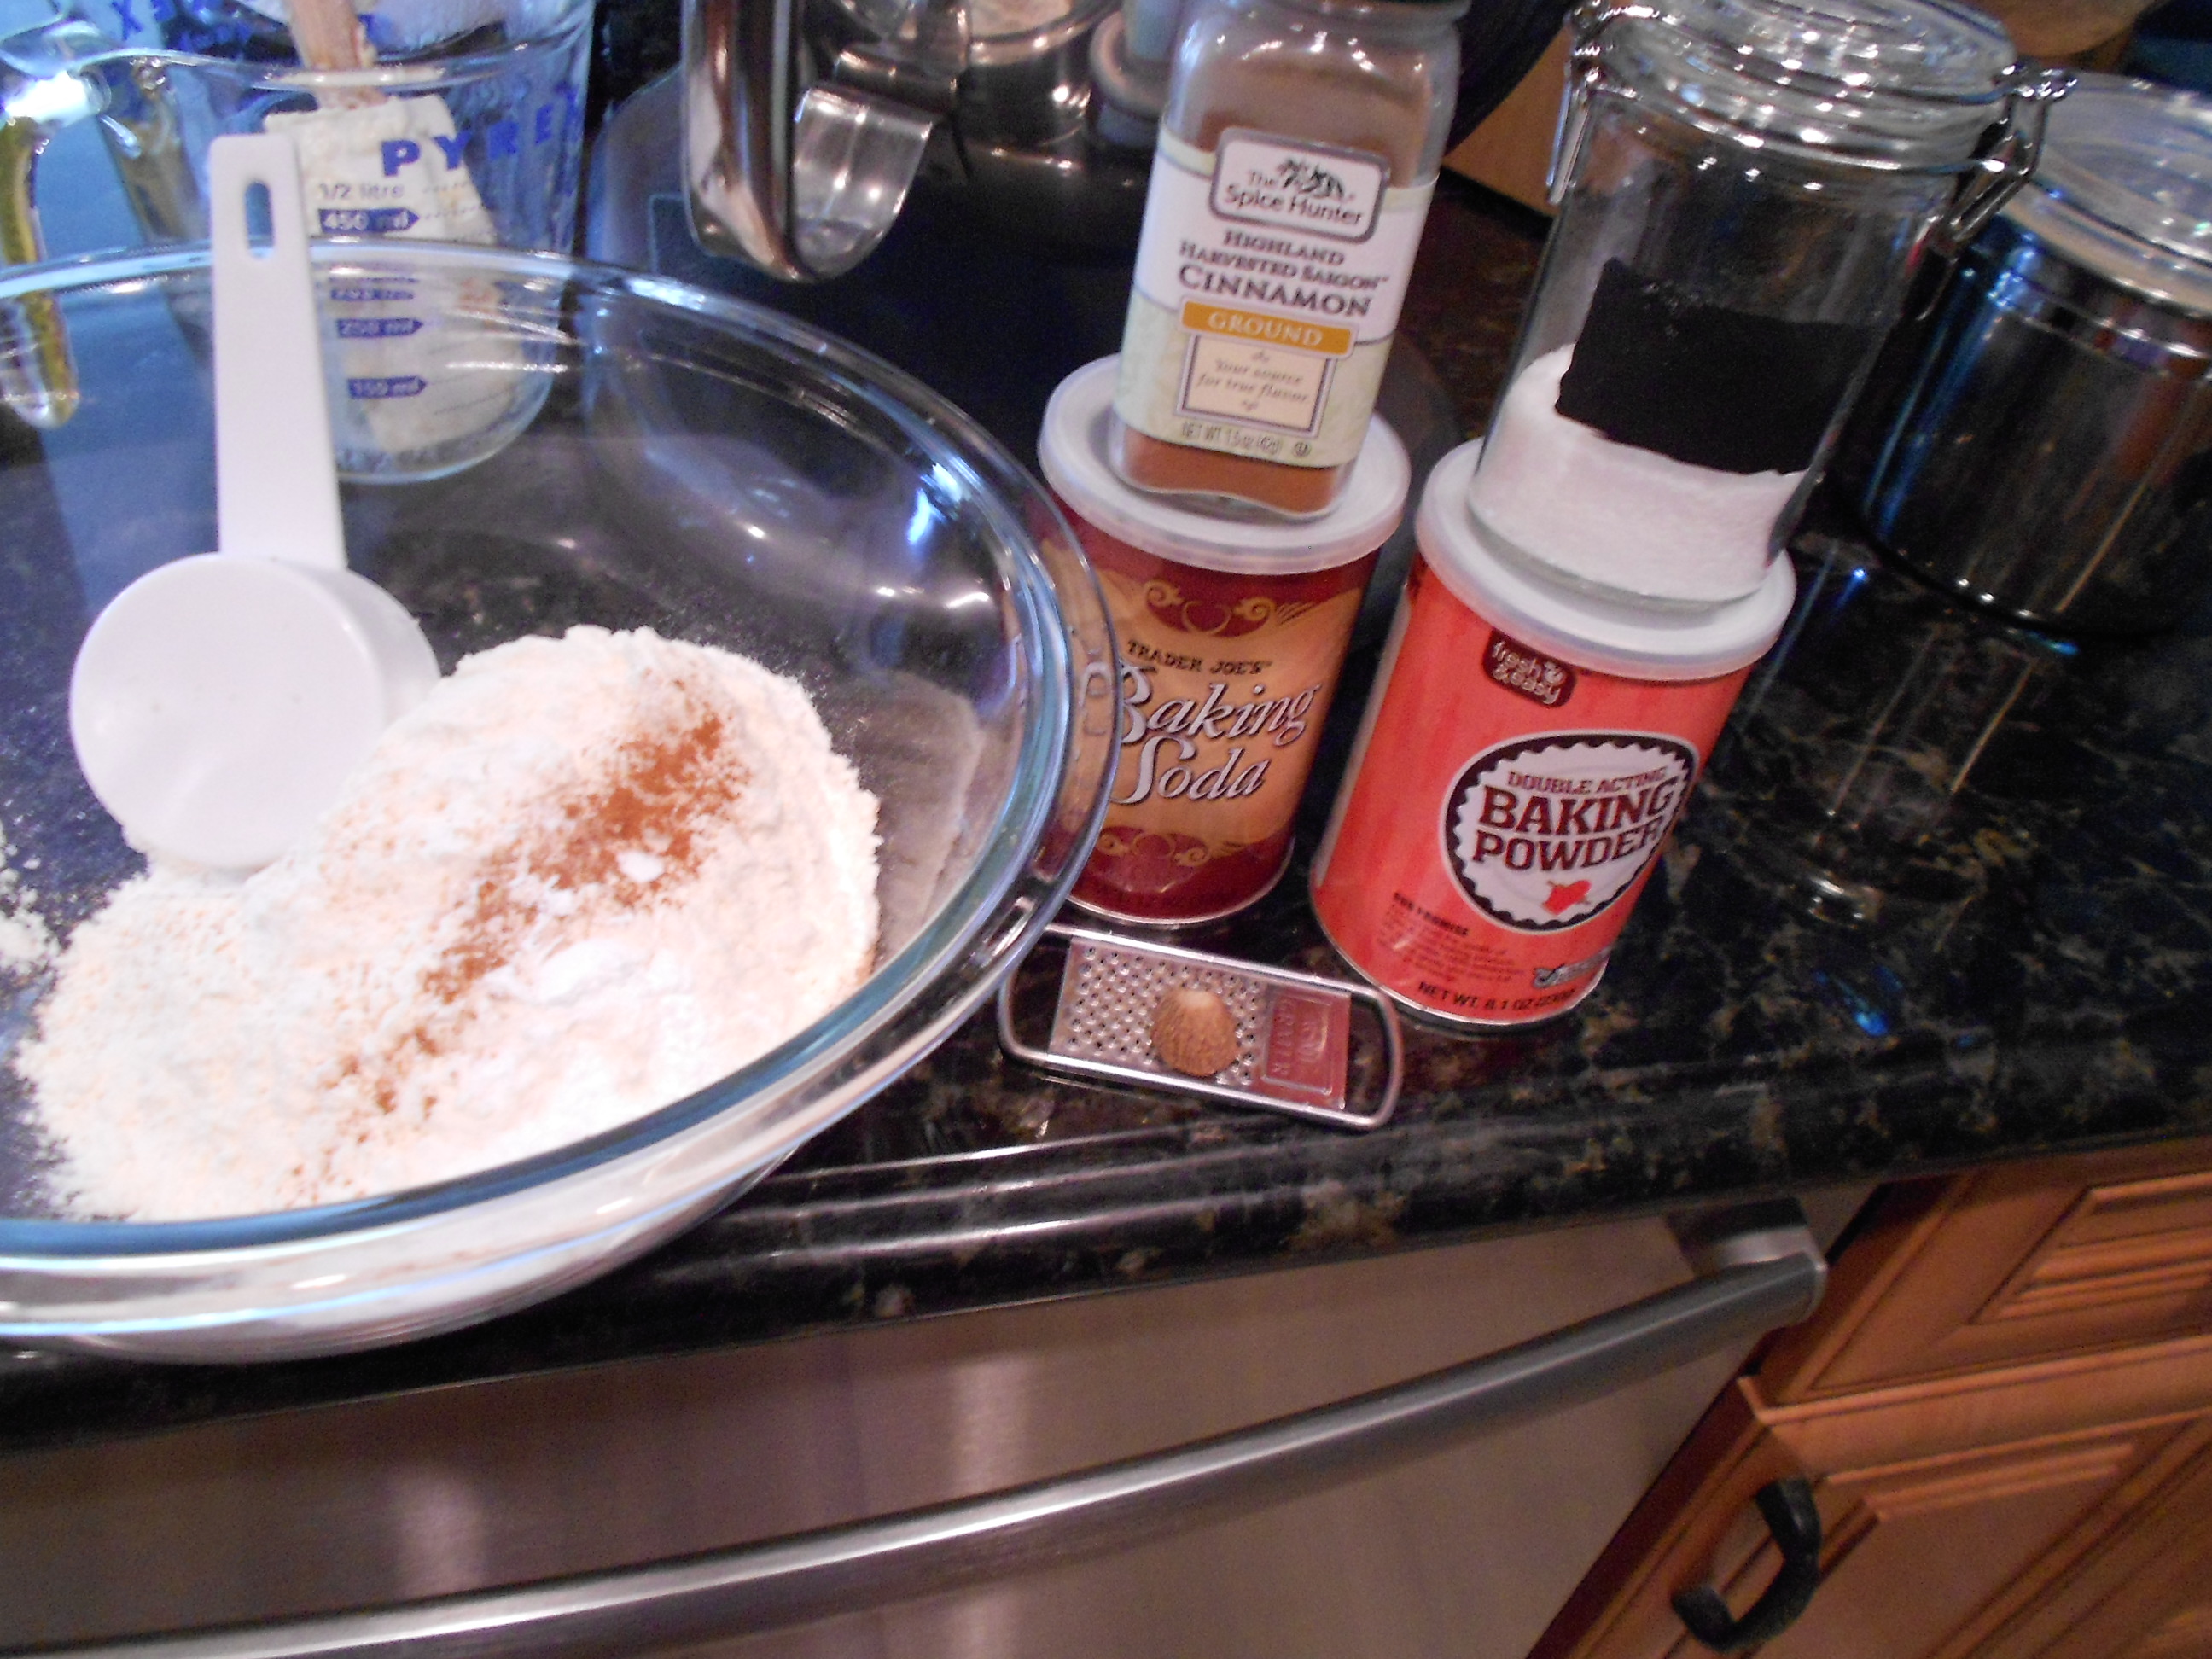
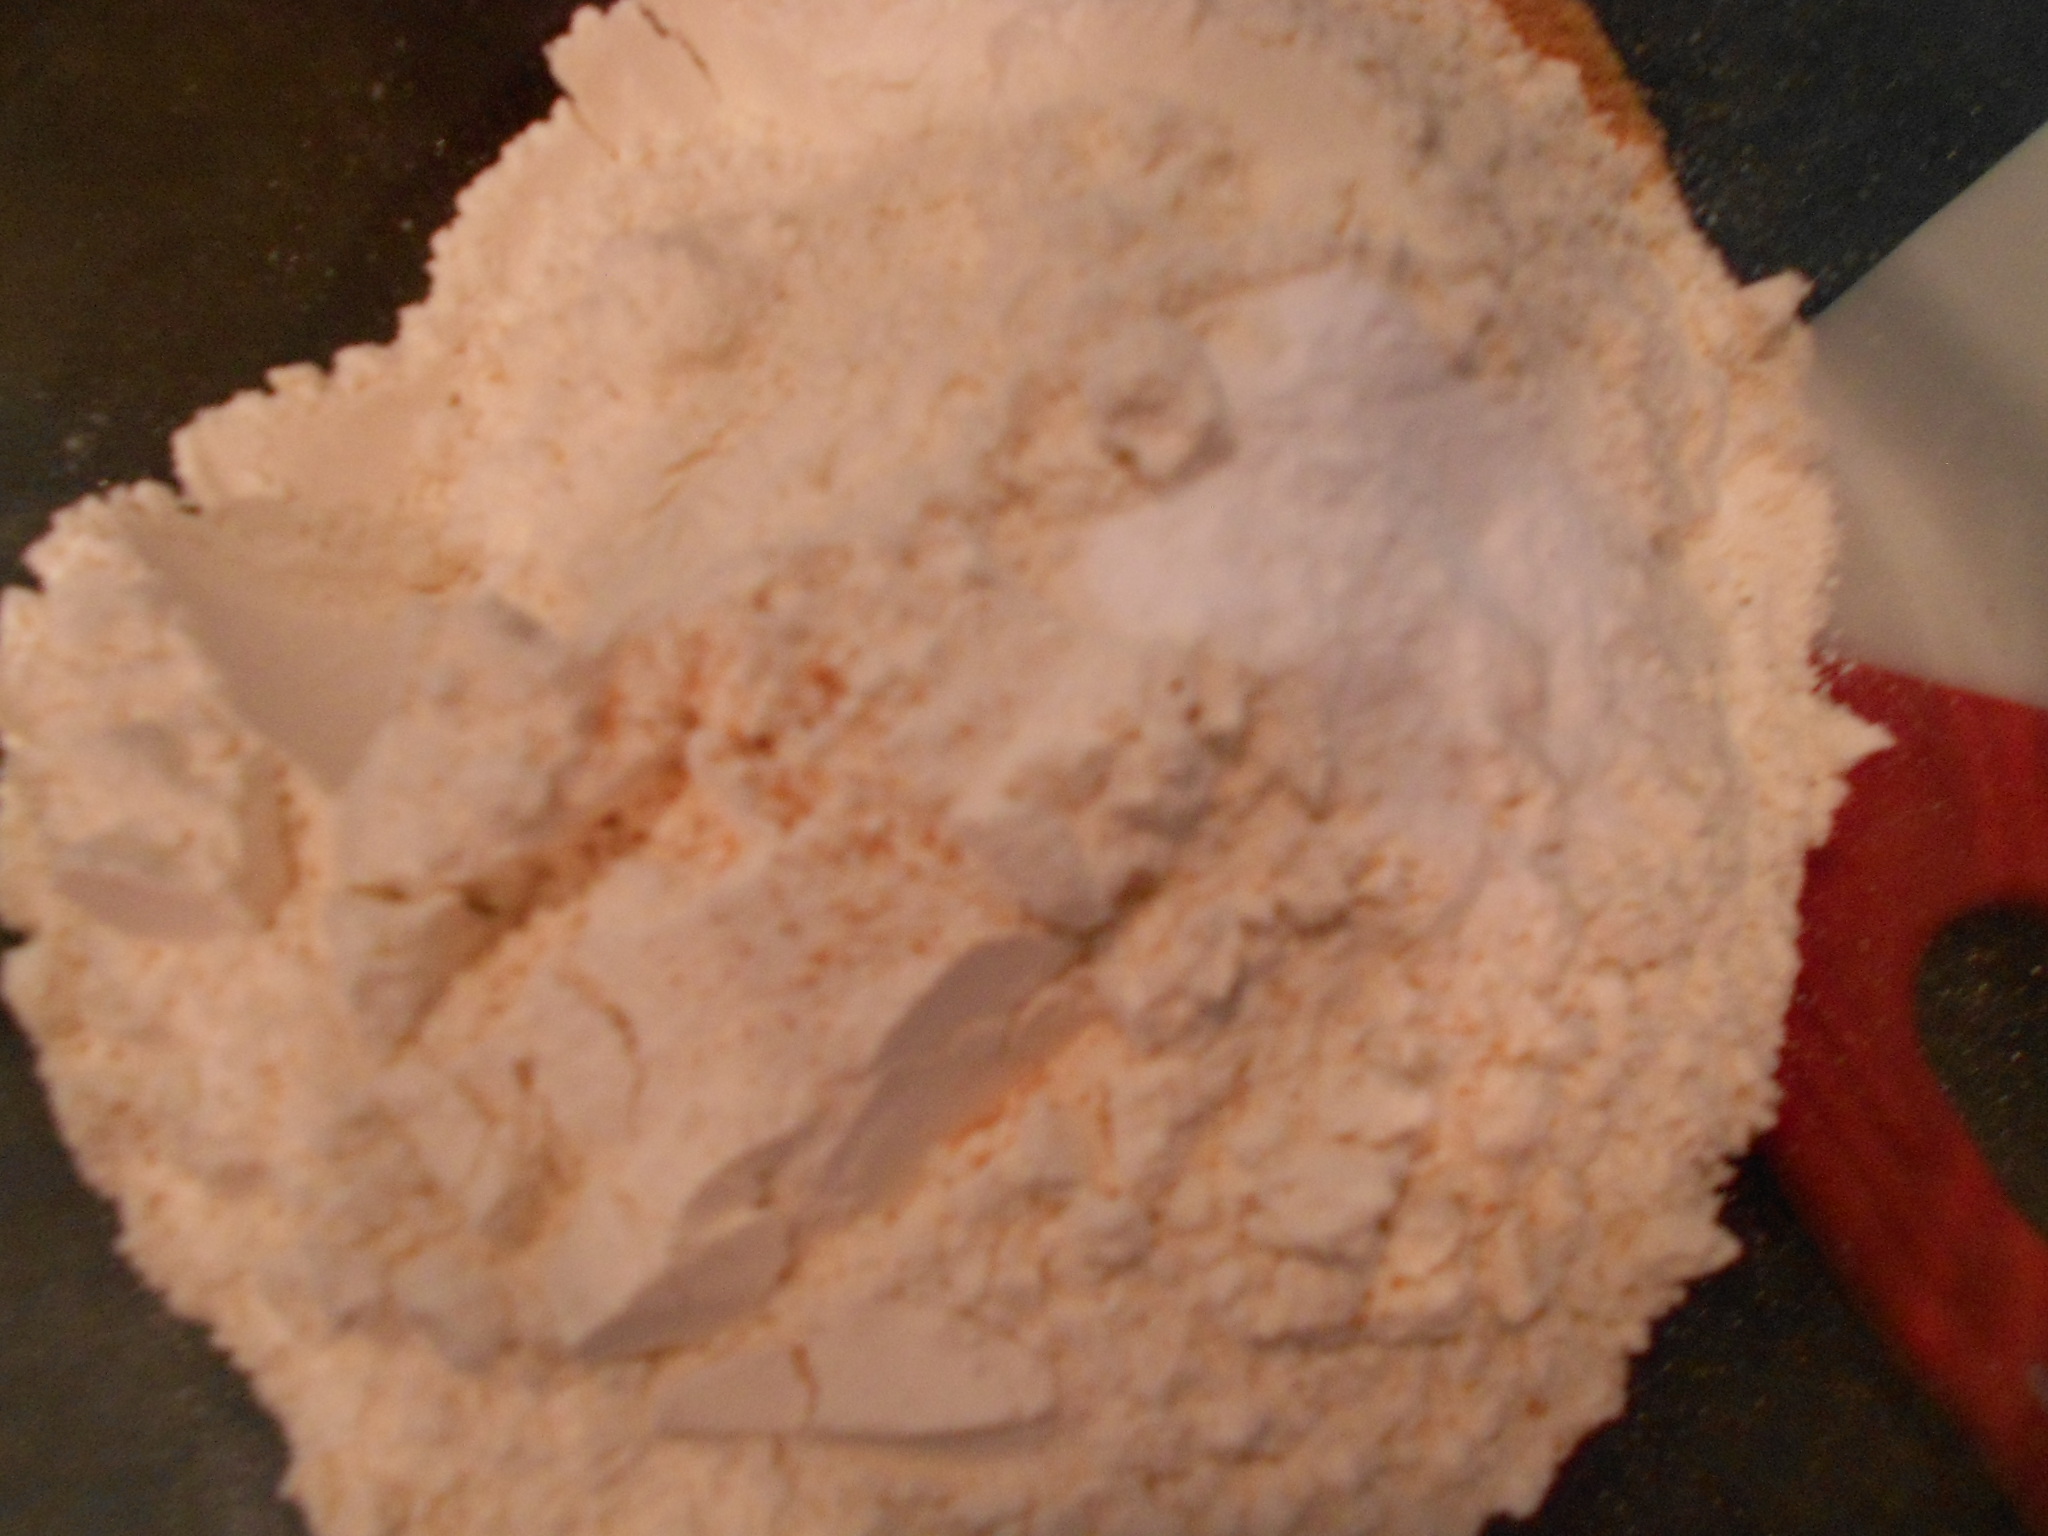
Take the flour, baking soda, salt and nutmeg and whisk in a separate bowl.
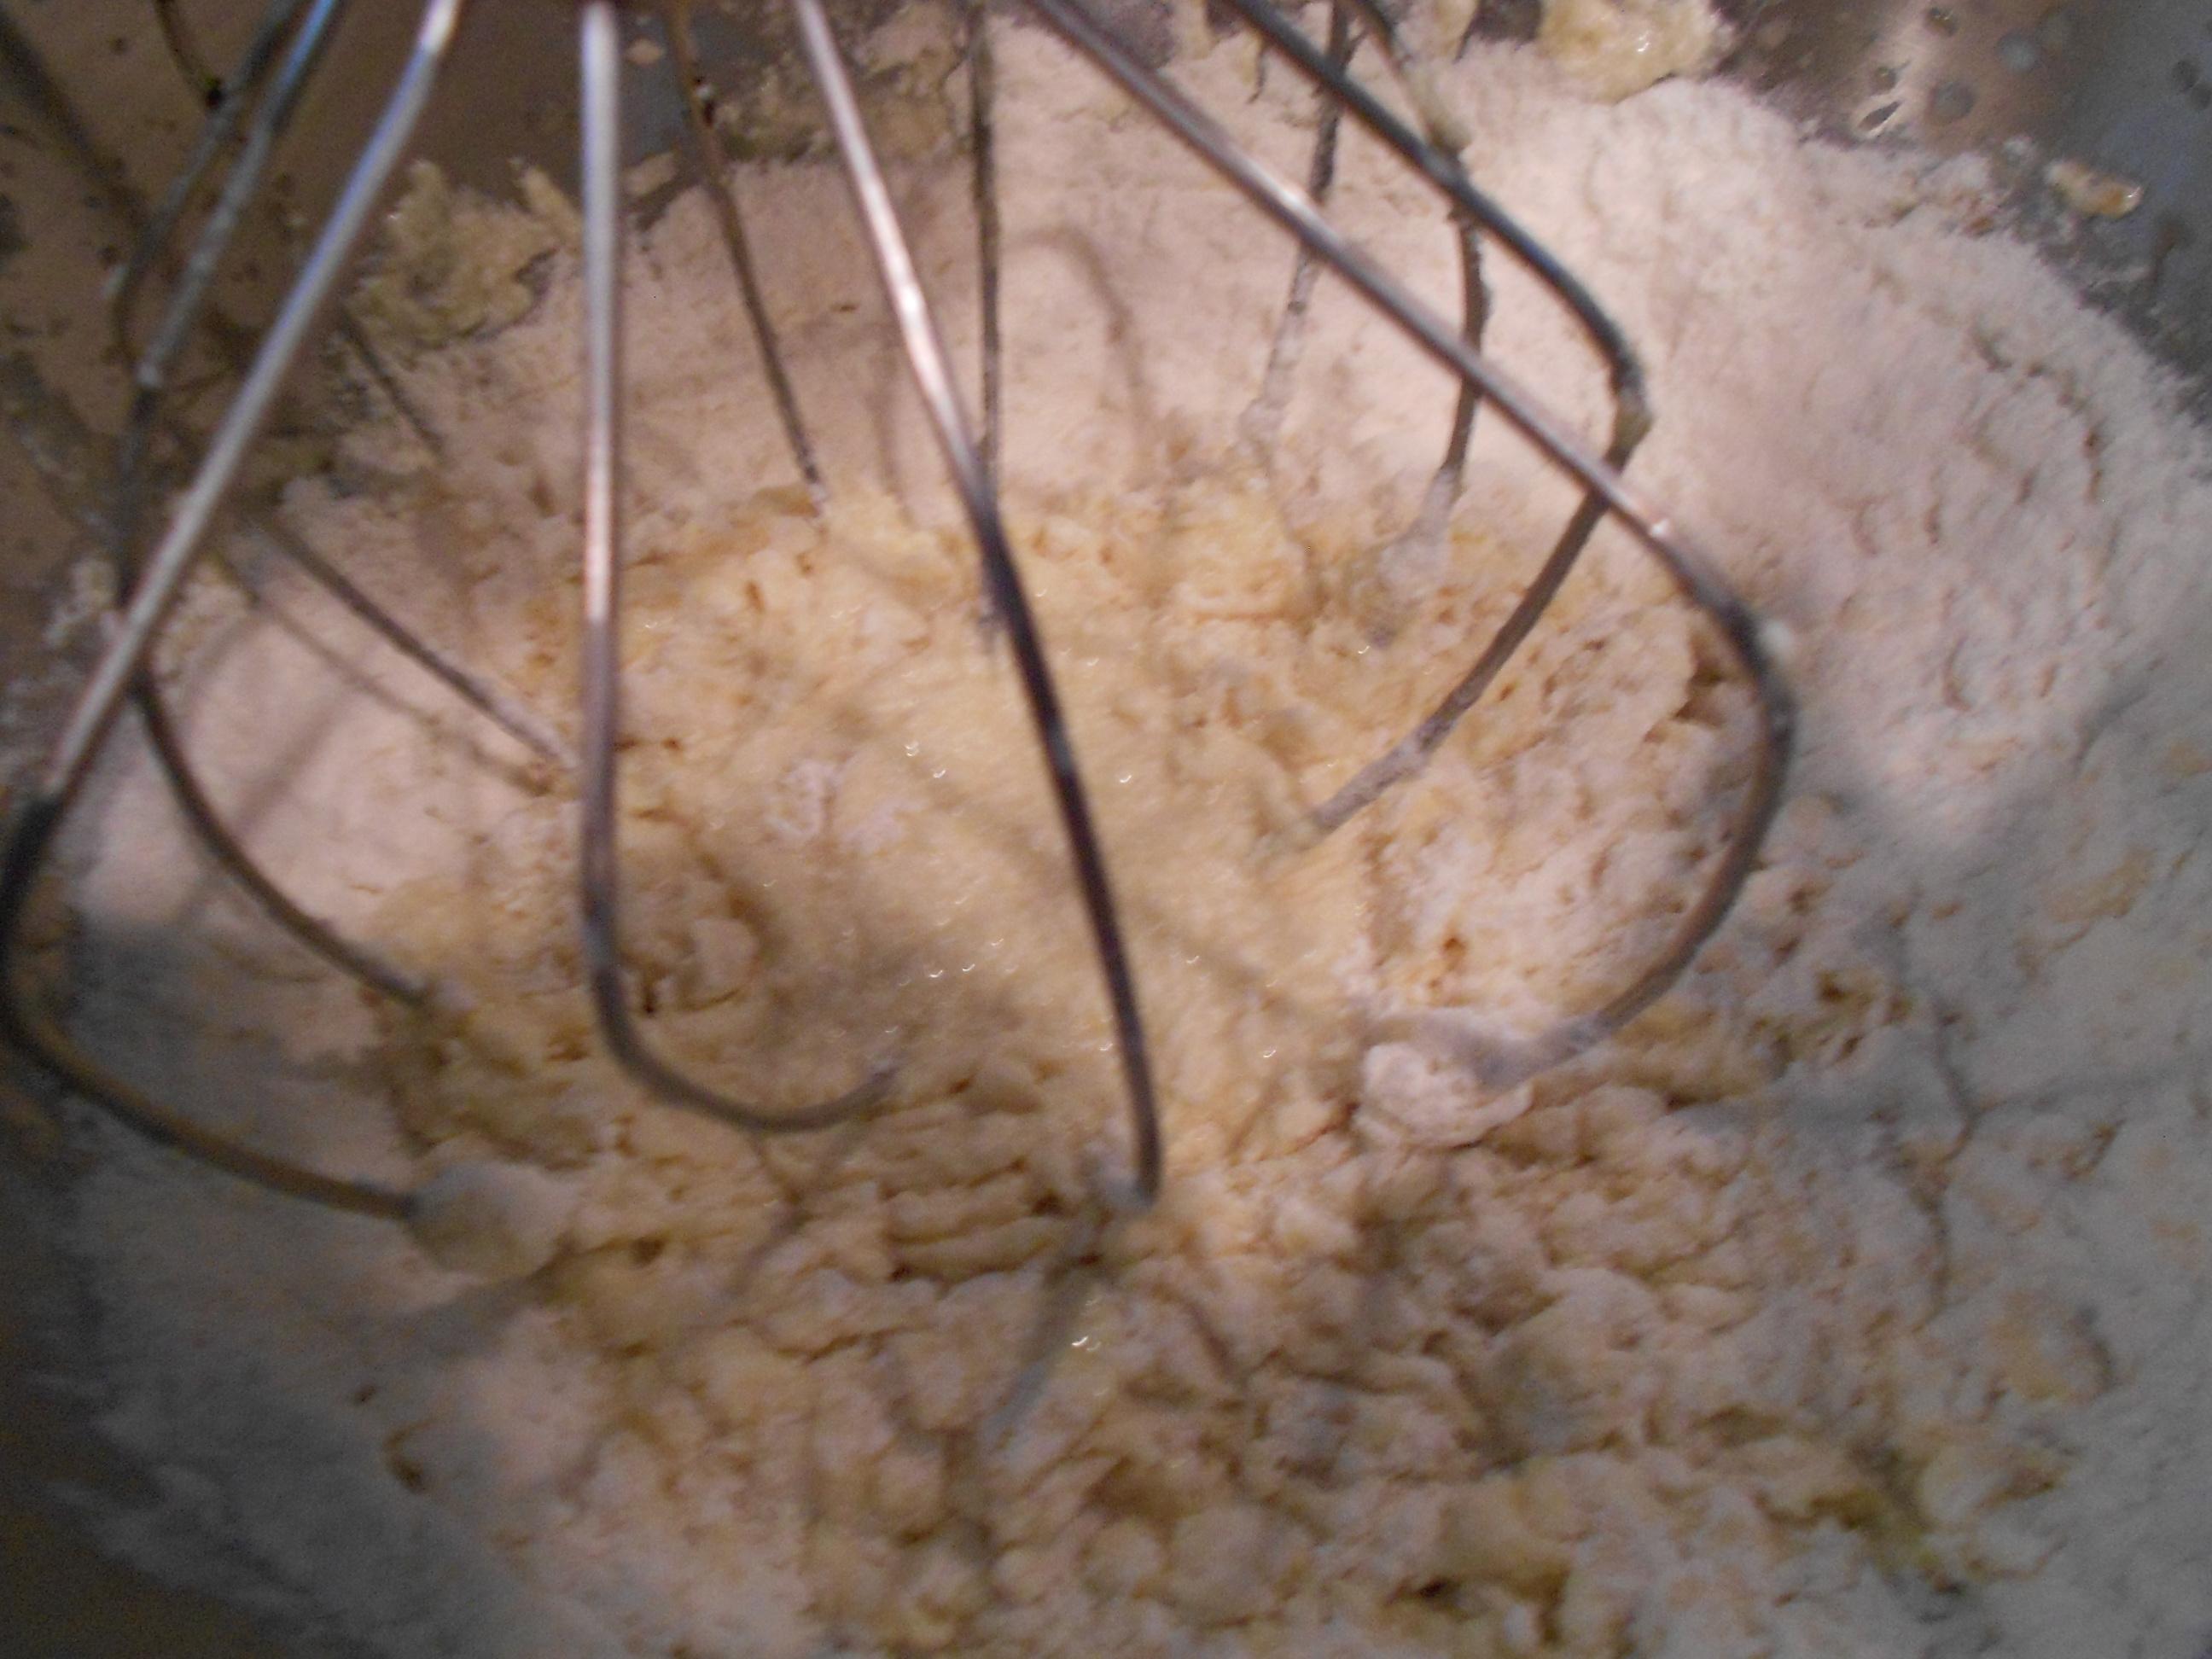
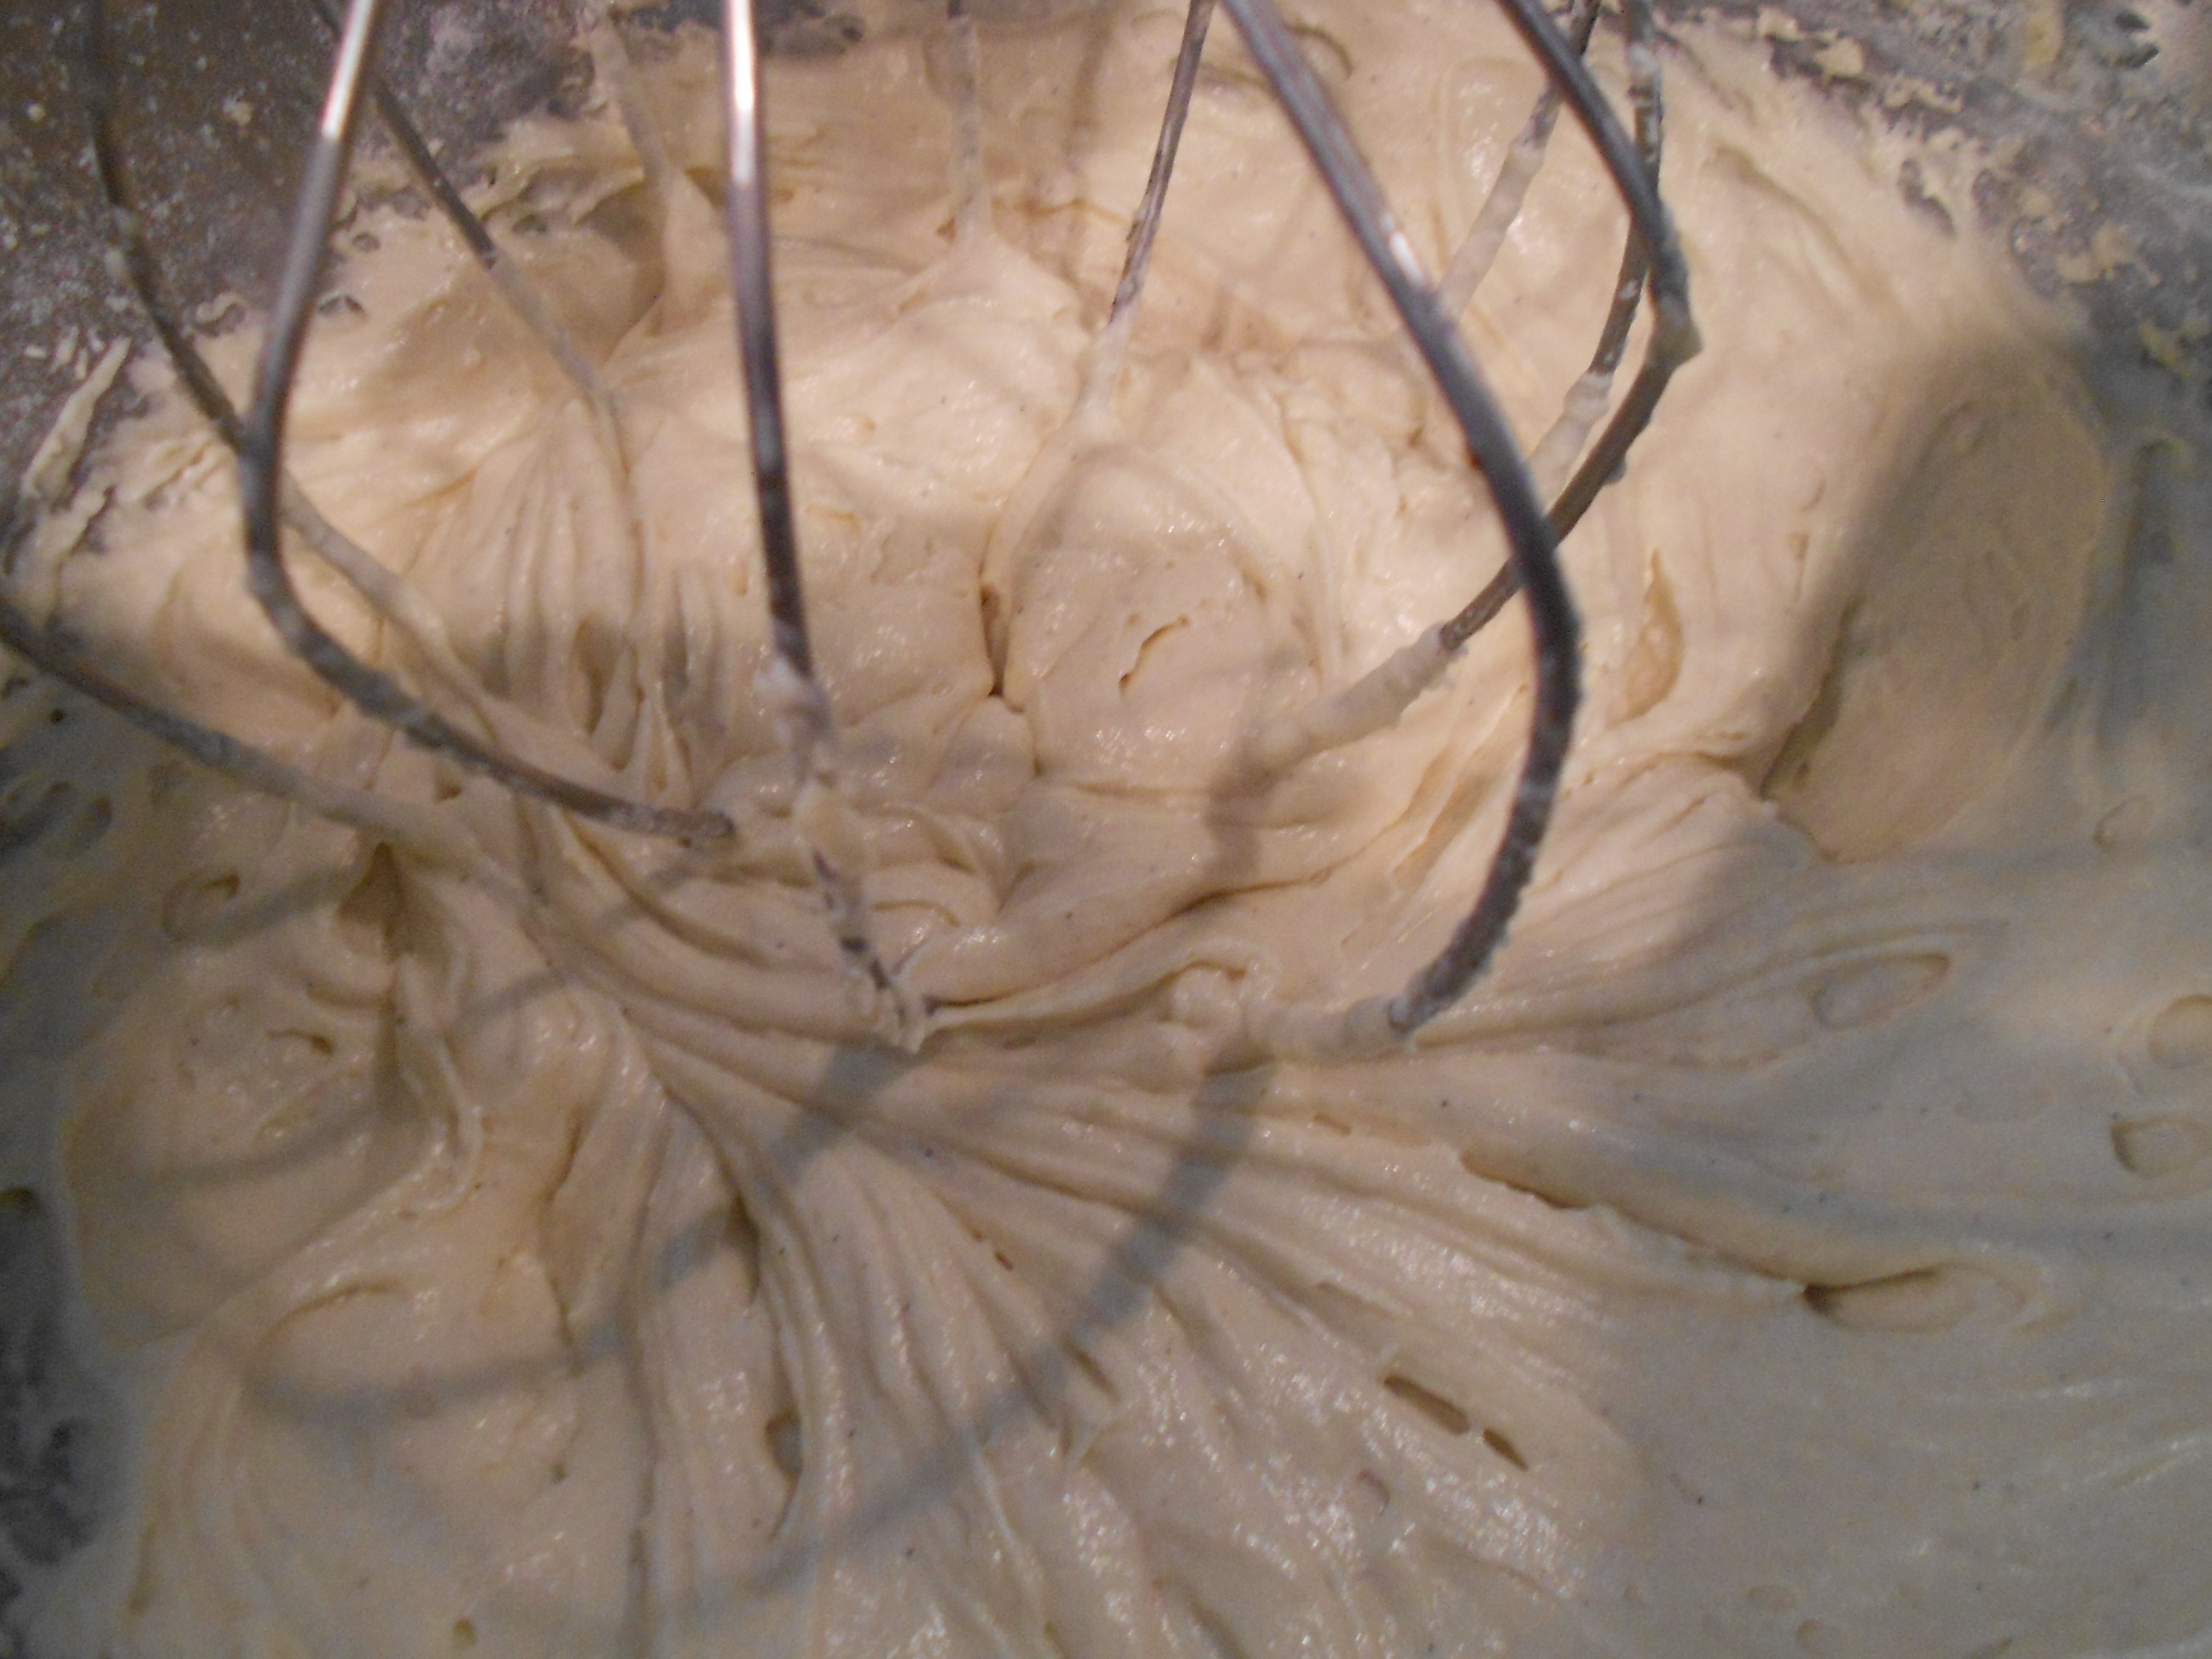
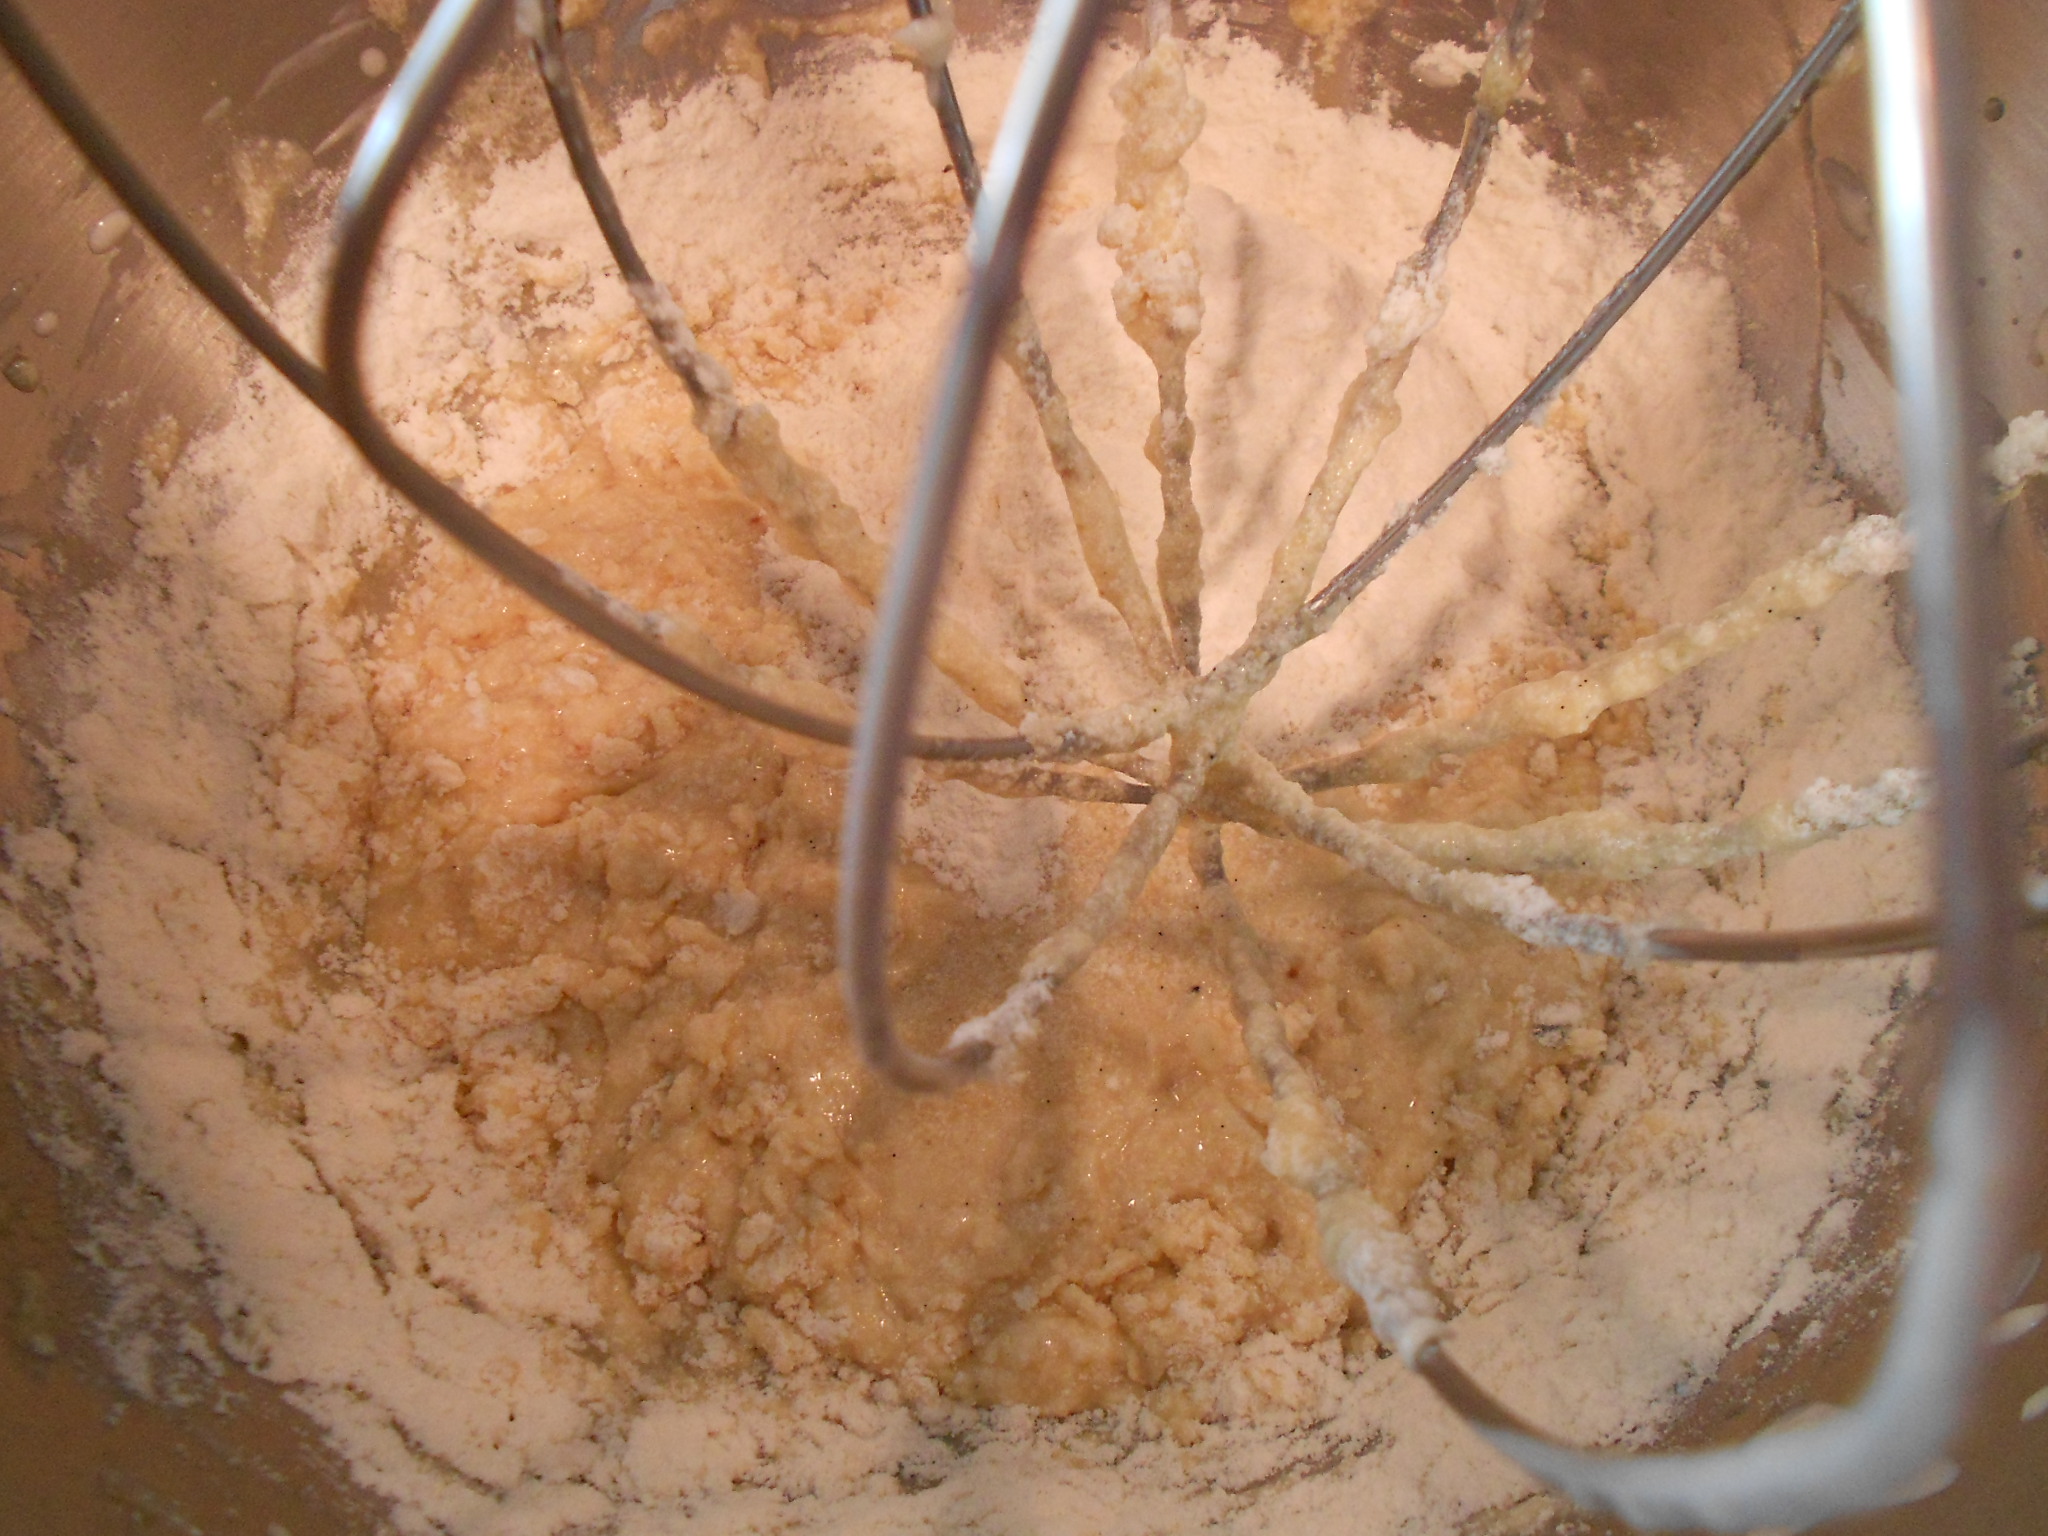
Then slowly start adding it to the bowl with the mixer on. Again, take the time to scrape down and continue adding about 1/2 cup of the flour mixture at a time until done.
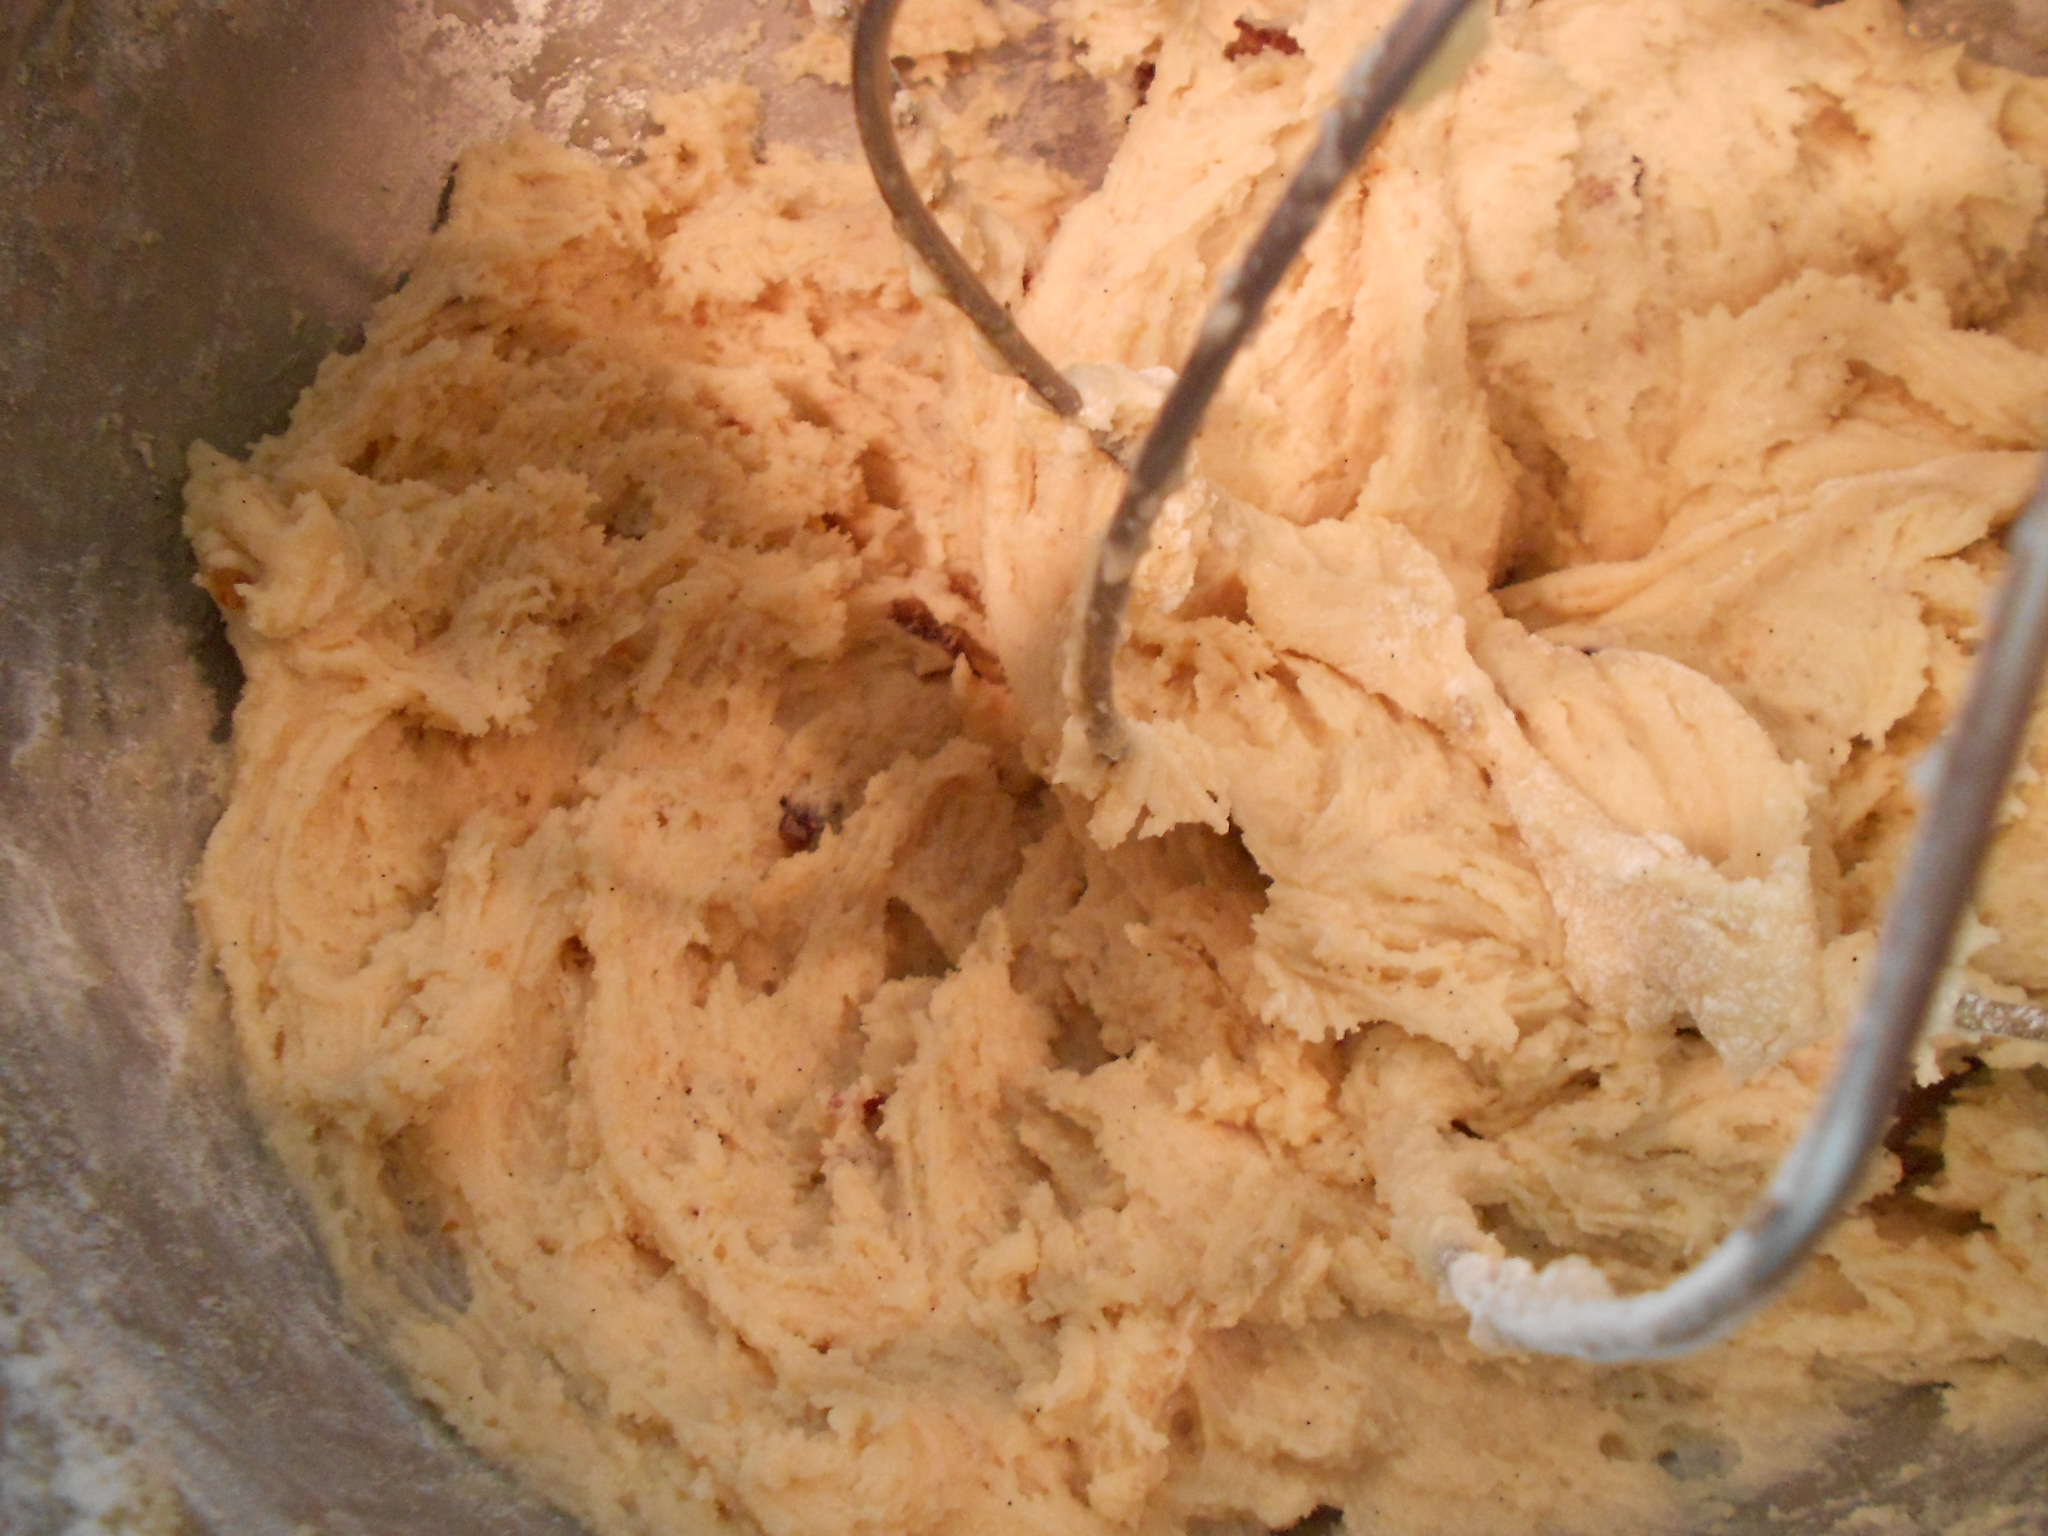
Get a long sheet of plastic wrap and lay it on the counter, as you will be dumping the dough onto the plastic to create a log.
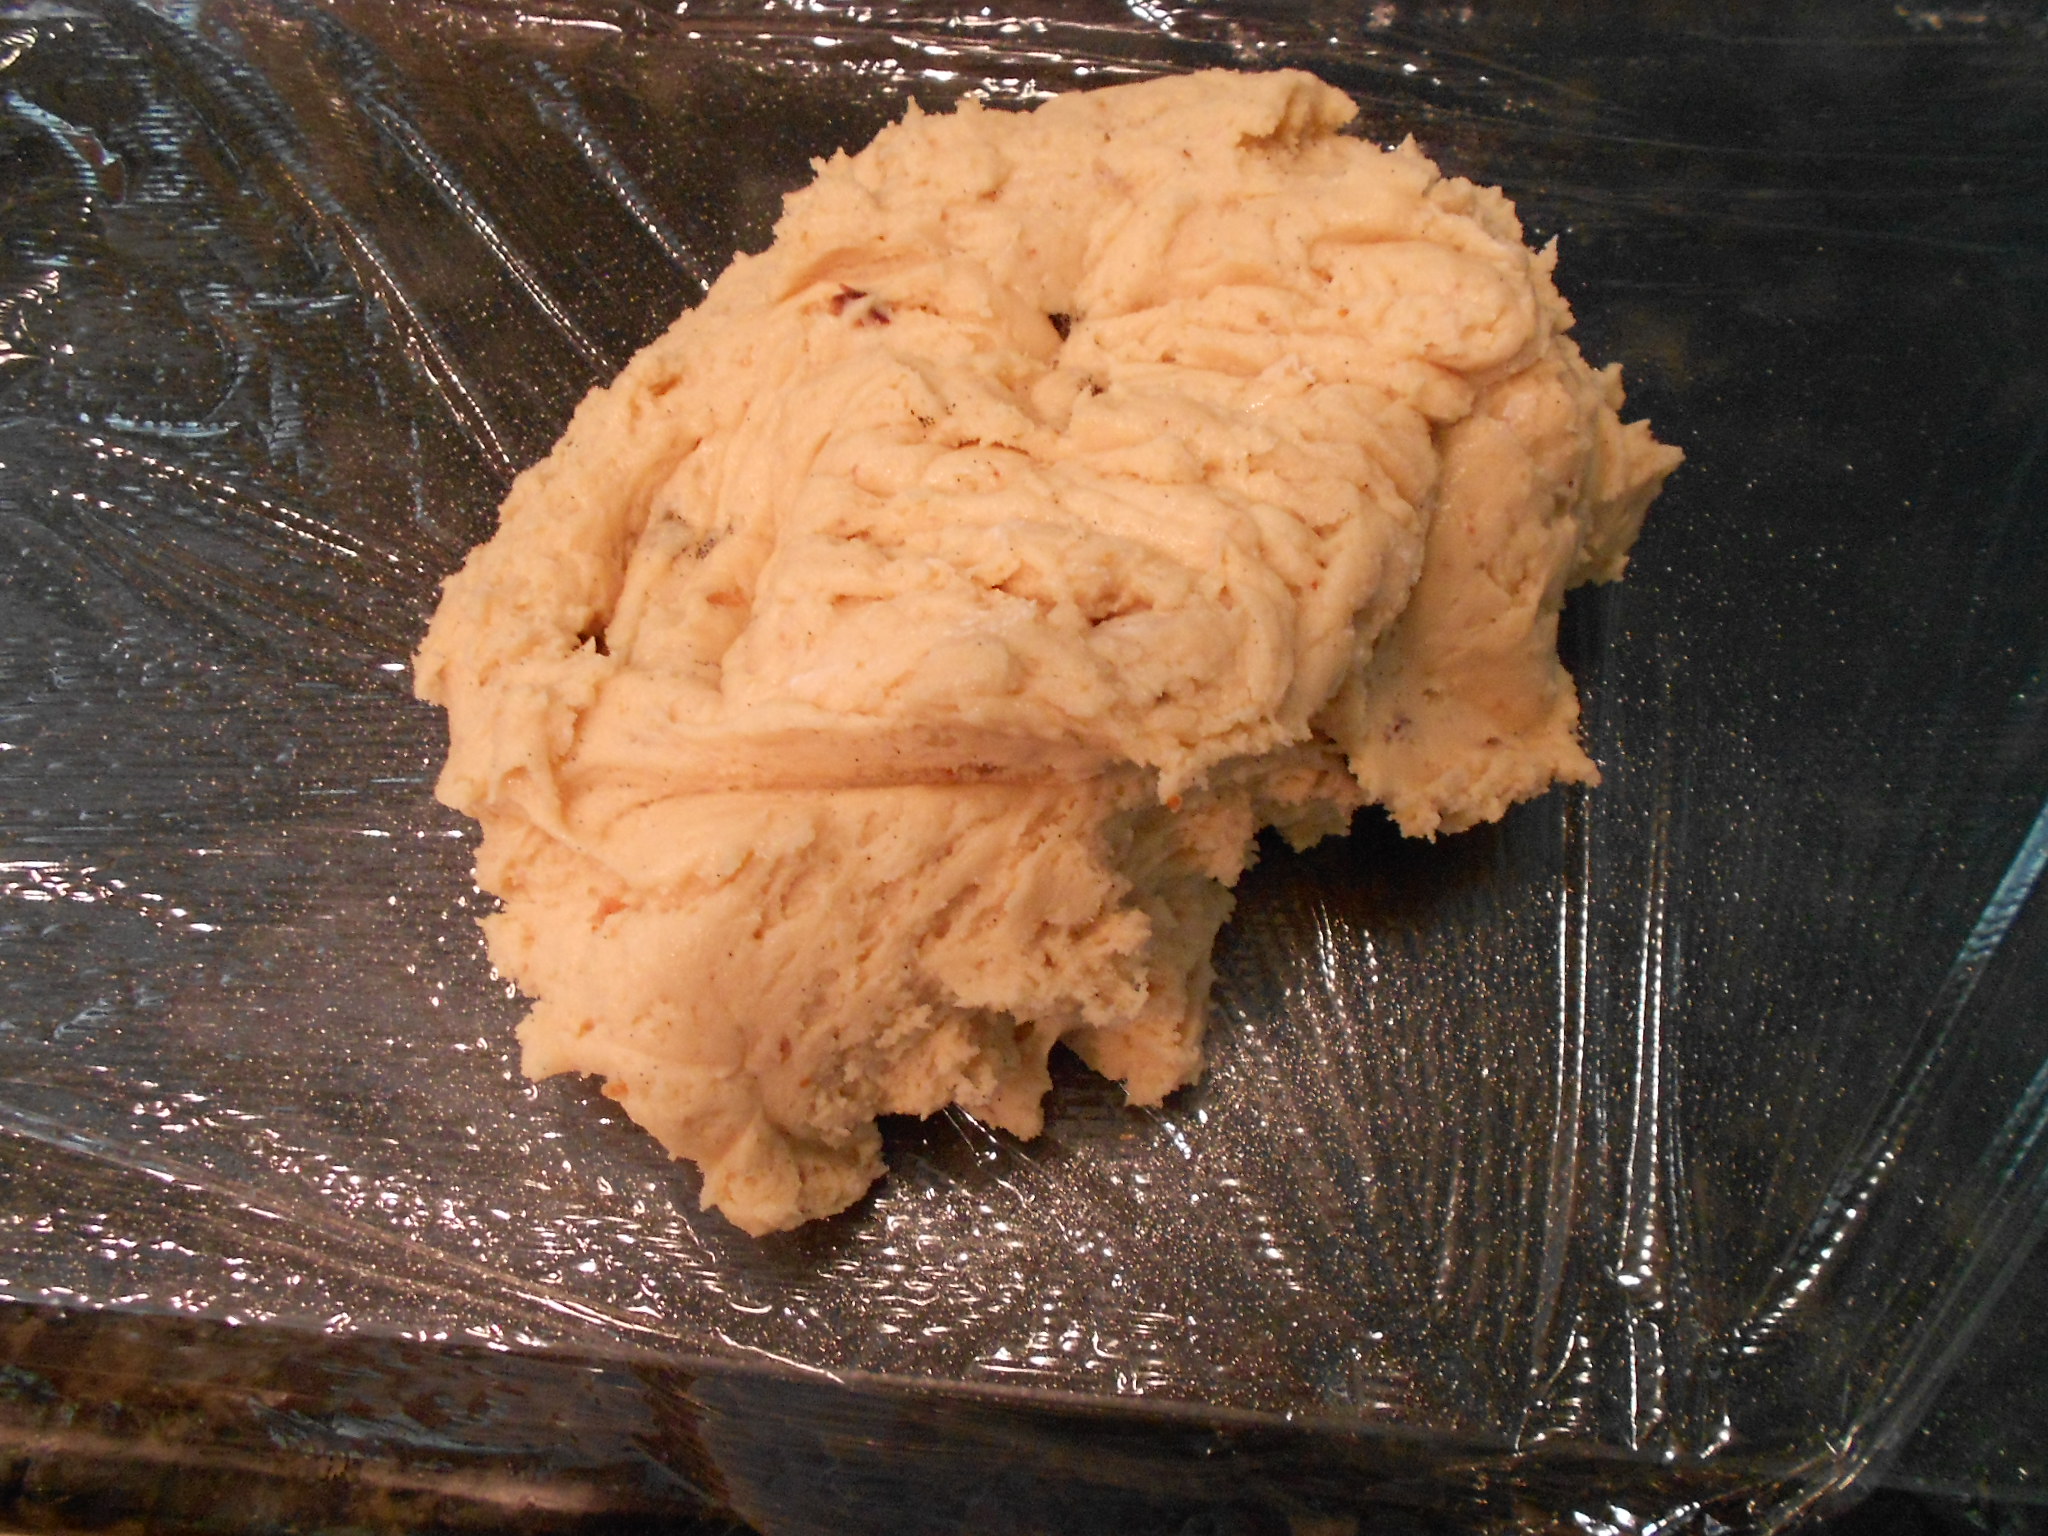
The cookie dough log should measure around 13 to 15 inches, depending how wide you want the cookies.
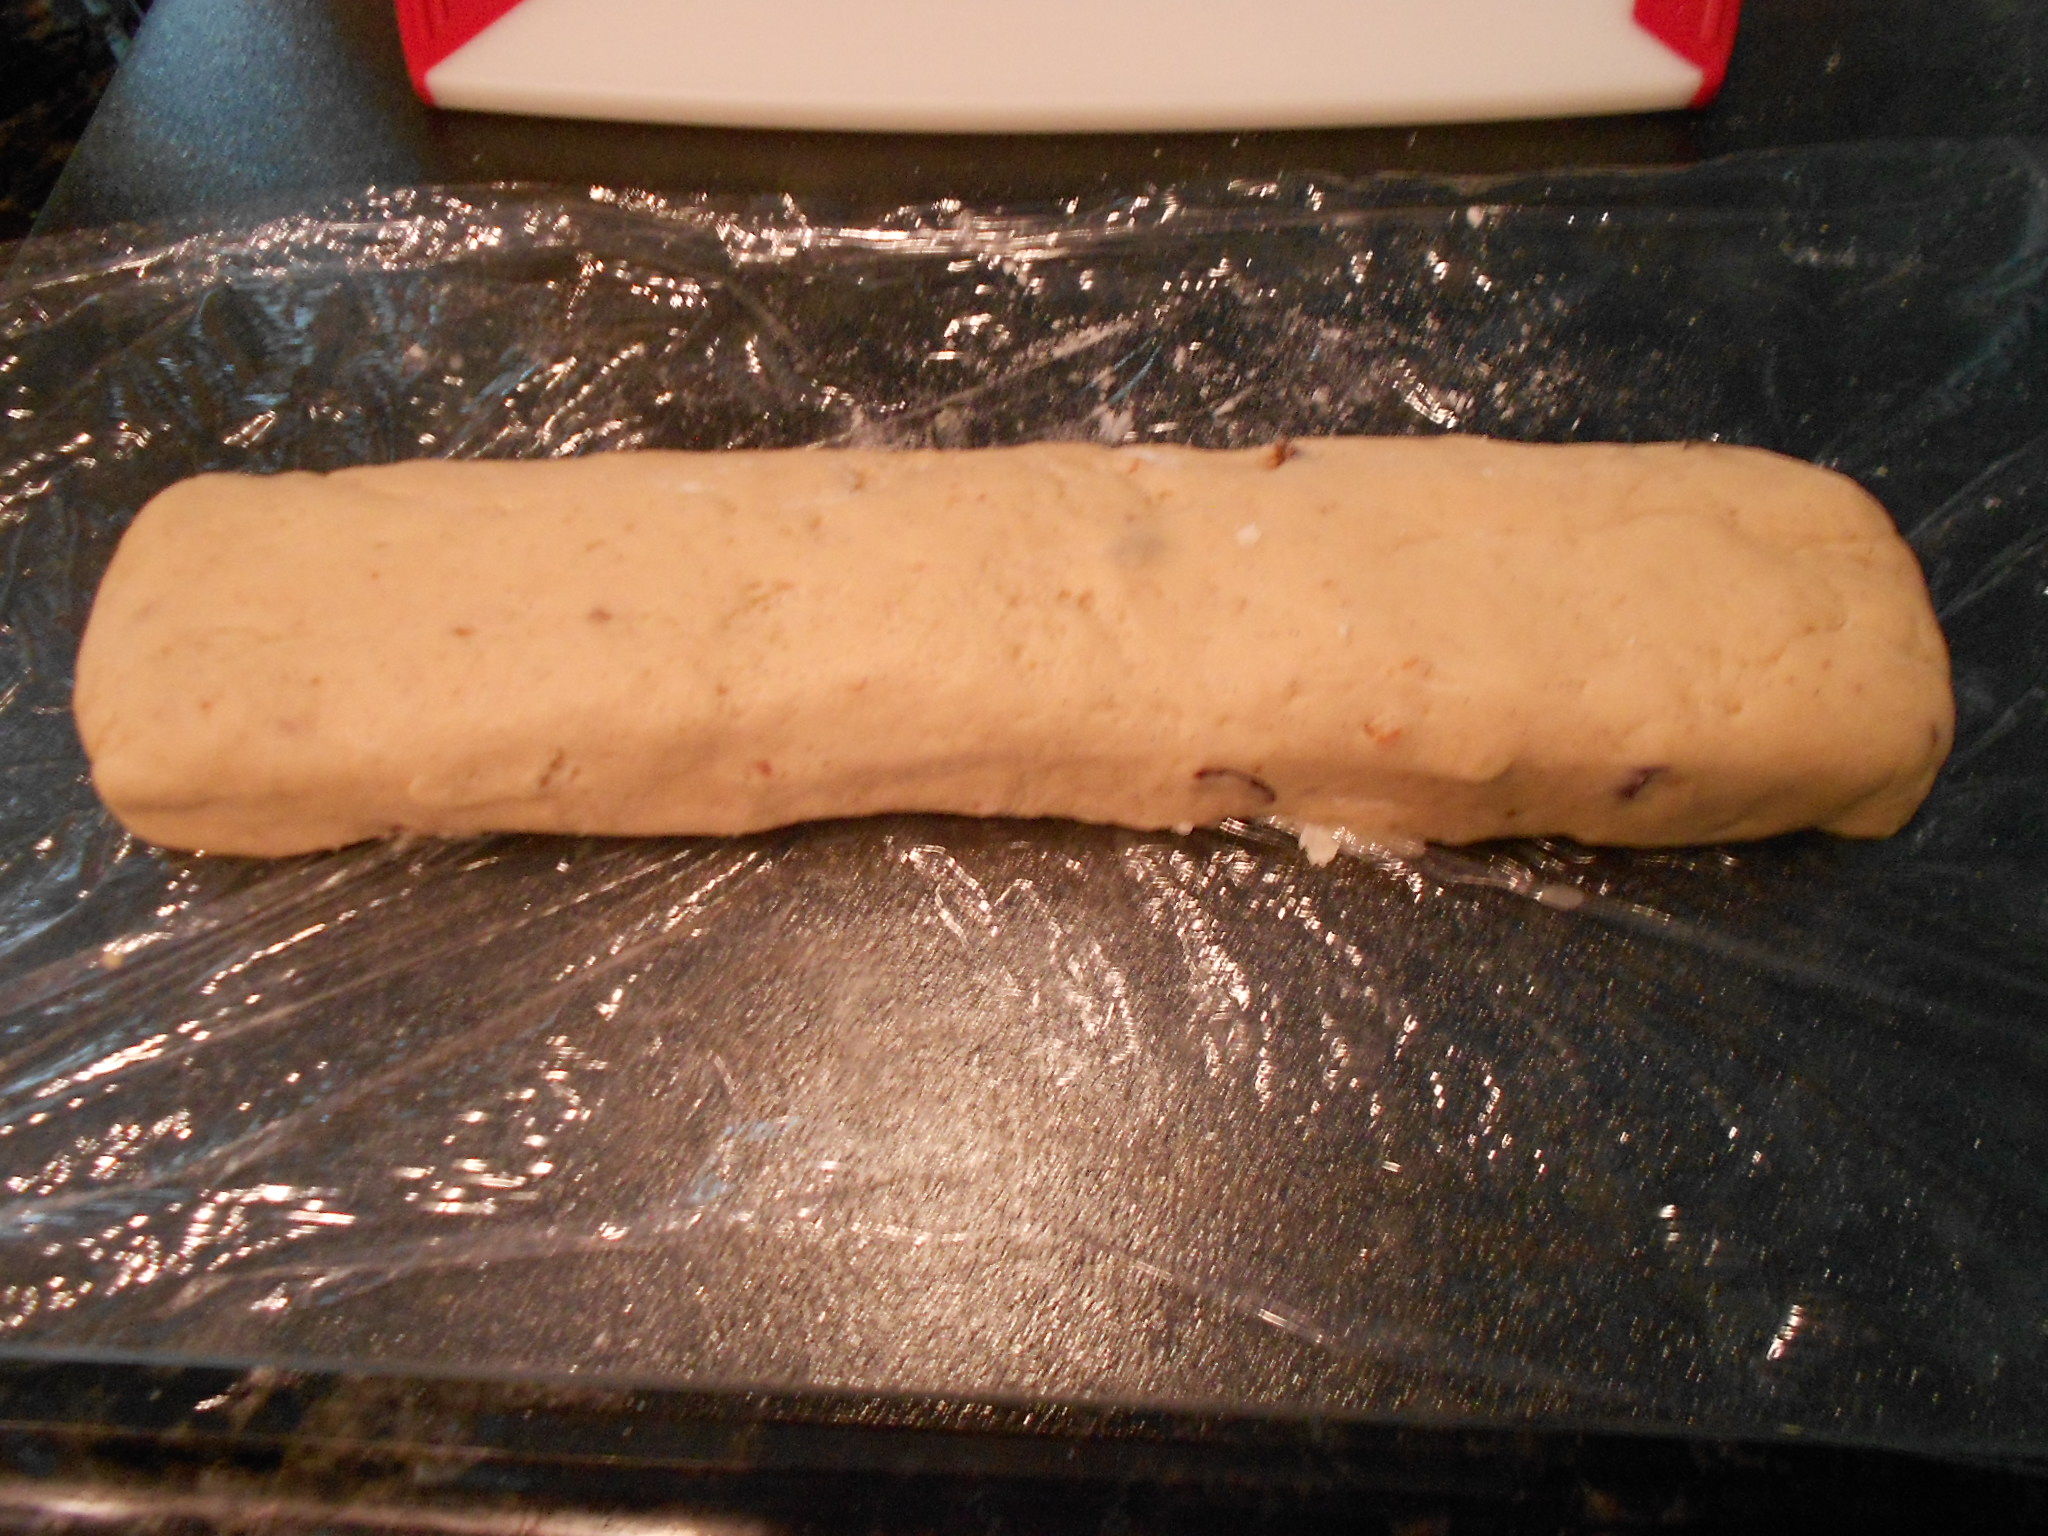
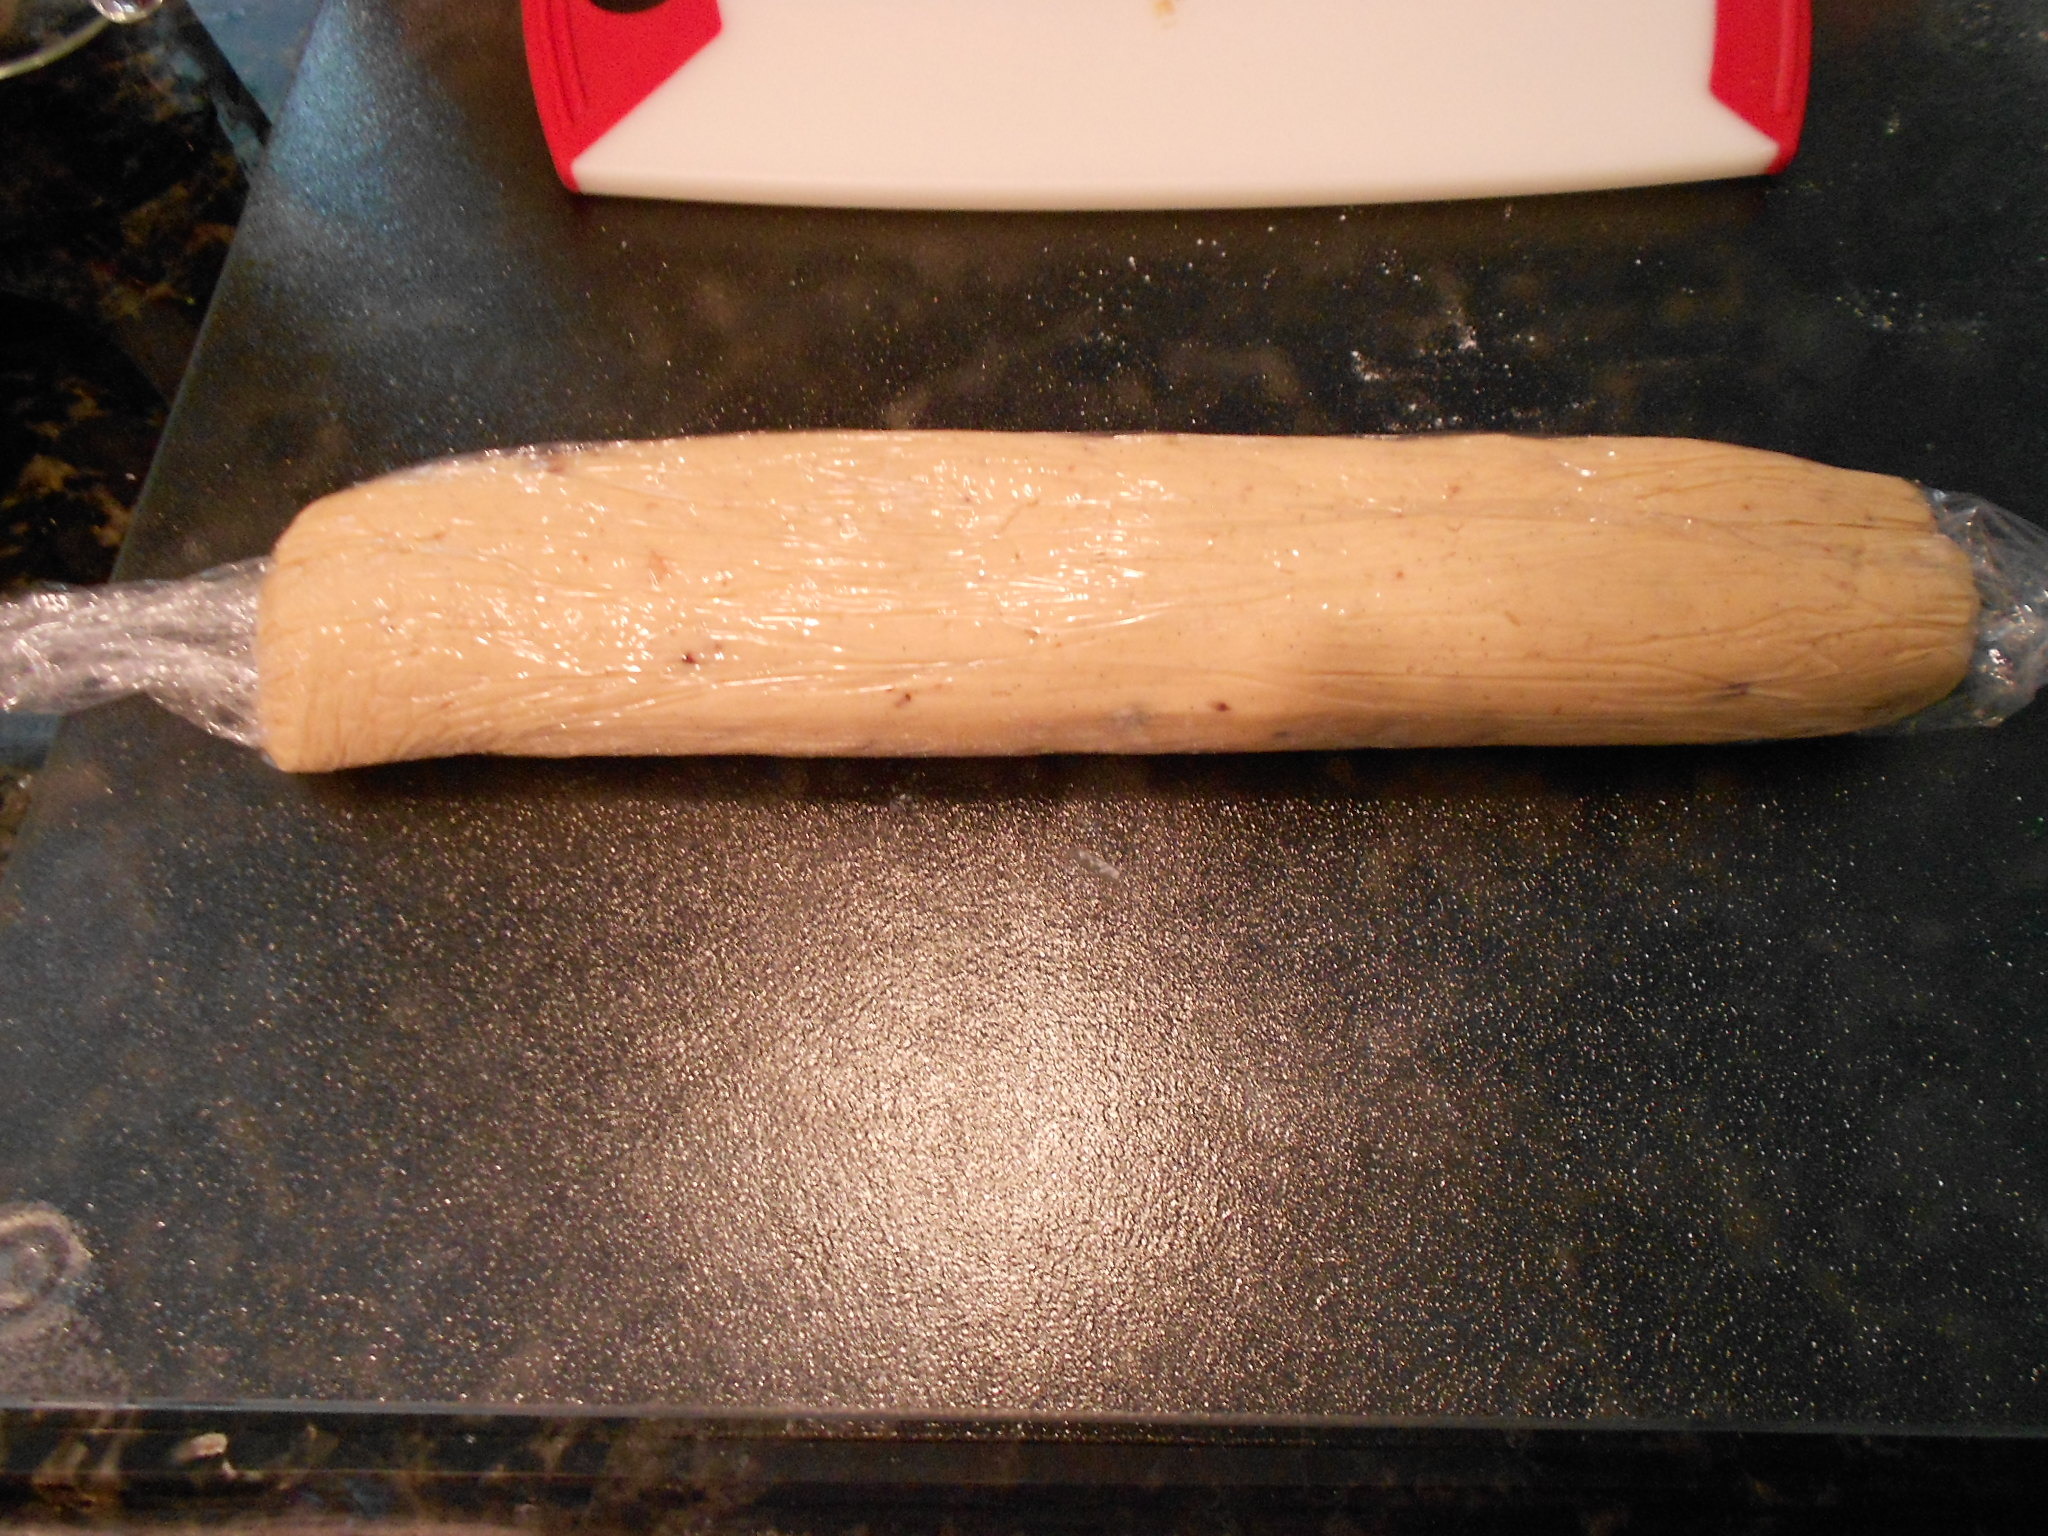
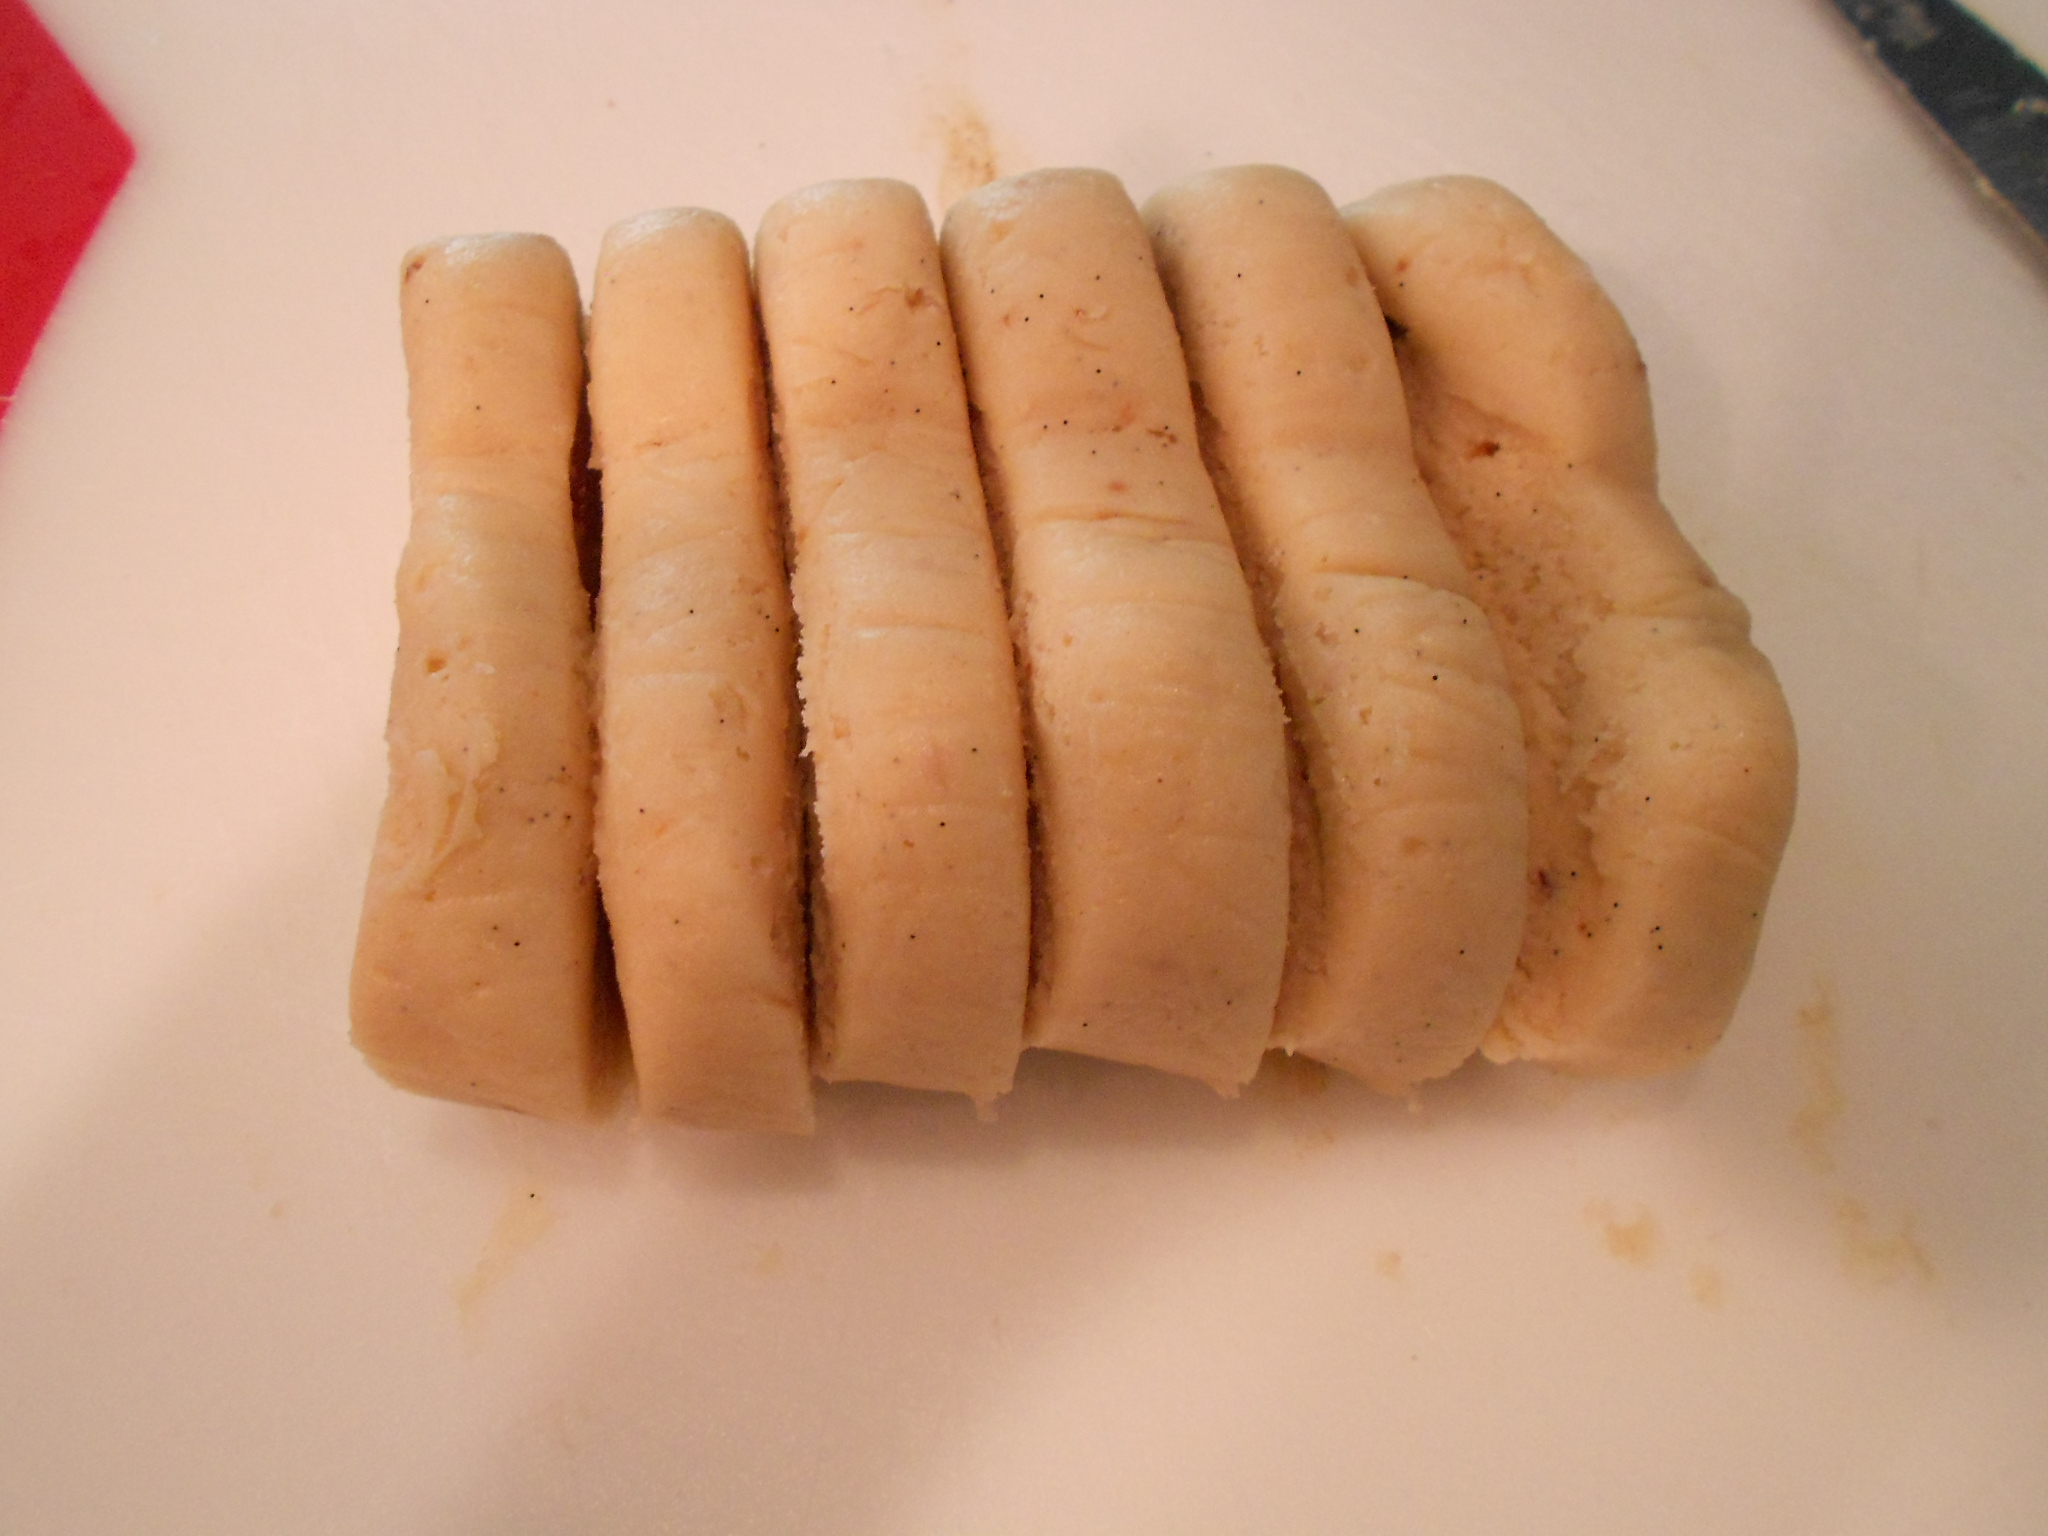
You then put the dough in the fridge for 30 minutes. I made hearts so at the 30 minute mark, you take the dough out and create a ridge on the top of the log to imitate the center portion of where the heart comes down. It should look like a "m" on top and still rounded at the bottom (flat-ish). You don't need to do this and you can just form the log to resemble a cylinder and just cut rounds when the time comes. You can also shape it like a block, square/flat at all angles and cut squares when the time comes to slice.
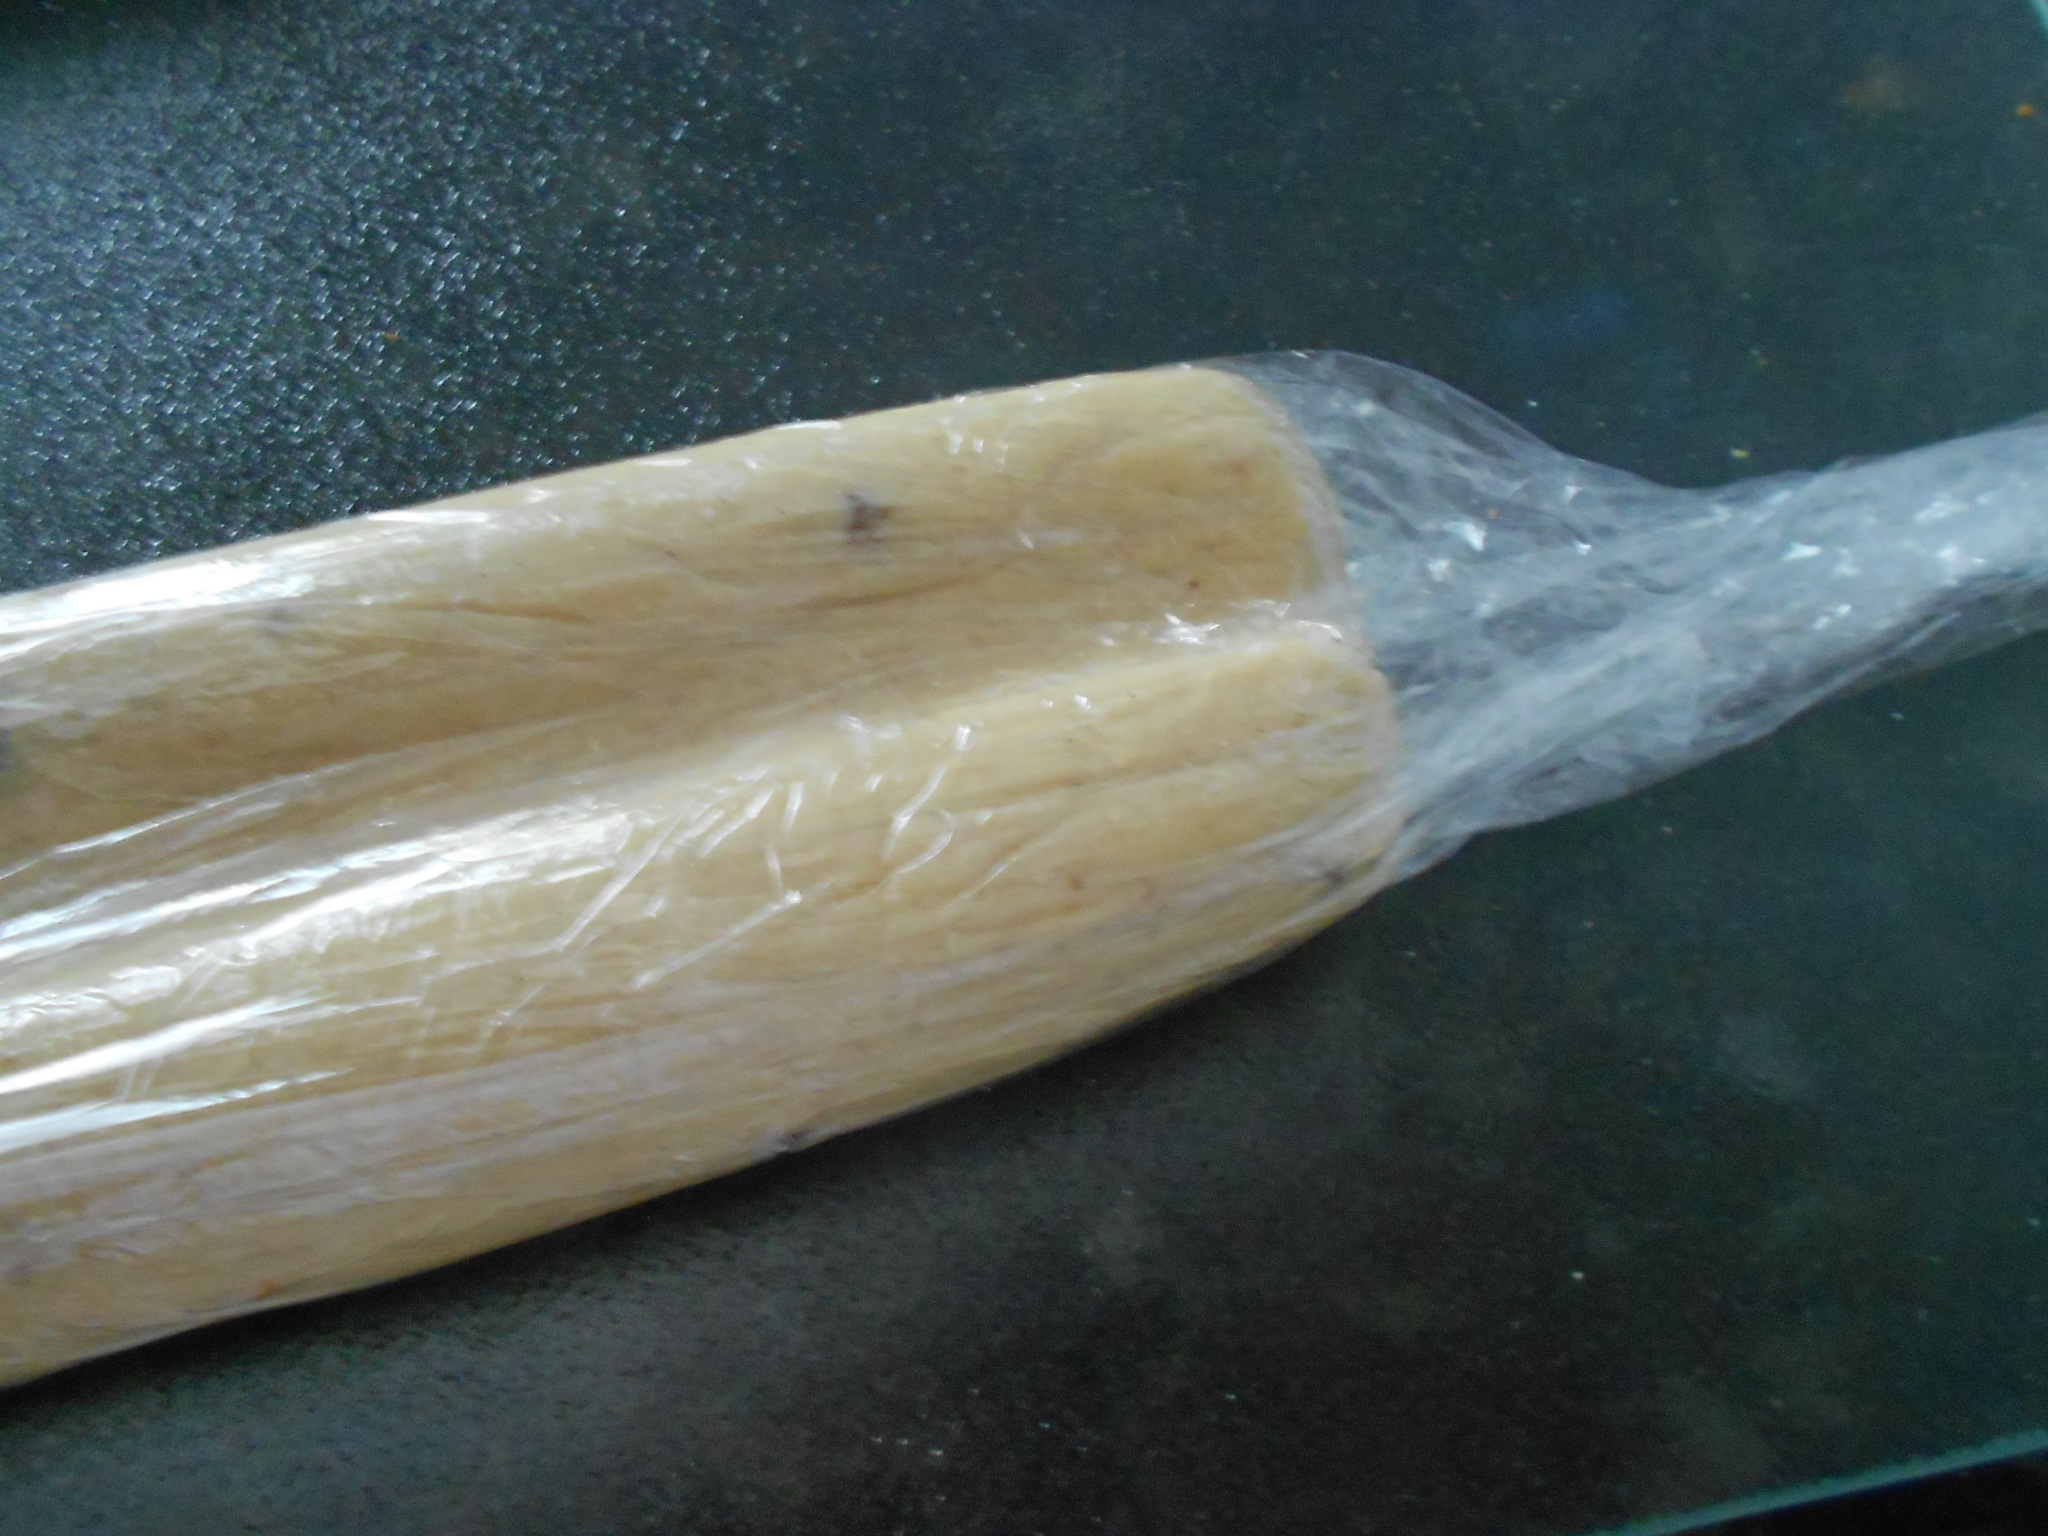
Again, put the dough back in the fridge for 35 minutes to an hour. The dough needs to be stiff enough to cut and I have used the aid of the freezer when I am short on time but just make sure that the total time is close to an hour in a refrigerated setting, so the dough can rest and the flour absorb the moisture properly.
After the dough is cold and solid for cutting, you can begin by setting the oven to bake at 350 degrees. While the oven warms, get a cookie sheet and align it with parchment paper or you can use a Silpat. Begin cutting the cookies and I usually cut a portion of the log and return the rest back into the freezer or fridge to remain cold.
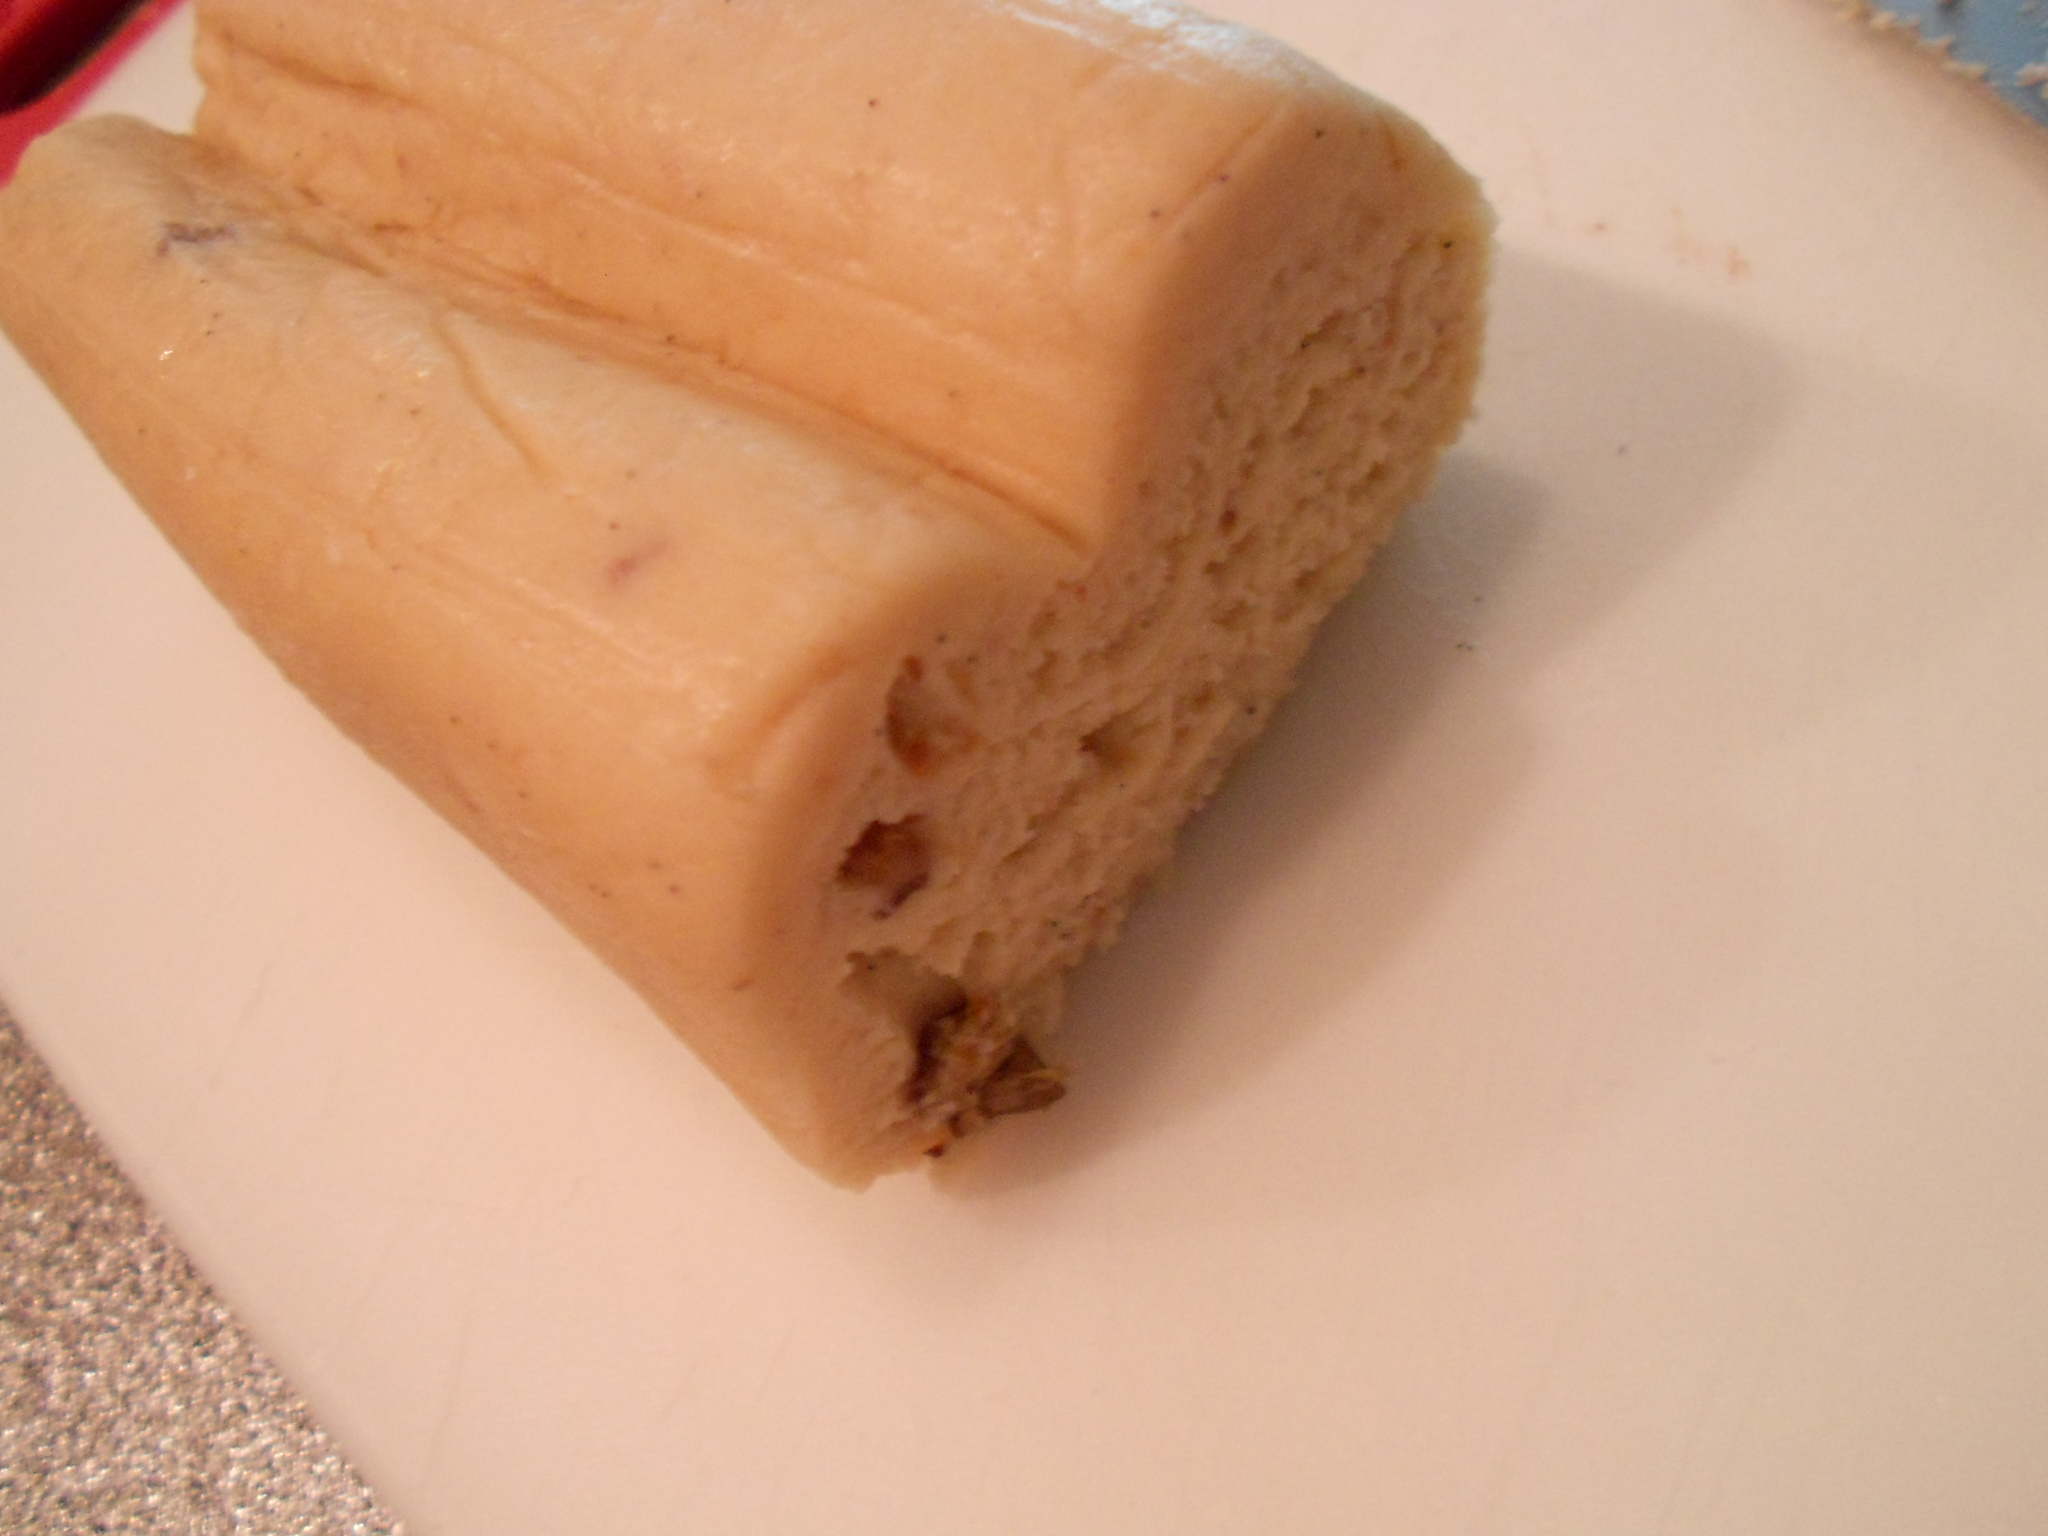
I cut the cookies and since I am aiming for a heart shape, I slice and then pinch the bottoms and put them on the parchment.
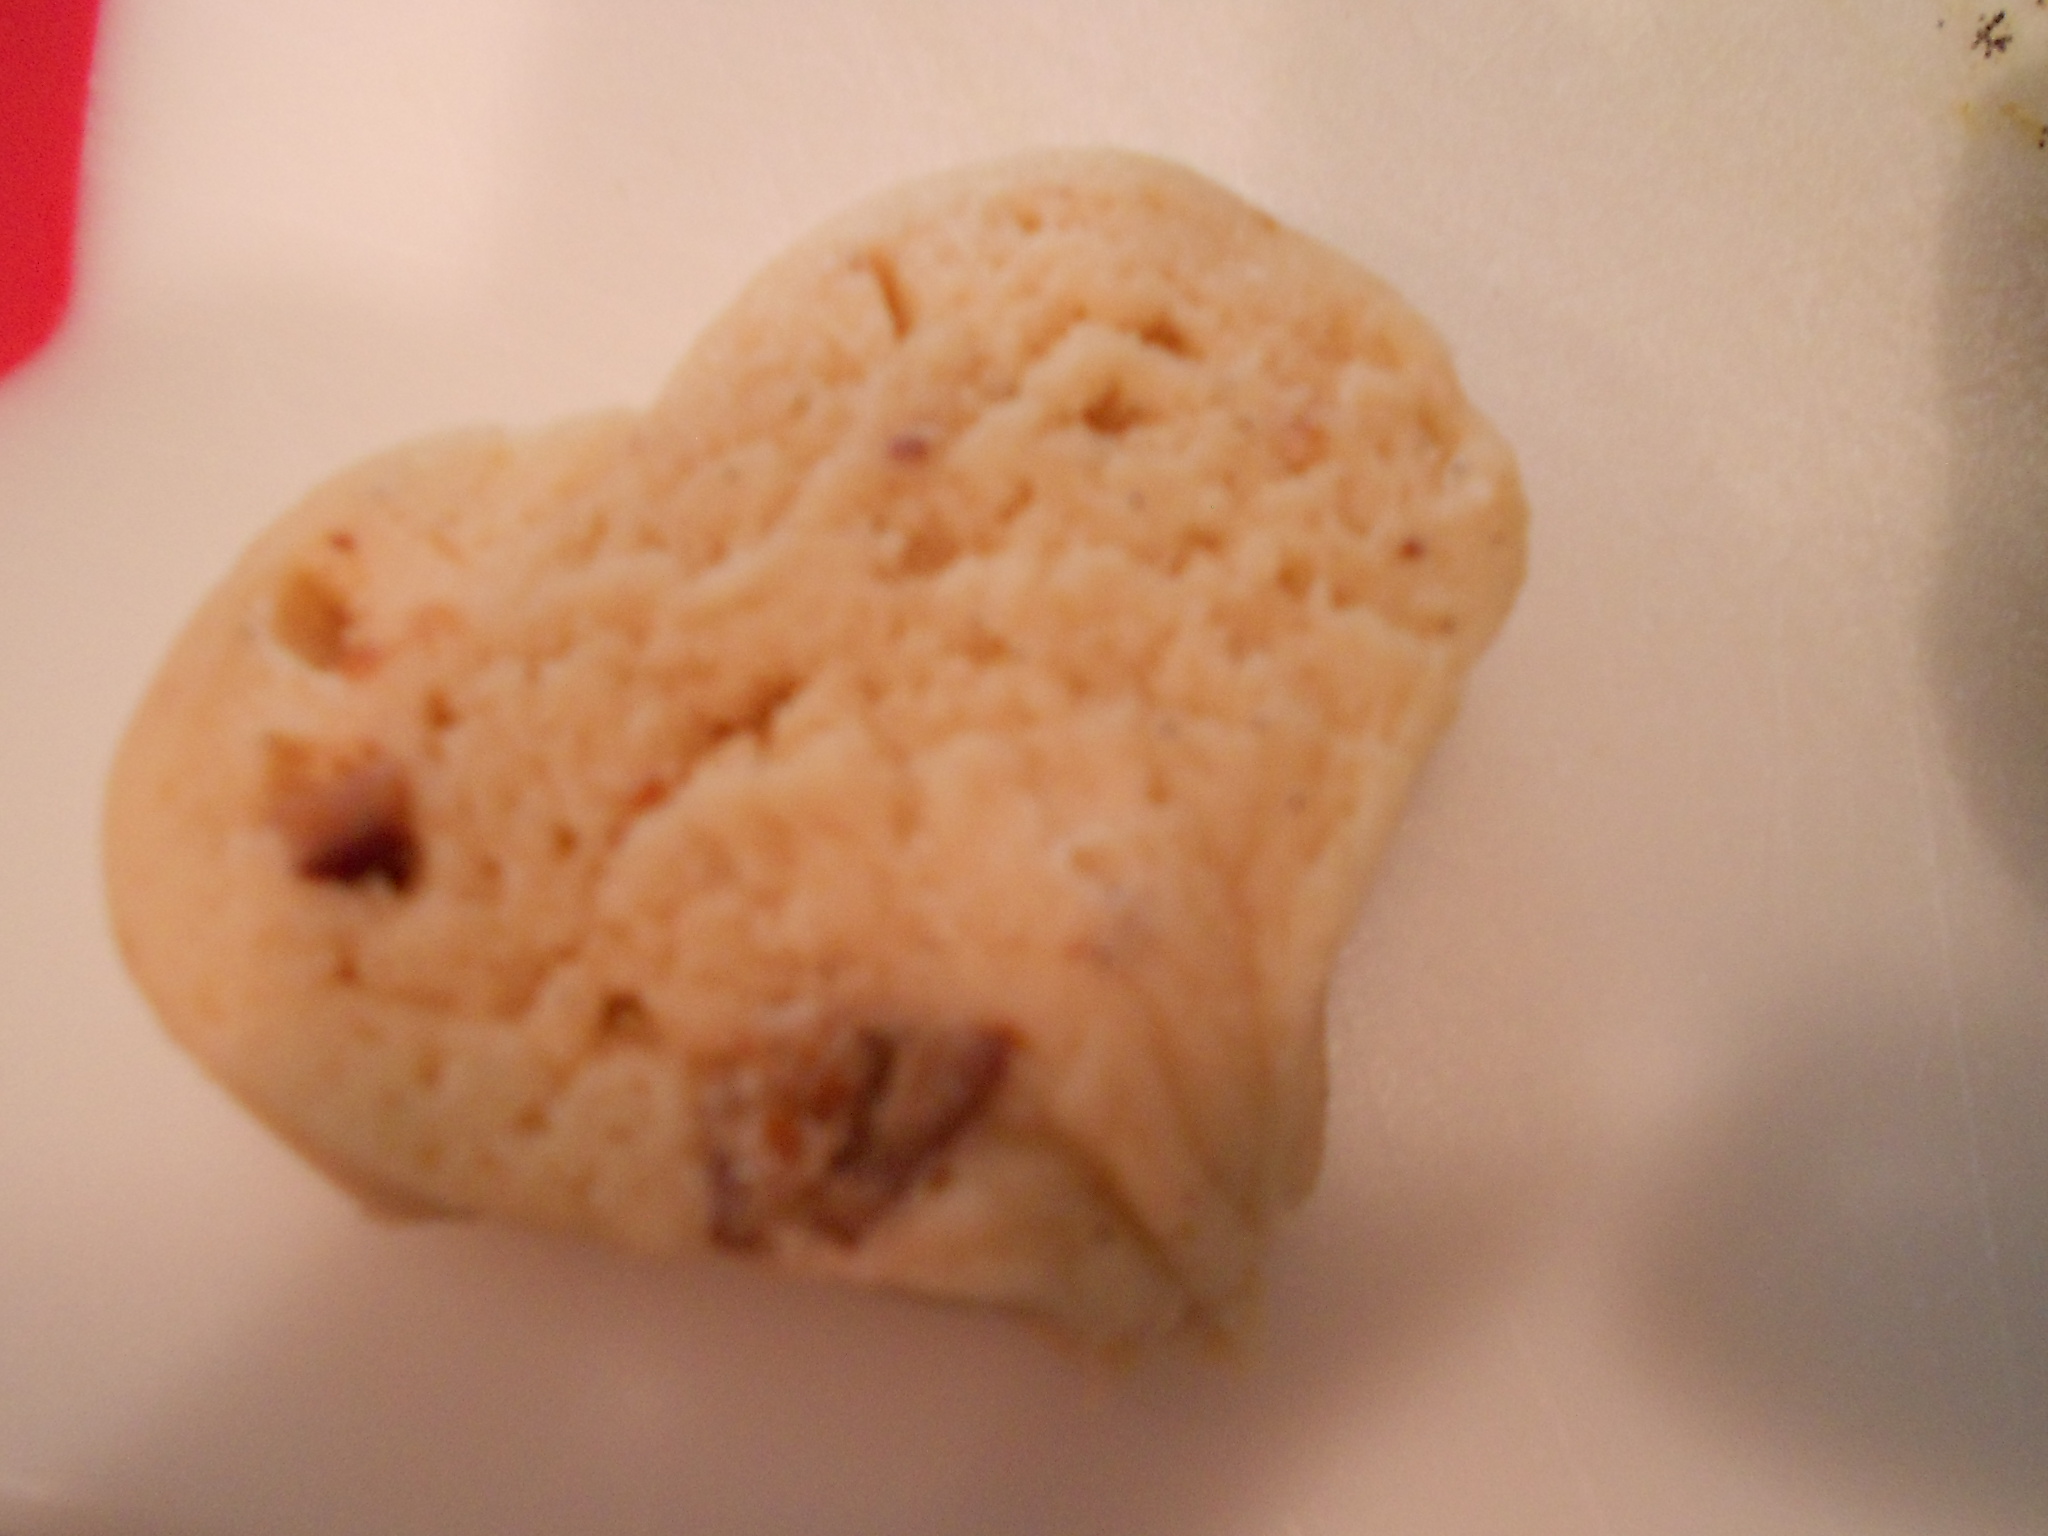
The cookies expand, so please allow about 1/2 inch room on each side. If you cut the baking soda to create less "poof", you can shorten the space a little in between cookies. Keep cutting until your pan is full.

When it comes to the thickness of the cut, that is up to you as I tend to stay around a 1/4 of an inch but enough to create a soft and fluffy cookie, since crisp was not what I was aiming for this time around.
You bake the cookies for 10 to 12 minutes and then allow them to rest for a minute on the cookie pan before putting them on a cookie rack. Continue the above routine until all cookies are baked.

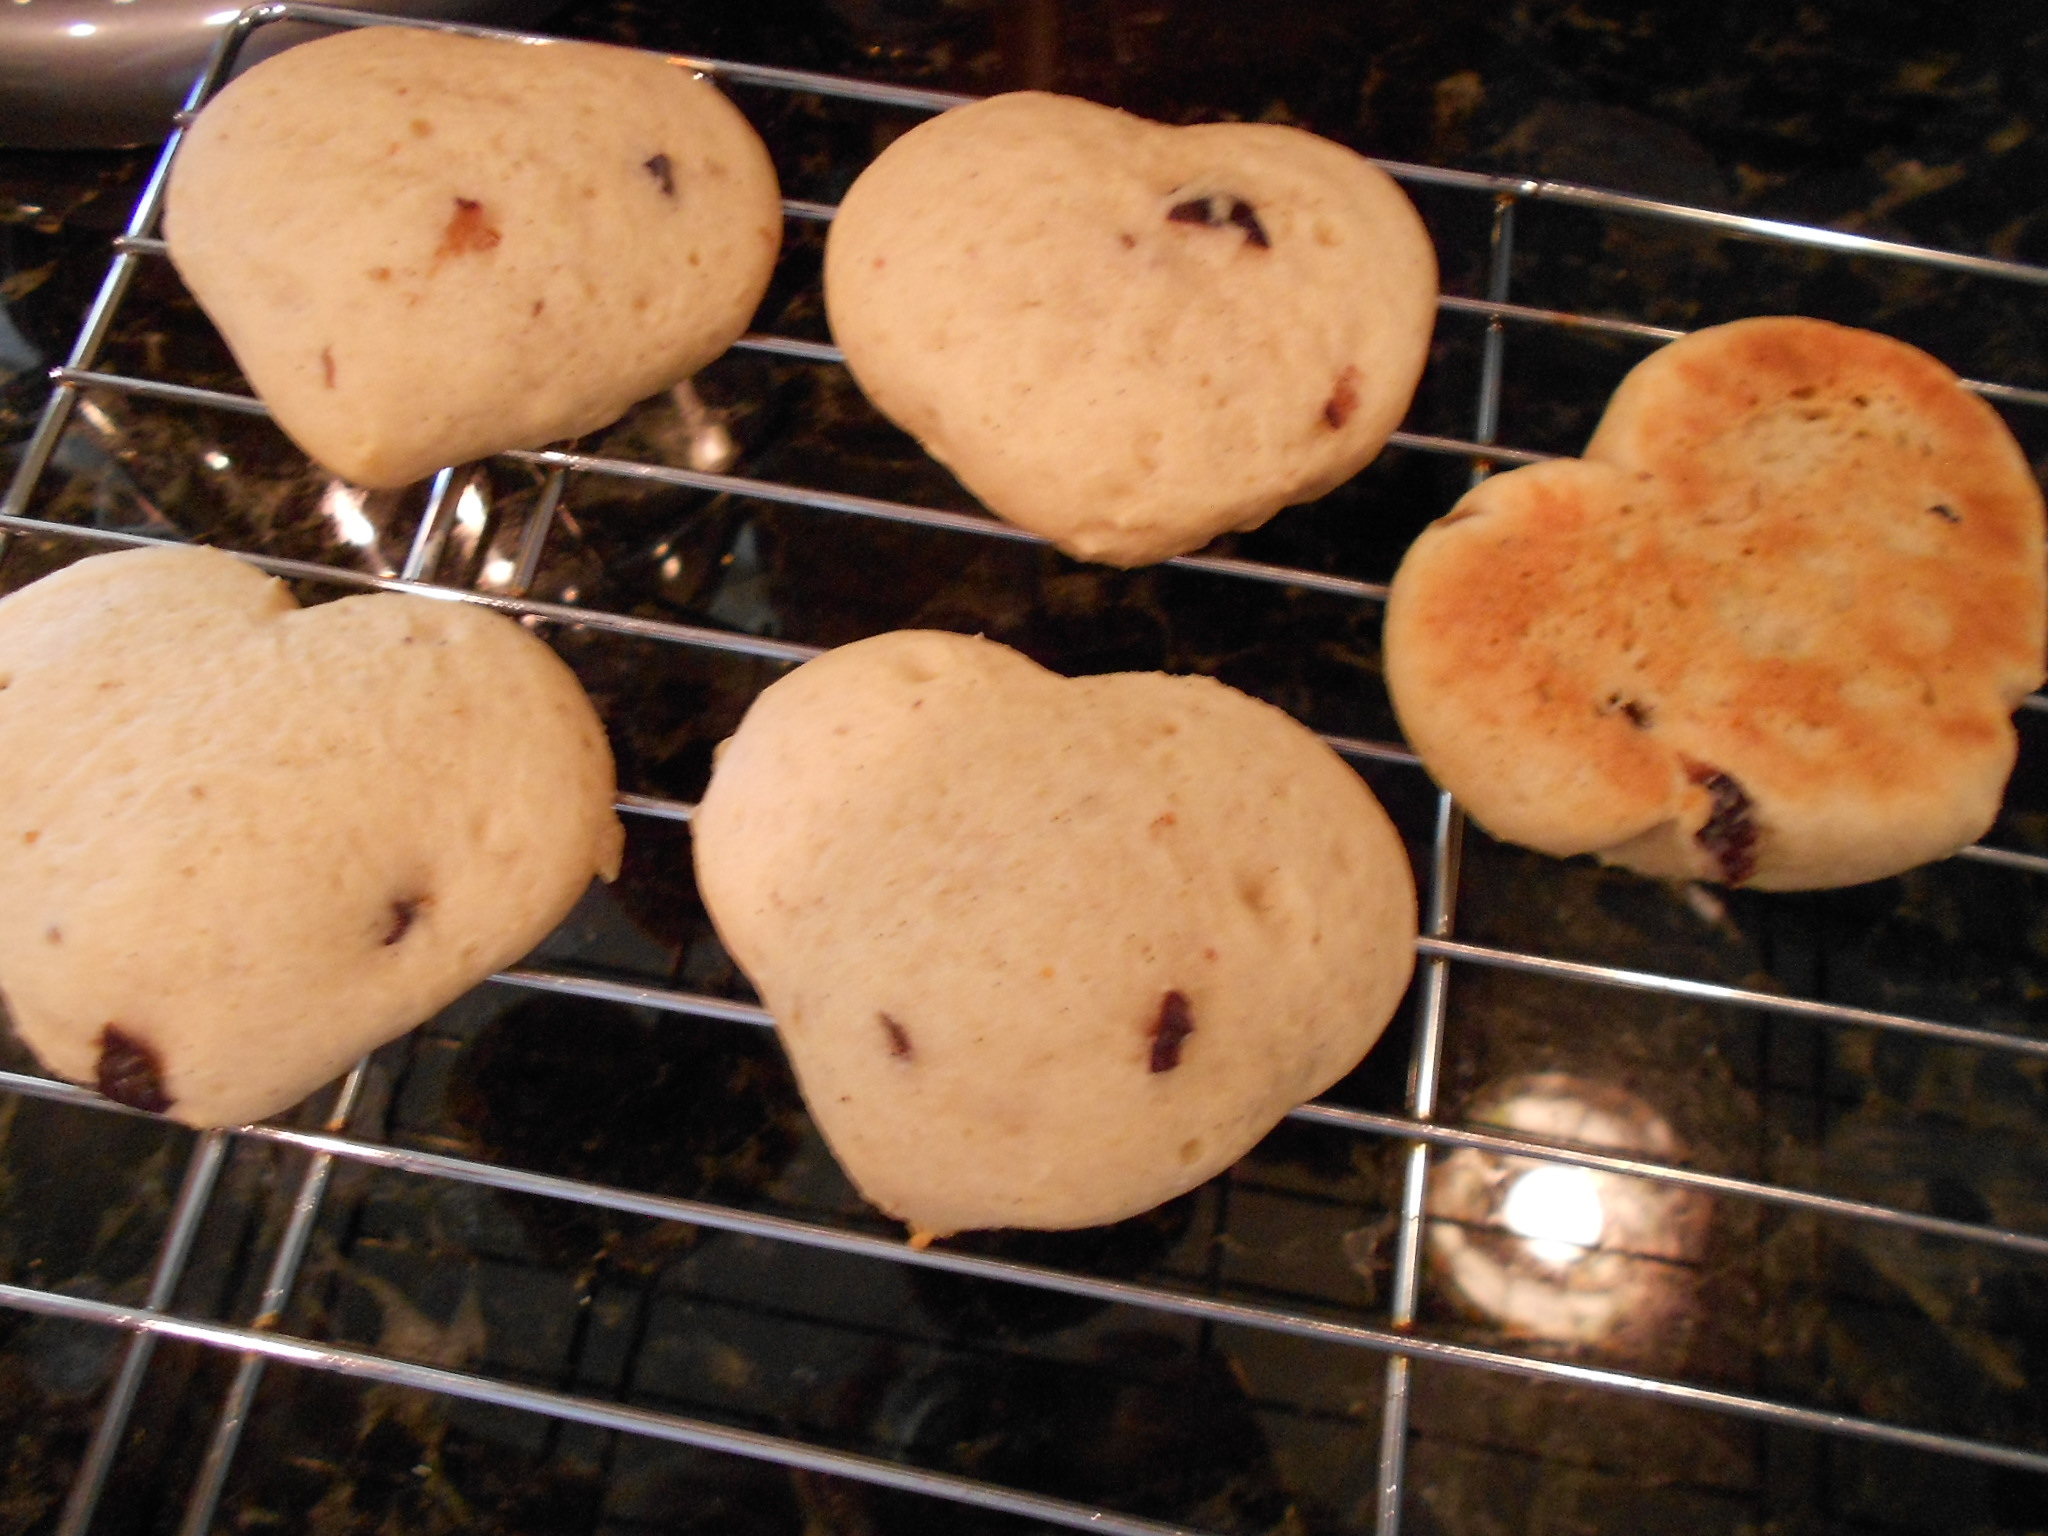
Allow the cookies to fully cool if decorating.
Variations-
If you want sugar crystals, you just add the crystals right before baking and you can also use Turbinado sugar crystals in place of colored sugar crystals.

The cookie can be also dusted with Powder Sugar once cooled.
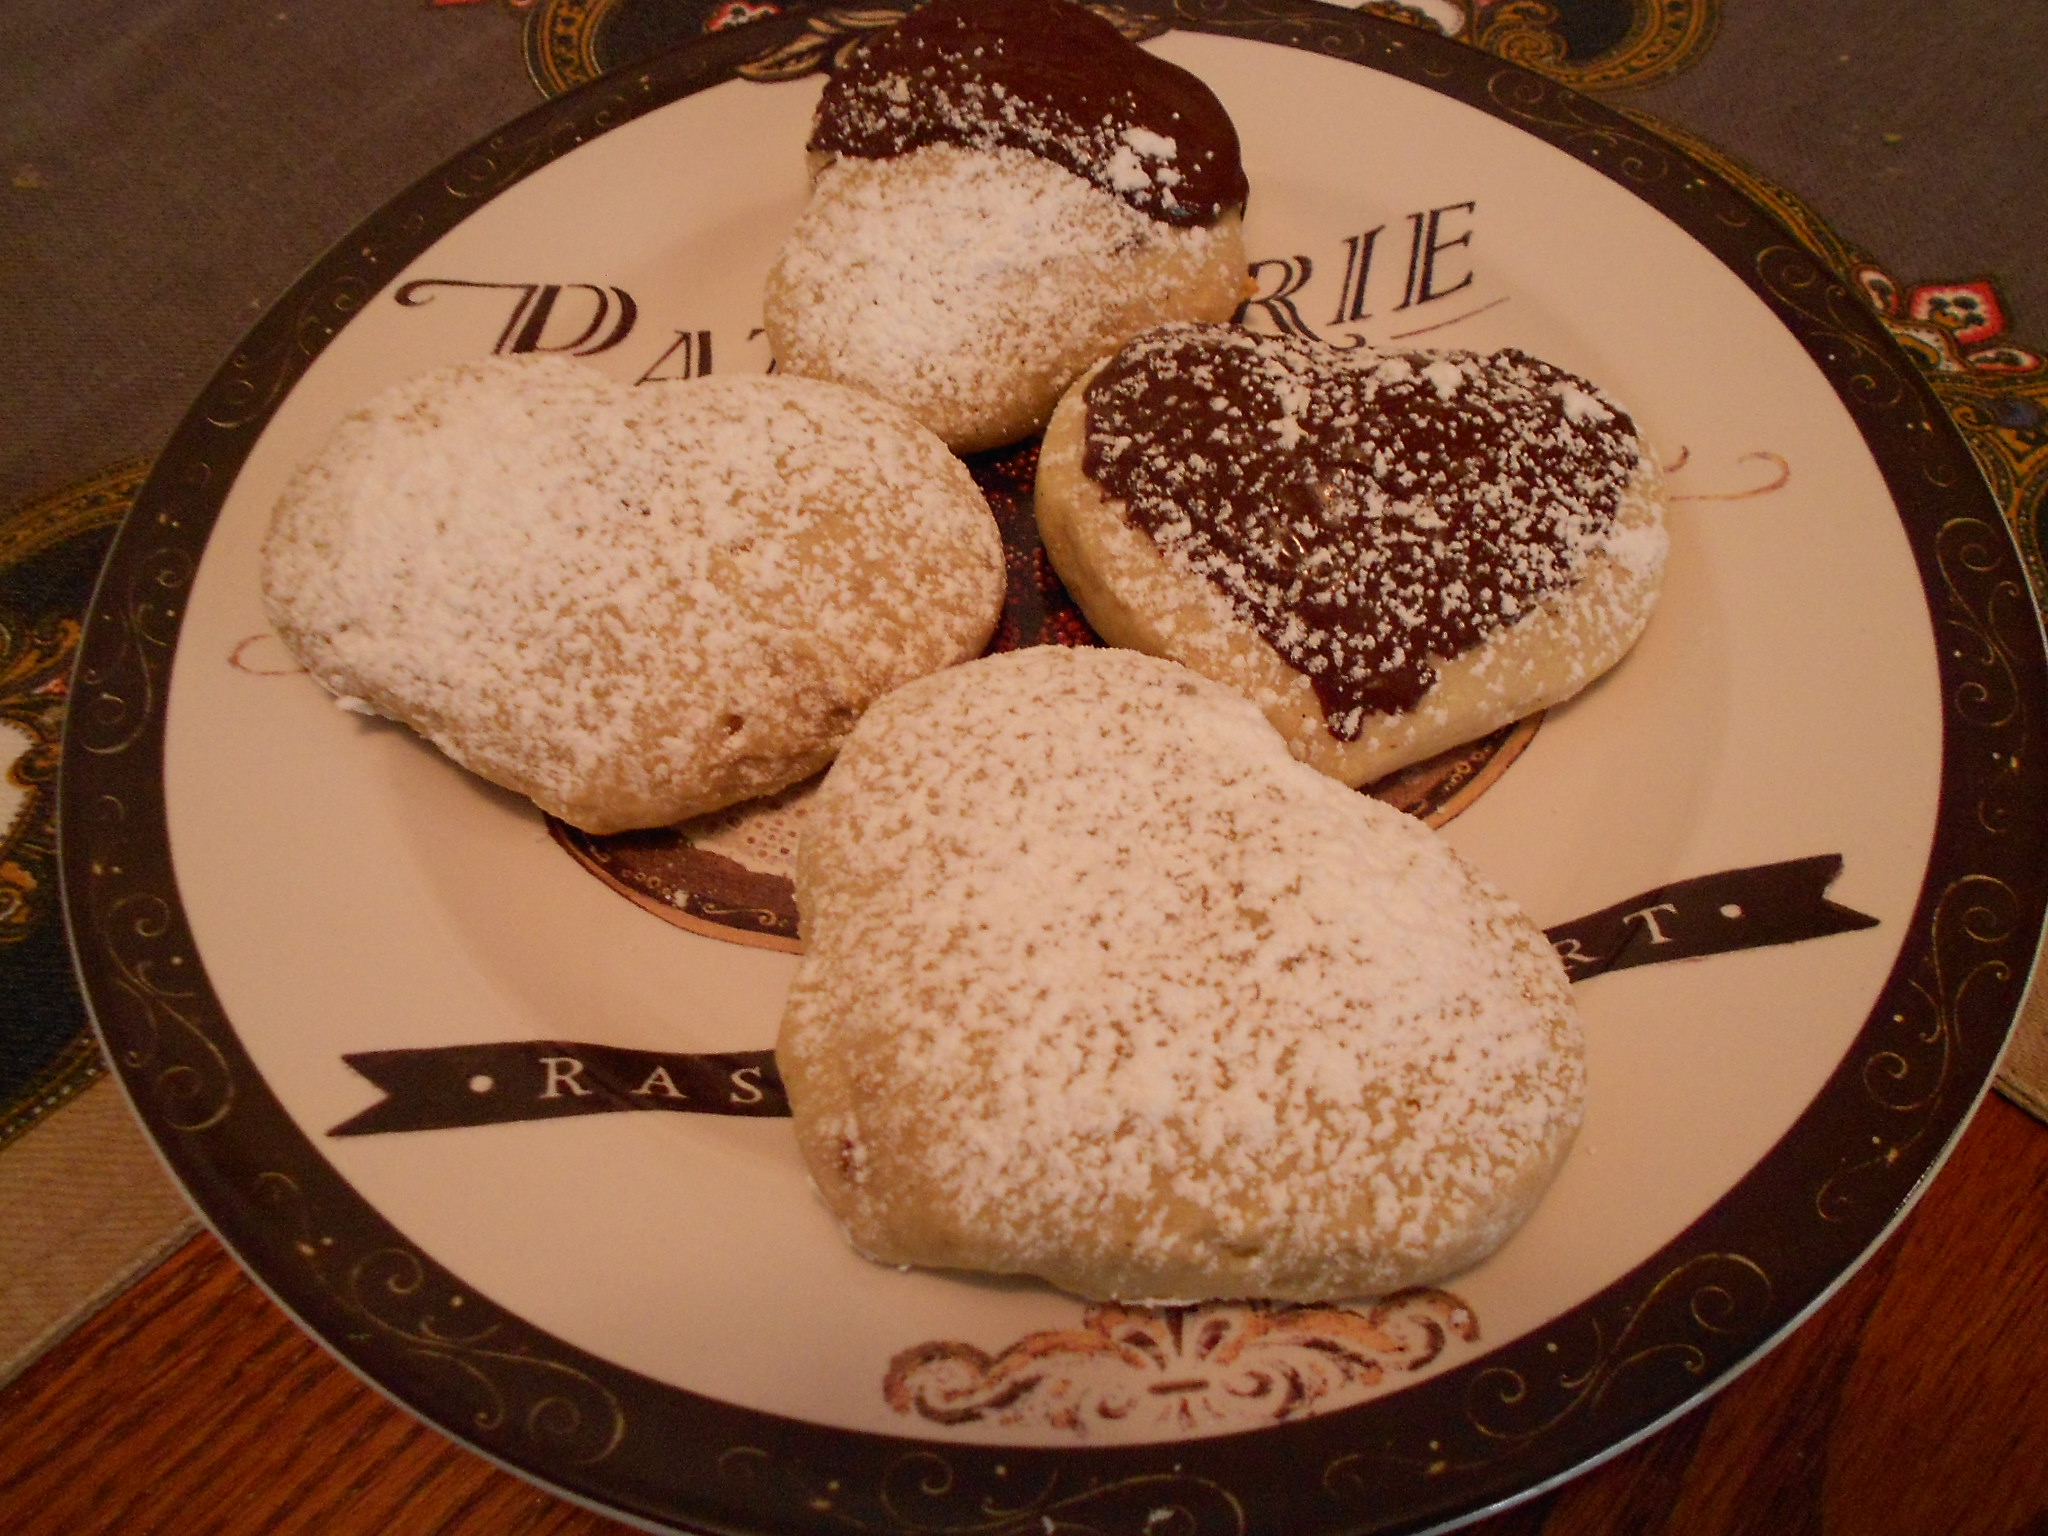
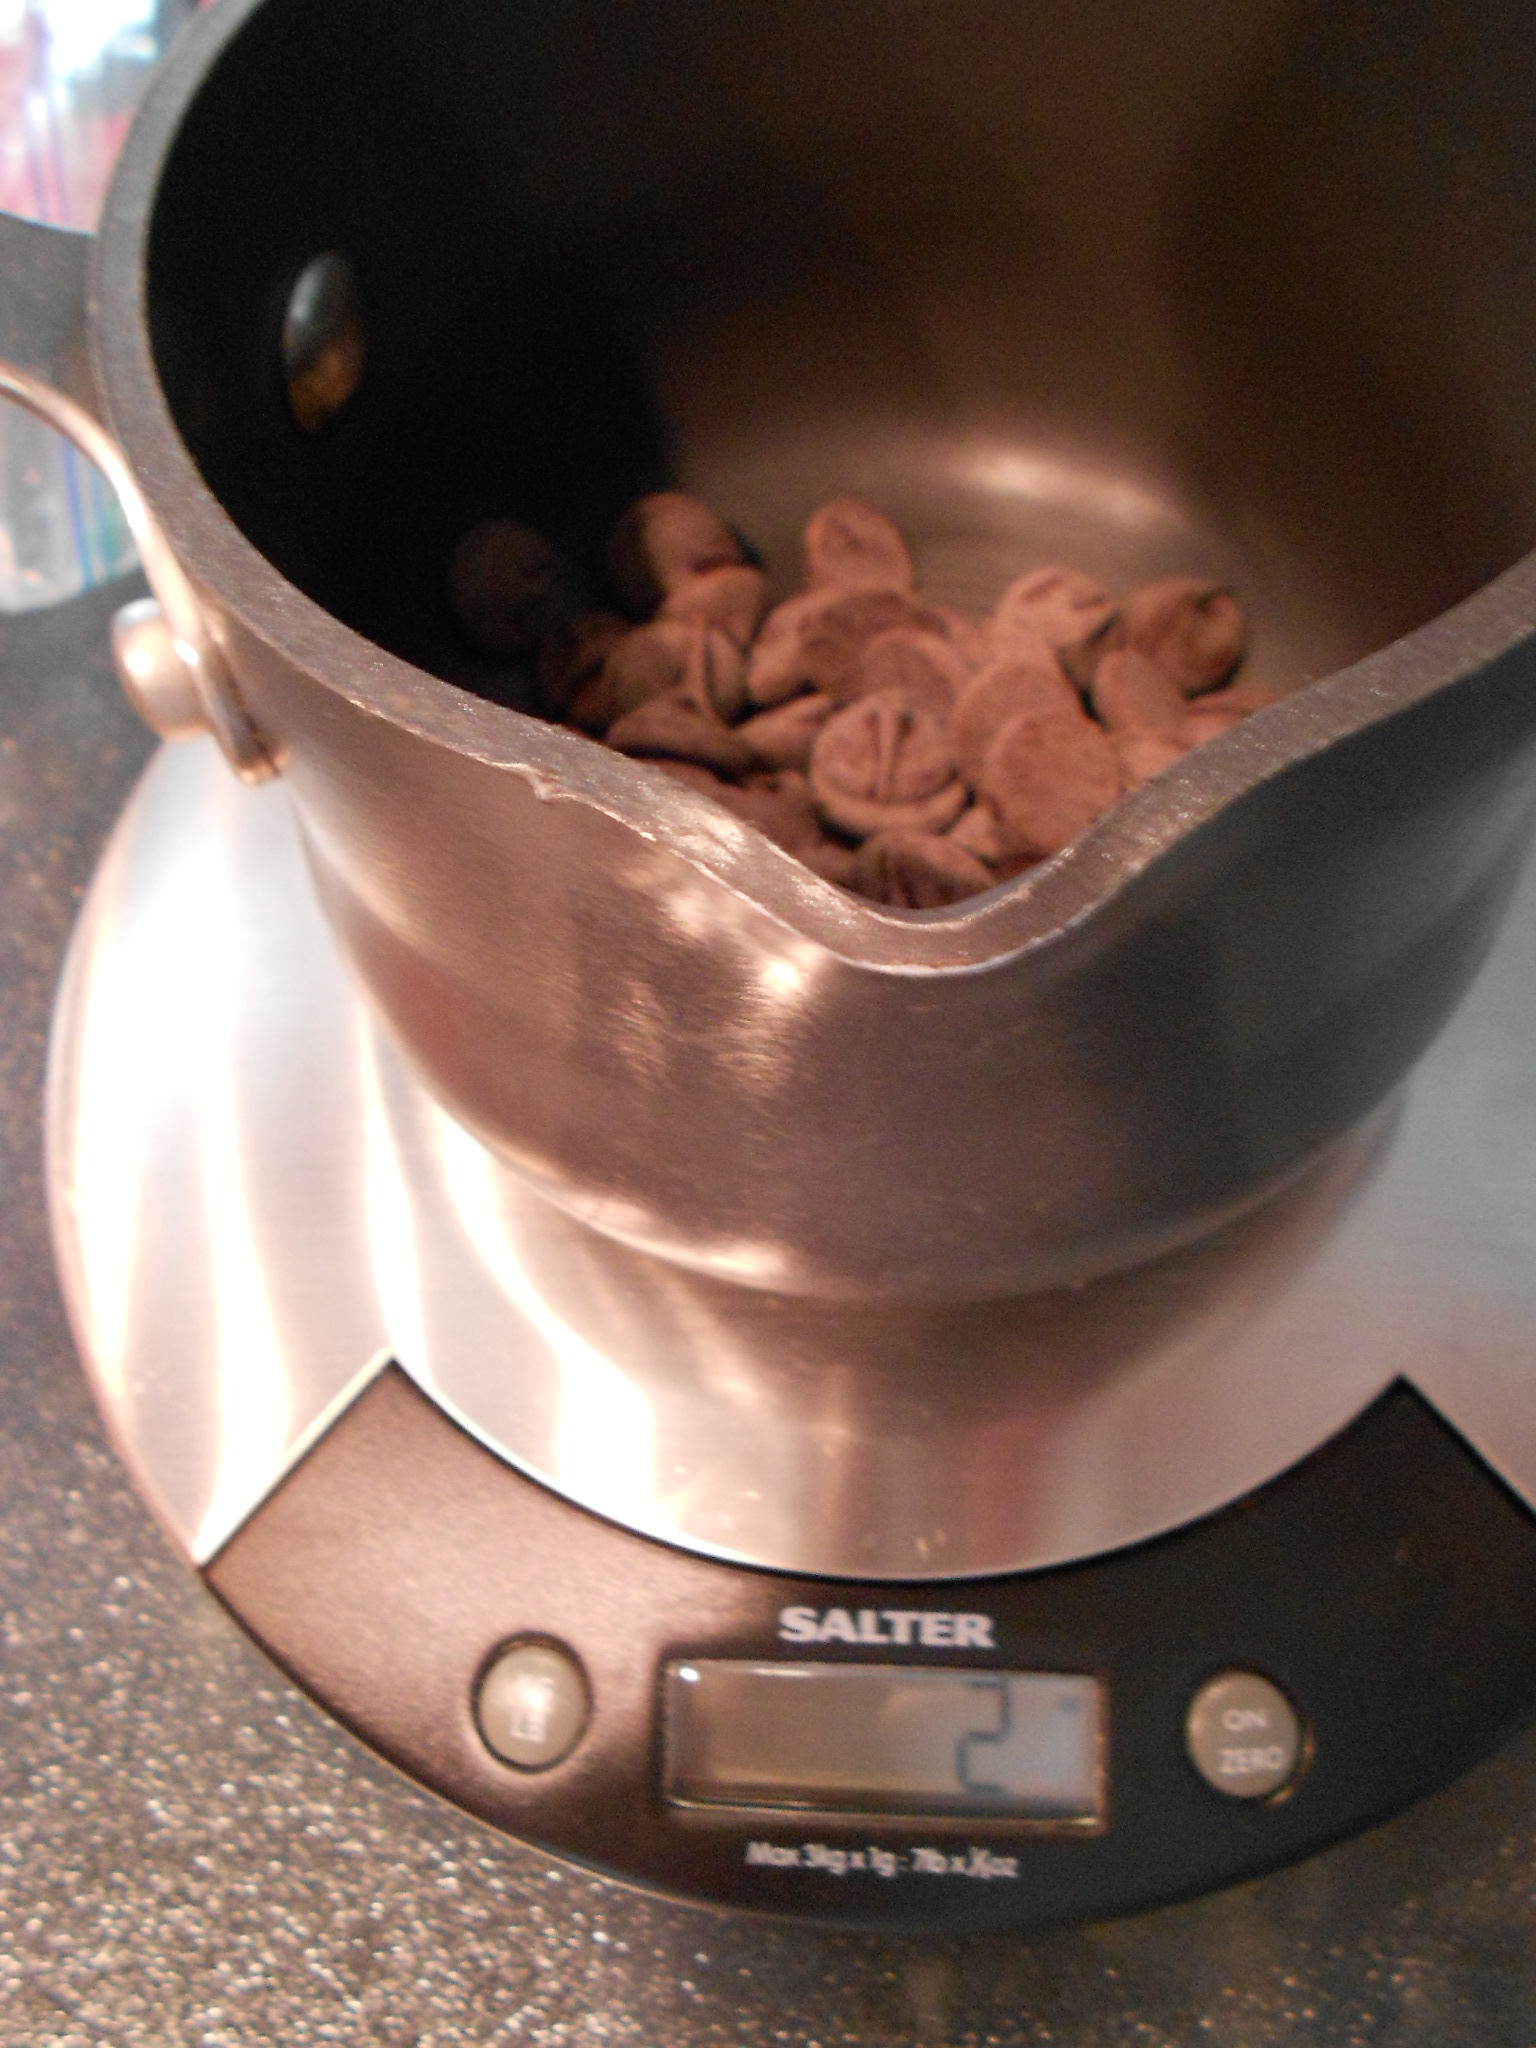
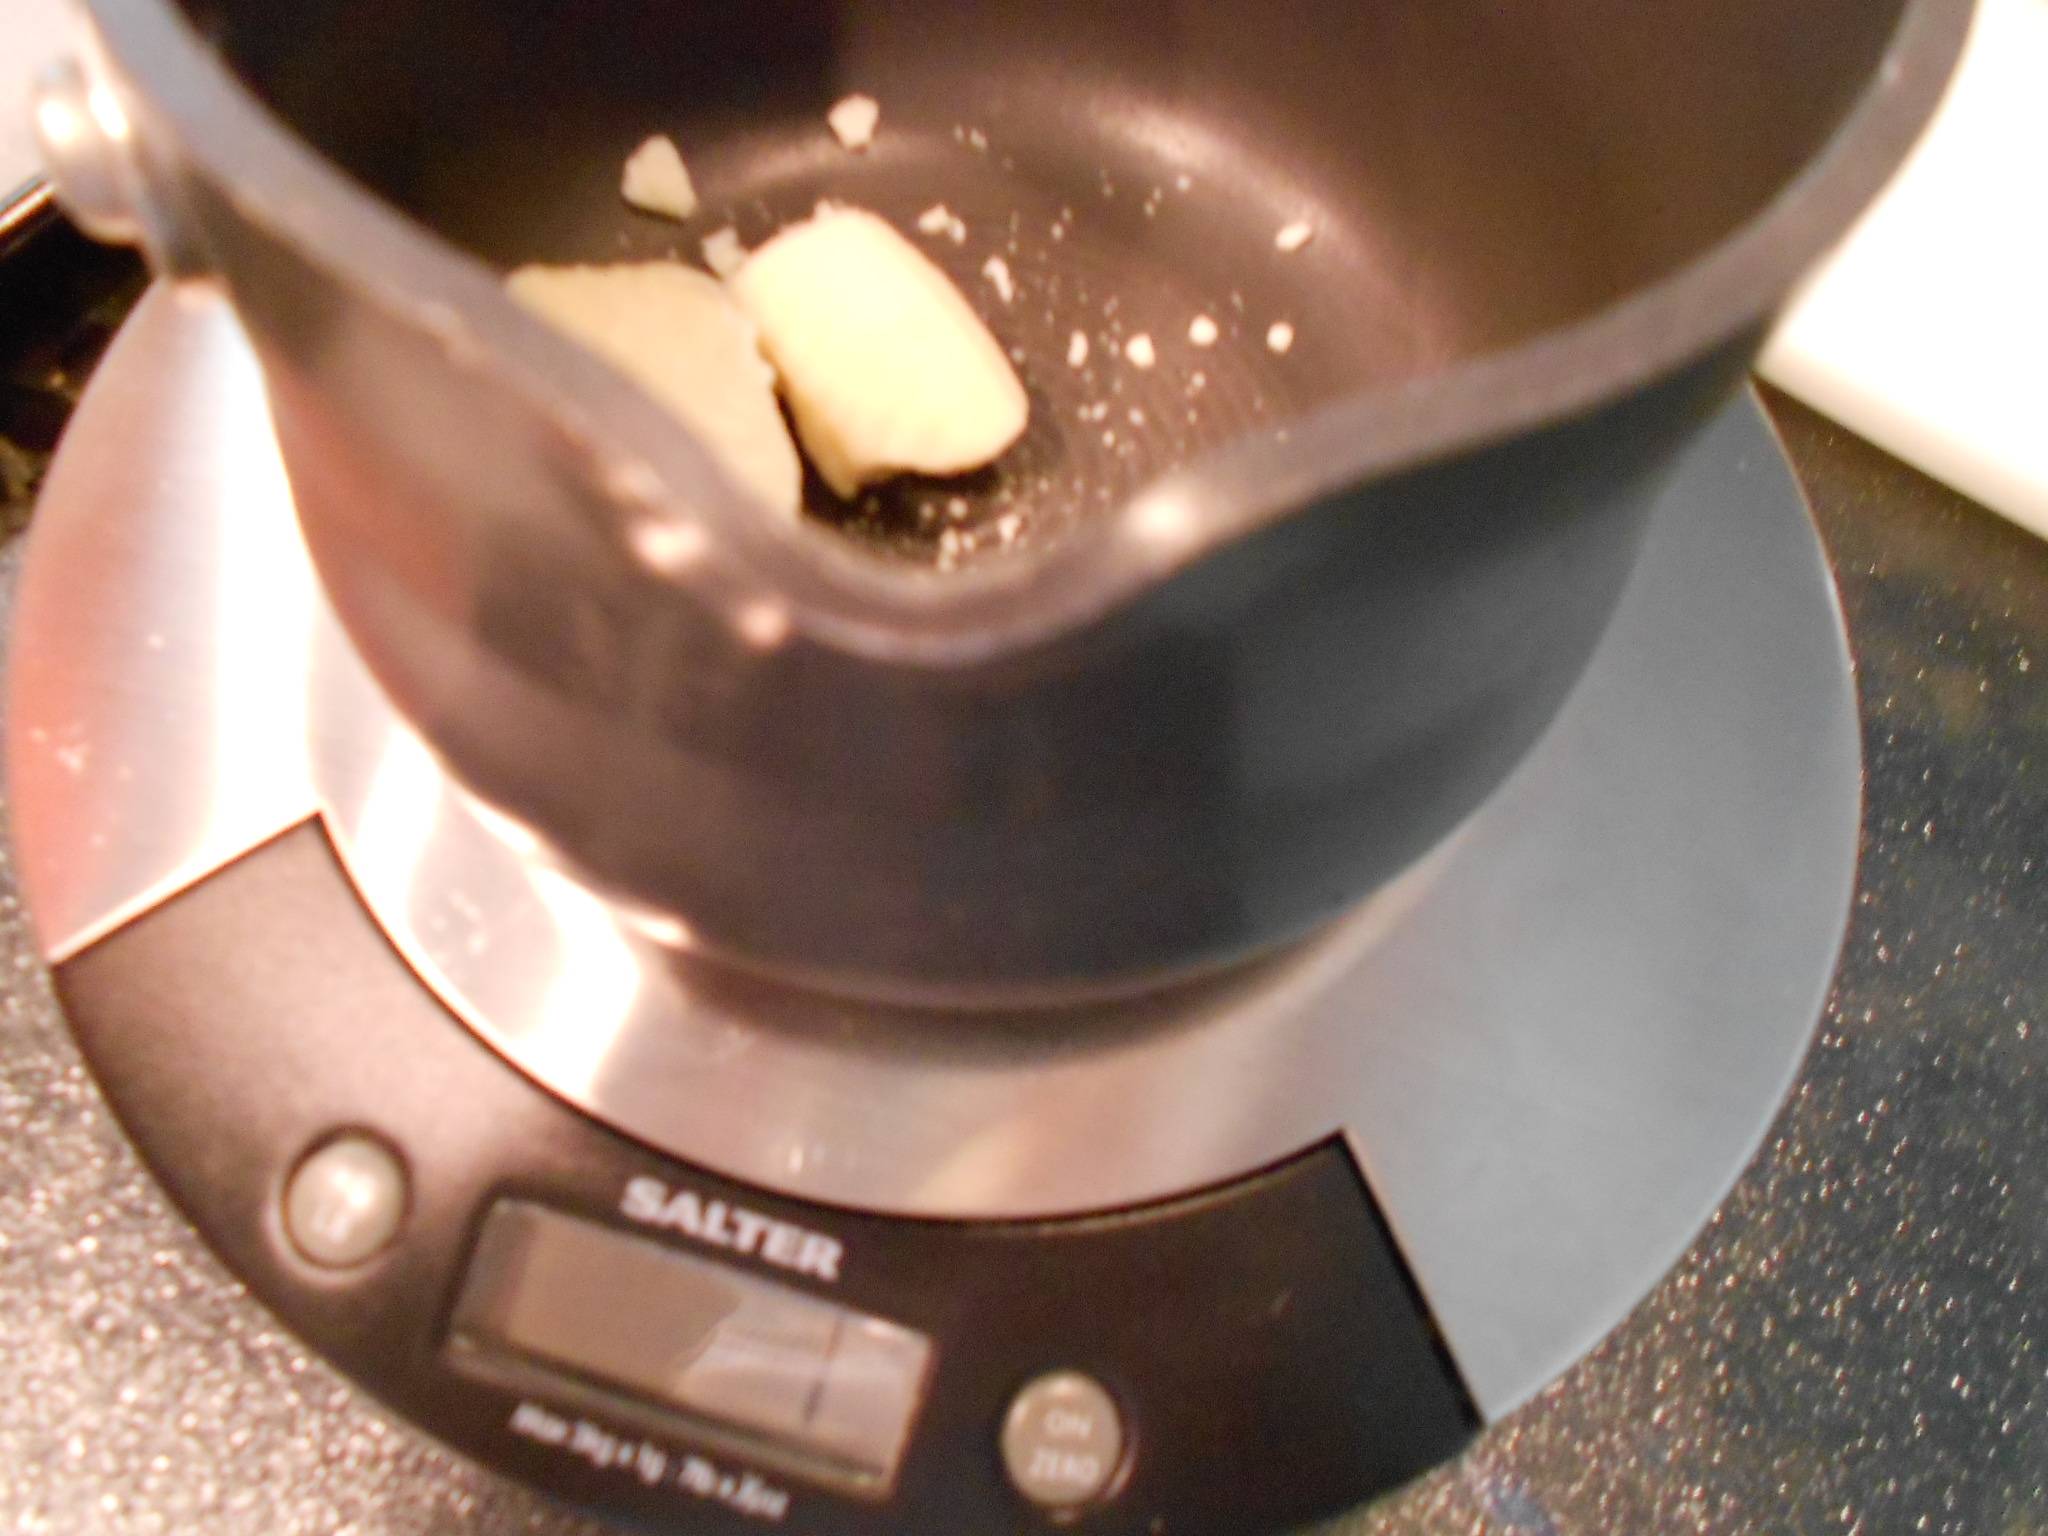
Feeling like Chocolate? You can melt white, milk, semi-sweet, bittersweet, or dark chocolate in a pan on low heat. Takes about 1 to 2 minutes and make sure to stir and take the pan off and on to temper the chocolate correctly. Once melted, you can drizzle as you wish or cover the cookies with chocolate, half dip them, whatever you desire.
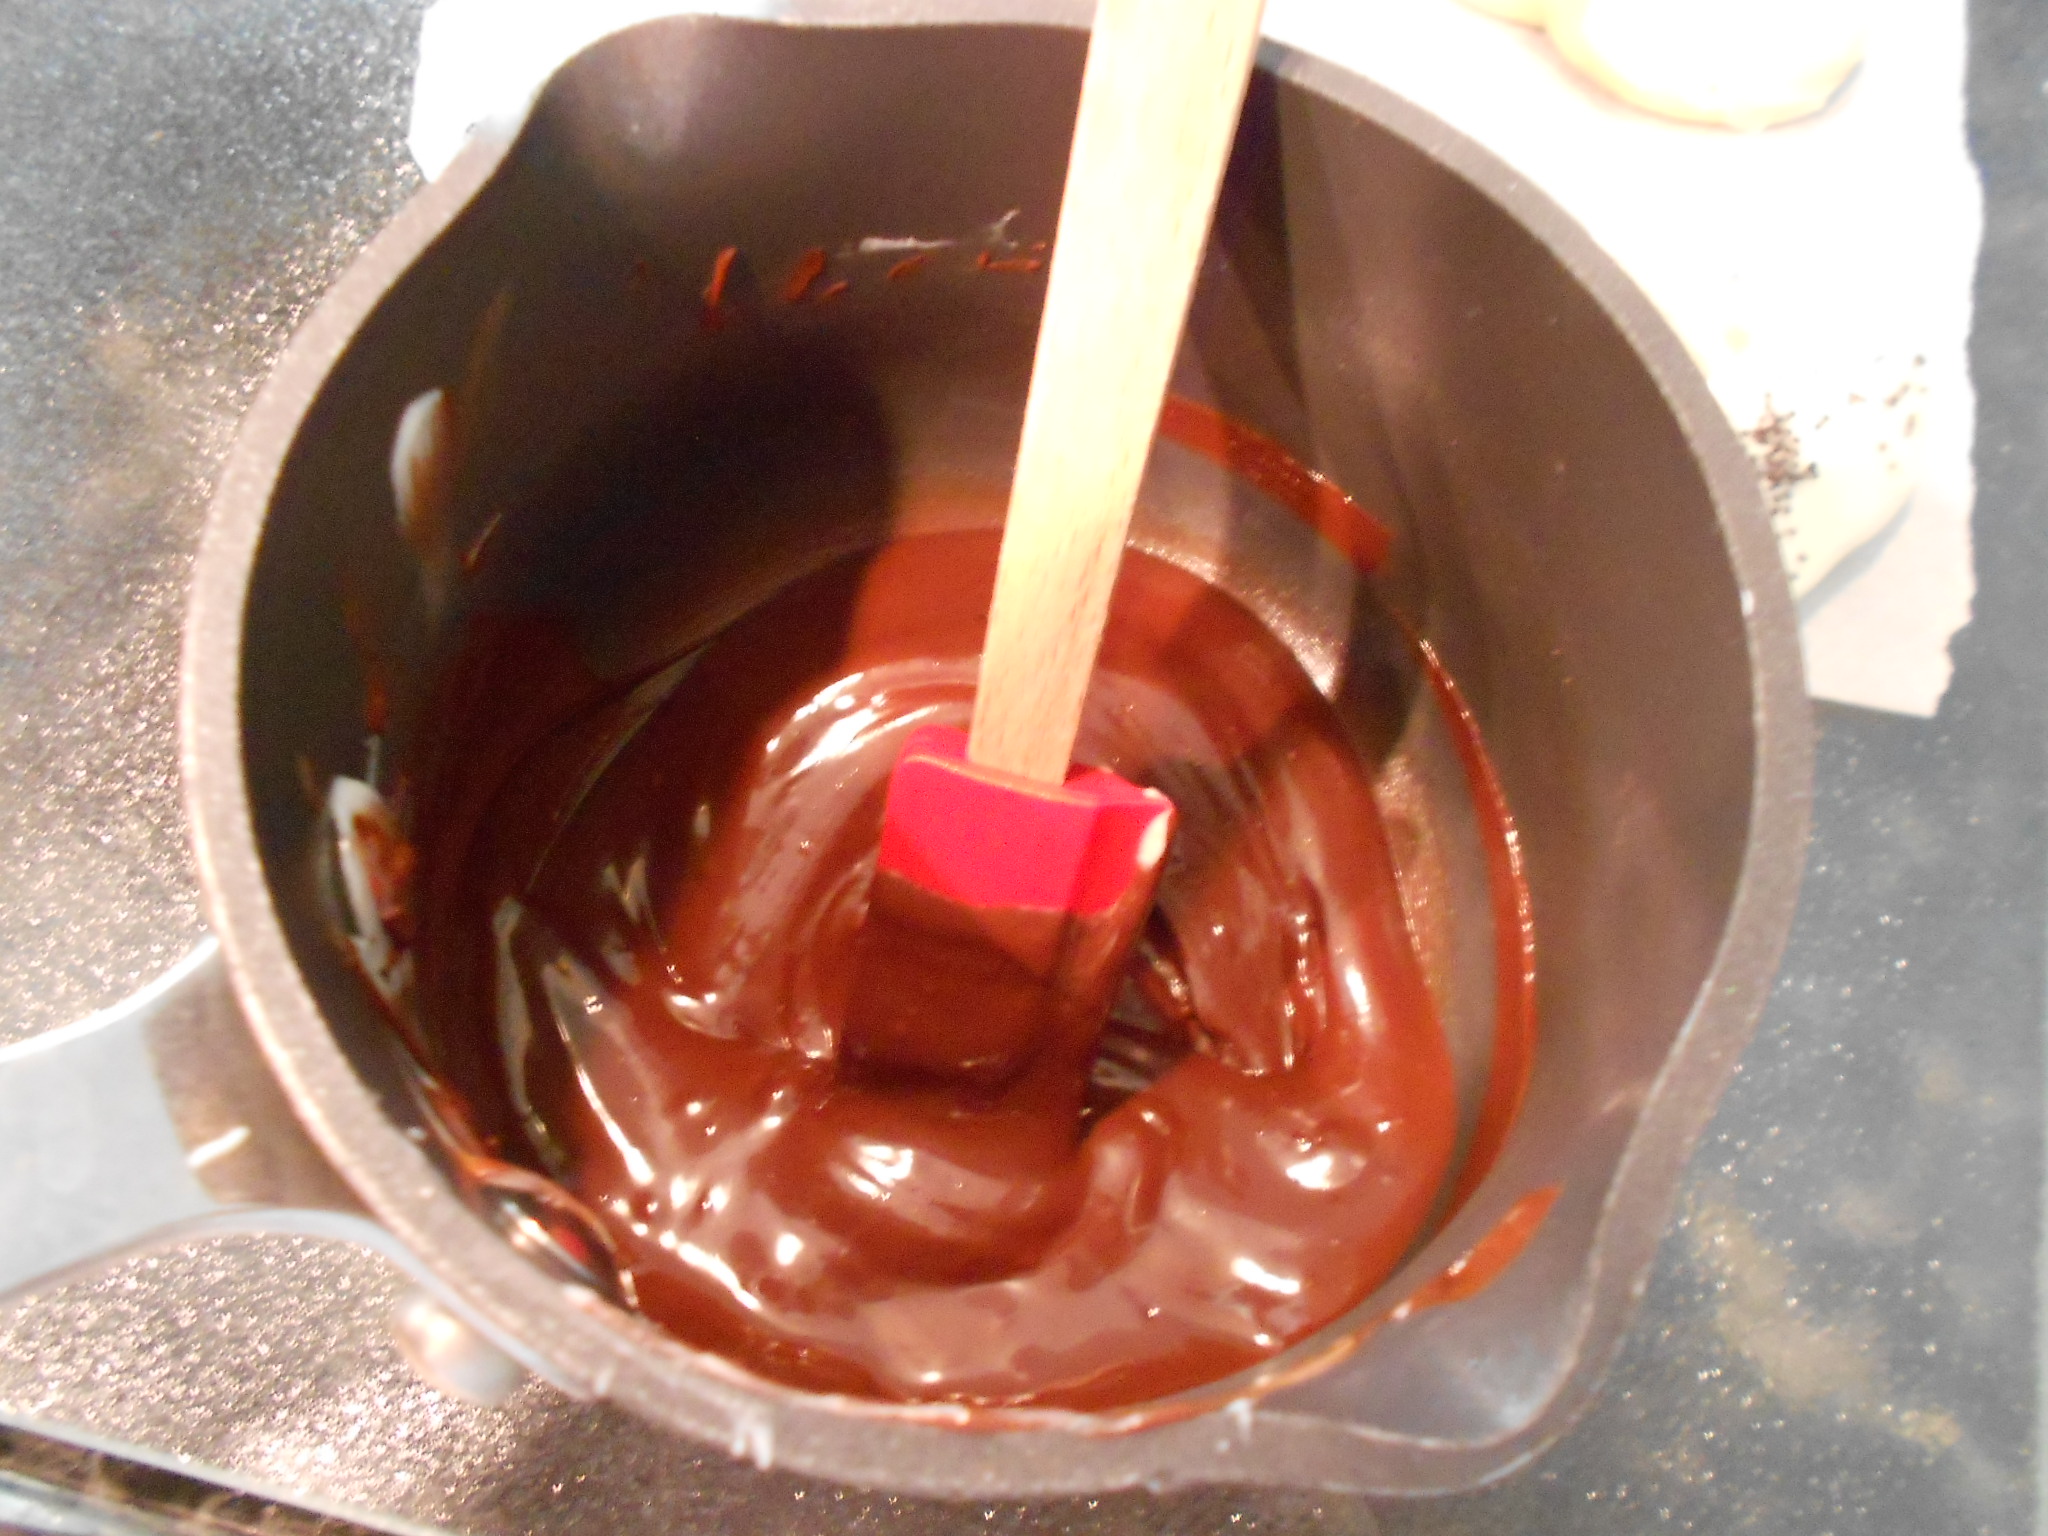
Since I used a Fig and Orange peel yogurt, I used poppy seeds that resemble fig seeds and sprinkled on top of some of the cookies. You can also spread chocolate on half a cookie and powder sugar the other half.

If you want to add mini chocolate or even yogurt chips, you can add them to the flour mixture. Same if you want to add dried fruit and/or nuts. I would not go for more than 1/2 a cup to not unbalance the dough too much. Start there and the cookie will tell you if you can increase the next time you bake a batch.
These cookies are great plain and if you make the crisper version, you can spread jam in between and make cookie sandwiches and then lightly dust with sugar if you wish.

To store-
They tend to soften if put in a container and covered. I have stored them in a covered container and then in the fridge, but allow the cookie to get room temperature before serving. Yogurt is moist and so are these cookies so I always no matter what version you baked, store it in the fridge if you have leftovers (better to be safe). They go quickly so they won't be there long. I have put the cookies with chocolate in the fridge uncovered to allow the chocolate to set and then bagged them in a Ziploc bag and returned to the fridge. This way the chocolate is set and they stay perfect!
Enjoy and don't forget to play in the kitchen and have fun!