Showing posts with label Easy Baking. Show all posts

Friday, July 5, 2013

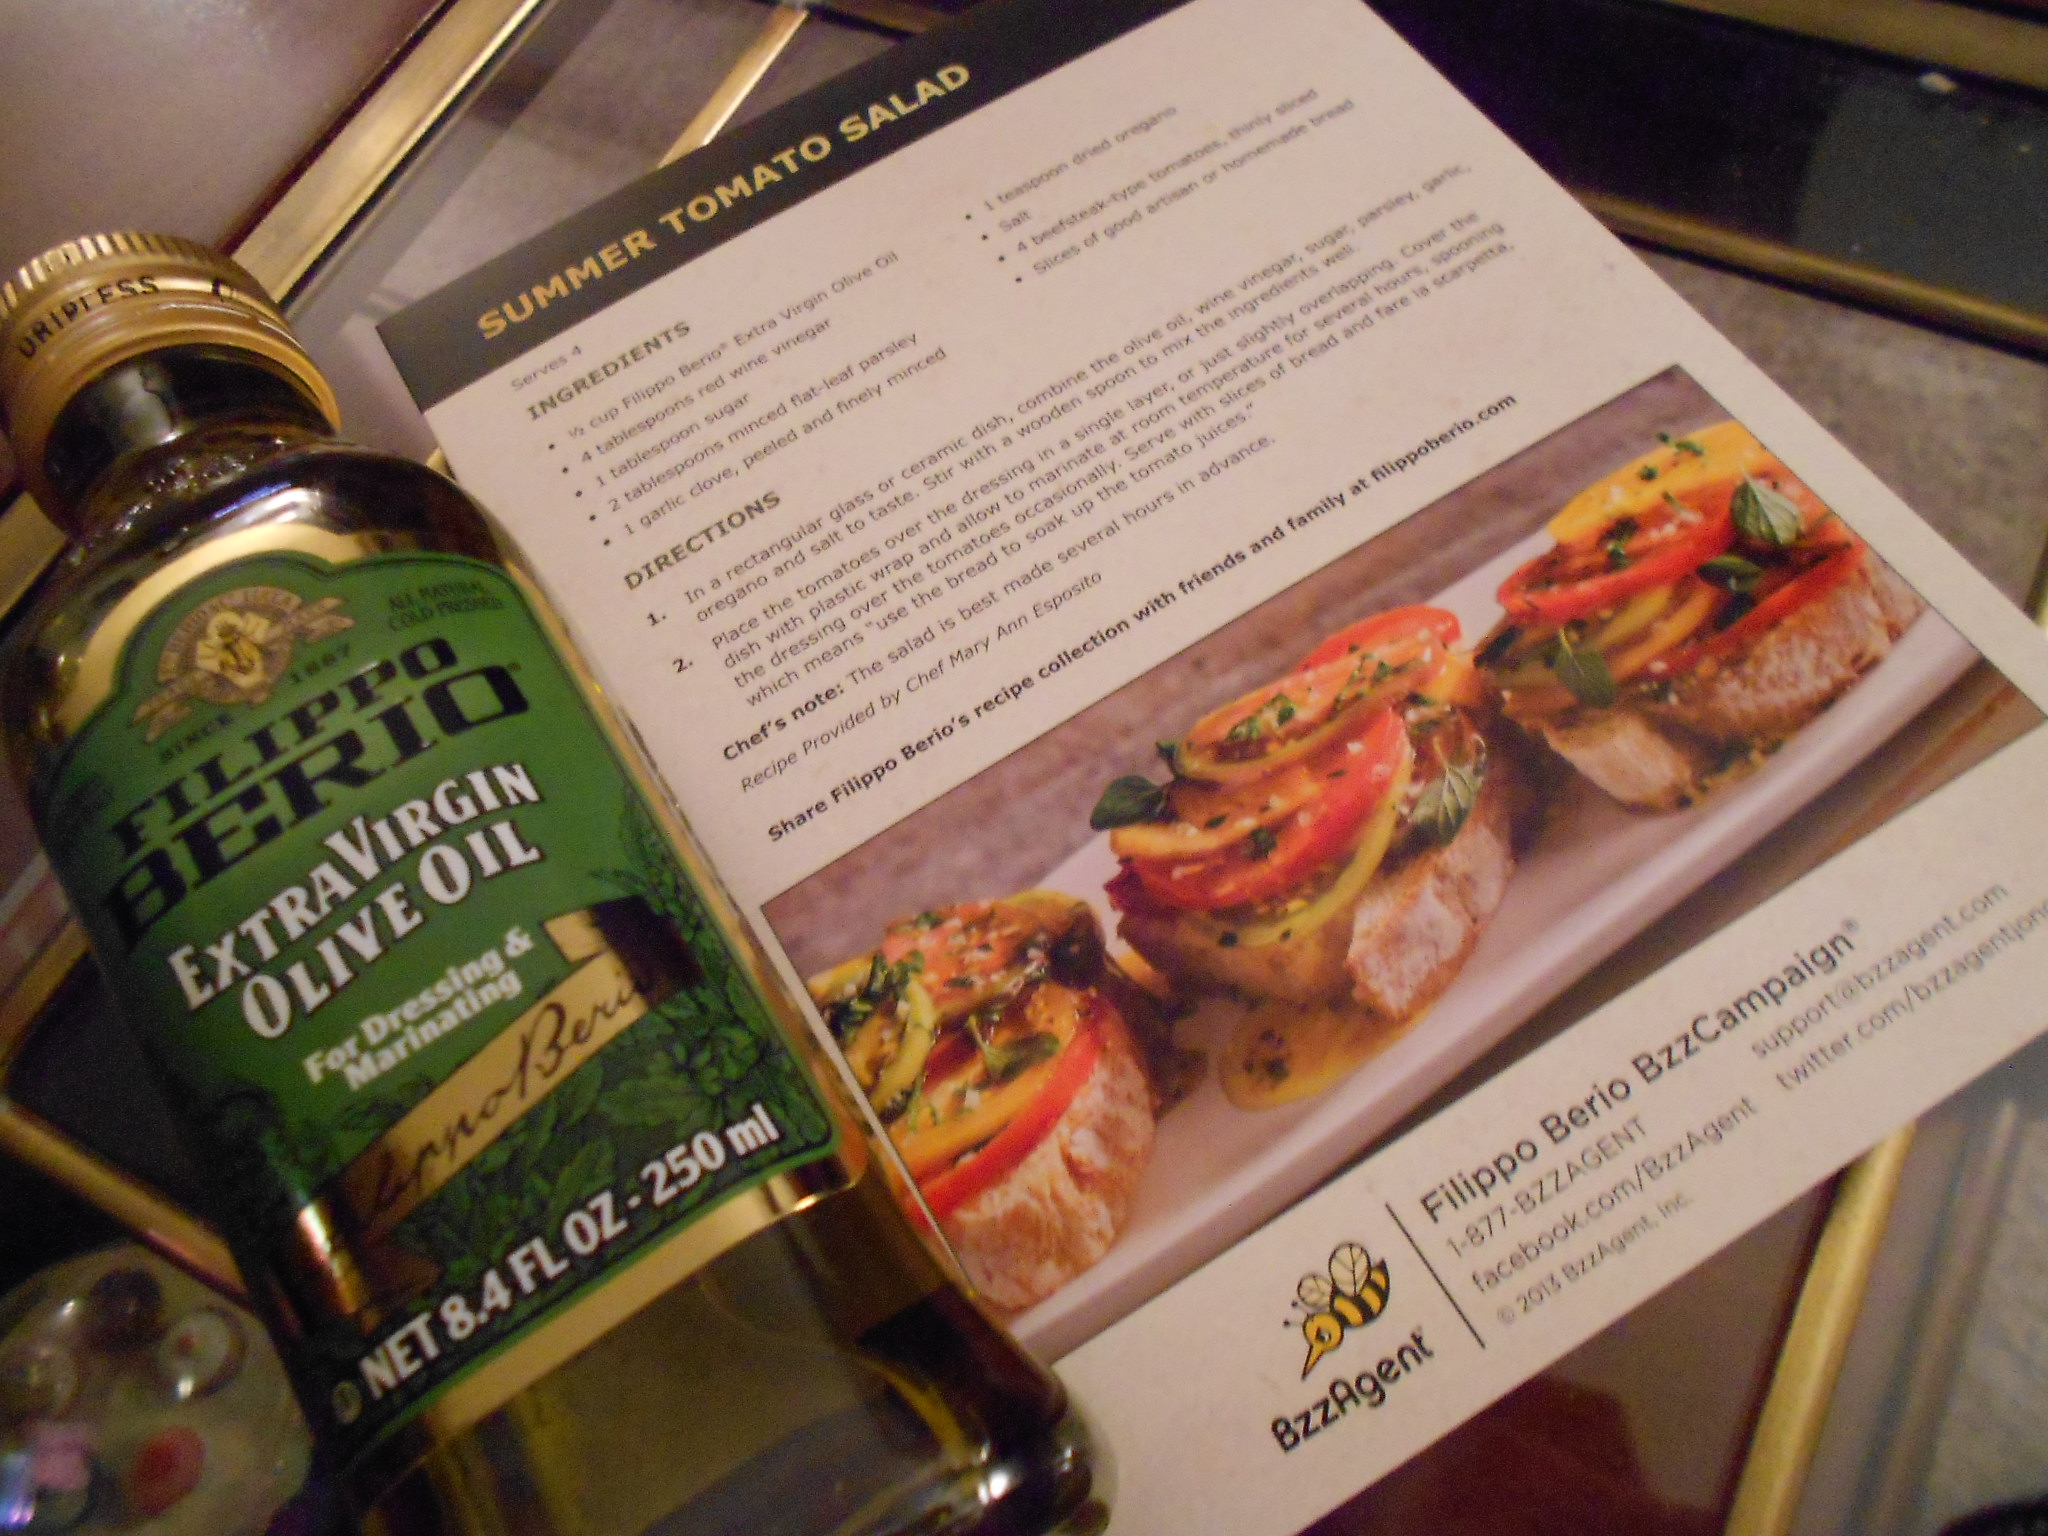
BzzAgent: Filippo Berio® Extra Virgin Olive Oil

DSCN2597


Not all oils are created equal and I have learned this through trial and error. As with many foods, companies add fillers or even combine oils to create a lesser quality product but still charge consumers a price point that makes you think it equates with quality.

Been there and done that.....and this is why I hold Filippo Berio's oils on a whole different level.

I received an Extra Virgin Olive Oil bottle from BzzAgent along with all the great campaign goodies they include. You have the booklet, which educates you about the benefits of Extra Virgin Olive Oil and how it can improve not only your dishes but your health. Great coupons and even a magnet that reflects the measurements you use when substituting Olive Oil for Butter. Great kit and I love it!
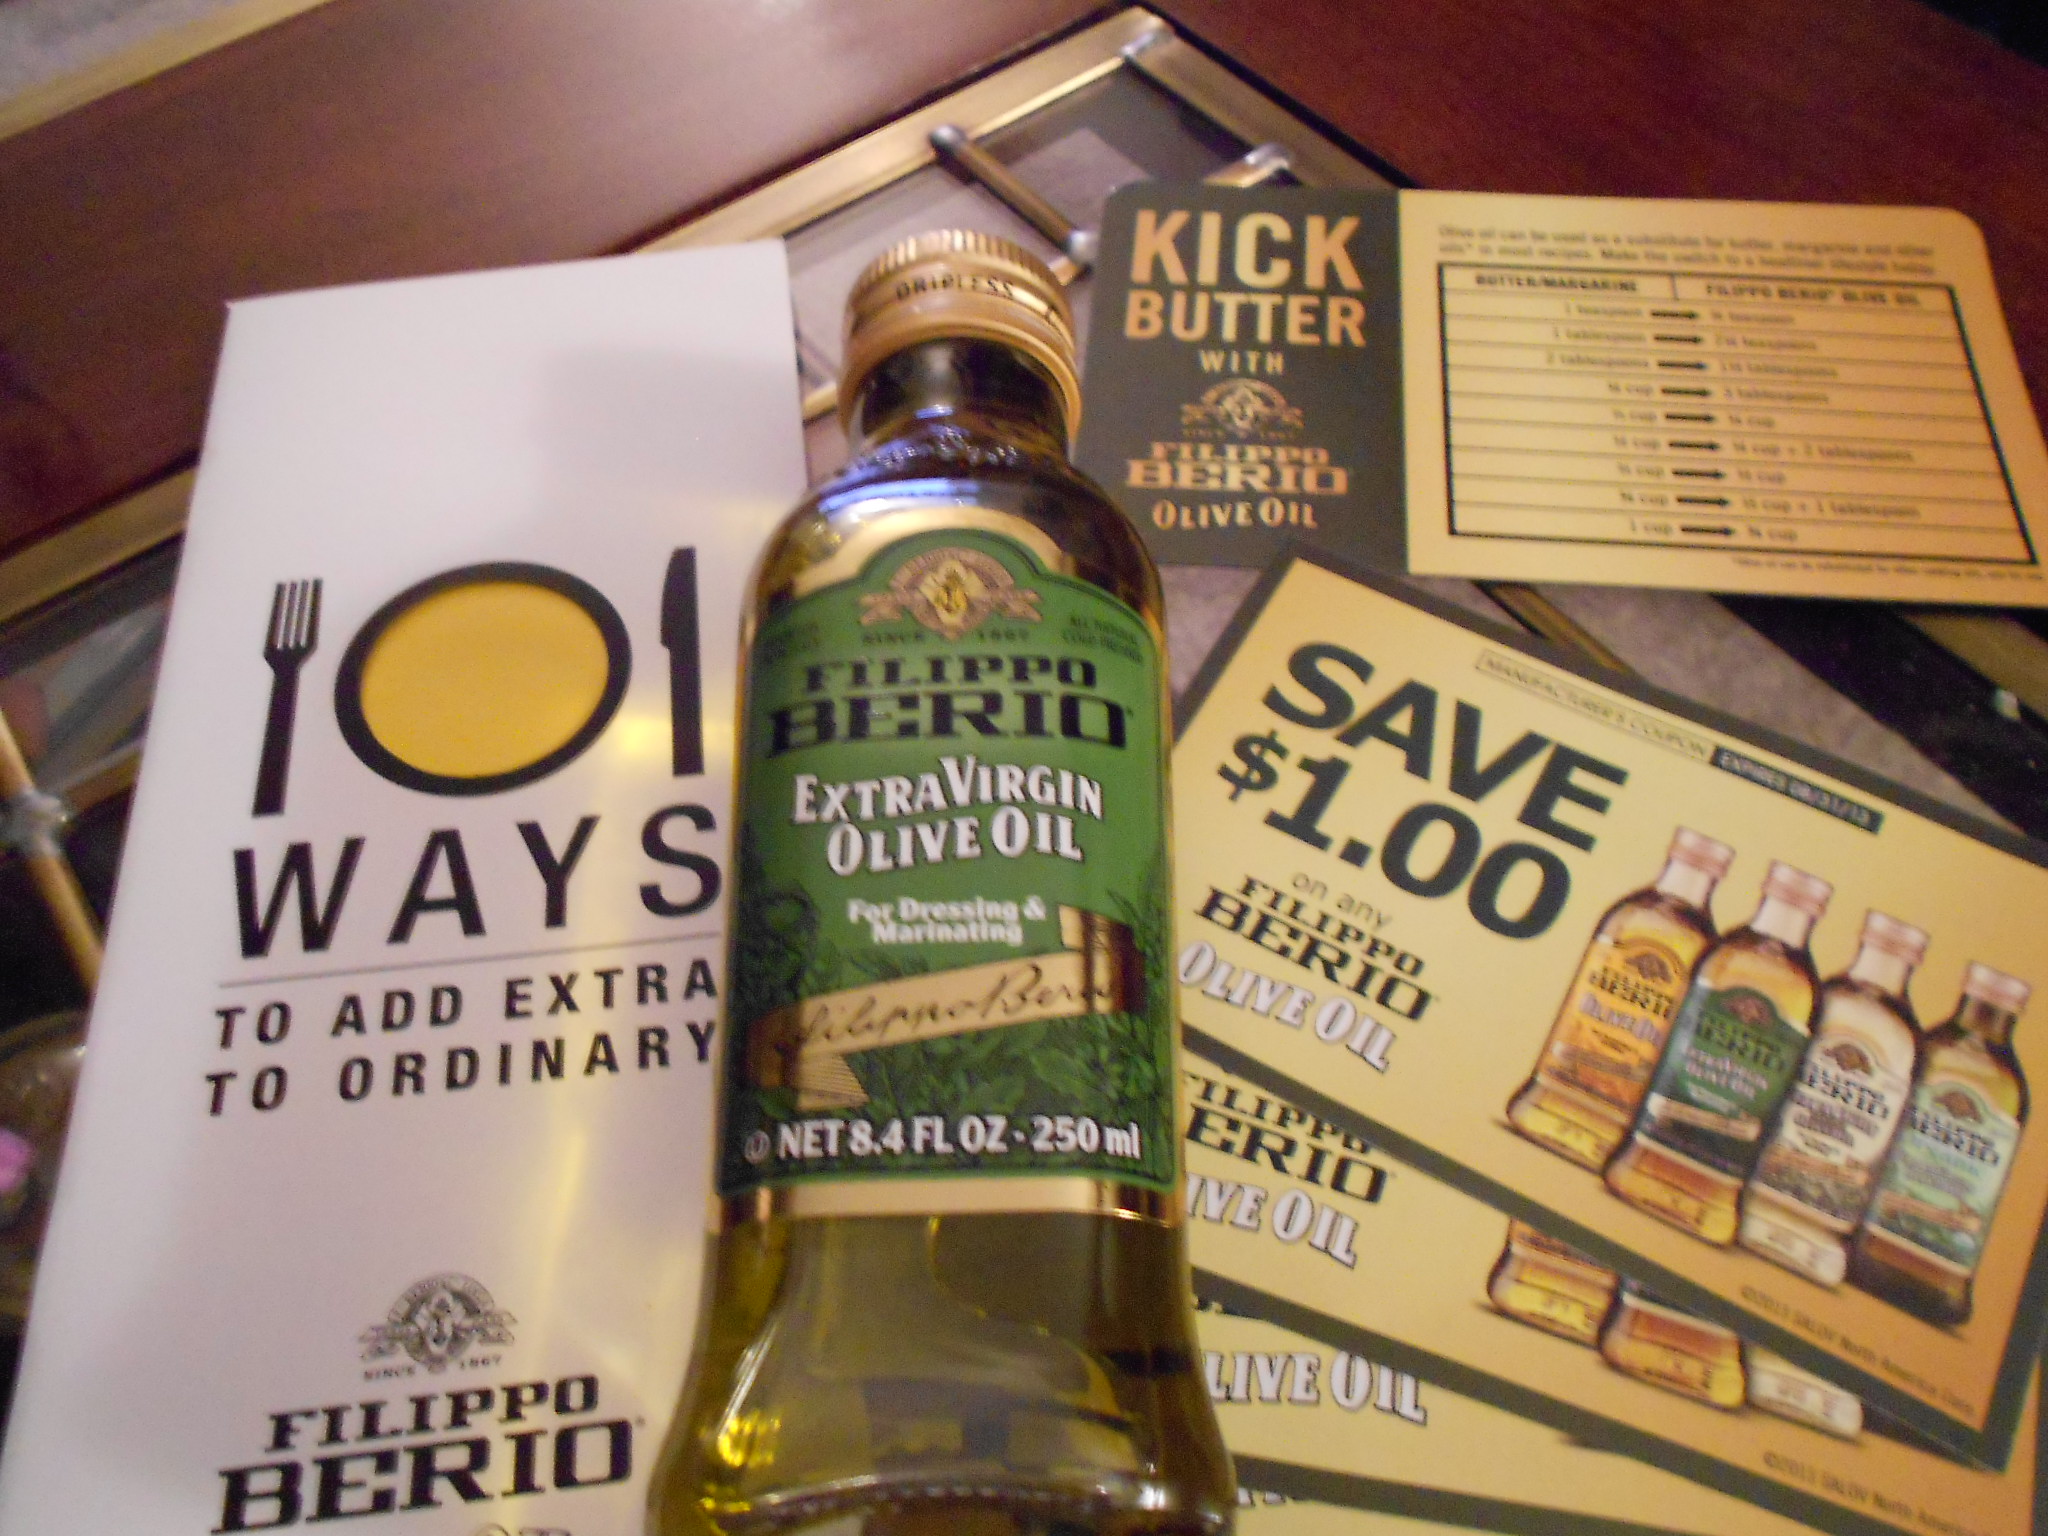
DSCN2587

Filippo Berio's company exports their oils from Italy and has been sharing their great products since 1850.  Now, that is staying in business for a long time and you know you have to be doing something right if you want people to support your products.  The company makes several versions of Olive Oils from Extra Virgin, Light, and also makes vinegar (balsamics) and other products like olives and pestos.  Their distribution is massive and they now reach over 65 countries!  Now, that is reaching the masses!
DSCN2588

The Health Benefits:

Extra Virgin Olive oil is better for you because it contains no trans fat or cholesterol.  Butters commonly used in savory cooking contain salts and Olive oil does not.  You have an oil that is high in monounsaturated fats, which is commonly known as "the good fat" that doctors want you to eat.
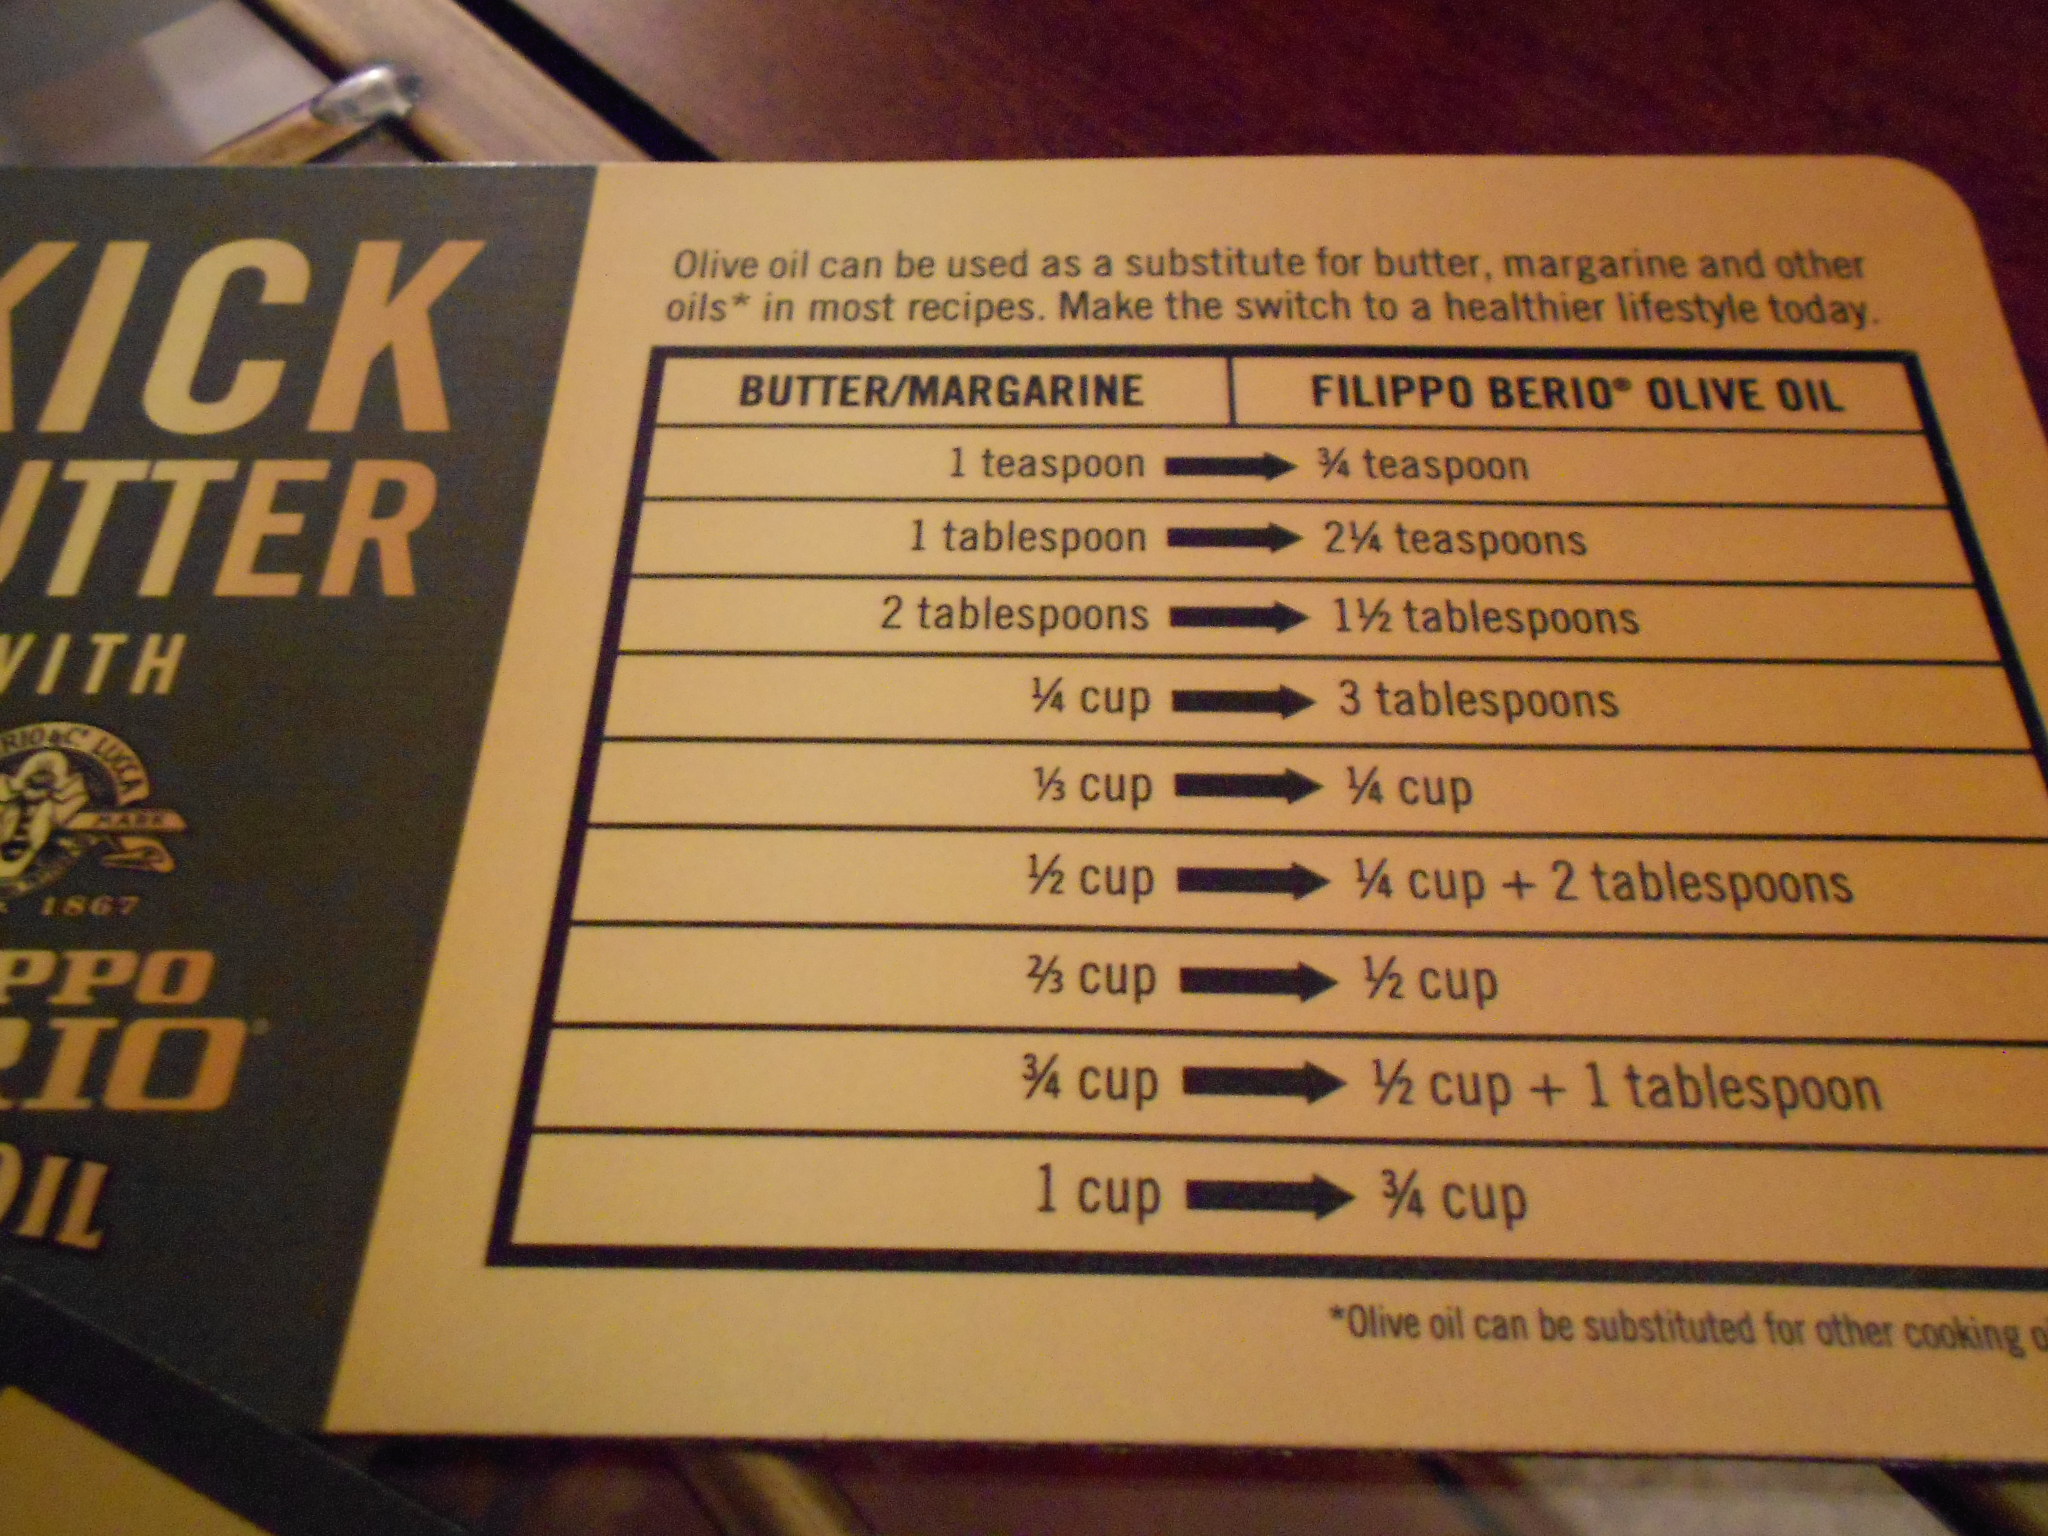
DSCN2586

What is the difference between the Extra Virgin and just Olive Oil:

  • Virgin means the oil was produced by the use of physical means and the oil was not treated with any chemicals.  It also means the oil is produced from the "first batch" that the seed/grain produces.


  • Refined means that the oil has been chemically treated to neutralize strong tastes (characterized as defects) and neutralize the acid content.  Chemicals are many times used in lower quality oils as way to preserve and slow down the oxidation that occurs with age.  Refined oil is regarded as lower quality product.  Oils with the retail labels extra-virgin olive oil and virgin olive oil cannot contain any refined oil, as it would not be Virgin if anything else was added.


  • Olive Oil Pommace or Pomace, means oil extracted from the pomace using solvents, mostly Hexane.  Hexane is a carbon based chemical found in glues to gasoline.  Manufactures combine the Hexane and heat to extract from the seeds the oil.  Hexane has a low toxicity level, but nonetheless many industries that use the chemical in their processing, are seeking alternatives due to the adverse health effects.


What the above means is that it all comes down to purity and acidity levels.  Every oil has it's purpose and this is why learning about them is something I like to do because I don't want to pay for a lower end product, much less one laced with chemicals my body does not want or need.  Think about it like chocolate and cacao content.....it's the same mind set.  Don't let the labels fool you and I also try to stay within the brands I can trust because many good manufactures will not distribute to the public, a lower quality product.
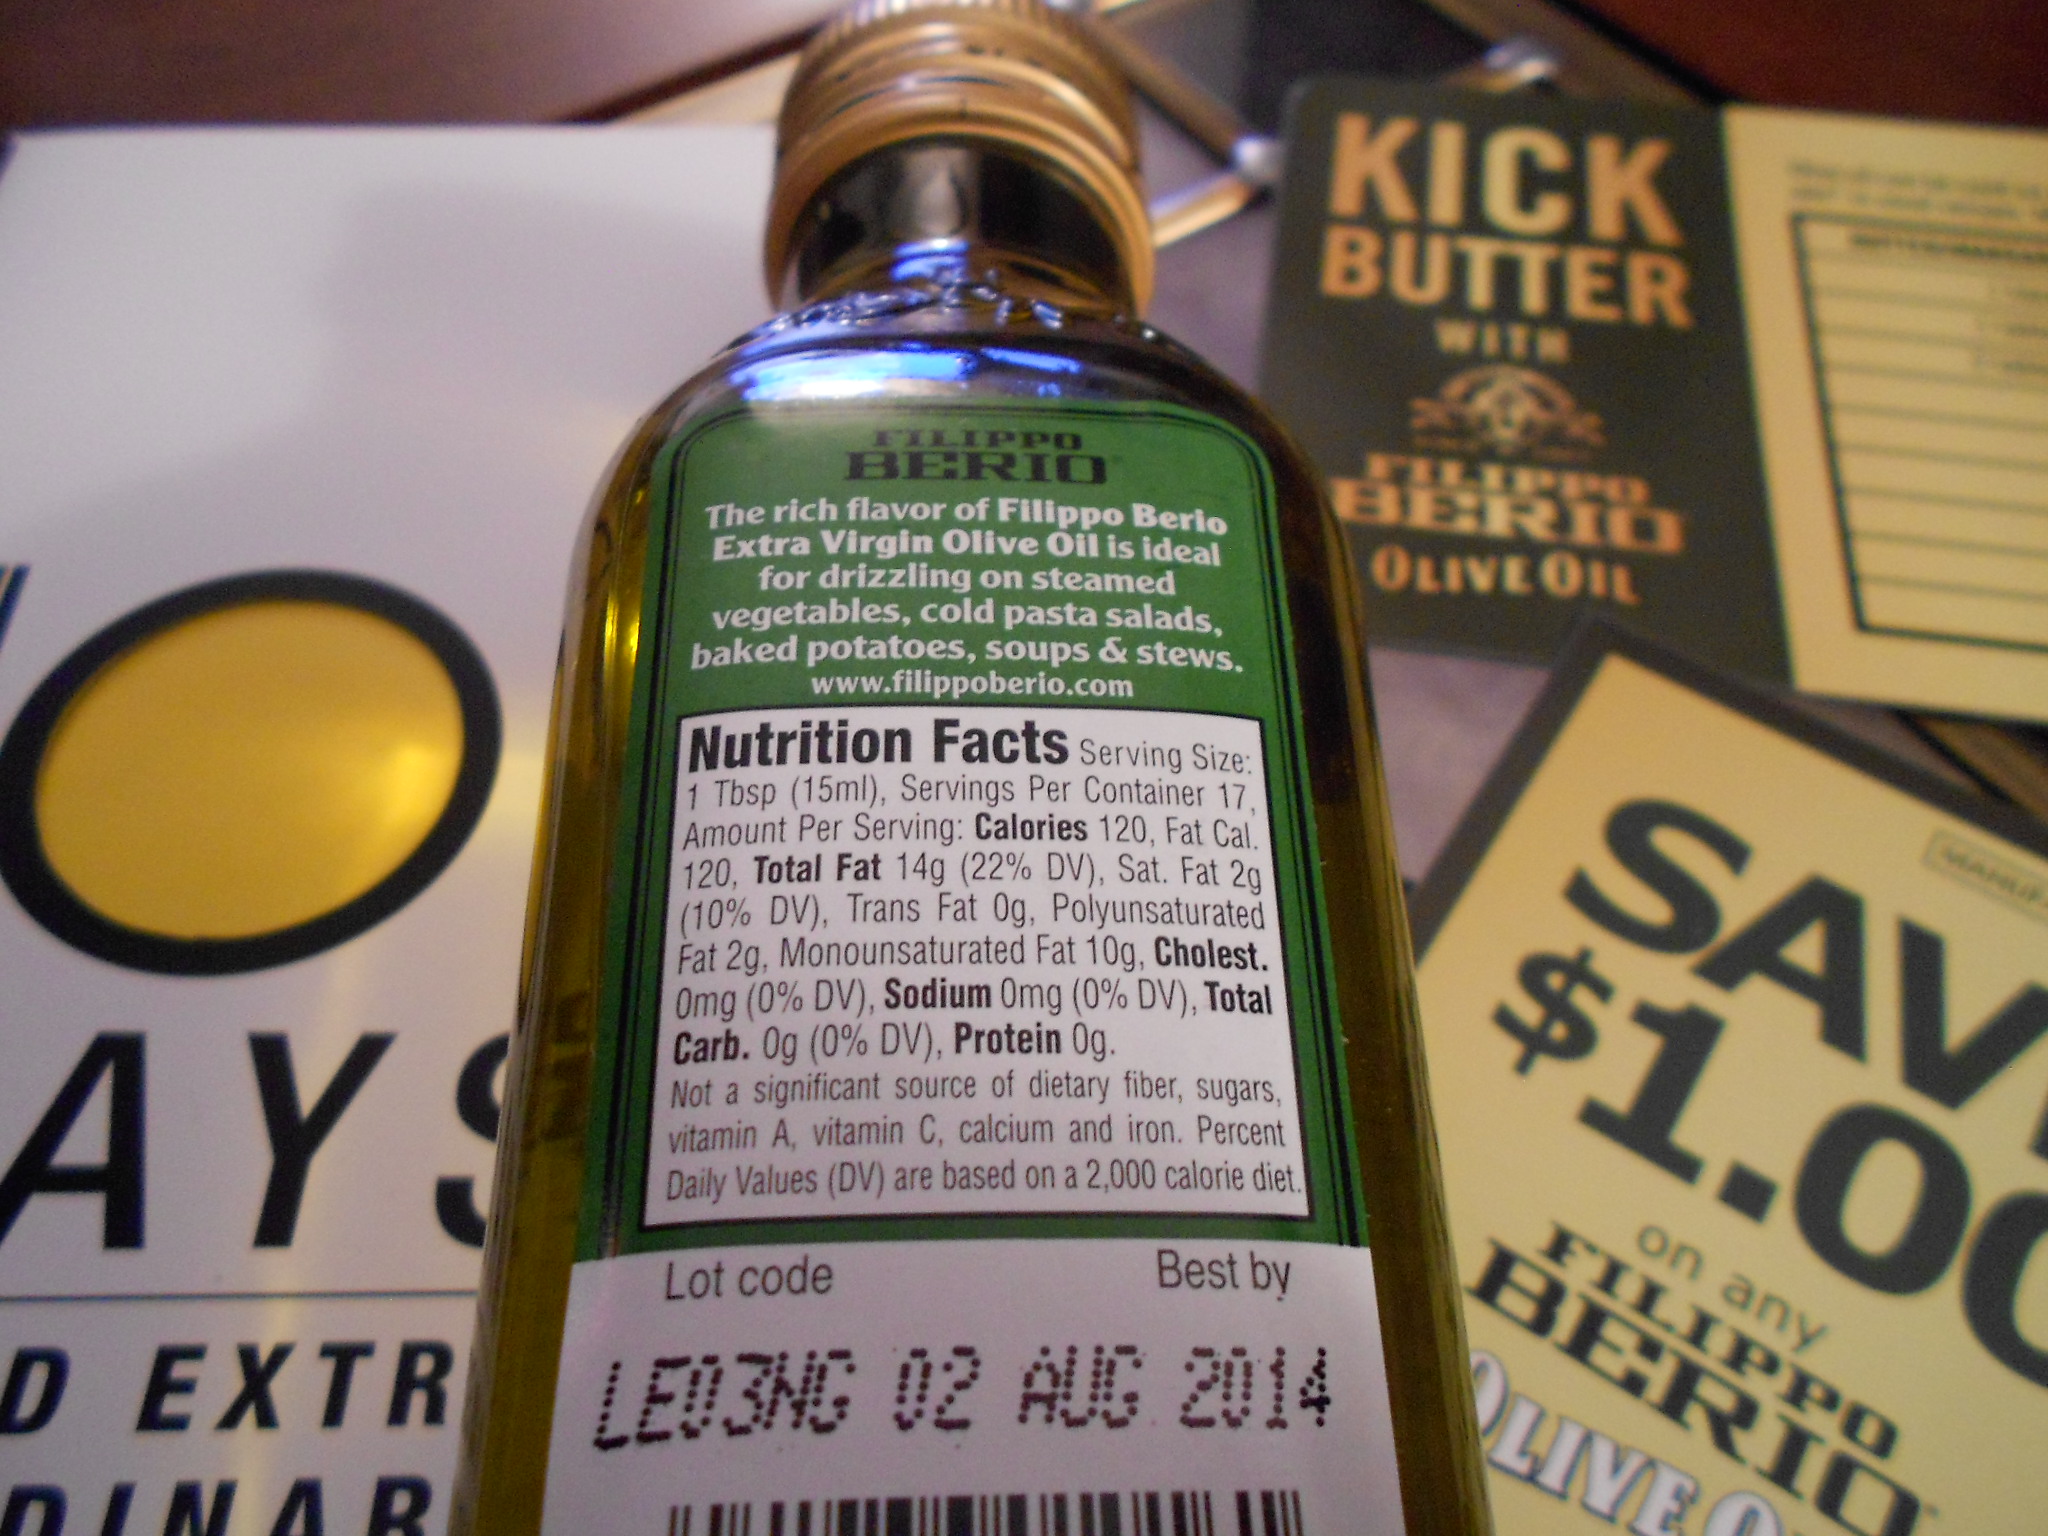
DSCN2592

Now, Extra Virgin Olive oils have a lower smoke point and this means that the oil will smoke and destabilize with higher temperatures.  You may have heard people say it's a waste to fry in Extra Virgin Olive oil because of it.  I like to do something I call "lacing", it's making my own mixes of oils as I see fit for the dish I am preparing.  I use different oils like Grape because the oil has a higher smoke point.  I decided to get creative and used a mix of Grape Oil and Extra Virgin Olive Oil and of course Filippo Berio's brand.

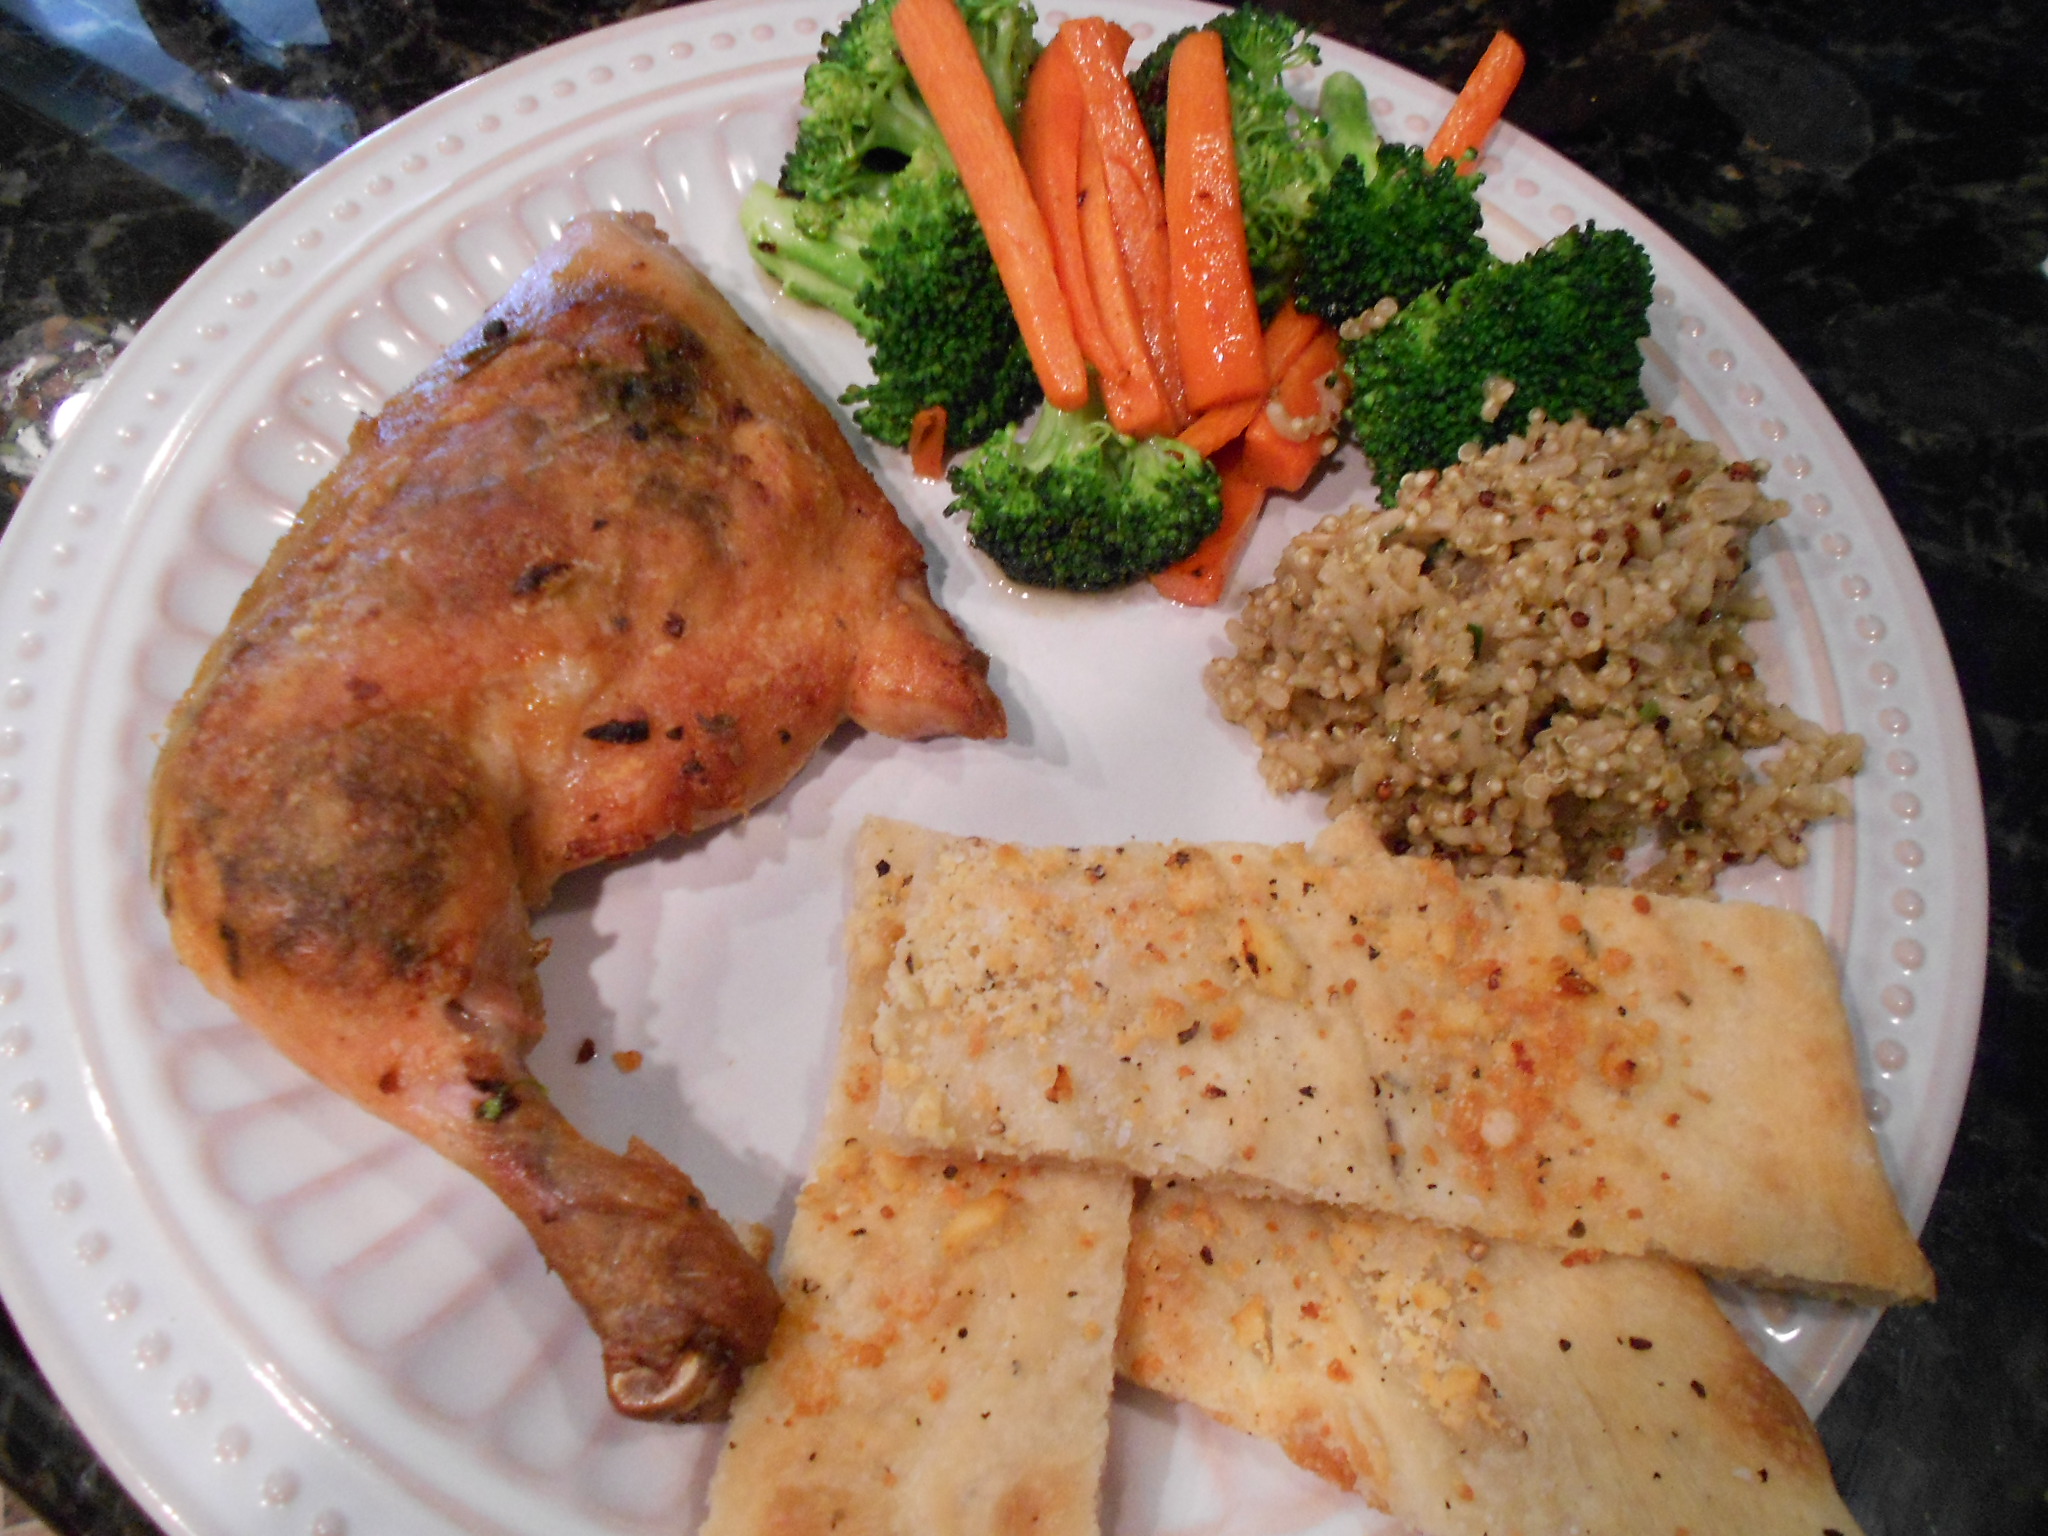
  • Olive Oil Braised Chicken Legs with a Roasted Garlic and Herb Stuffing
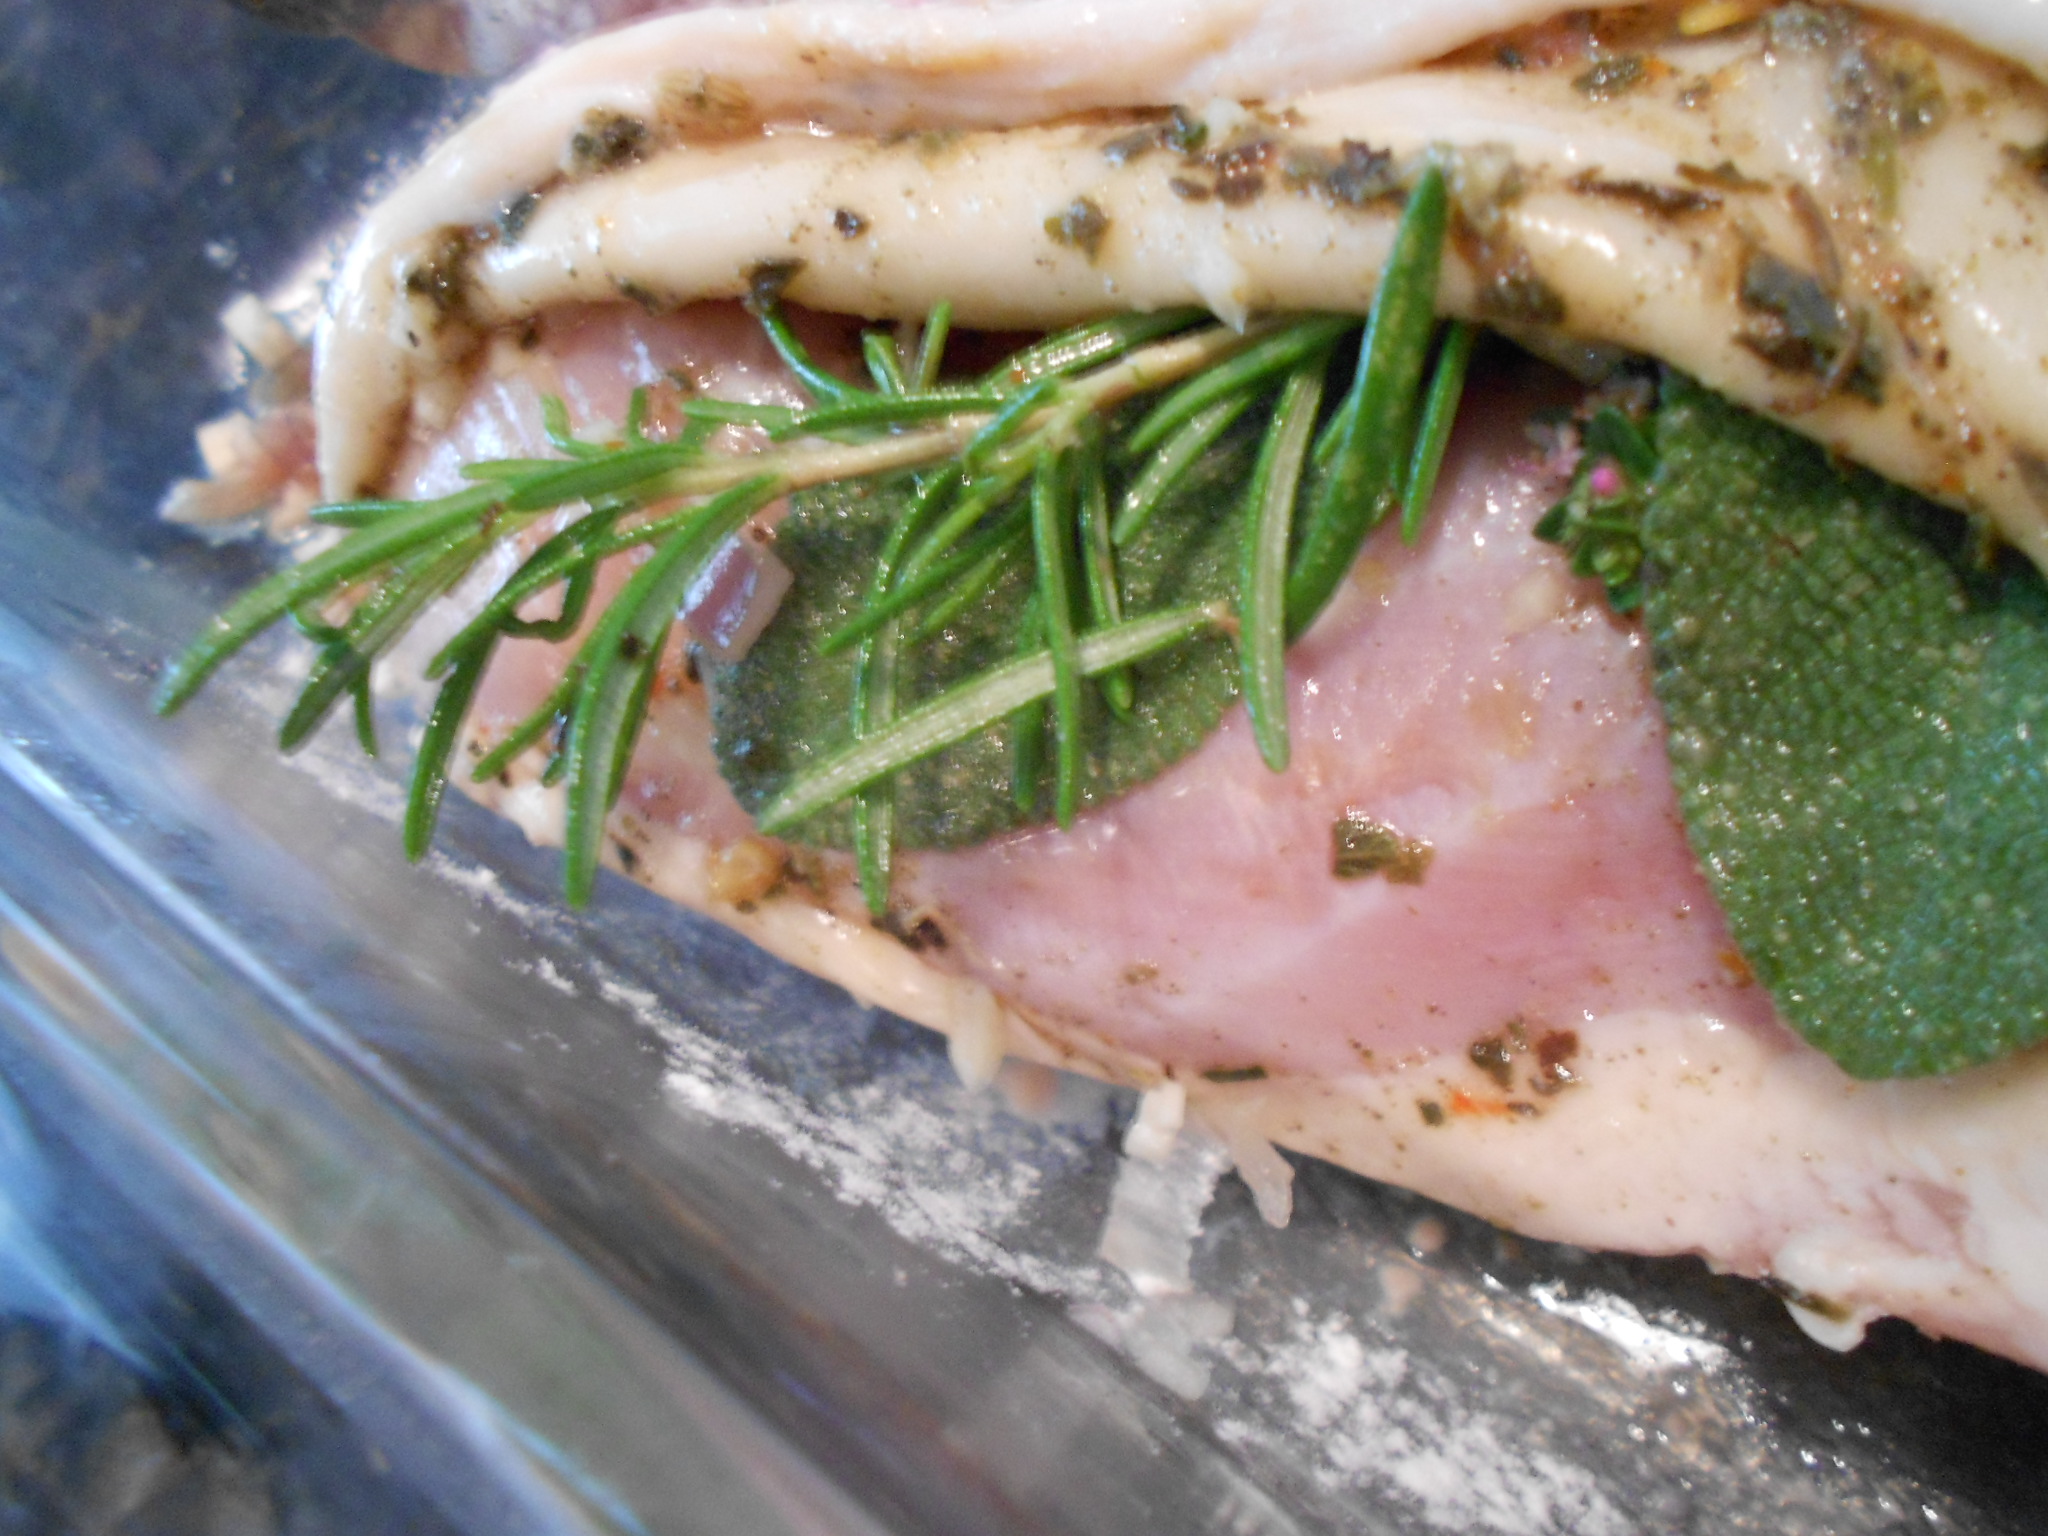

DSCN2498

DSCN2535

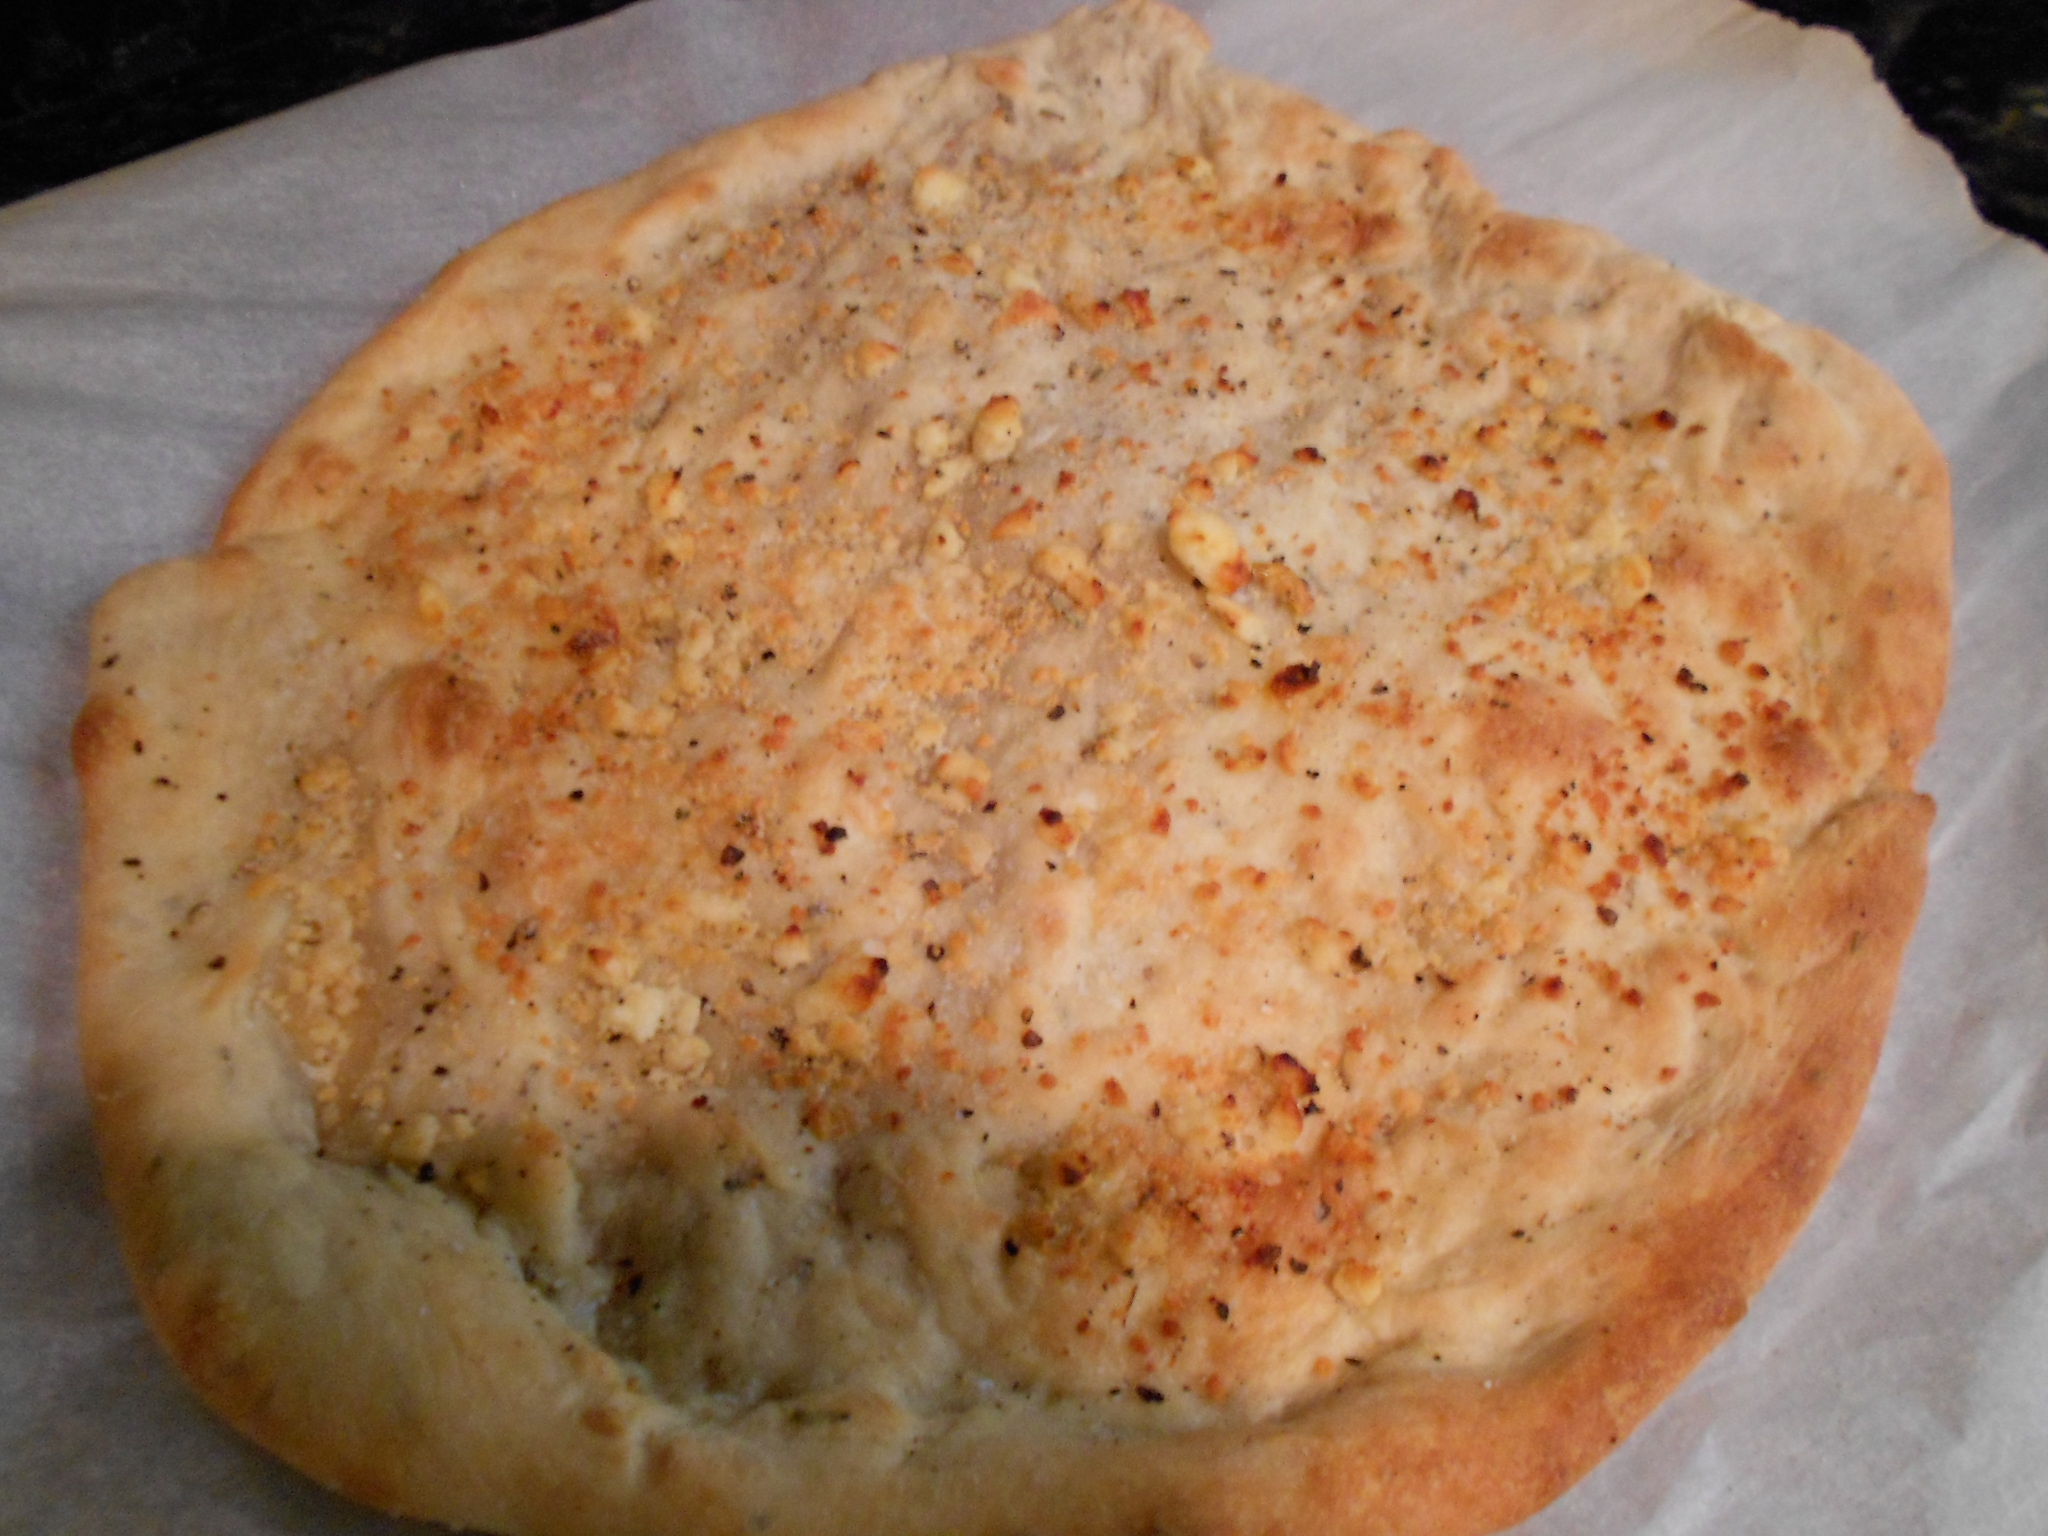
  • Foccacia Bread with Parmesan Cheese


DSCN2532

I received the above product from BzzAgent and Filippo Berio.  I am not obligated in providing a positive/favorable review, just my honest opinion.  My review is based on my experience with the product, which may differ from yours. #GotItFree

Friday, June 14, 2013

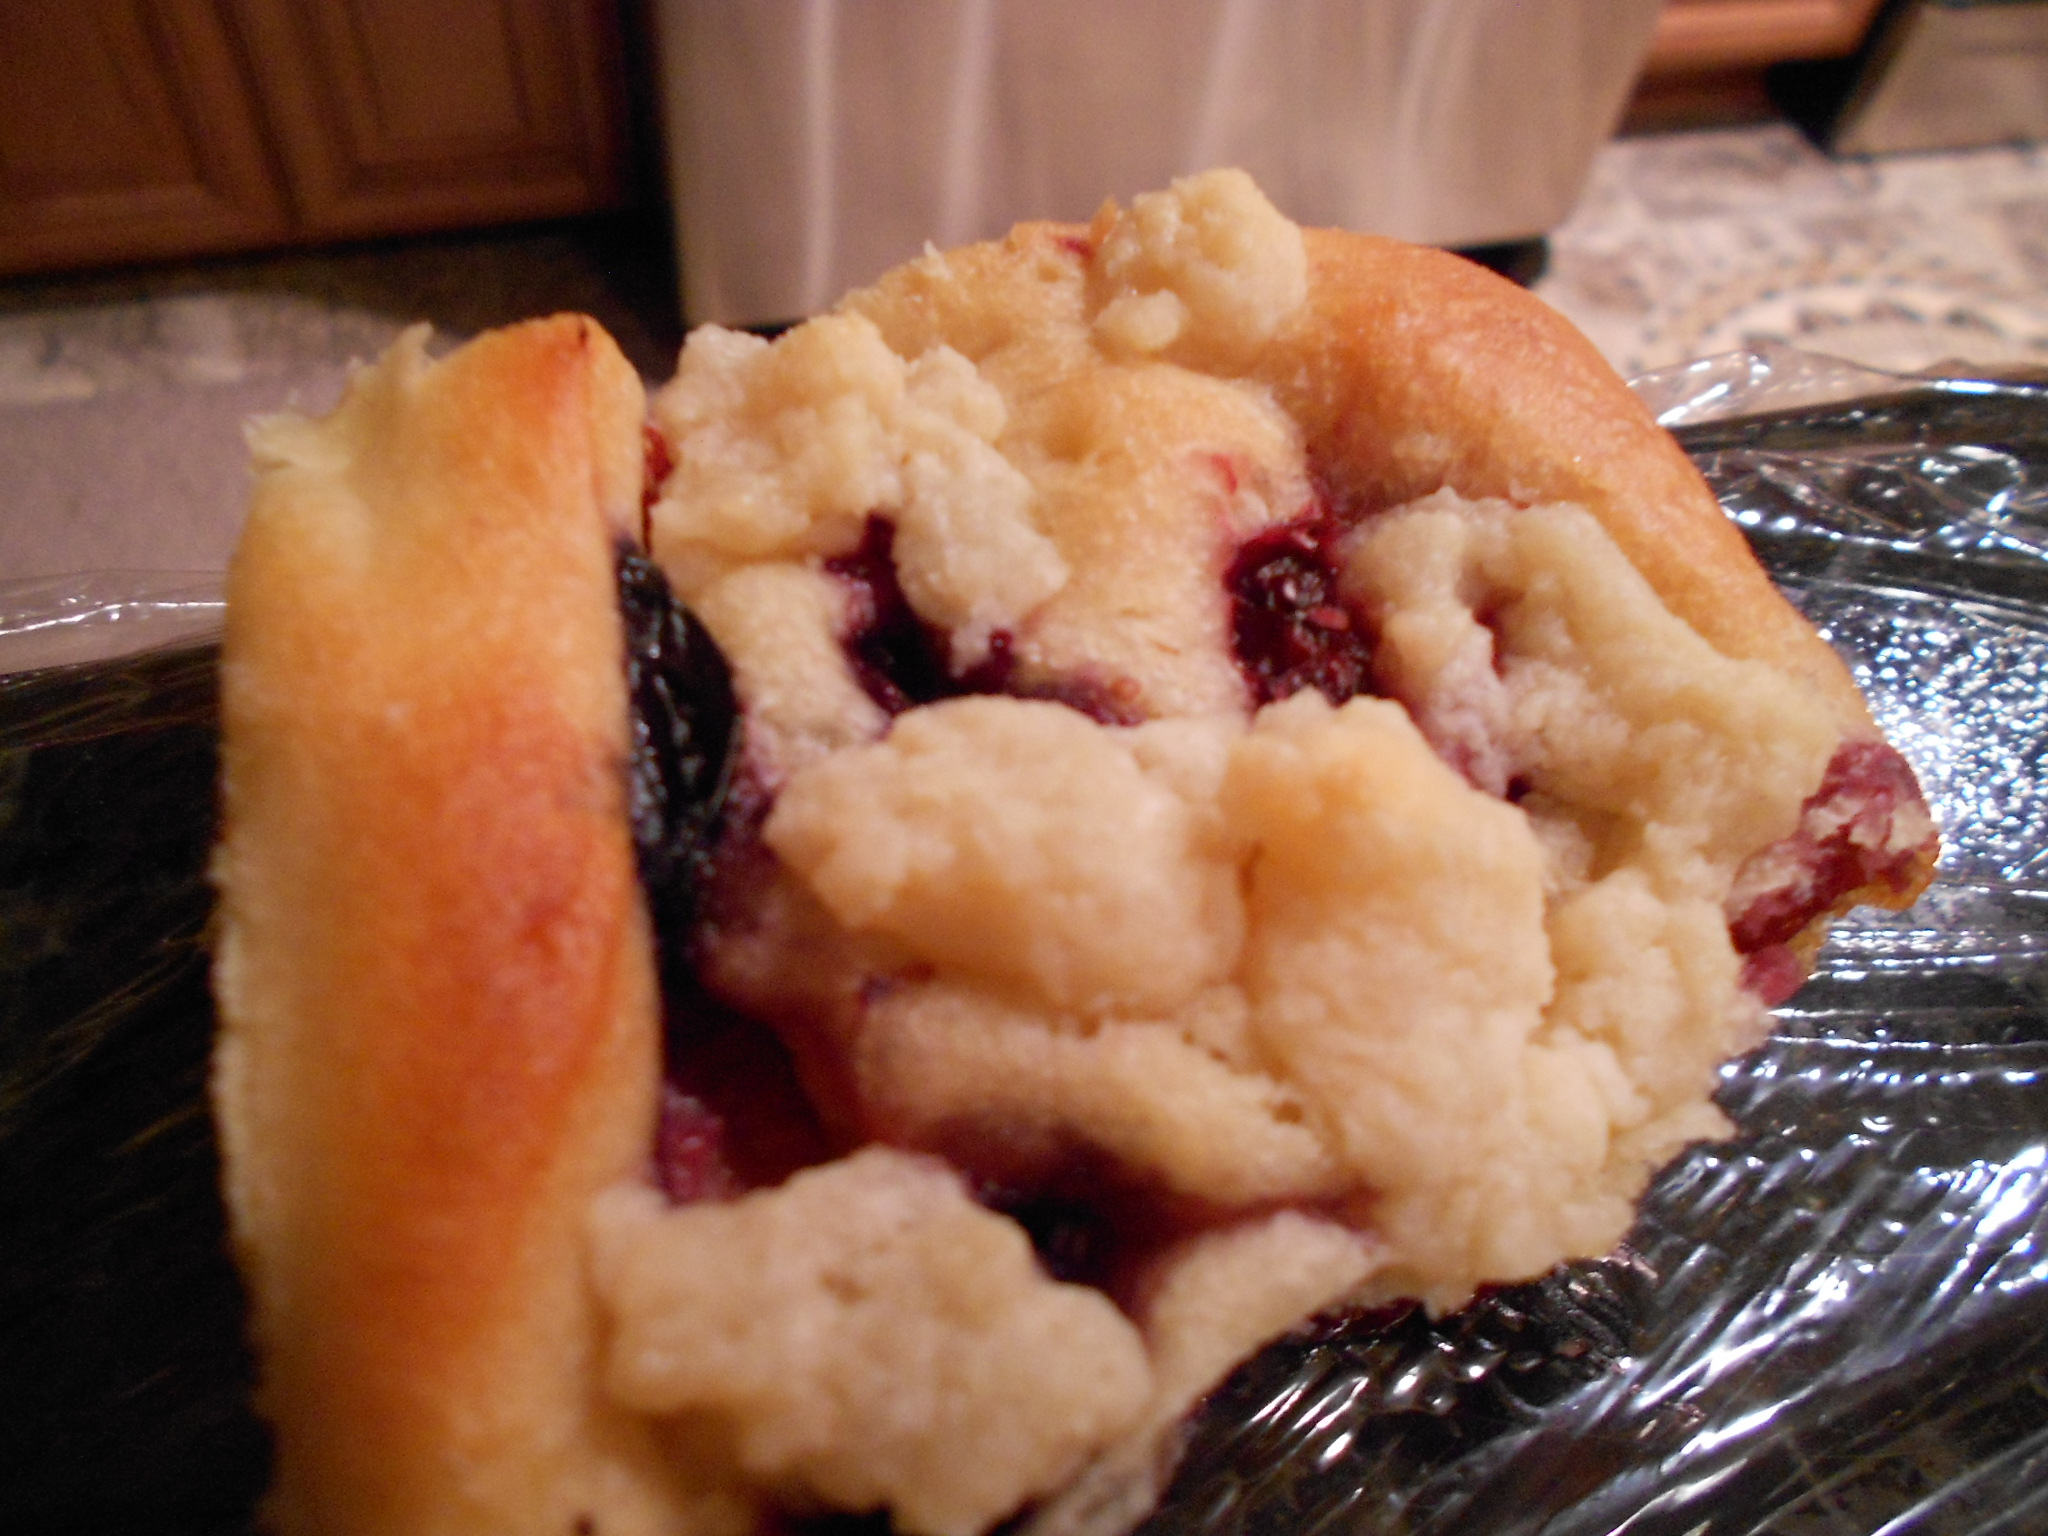
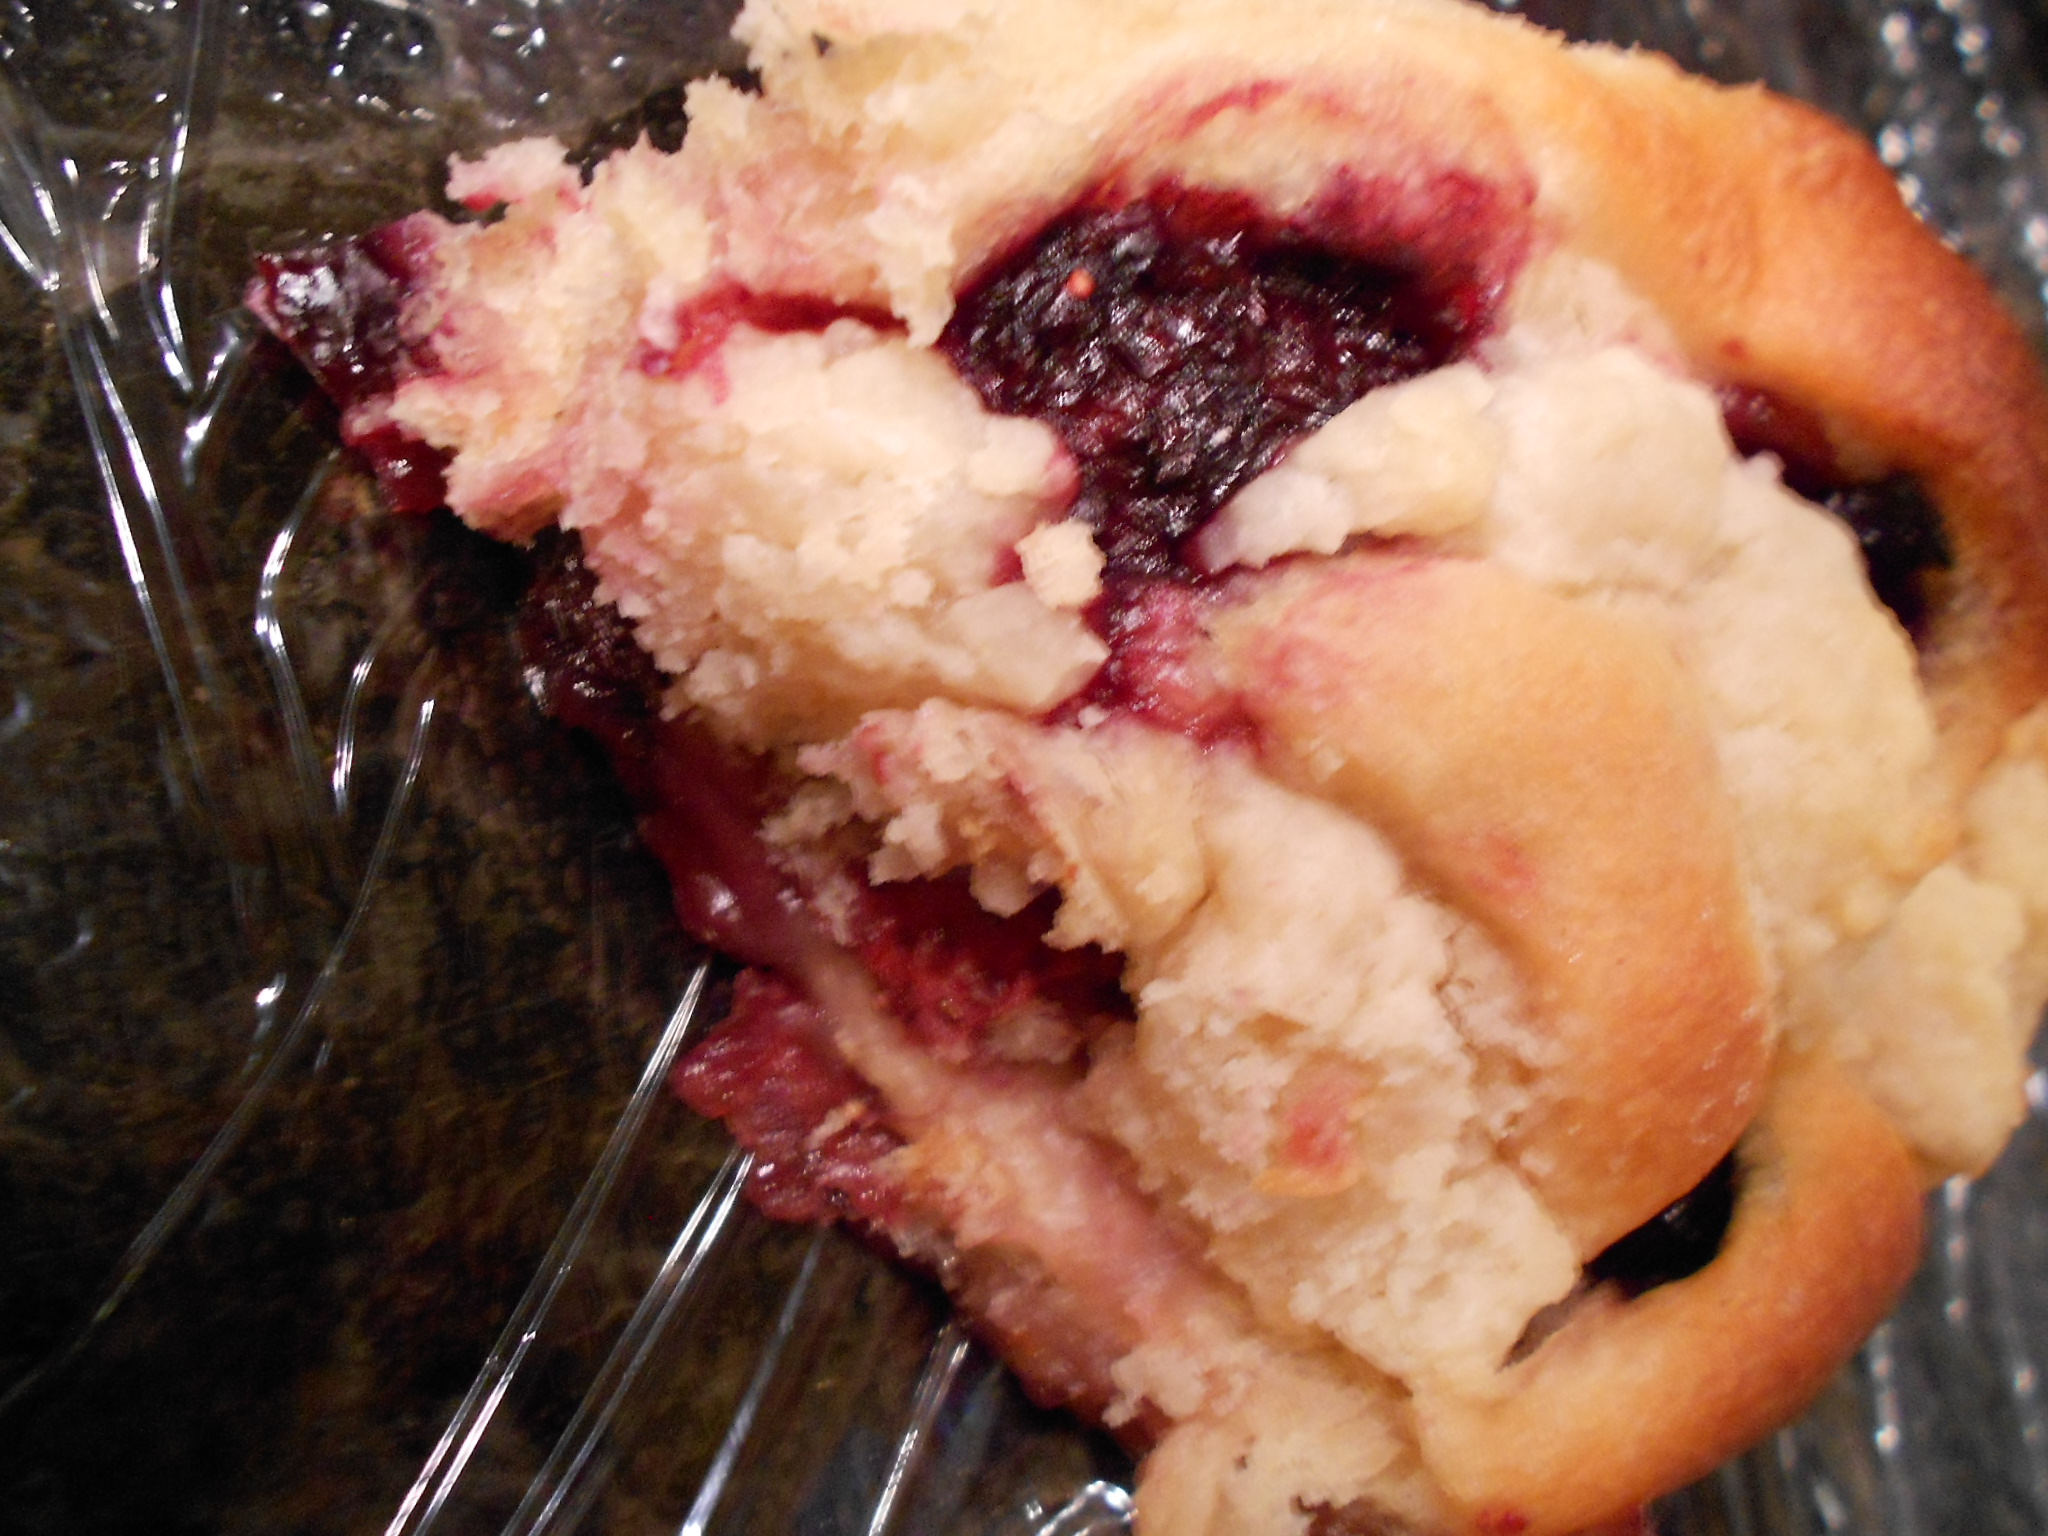
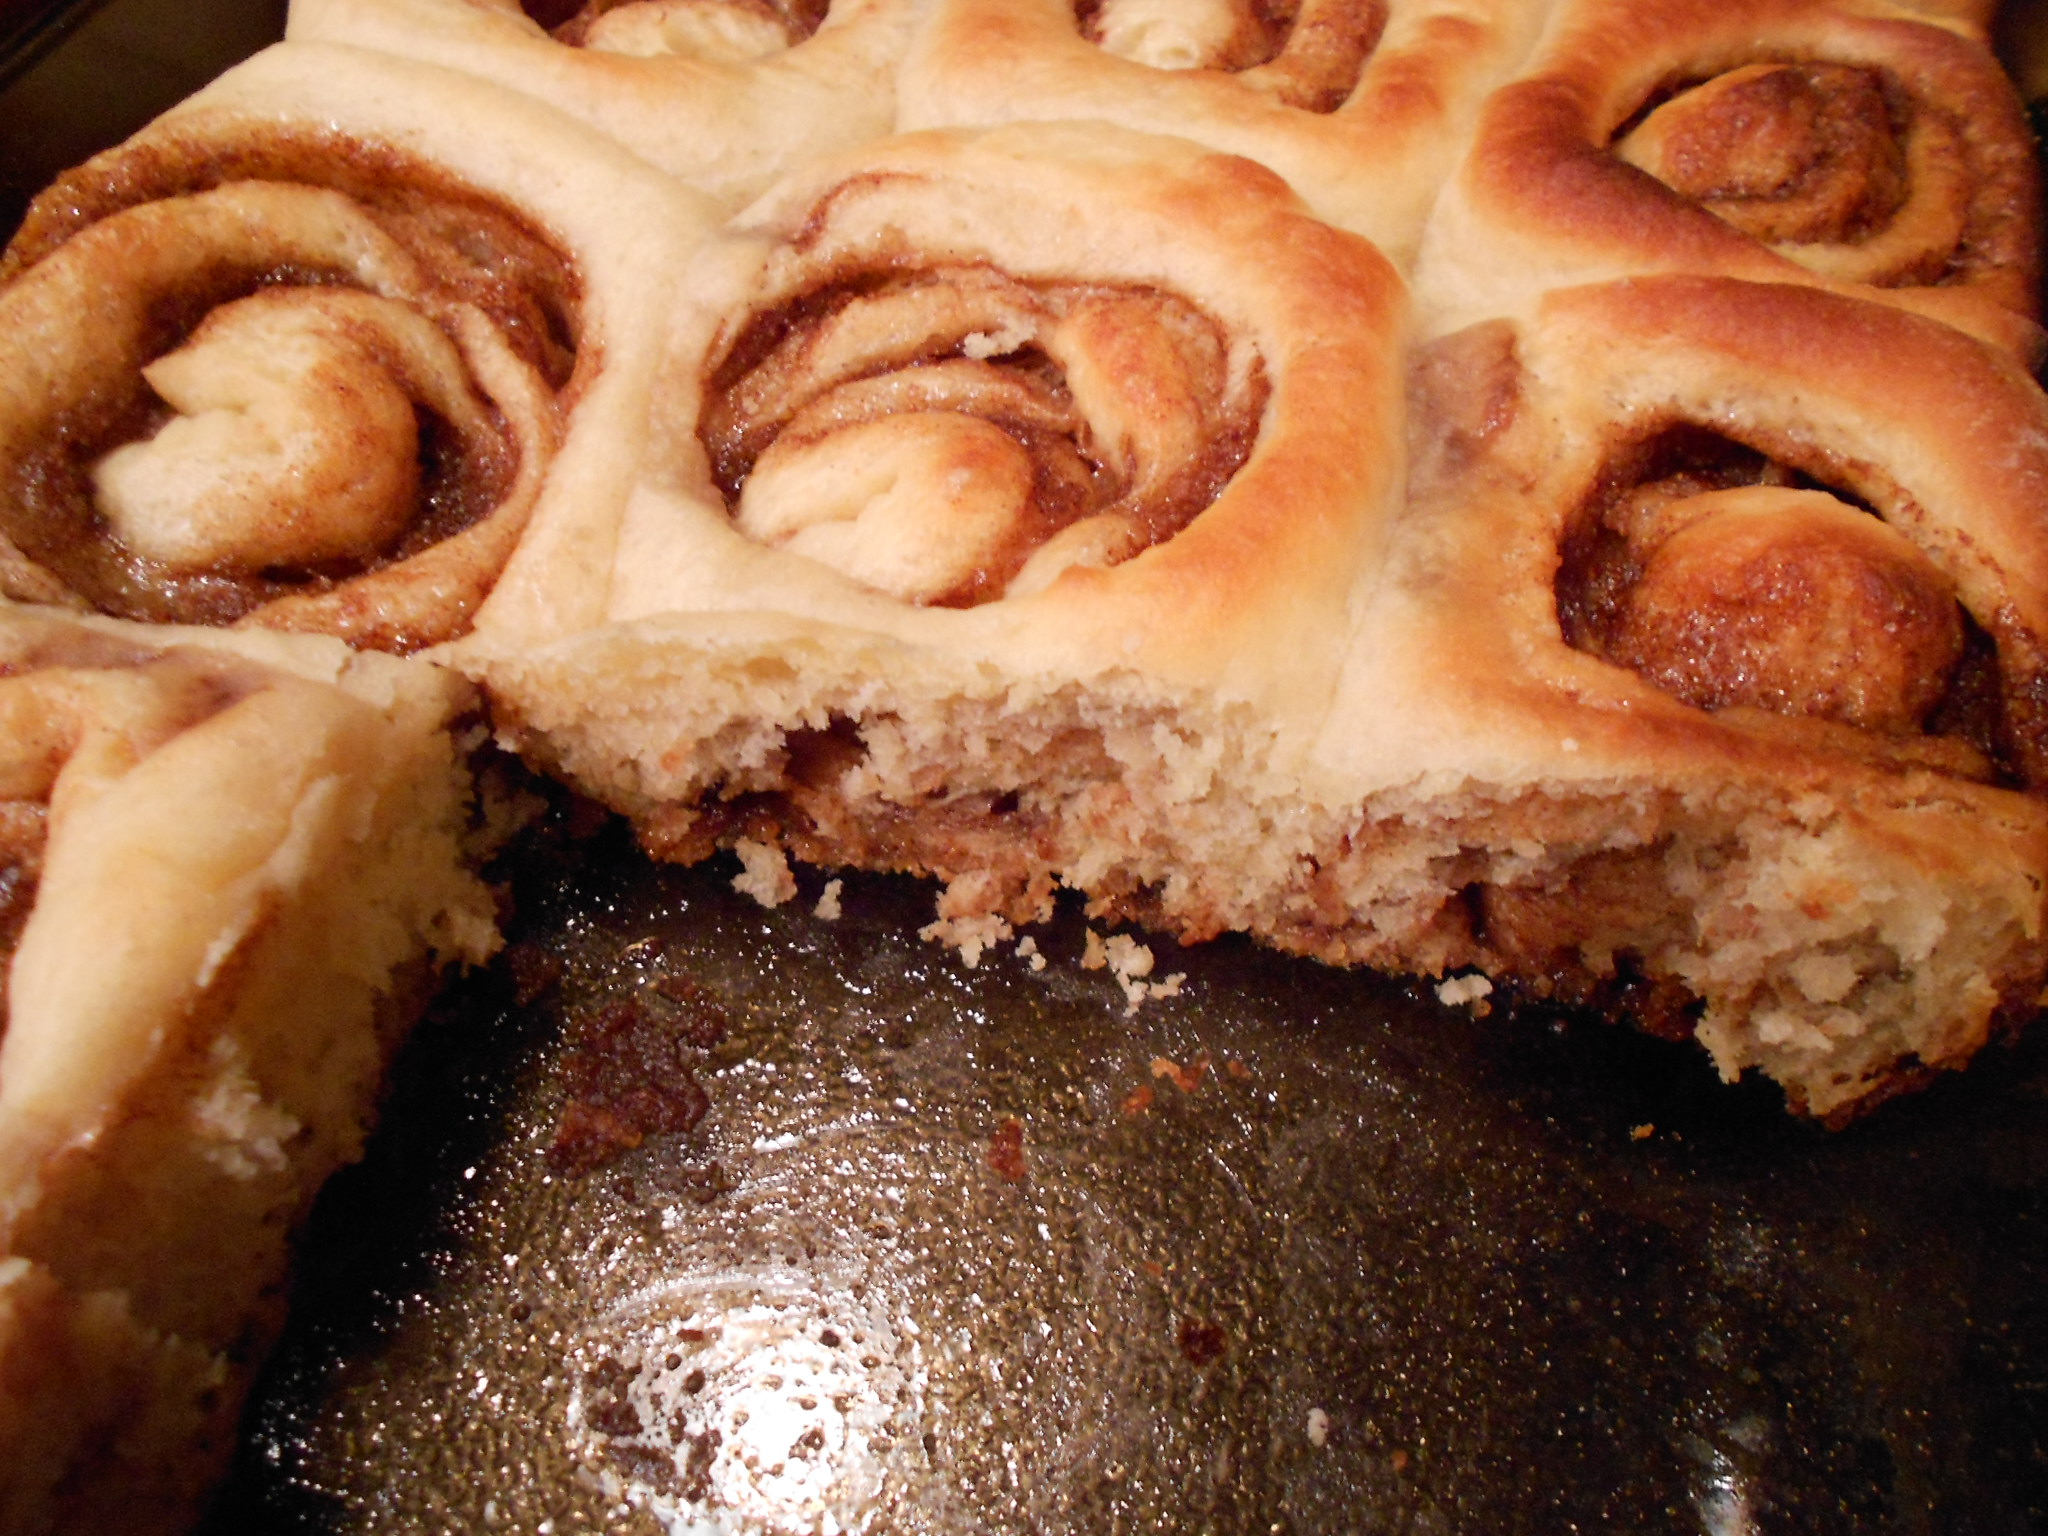
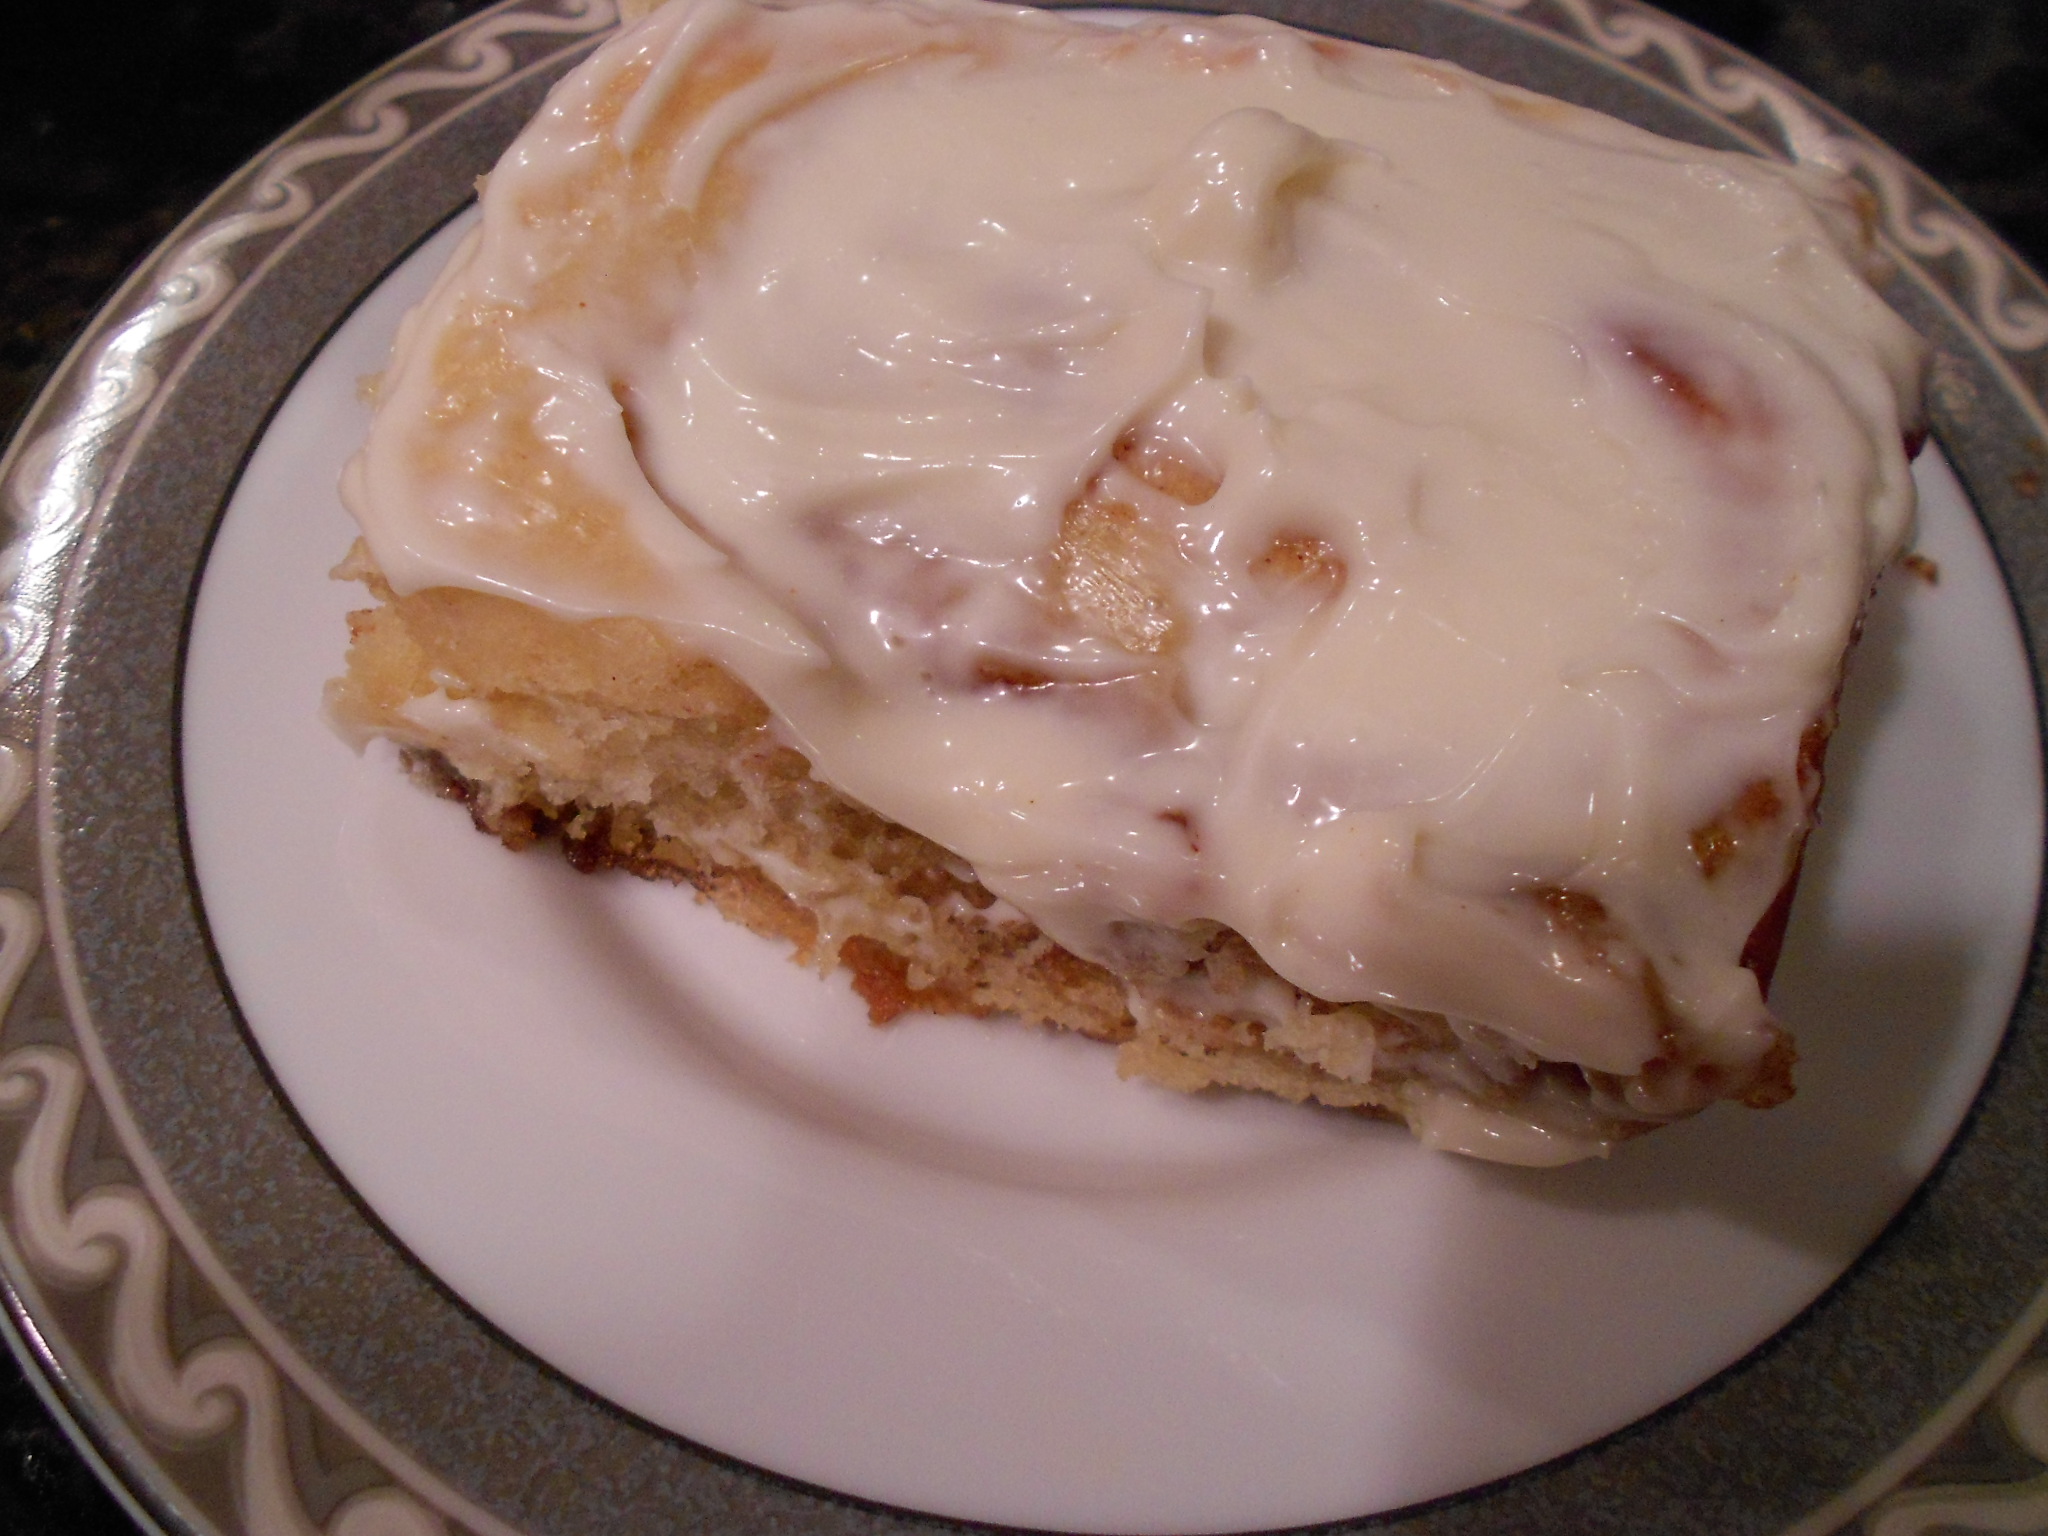
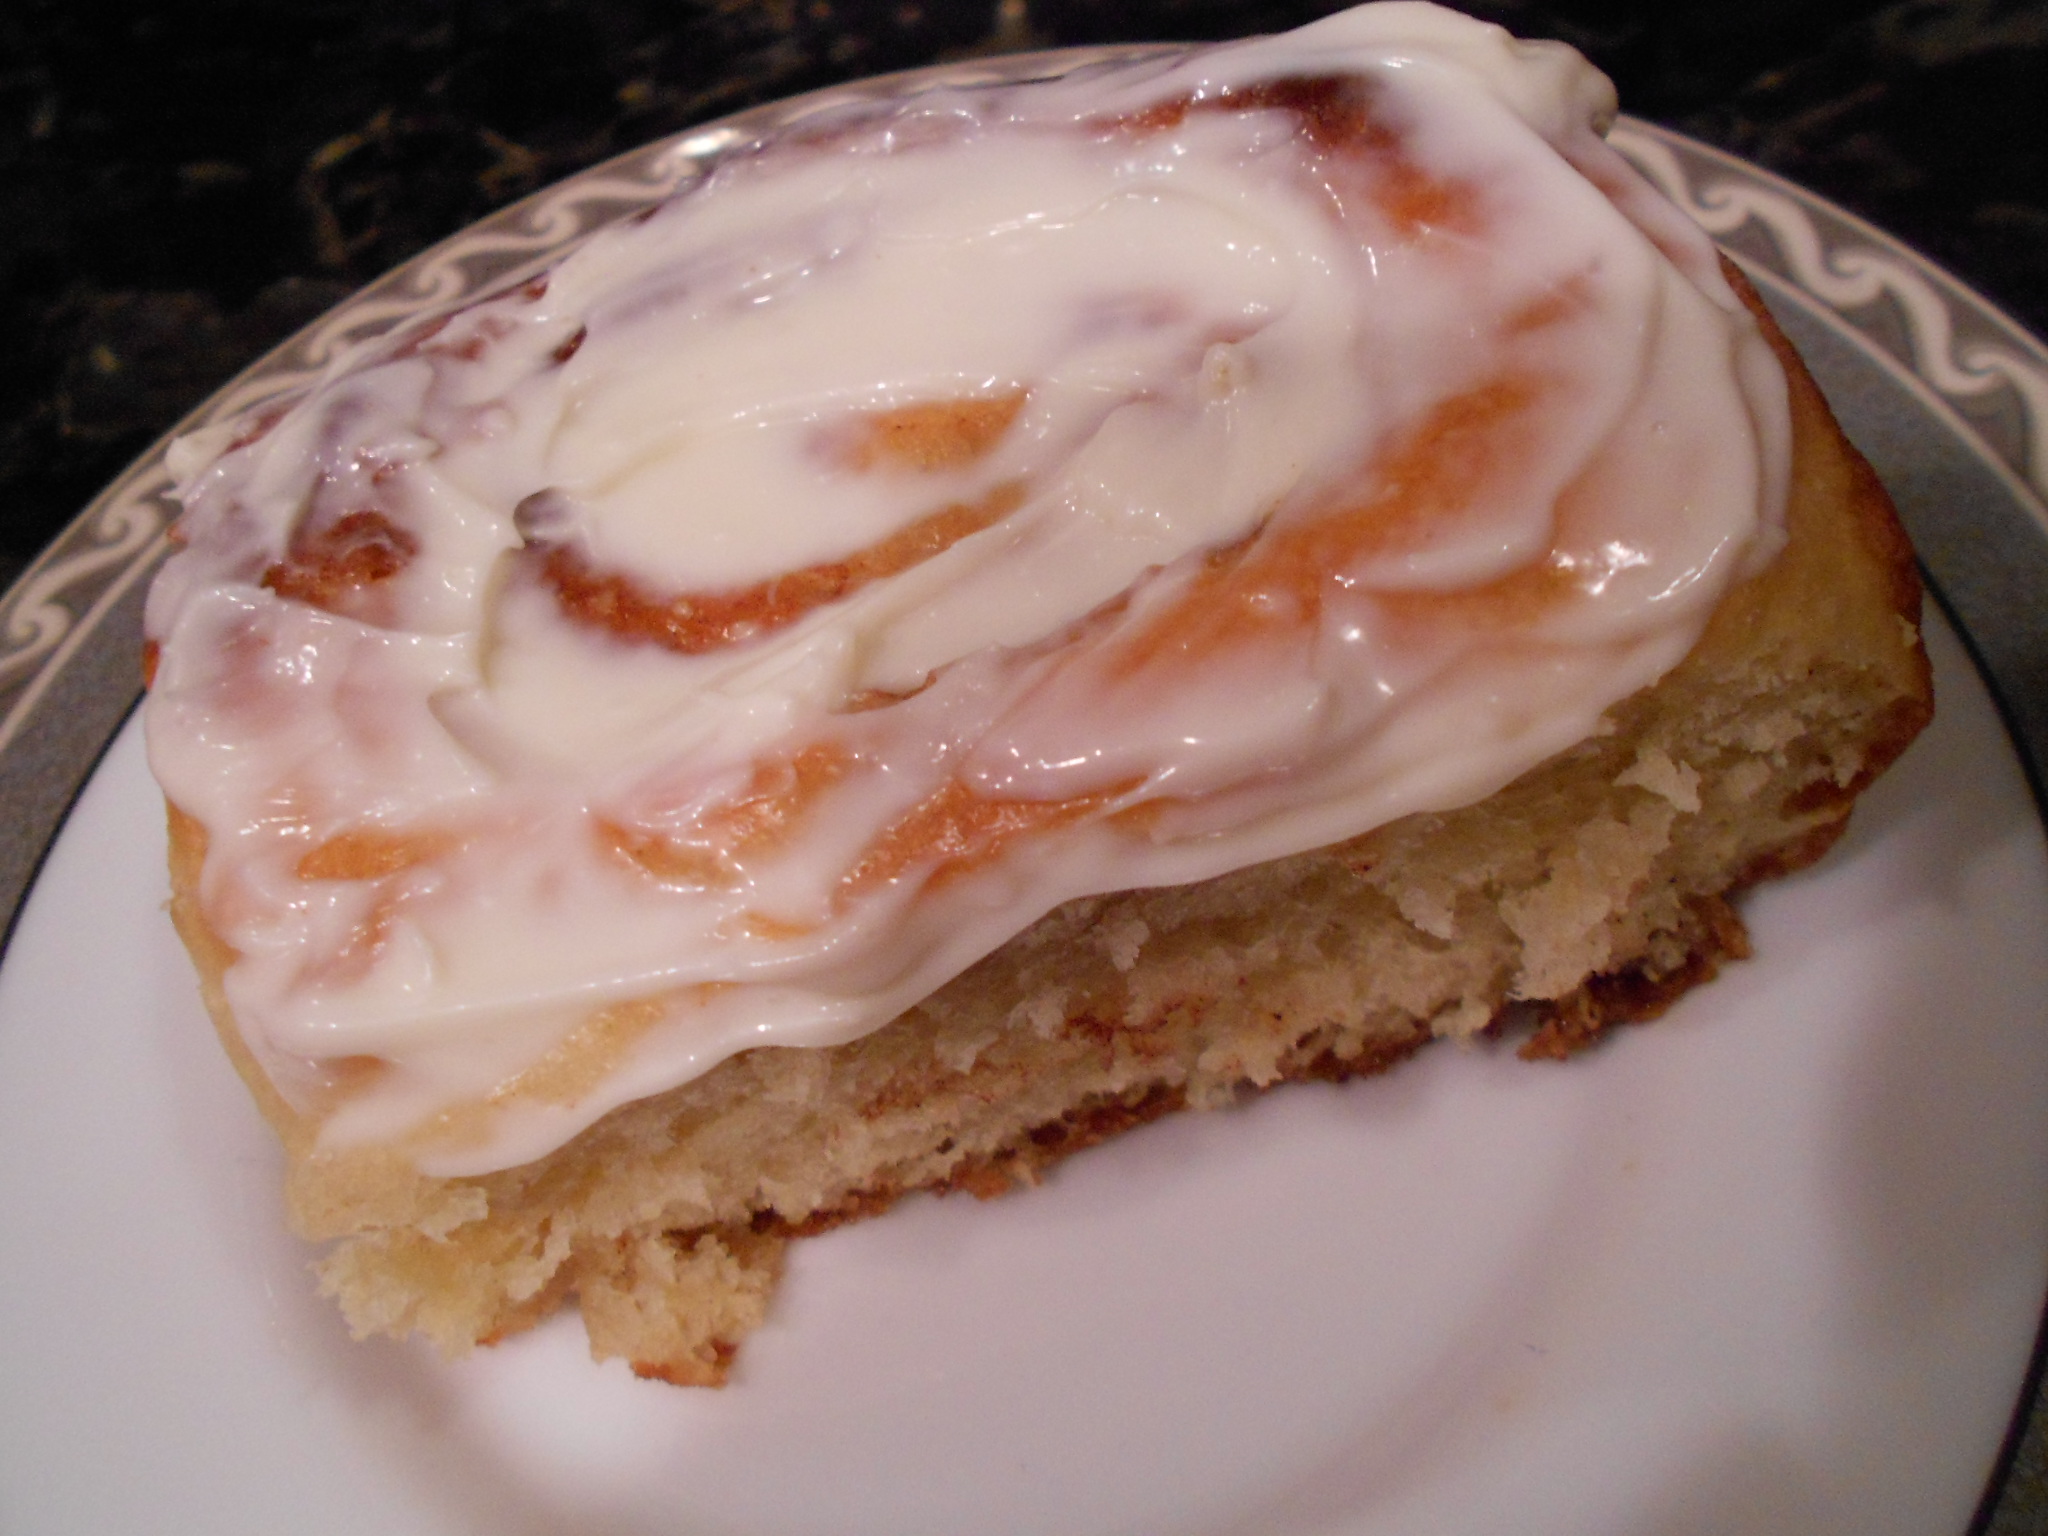
Triple Berry Sweet Rolls with a Cream Cheese Crumble top, plus Cinnamon Rolls with Cream Cheese Icing

You read right, this recipe yields two different types of sweet rolls to enjoy!

DSCN2710

DSCN2705


As the days get warmer, the berries have been hitting the sale's block. I am finding great deals so it has been a very berry-full Summer so far. Today's recipe uses fresh strawberries and frozen blueberries and blackberries. You can go all frozen or all fresh and change the fruit to your liking too.

We start with the Yeast Dough:
2/3 cup of Sugar
1 cup of Milk
1 1/2 tablespoons of Active Dry Yeast
1 stick of Unsalted Butter (softened)
2 Large Eggs at room temperature
1/2 teaspoon of Salt
4 1/2 cups of All-Purpose Flour
1 1/2 tablespoons of Dry/Powdered Milk

I use a microwave or you may also use the stove-top to warm the milk to 105 degrees. You then pour the warmed milk into a mixer's bowl, along with the 2/3 cup of sugar and the yeast. You whisk the ingredients enough to combine and then set aside to allow the yeast to bloom (get foamy). This may take 5 to 10 minutes, depending on weather and temperatures.

Once the yeast is foamy, you add the softened butter, eggs and salt. I mix just enough until everything is incorporated and then add the powdered milk.

DSCN2637

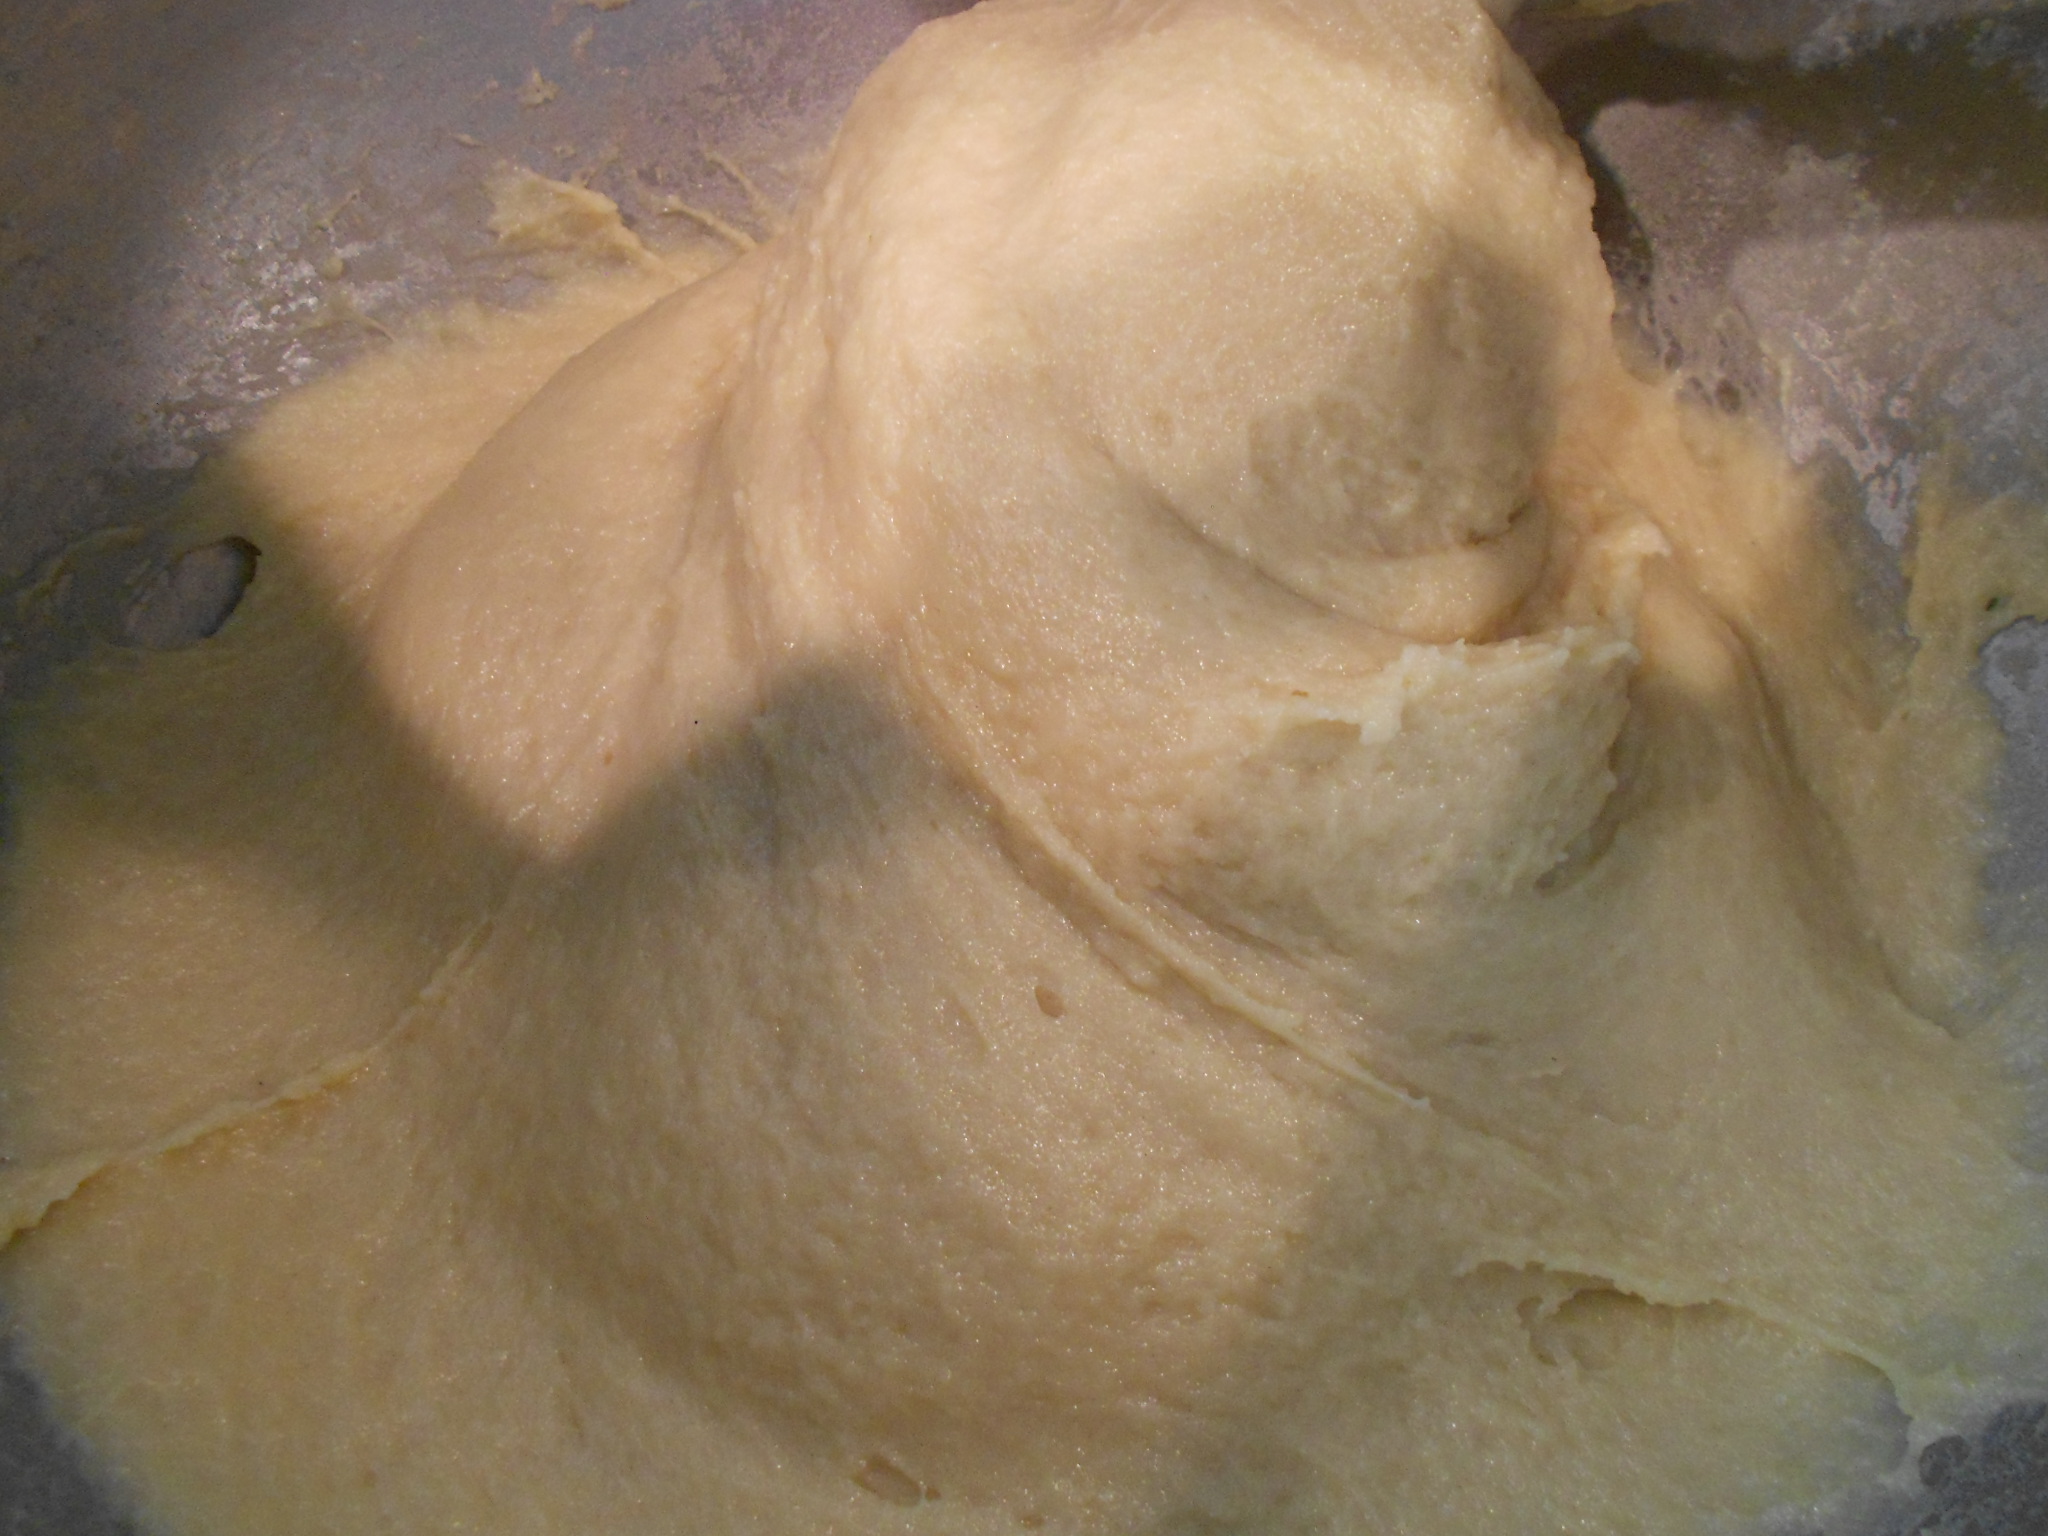
I replace the mixer with a dough hook and start adding the flour by the 1/2 cup fulls. Once all the flour is in, I use a spatula to scrape down the sides and allow the dough to mix for 2 to 3 minutes at medium speed. I then change the speed to medium-high and allow the dough to knead for 10 to 12 minutes. You want a soft and supple dough so sometimes it takes 9 minutes and other times it takes 12. You don't want to "toughen" the product so if unsure, just make sure you get 10 minutes in and you should be fine :)

DSCN2640

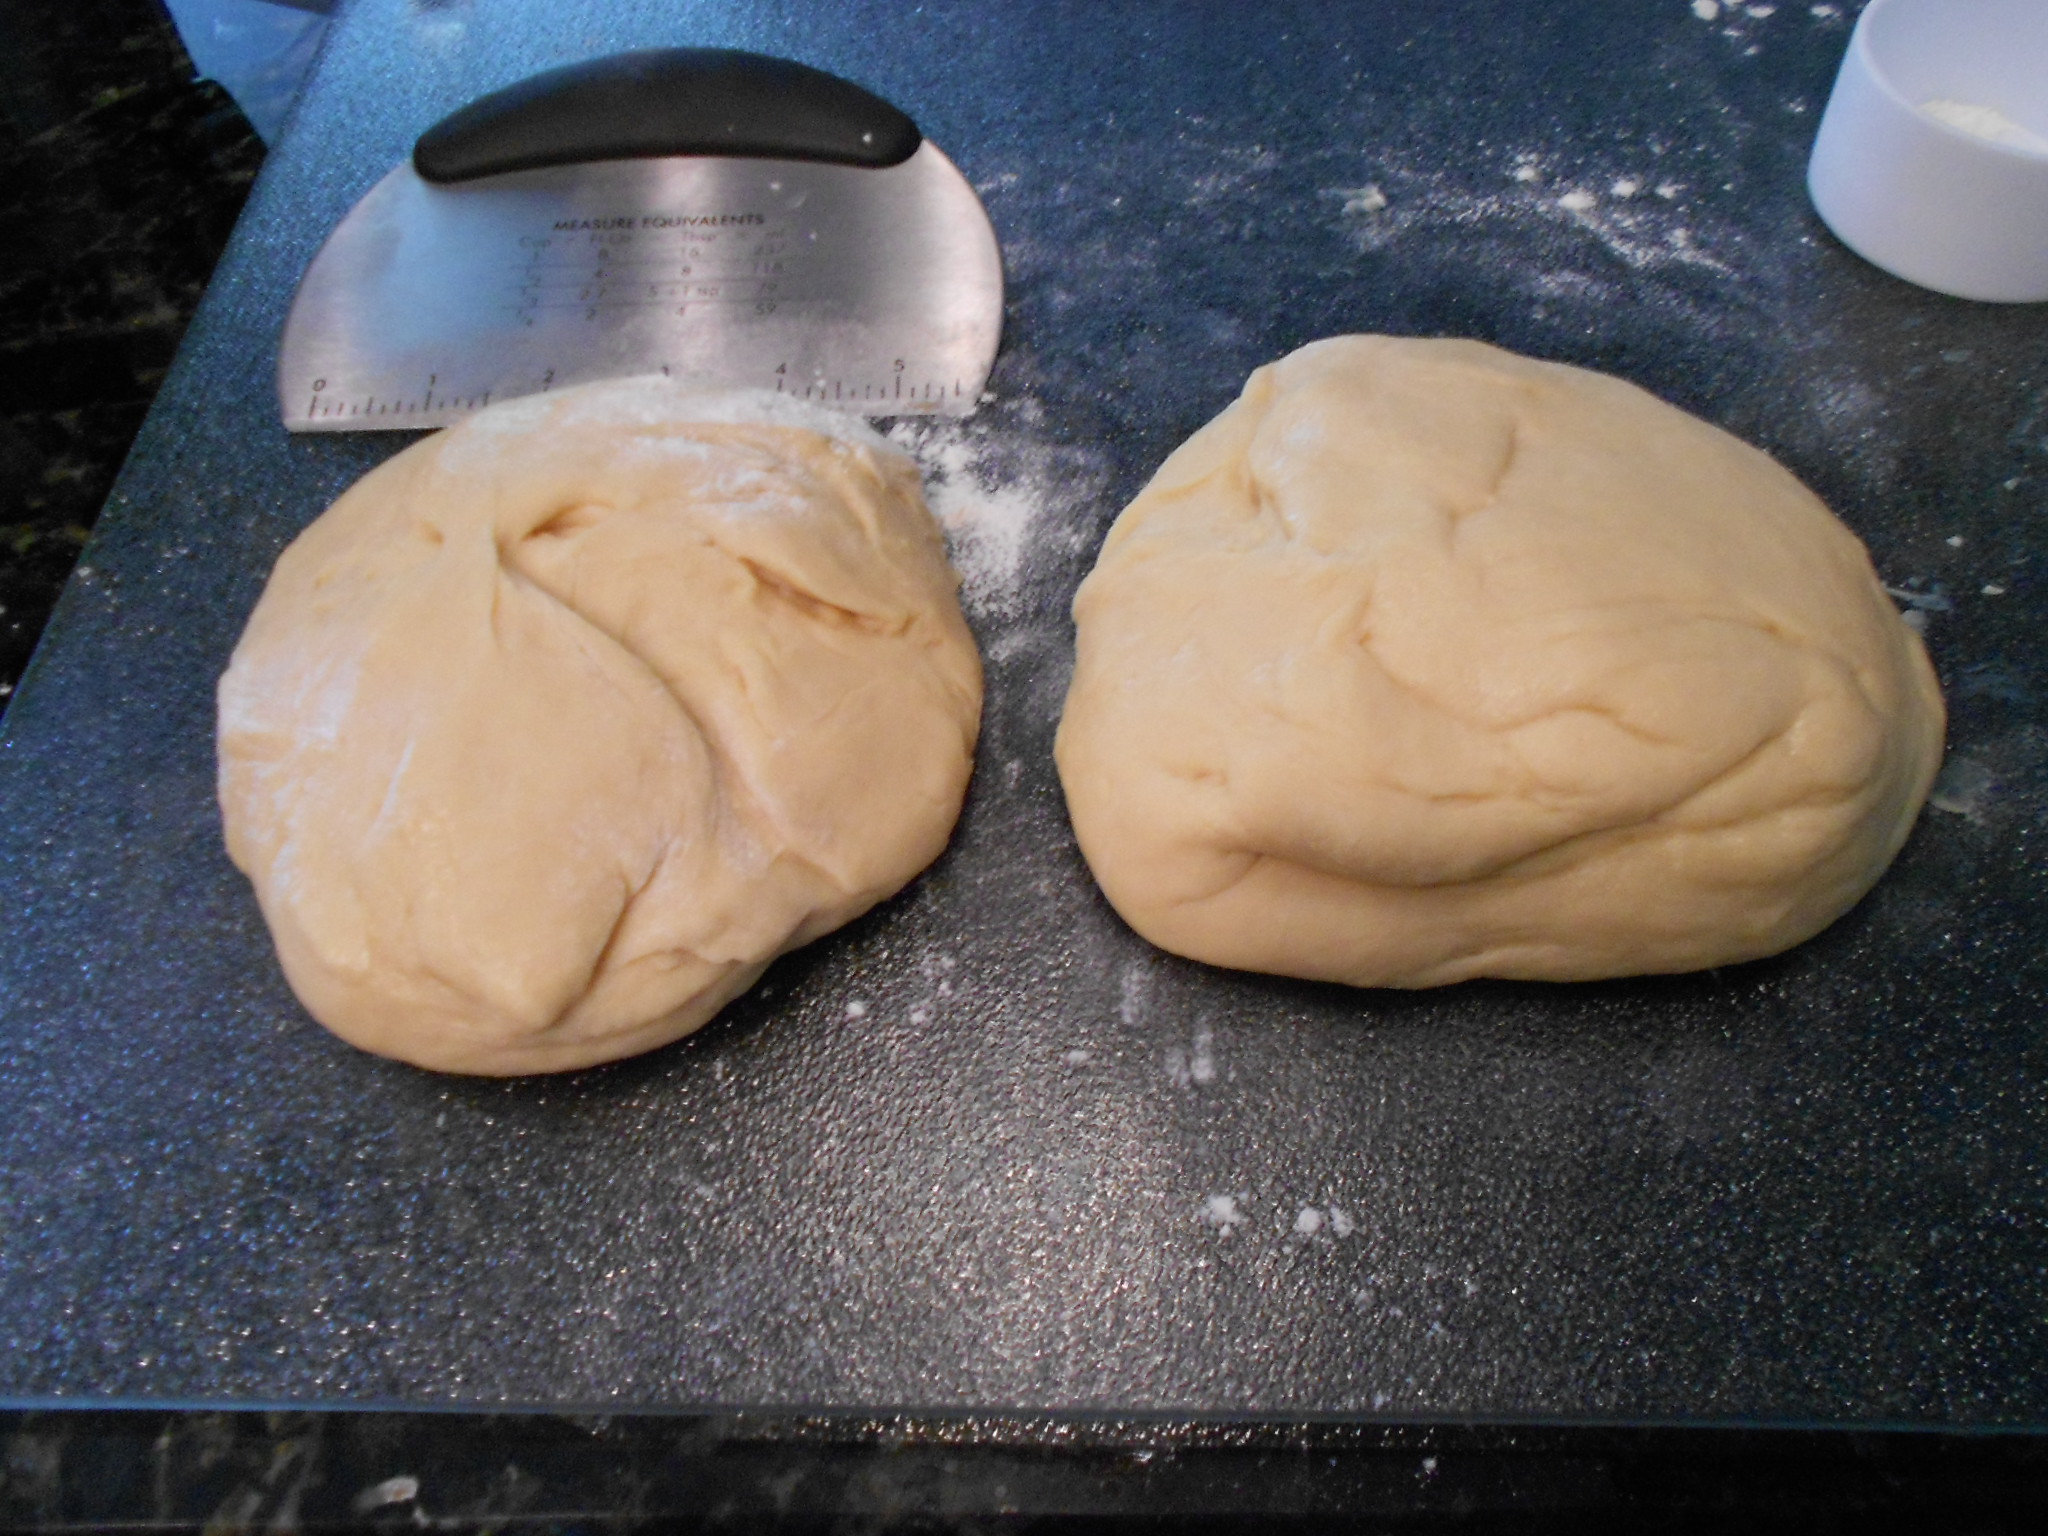
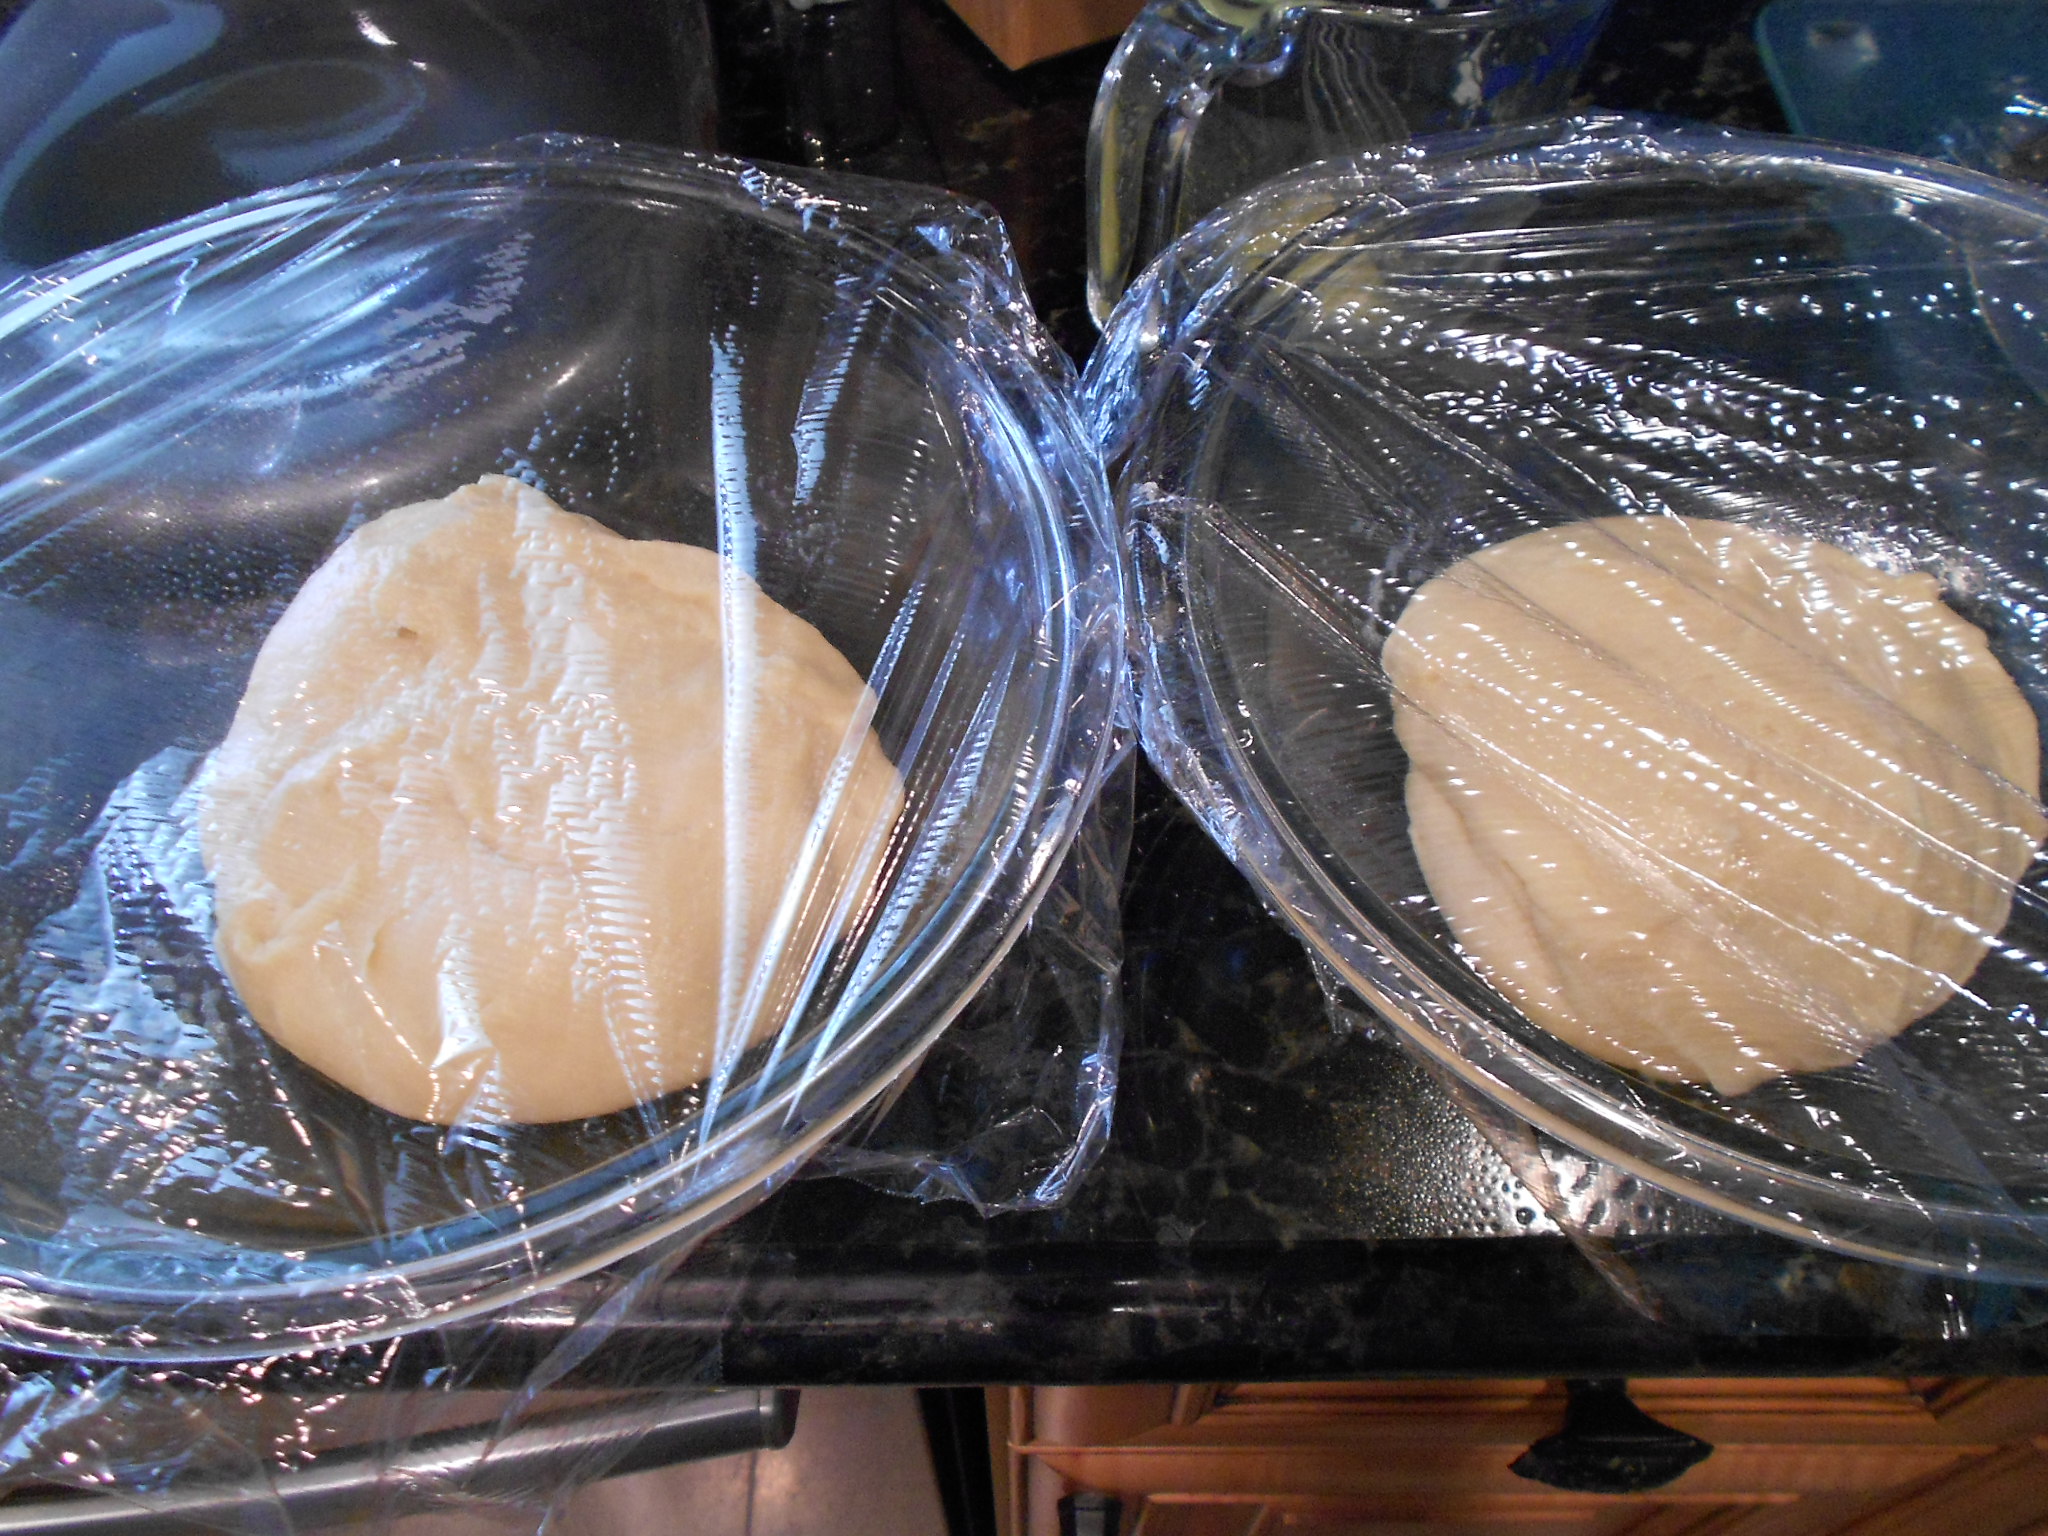
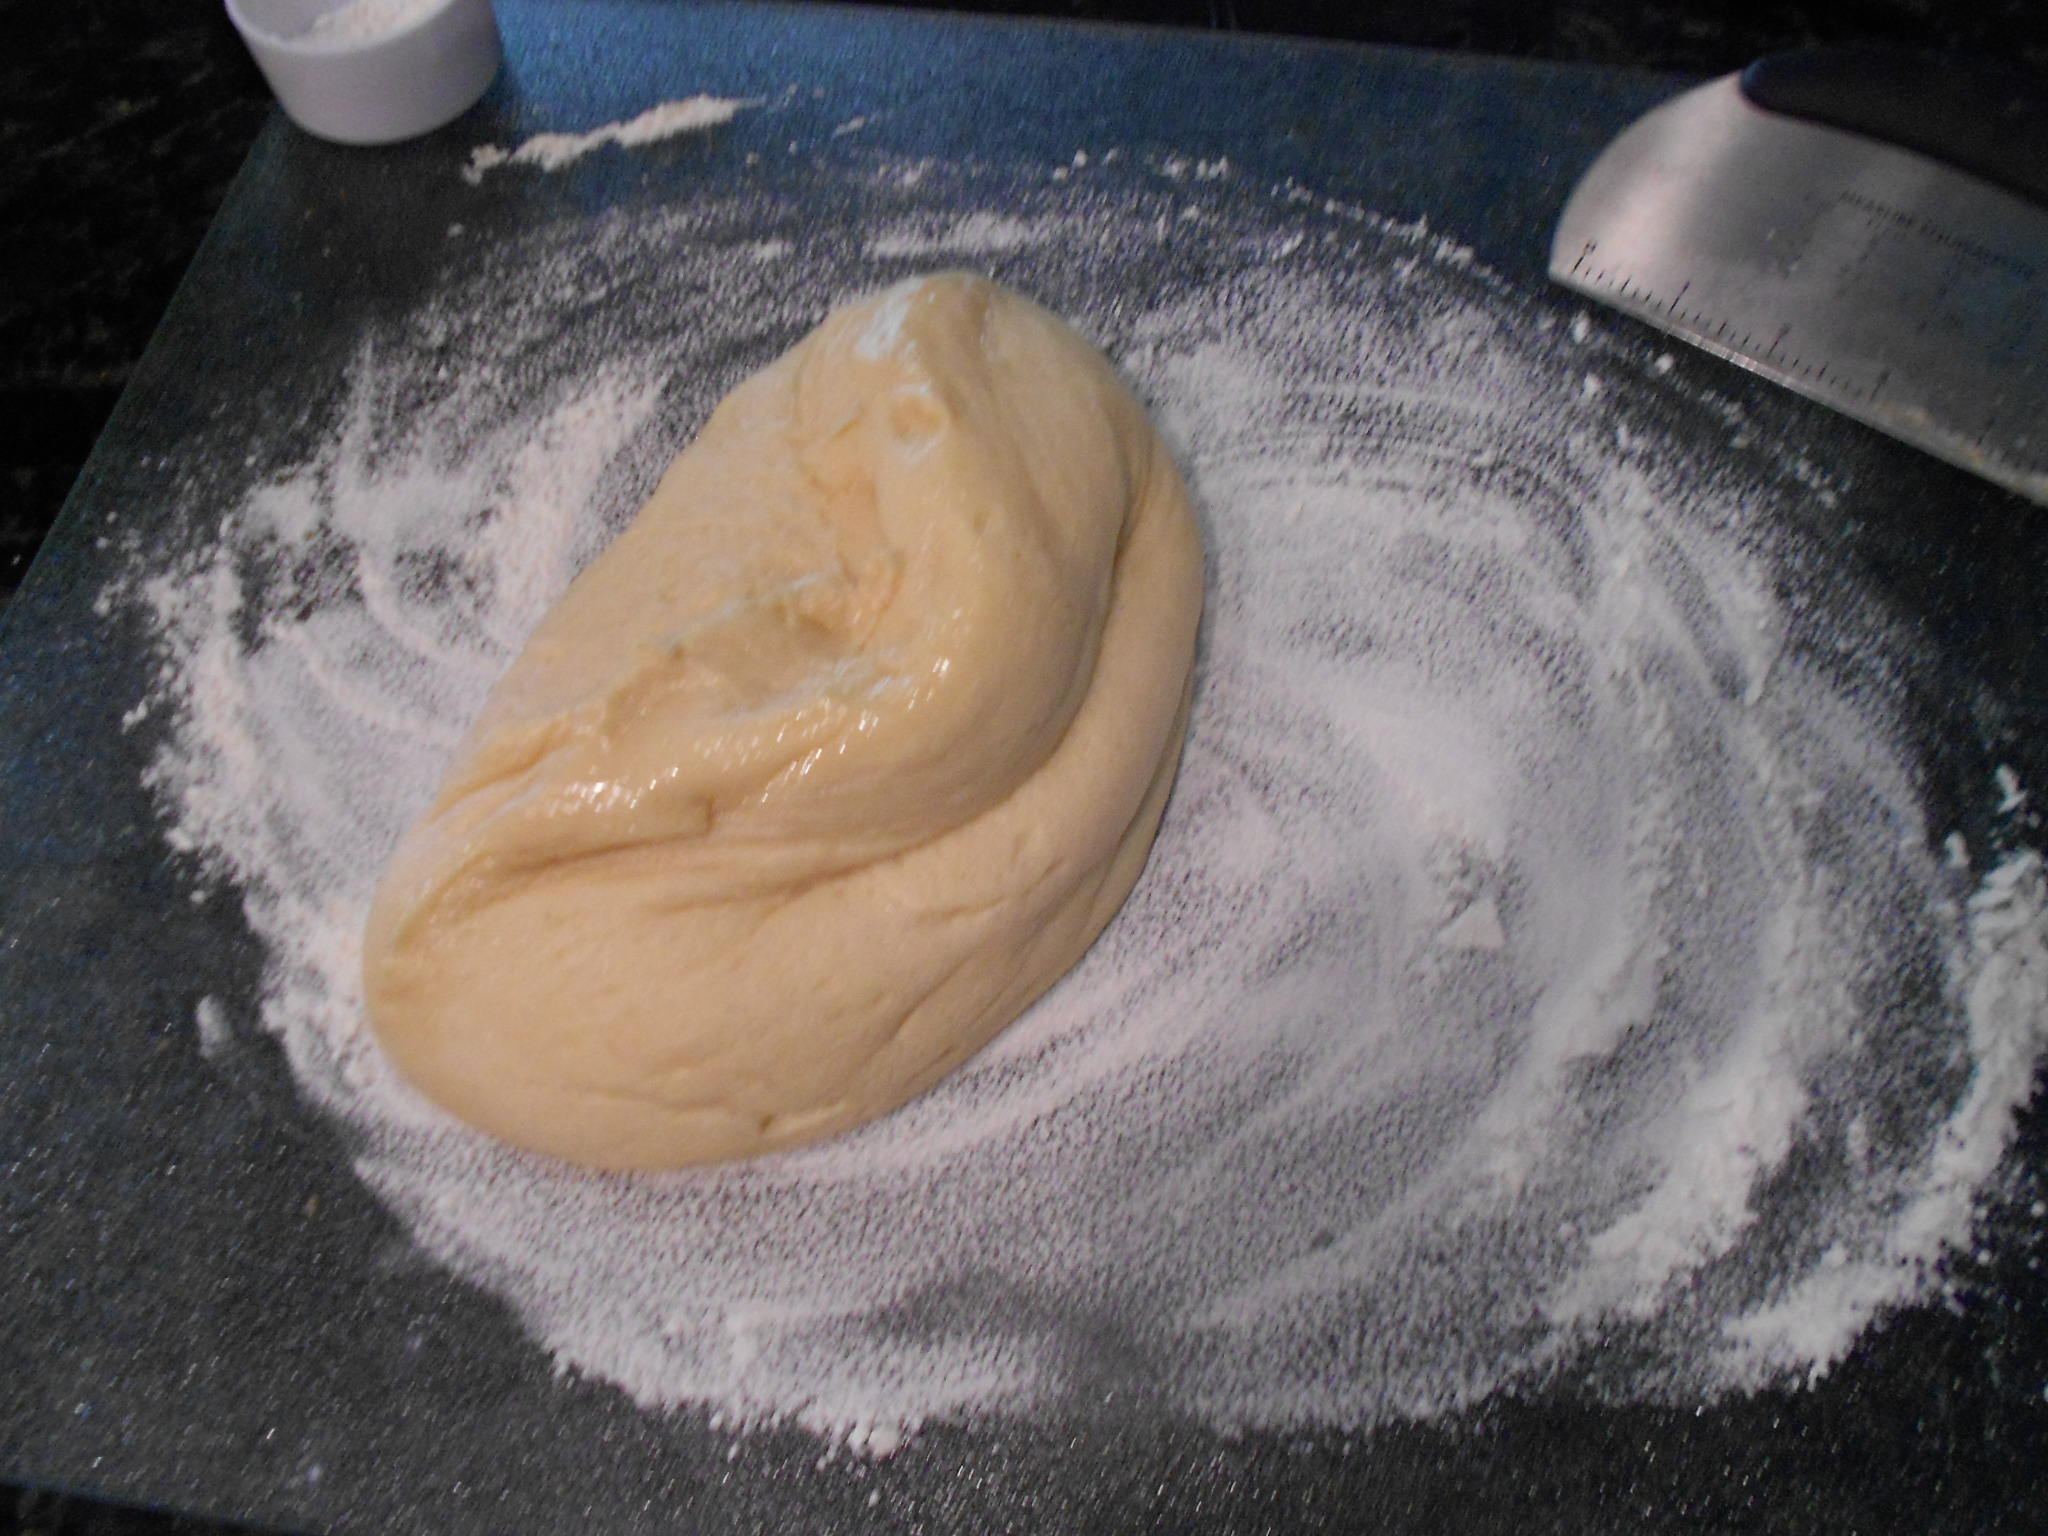
I flour the surface and plop my dough and begin to knead to form a nice ball that I can divide easily. Once that is done (takes maybe 30 seconds), I cut the dough in half and you may use a kitchen scale or "eyeball" it like I do. You take each half and form each into a nice ball. You then add each half to bowls that have been lightly buttered. Cover the bowls with plastic wrap and let the dough rise. The dough should double in size and this takes 1 to 2 hours at most.

DSCN2643

While the dough rises, you can begin with making the two different fillings.

Berry Filling:
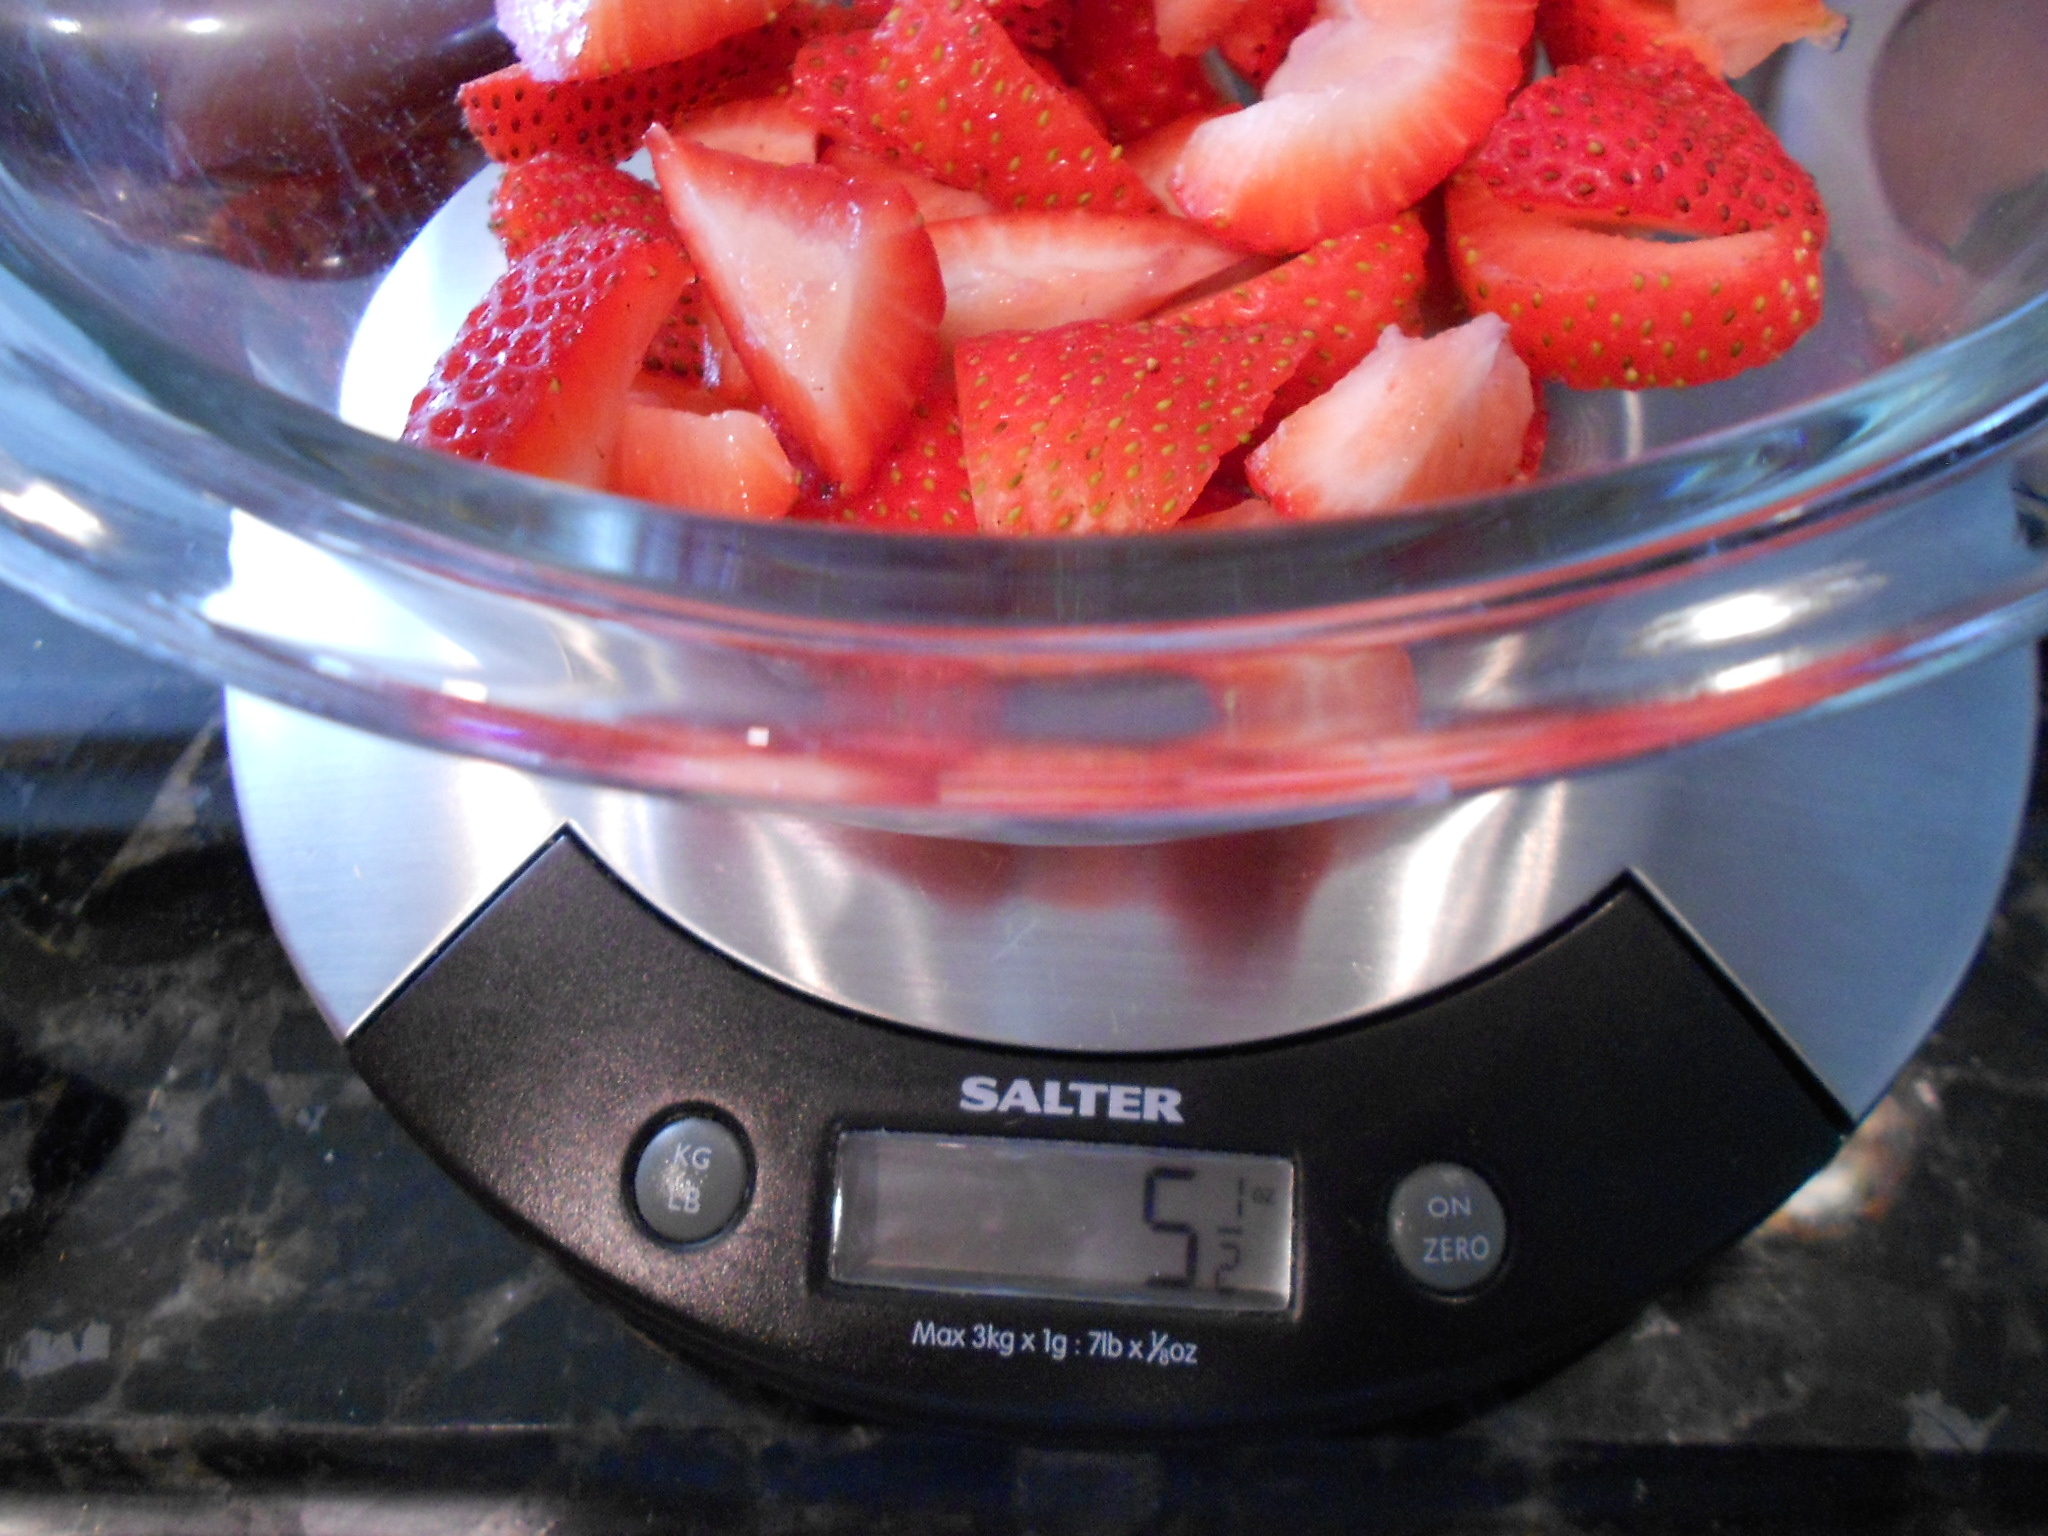
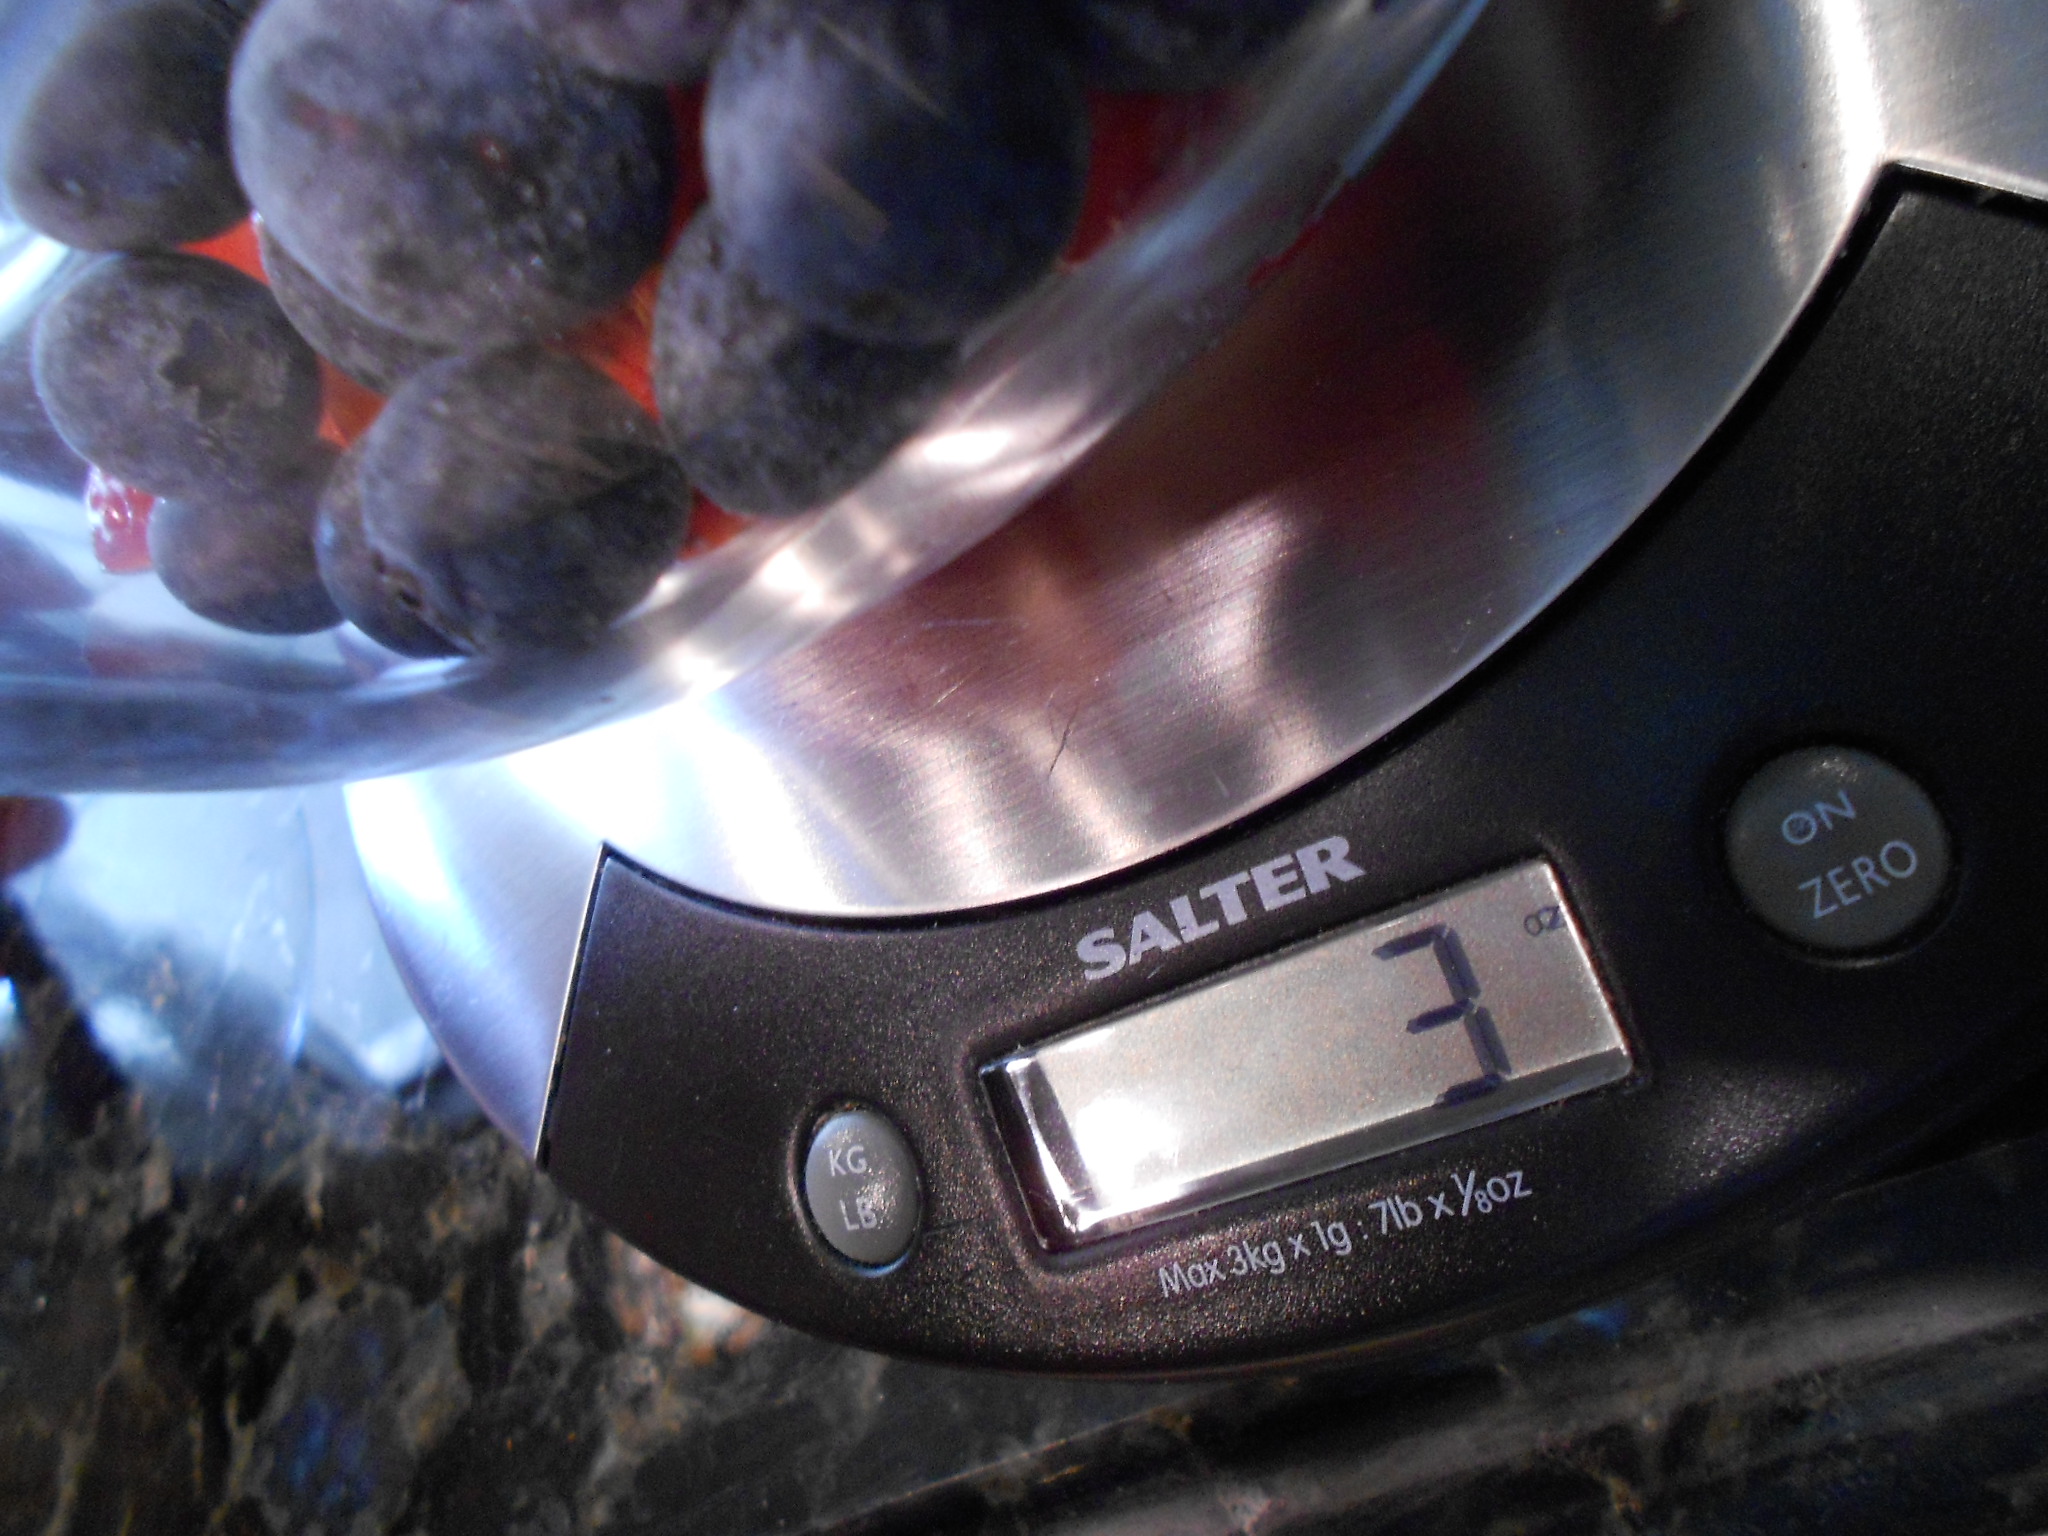
5 1/2 ounces of fresh Strawberries
4 ounces of Blackberries (frozen)
3 ounces of Blue Berries

You may use what ever combination of fruit you desire and just keep in mind you want between 12 to 13 ounces.

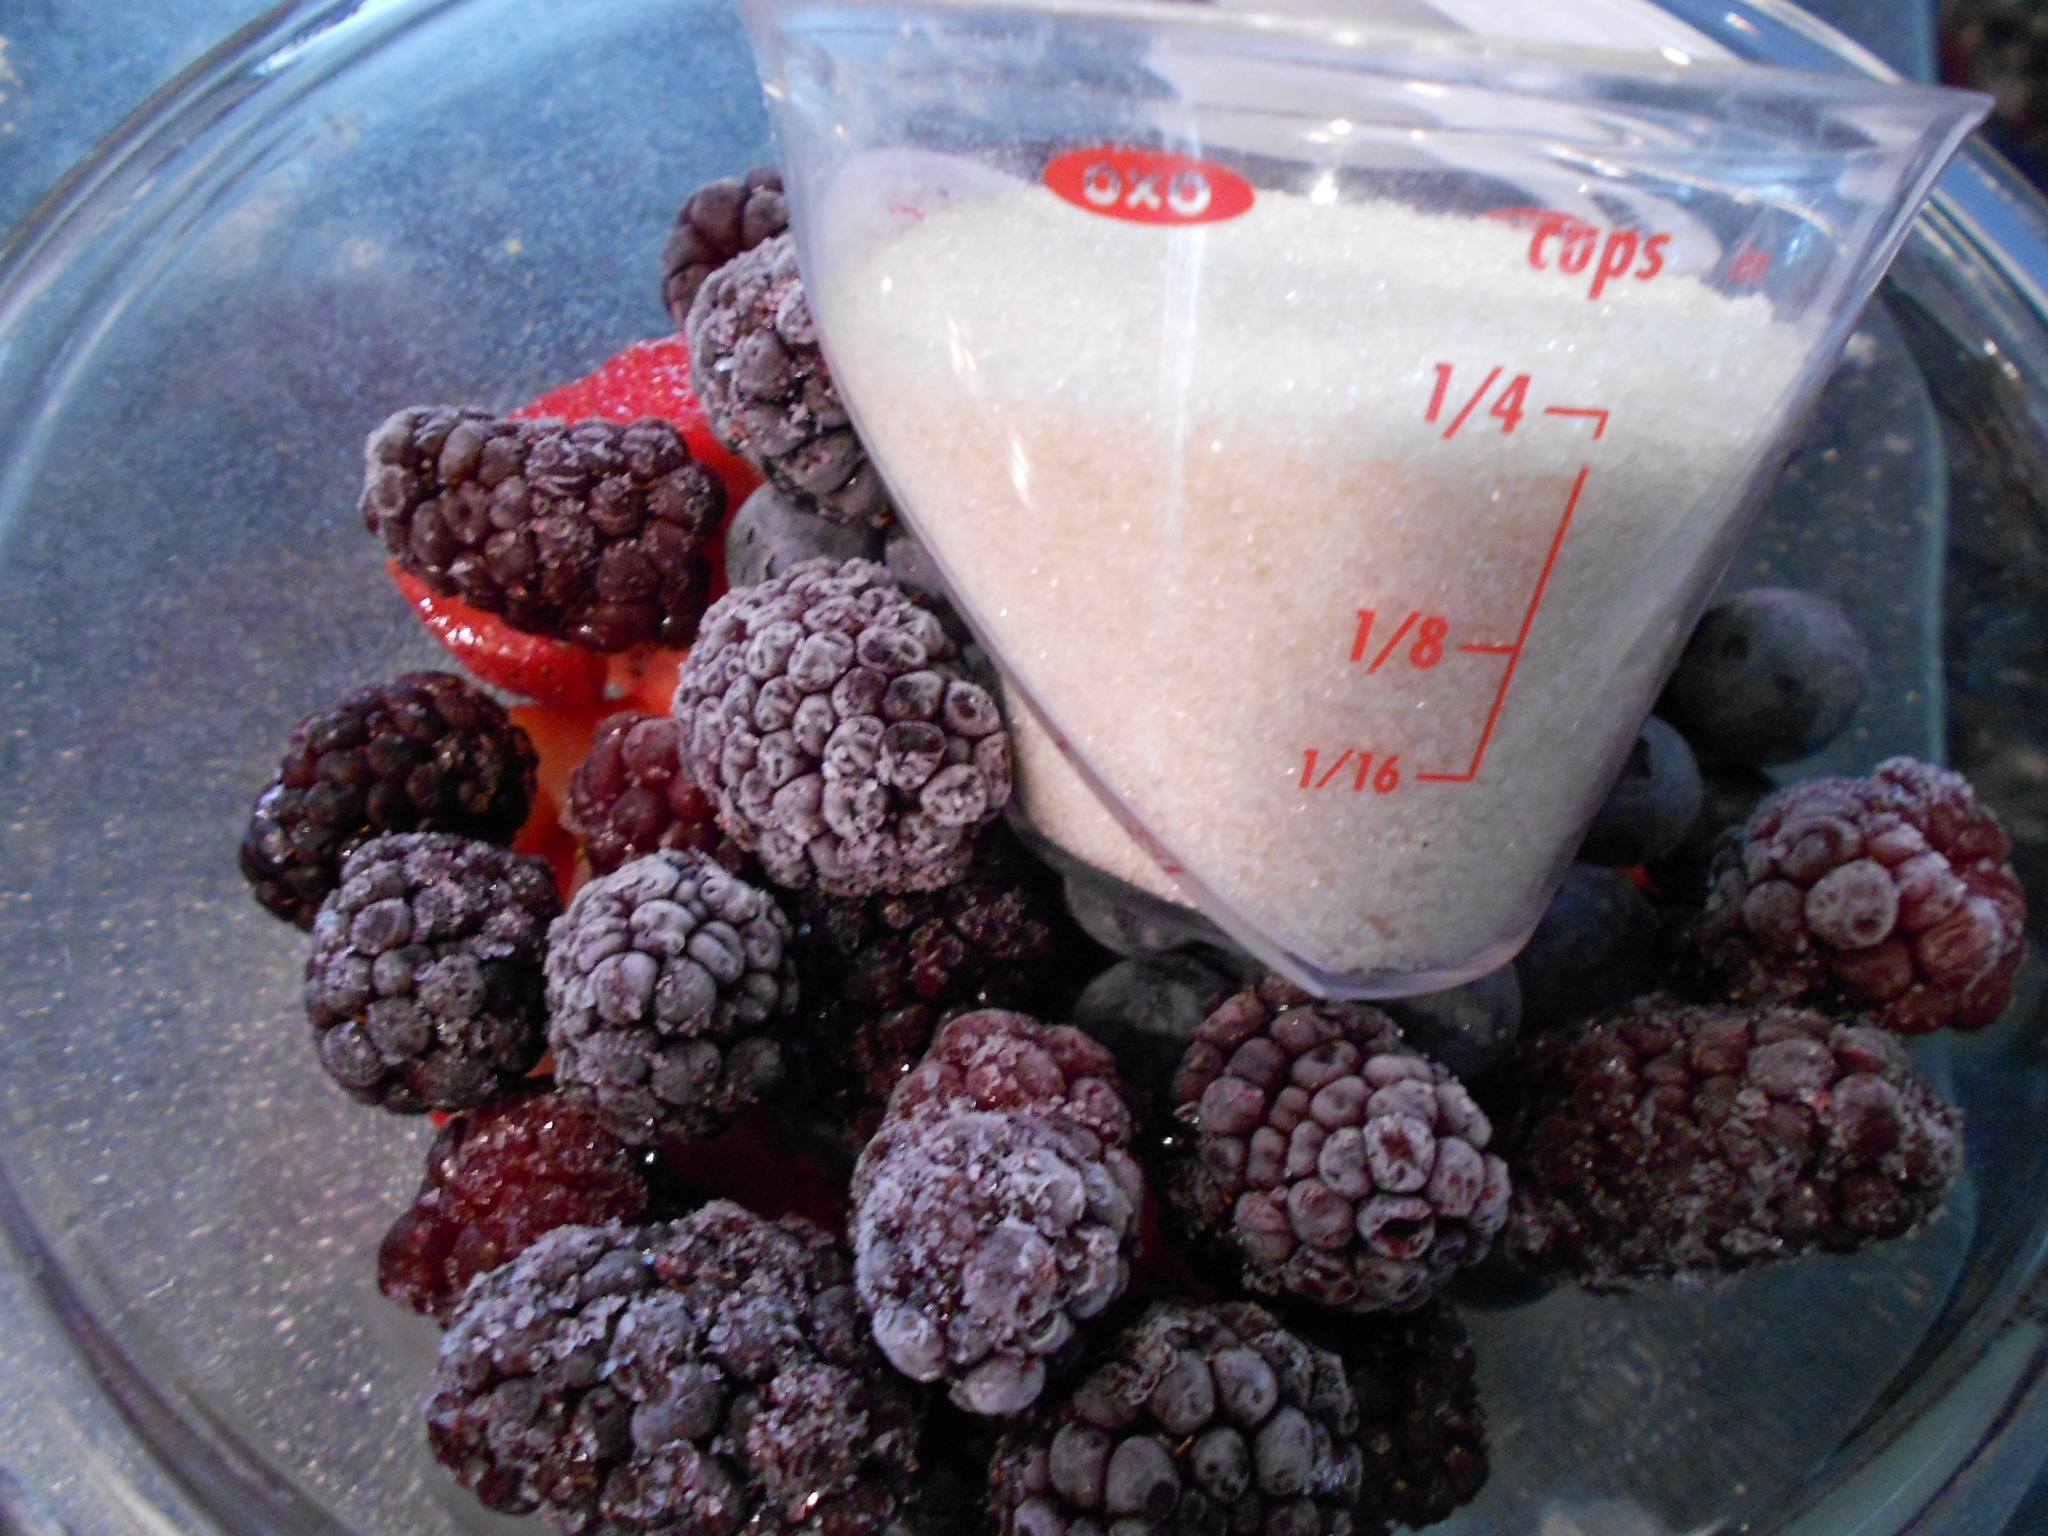
1/4 cup of Sugar
1 teaspoon of Vanilla Extract
1 teaspoon of All-Purpose Flour
1 teaspoon of Corn Starch

Cut the large fruit you use, like in my place it would be the strawberries into wedges or bite size.

DSCN2646

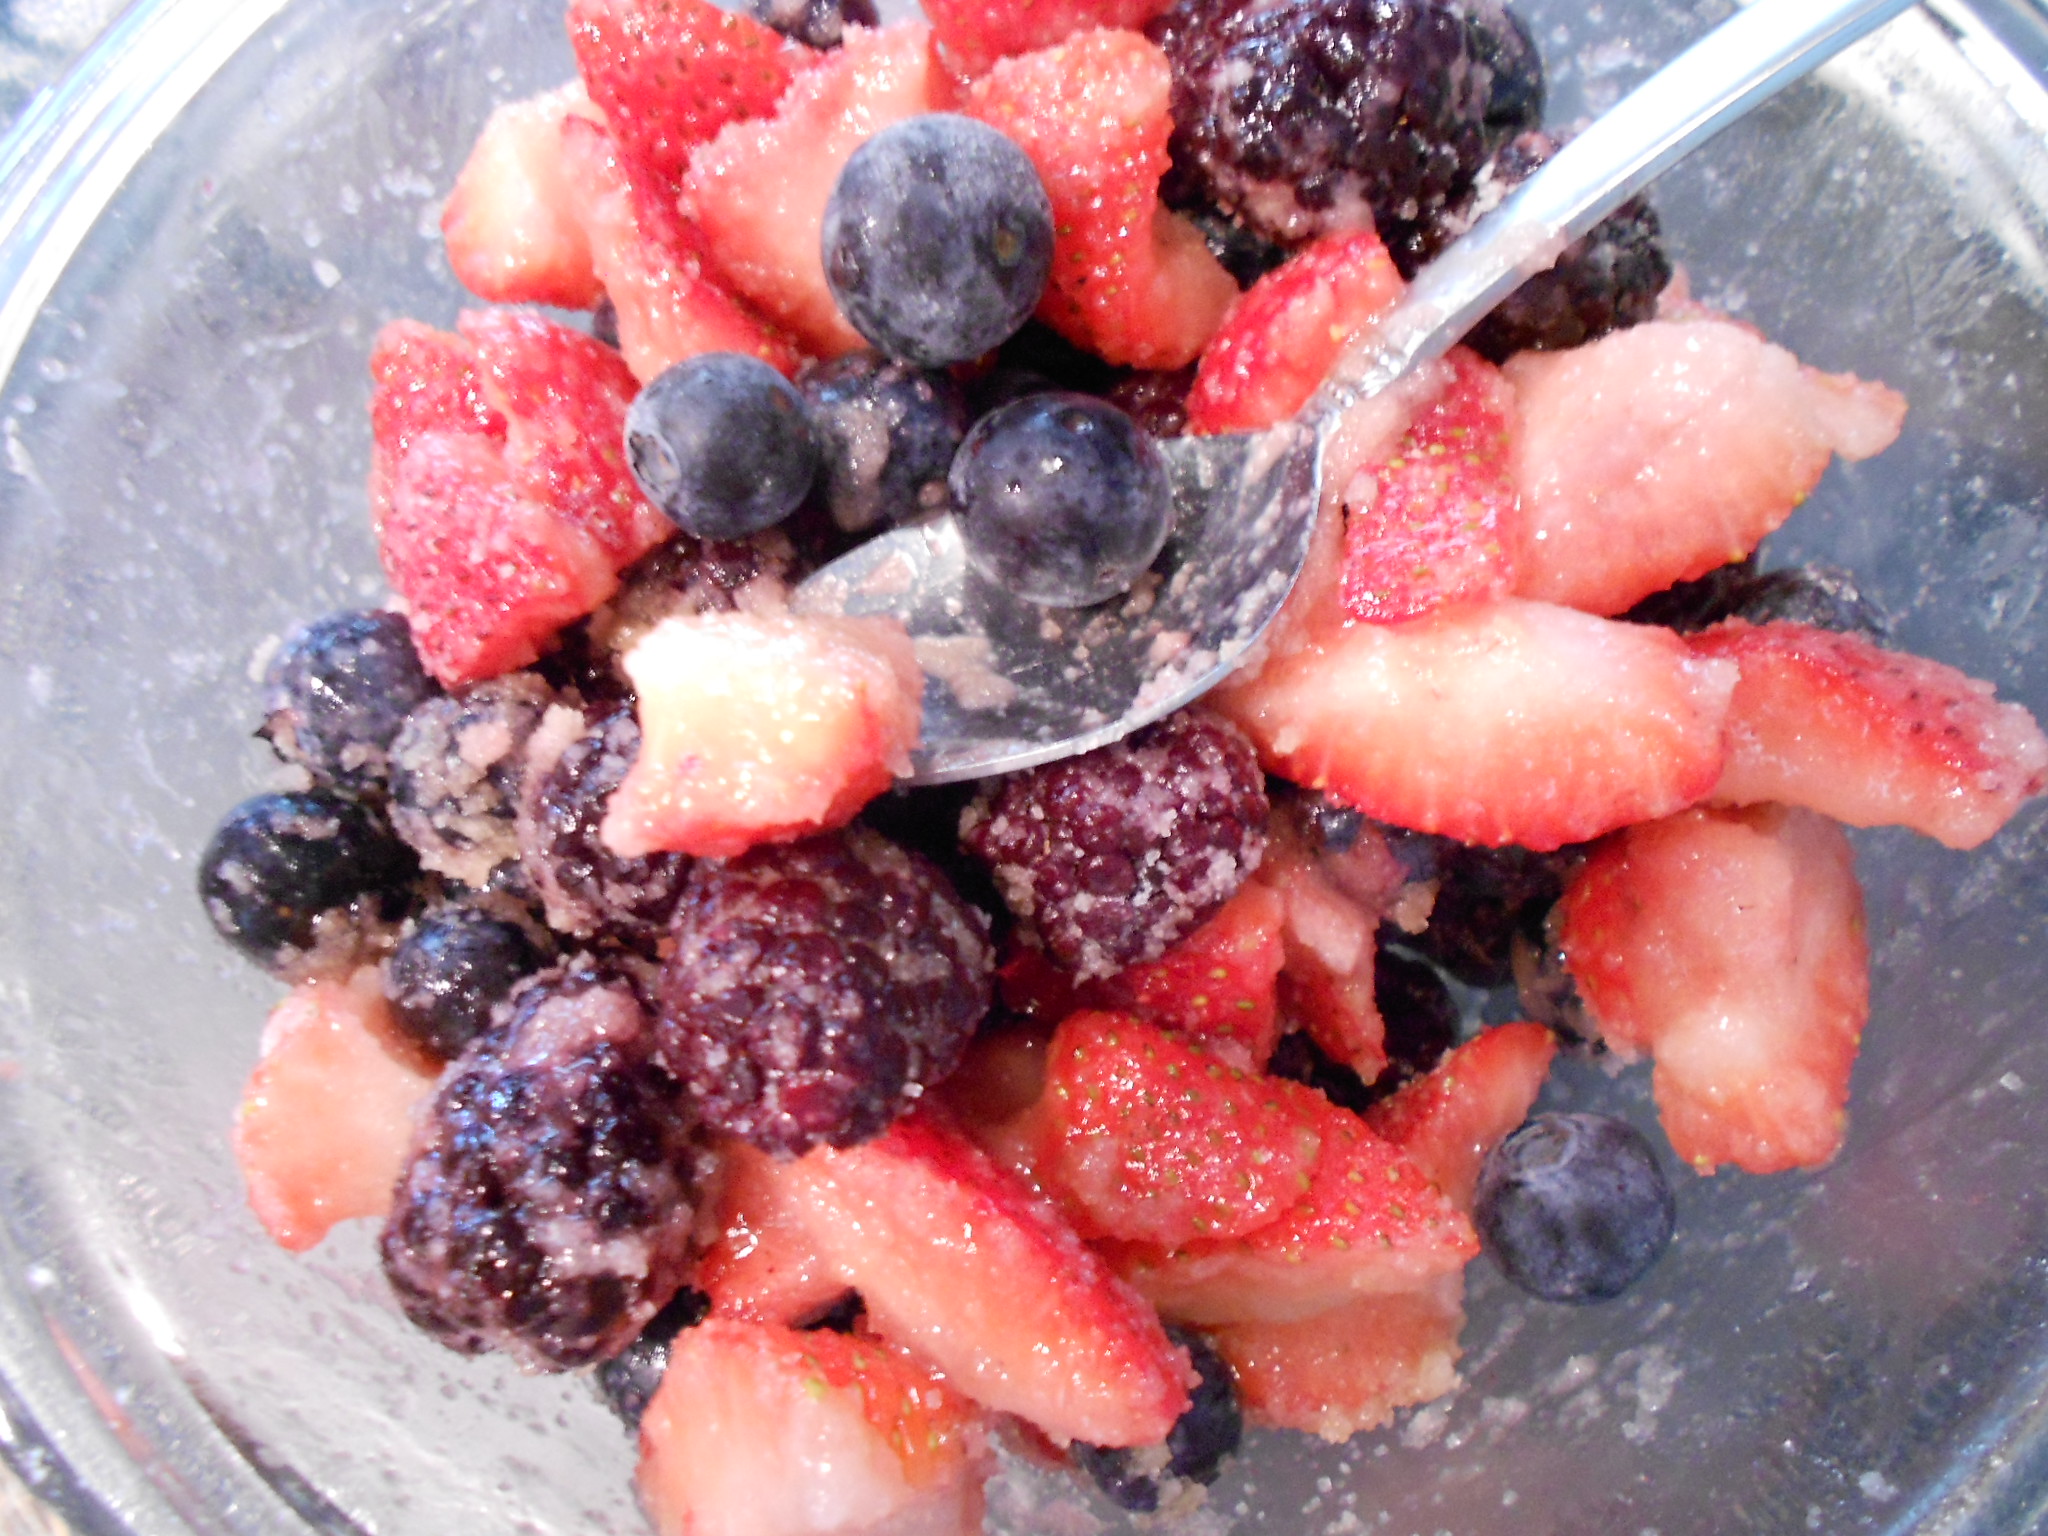
I like to leave my other berries whole so they can be found within the rolls and change the taste with every bite.

DSCN2648

DSCN2652

Take a bowl and just mix everything together. Once everything is mixed, you may place the berry filling in the fridge covered.

DSCN2658

That easy!

Cinnamon Roll Filling:
1/2 cup of Sugar
2 teaspoons of Ground Cinnamon
5 to 7 "grates" of Fresh Nutmeg (or to taste and can also omit if not wanted)
1/4 cup of Unsalted Butter (softened)

DSCN2666

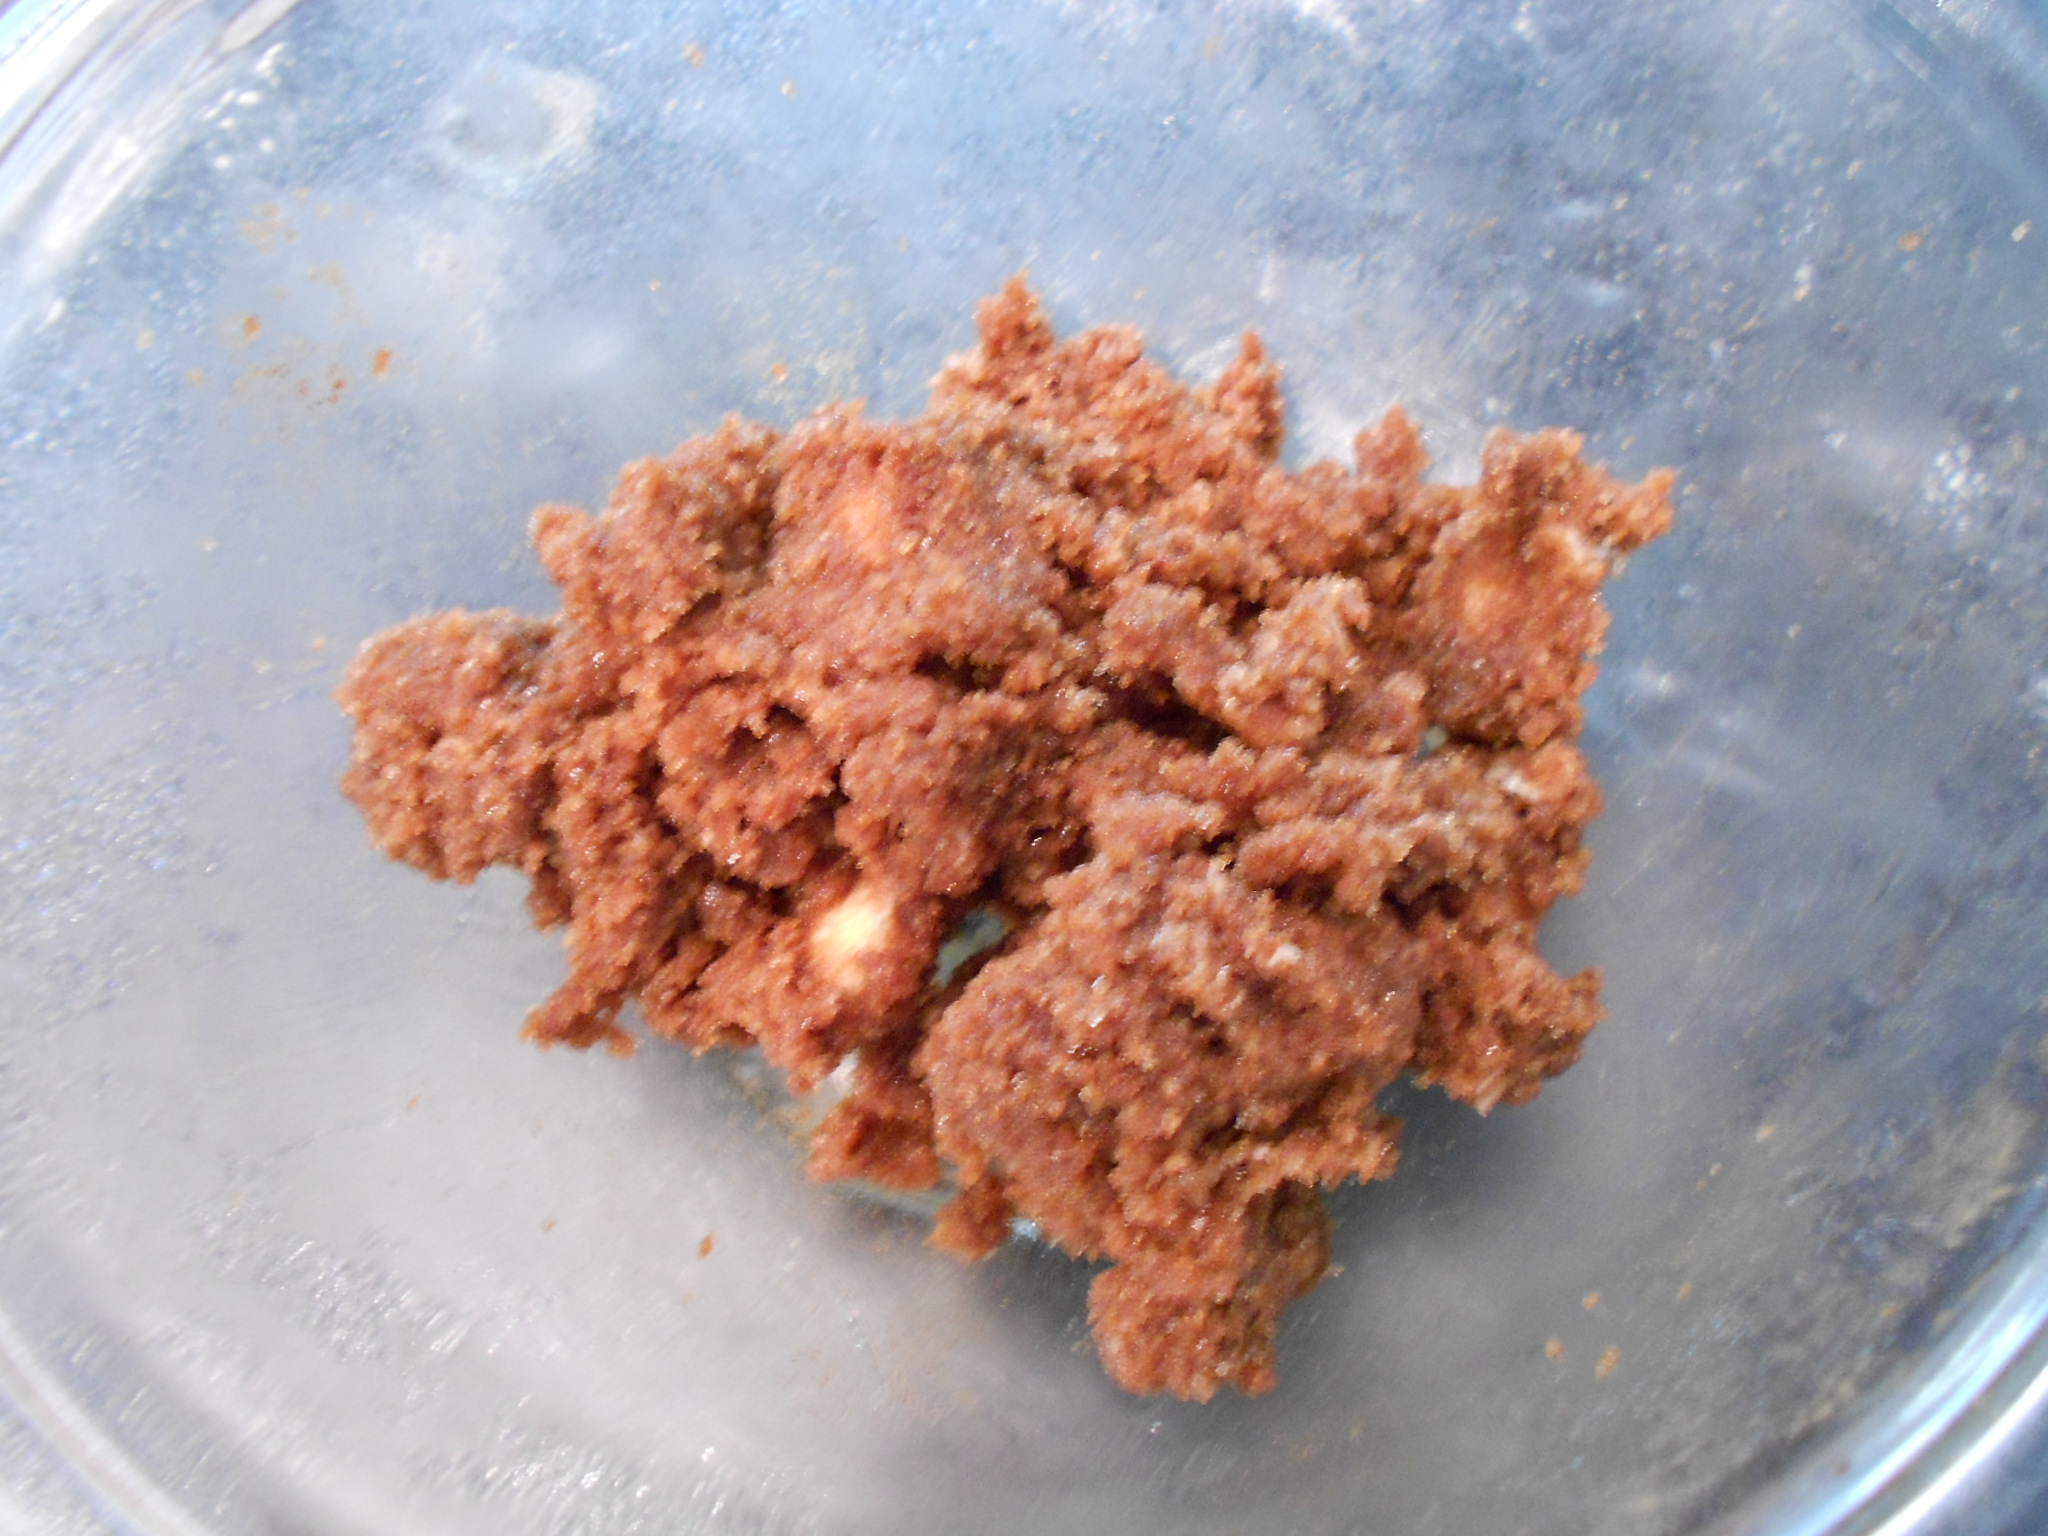
Take the dry ingredients and mix them in a bowl. You then add the butter to create a "paste-like" filling and you are done. I cover and keep it on the counter so the butter remains soft and easy to spread when needed.

DSCN2675

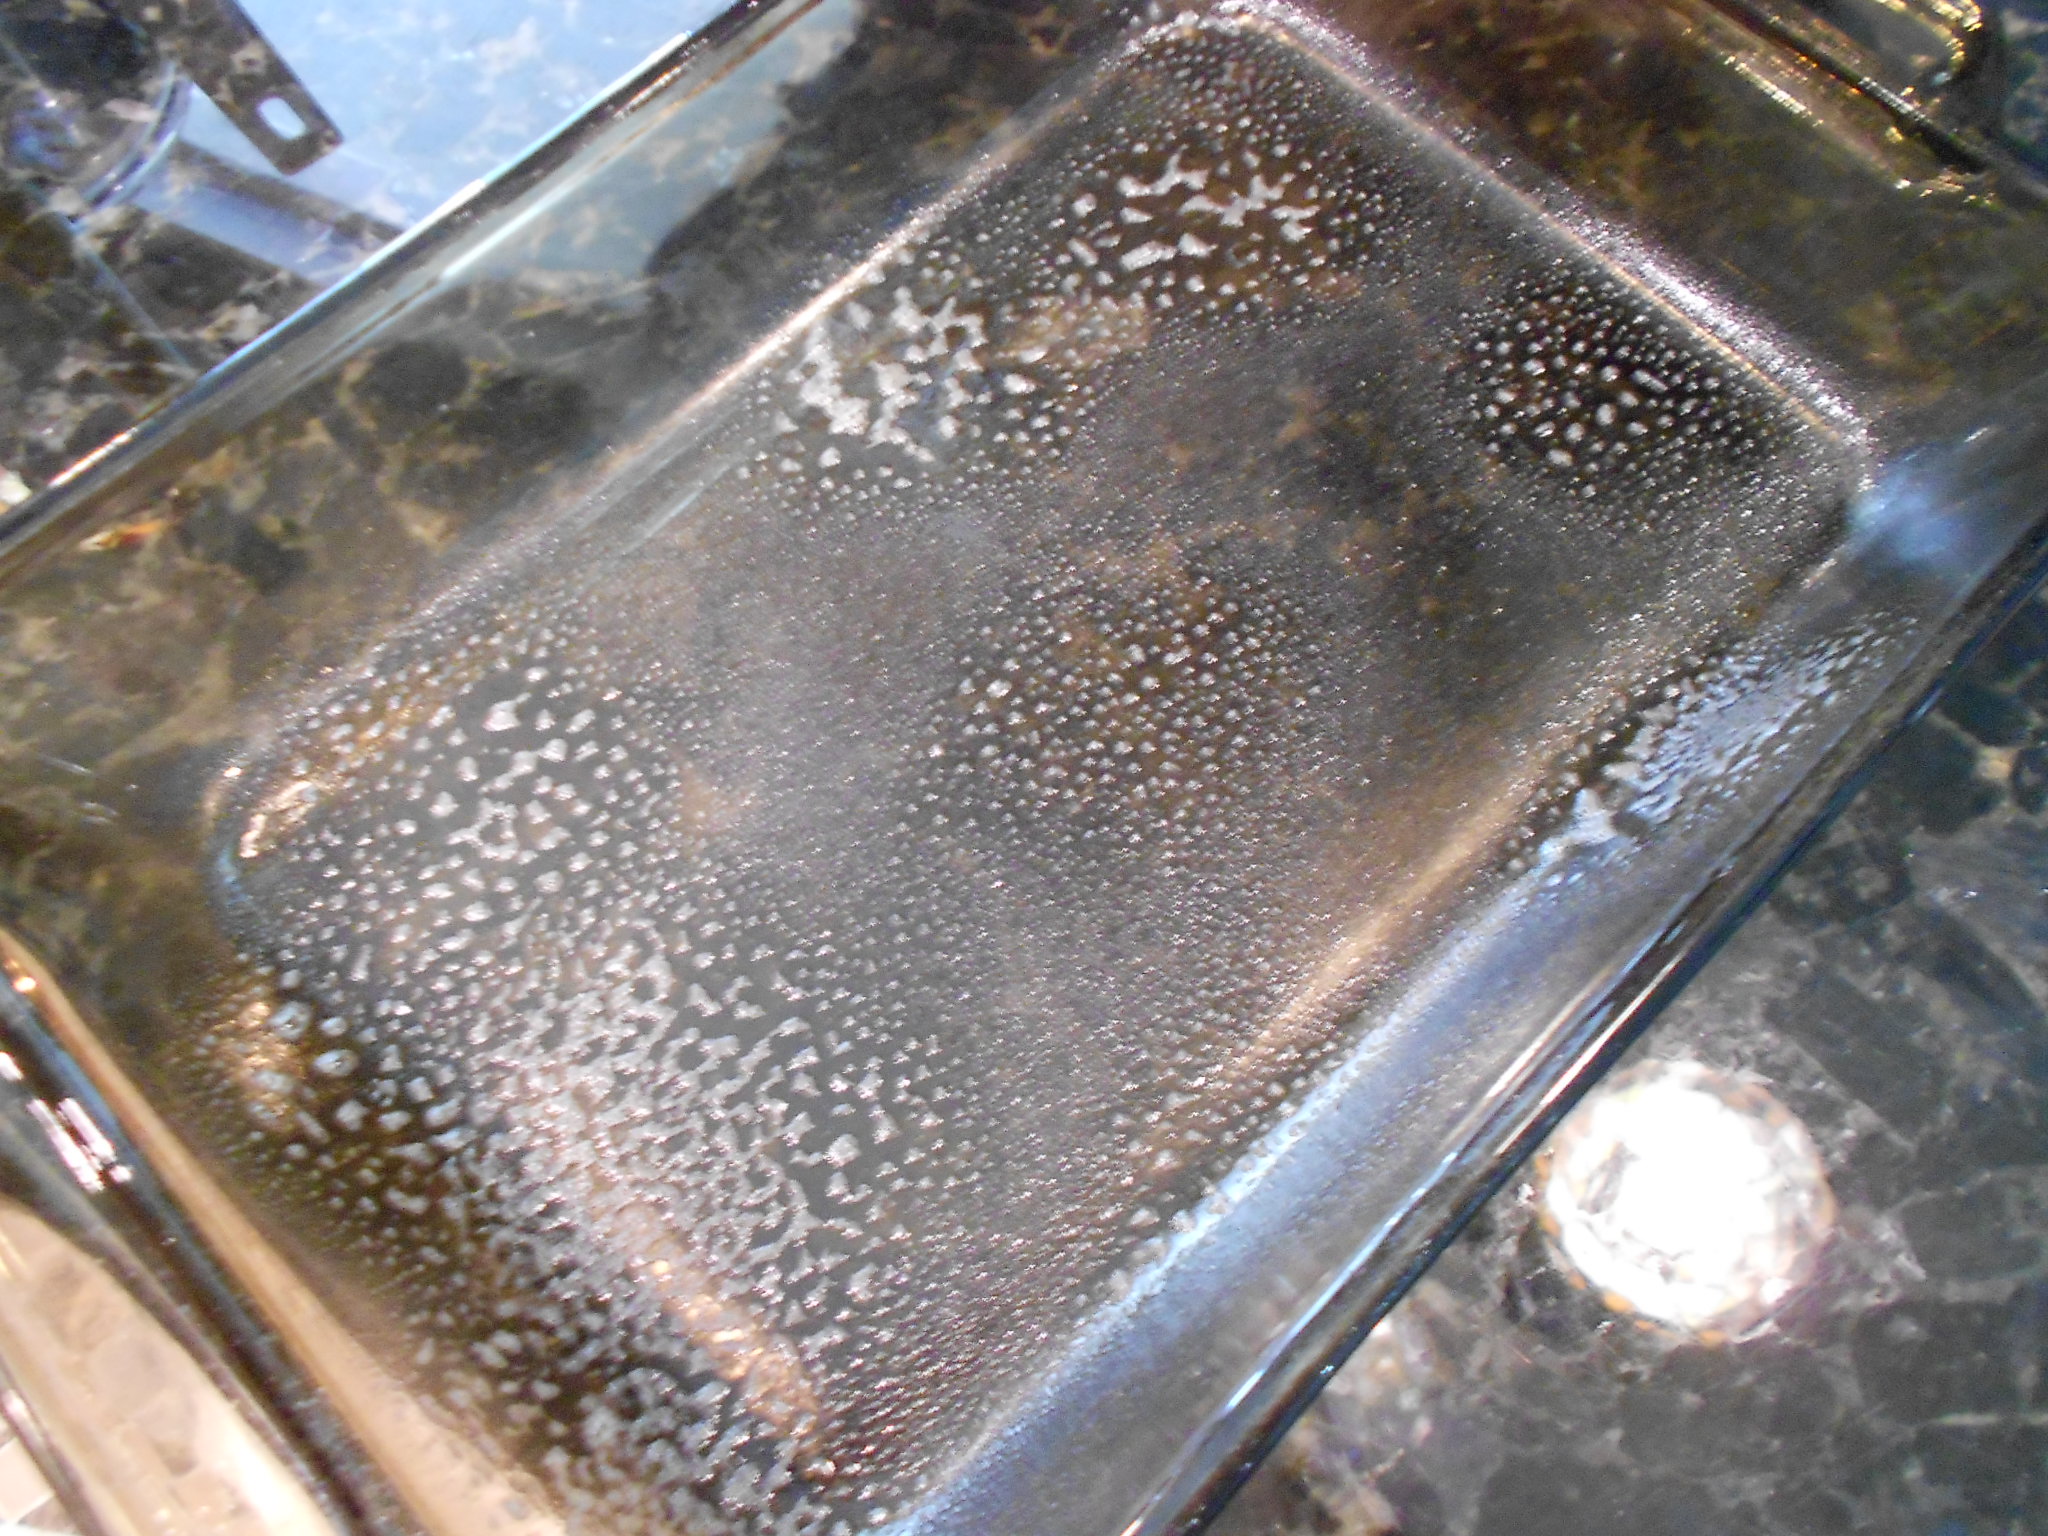
Get two 9 x 13 baking pans and lightly spray with cooking spray. I use Pam with flour.

DSCN2676

Once the dough has risen and doubled, you take one of them and scrape the dough onto a lightly floured surface.

DSCN2677

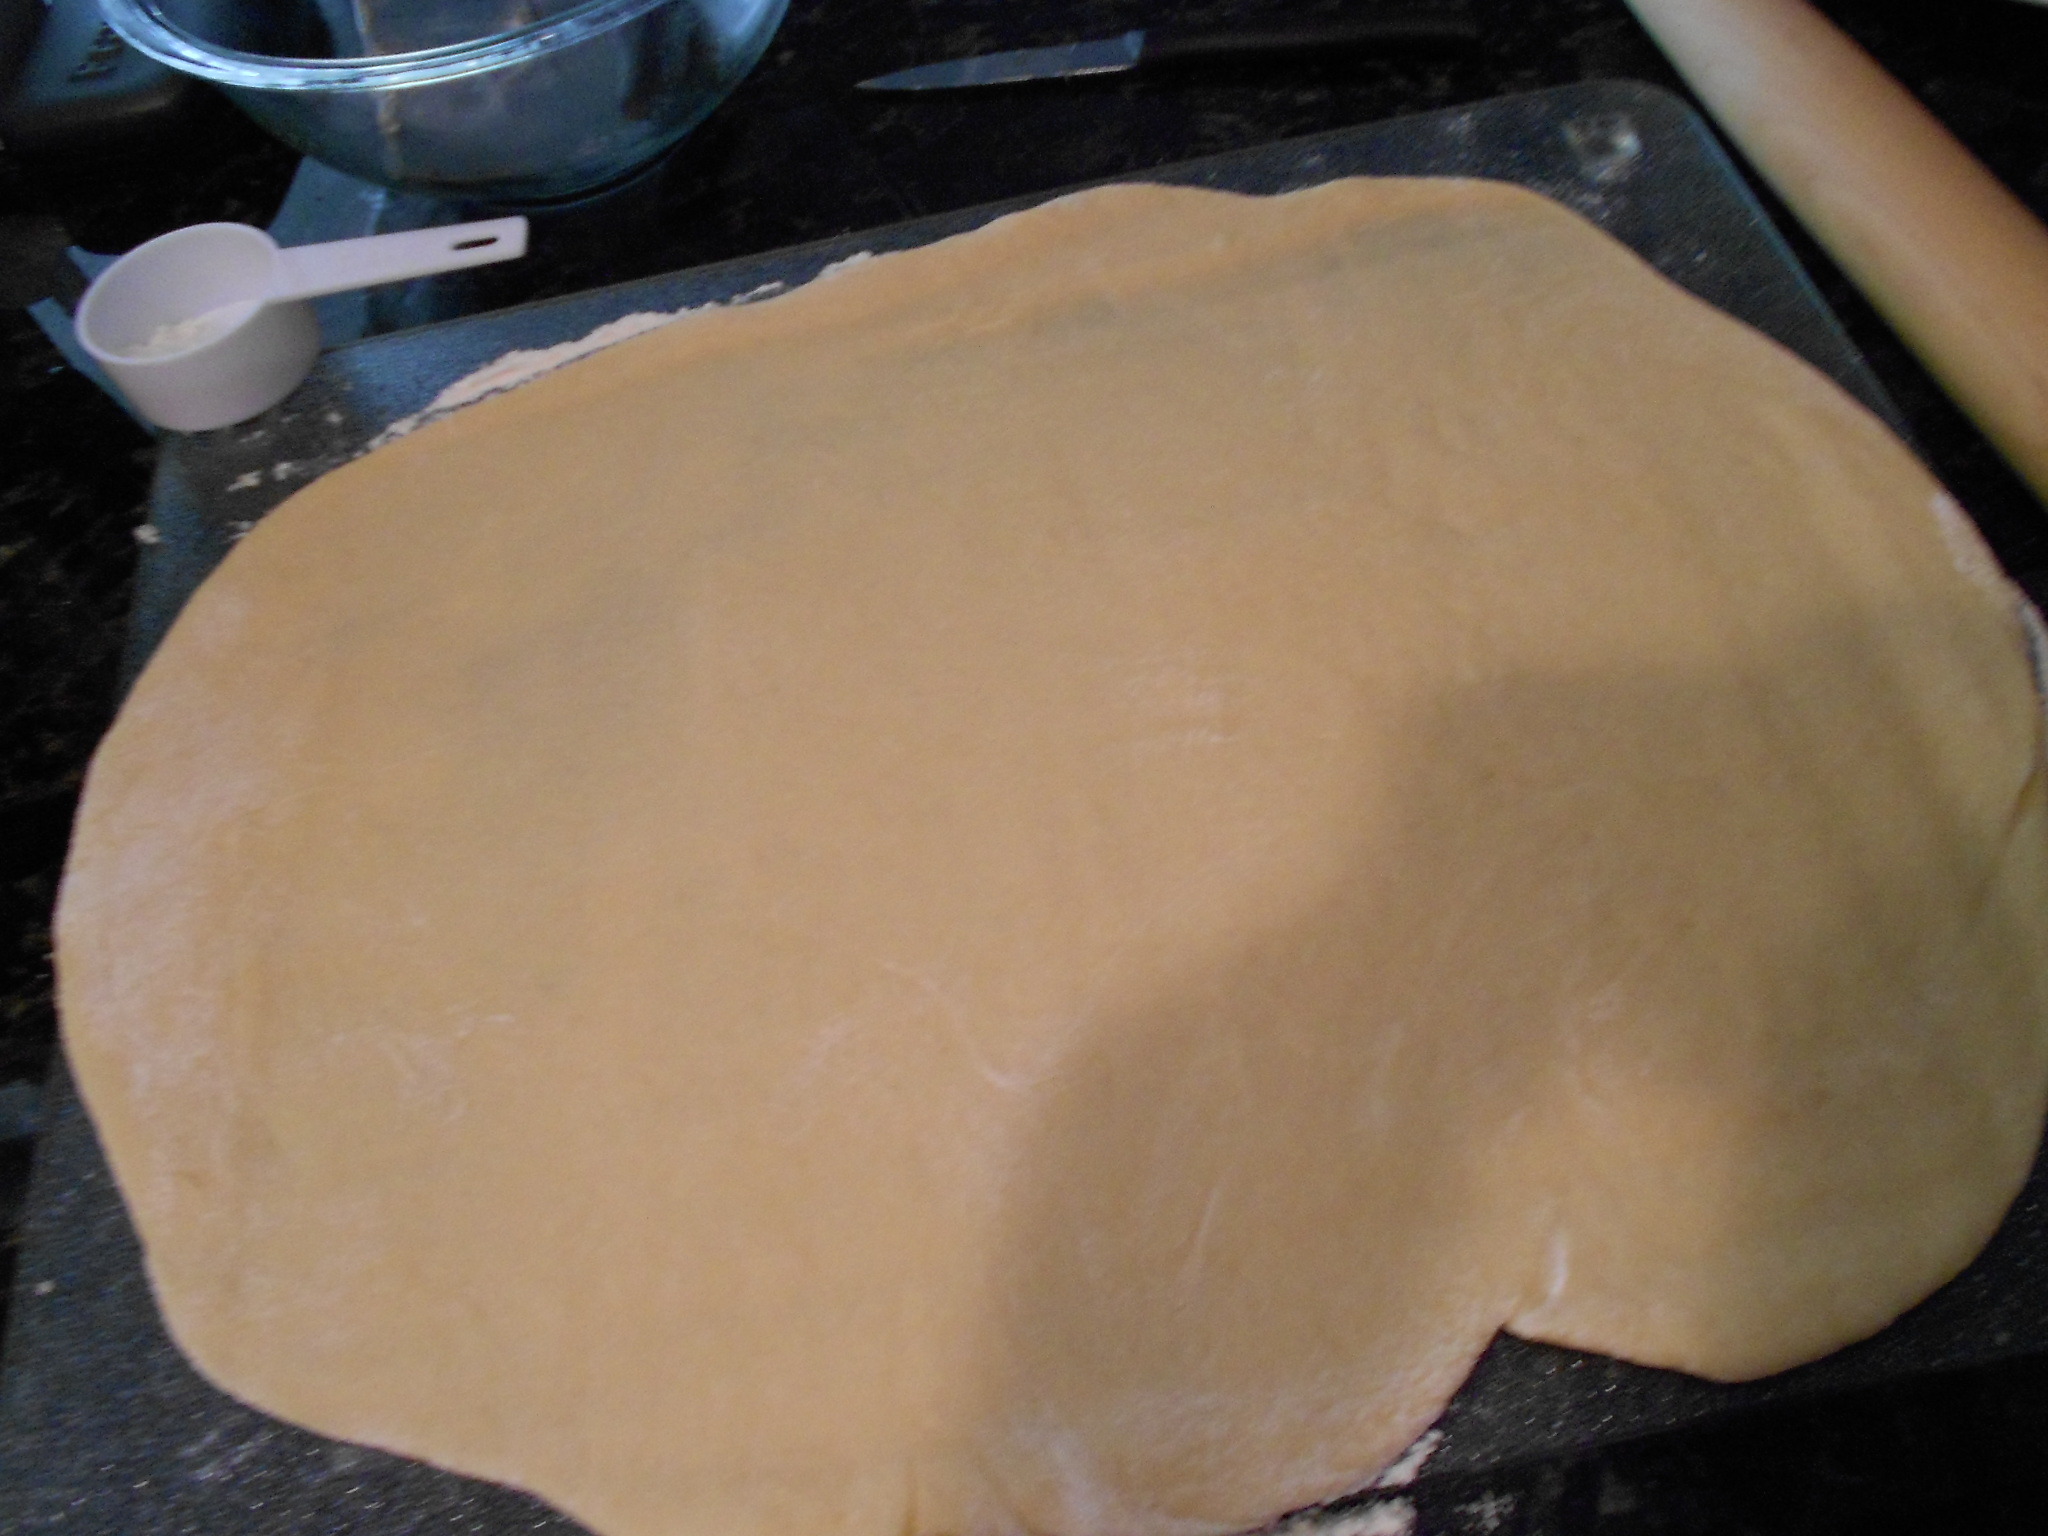
I then roll it out in to about a 10 x 14 rec-triangle.

DSCN2678

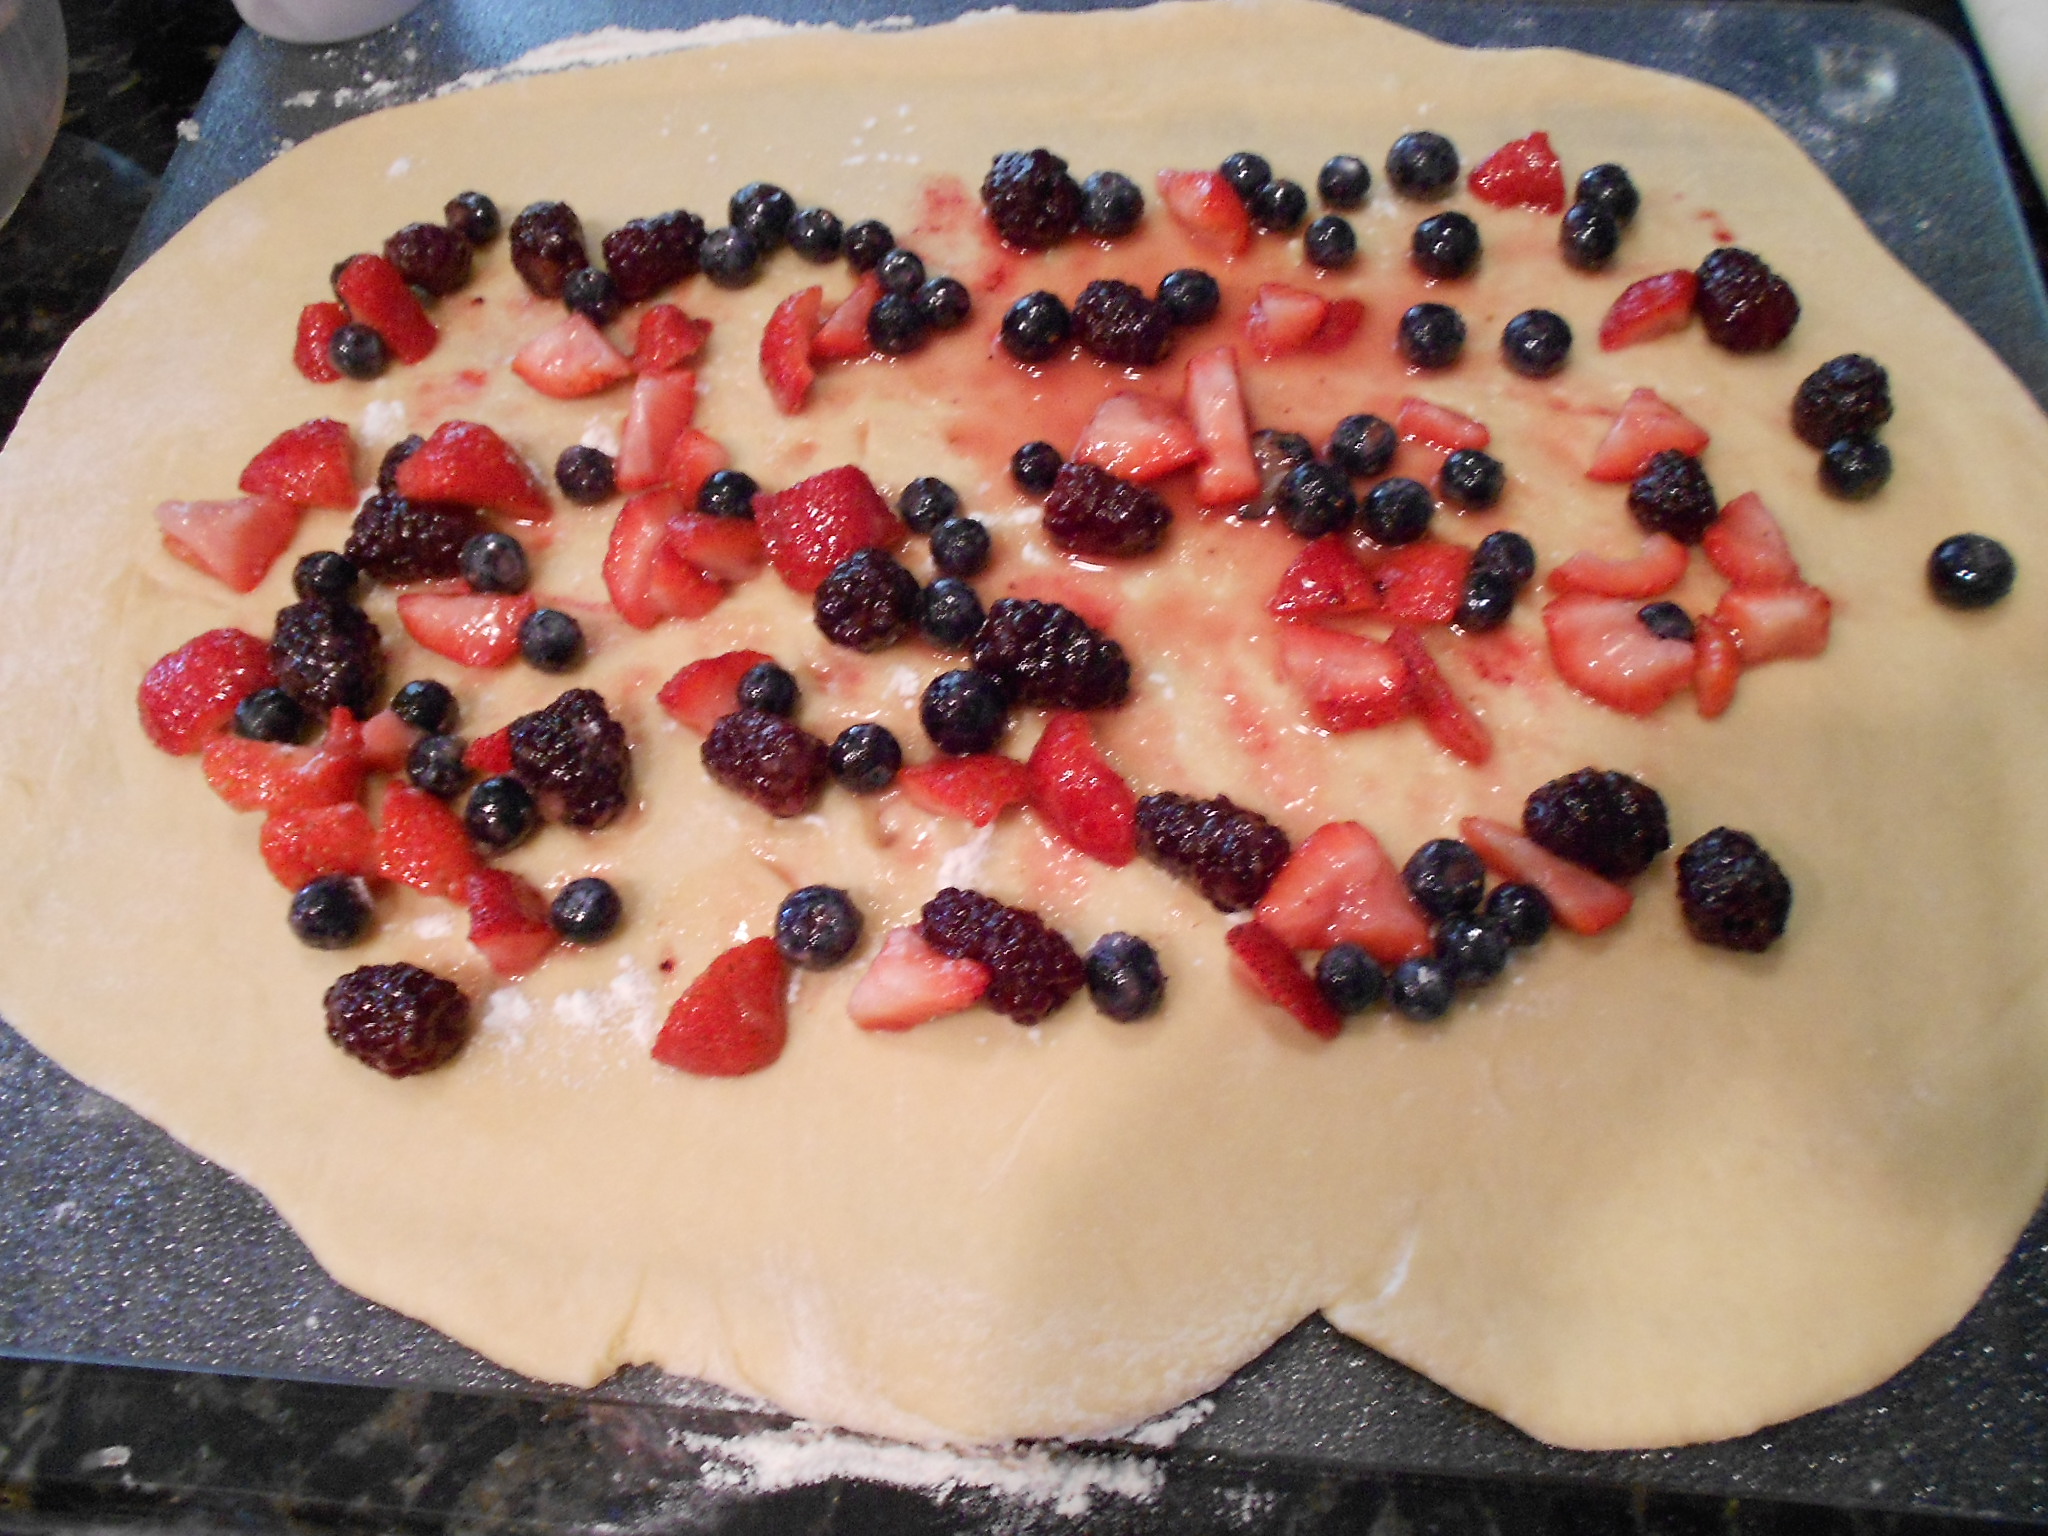
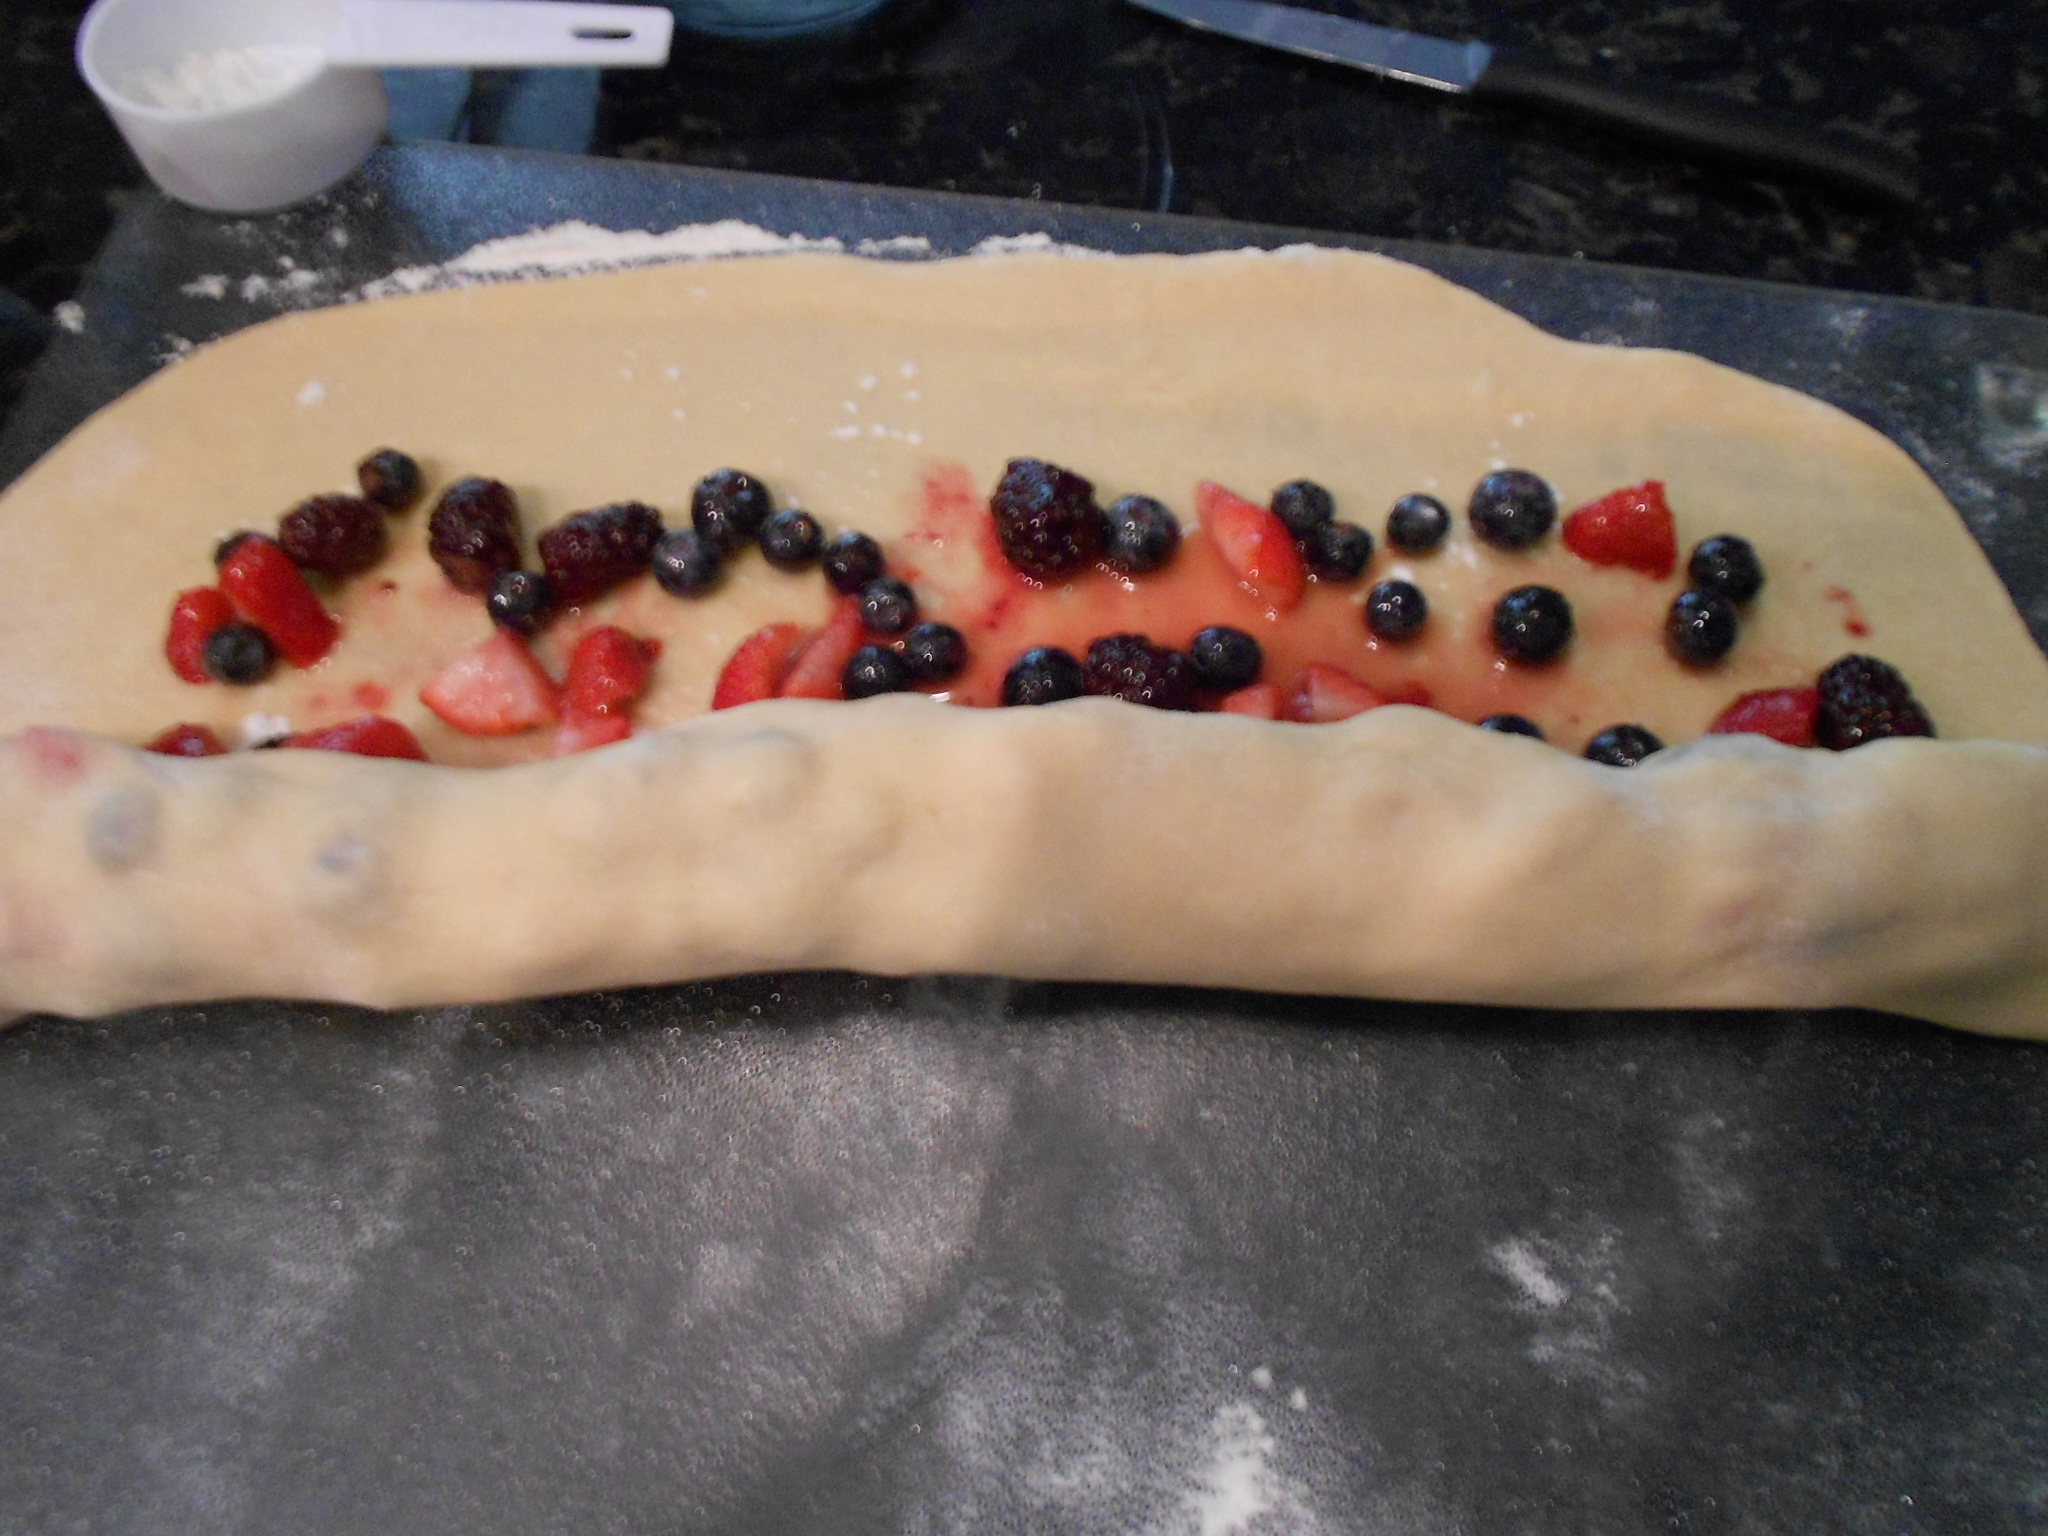
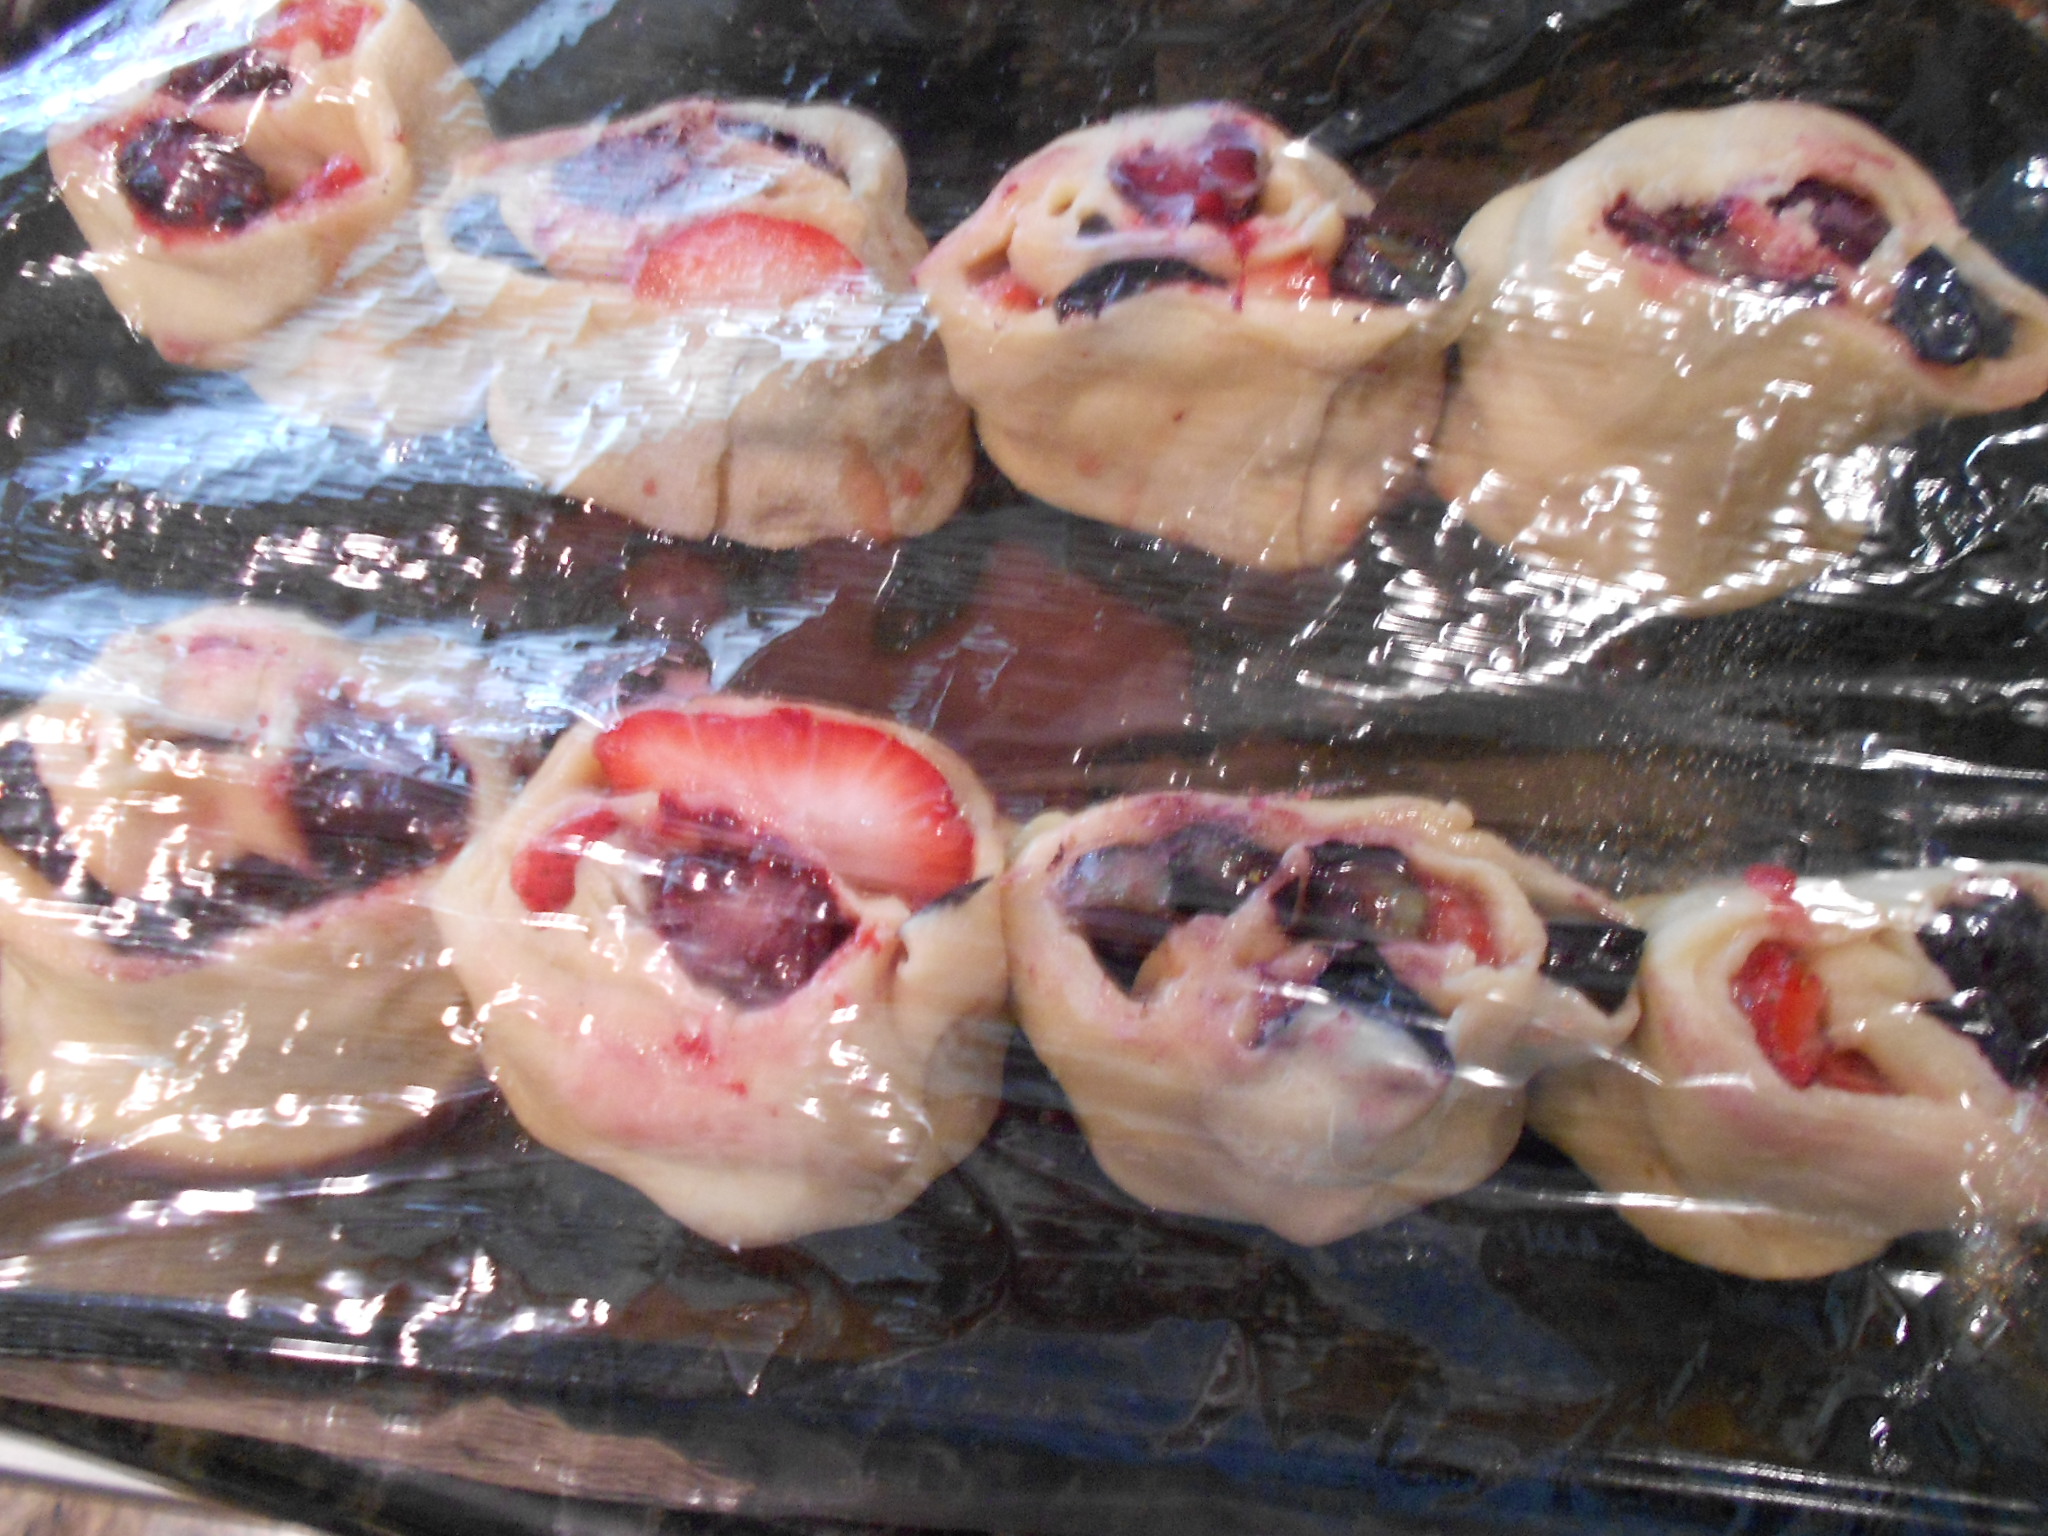
I add one of the above fillings above, in this case I started with the berry filling and then roll it.

DSCN2680

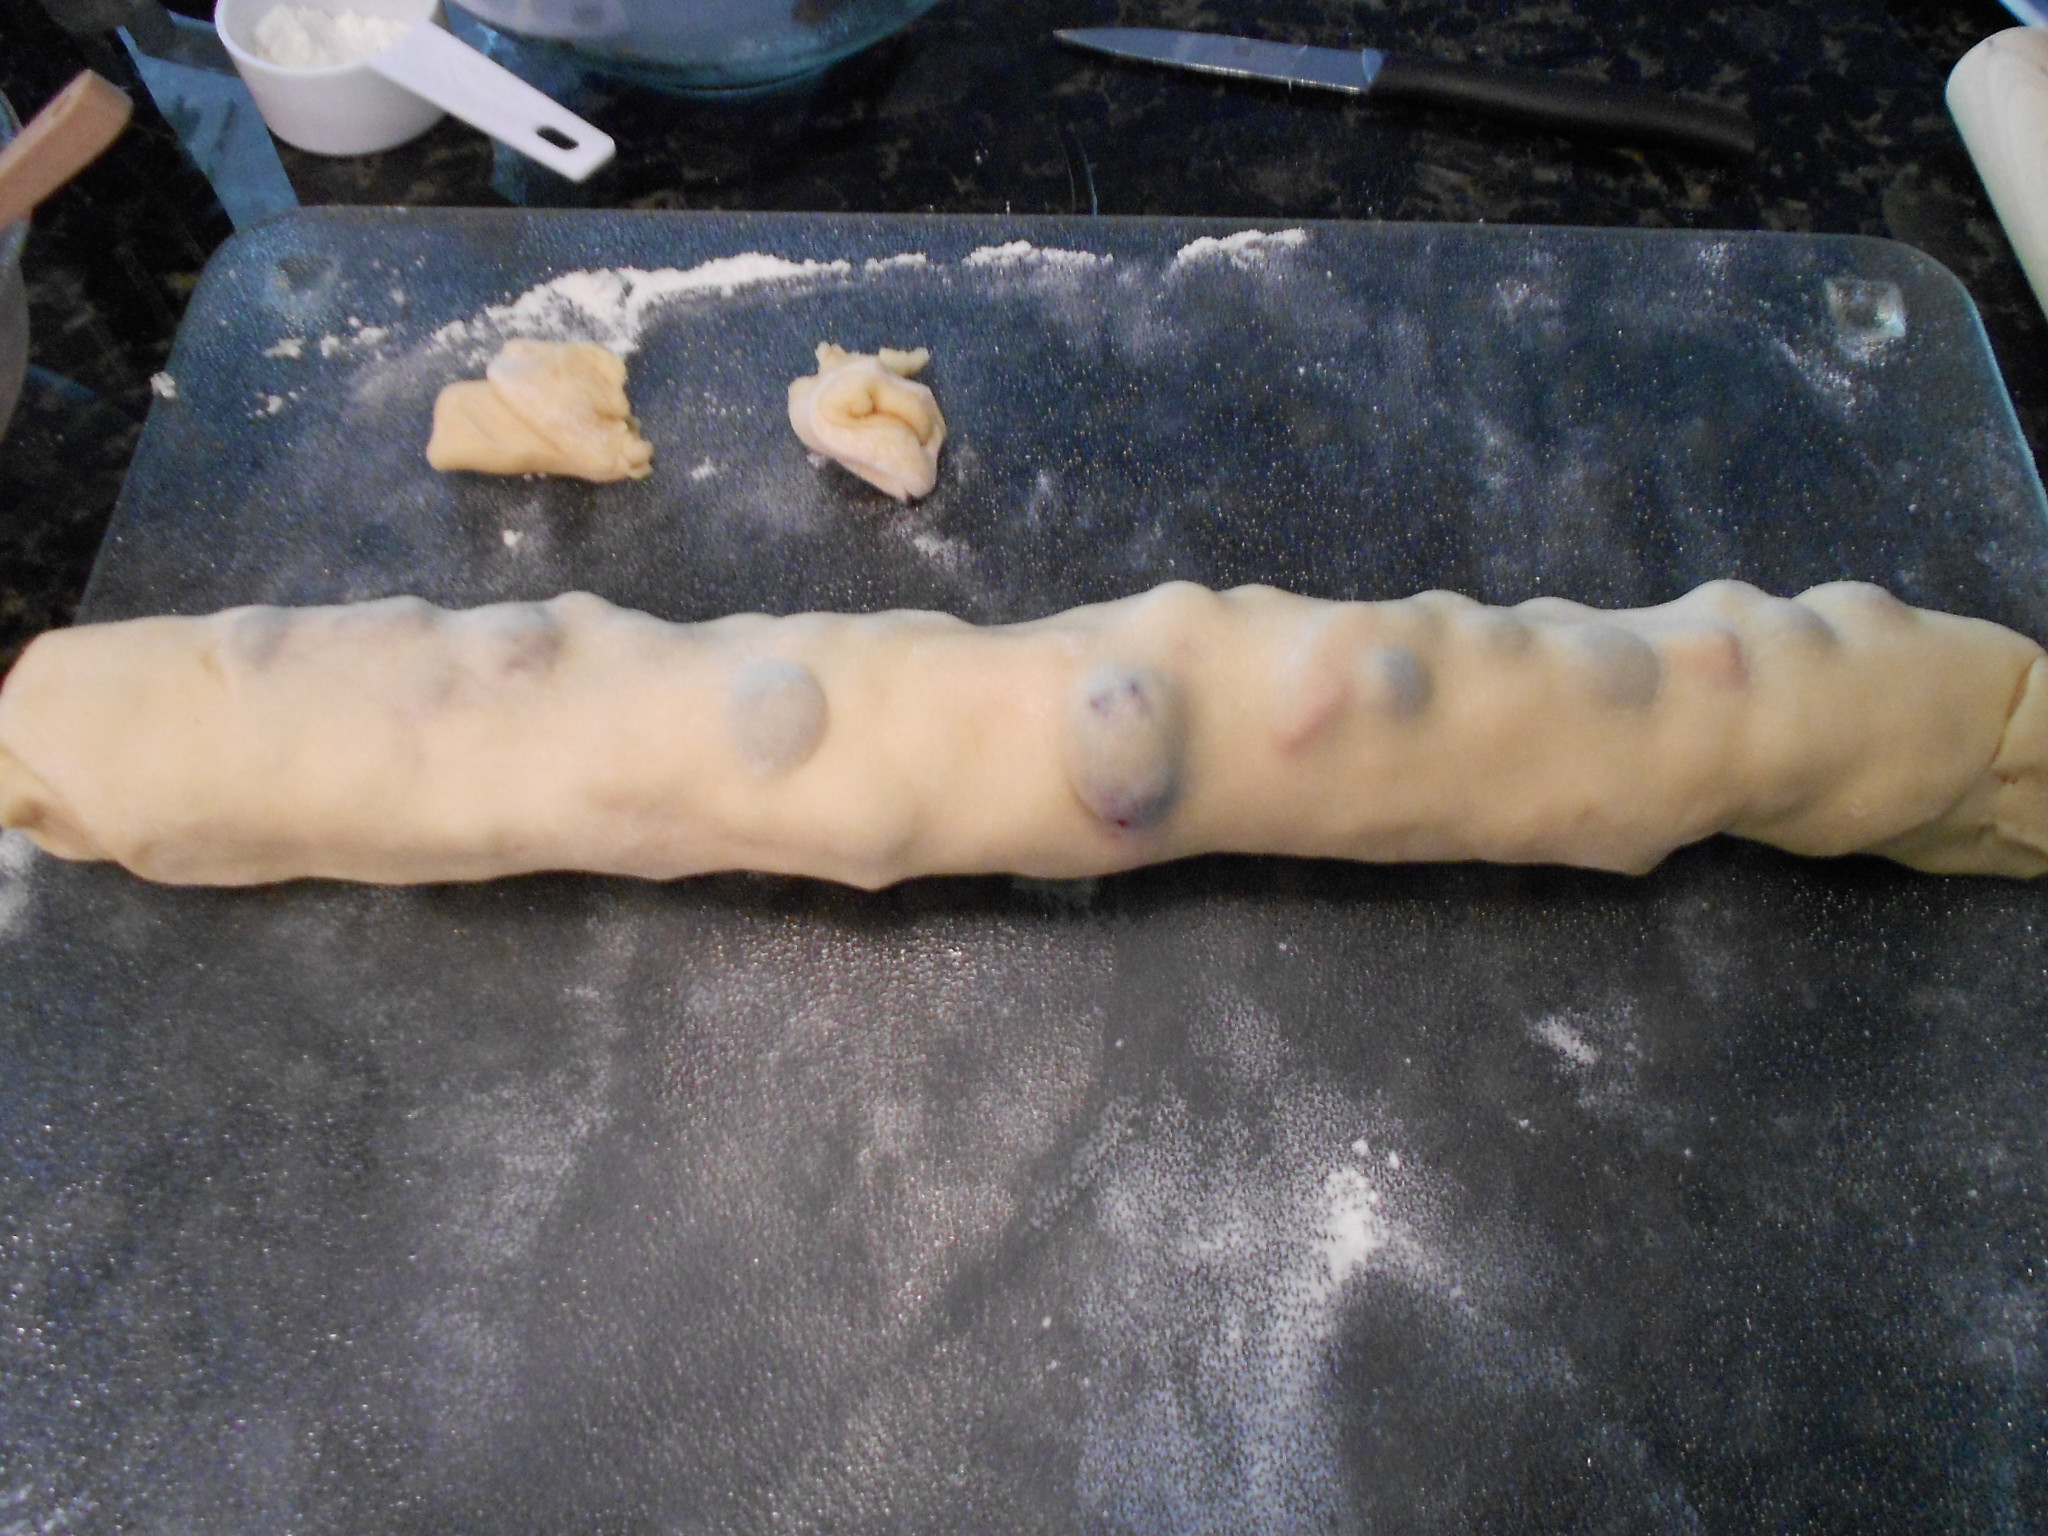
You should be left with a log that is about 24 inches long.

DSCN2681

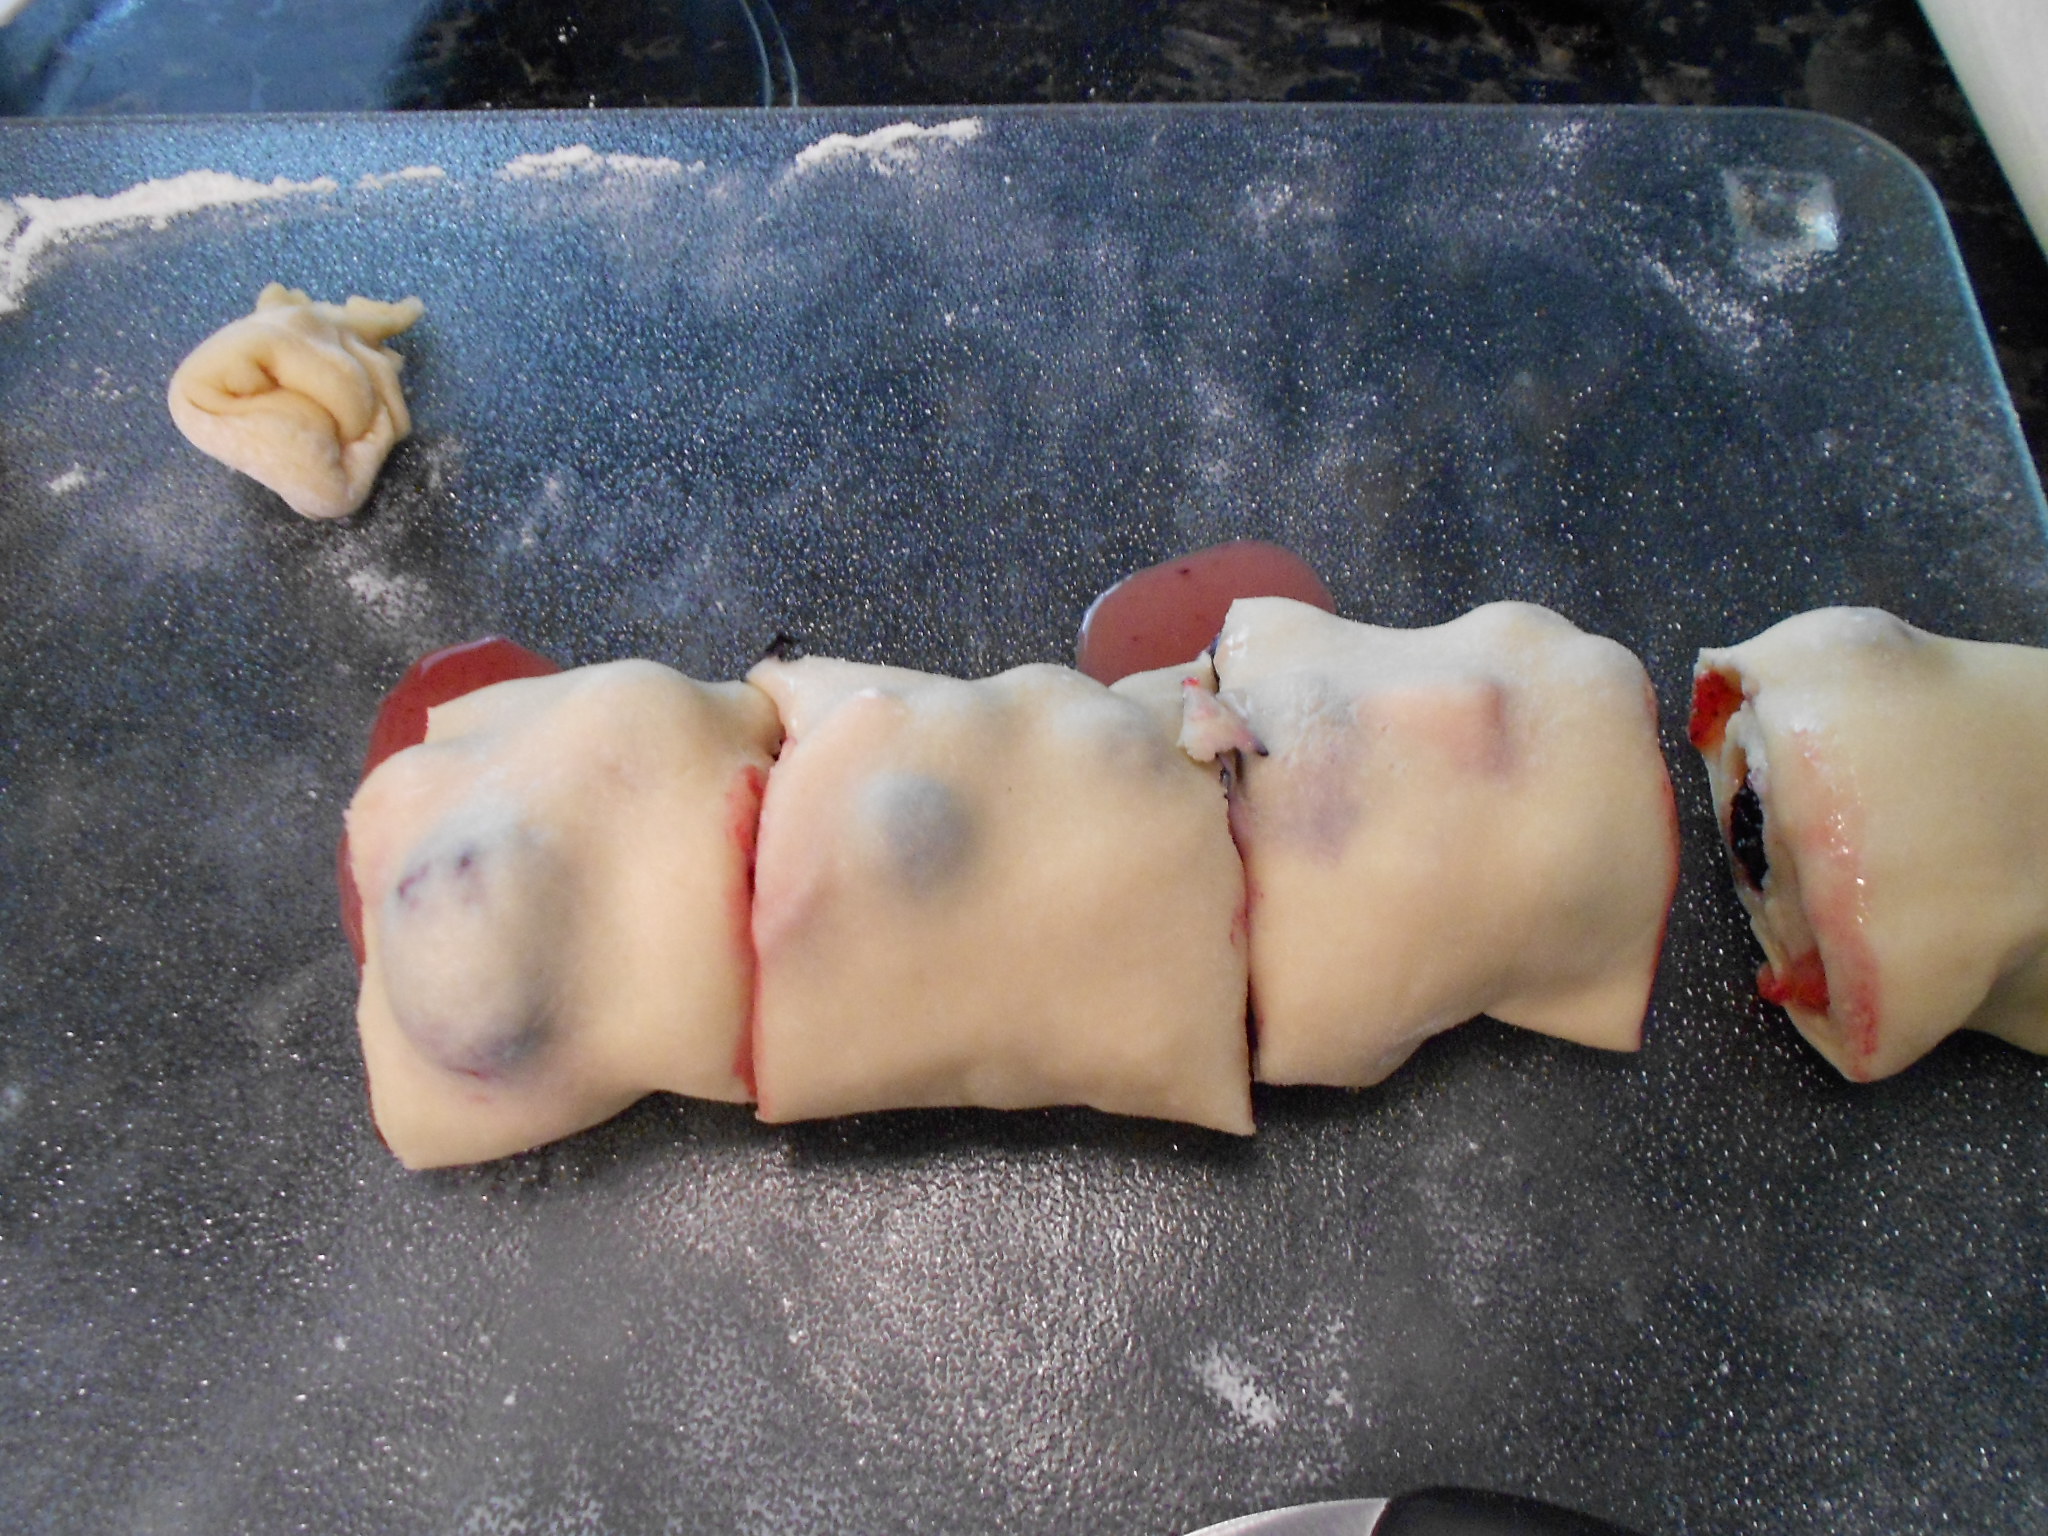
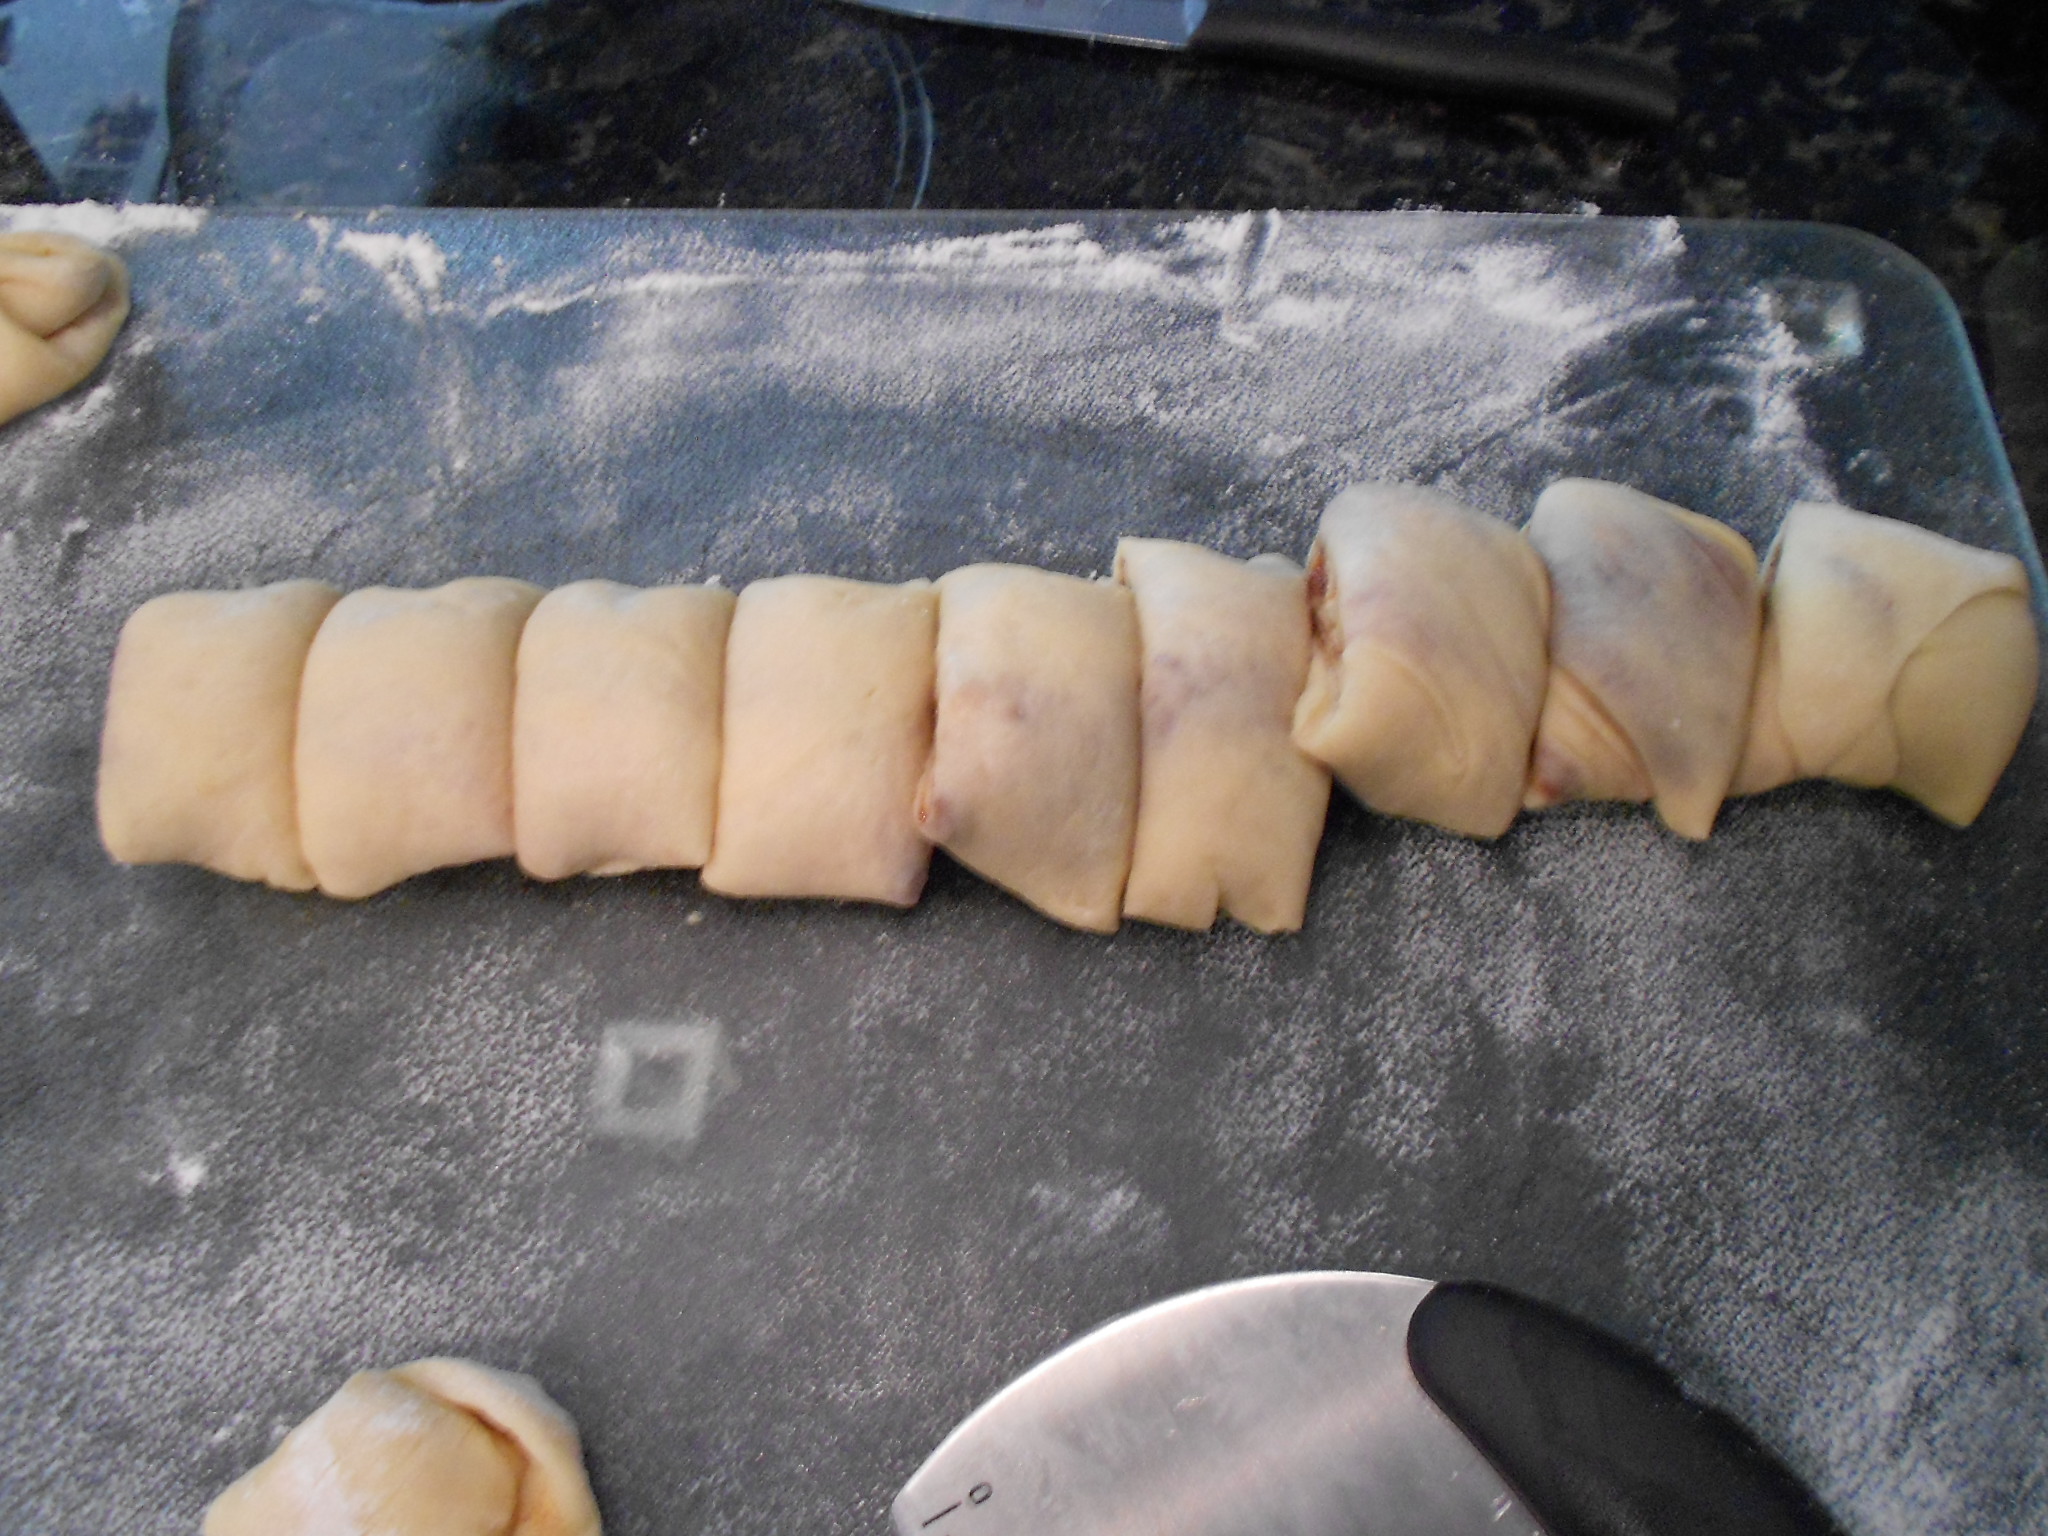
I trim the edges and then cut the log in half and each half into 4.

DSCN2682

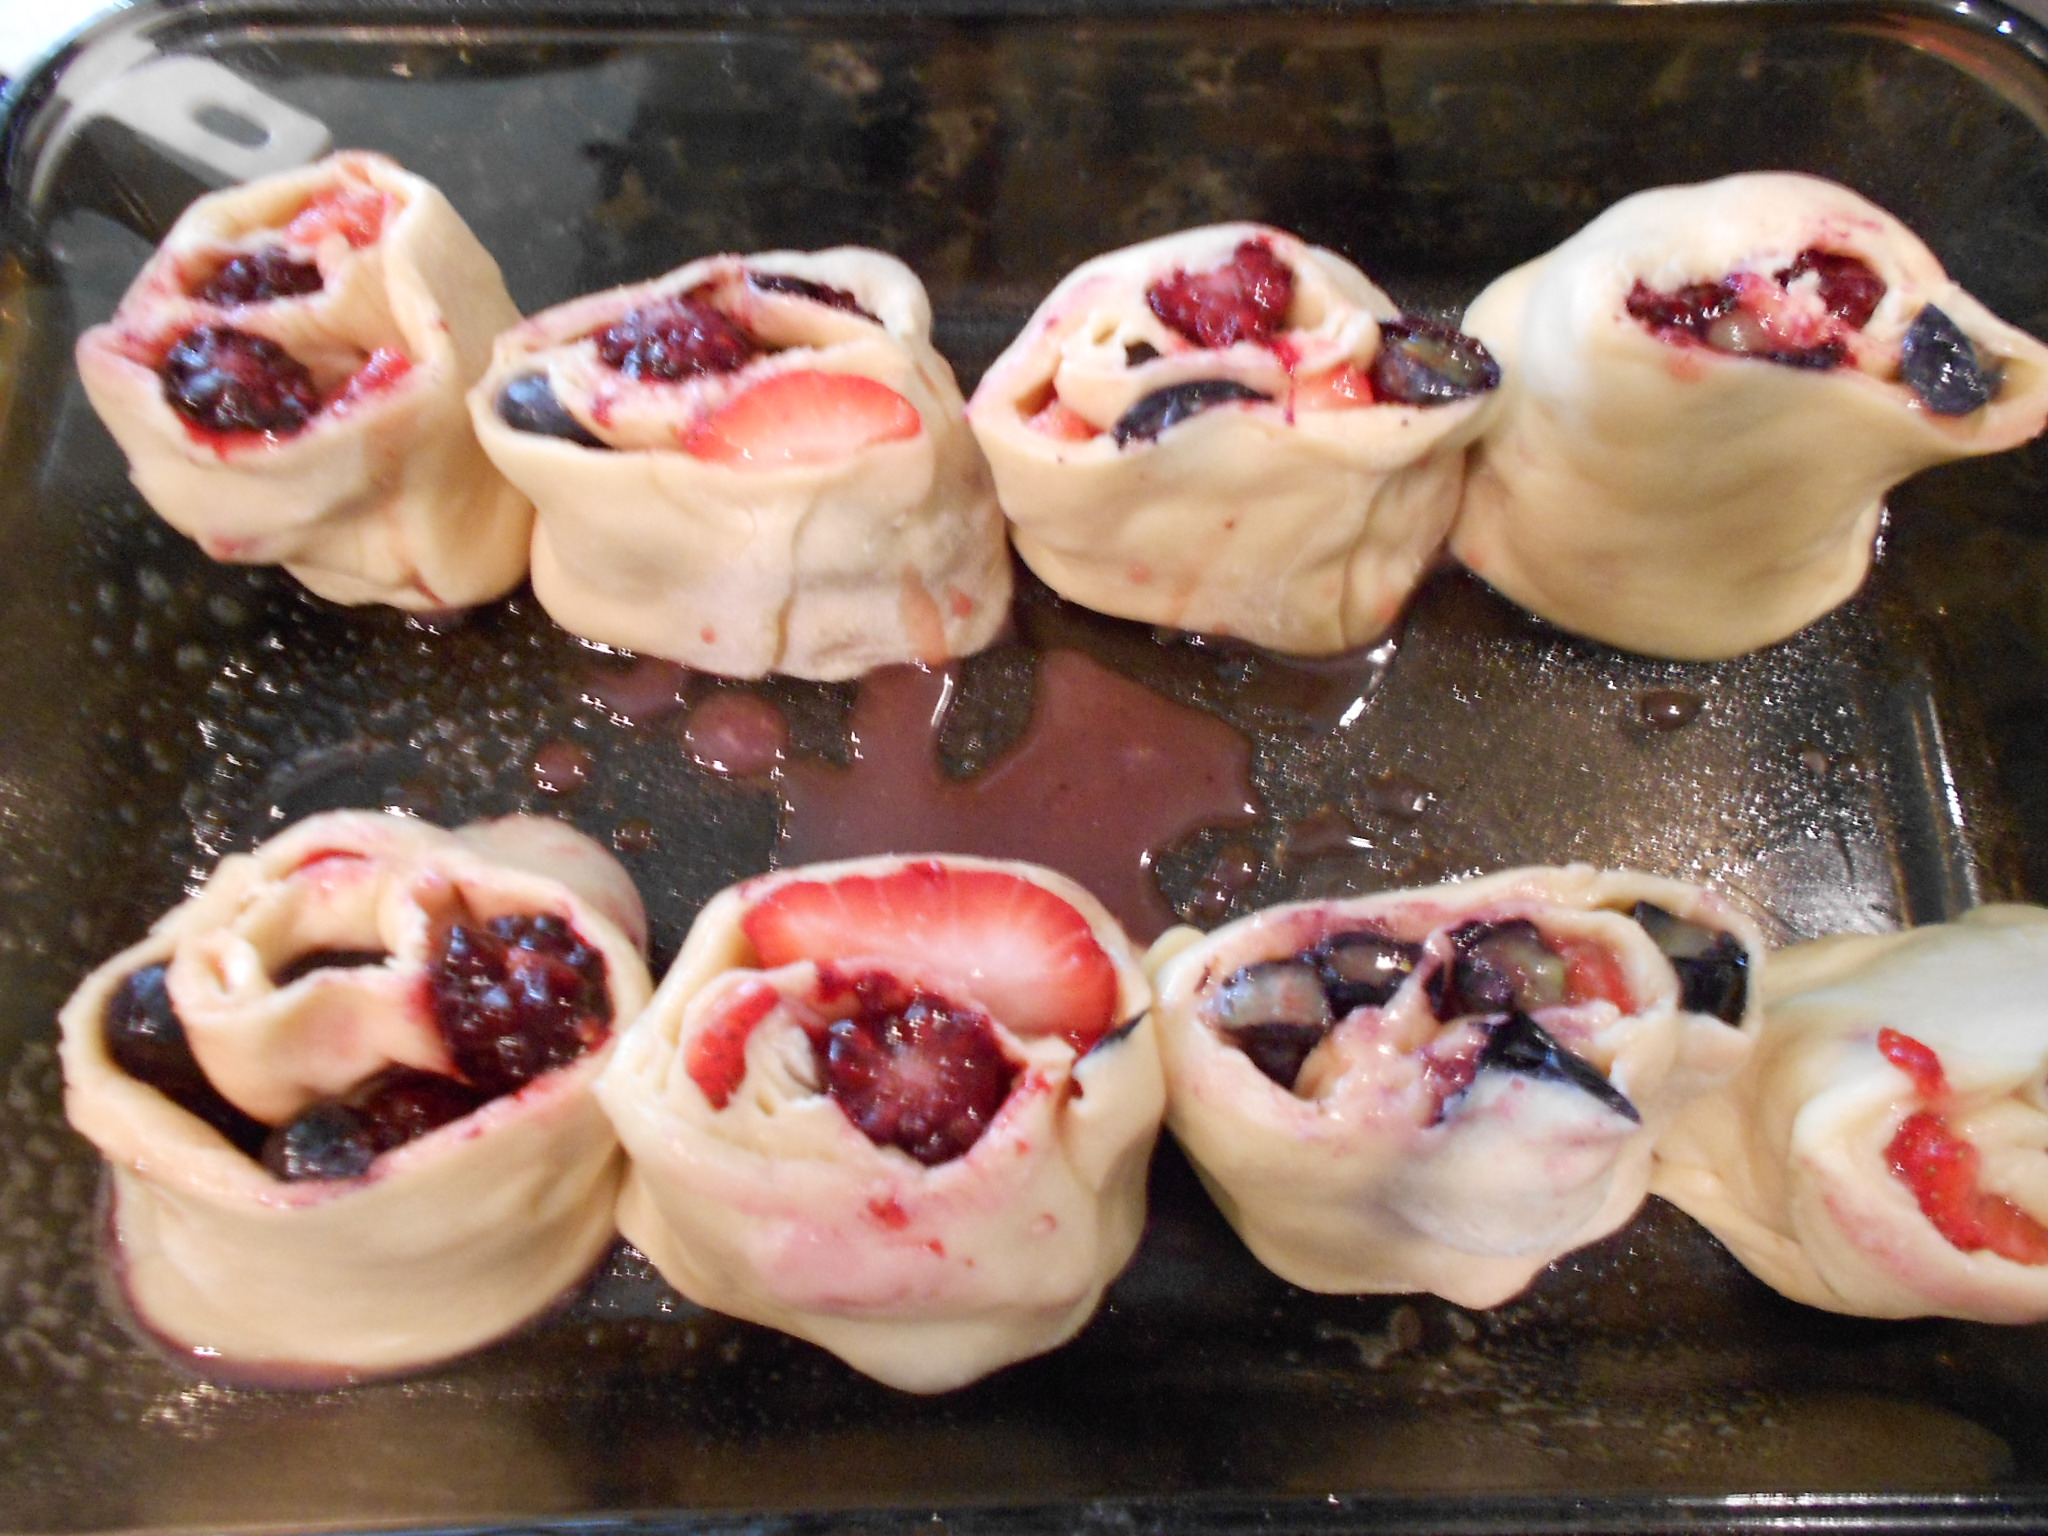
You should have about 8 rolls.

DSCN2684

DSCN2685

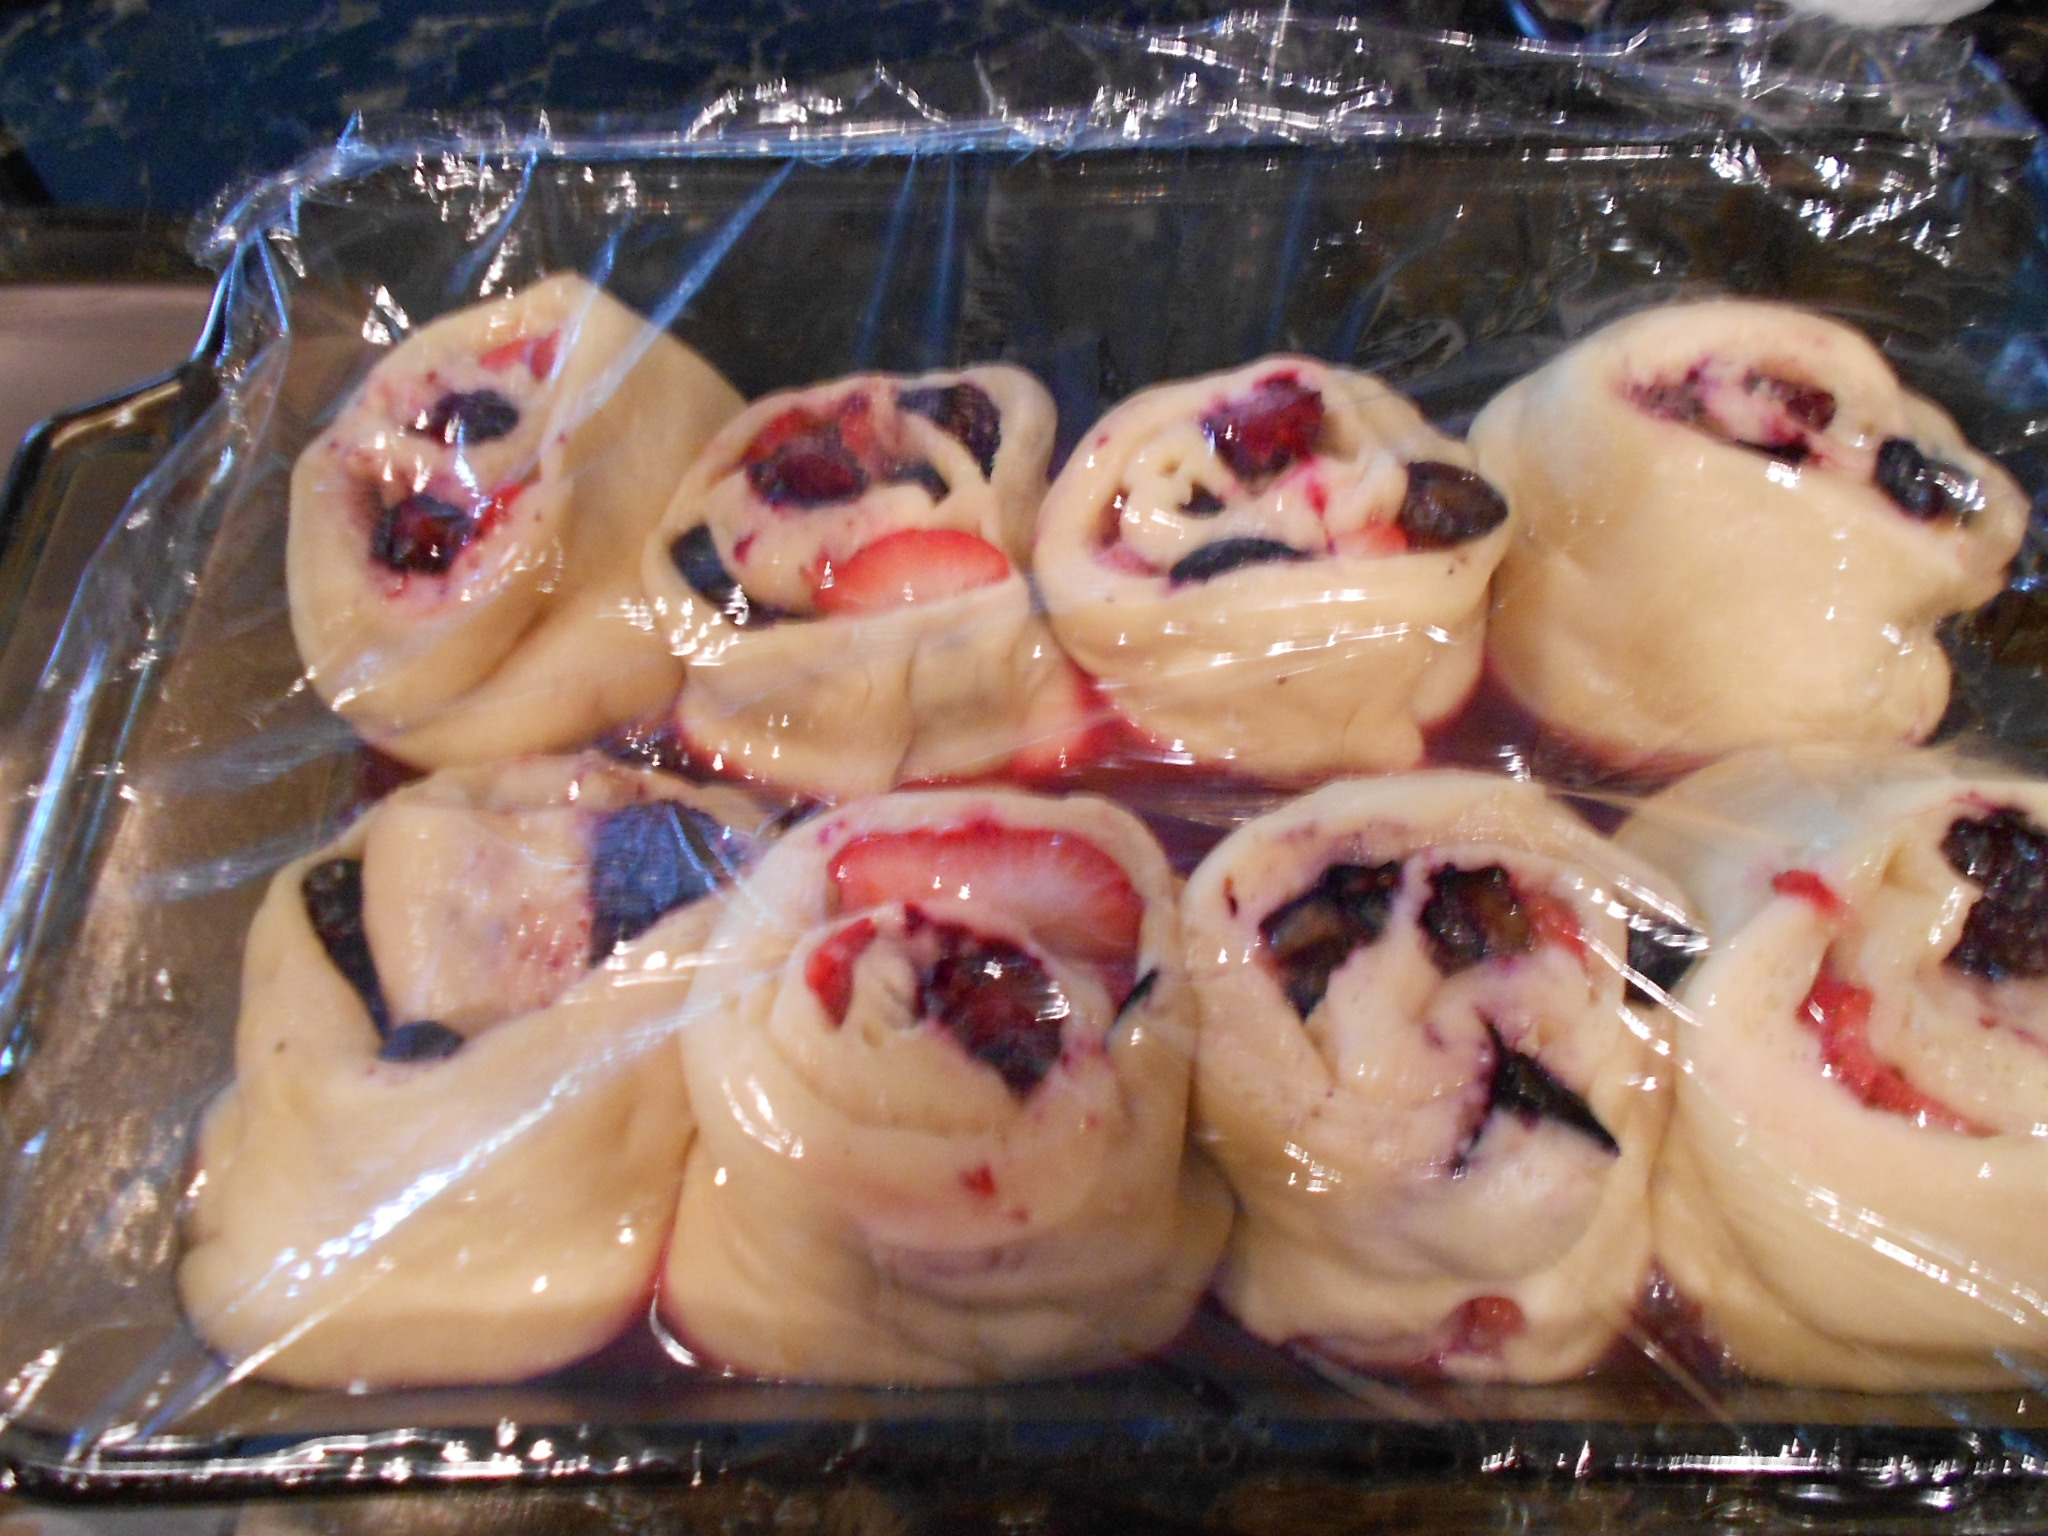
Cover pan with plastic and allow the dough to rise.

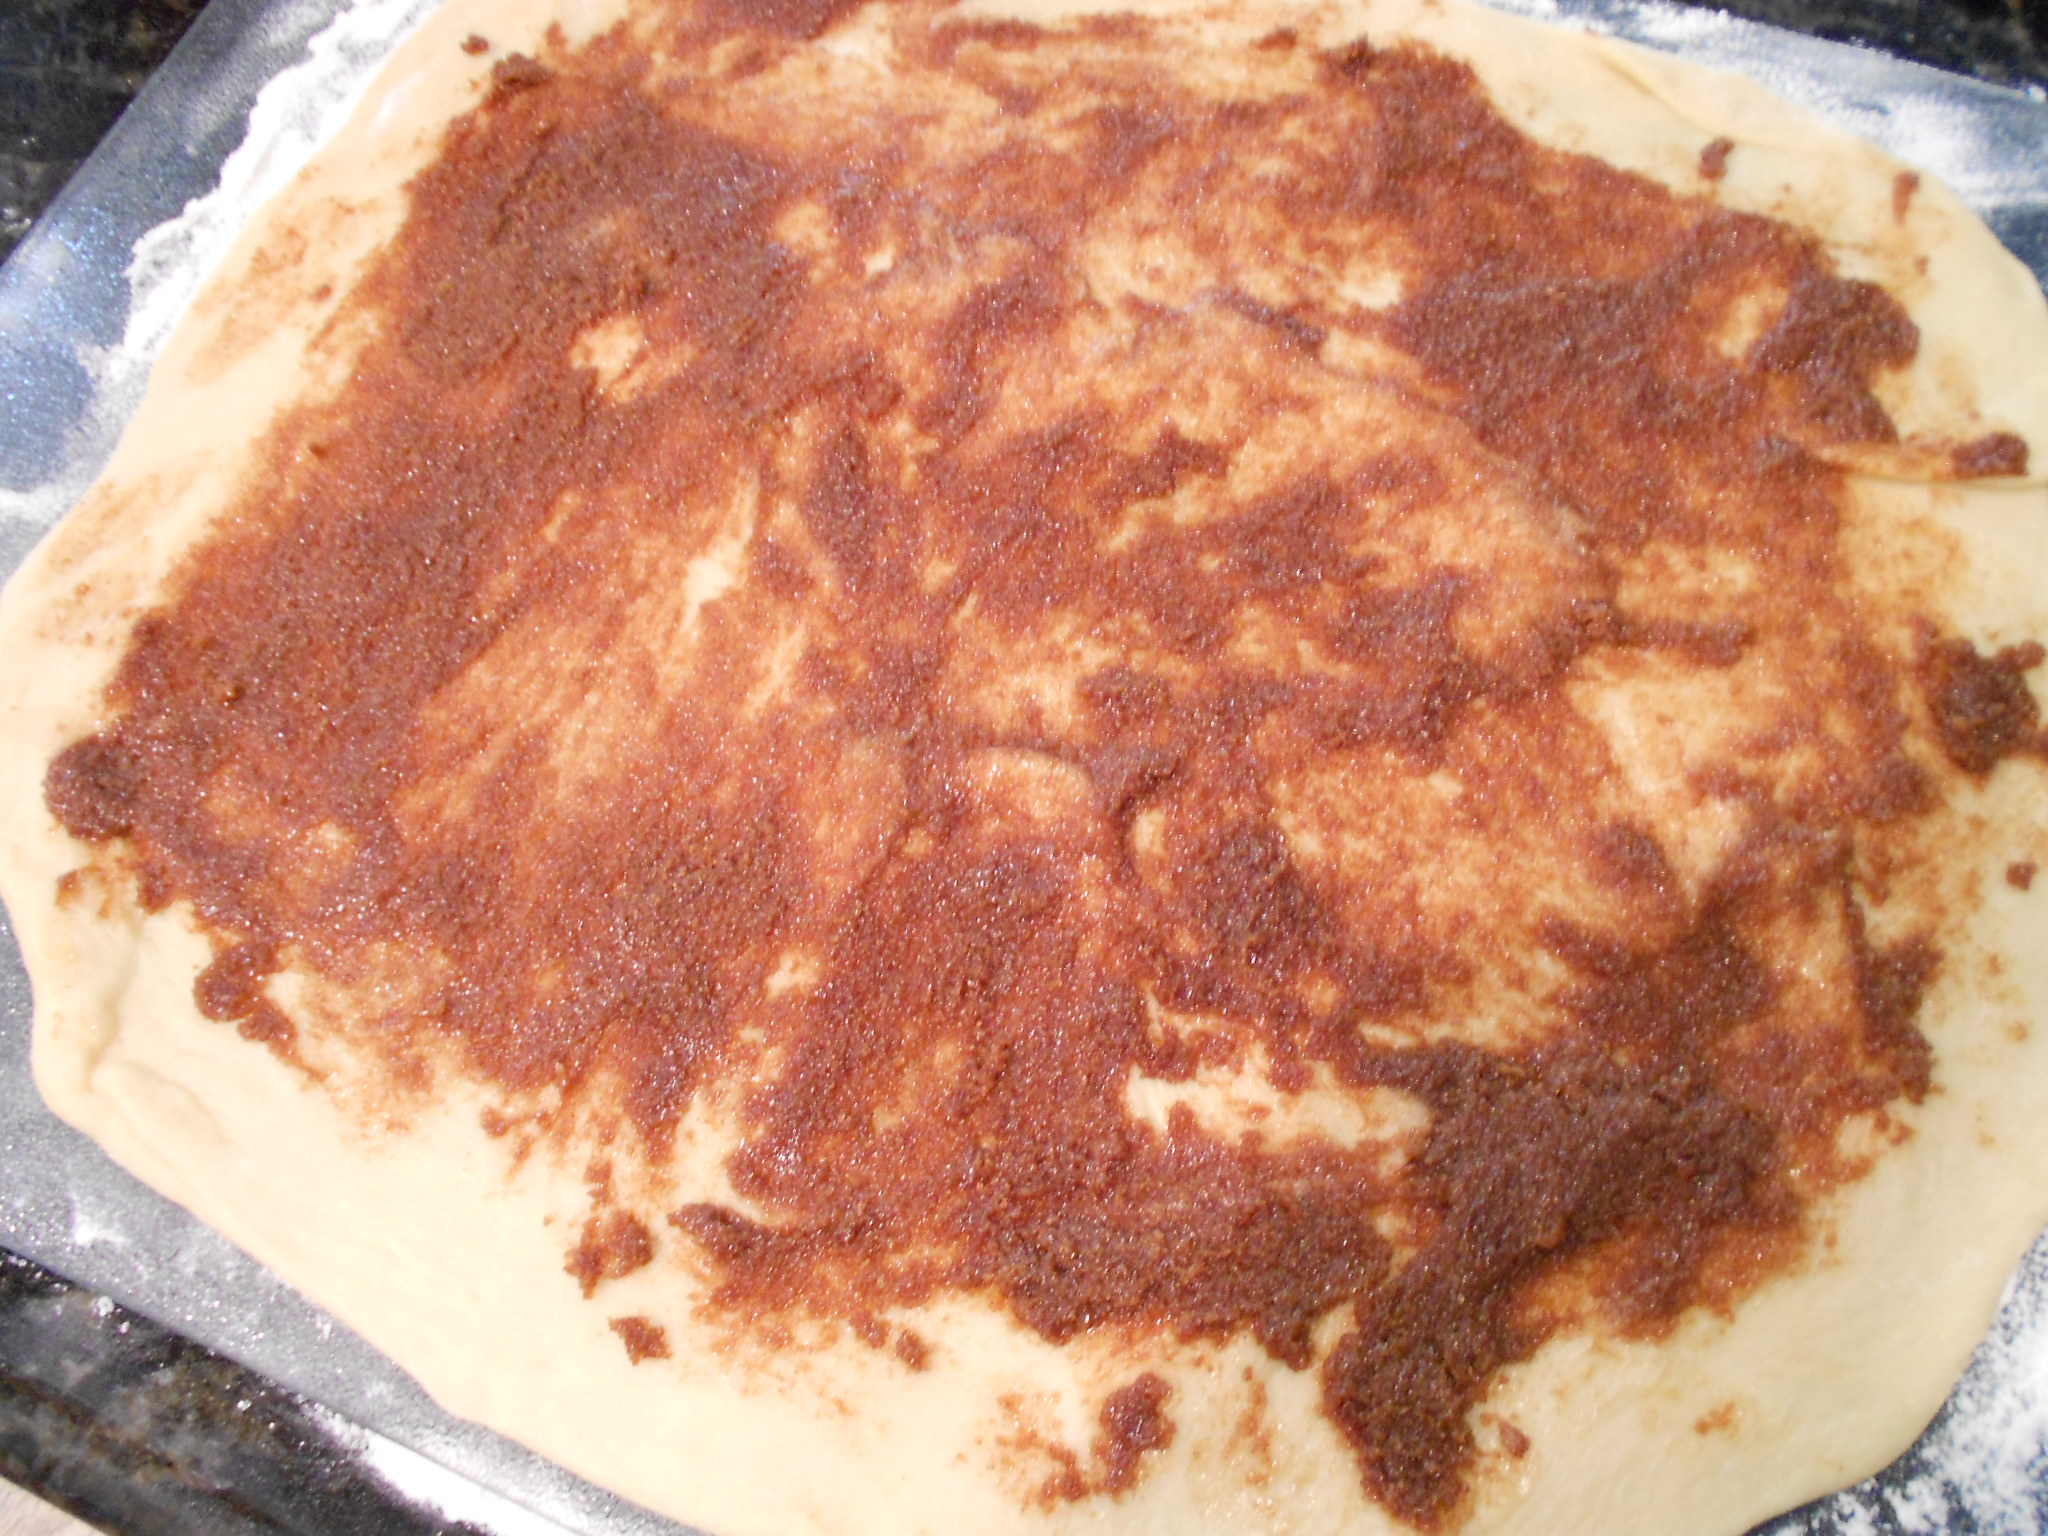
Rinse and repeat :) with the Cinnamon filling. I decided I wanted smaller (mini) Cinnamon rolls so I cut them thinner. You can play with the sizes too!

Cinnamon filling spread onto dough-

DSCN2691

Cinnamon rolls cut smaller than berry-

DSCN2692

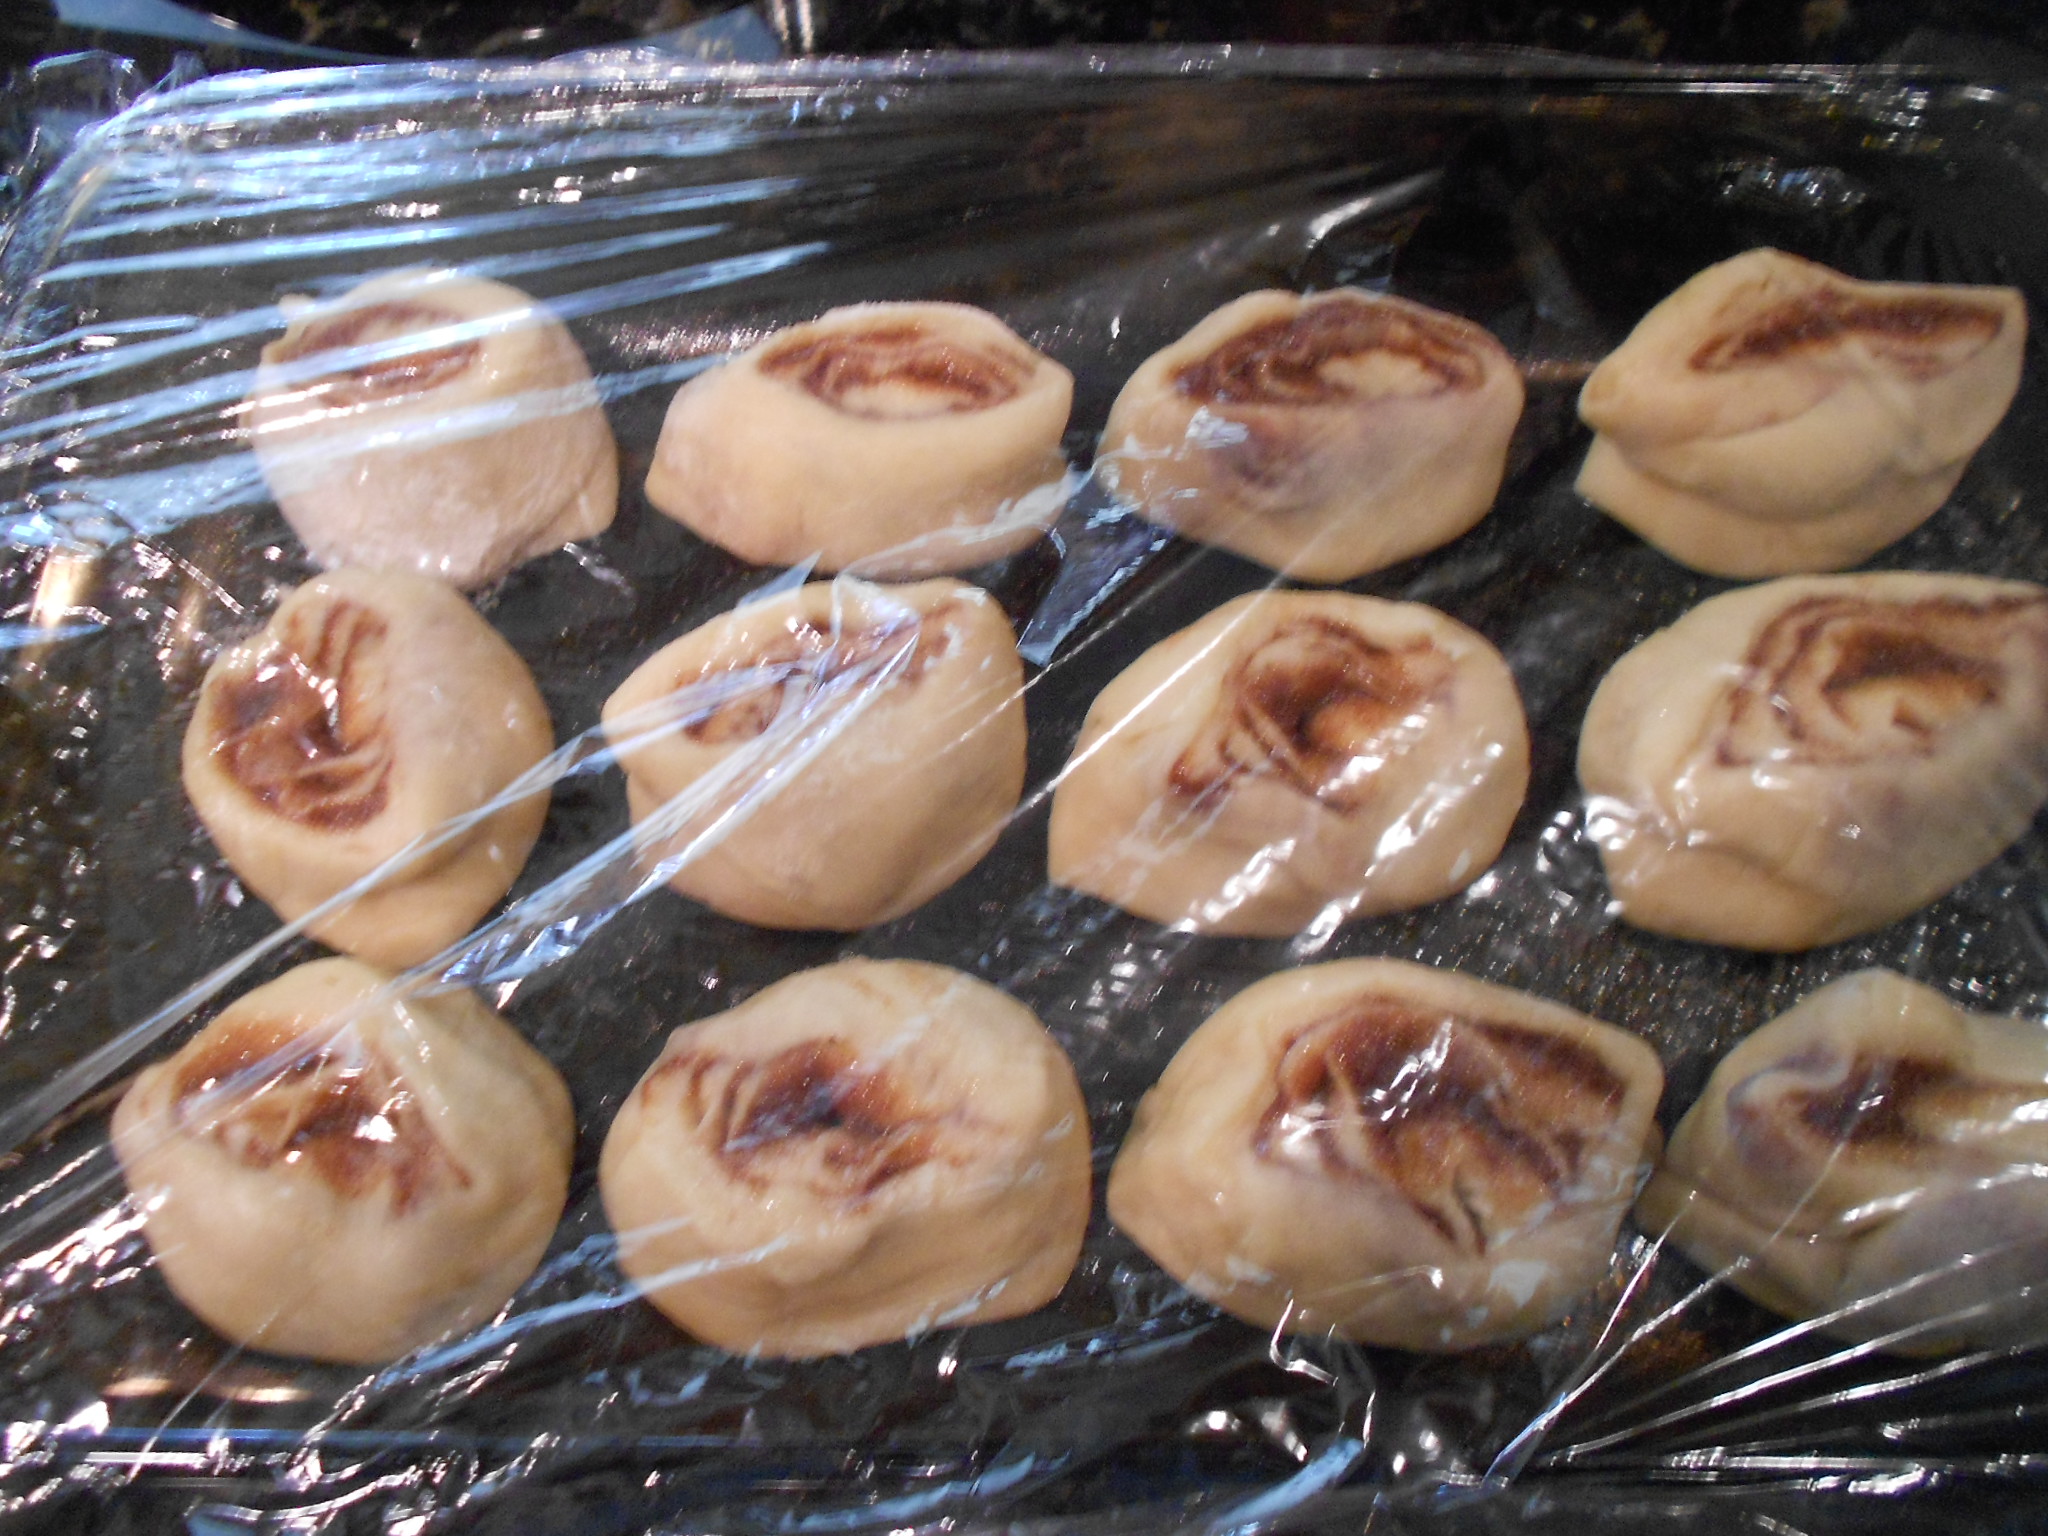
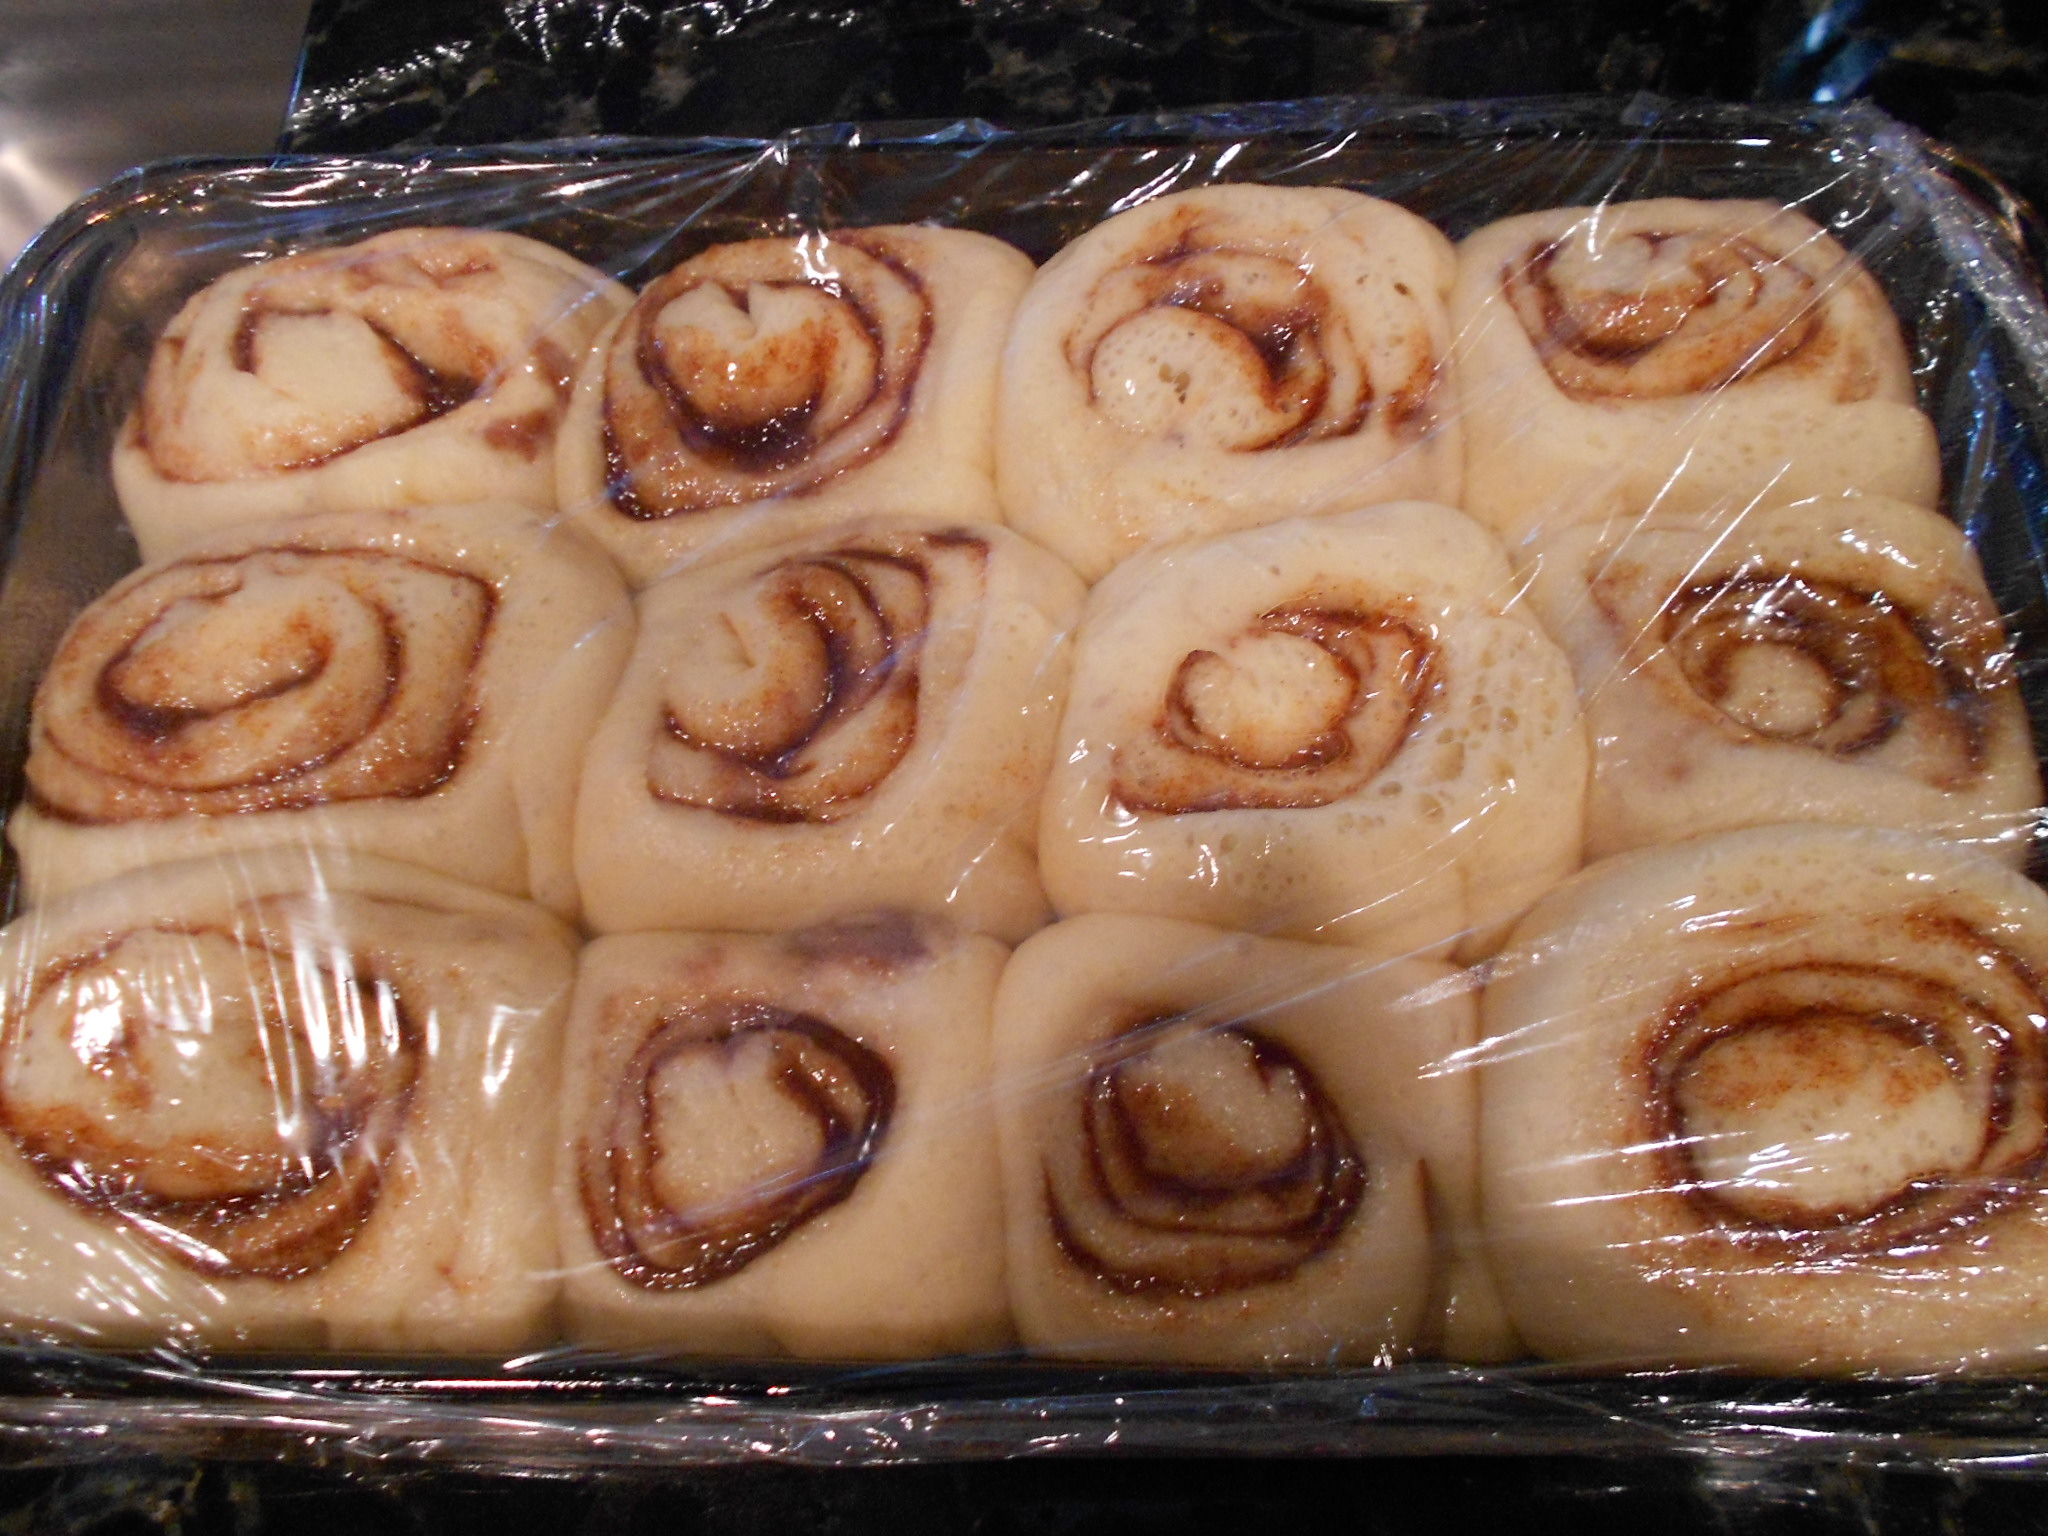
Cinnamon rolls placed in glass pan and covered with plastic-

DSCN2697

Dough Rise Note: This usually takes an hour for the cinnamon but the fruit take longer if you are using frozen or cold from the fridge. My berry ones took an hour and a half but it can take up to 2.

While the rolls rise, you can make the crumble topping for the berry rolls and the icing for the cinnamon rolls.

Berry Crumble top:
1/2 cup of All-Purpose Flour
1/4 cup of Sugar
1/8 teaspoon of Ground Ginger
2 tablespoons of Unsalted Butter (cold)
1 1/2 ounces of Cream Cheese Cold

DSCN2674

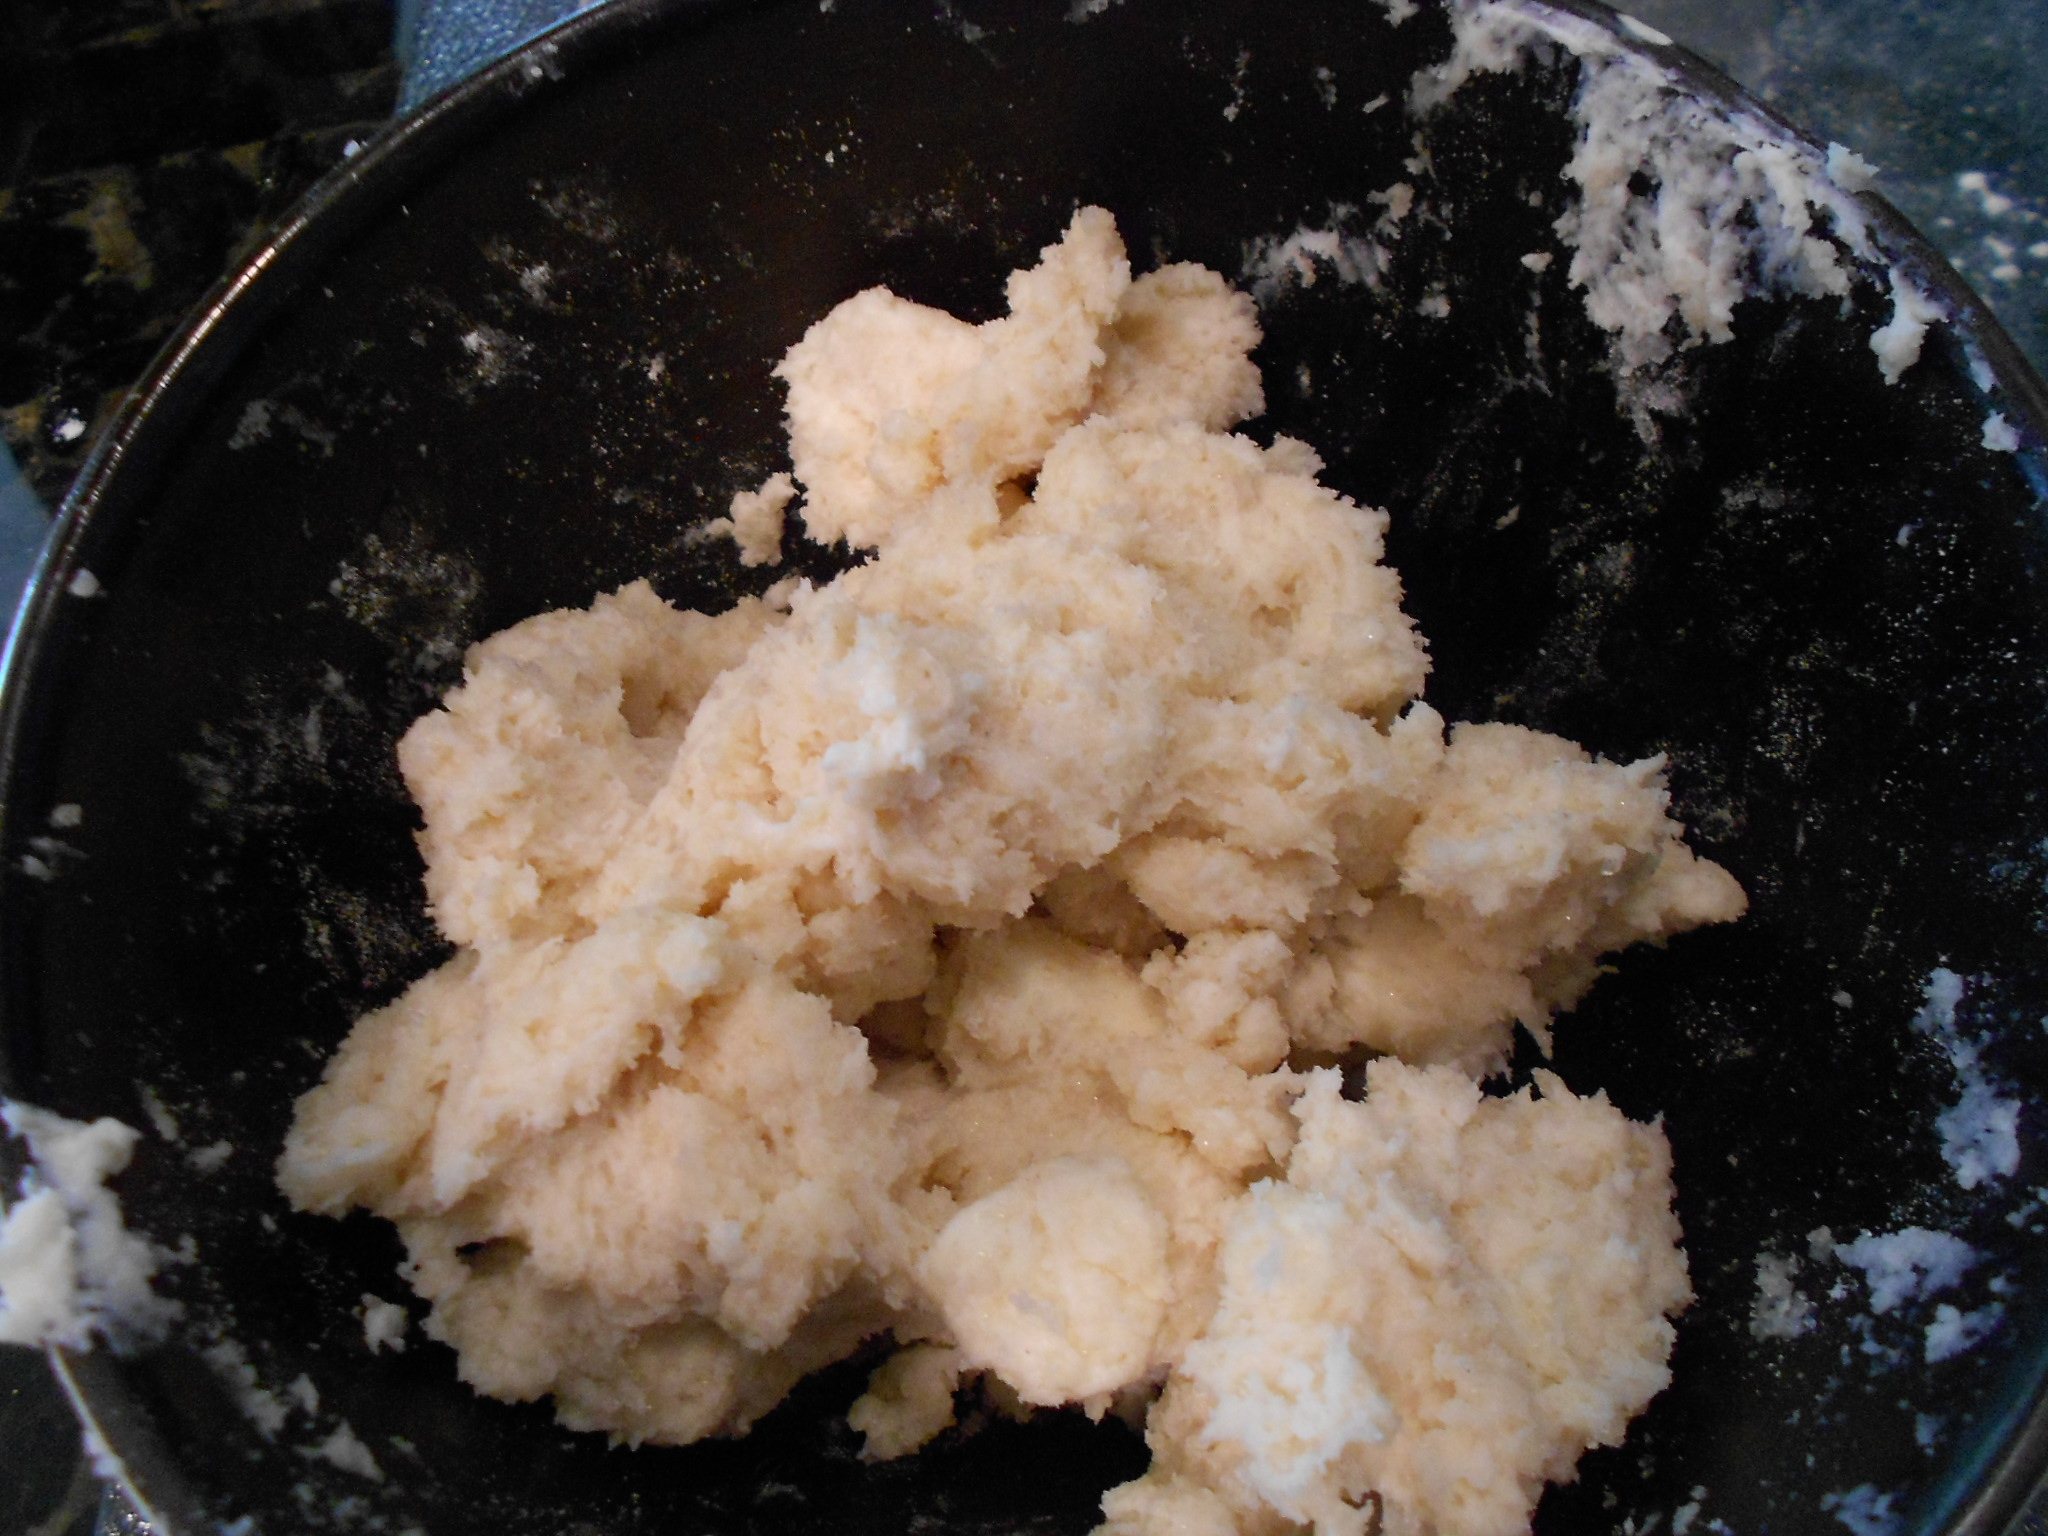
You just mix the dry ingredients and then incorporate the butter and cream cheese to make "crumbles". If you over mix and create a dough, don't worry as you can just drop chunks on top the rolls to resemble a crumble. Store your crumble in the fridge until needed

Cream Cheese Icing for mini Cinnamon Rolls:
8 ounces of Cream Cheese (softened)
Powder Sugar to sweetness you desire

I usually start with adding a 1/4 cup of powder sugar to the cream cheese in a mixer or just whisk by hand in a bowl. I taste and then determine if I want sweeter or not so you can control the sweetness!

Once the rolls have risen, preheat the oven to 375 degrees.

Cinnamon Rolls rise-

DSCN2698

Berry Rolls rise-

DSCN2701

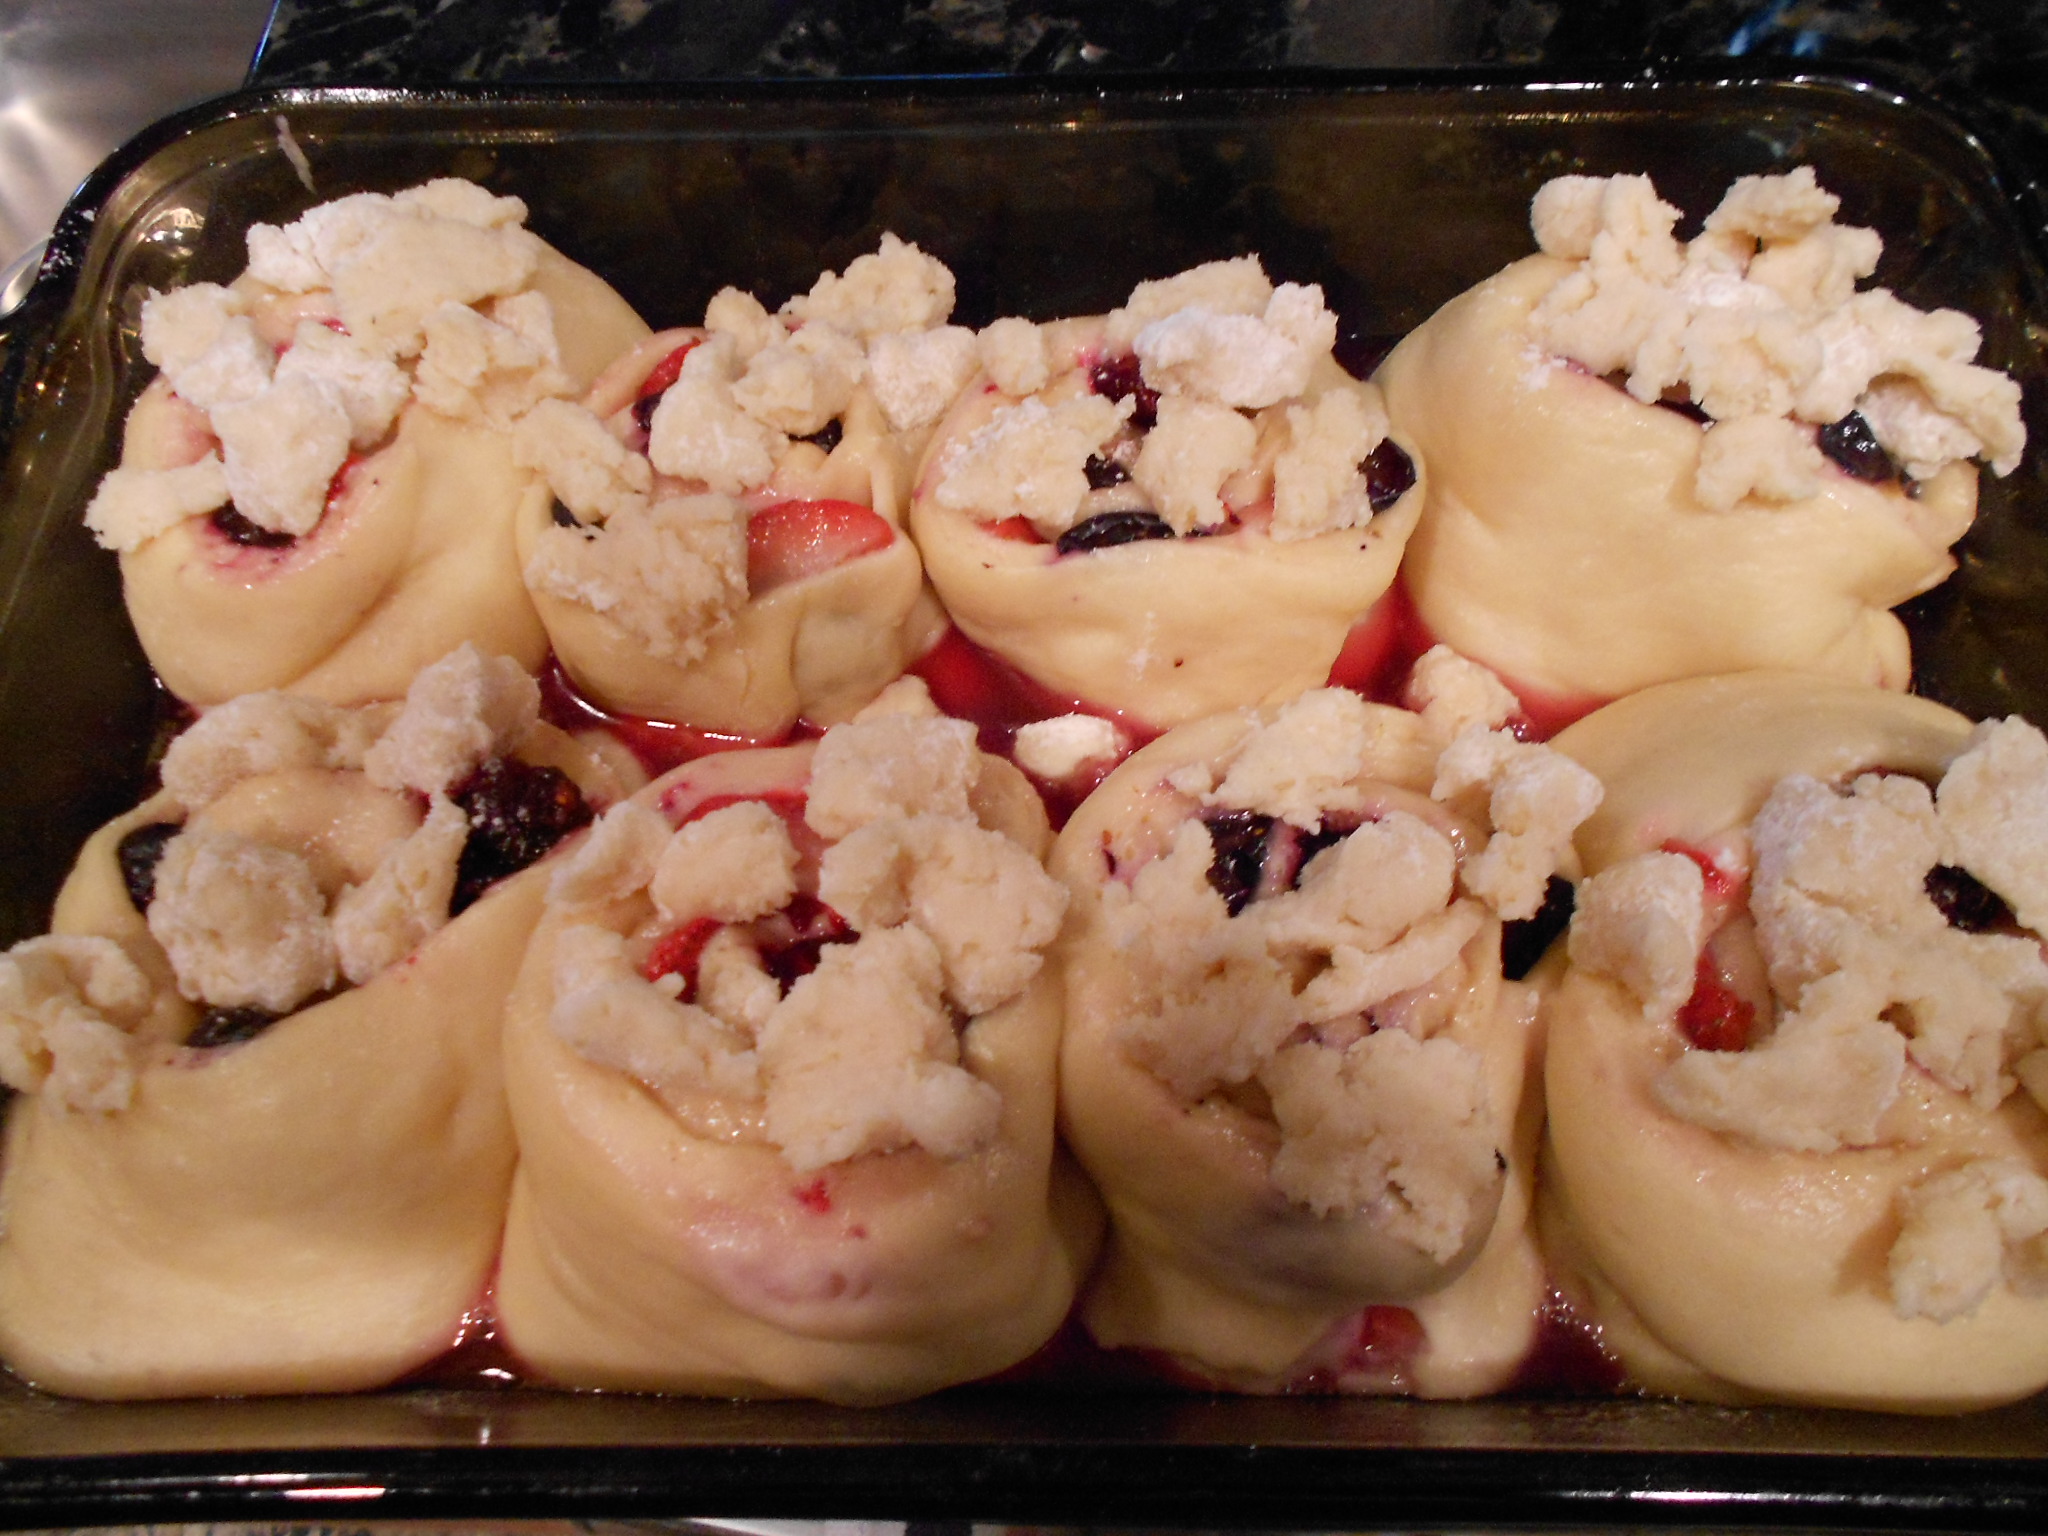
Add the crumble to your berry version!

DSCN2702

Once the oven reaches temperature, you can bake each pan alone or side by side, you decide. It takes between 17 to 25 minutes to bake and if you notice over browning, just cover with foil until done. Best way to check for "done-ness" is seeing if the center of the rolls bounce back when slightly touched.

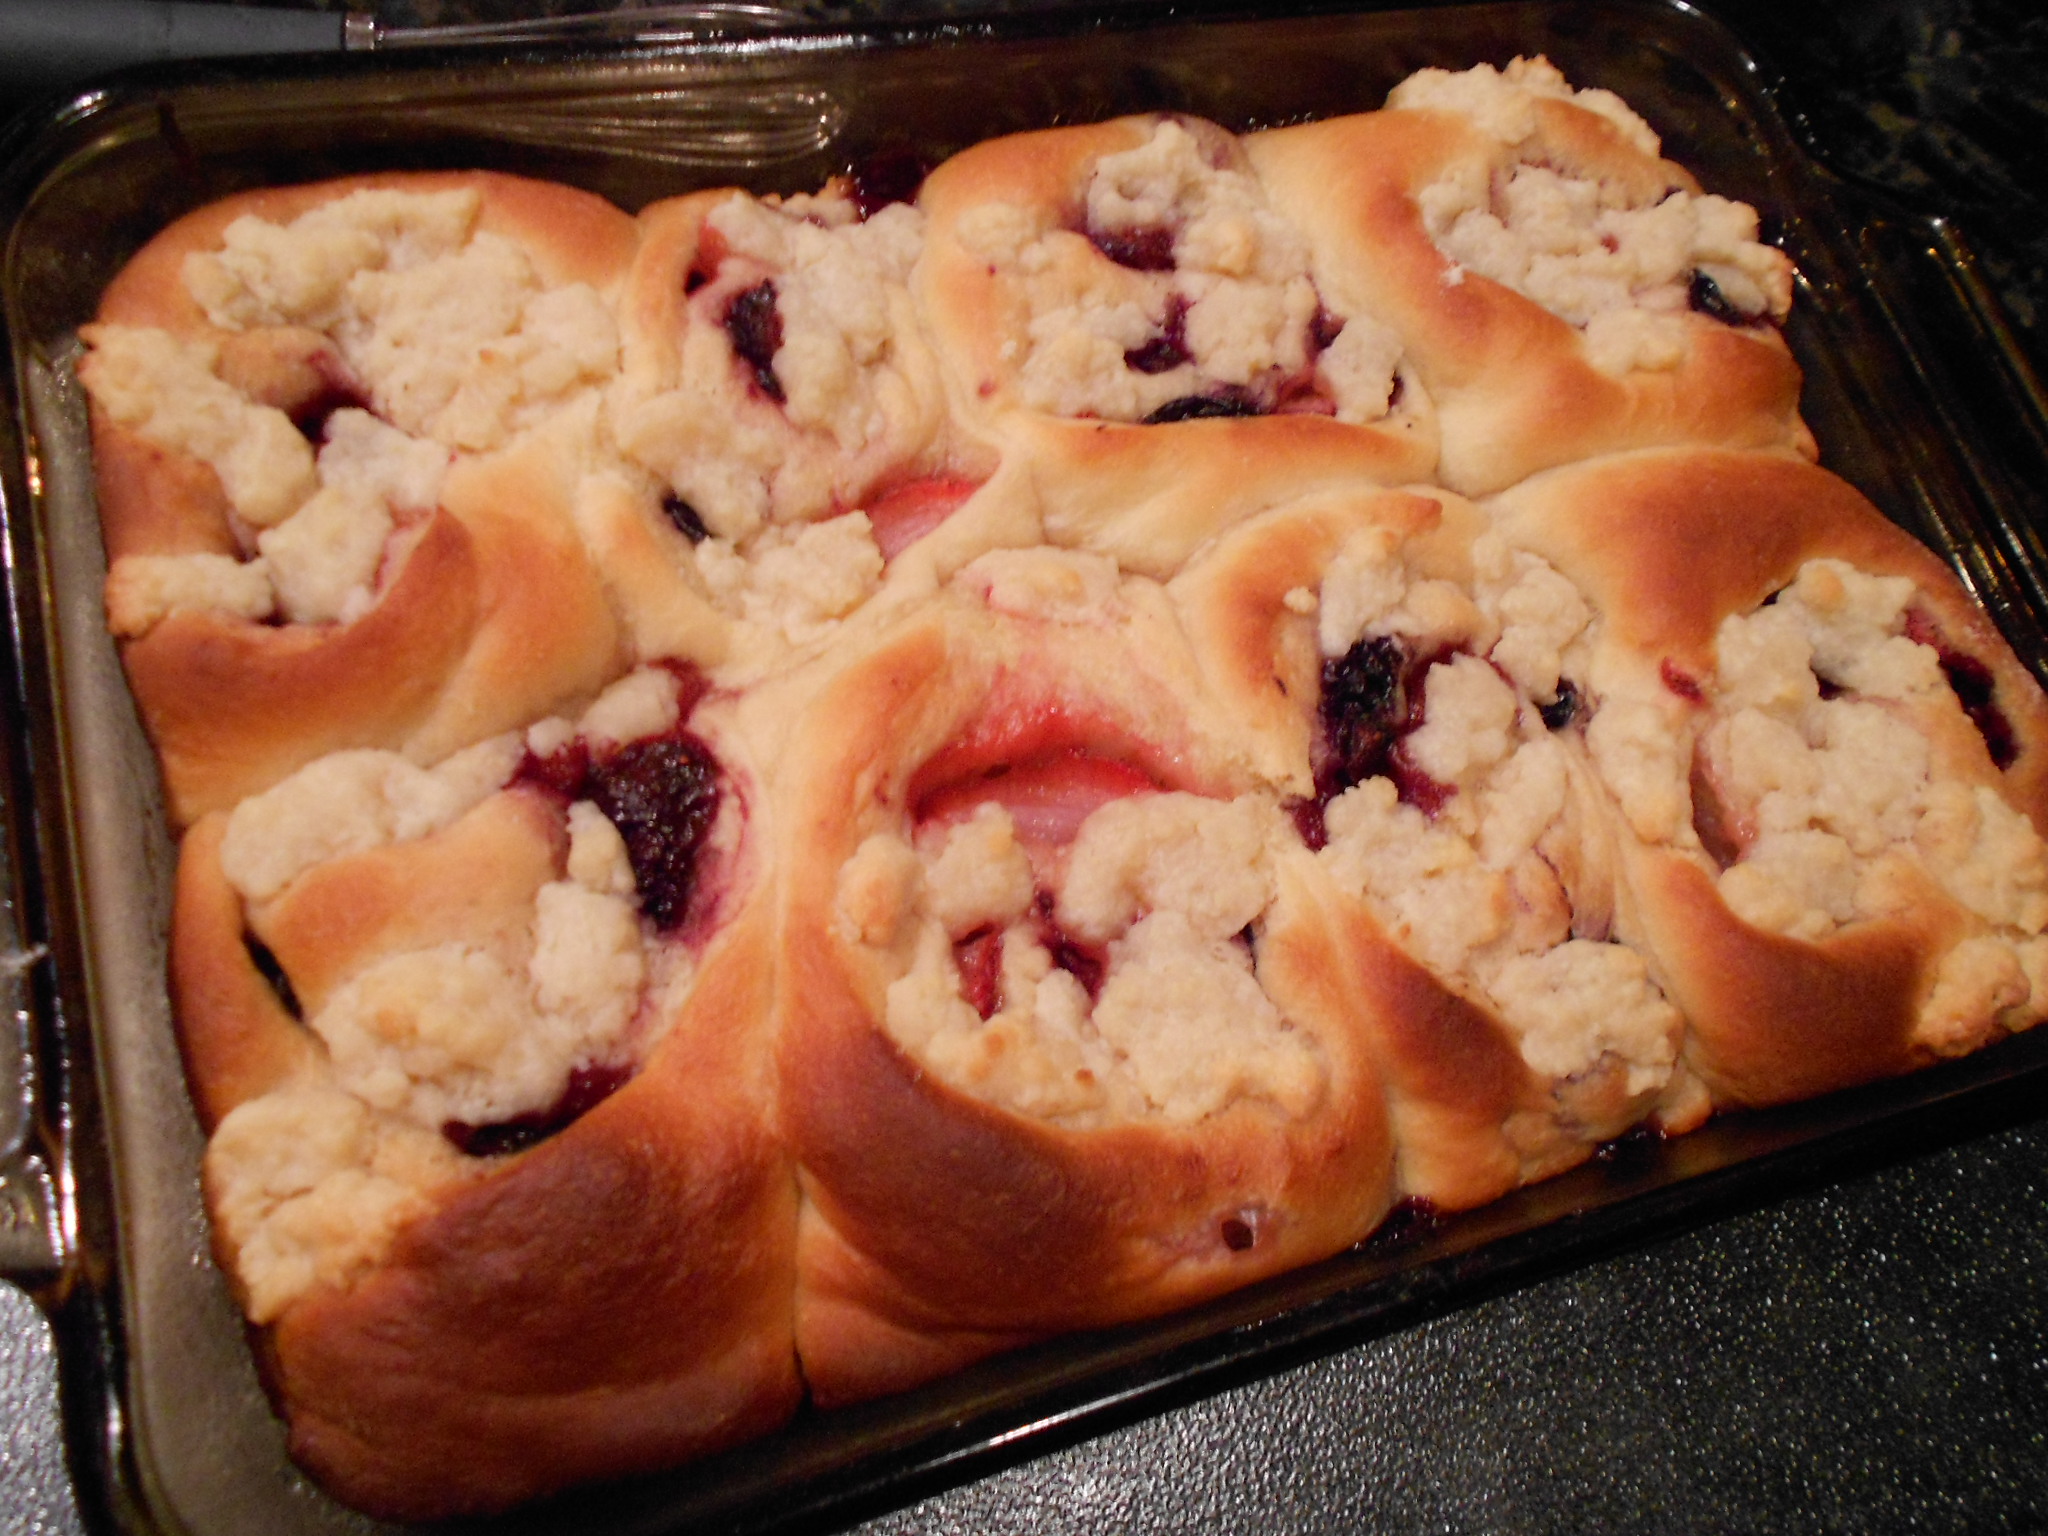
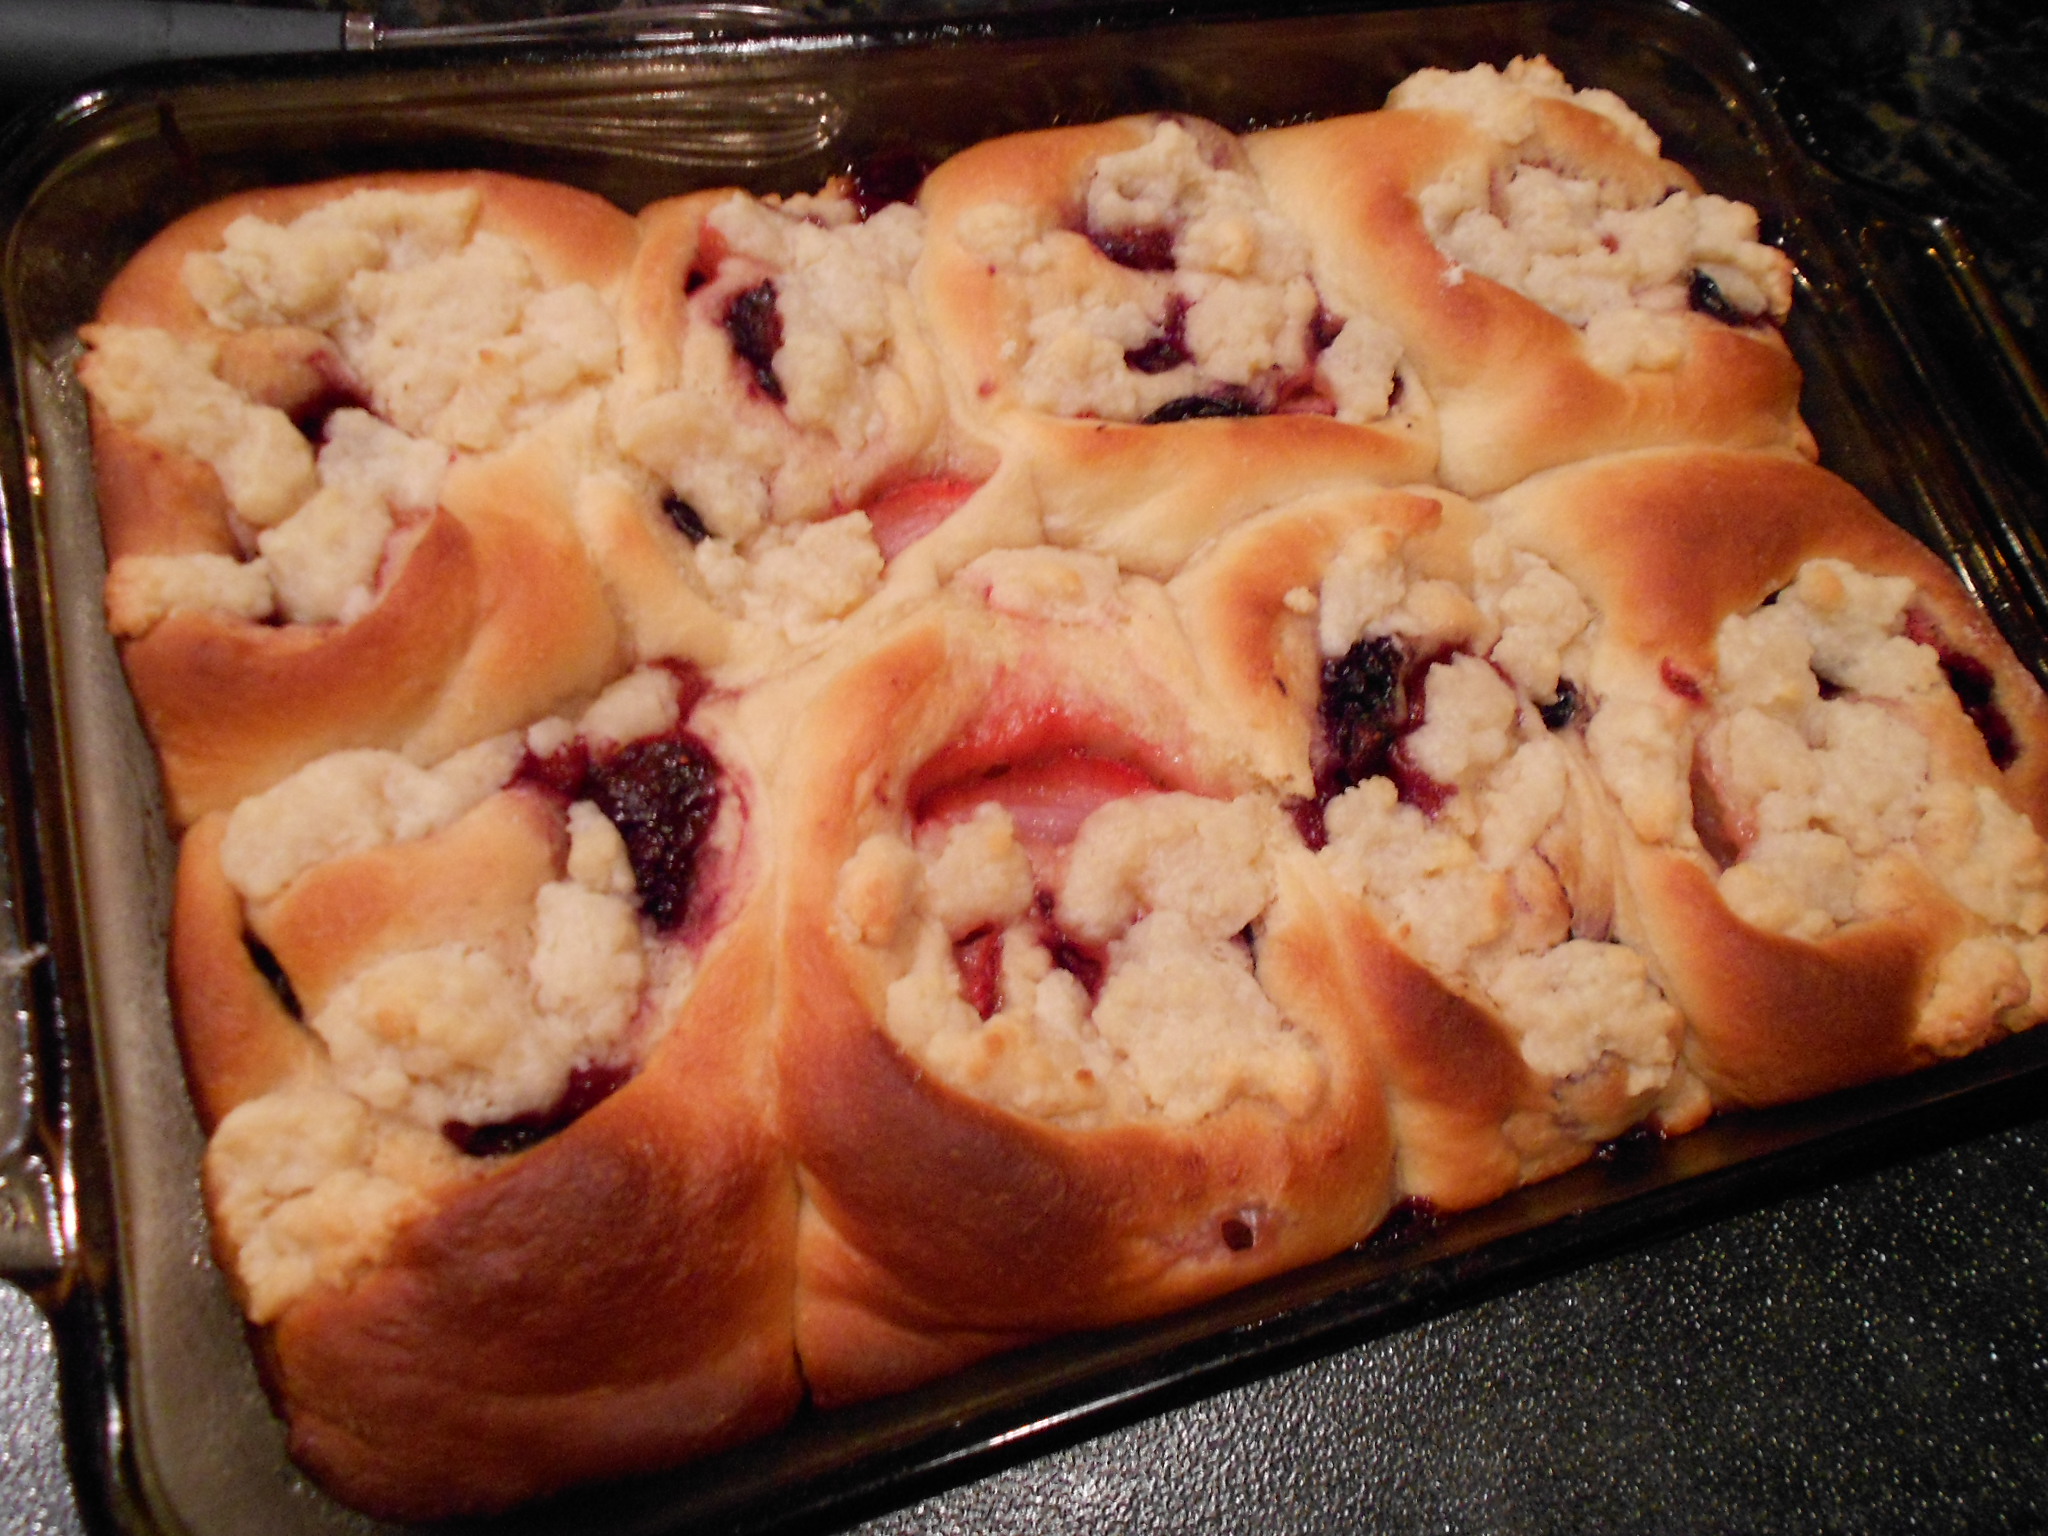
Berry Rolls baked-

DSCN2705

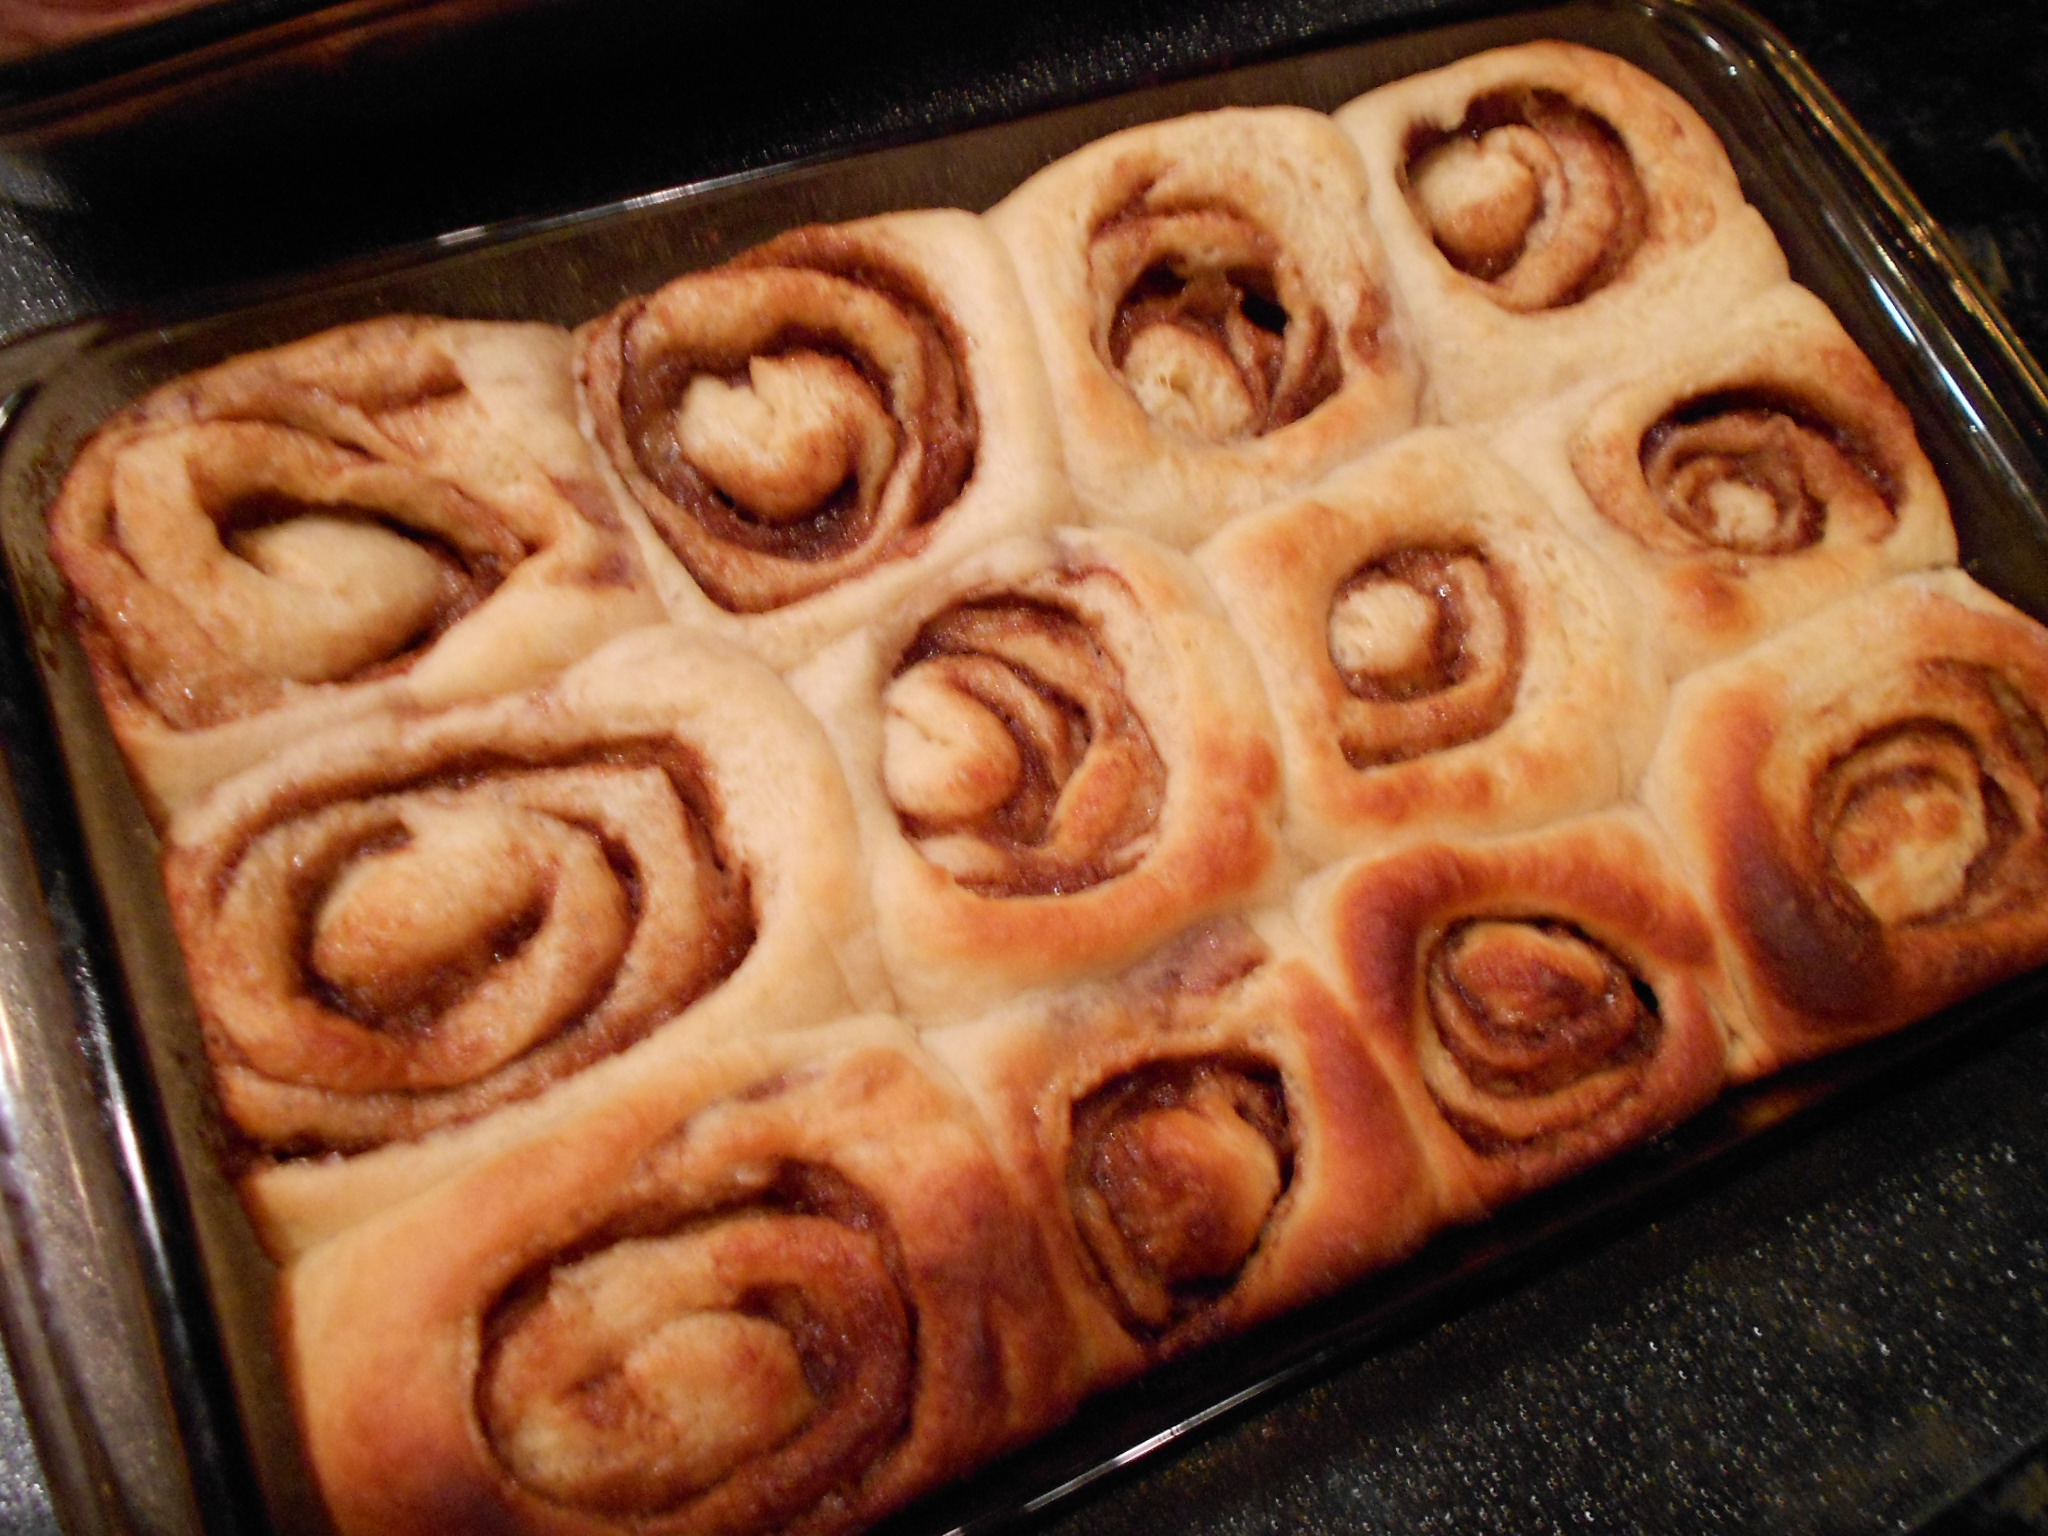
Cinnamon Rolls baked-

DSCN2707

When the rolls have baked, you allow them to cool a bit in the pan for about 15 to 20 minutes. You can then add the cream cheese icing to all and serve.

Note- I never add icing to all at first because I want them to be dry on top when stored in the fridge. I wrap them individually in plastic wrap once they have cooled. To serve later, unwrap and place roll on a plate and warm in microwave (10 to 20 seconds), then add the icing. The warmth will aid in helping the icing spread since you store it in the fridge until needed again. I do this to preserve the texture of the dough. When they are wrapped in plastic, if they had icing, everything sticks to the plastic and creates a mess anyways so this way it does not :)

Enjoy!

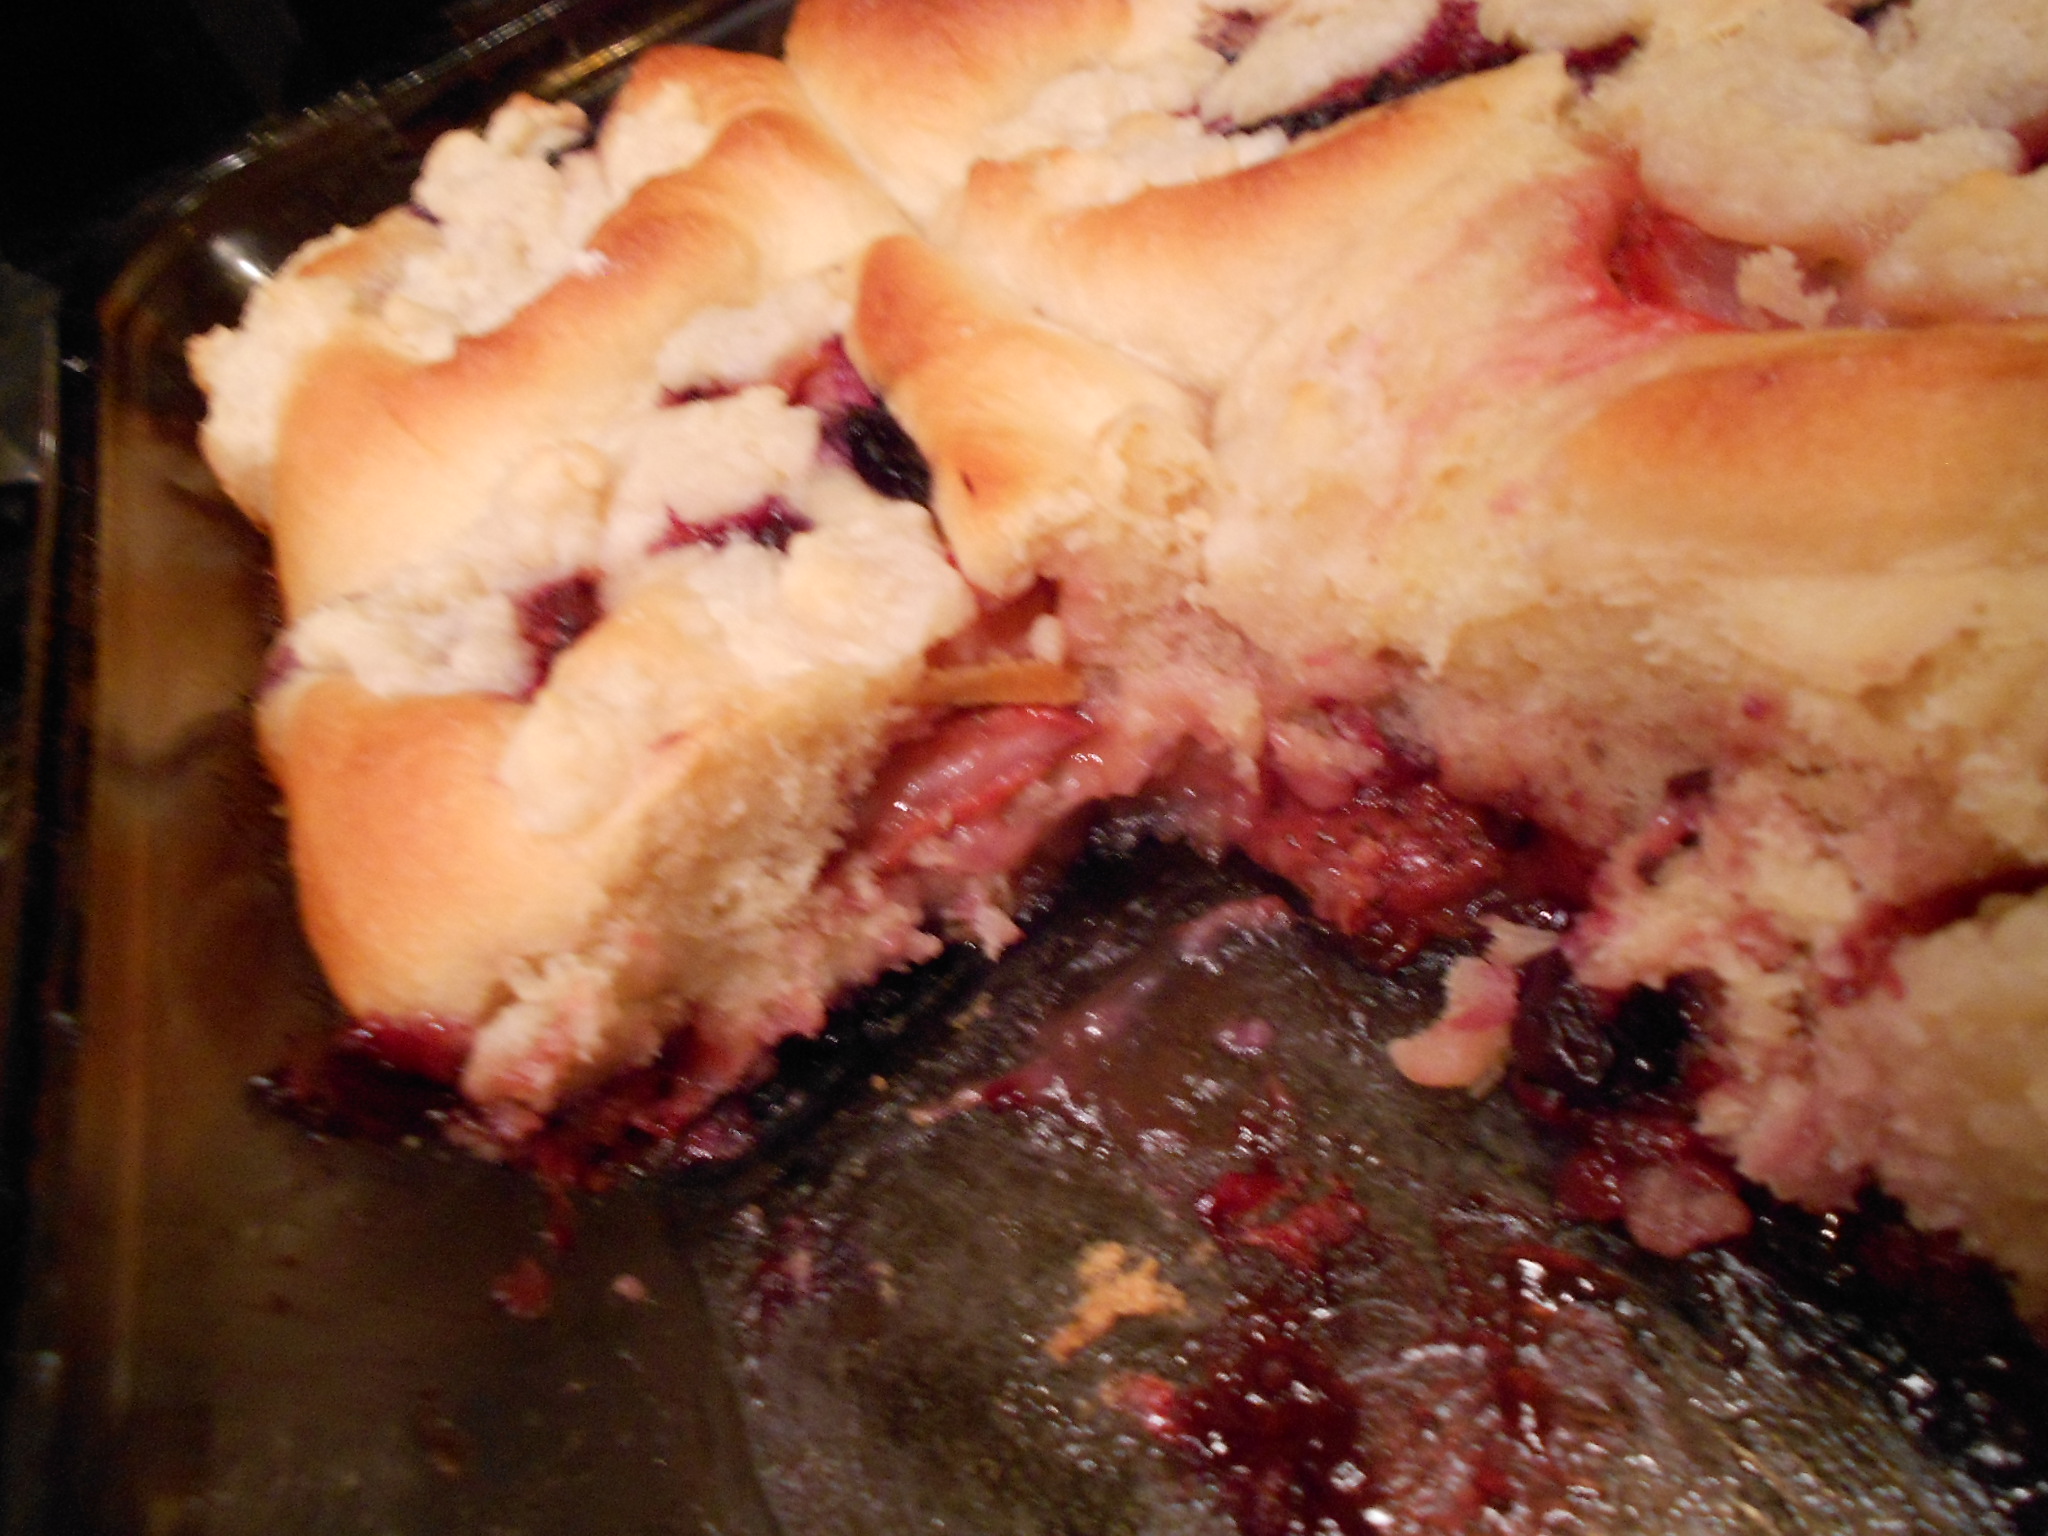
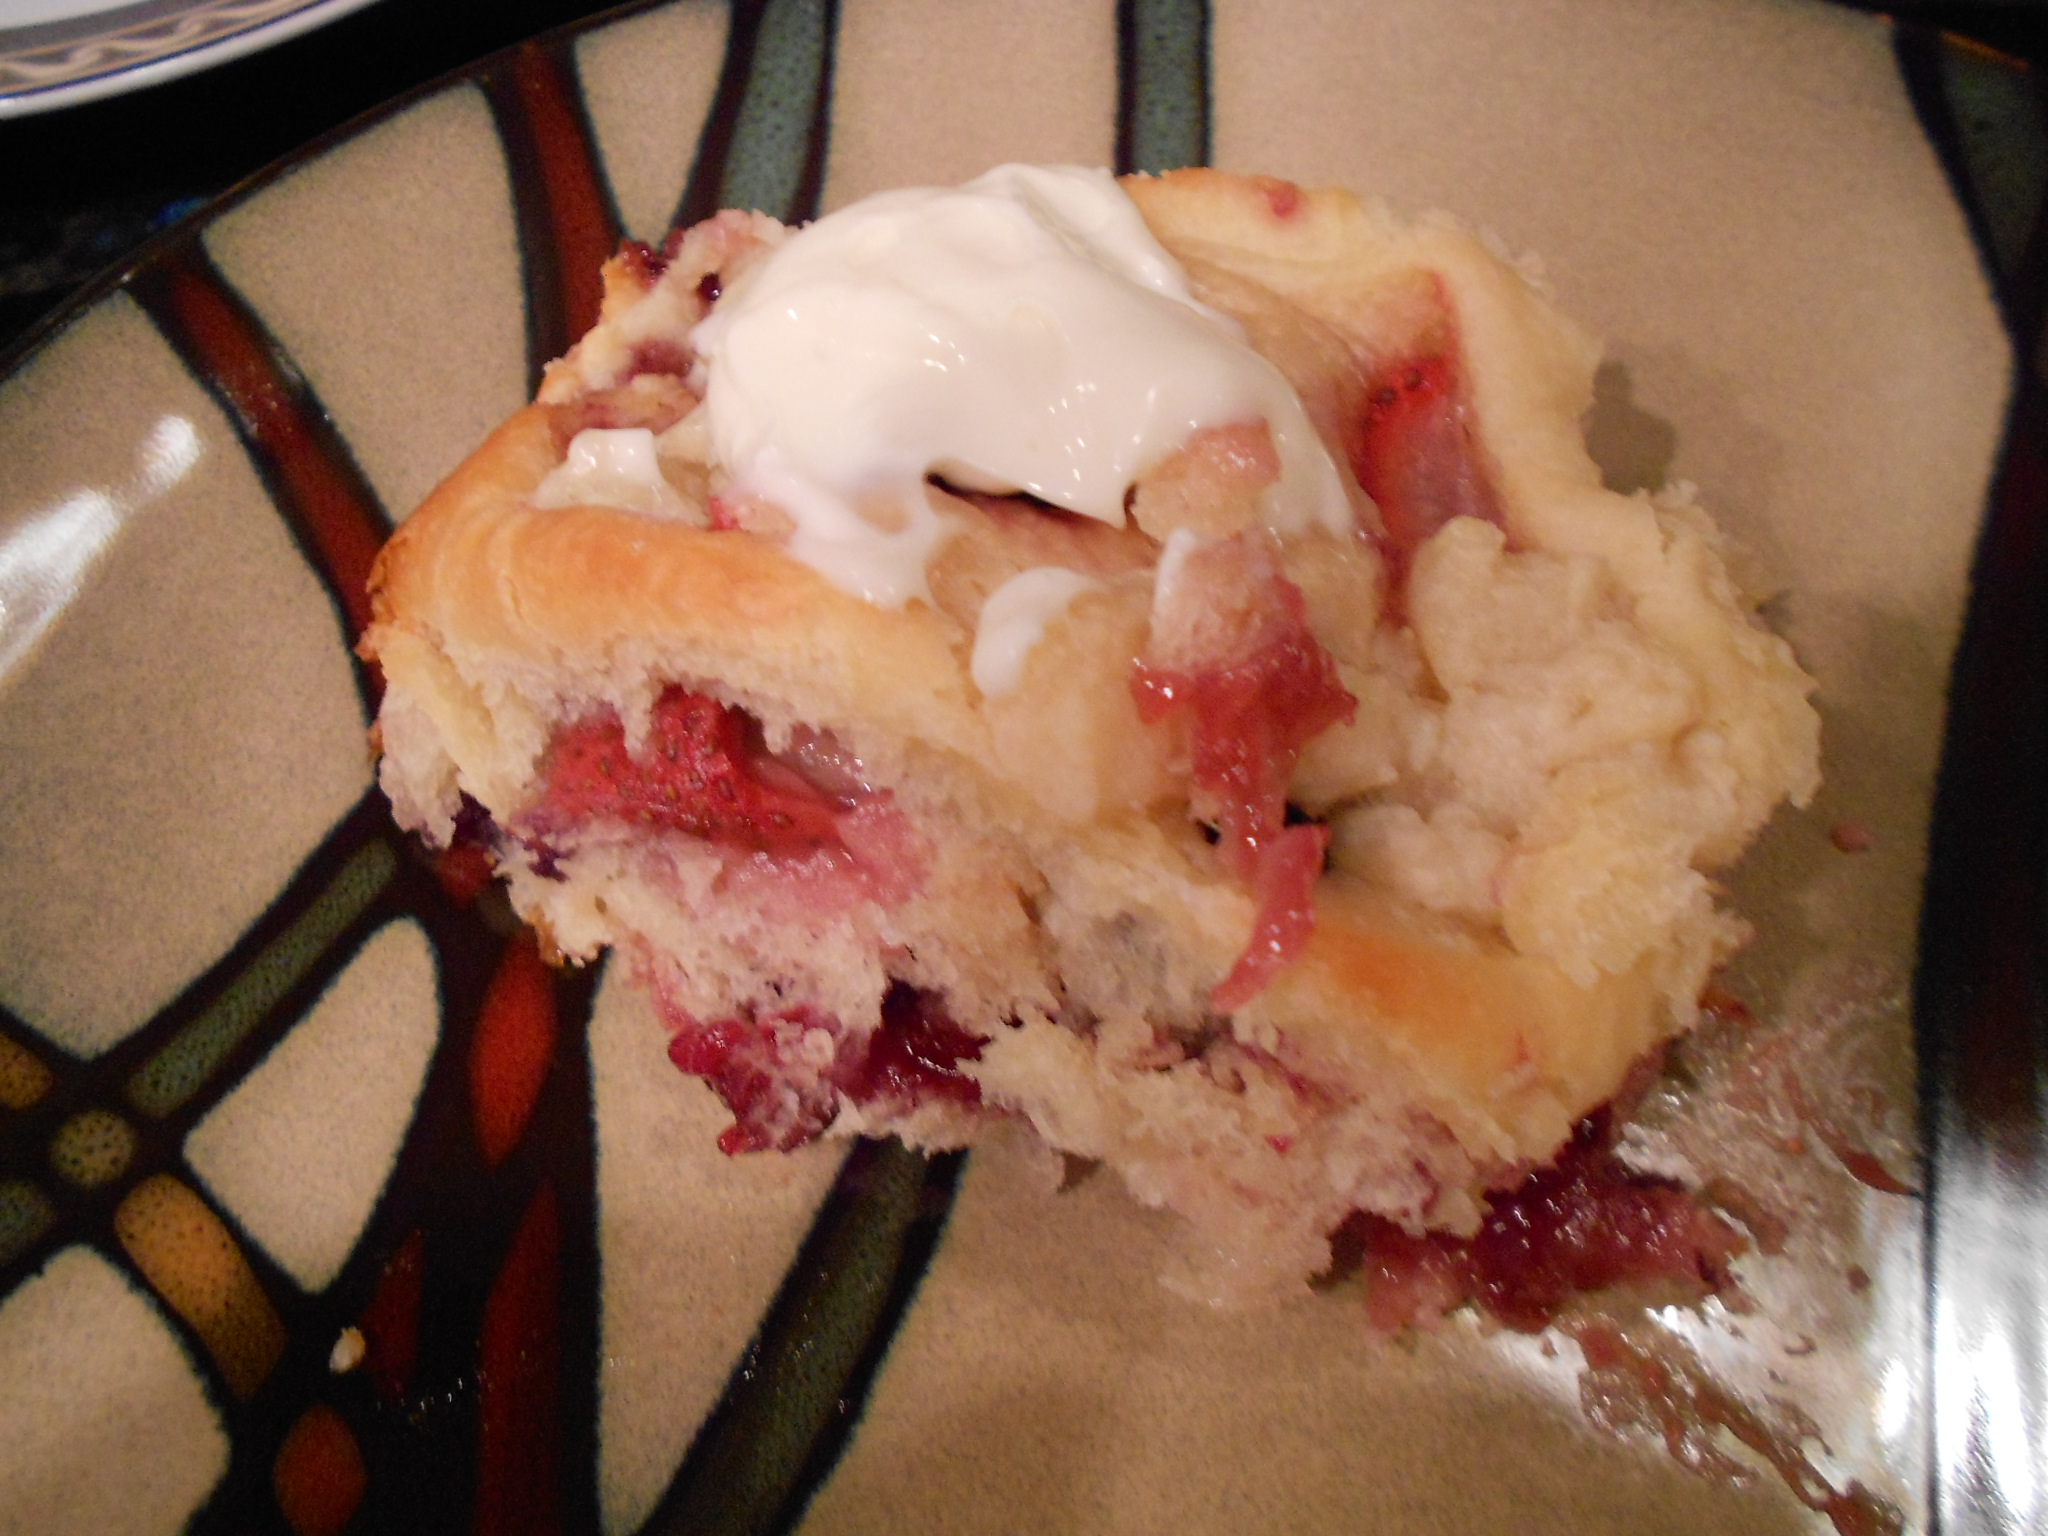
Triple Berry Rolls Pics-

DSCN2712

DSCN2714


DSCN2727

DSCN2718


Cinnamon Rolls Pics-

DSCN2711

DSCN2713


DSCN2717DSCN2716

Tuesday, May 7, 2013

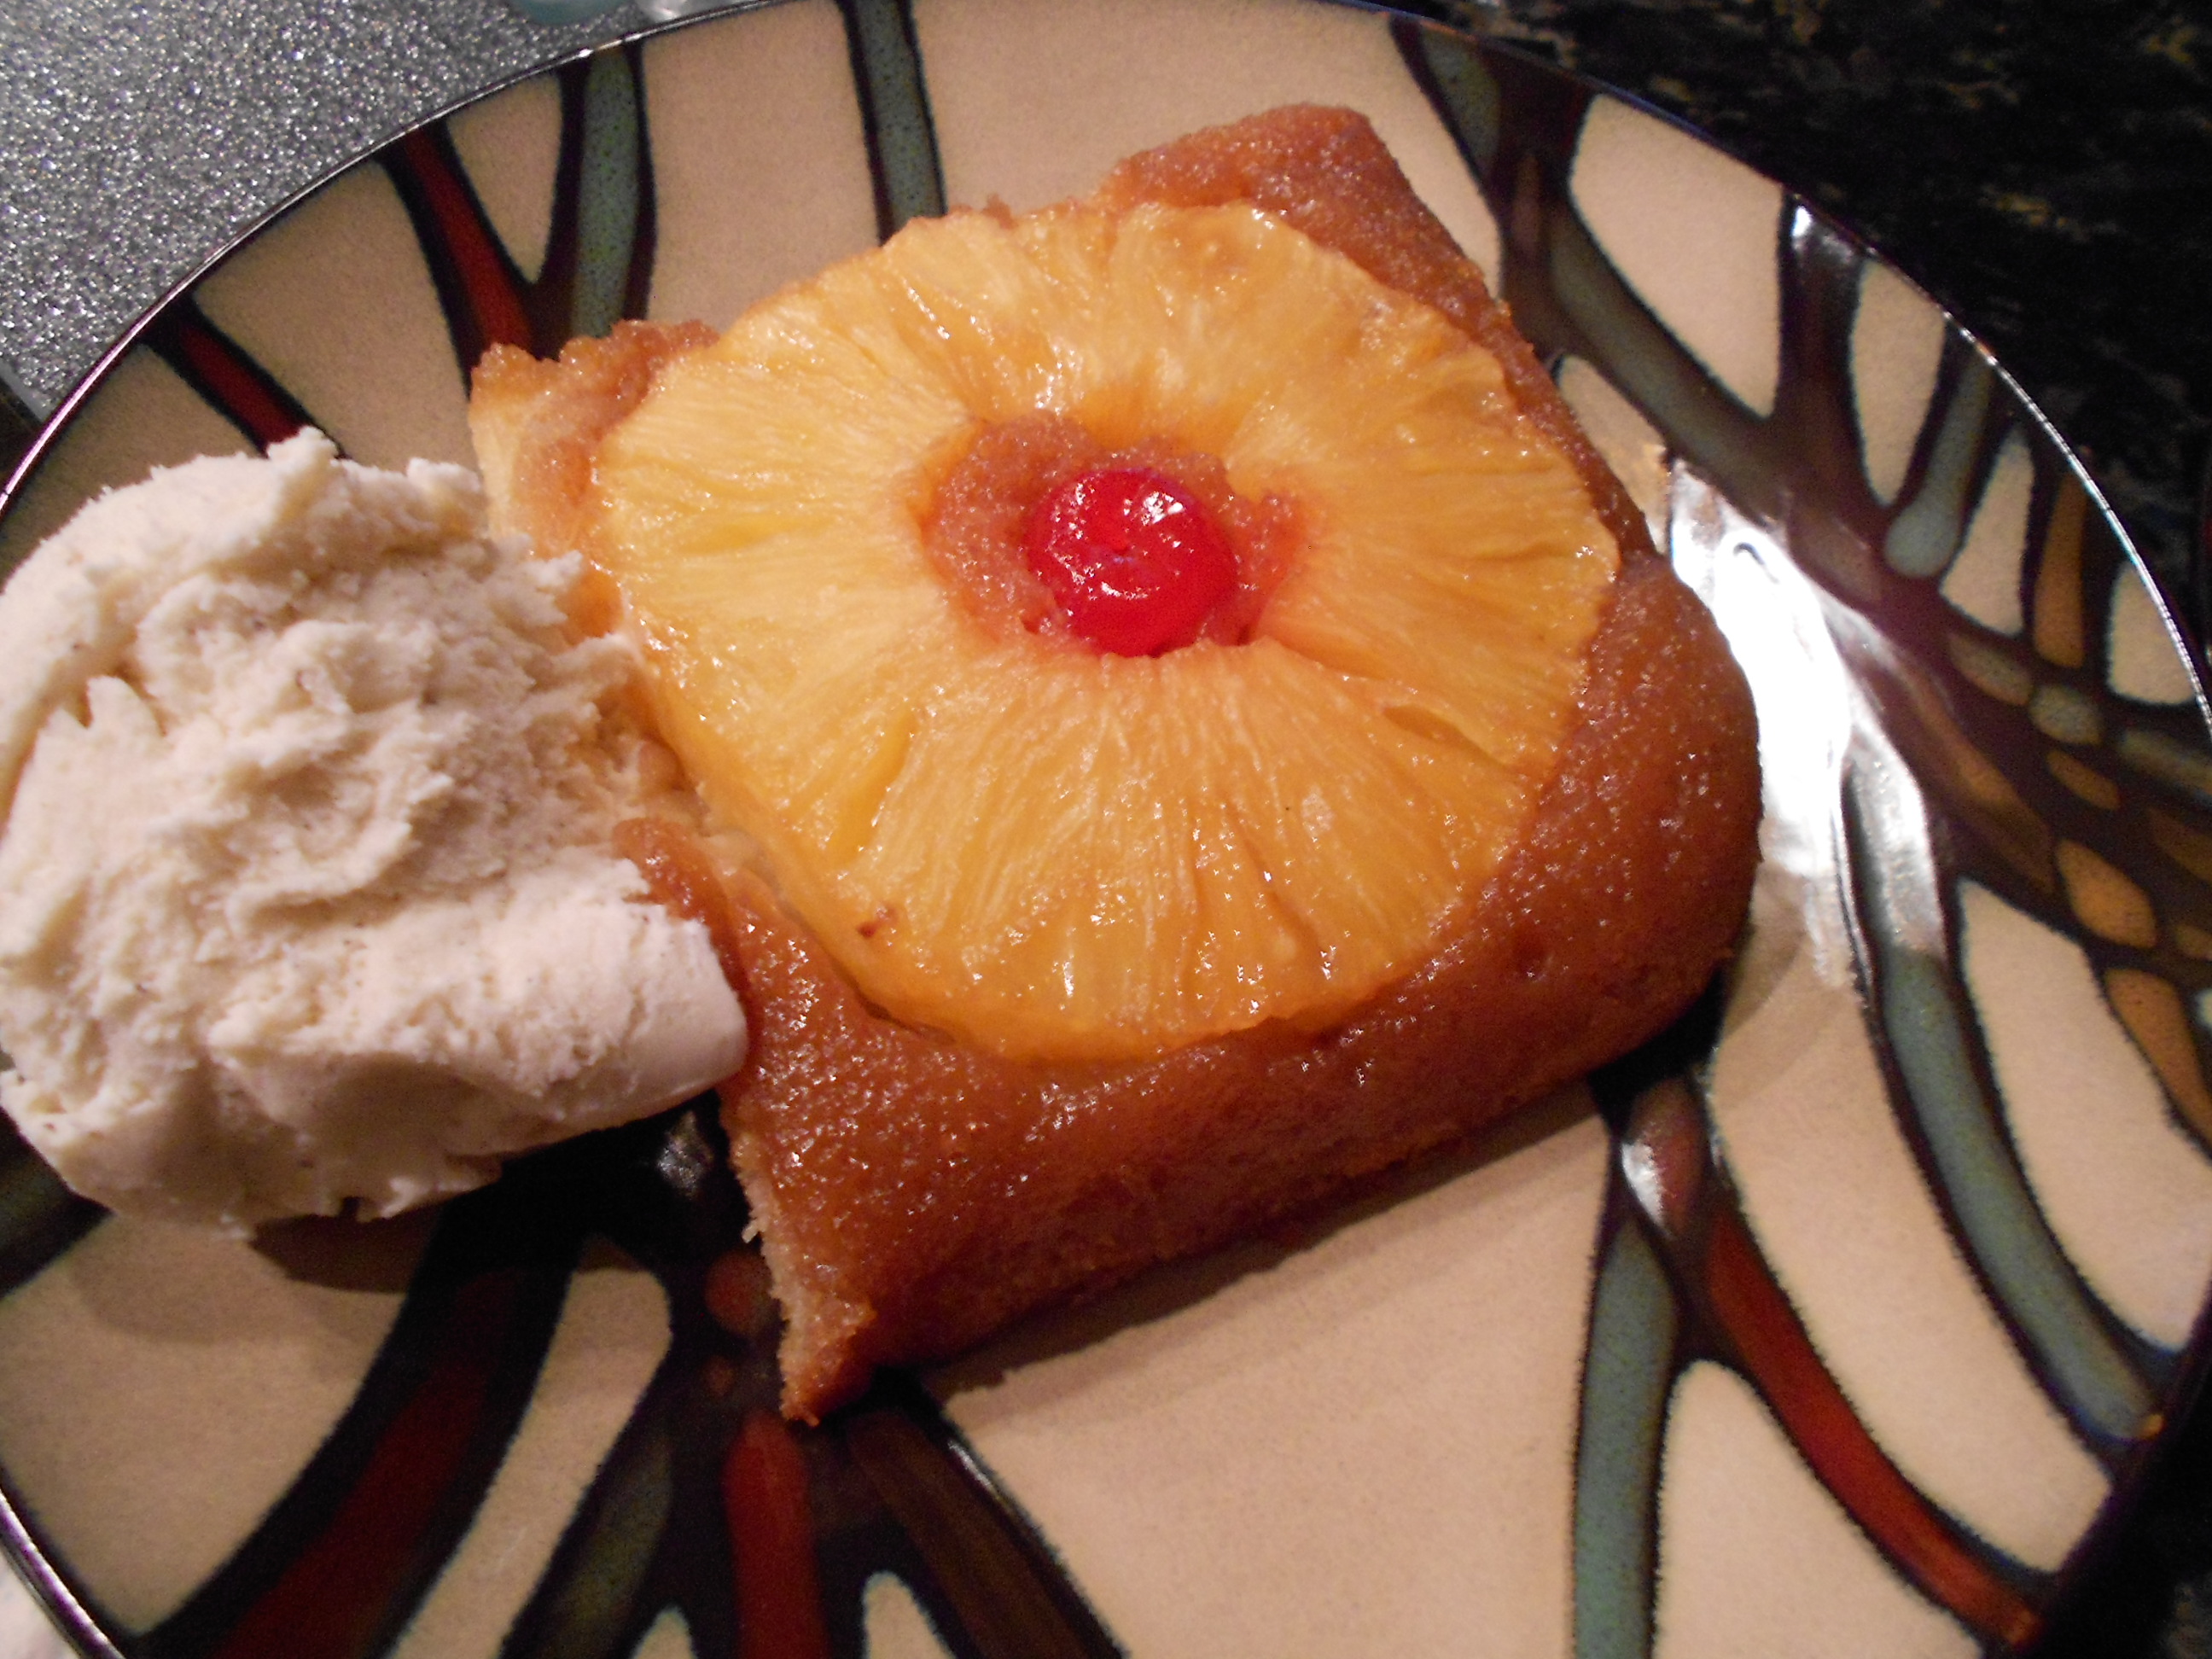
Fresh Pineapple Upside Down Buttermilk Cake

DSCN2227

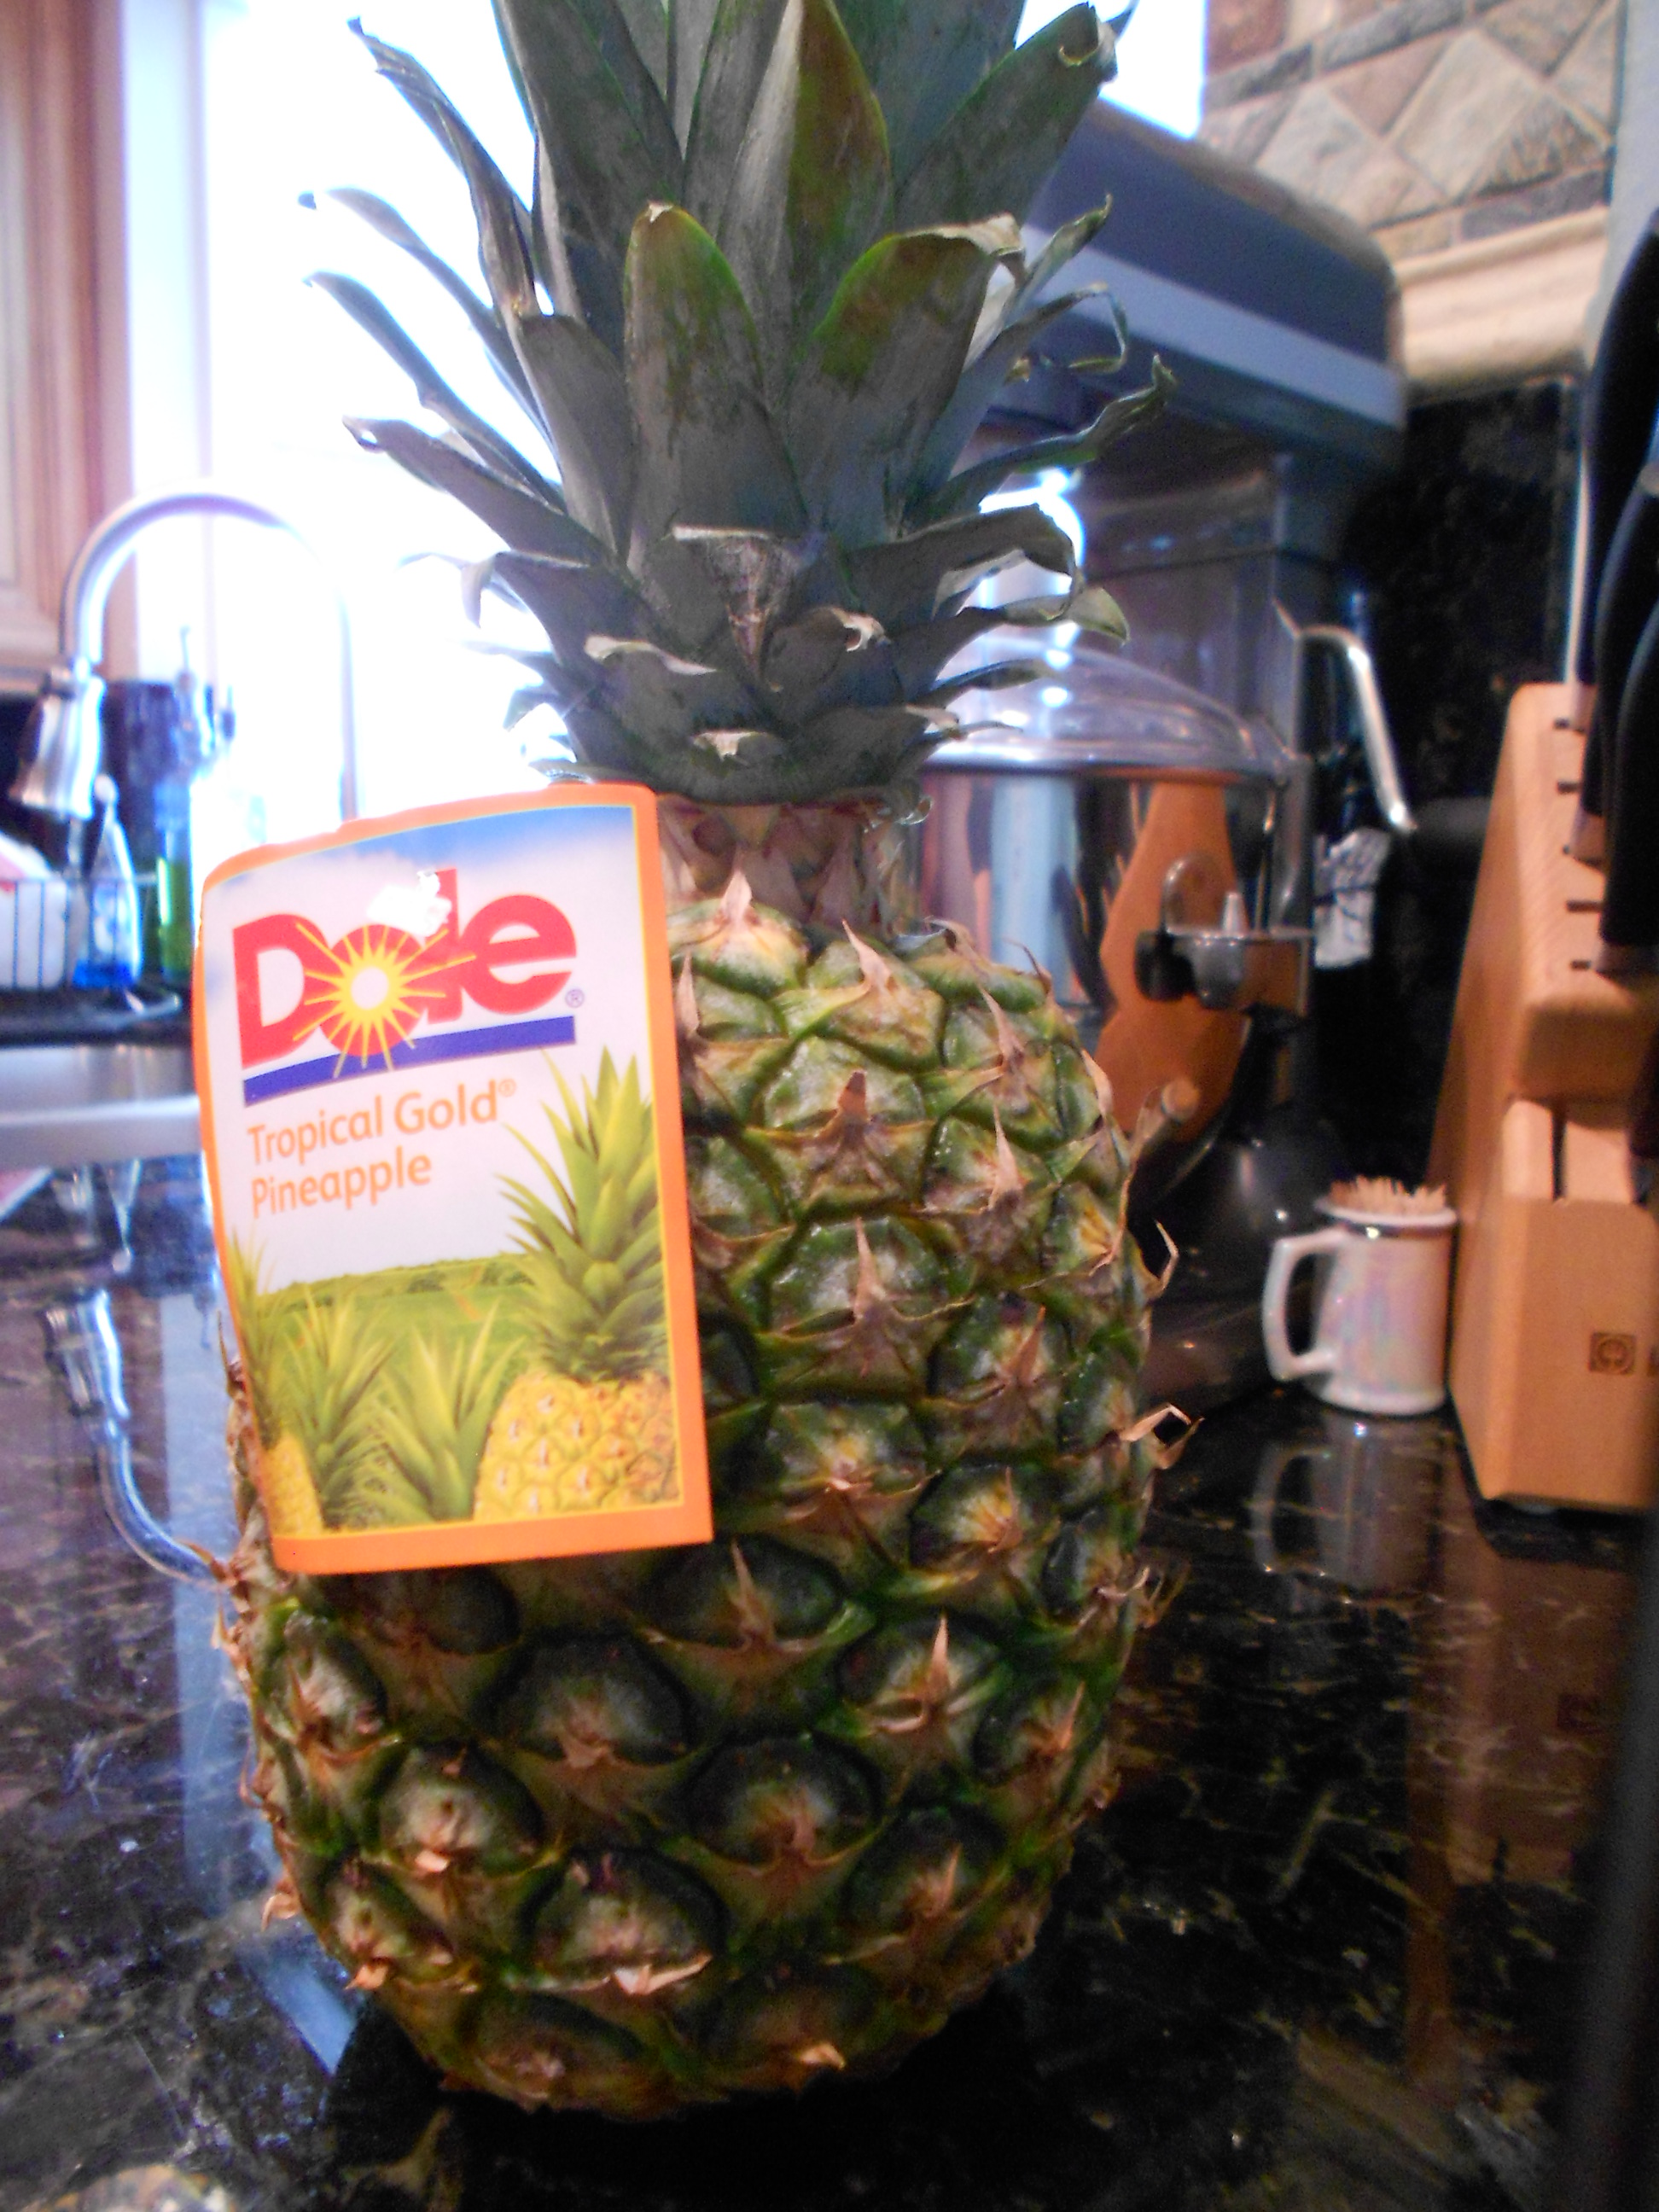
Everyone loves pineapple upside down cake. If someone doesn't, then they haven't had it made right. Little things make the biggest differences. Like, I always just used canned Pineapple. One day I had a fresh pineapple on the counter and decided to try my recipe with it. Best ever, and I have never gone back! One of my easier cakes to make and perfect during the warmer months. Bakes quickly and you can serve it warm, room temperature or even cold. The buttermilk keeps the cake moist and gives it a unique flavor that is not typically associated with cakes. So, I hope this breaks up the usual and you enjoy it as much as we do.

Let's begin....

Glaze:

  • 4 tablespoons of Butter

  • 3 tablespoons of Maple Syrup

  • 1/2 cup of Brown Sugar


Fruit:

  • 1 whole fresh Pineapple (canned may be used if needed)

  • 6 Maraschino cherries


Cake Batter:

  • 1/2 cup Unsalted Butter (softened)

  • 2/3 cup of Sugar

  • 2 large Eggs (room temperature)

  • 2/3 cup of Buttermilk (room temperature)

  • 1 tablespoon of Maple Syrup

  • 1/2 teaspoon of Vanilla Extract

  • 1/2 a Vanilla Bean

  • 1 1/2 cups All-Purpose Flour

  • 1/2 teaspoon of Salt

  • 1/2 teaspoon of Baking Powder

  • 1/2 teaspoon Baking Soda

  • 1/4 teaspoon (or to taste) of Cinnamon and Nutmeg


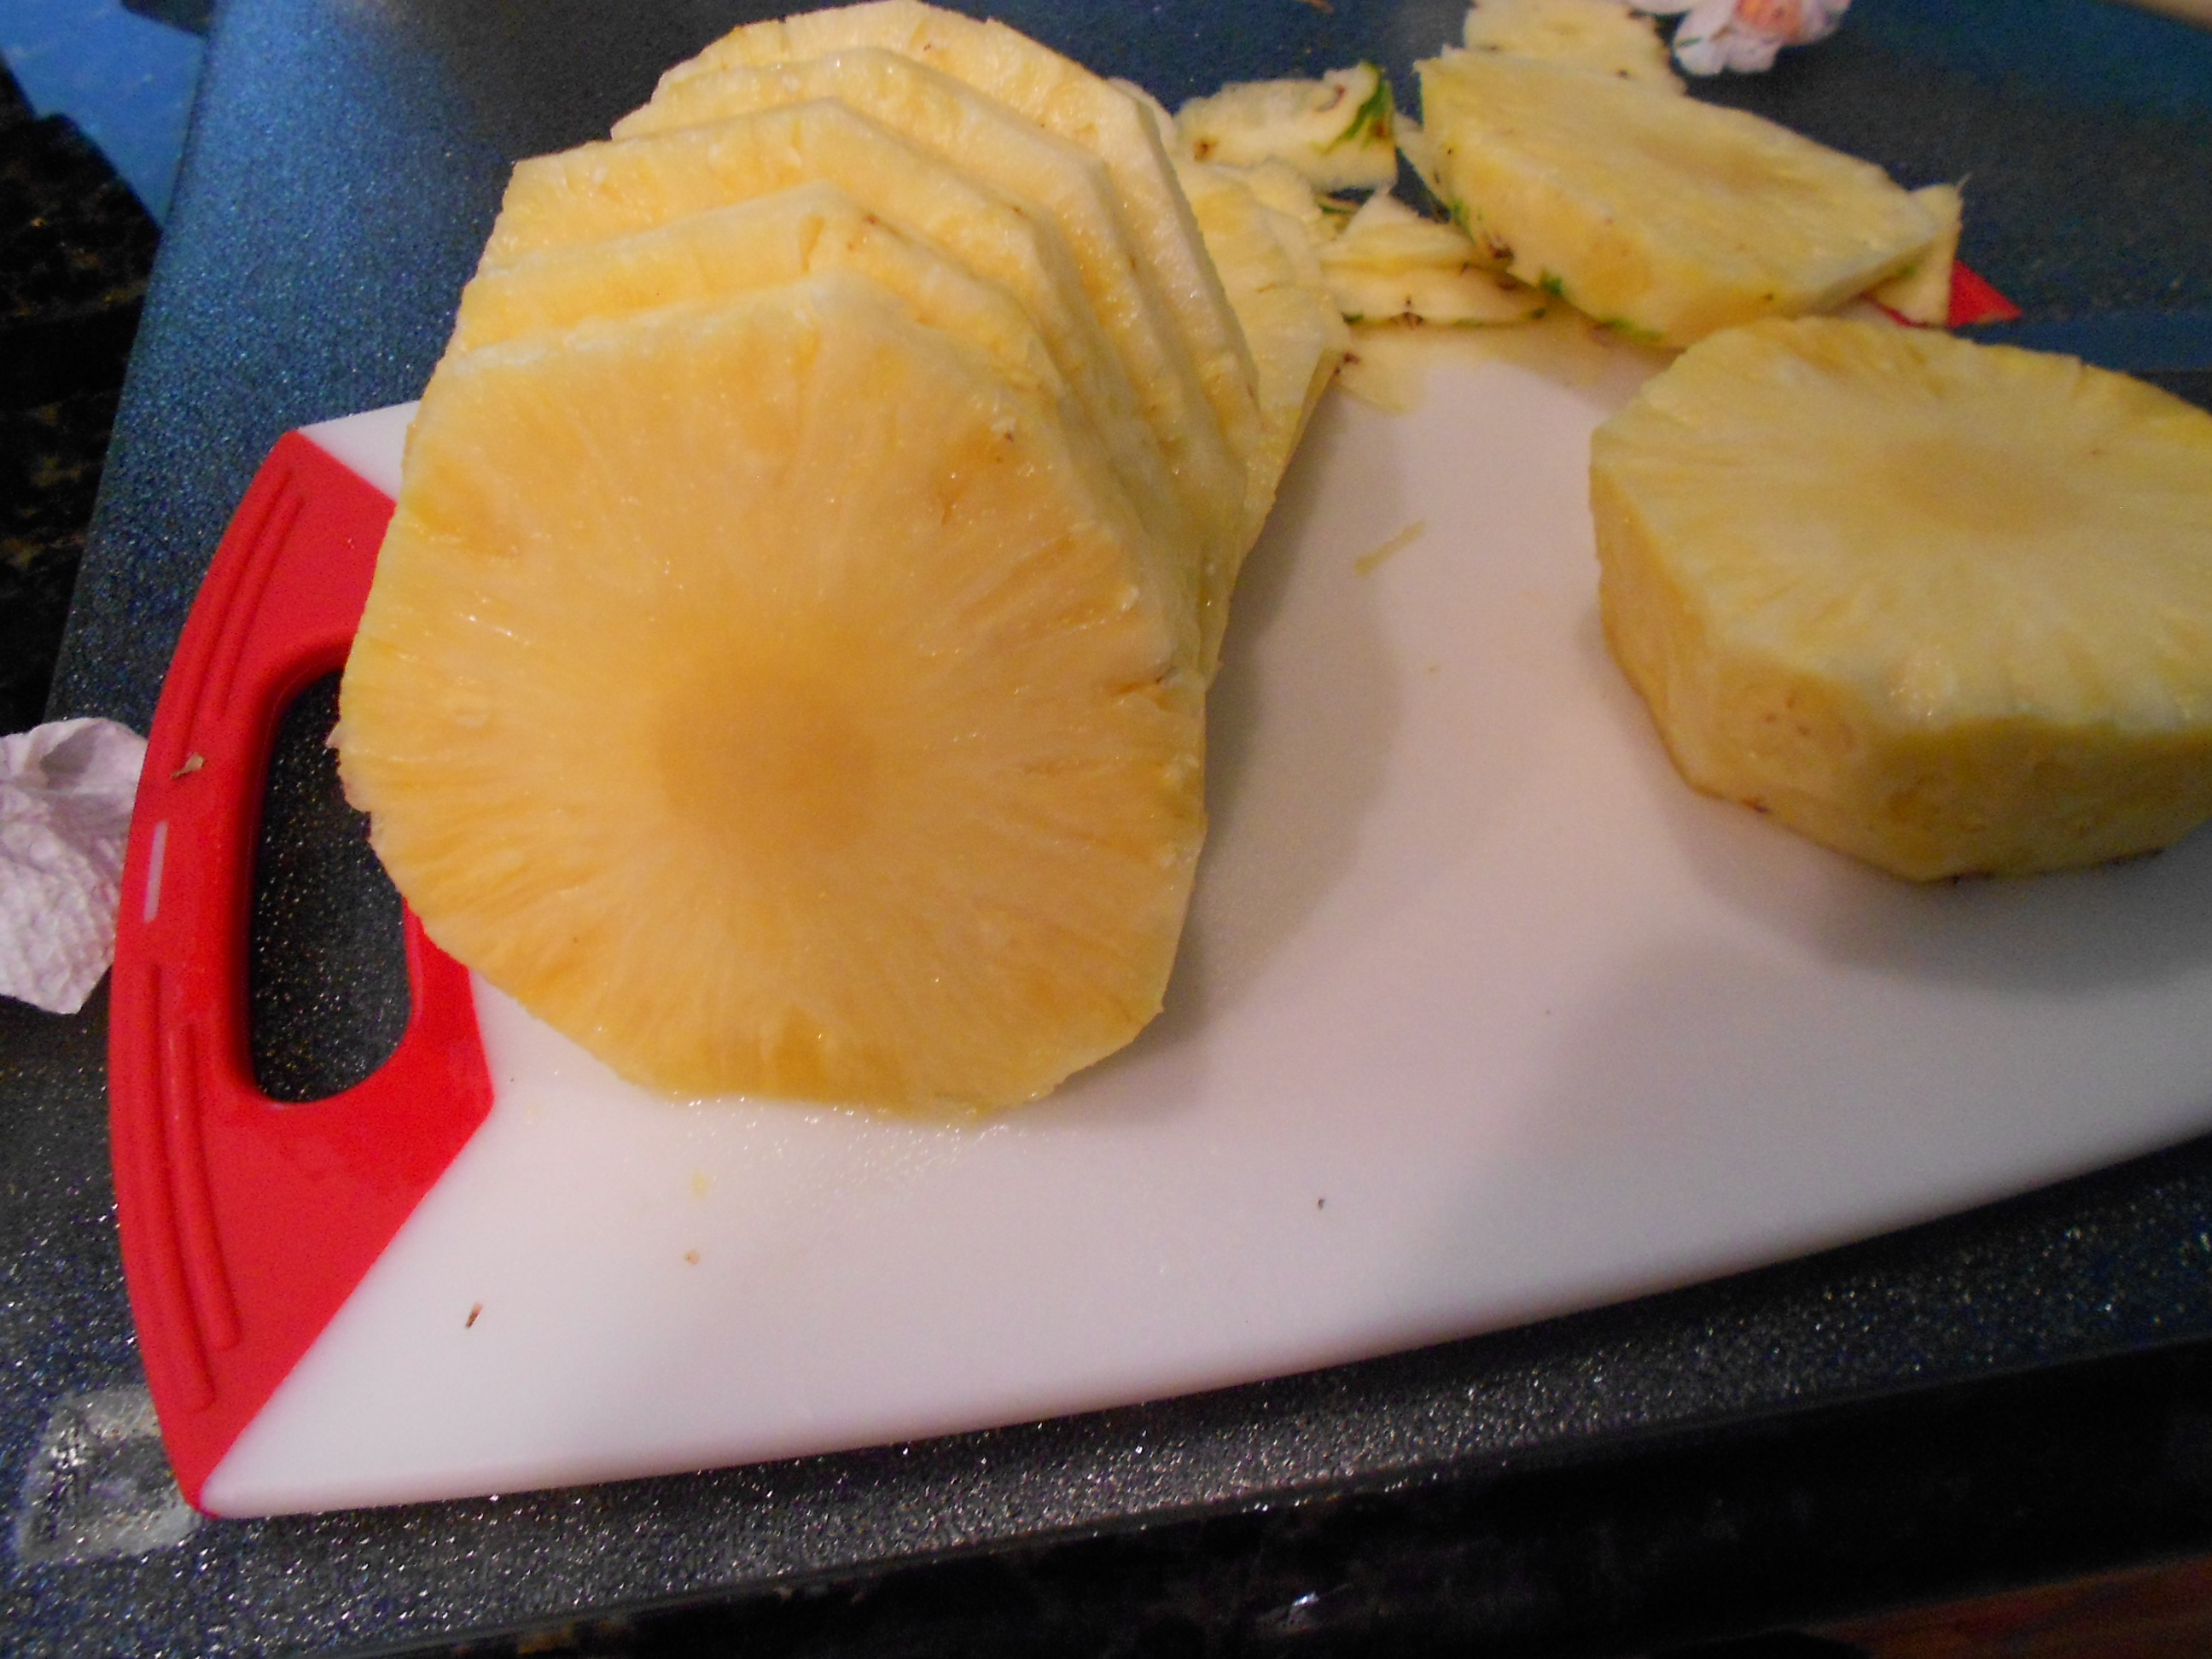
First you start by cutting your pineapple slices and coring the rounds. Set those aside and begin making your glaze.

DSCN2119

DSCN2128

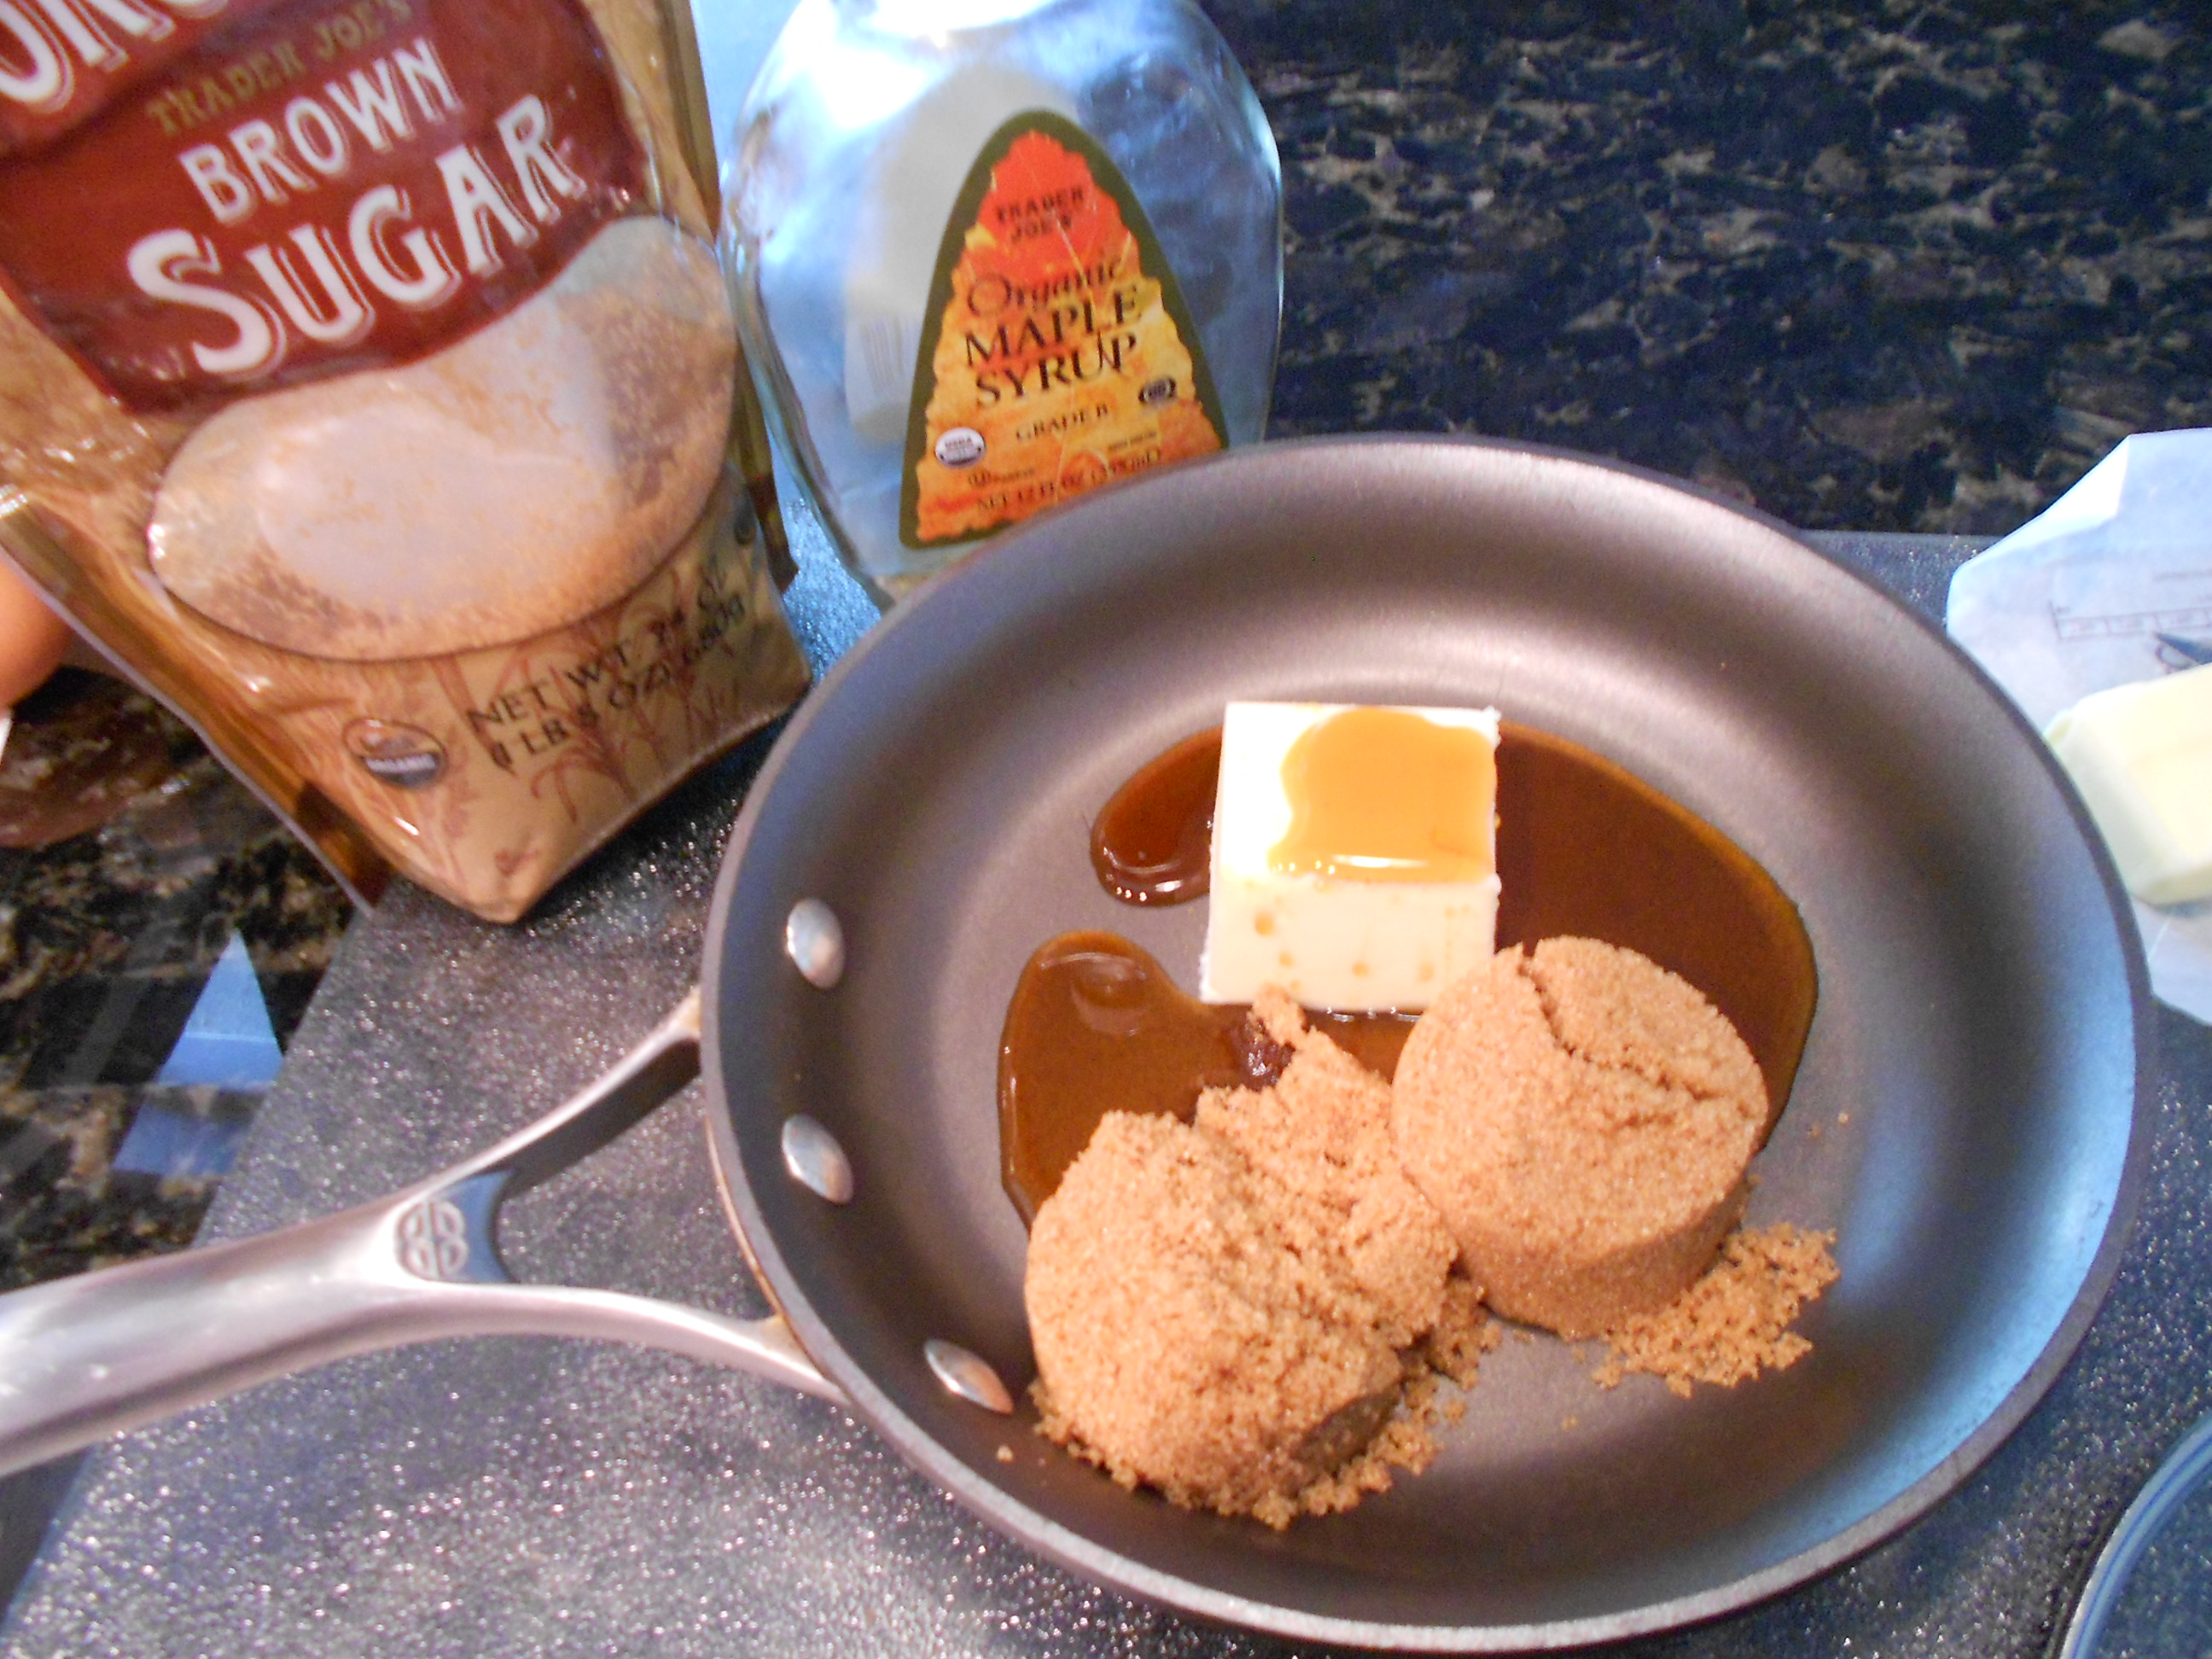
Add your butter, brown sugar and maple syrup to a nonstick pan.

DSCN2122

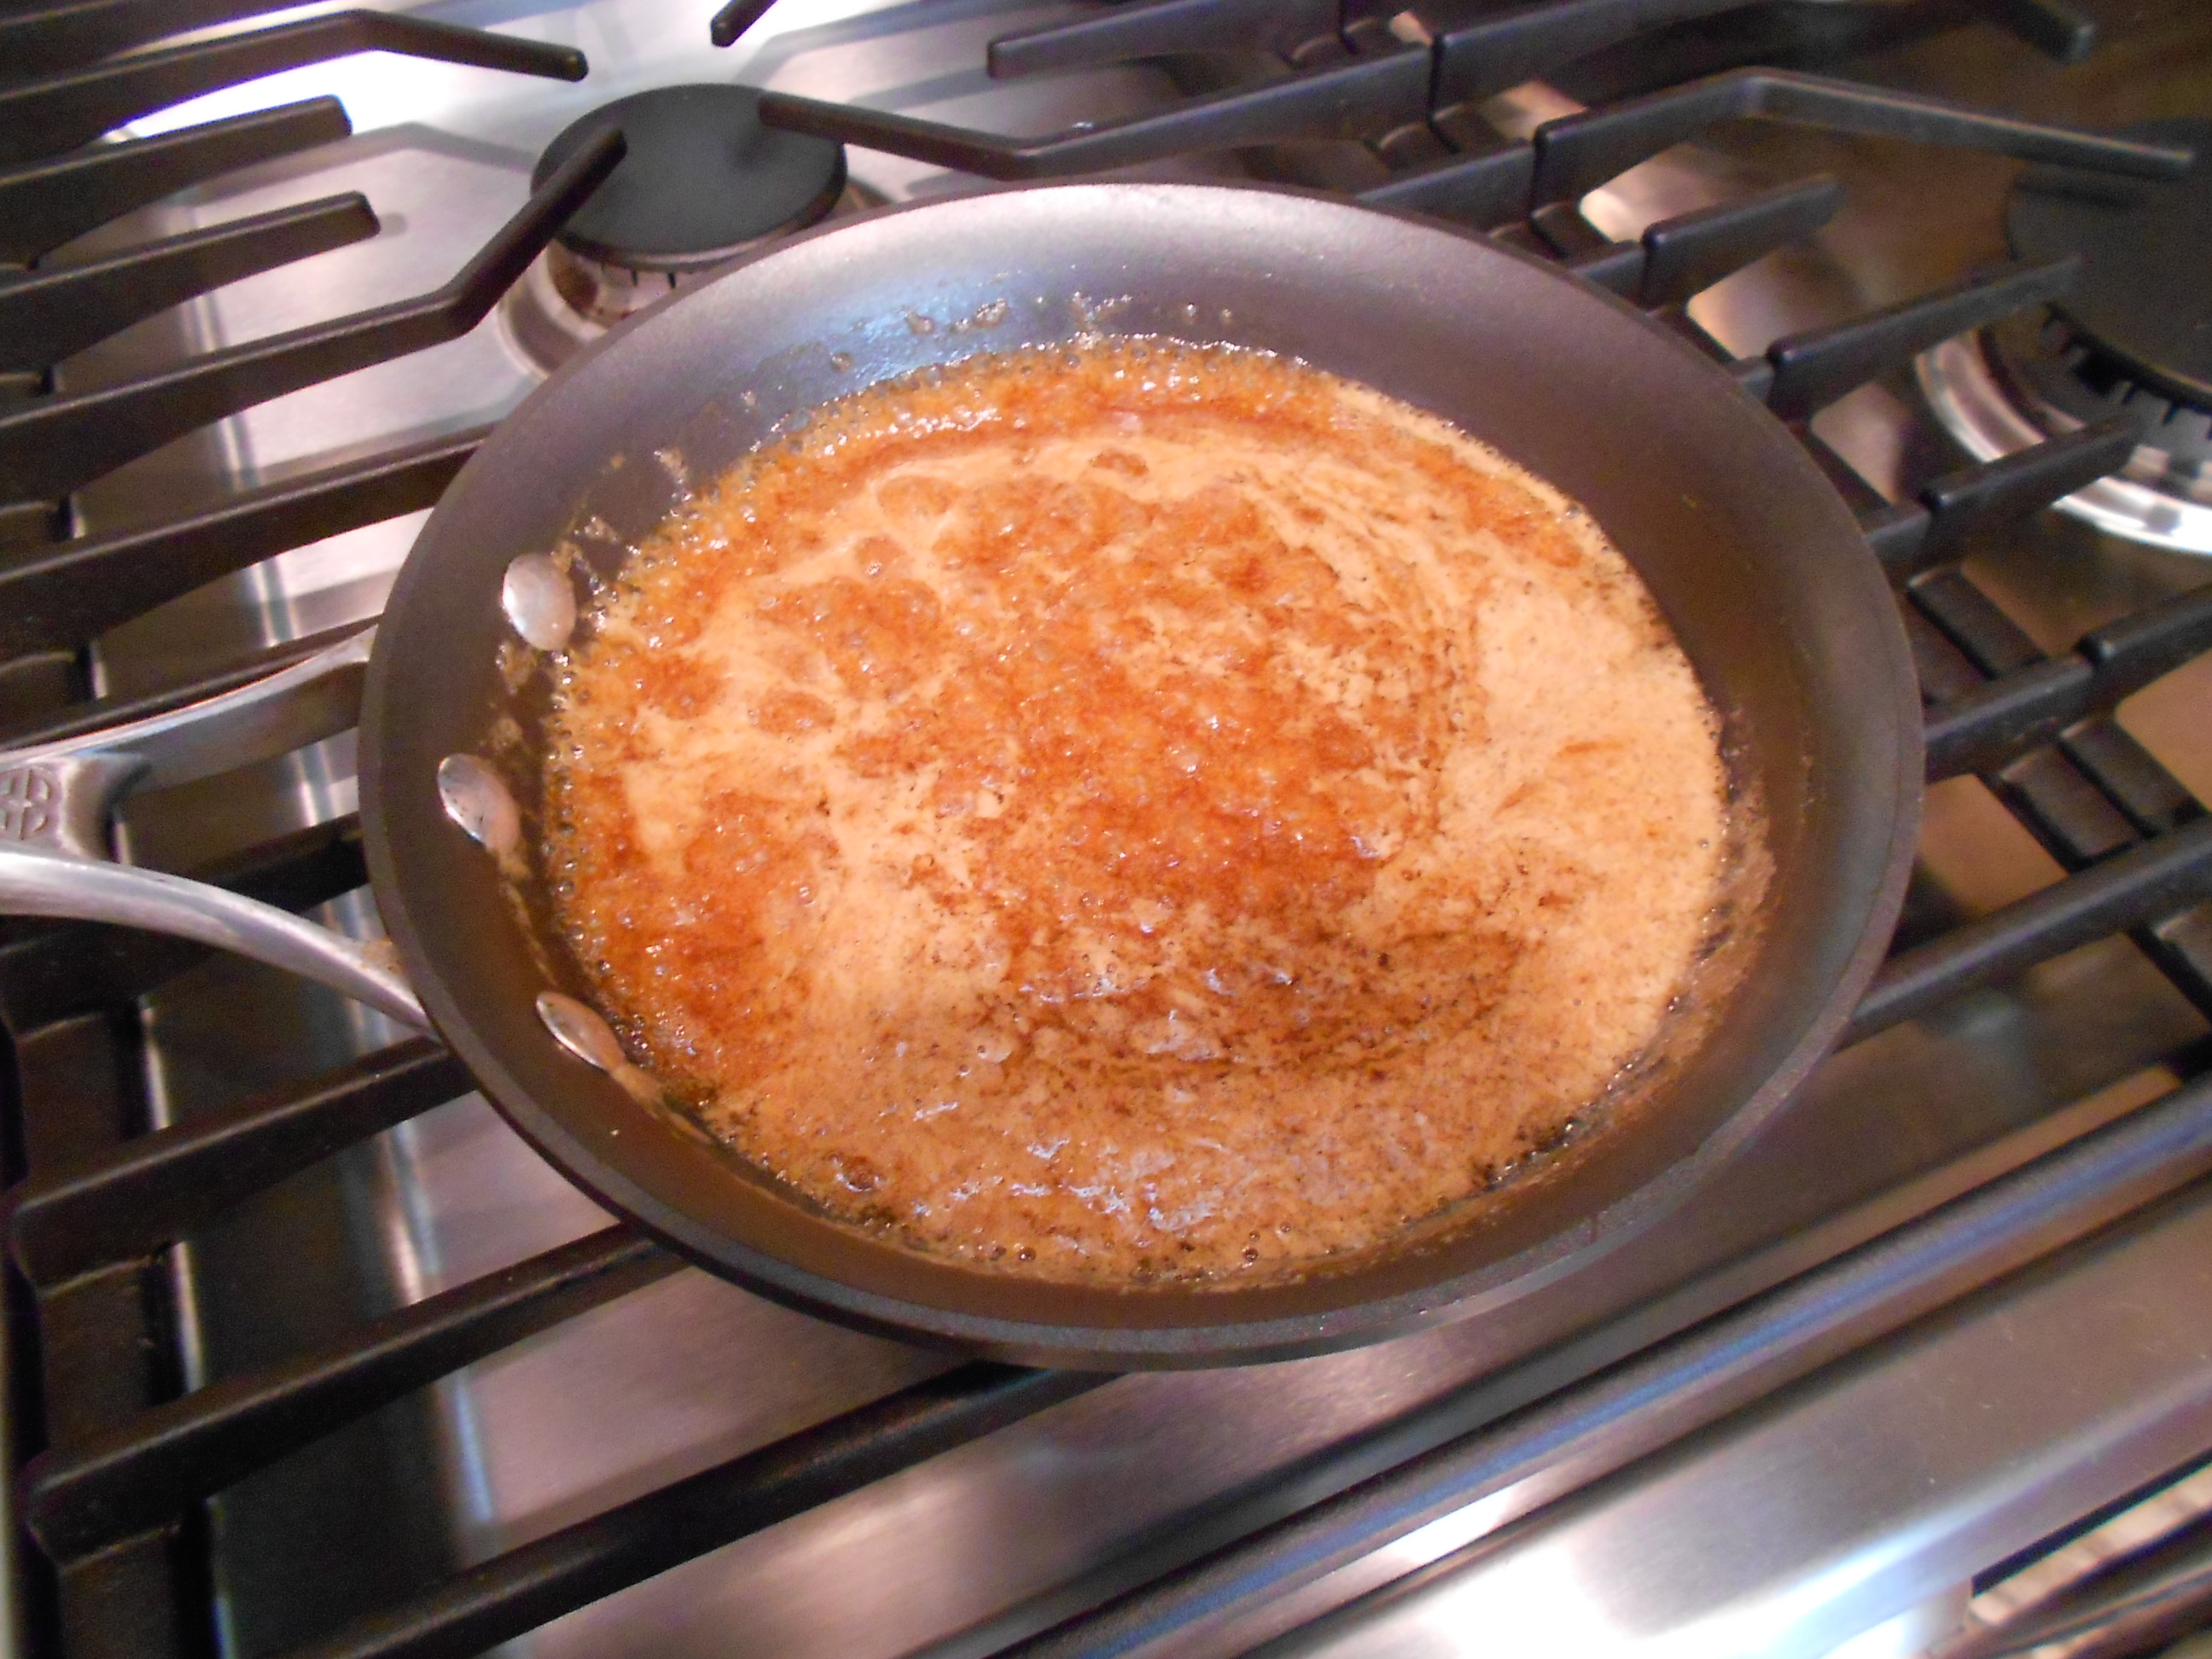
Over medium-low heat, you begin to dissolve the sugar.  I usually use a silicone spatula to make sure undissolved sugar crystals do not get stuck to the sides of the (non-stick) pan. Keep stirring and increase the heat slightly. You will reach a gentle boil as you stir and then continue cooking for about 45 seconds, and then remove the glaze from the stove.

DSCN2123

I take a large lasagna pan (sprayed with cooking spray)

DSCN2124

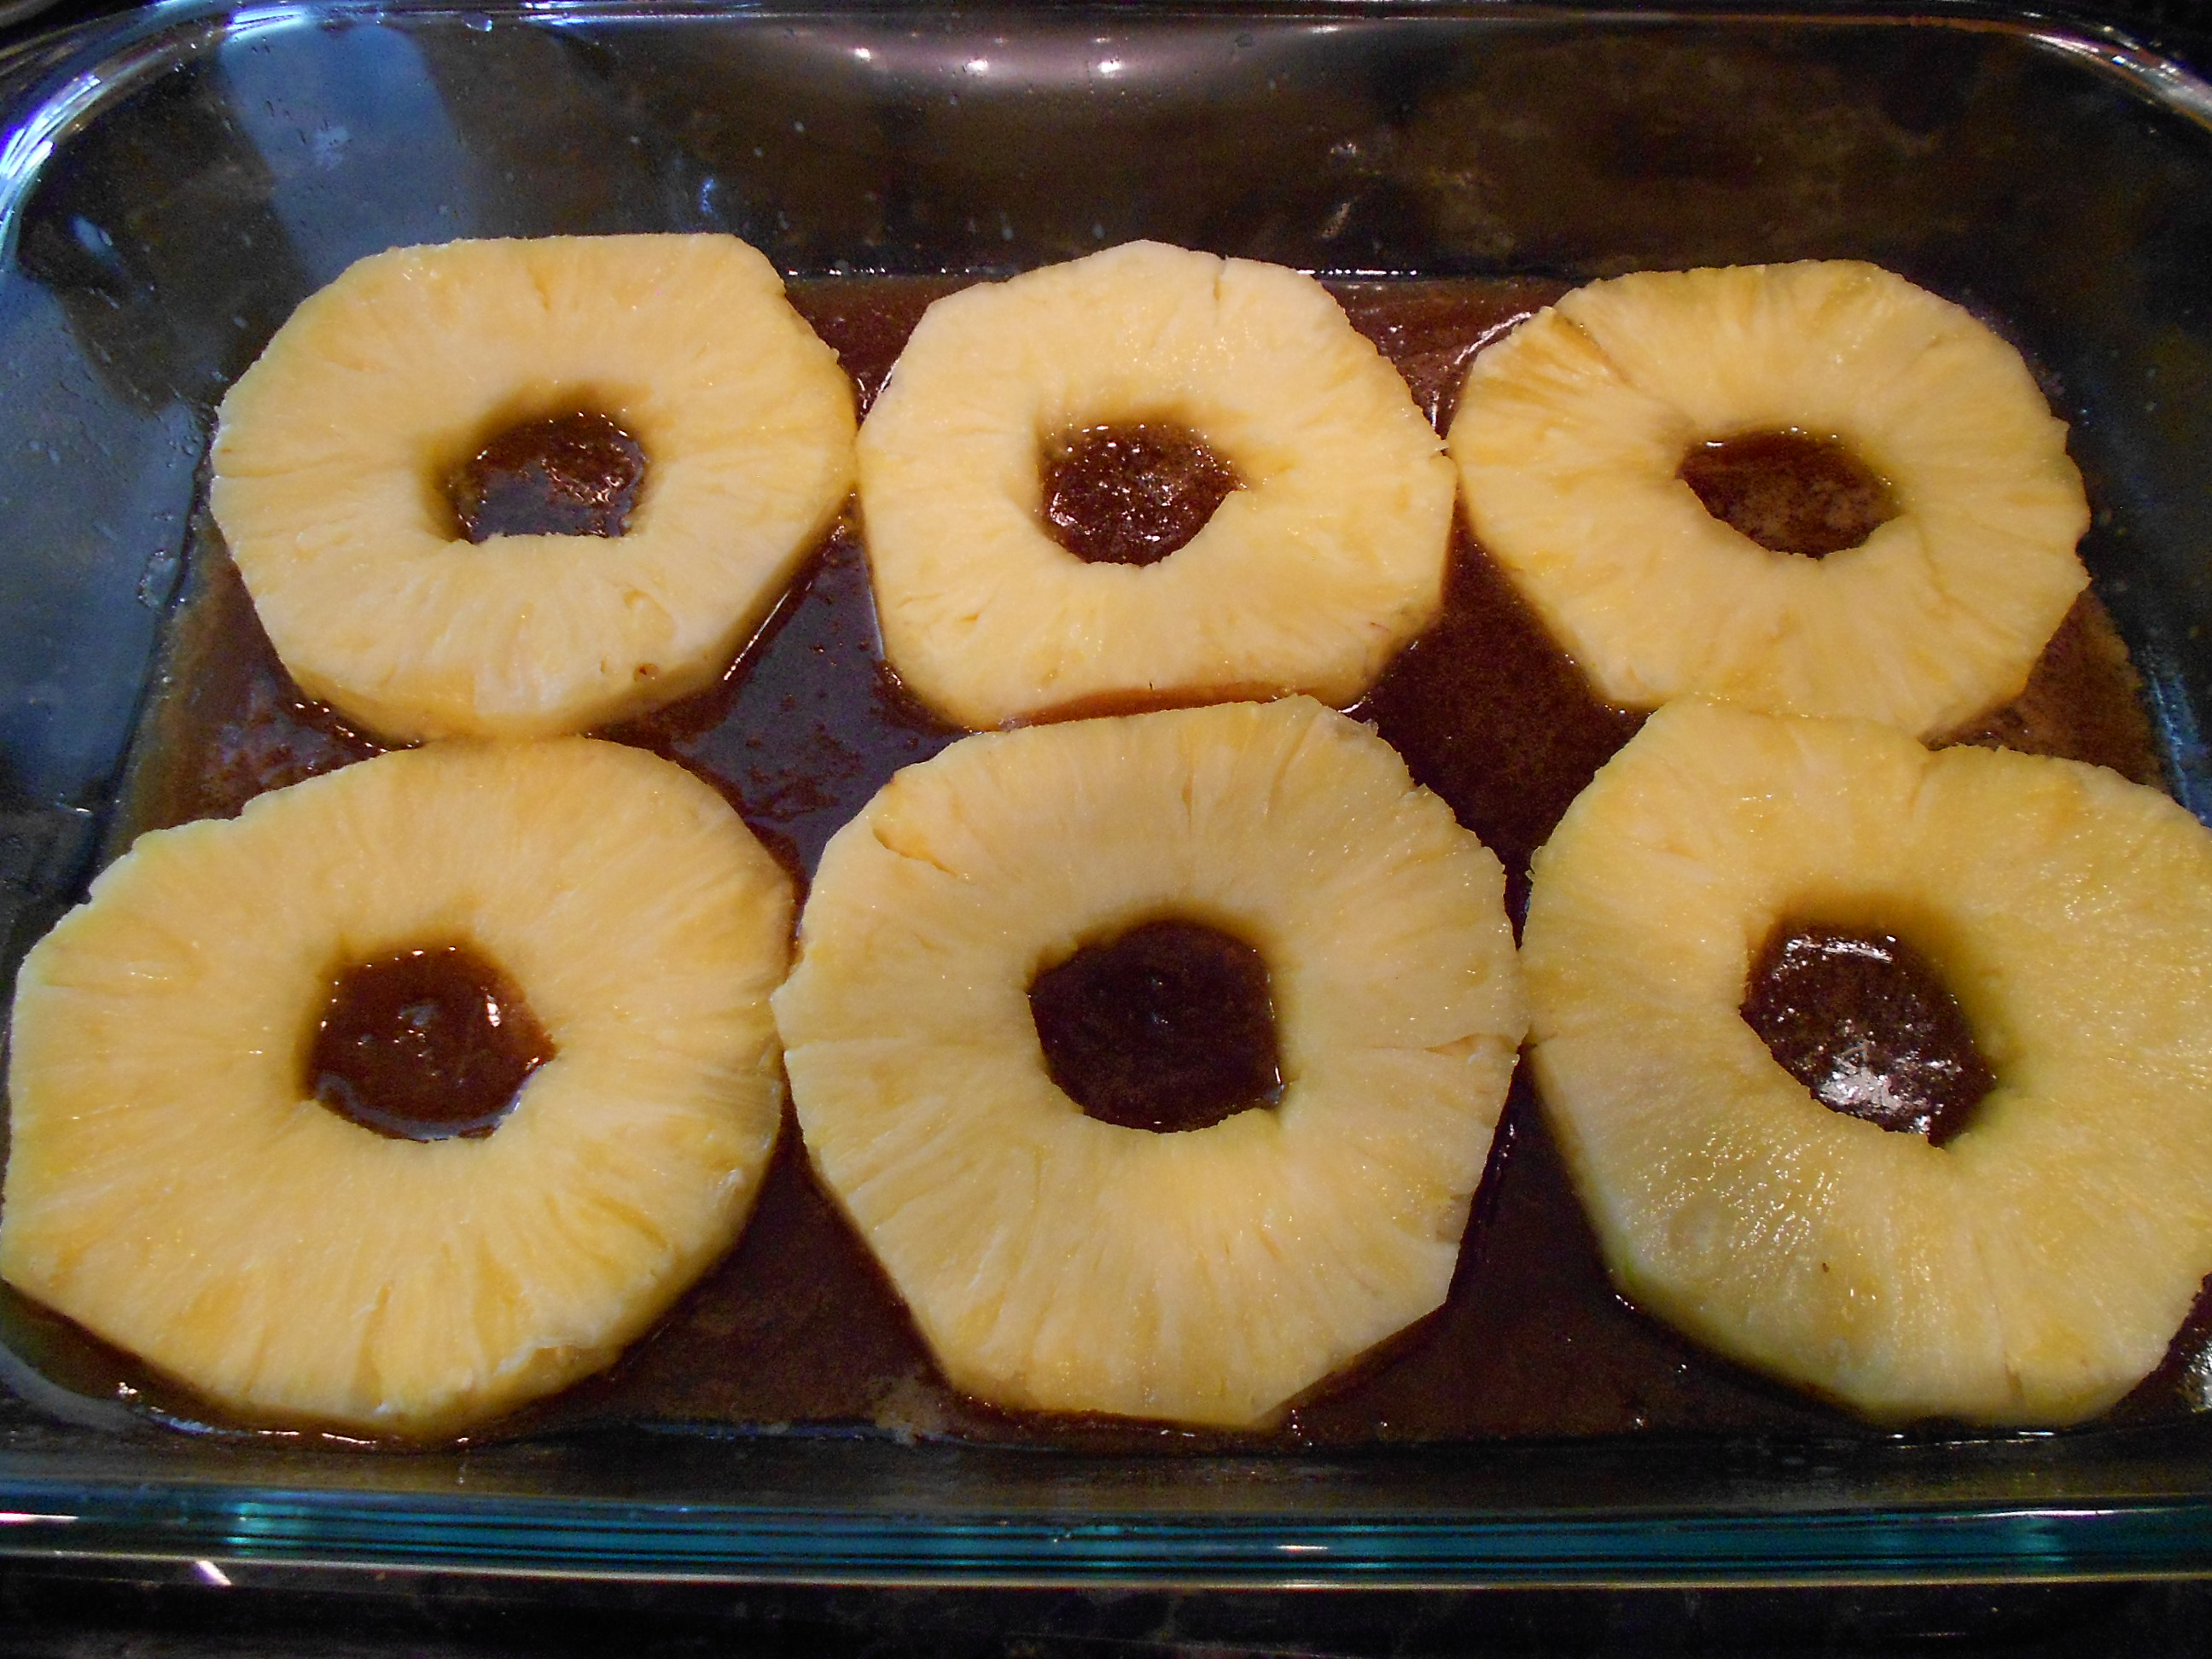
Pour the glaze carefully over and evenly.  Then place your pineapple slices carefully over the glaze.

DSCN2130

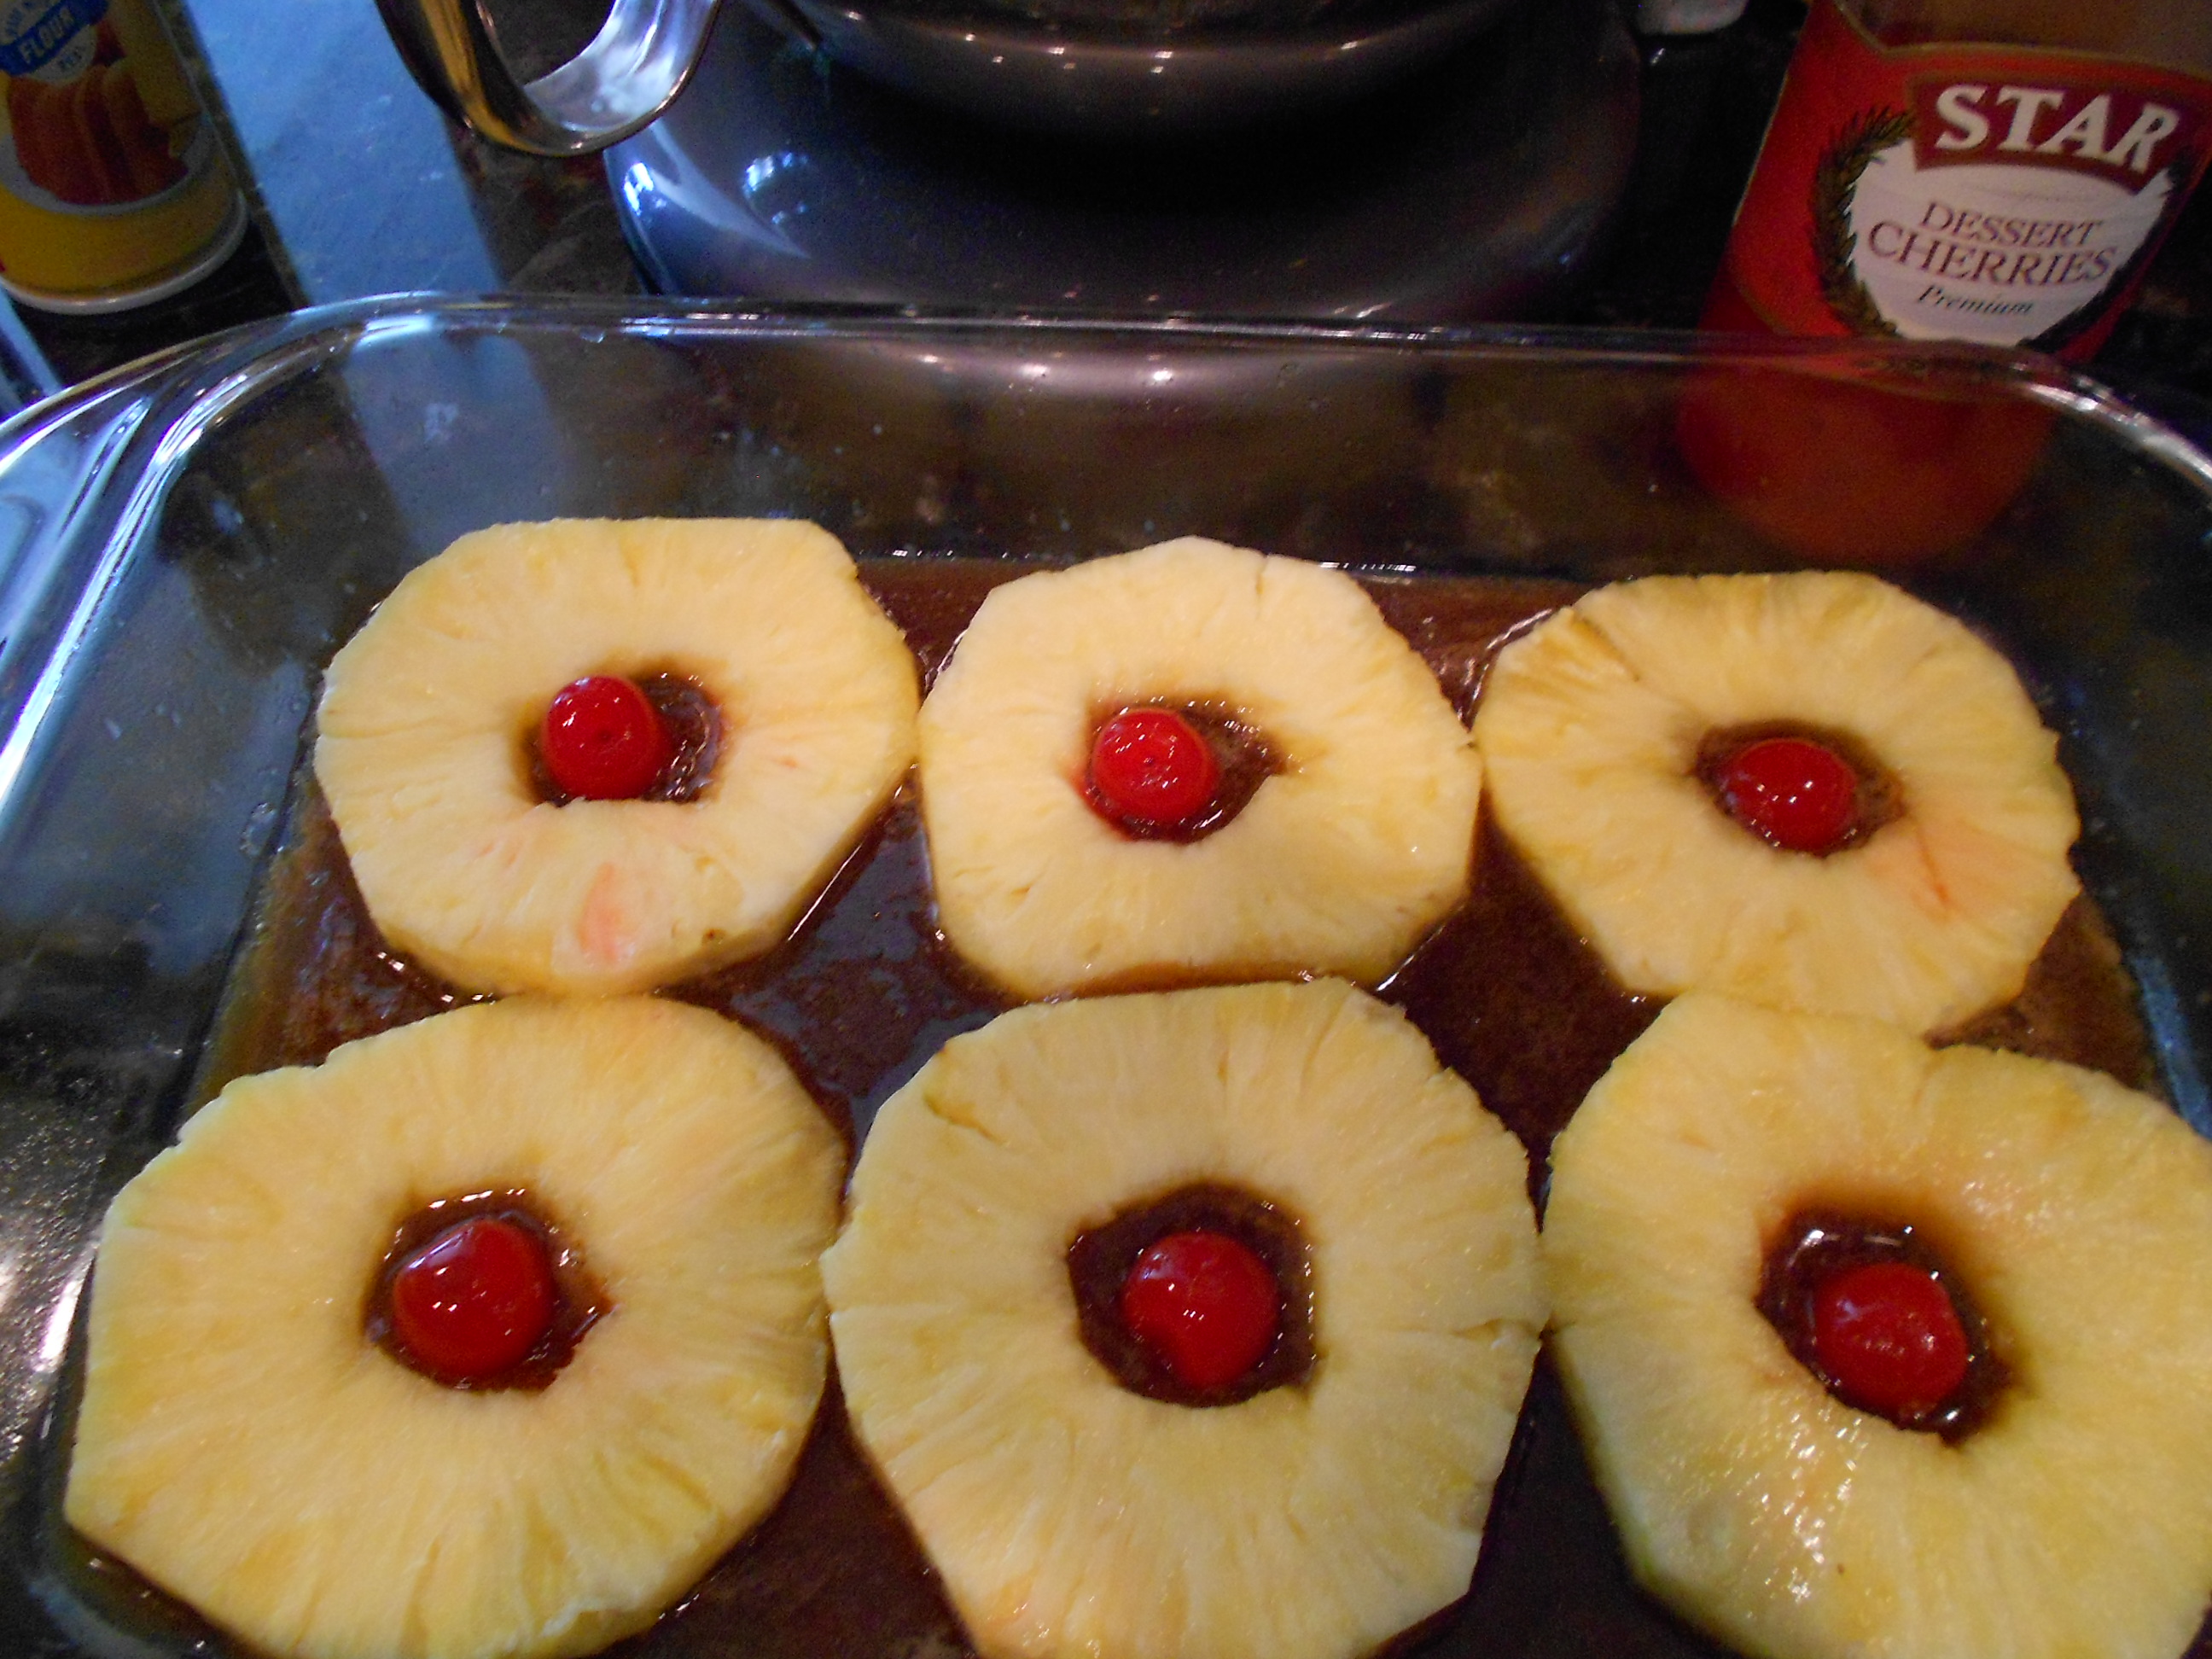
Next comes the cherries.

DSCN2133

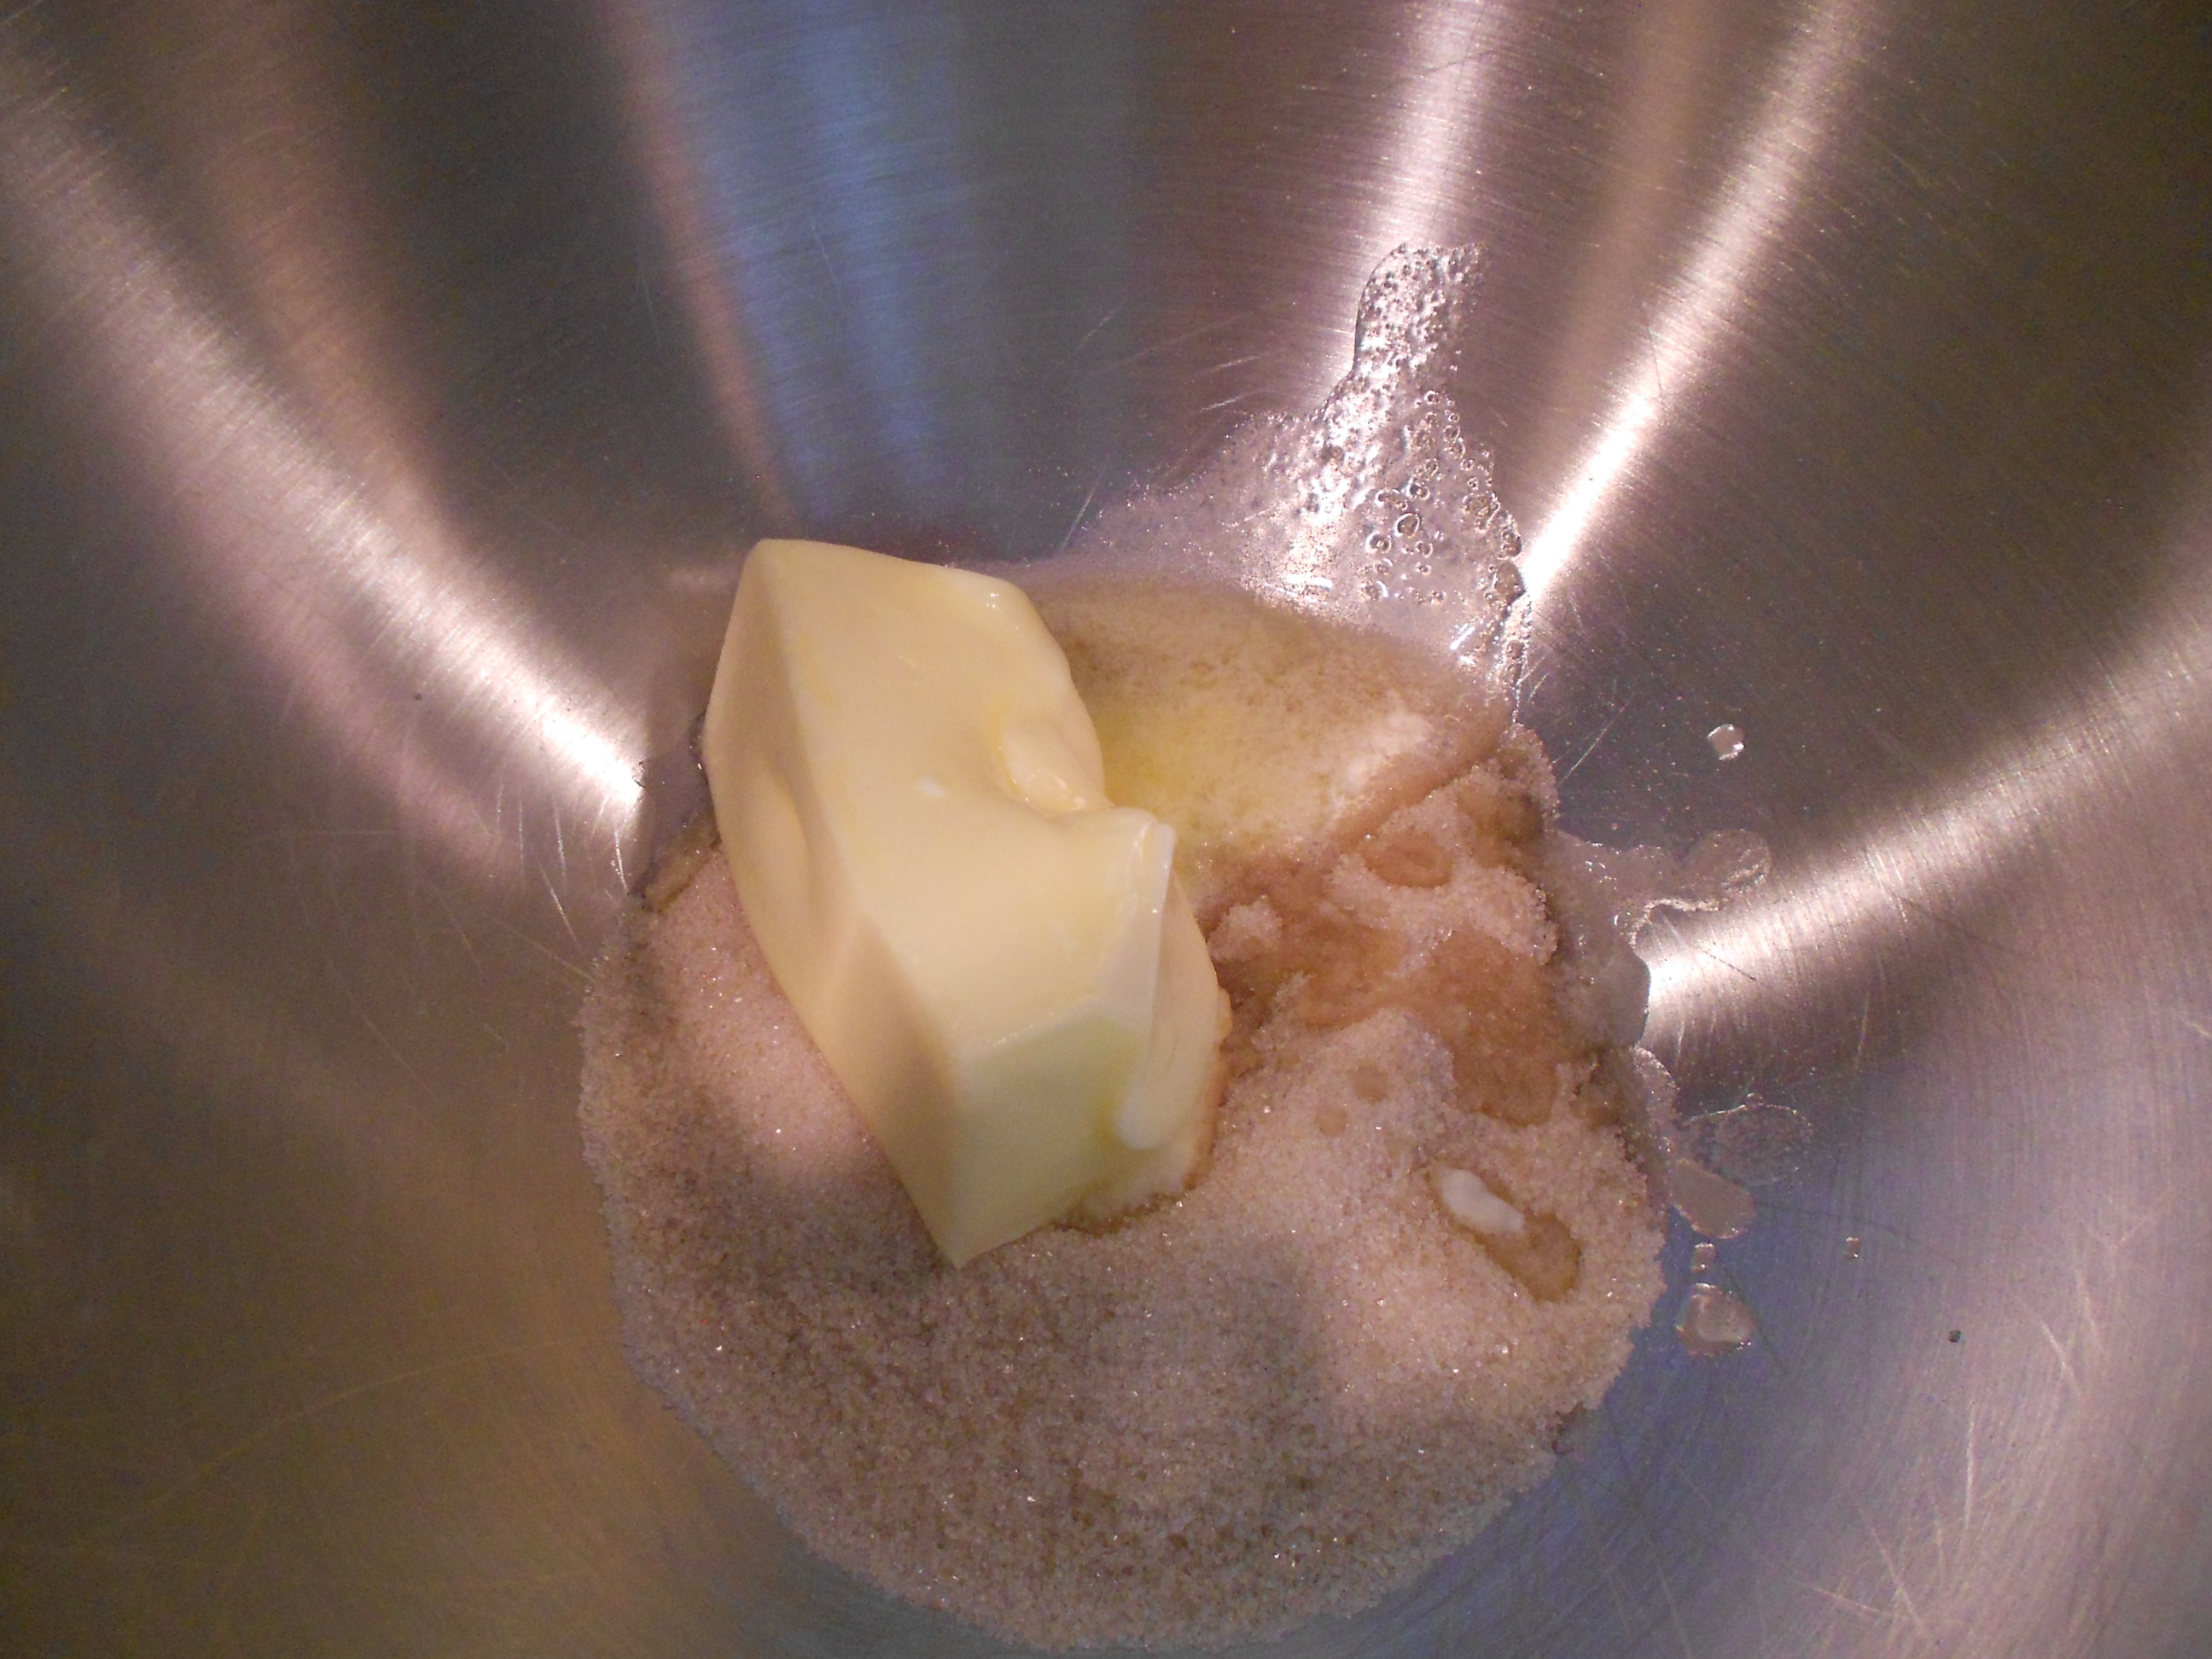
Start your cake batter by first blending the unsalted butter with the sugar, until nice and fluffy.

DSCN2134

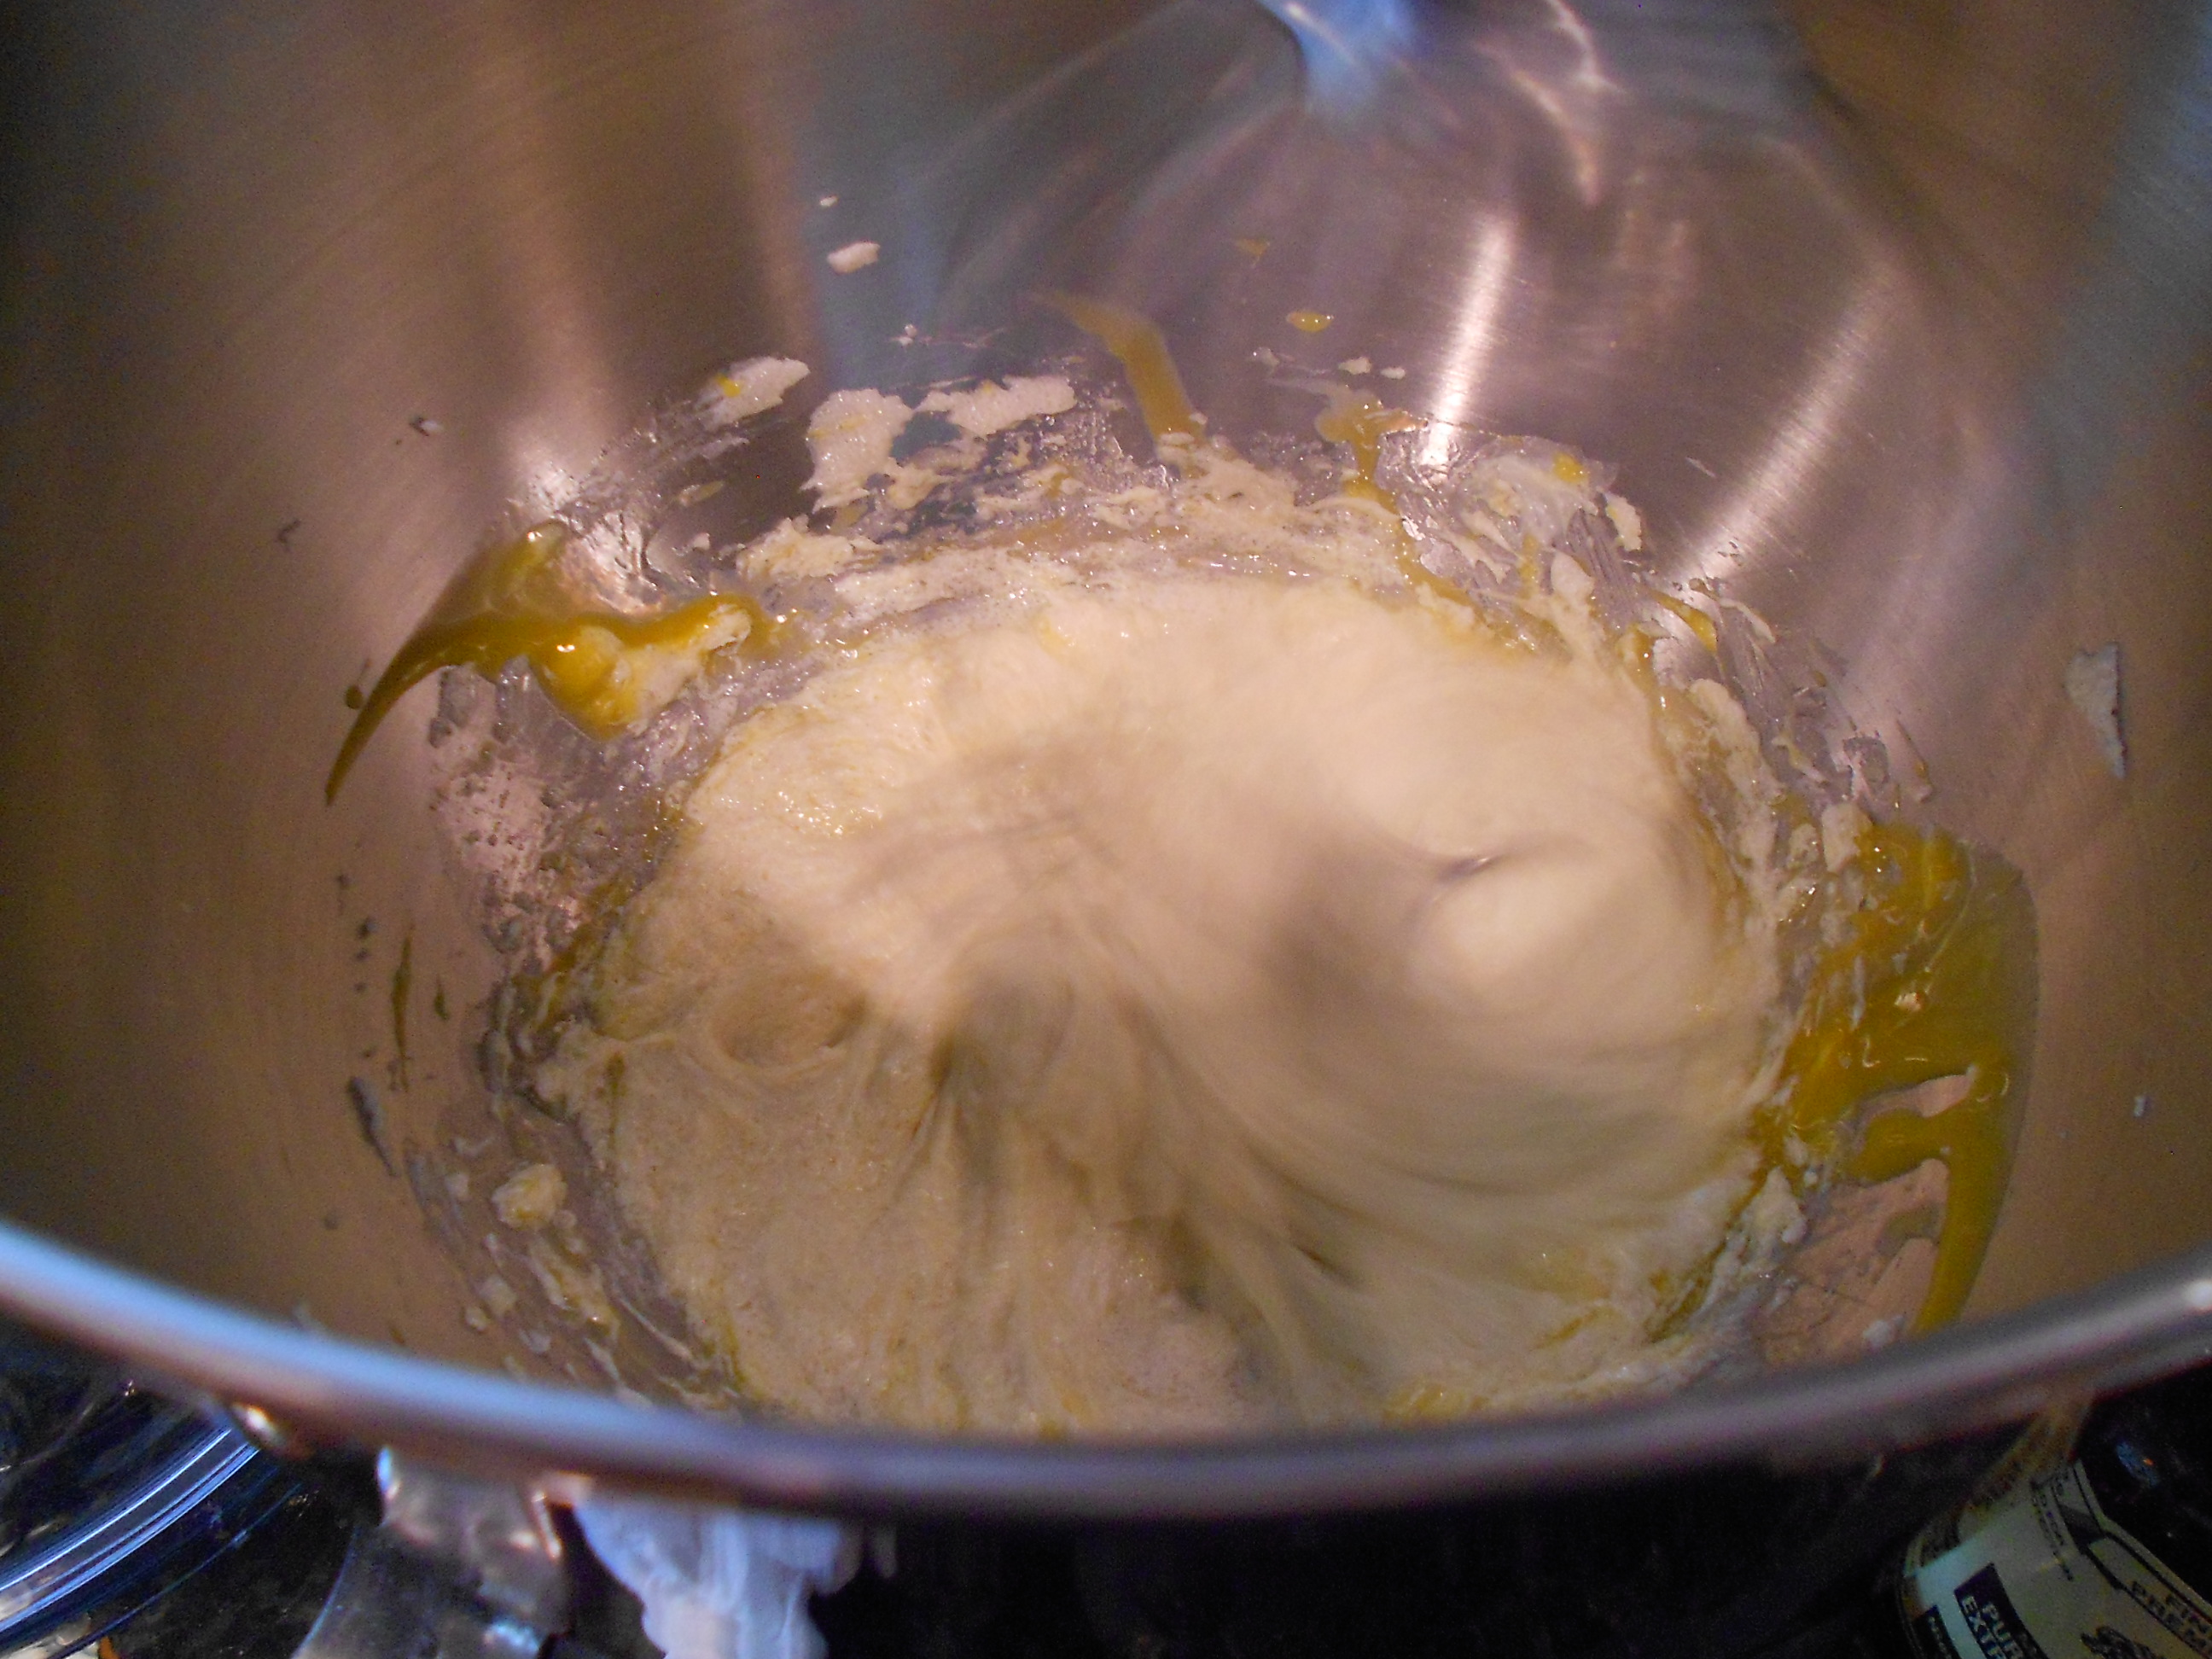
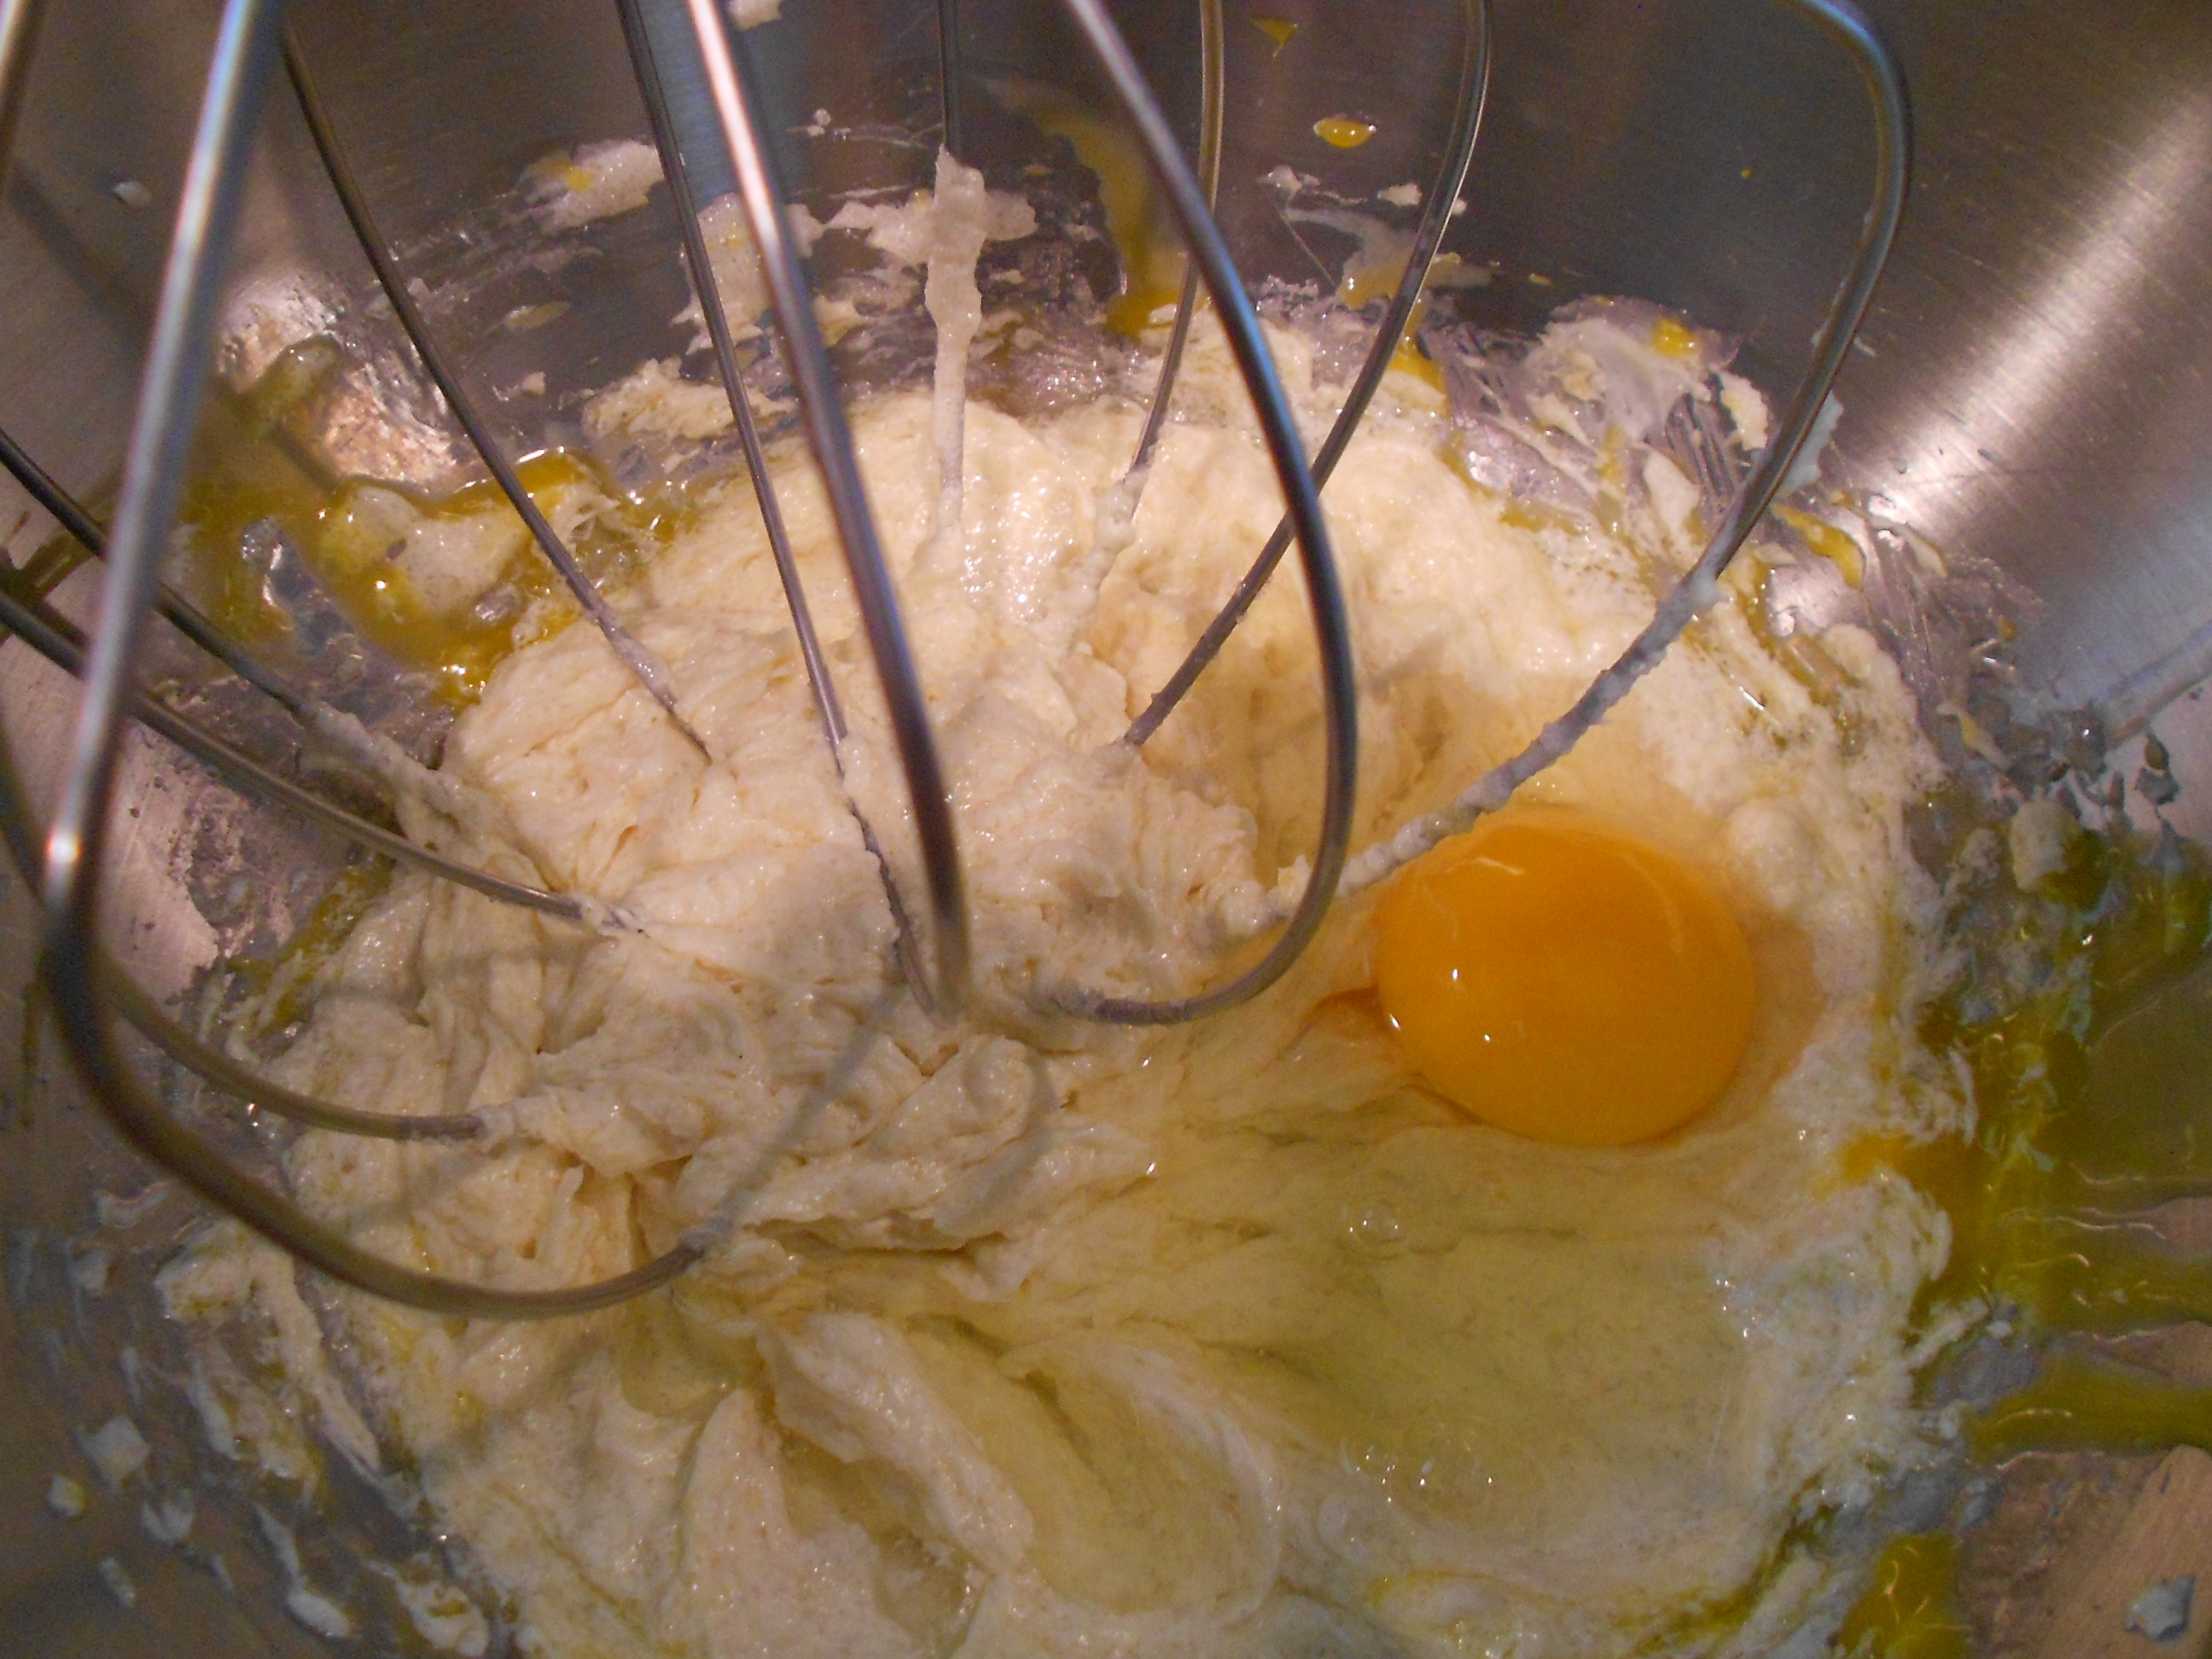
Add one egg and blend until it is incorporated into the mixture.

DSCN2135

Then add the second the egg and fully incorporate into the mixture.

DSCN2137

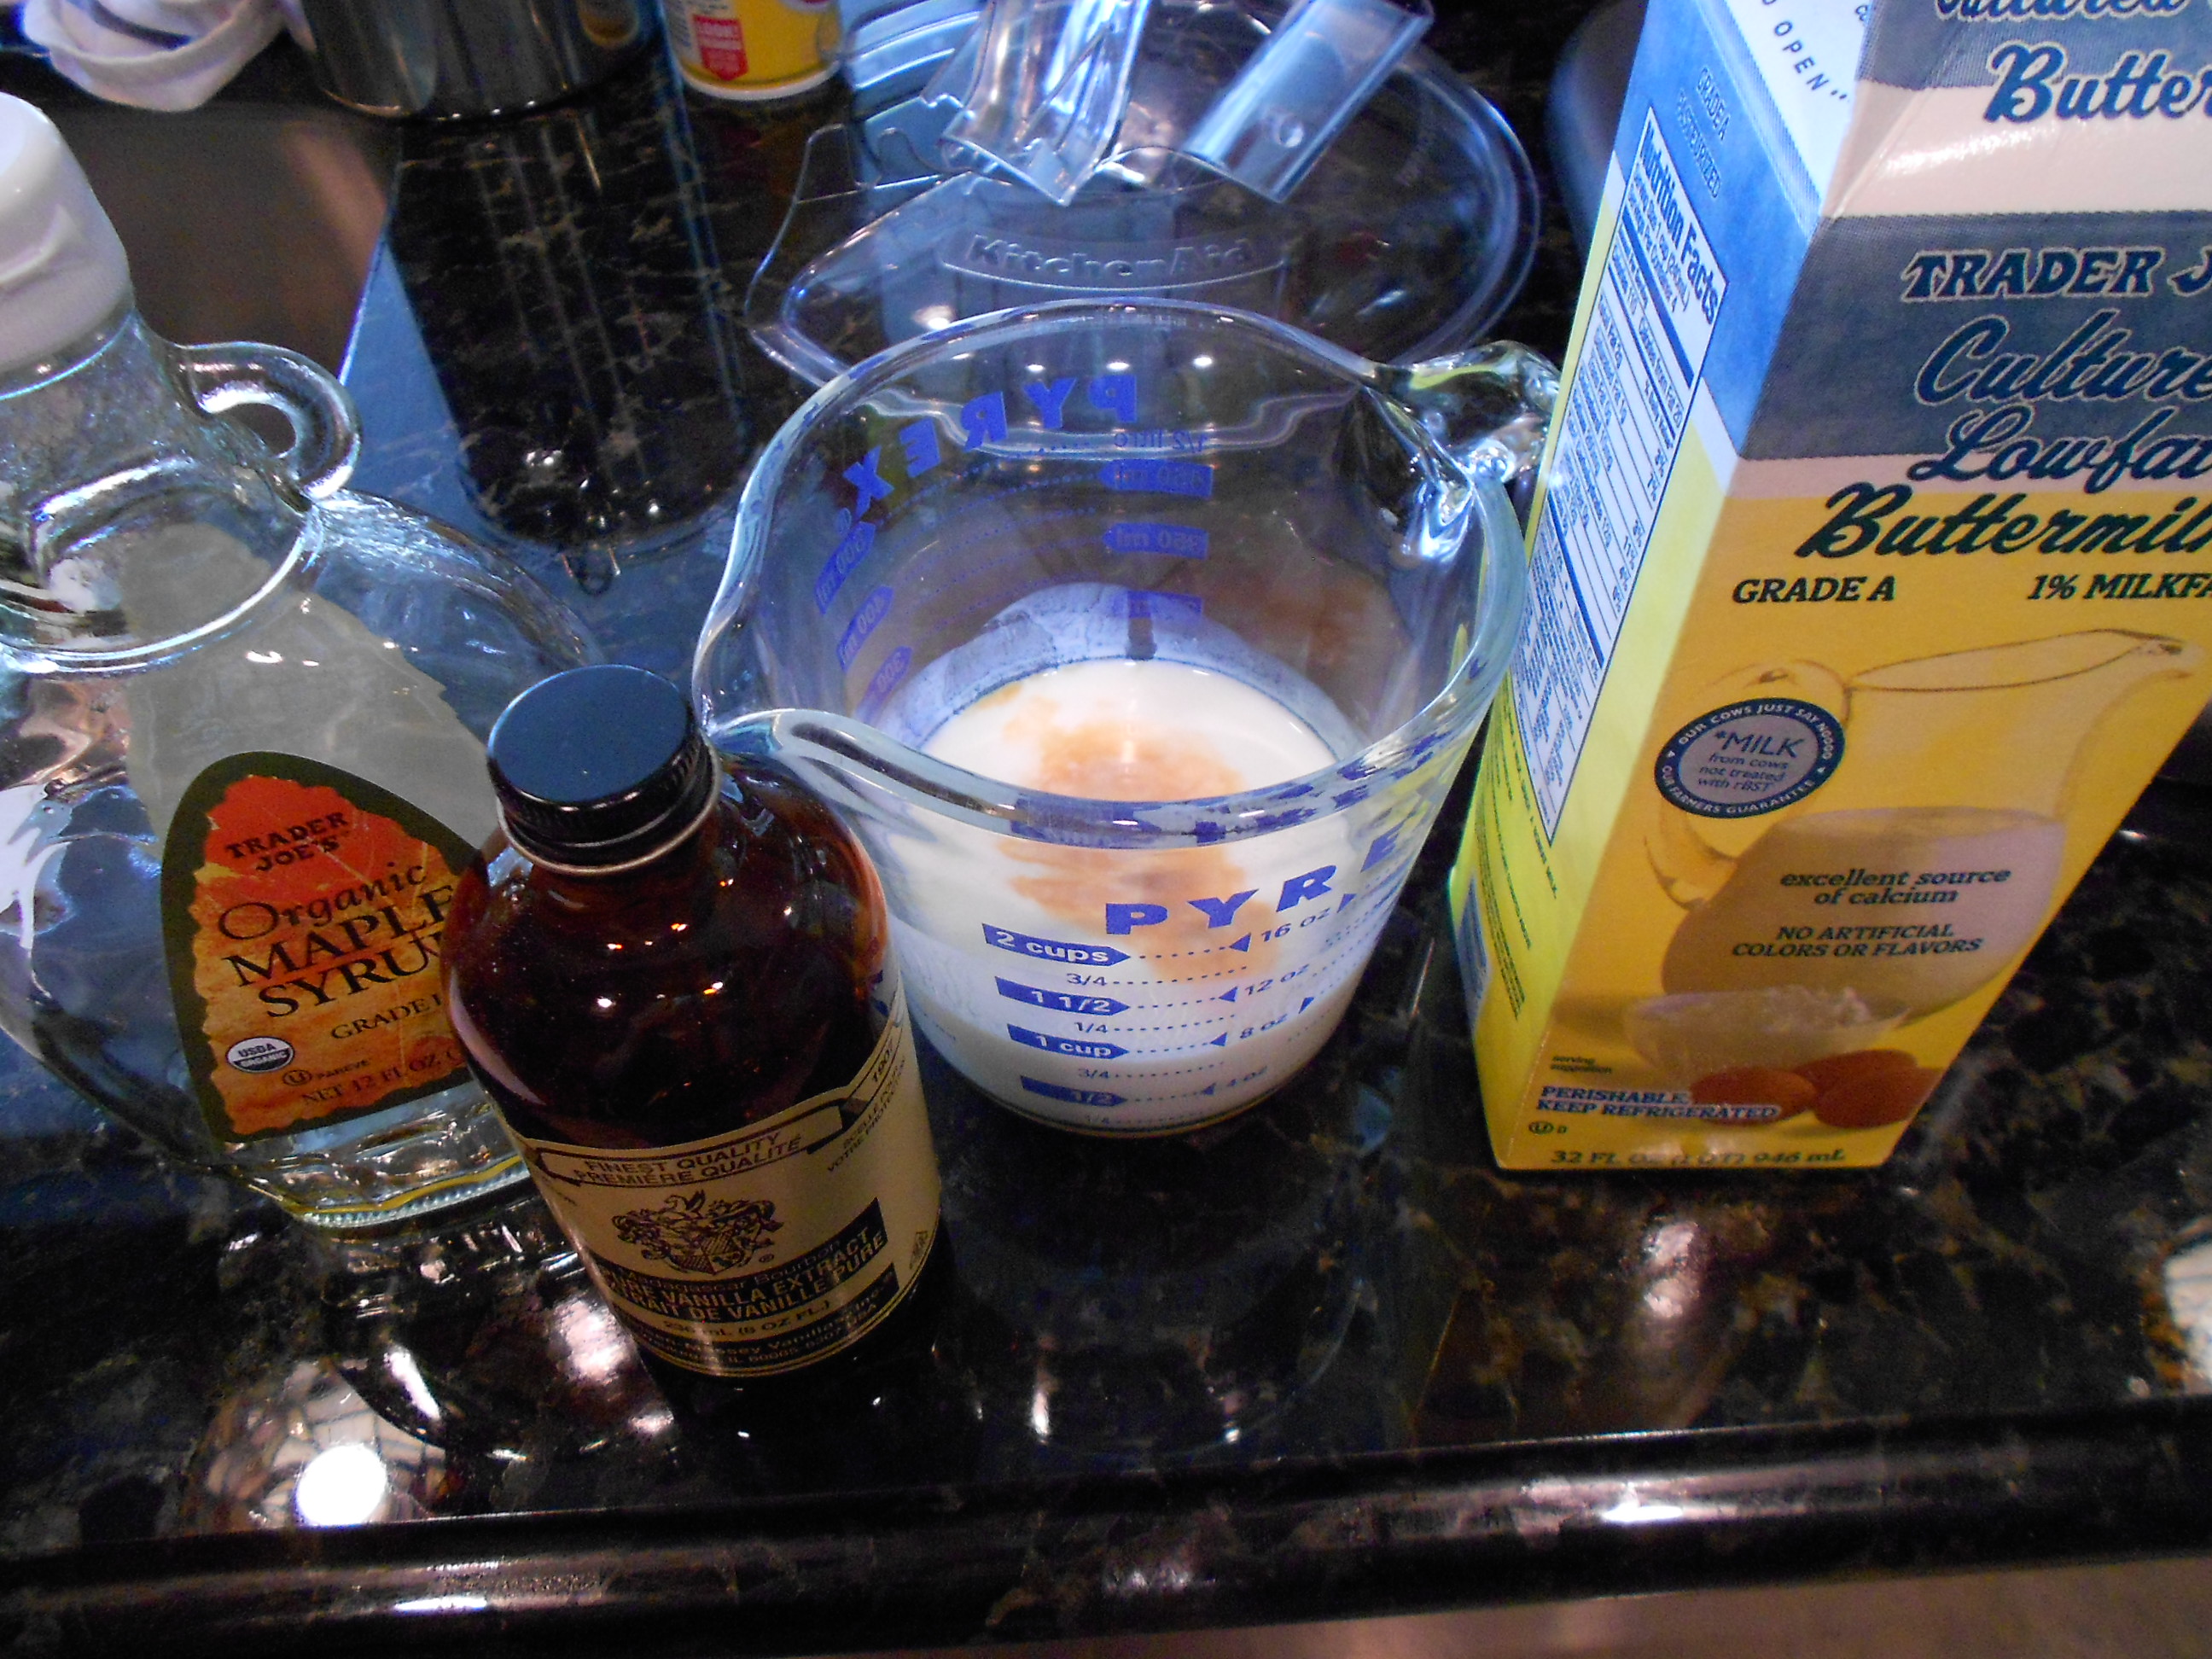
Follow with the buttermilk, maple syrup and vanilla. I tend to mix all three and pour them at the same time.  Pour only half of the mixture in.
DSCN2141

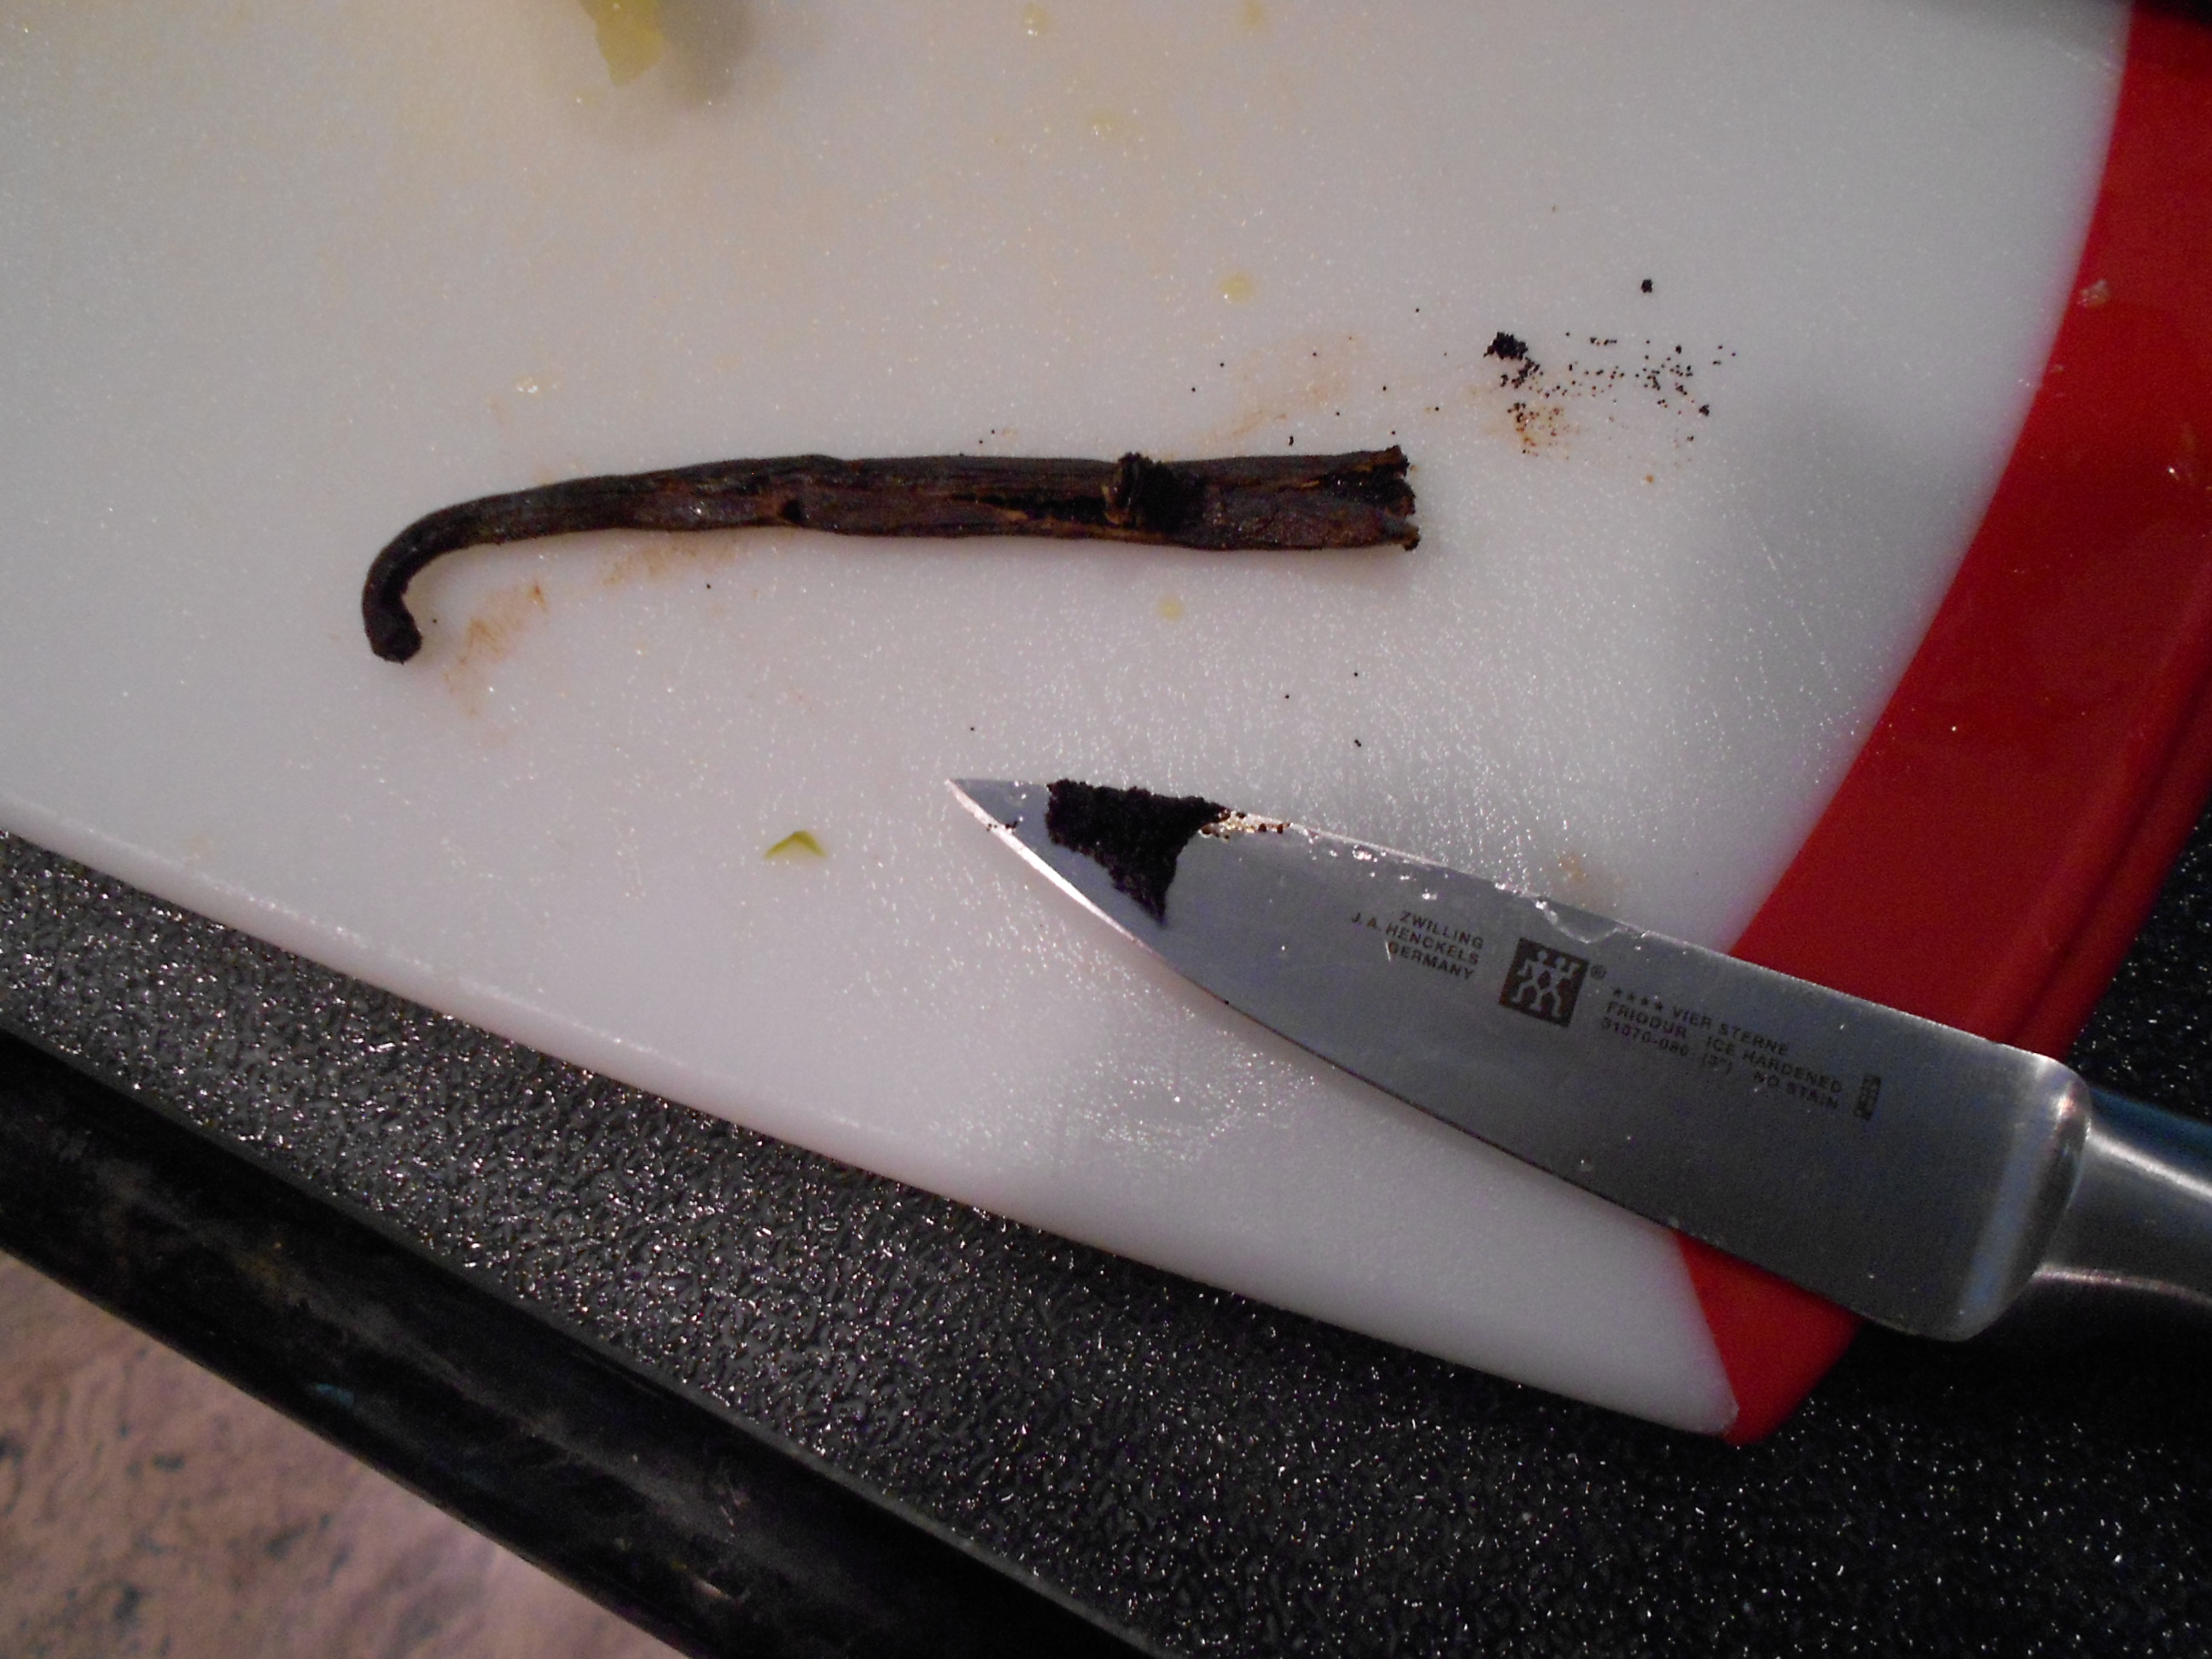
Follow by adding the 1/2 Vanilla Bean.

DSCN2144

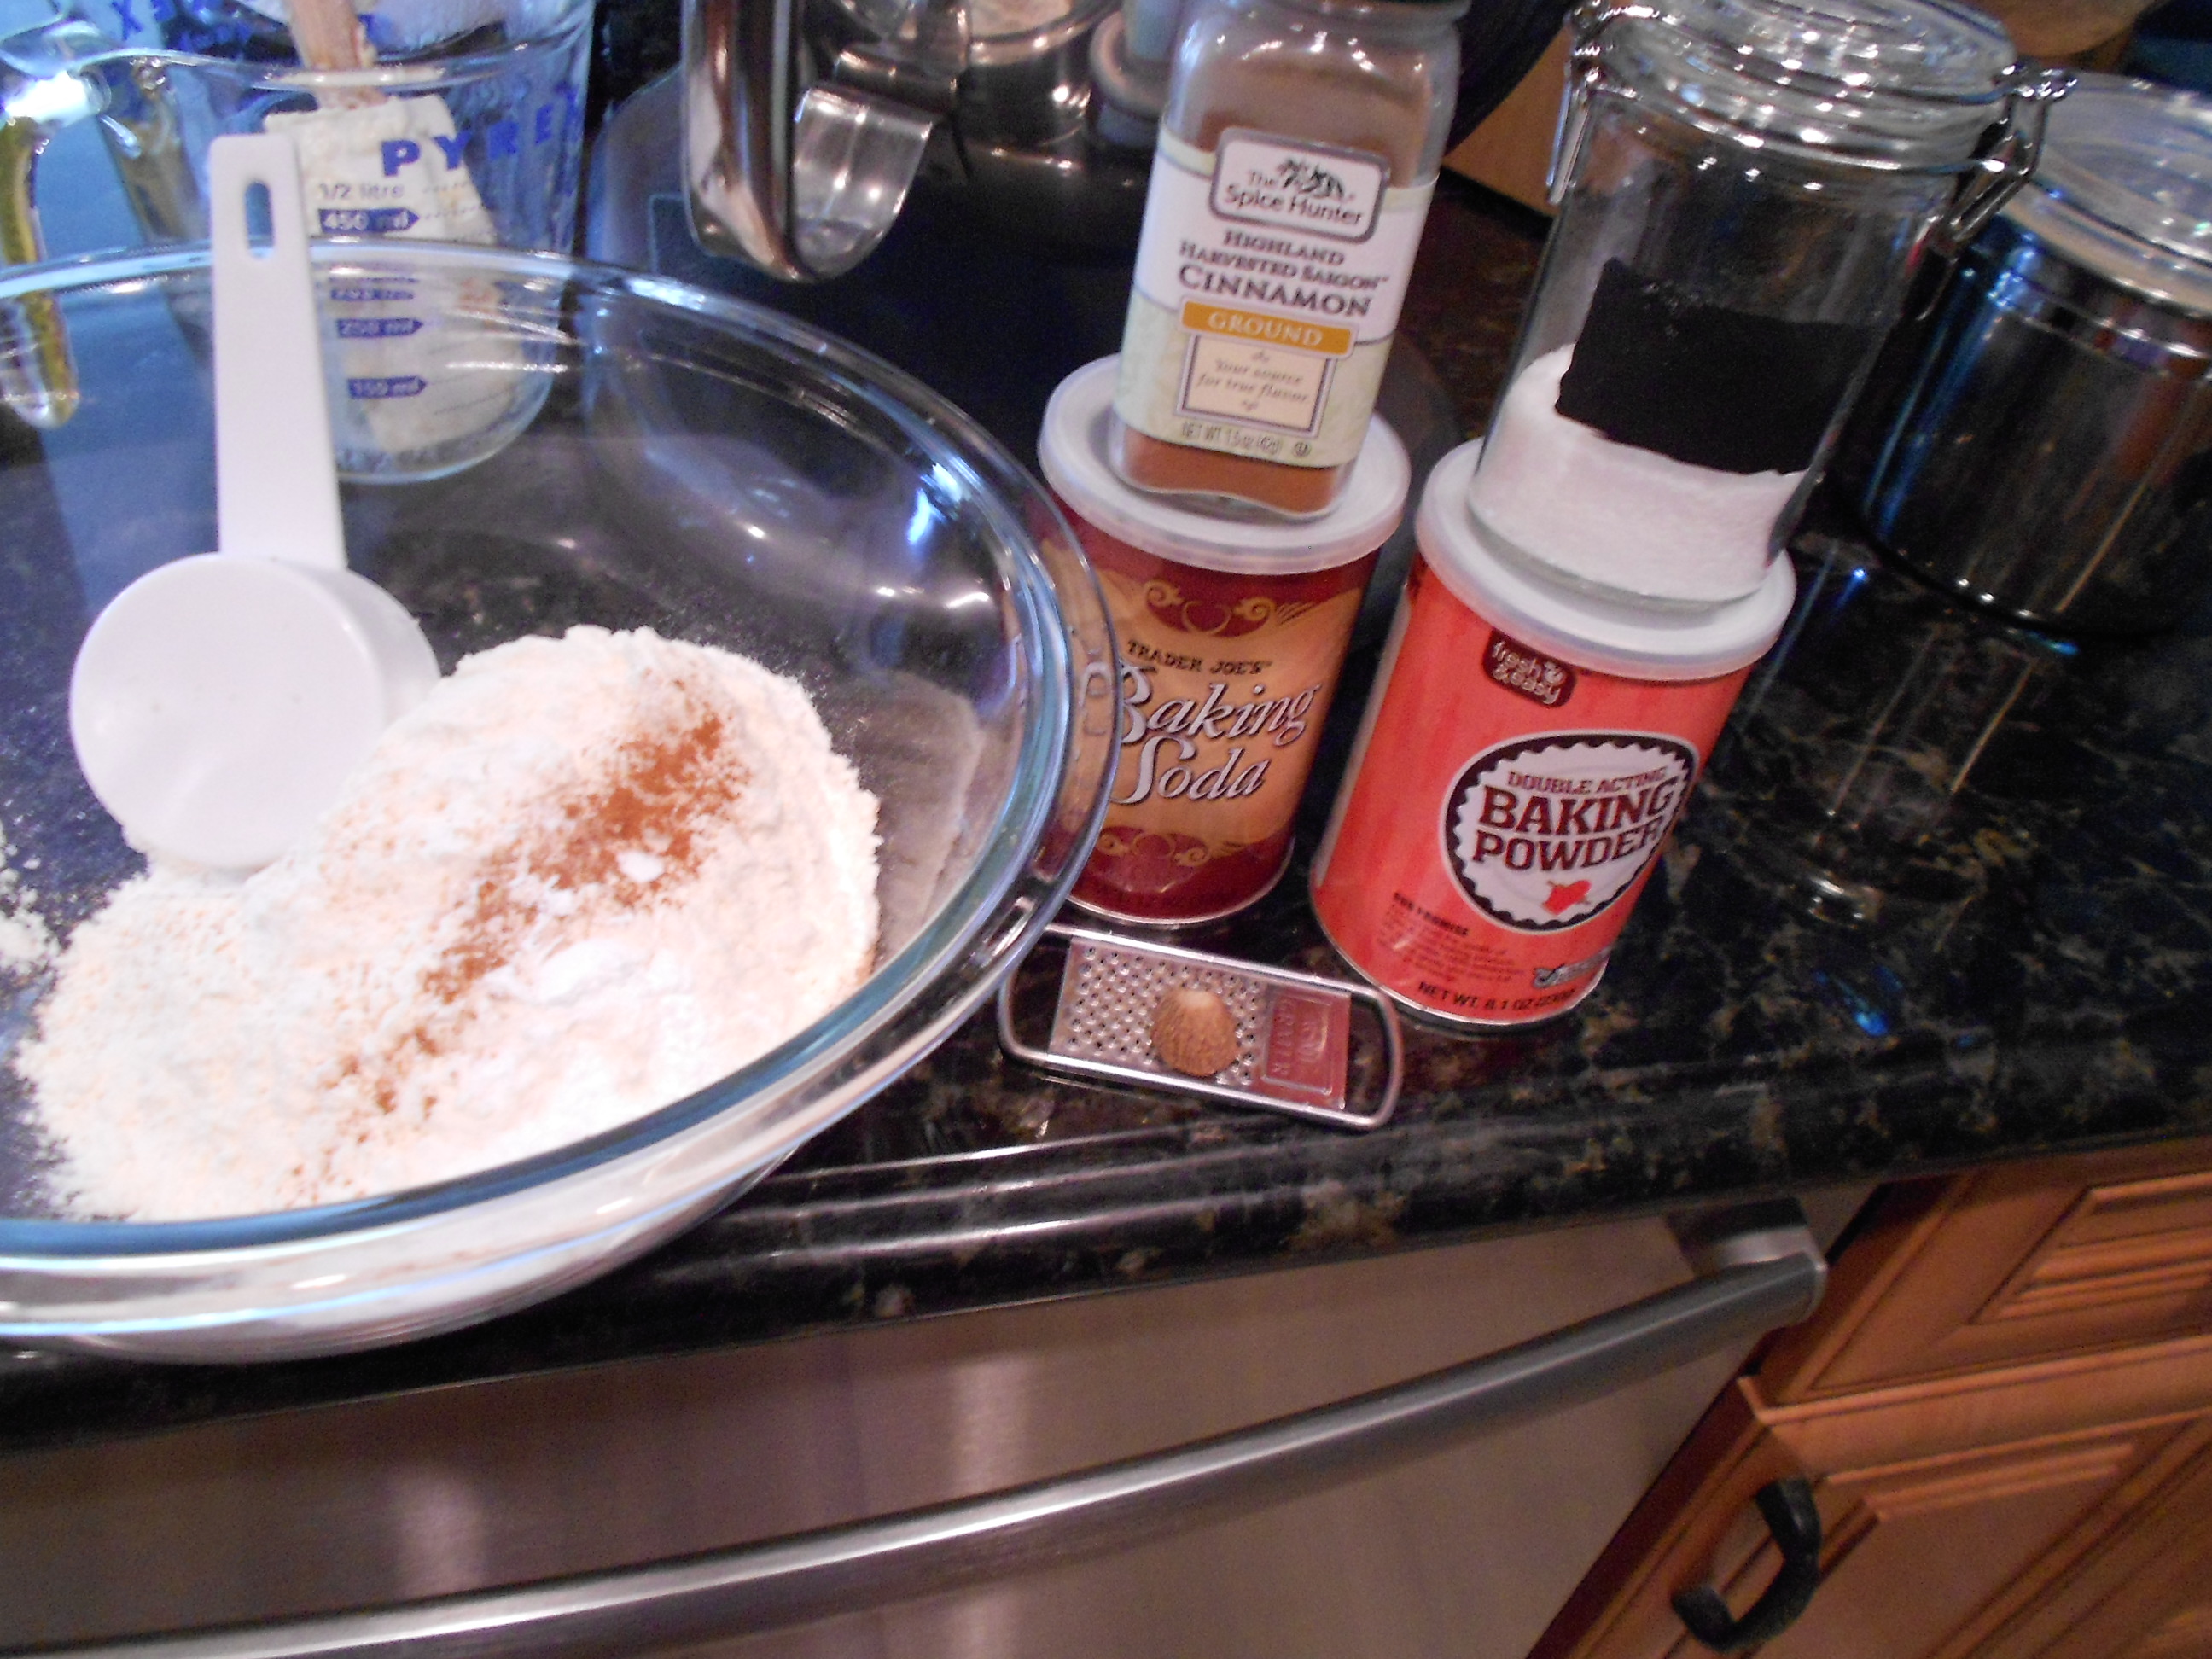
Then comes the dry ingredients. I mix the flour, salt, baking soda, baking powder, cinnamon and nutmeg in a large bowl.

DSCN2151

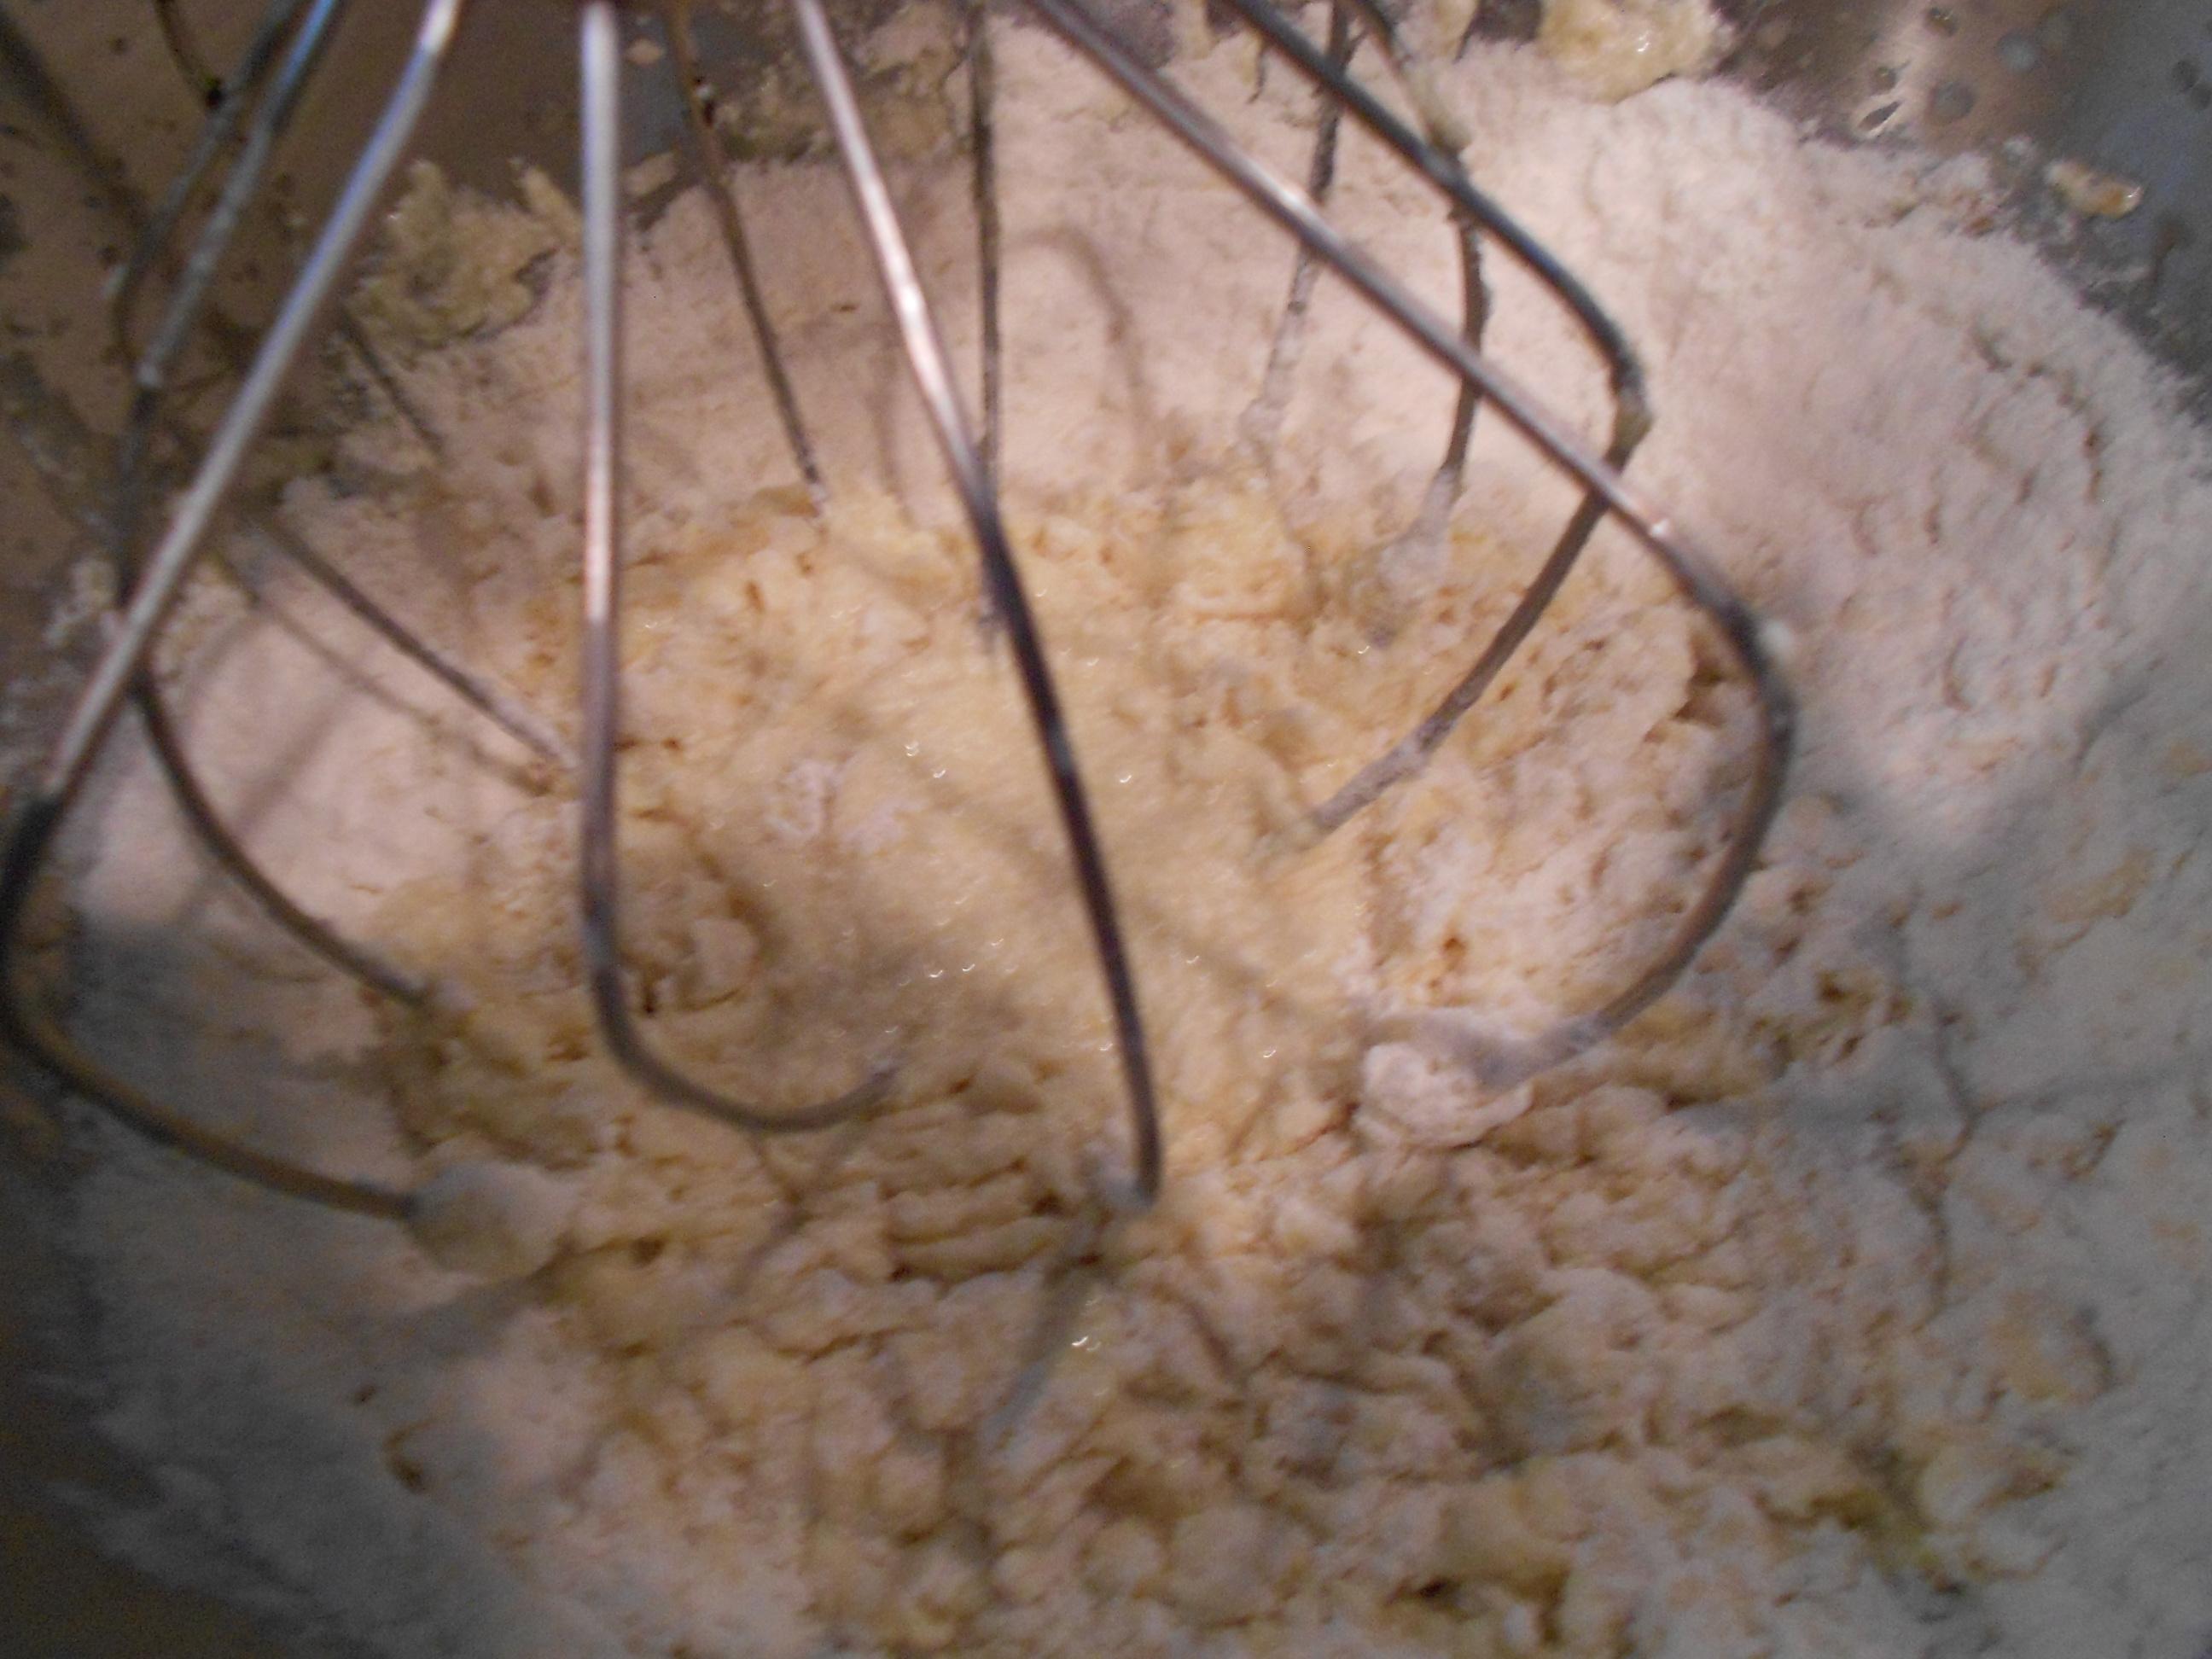
You then take half of the dry ingredients and add it to the mixer. Mix well until everything is wet, remembering to scrape the sides of the bowl.

DSCN2153

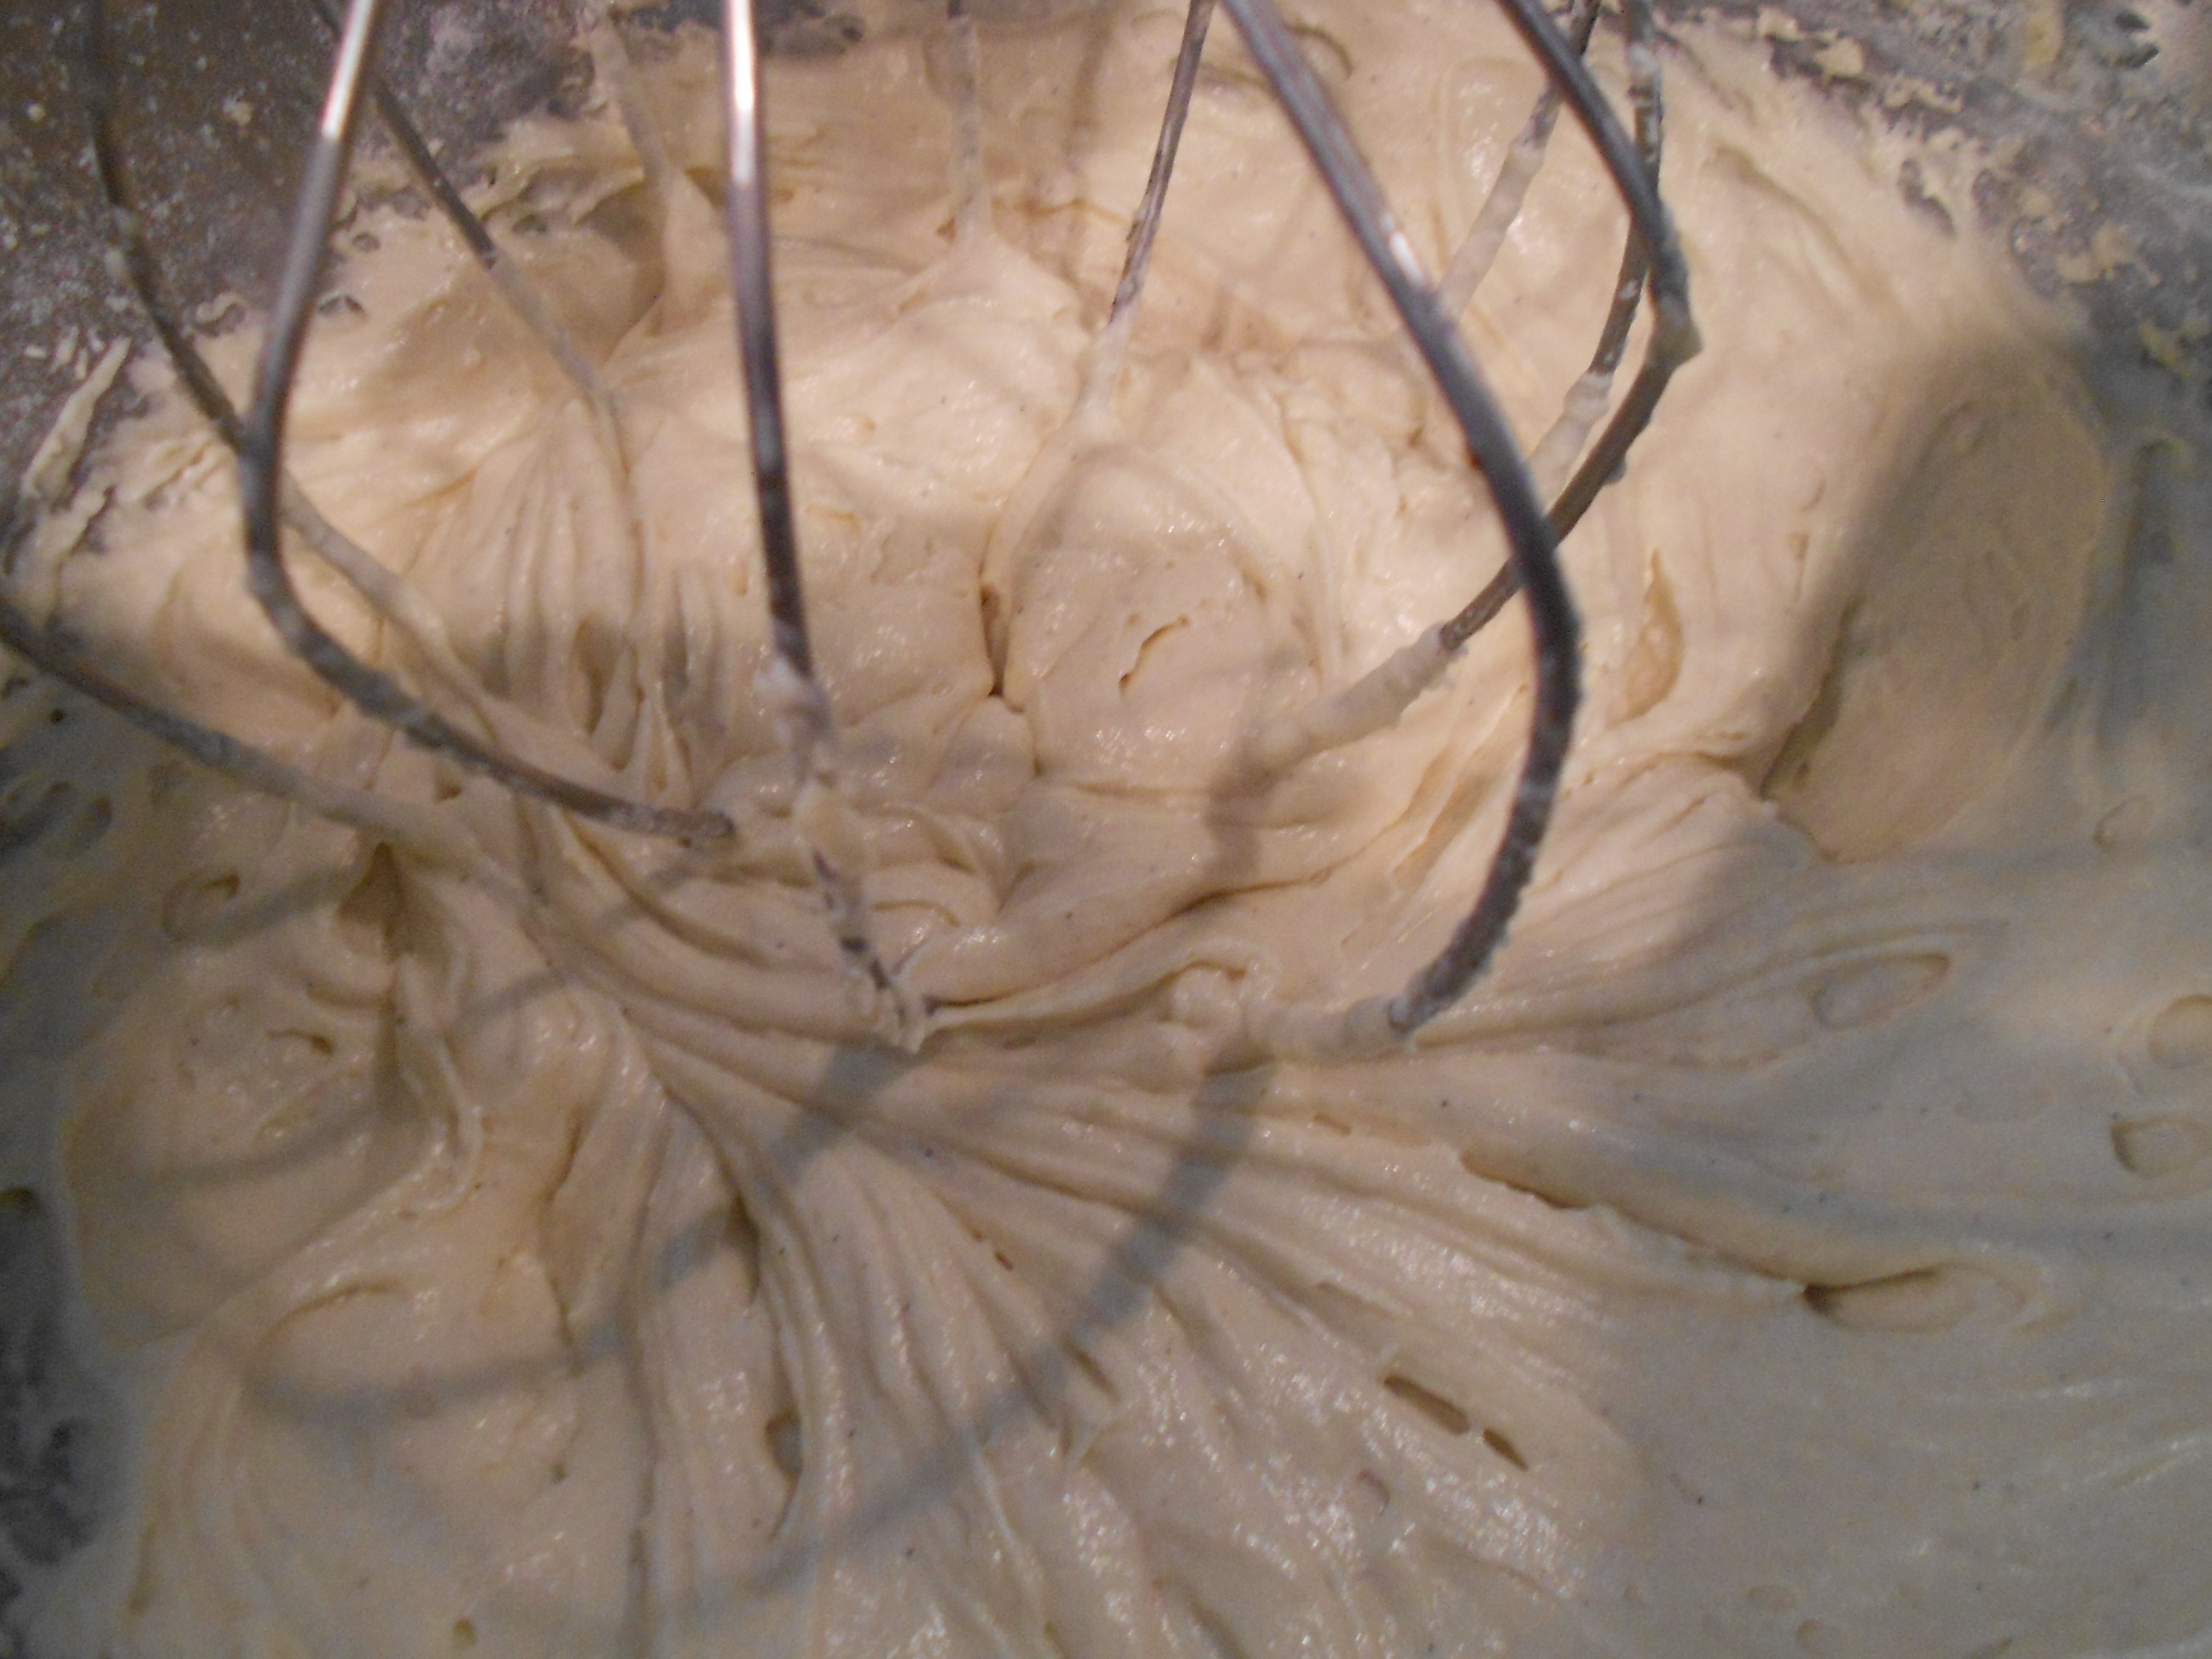
I slowly then add the second half of my buttermilk mixture intermediately with the left over half of the dry mixture. I do this so I do not over whip the batter, since this tends to produce a dryer cake if you over beat it. You will end up with a nice smooth mixture by halving the wet and dry, and not over beating.

DSCN2154

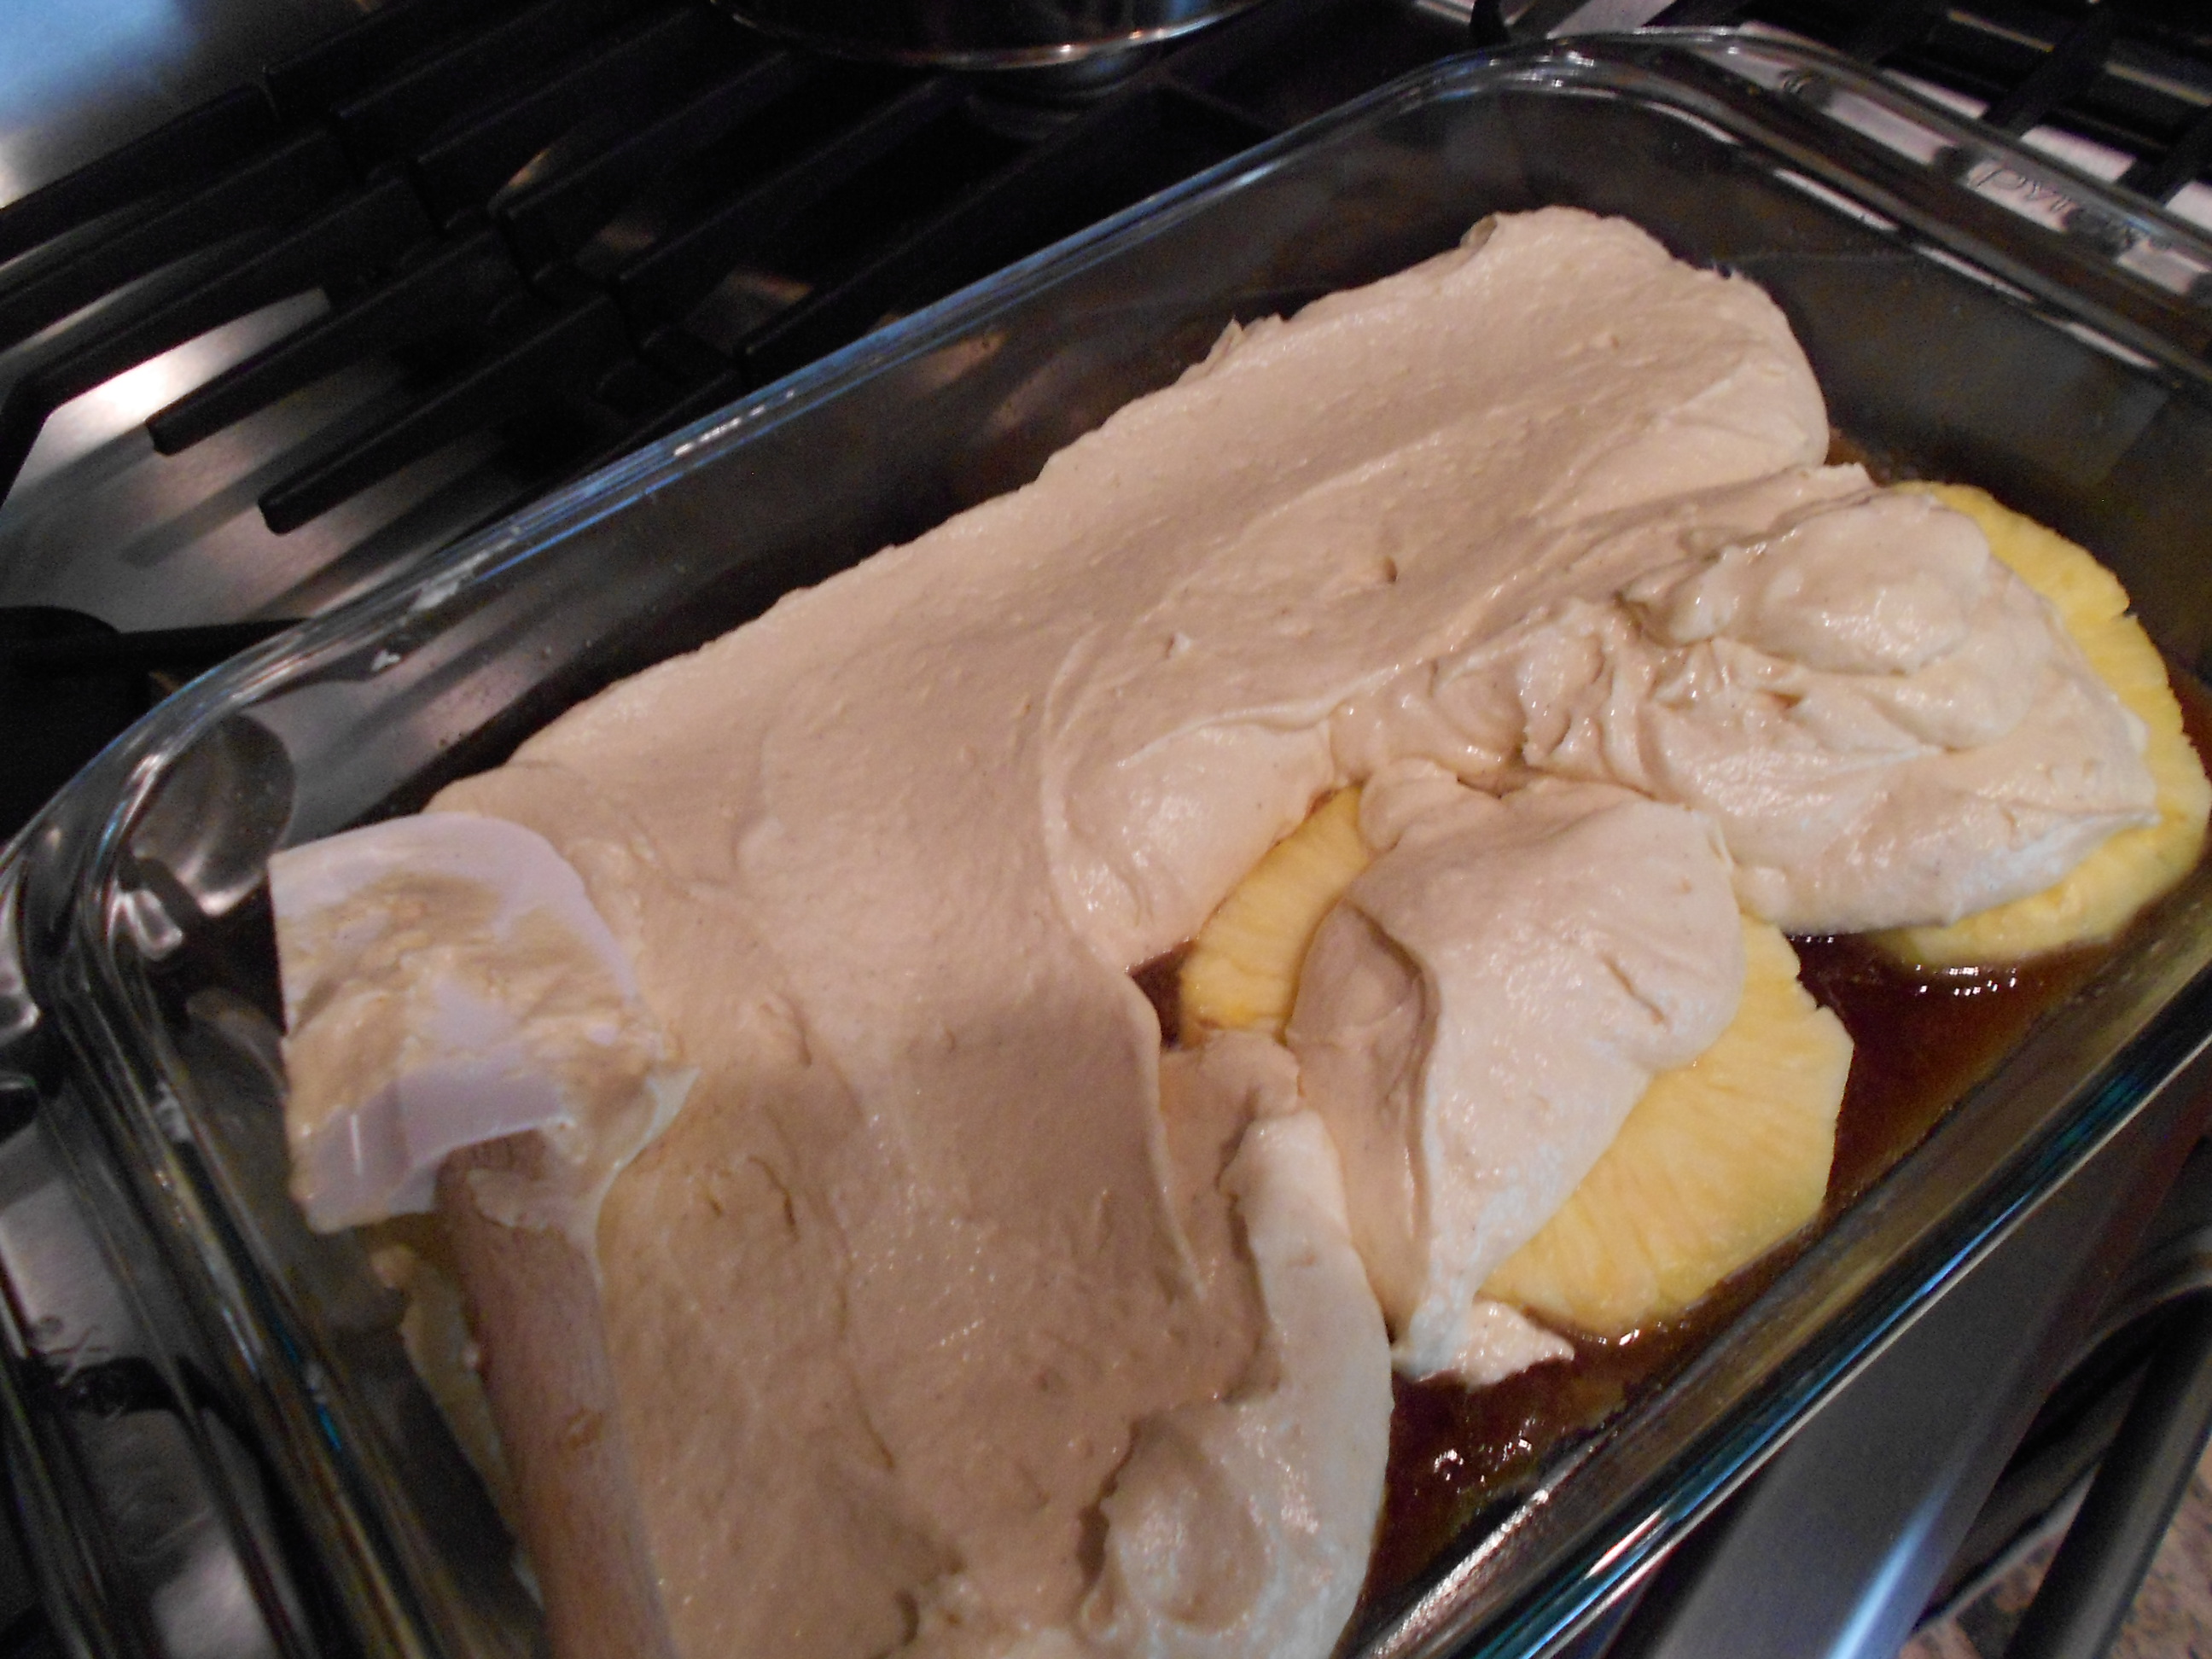
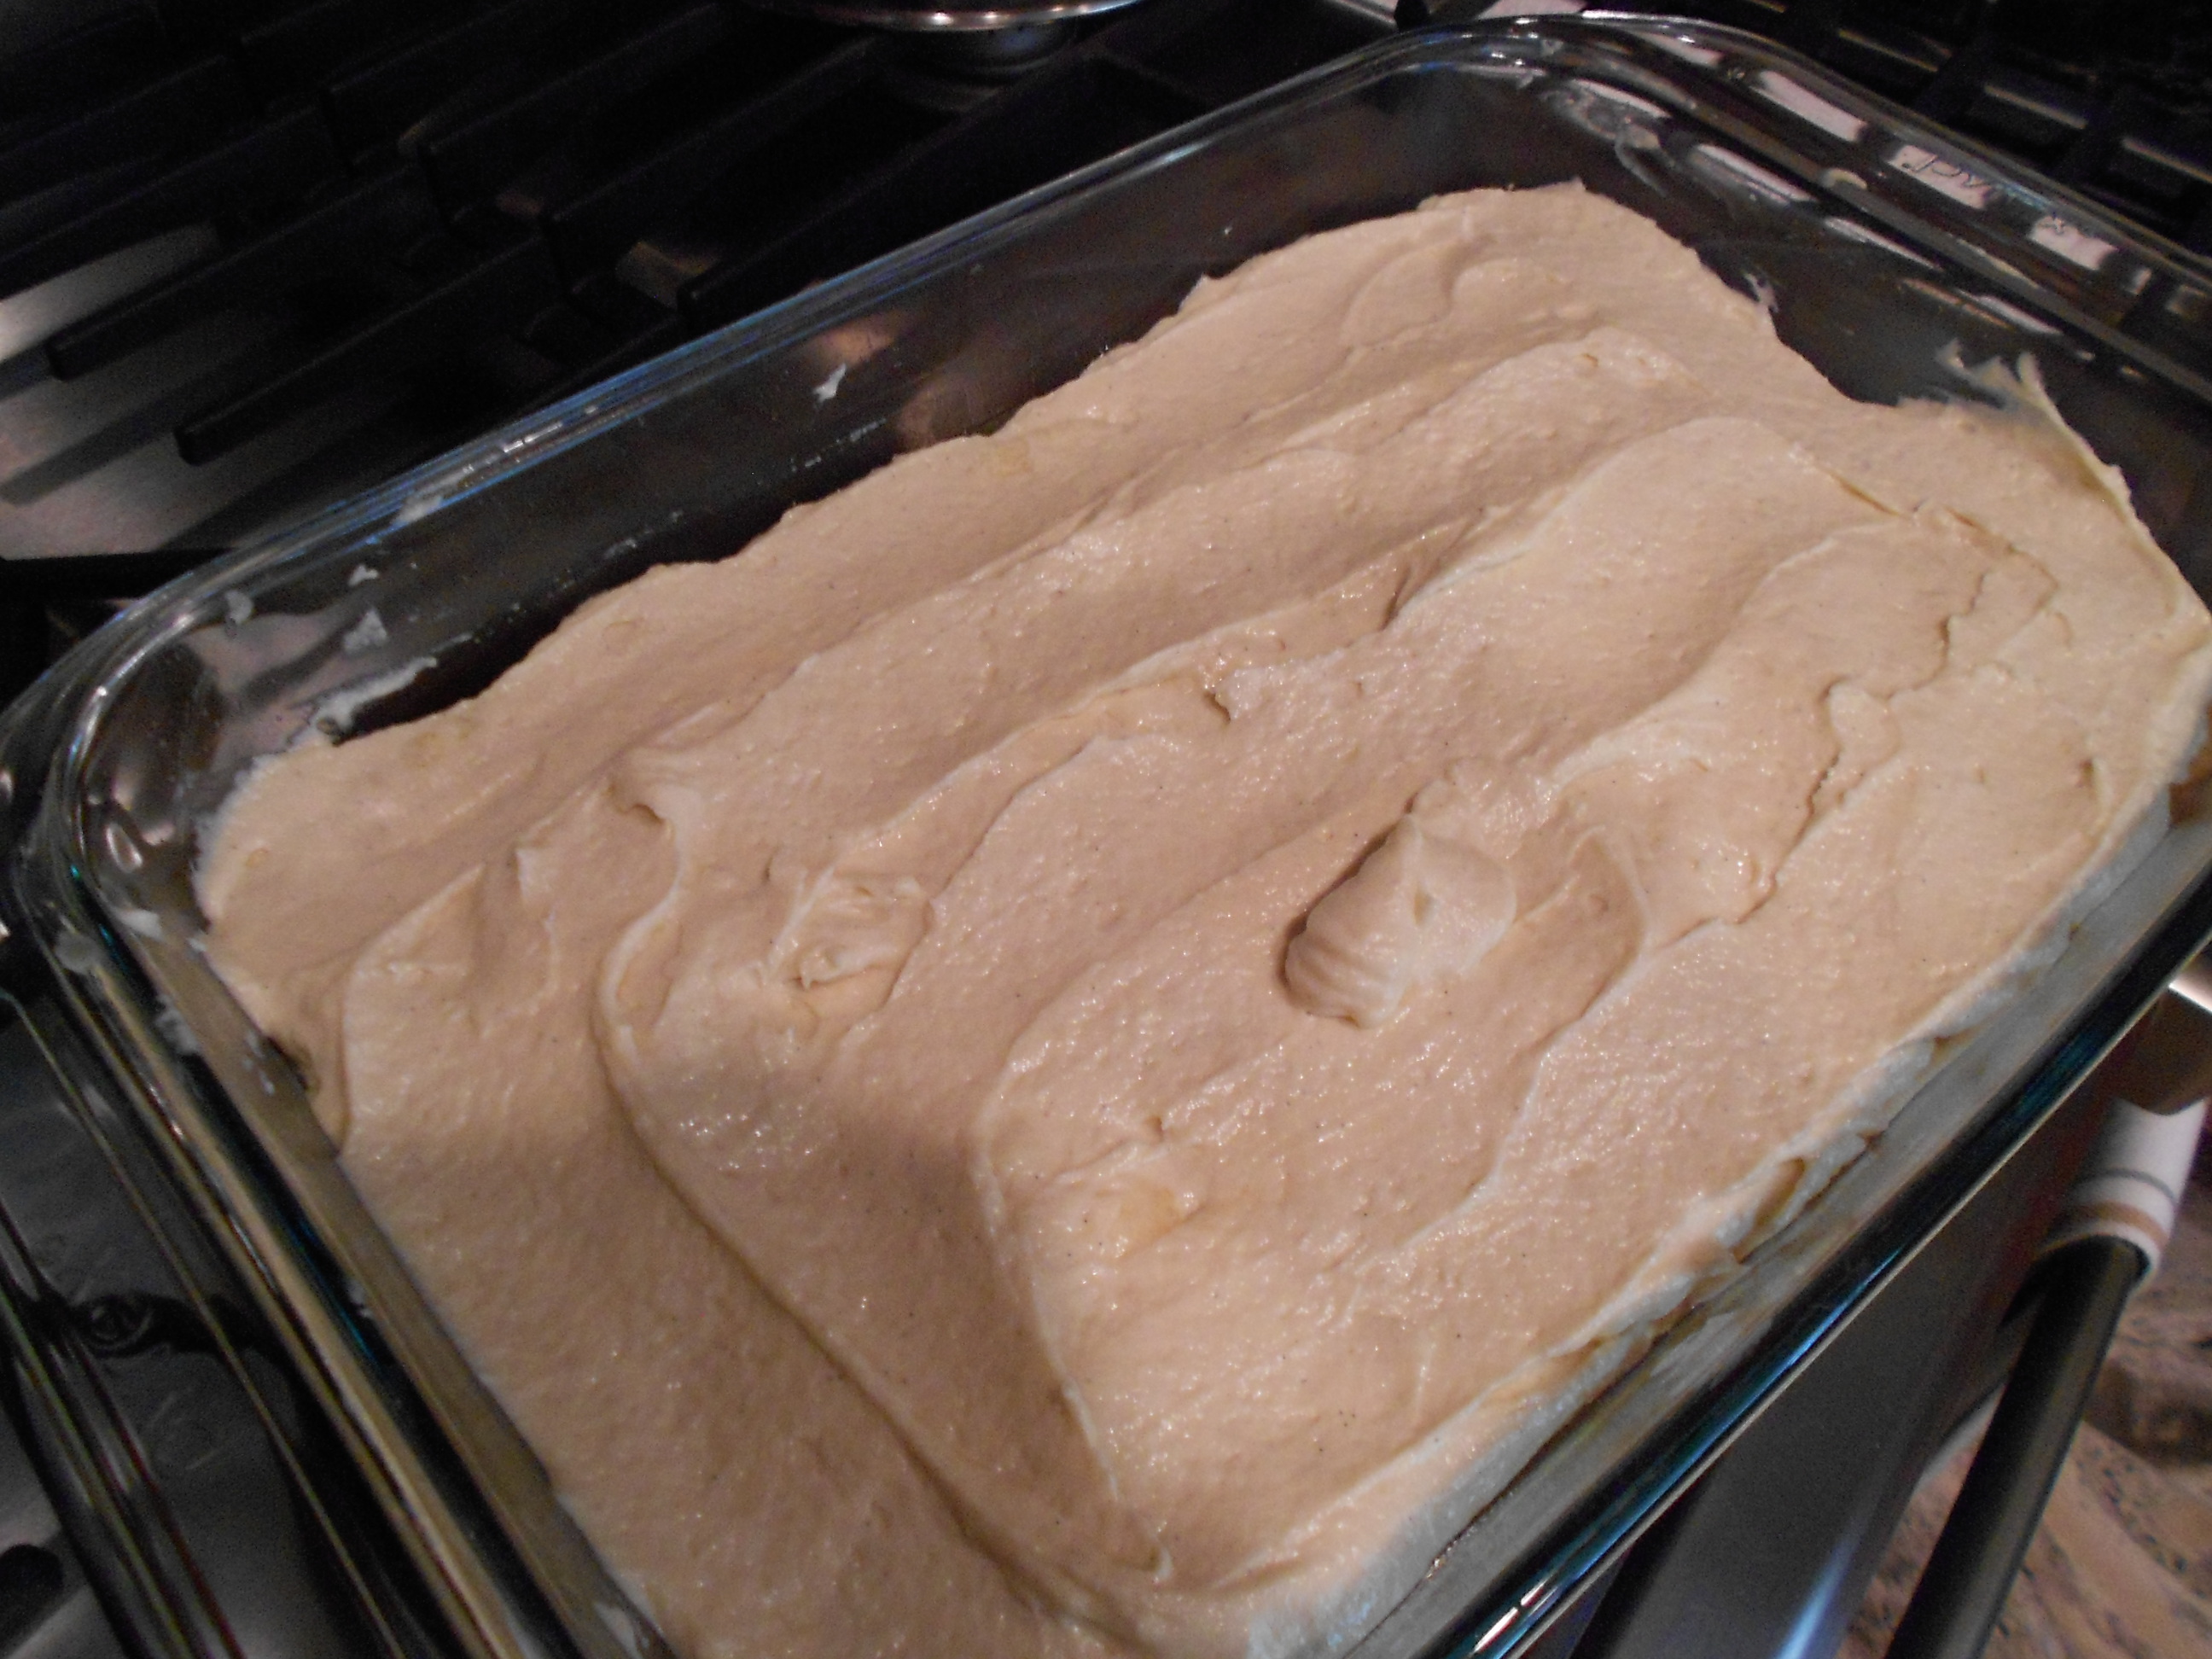
Once everything is incorporated, I take the batter and drop spoonfuls into the pan with the glaze and pineapple. I do six large spoonfuls so I can get a nice even layer without disrupting the fruit's placement.

DSCN2156

DSCN2157

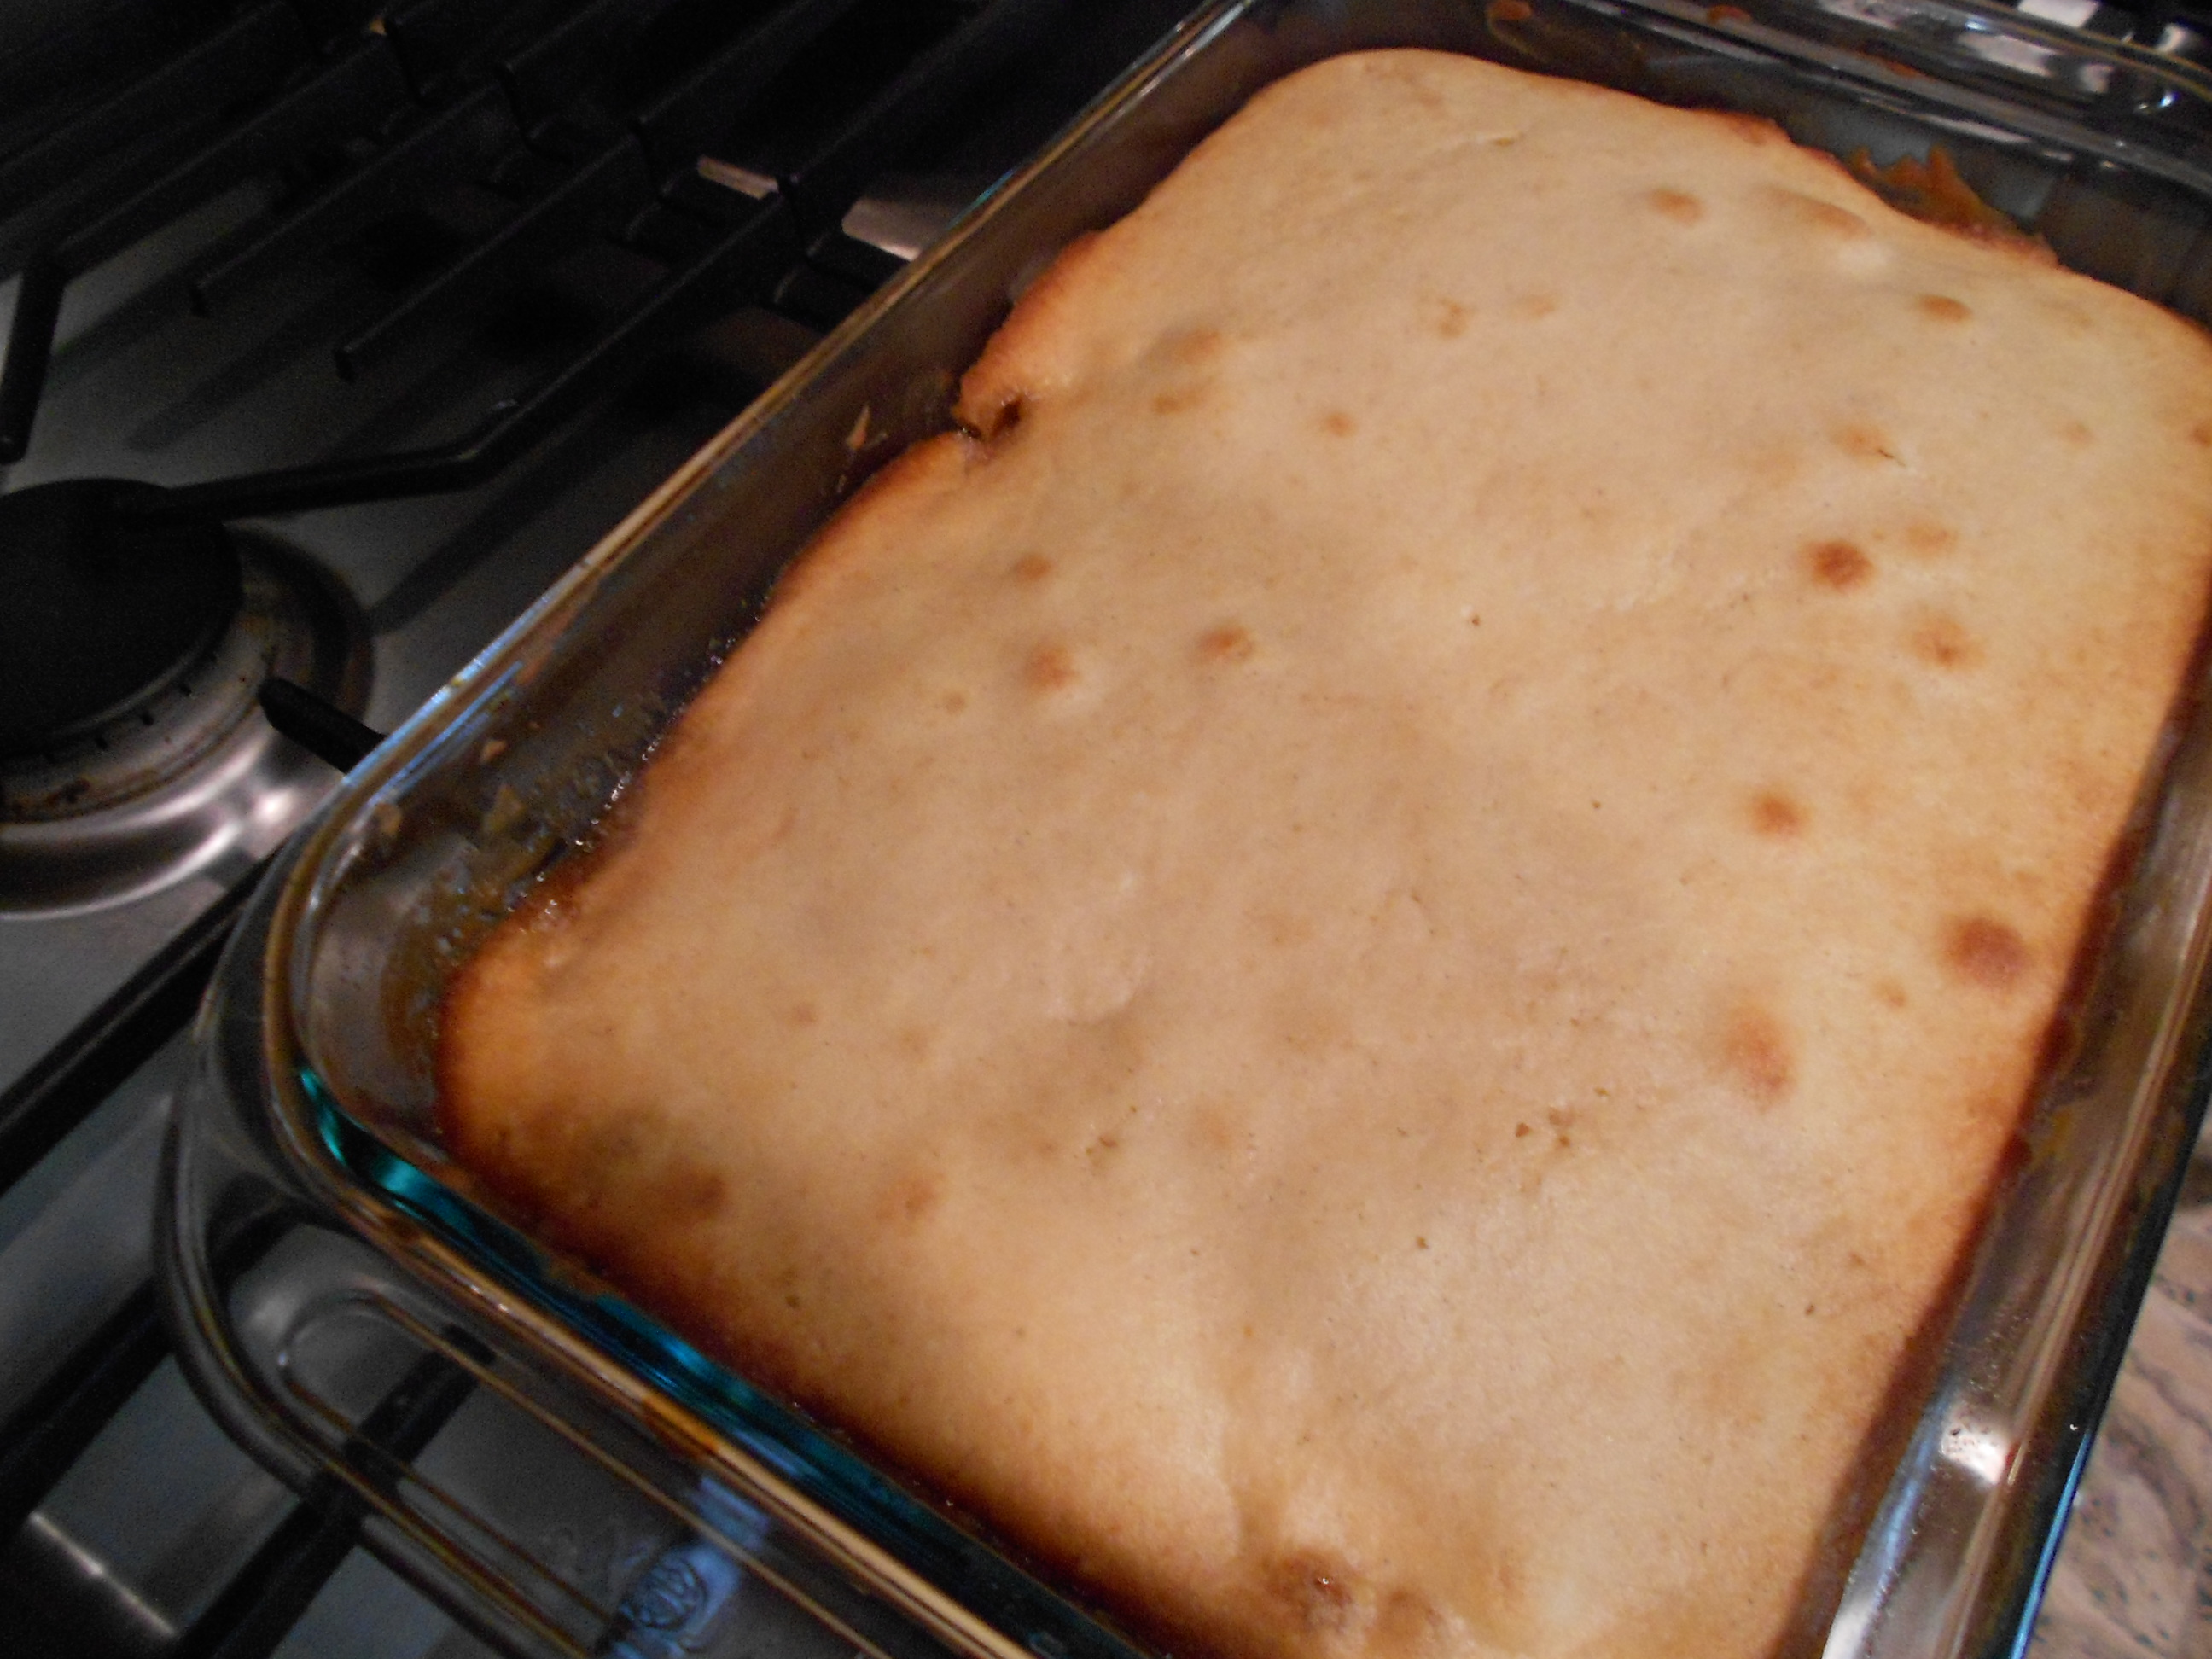
Place in oven at 350 degrees for 35 minutes or until the cake is springy to the touch. You can use a toothpick to check if the cake is done too.

DSCN2162

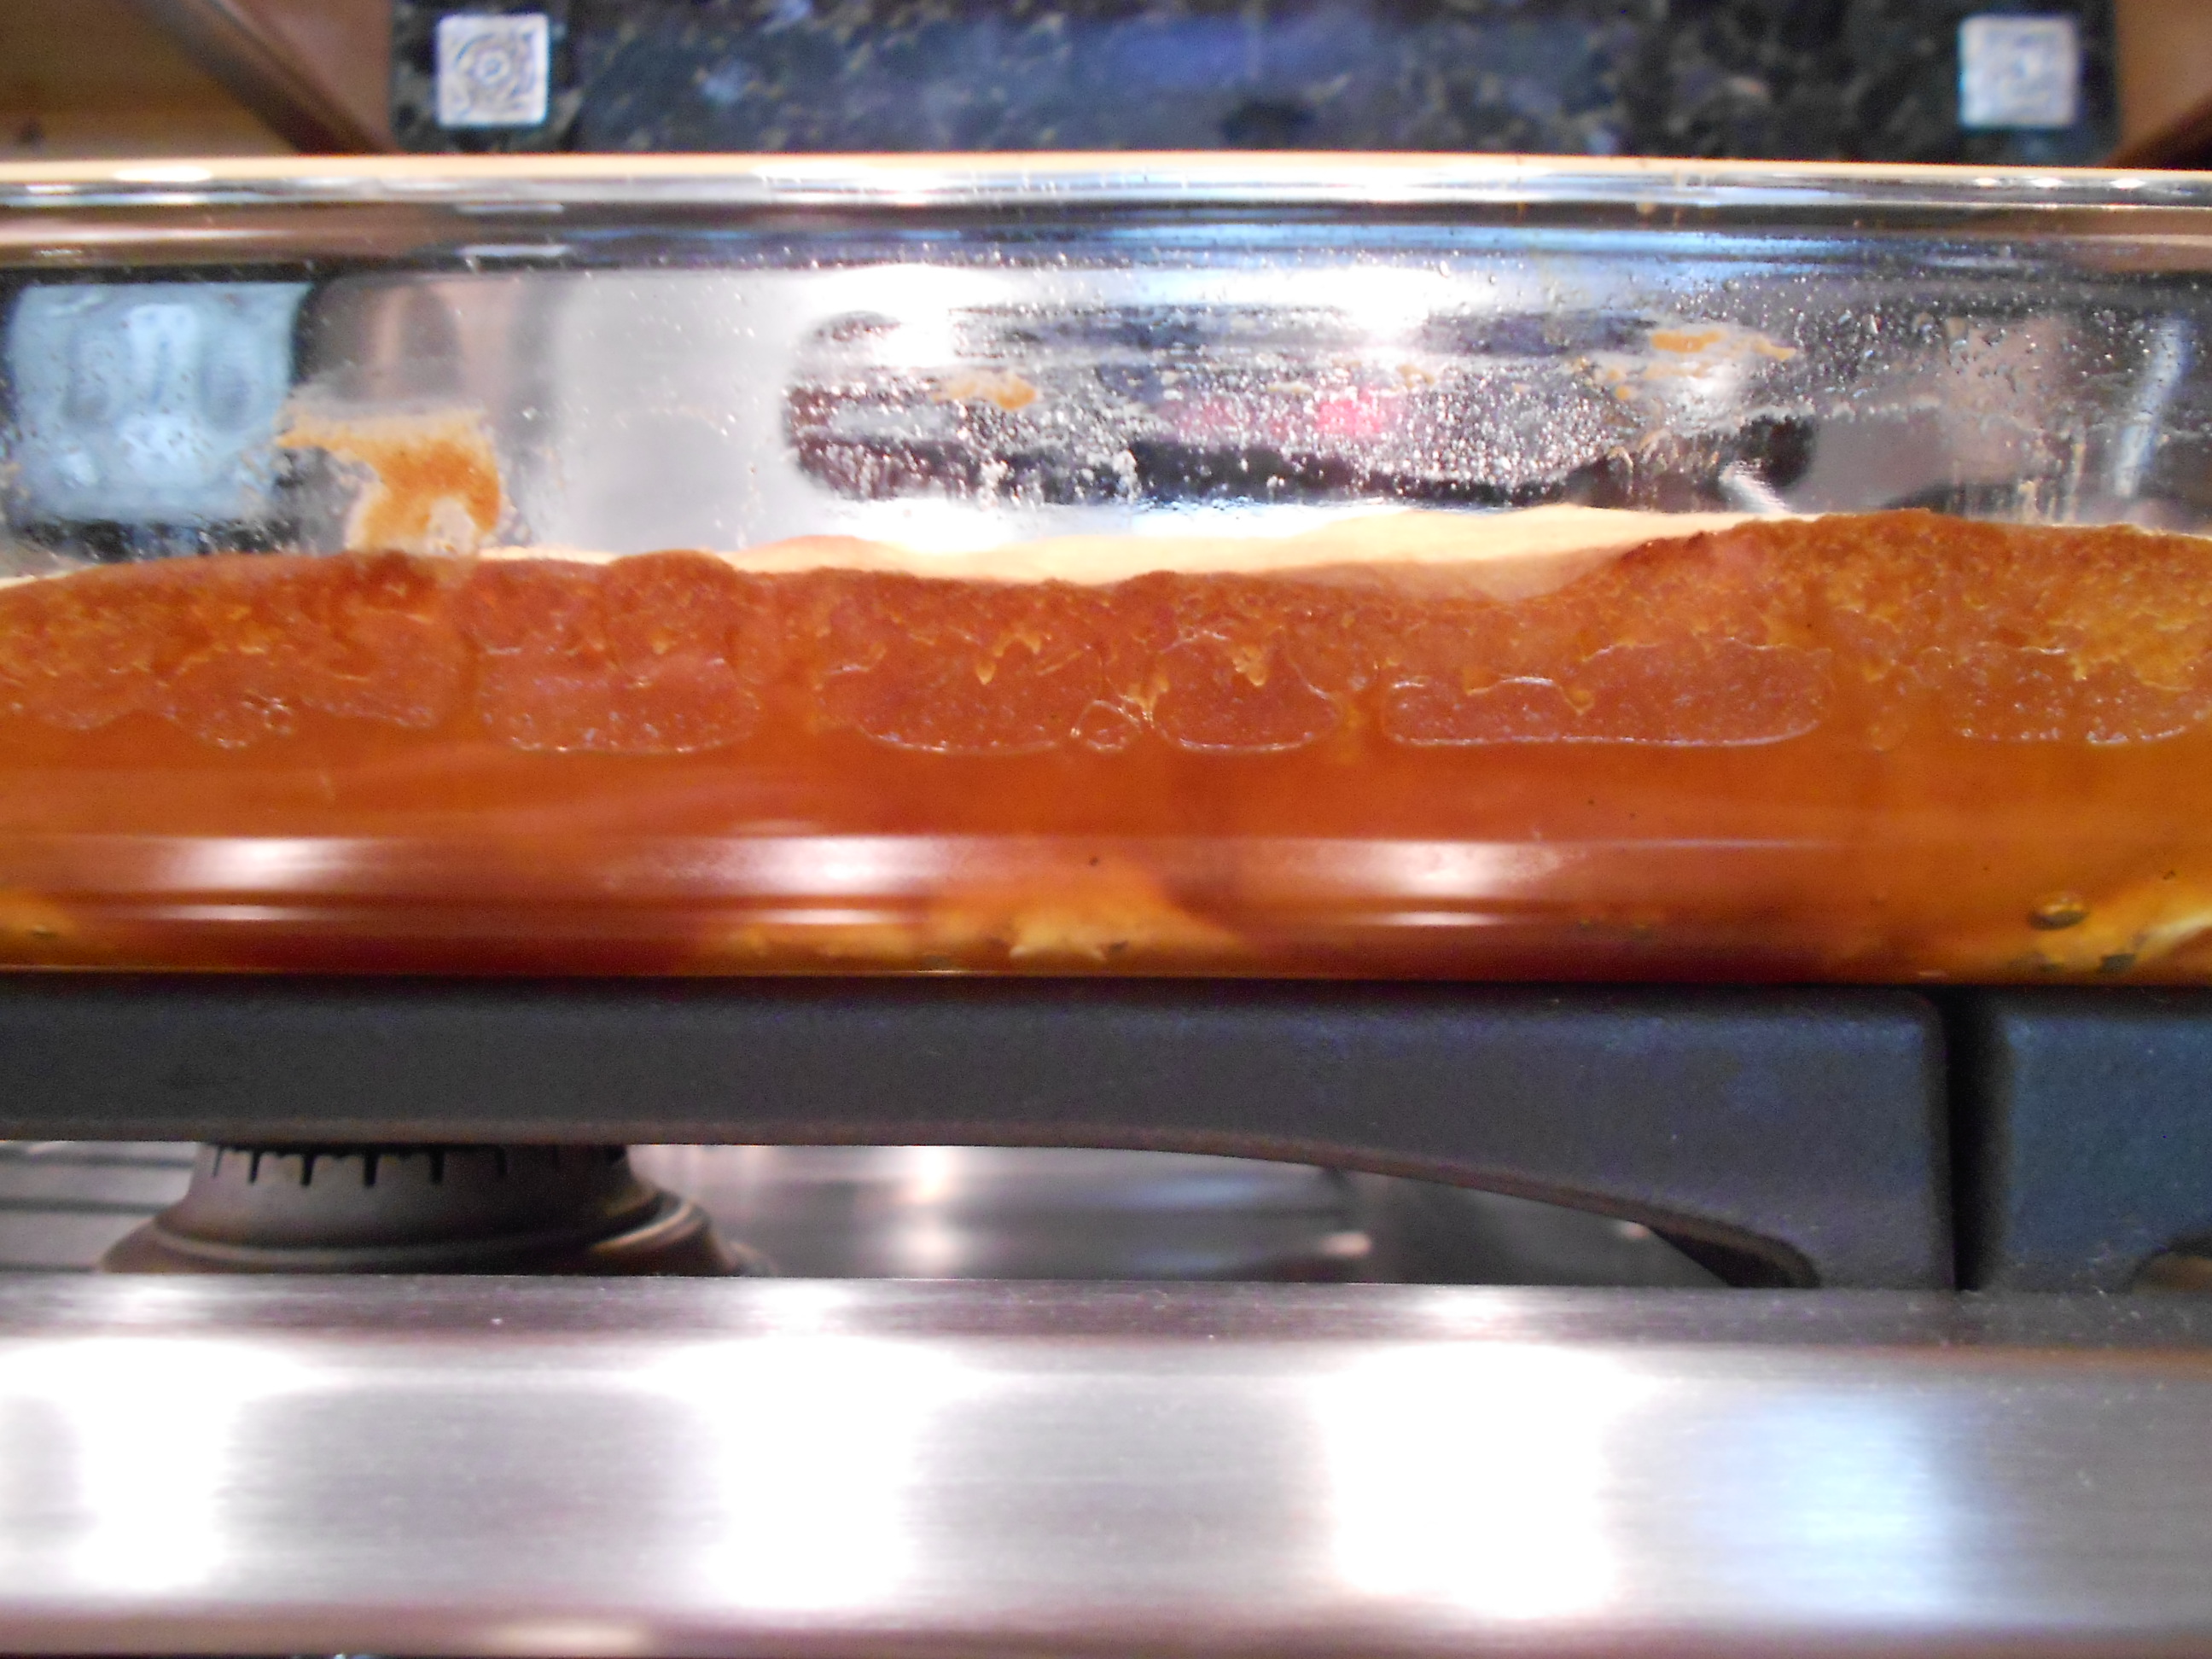
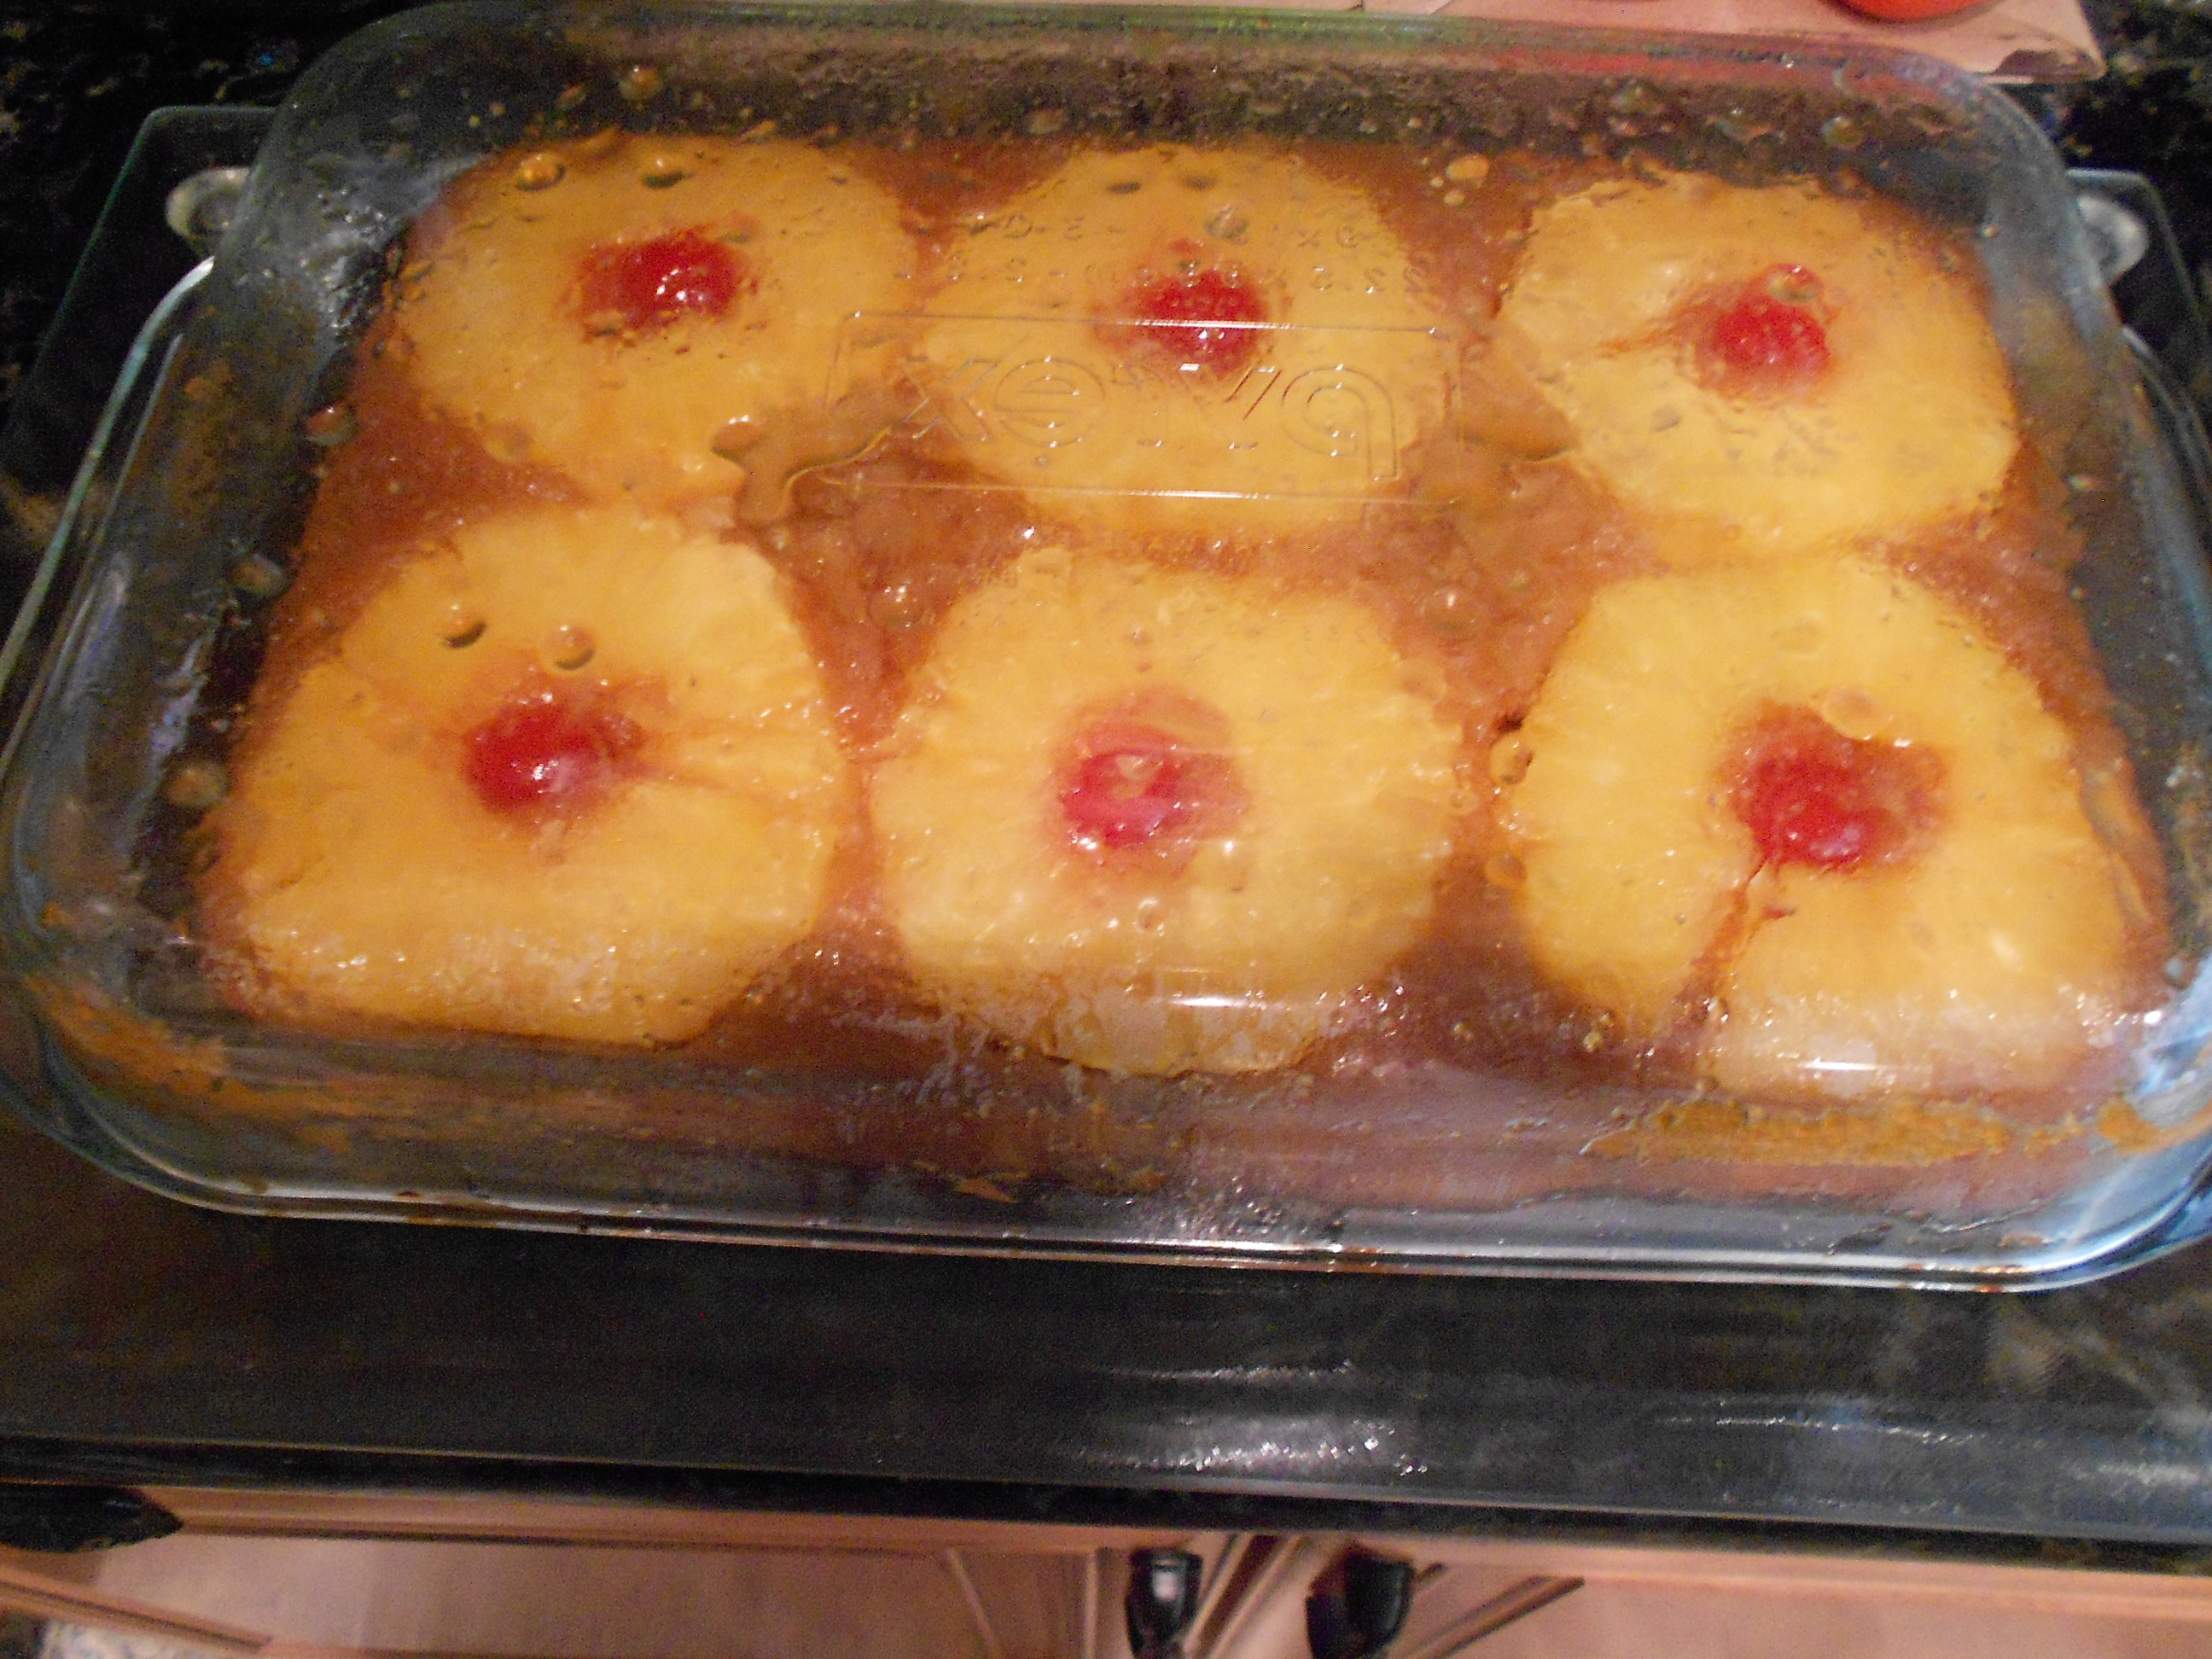
The sides will be bubbling!

DSCN2164

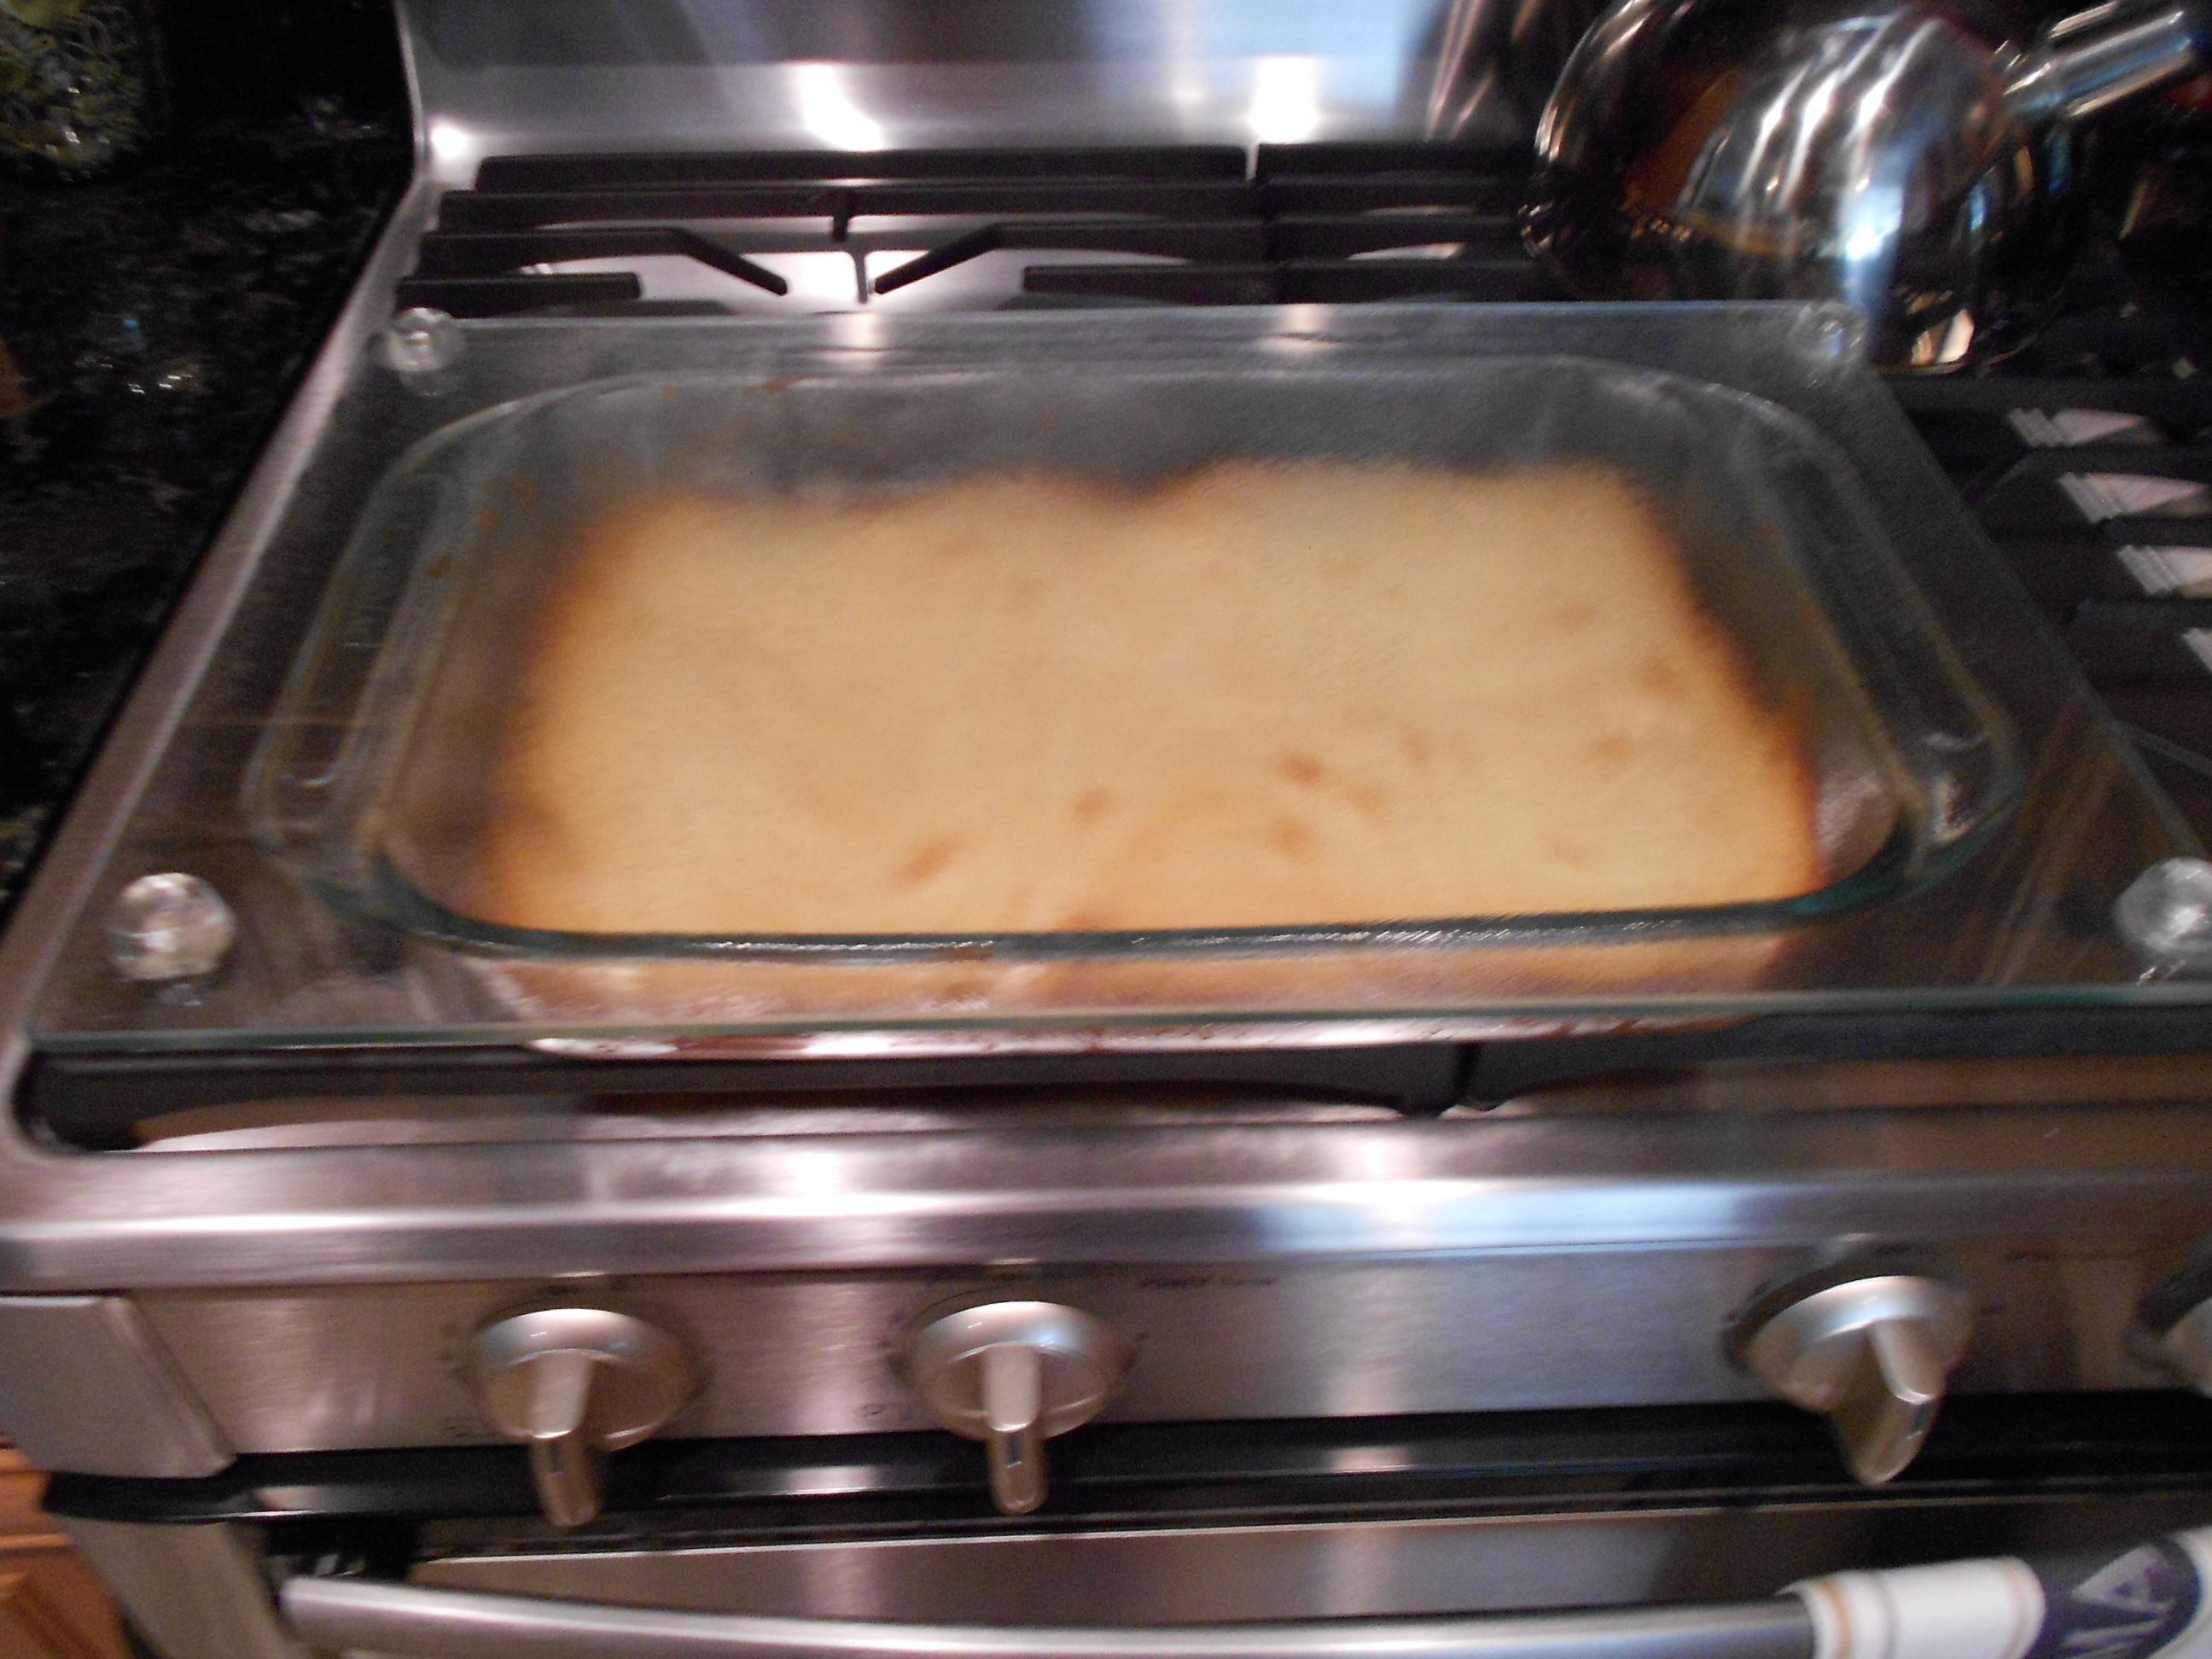
Allow the cake to cool down for 15 minutes before flipping. I usually place a glass cutting board on top of the cake pan.

DSCN2199

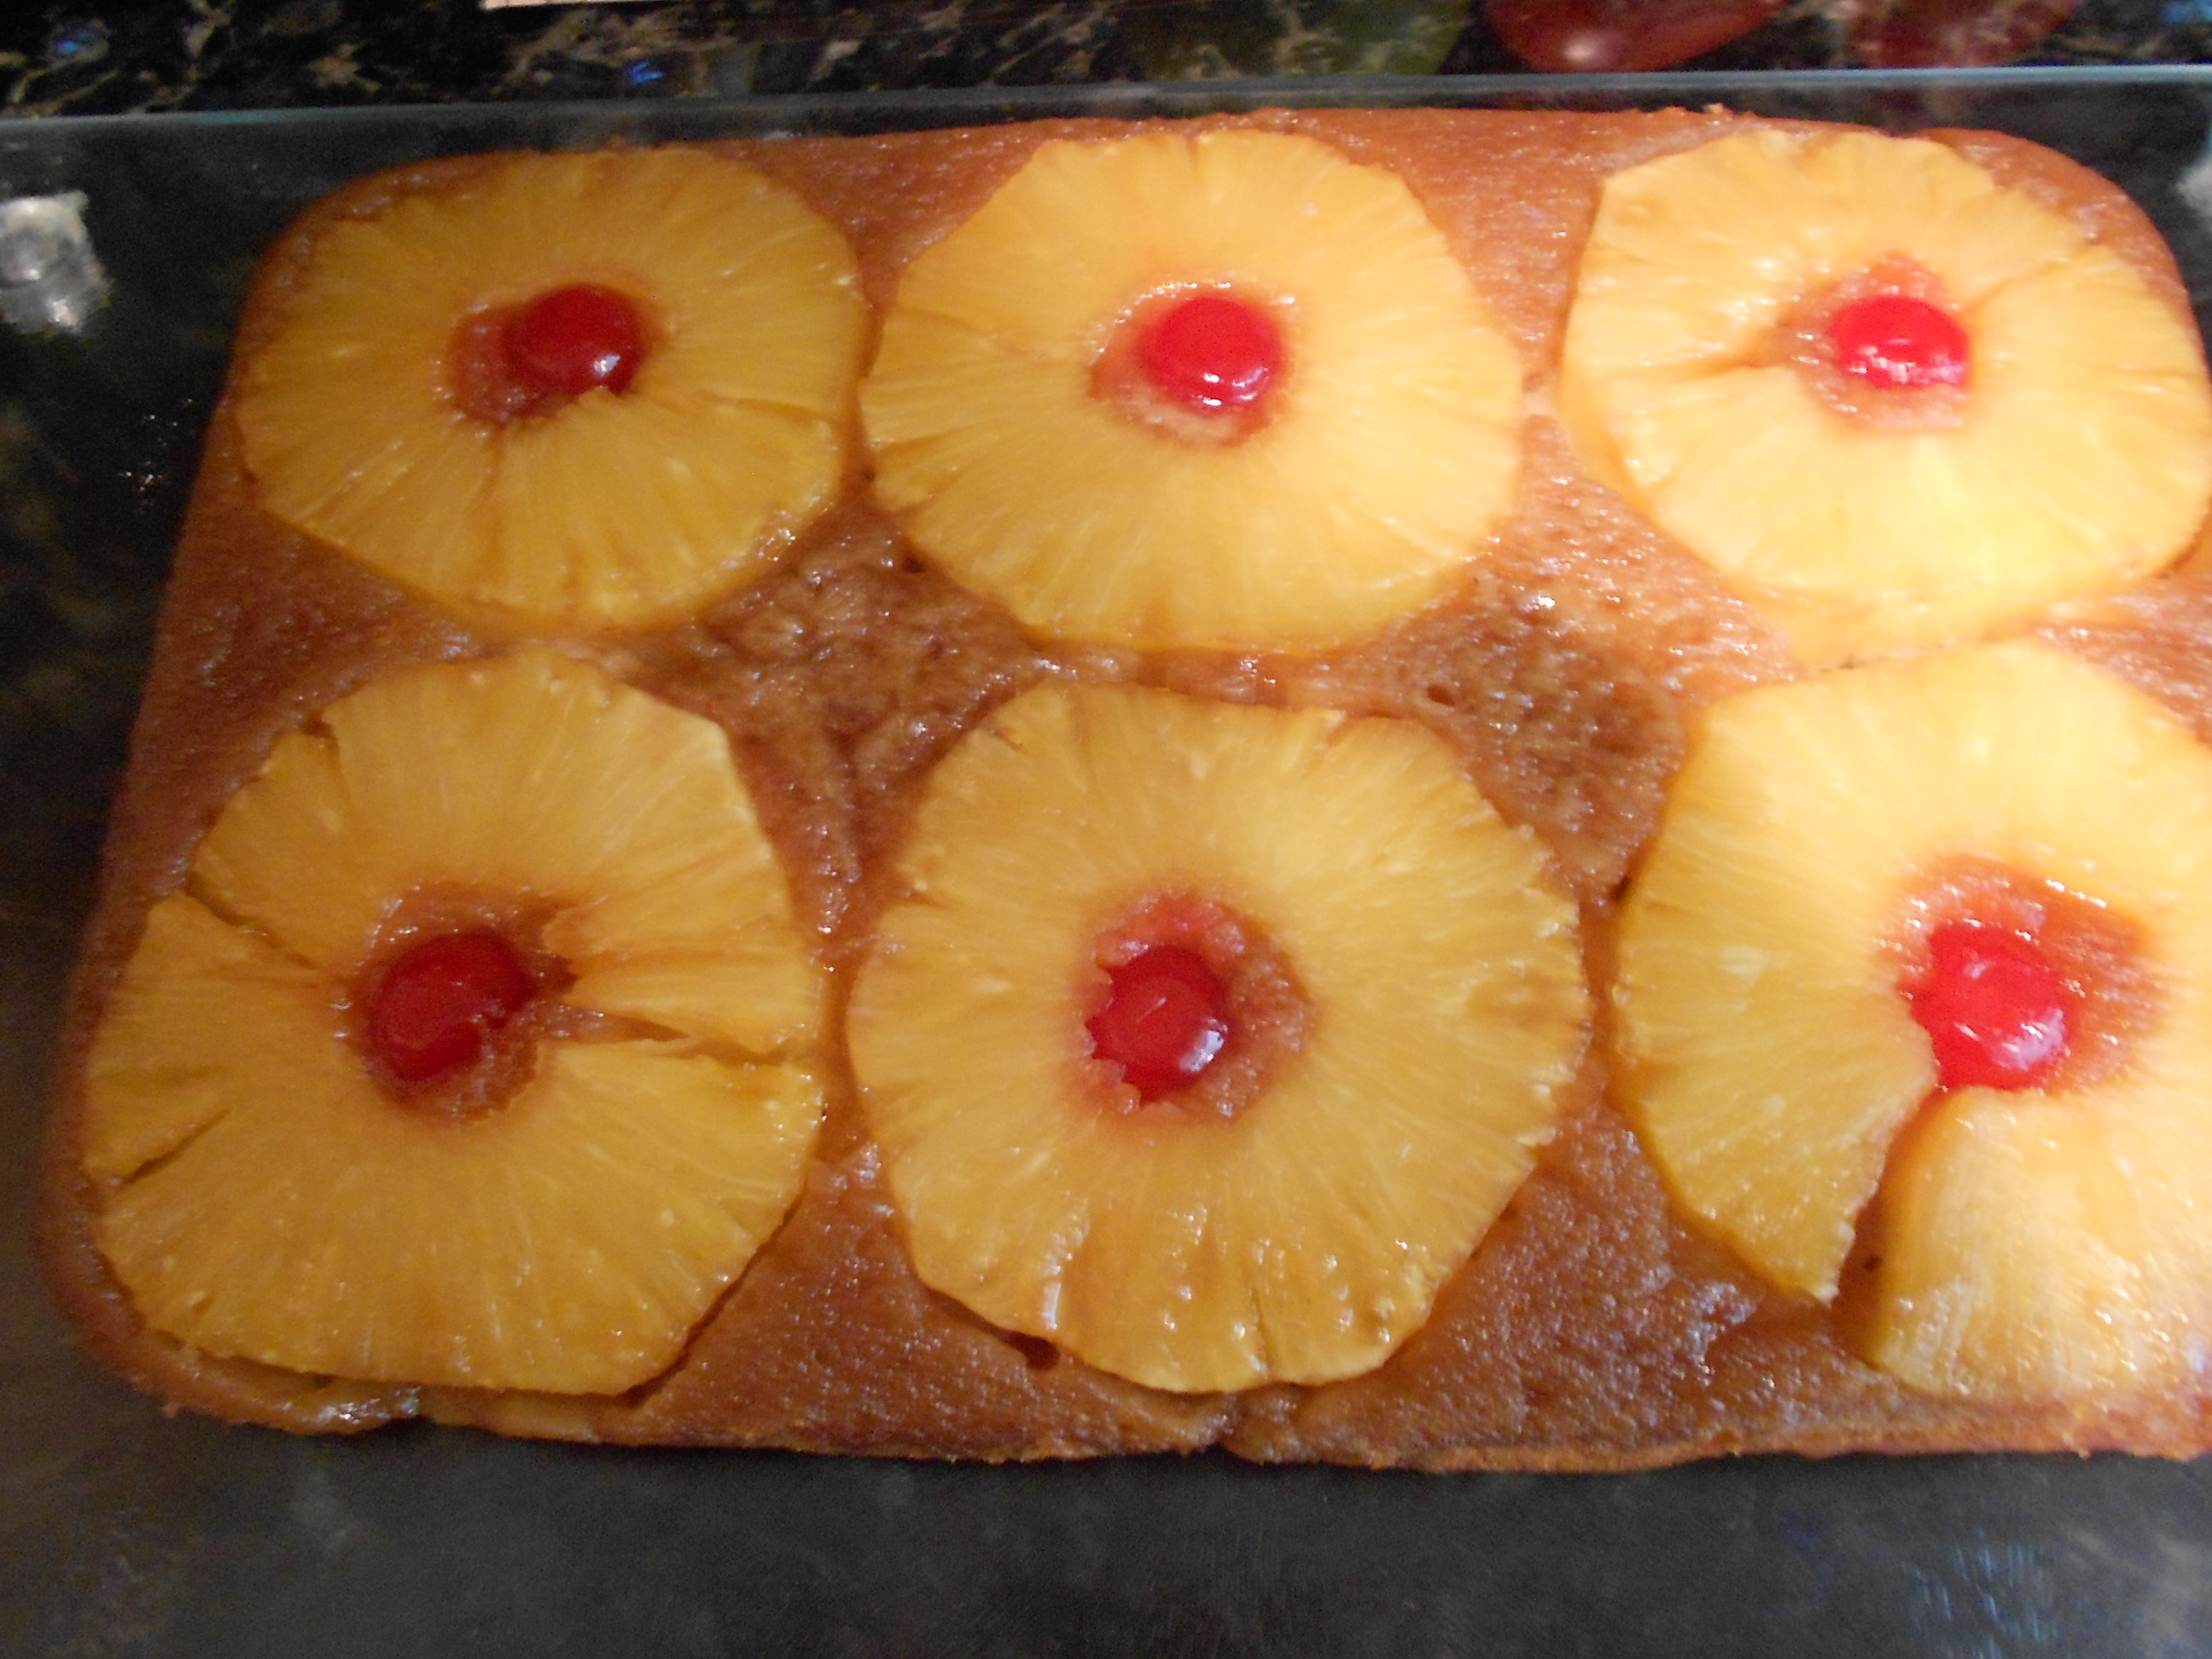
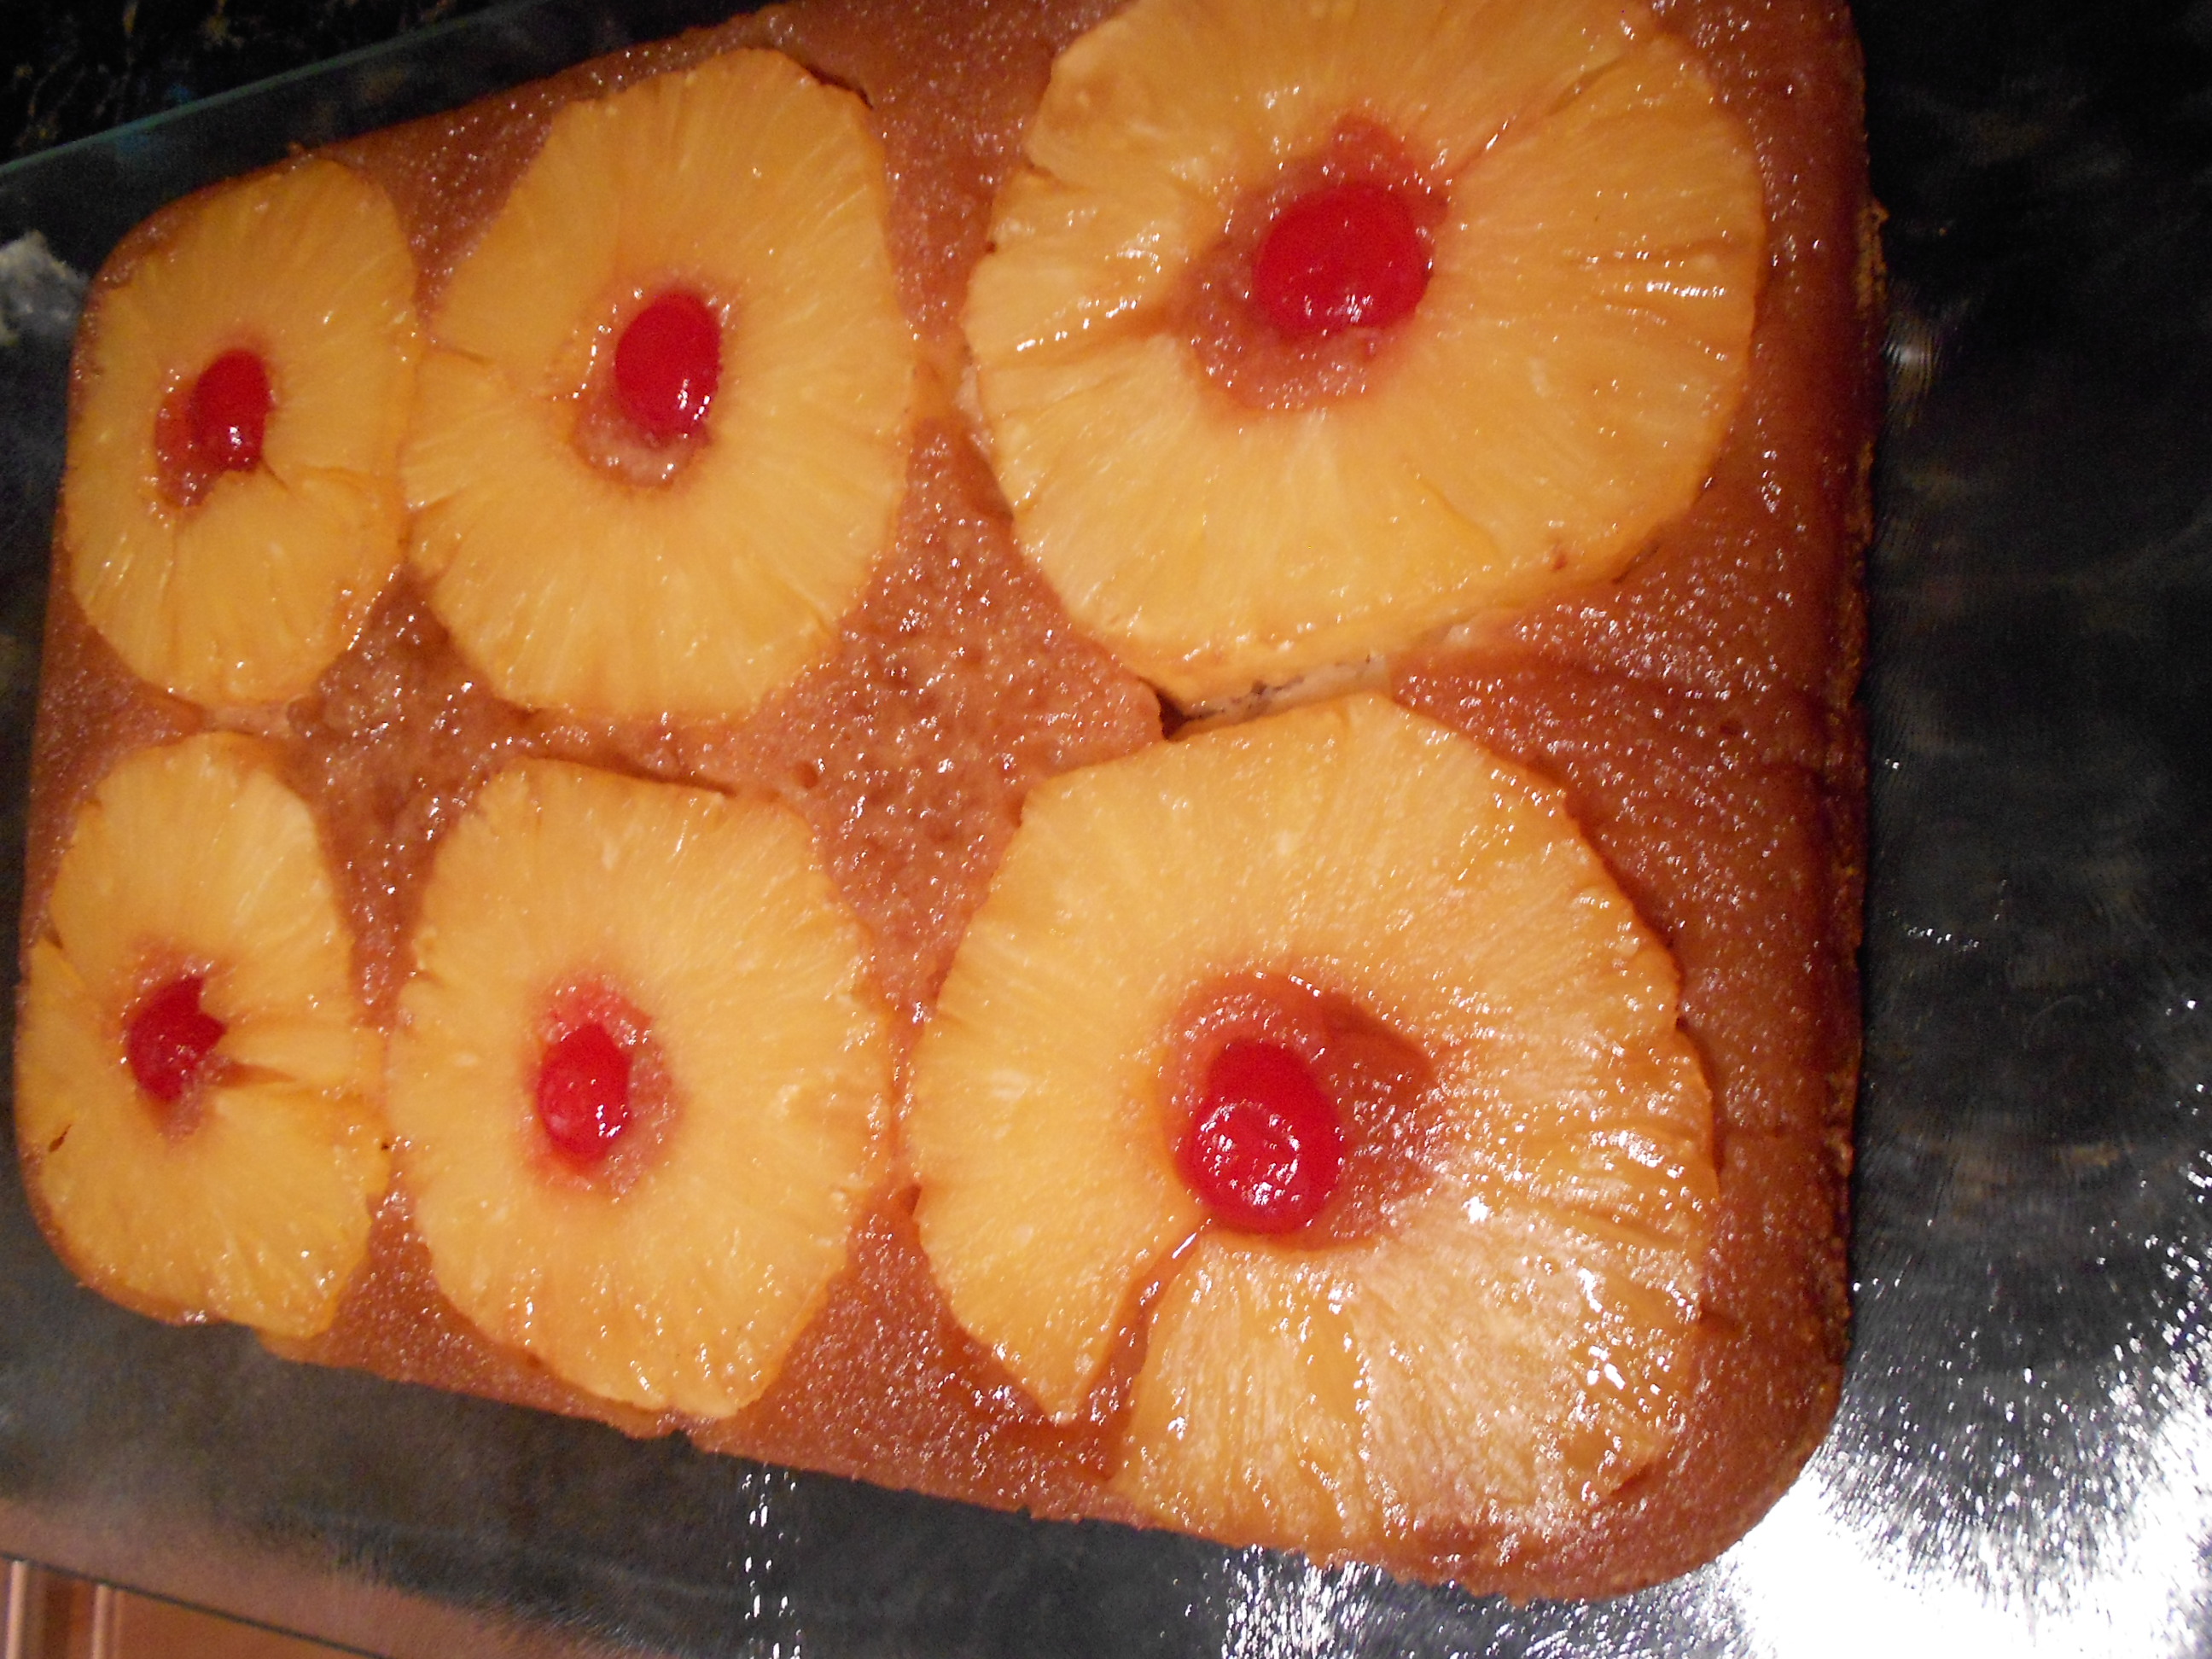
Flip.

DSCN2203

Remove pan.

DSCN2208

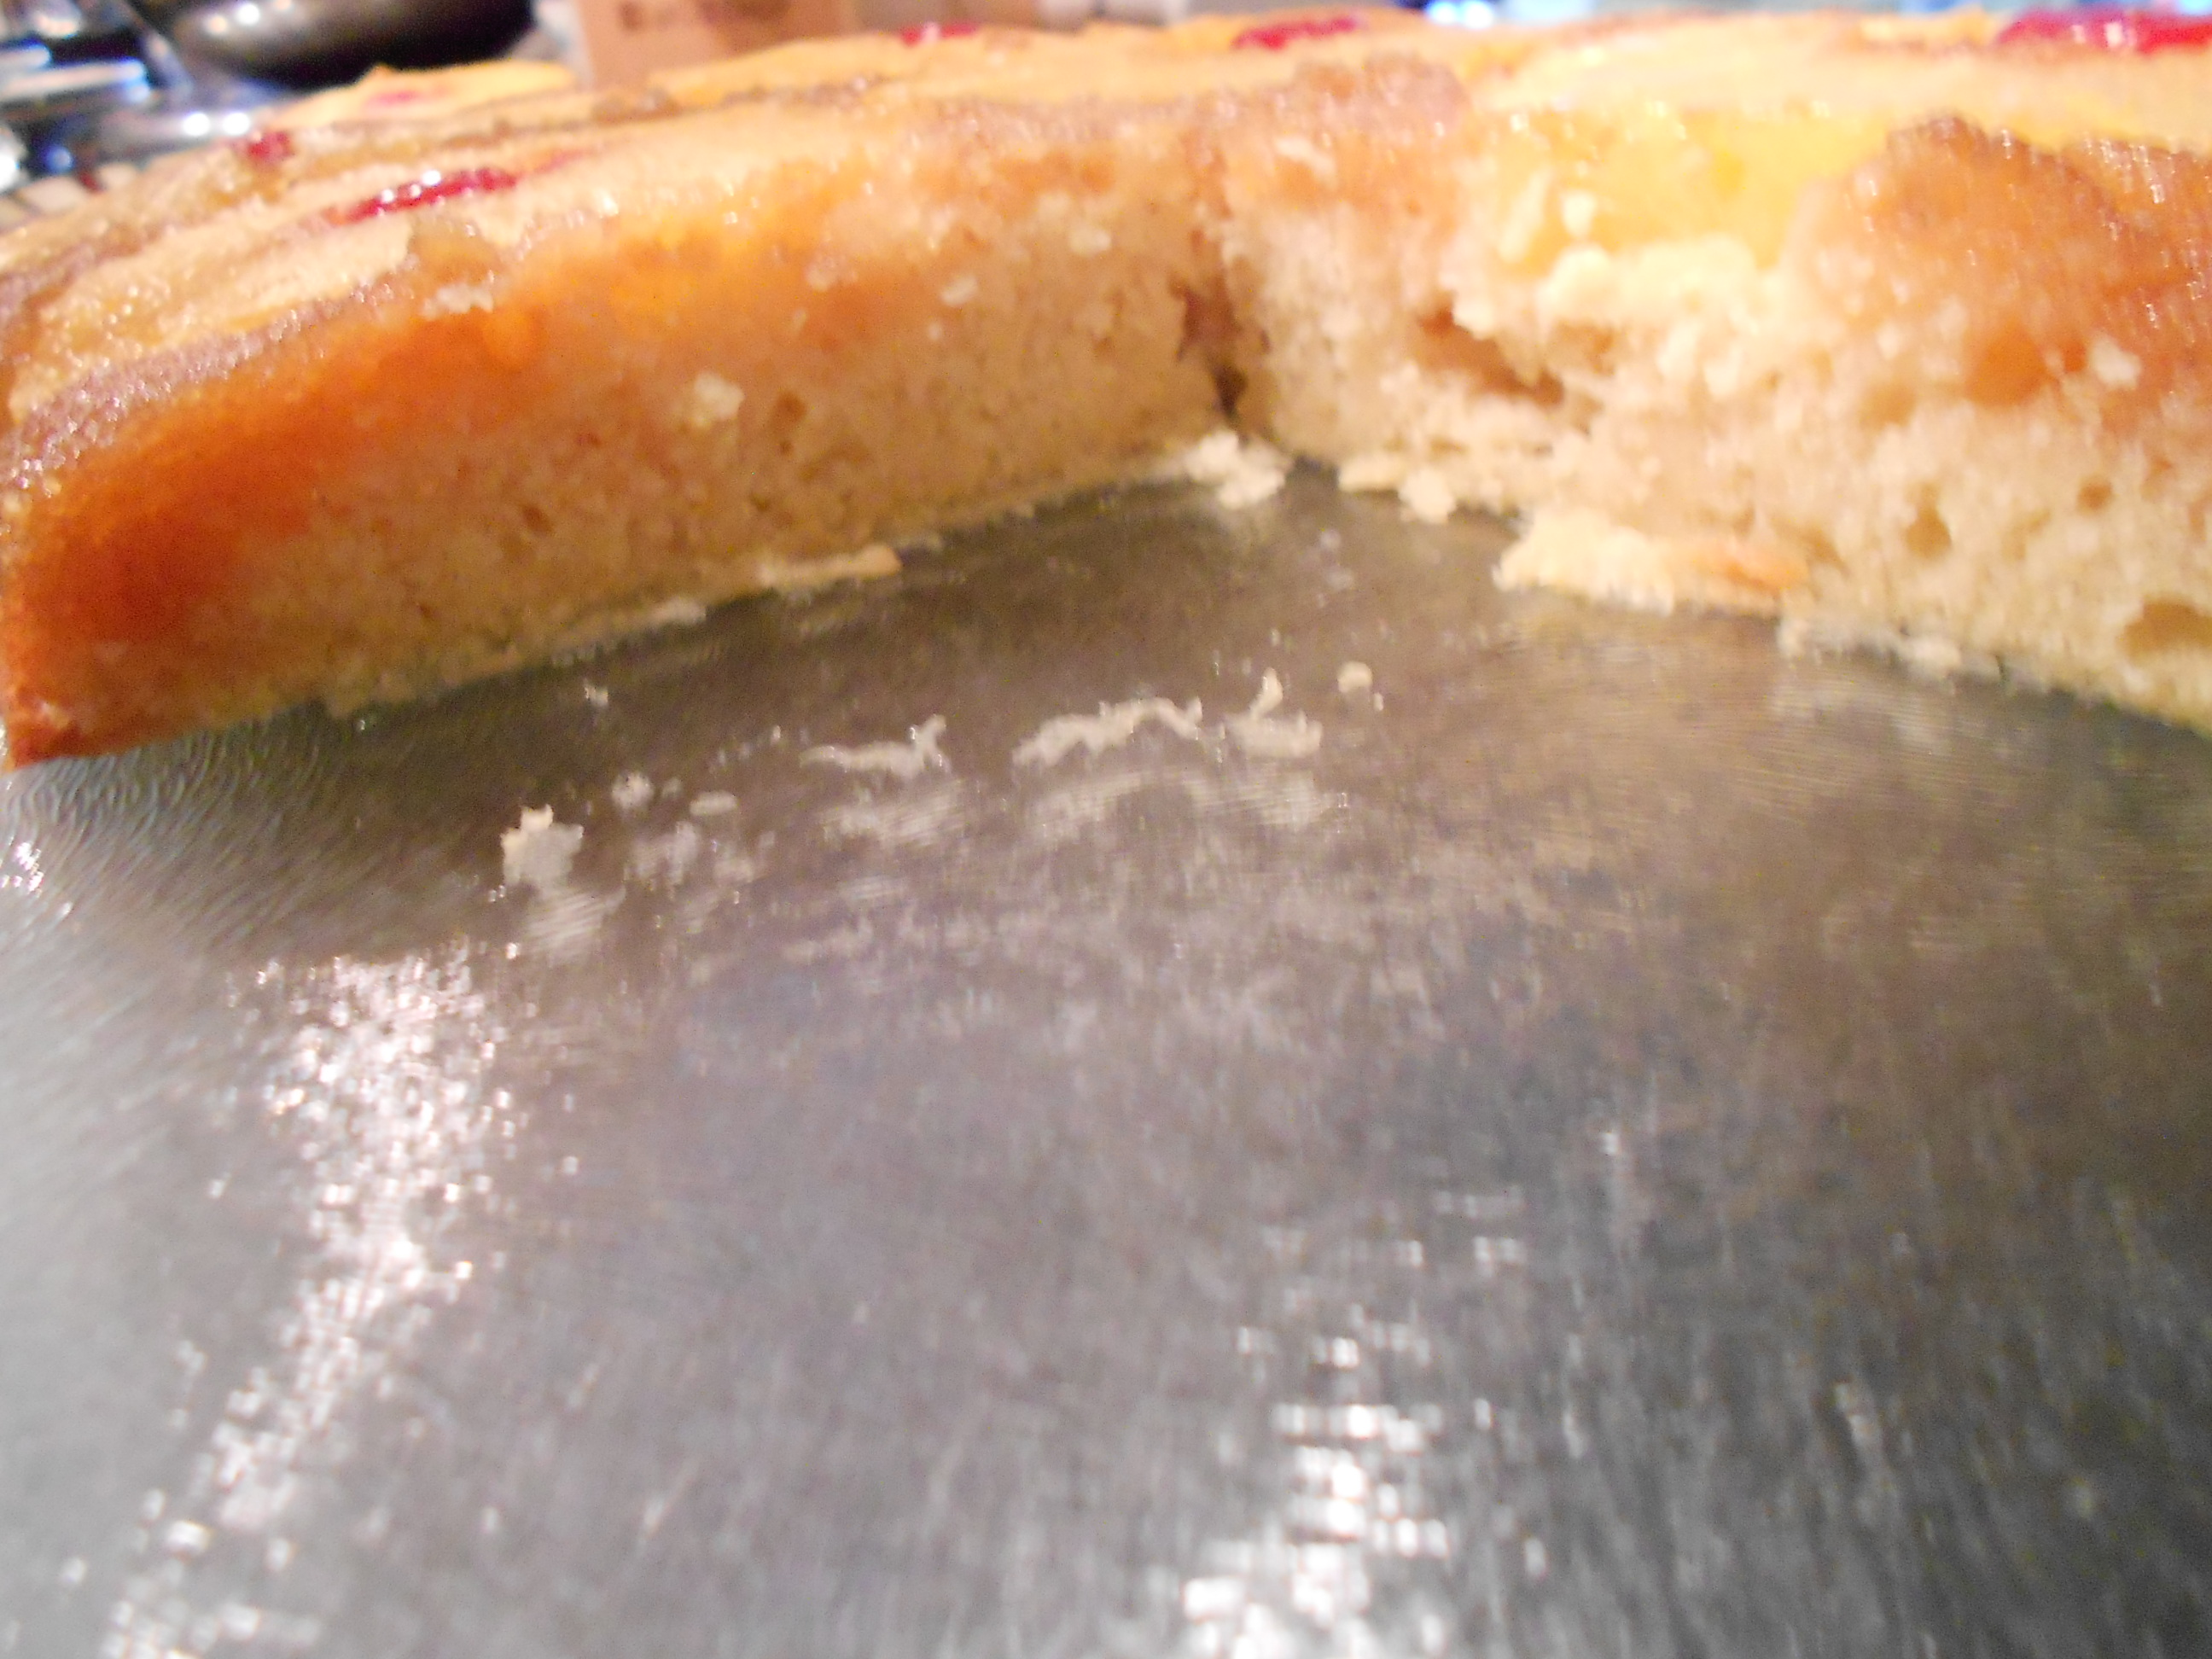
I allow for it to cool a bit more and then start cutting, usually 10 minutes.

DSCN2222

Serve with ice cream or whipped cream if desired!

DSCN2226

You can store the cooled cut cake slices in the fridge (just wrap in plastic) and it holds very well. Enjoy!

DSCN2211