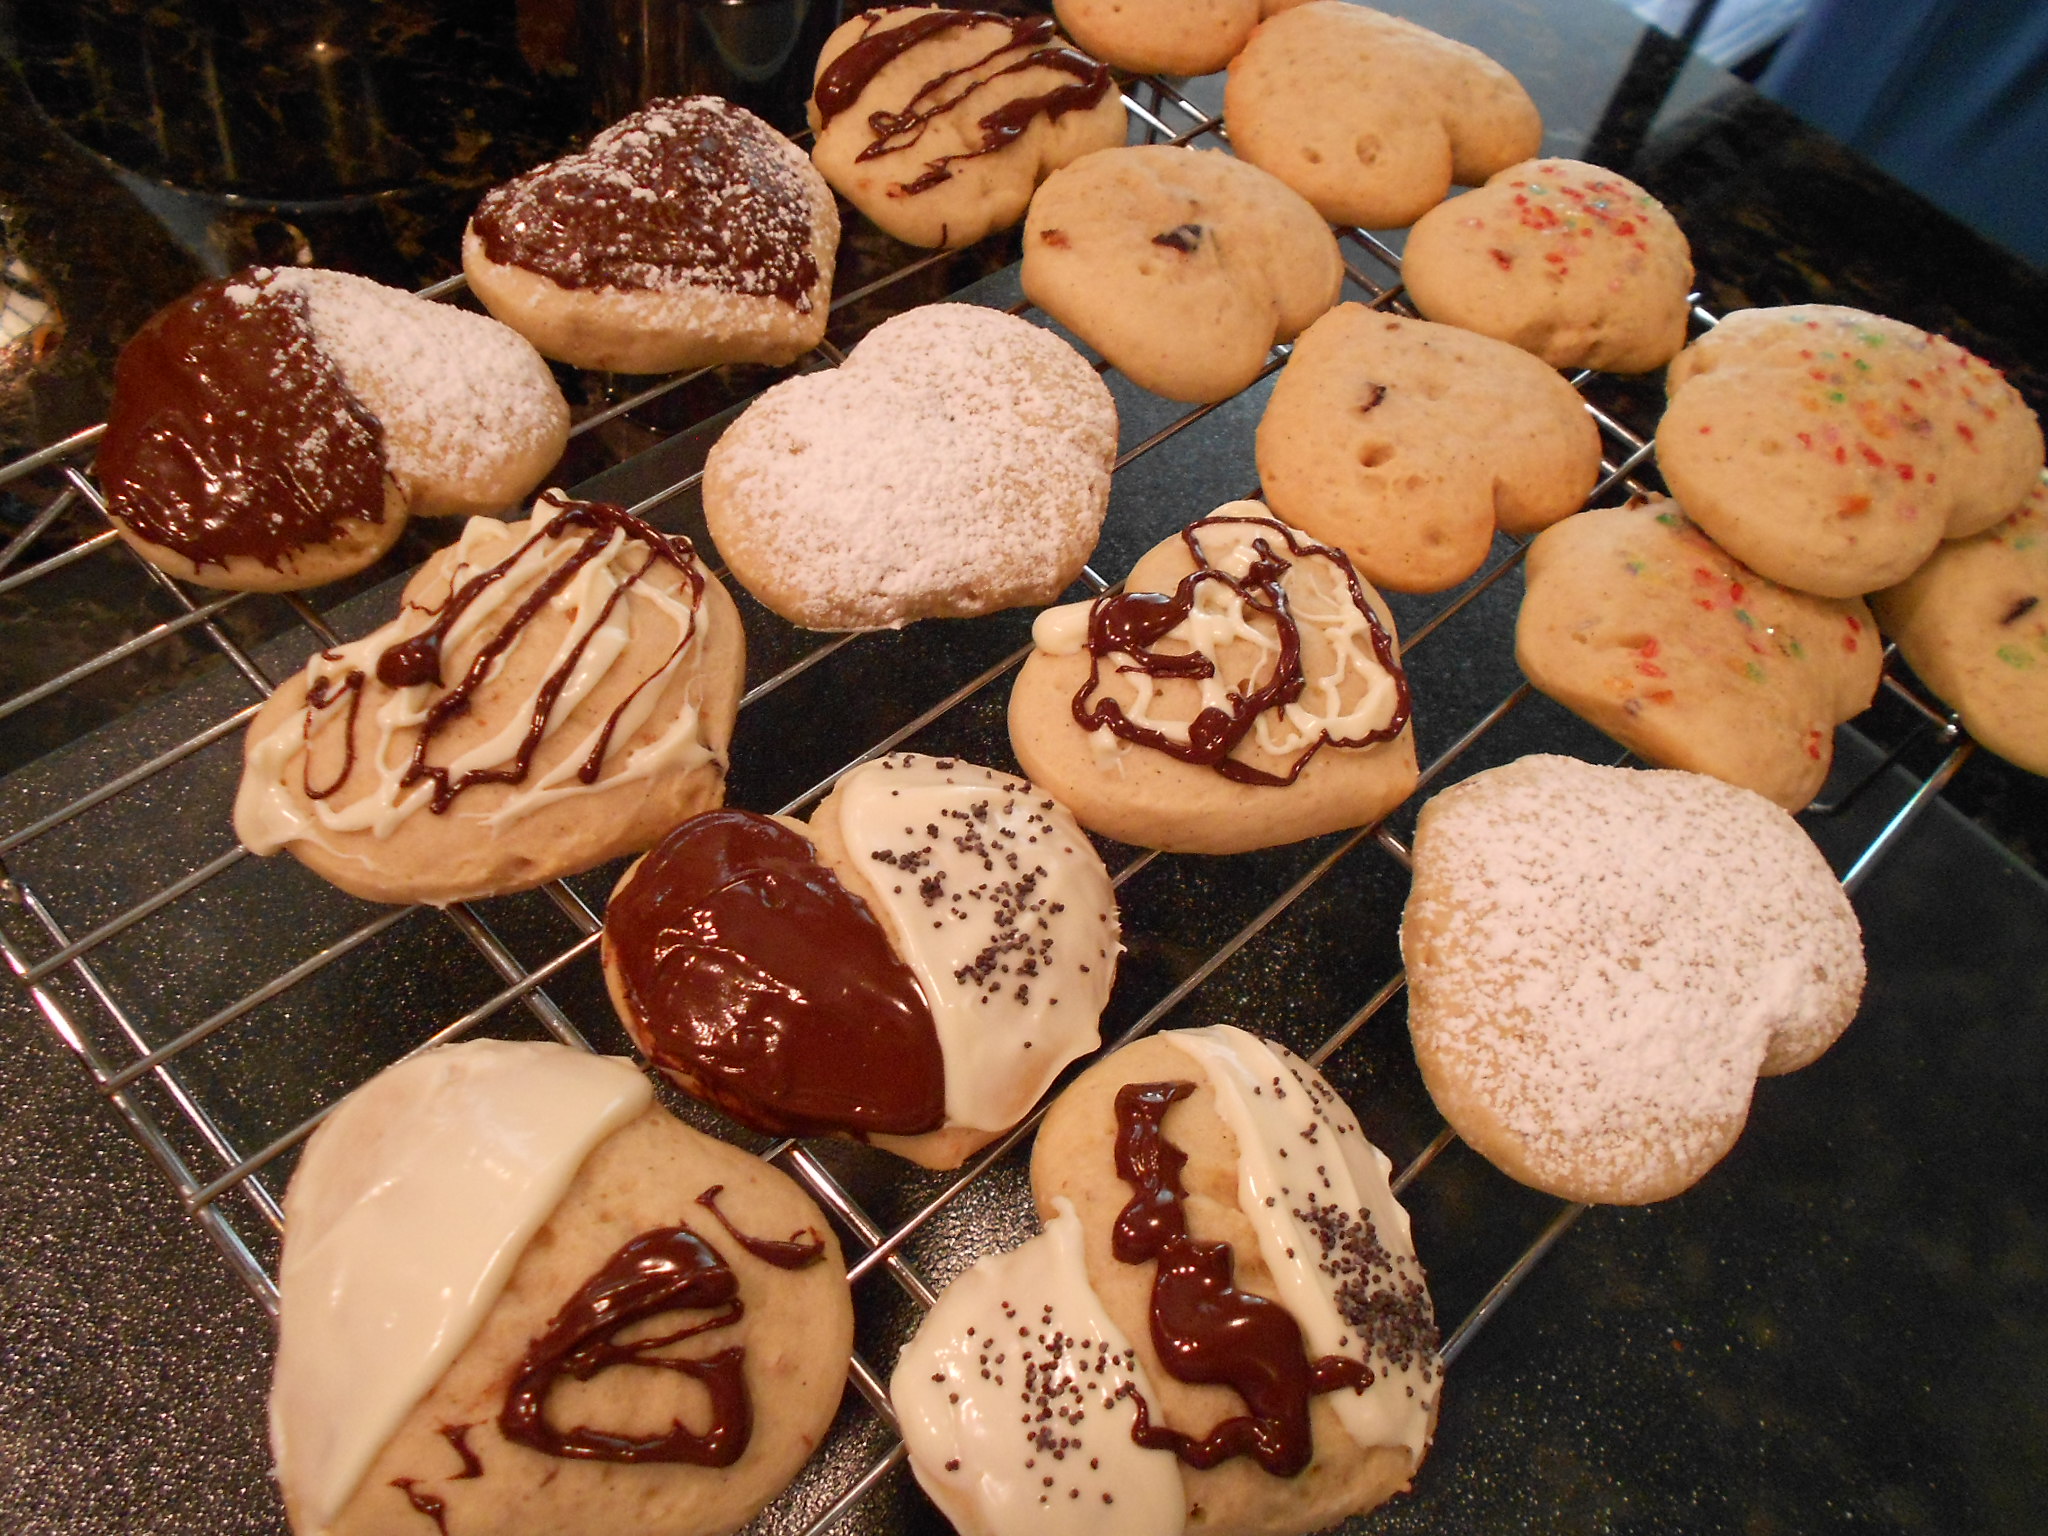
You read right, this recipe yields two different types of sweet rolls to enjoy!


As the days get warmer, the berries have been hitting the sale's block. I am finding great deals so it has been a very berry-full Summer so far. Today's recipe uses fresh strawberries and frozen blueberries and blackberries. You can go all frozen or all fresh and change the fruit to your liking too.
We start with the Yeast Dough:2/3 cup of Sugar
1 cup of Milk
1 1/2 tablespoons of Active Dry Yeast
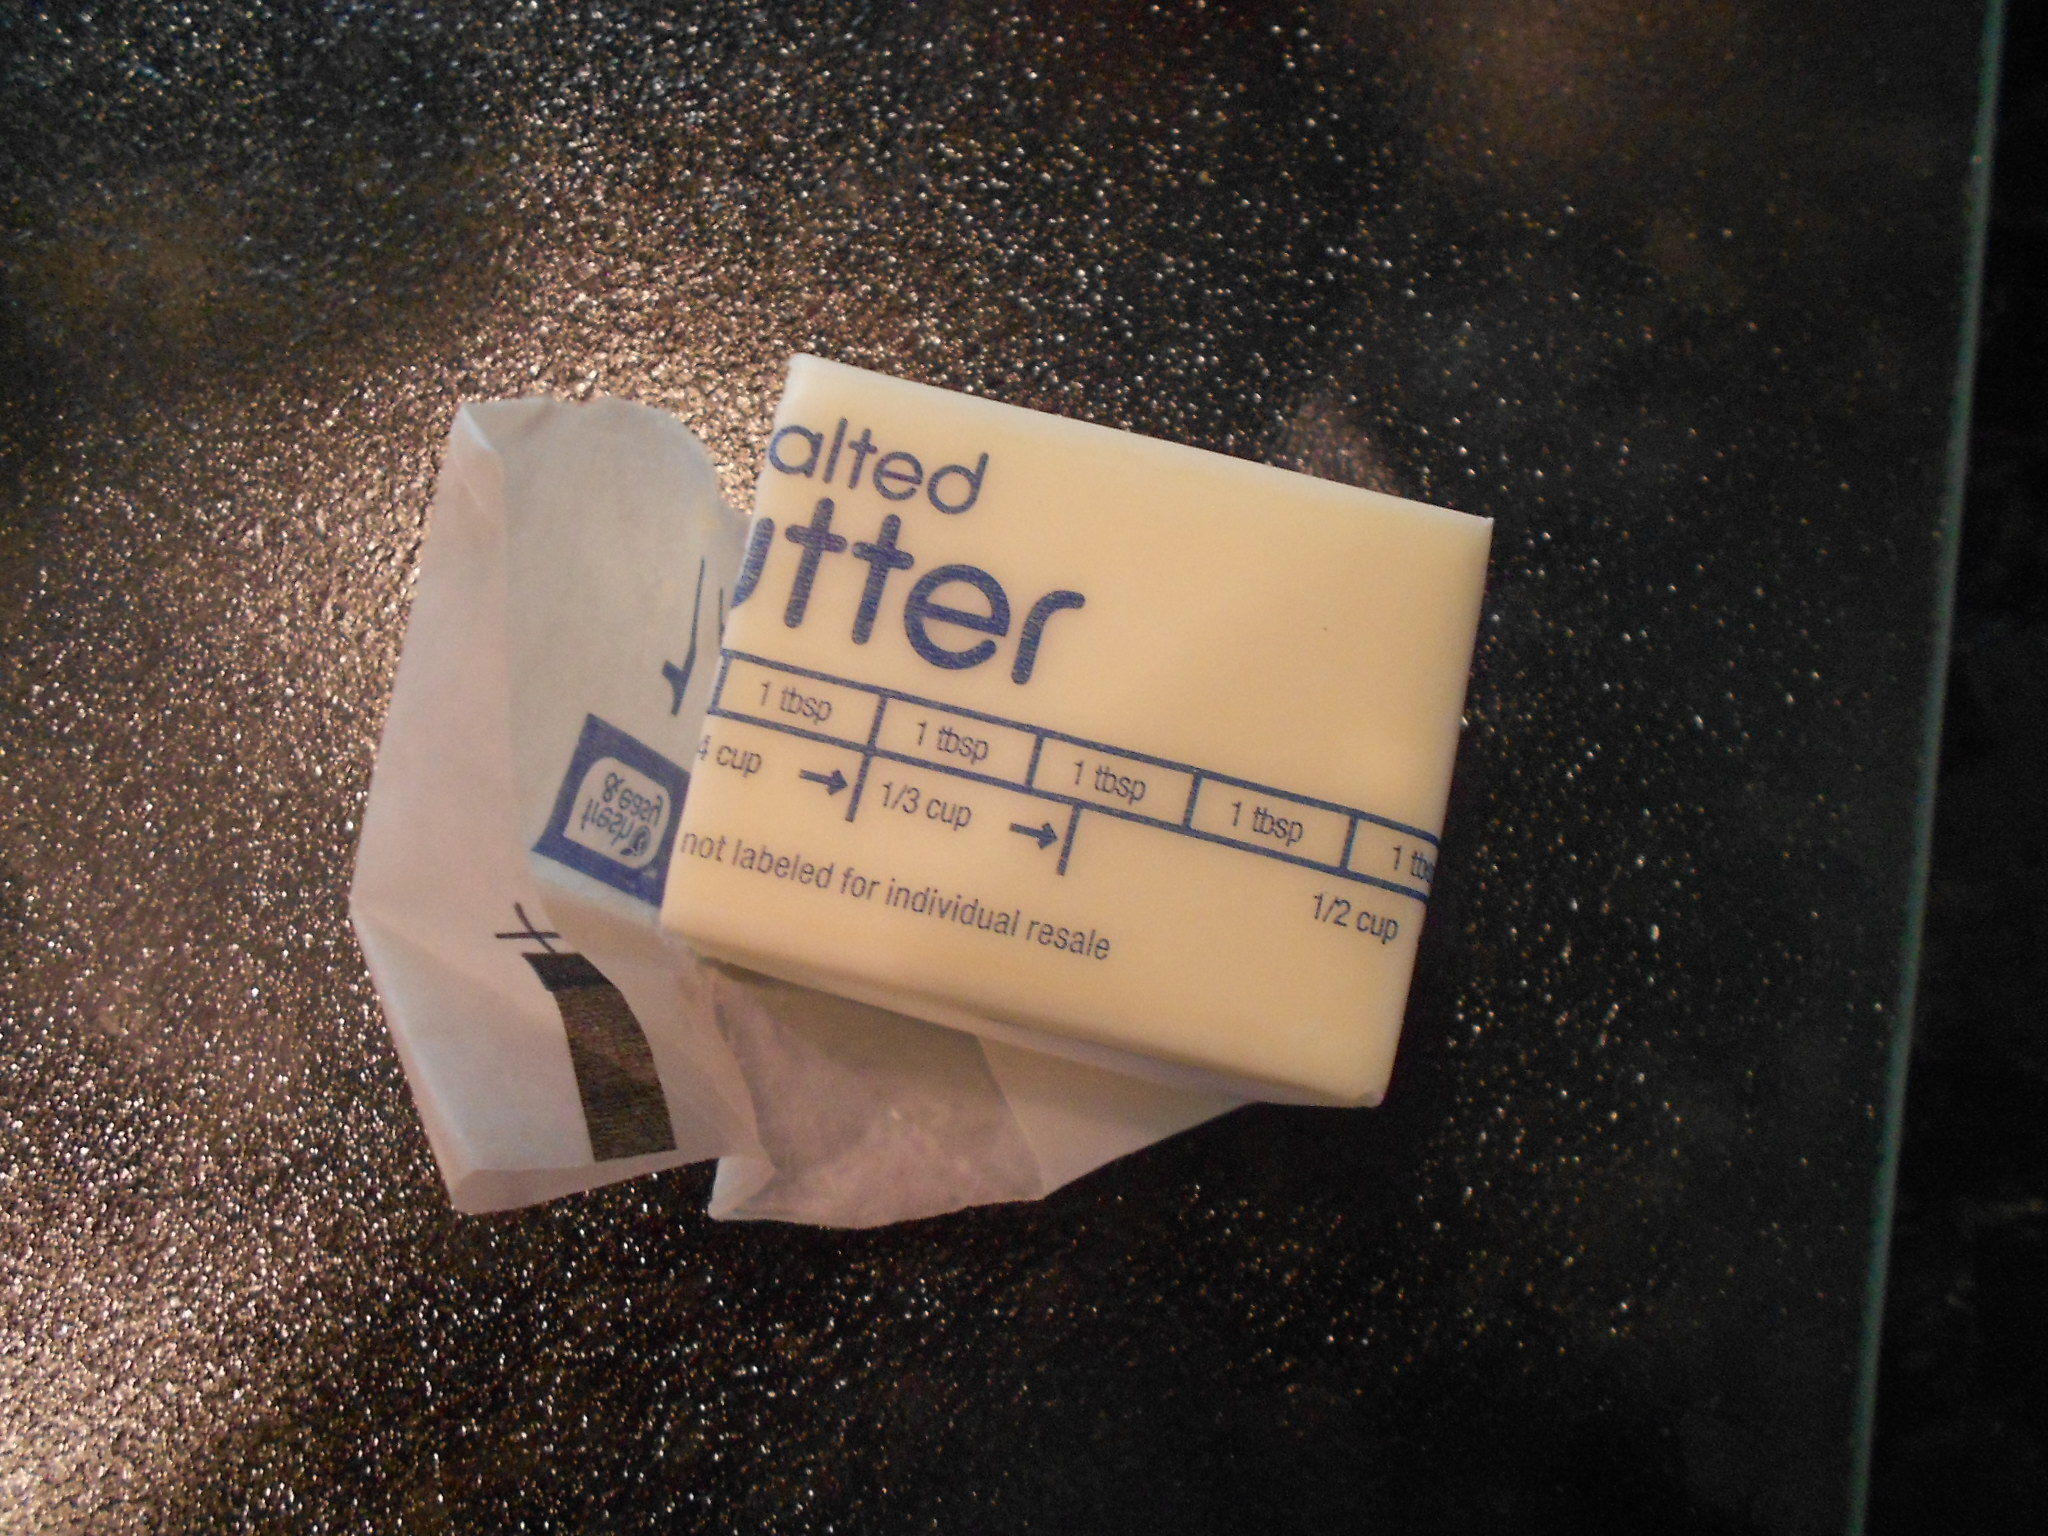
1 stick of Unsalted Butter (softened)
2 Large Eggs at room temperature
1/2 teaspoon of Salt
4 1/2 cups of All-Purpose Flour
1 1/2 tablespoons of Dry/Powdered Milk
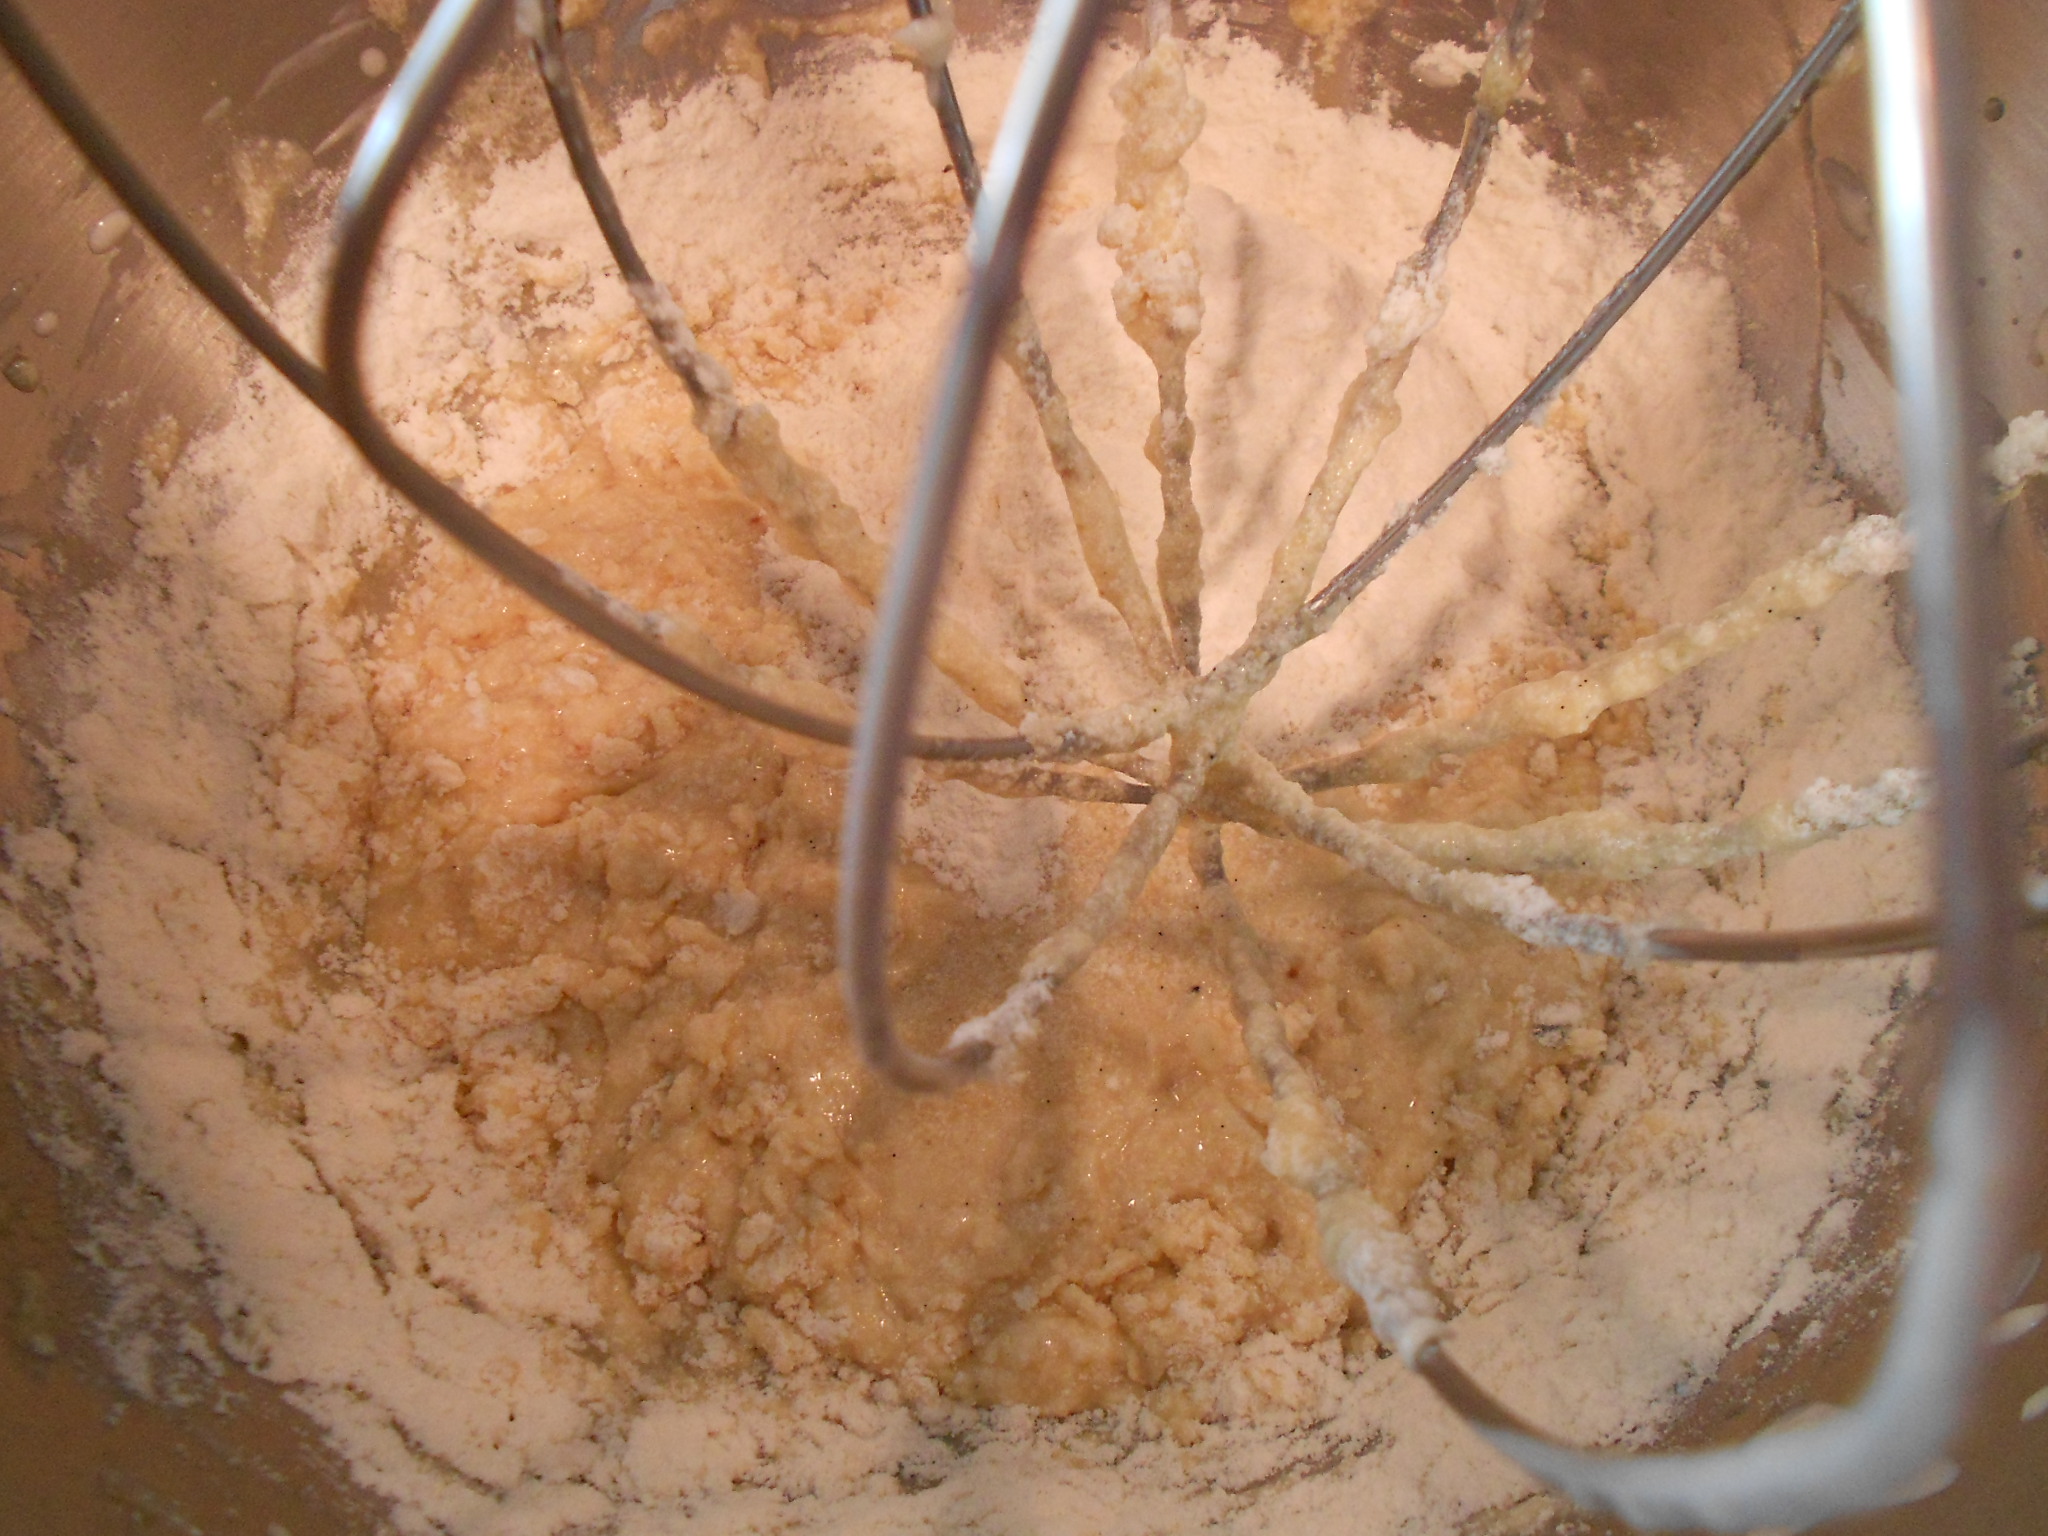
I use a microwave or you may also use the stove-top to warm the milk to 105 degrees. You then pour the warmed milk into a mixer's bowl, along with the 2/3 cup of sugar and the yeast. You whisk the ingredients enough to combine and then set aside to allow the yeast to bloom (get foamy). This may take 5 to 10 minutes, depending on weather and temperatures.
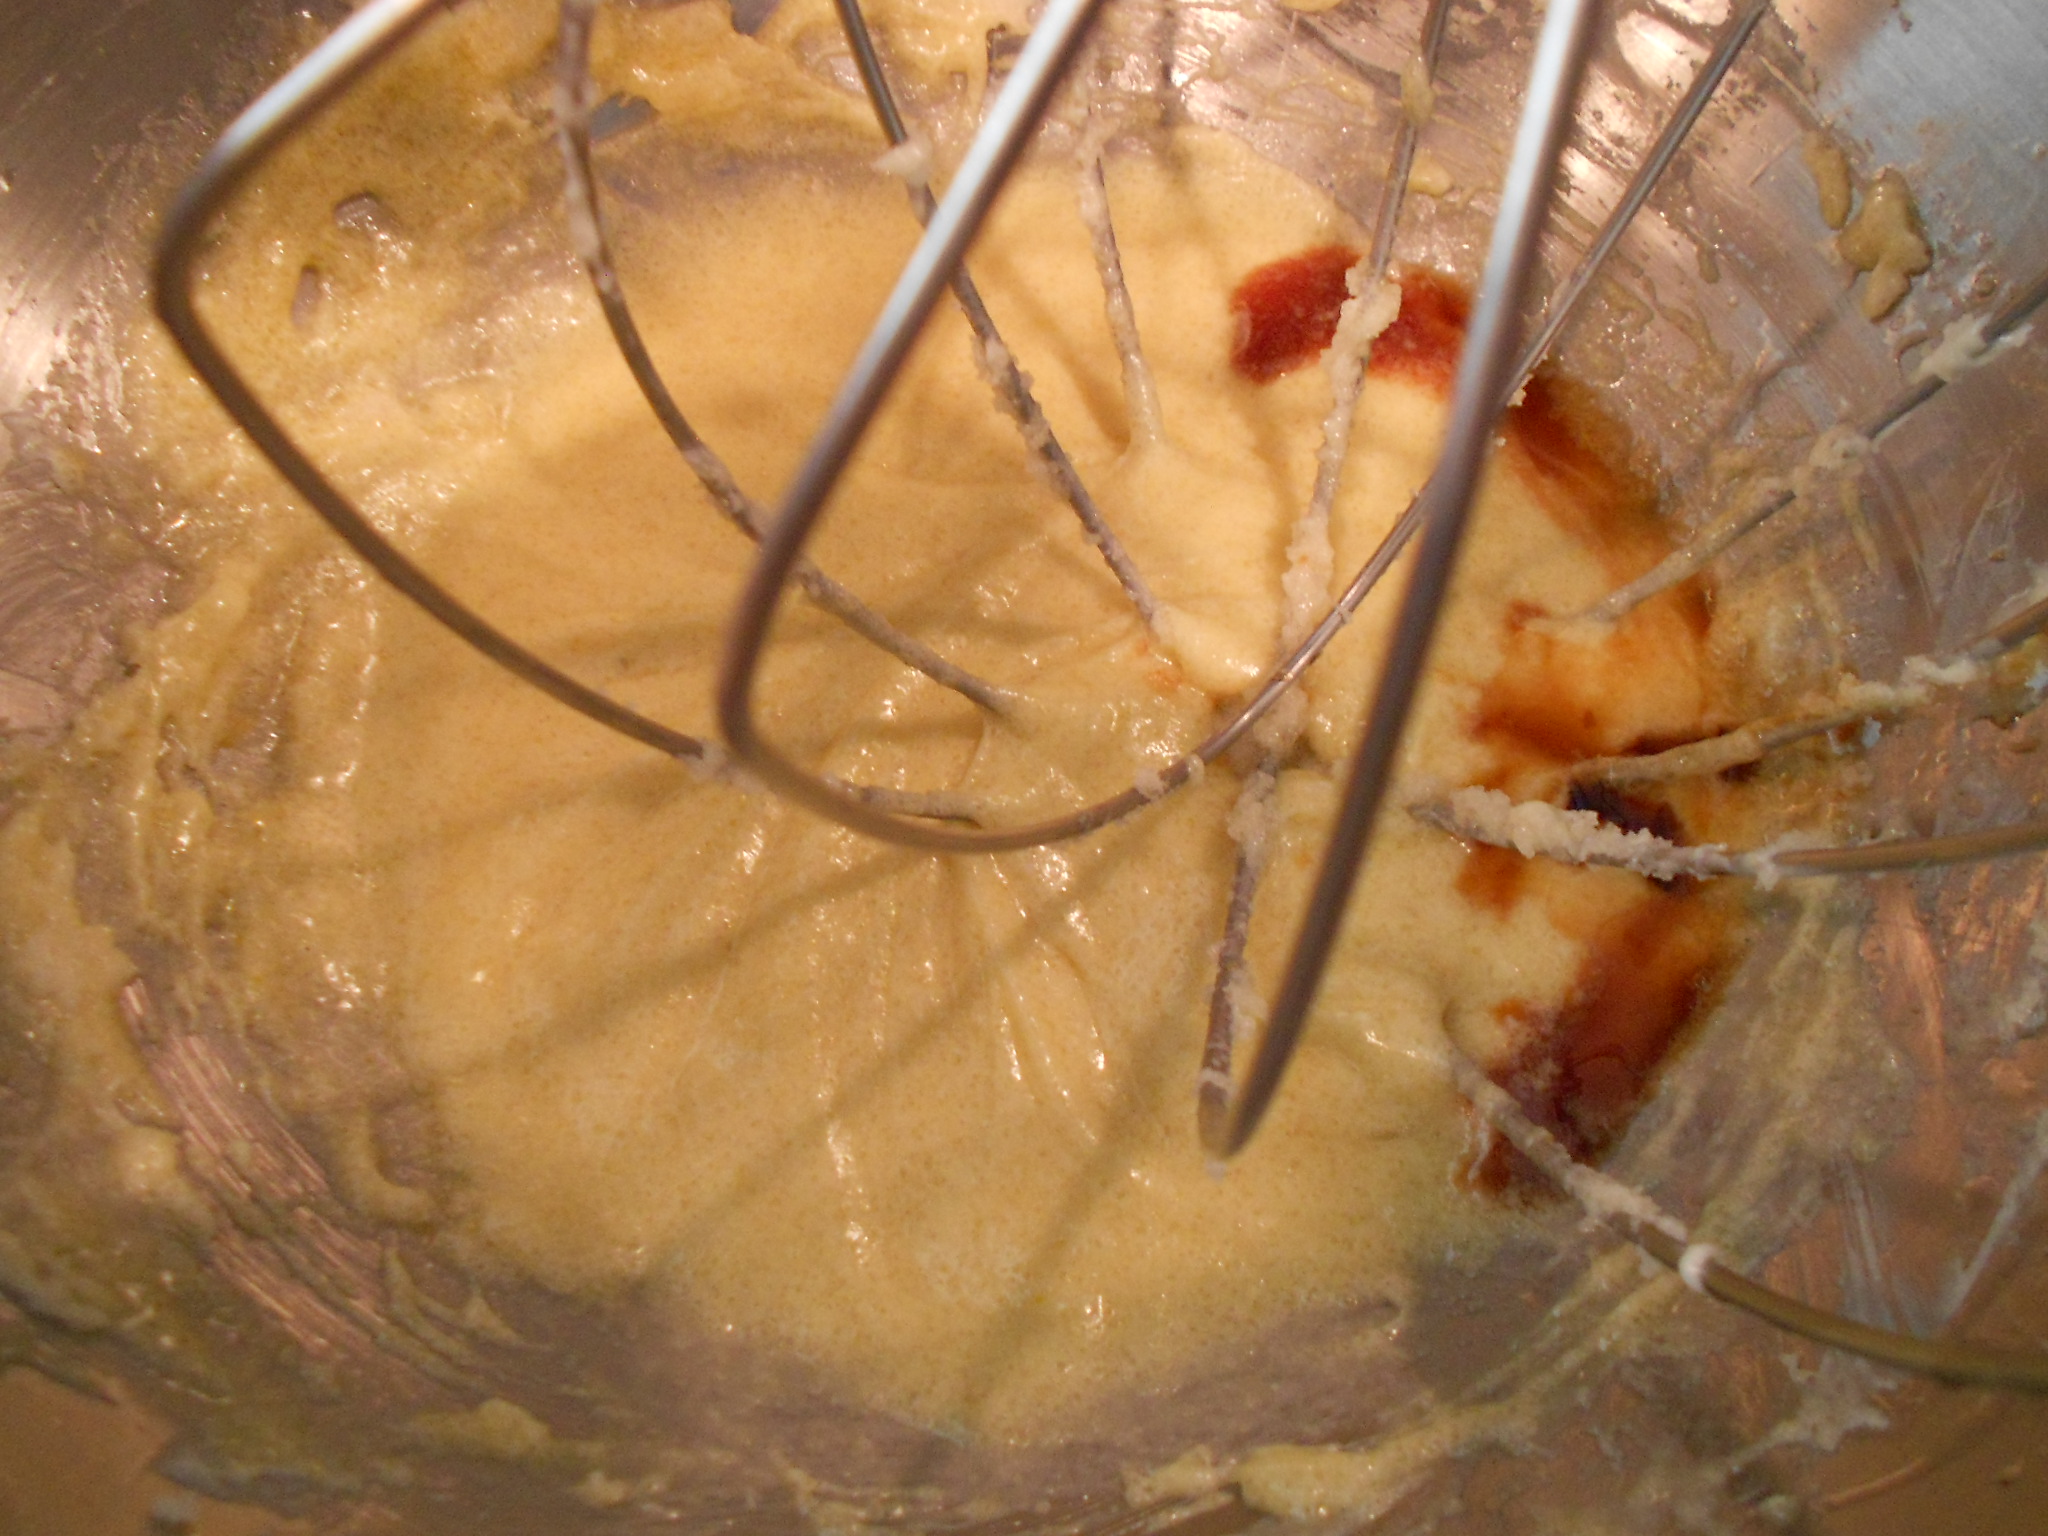
Once the yeast is foamy, you add the softened butter, eggs and salt. I mix just enough until everything is incorporated and then add the powdered milk.

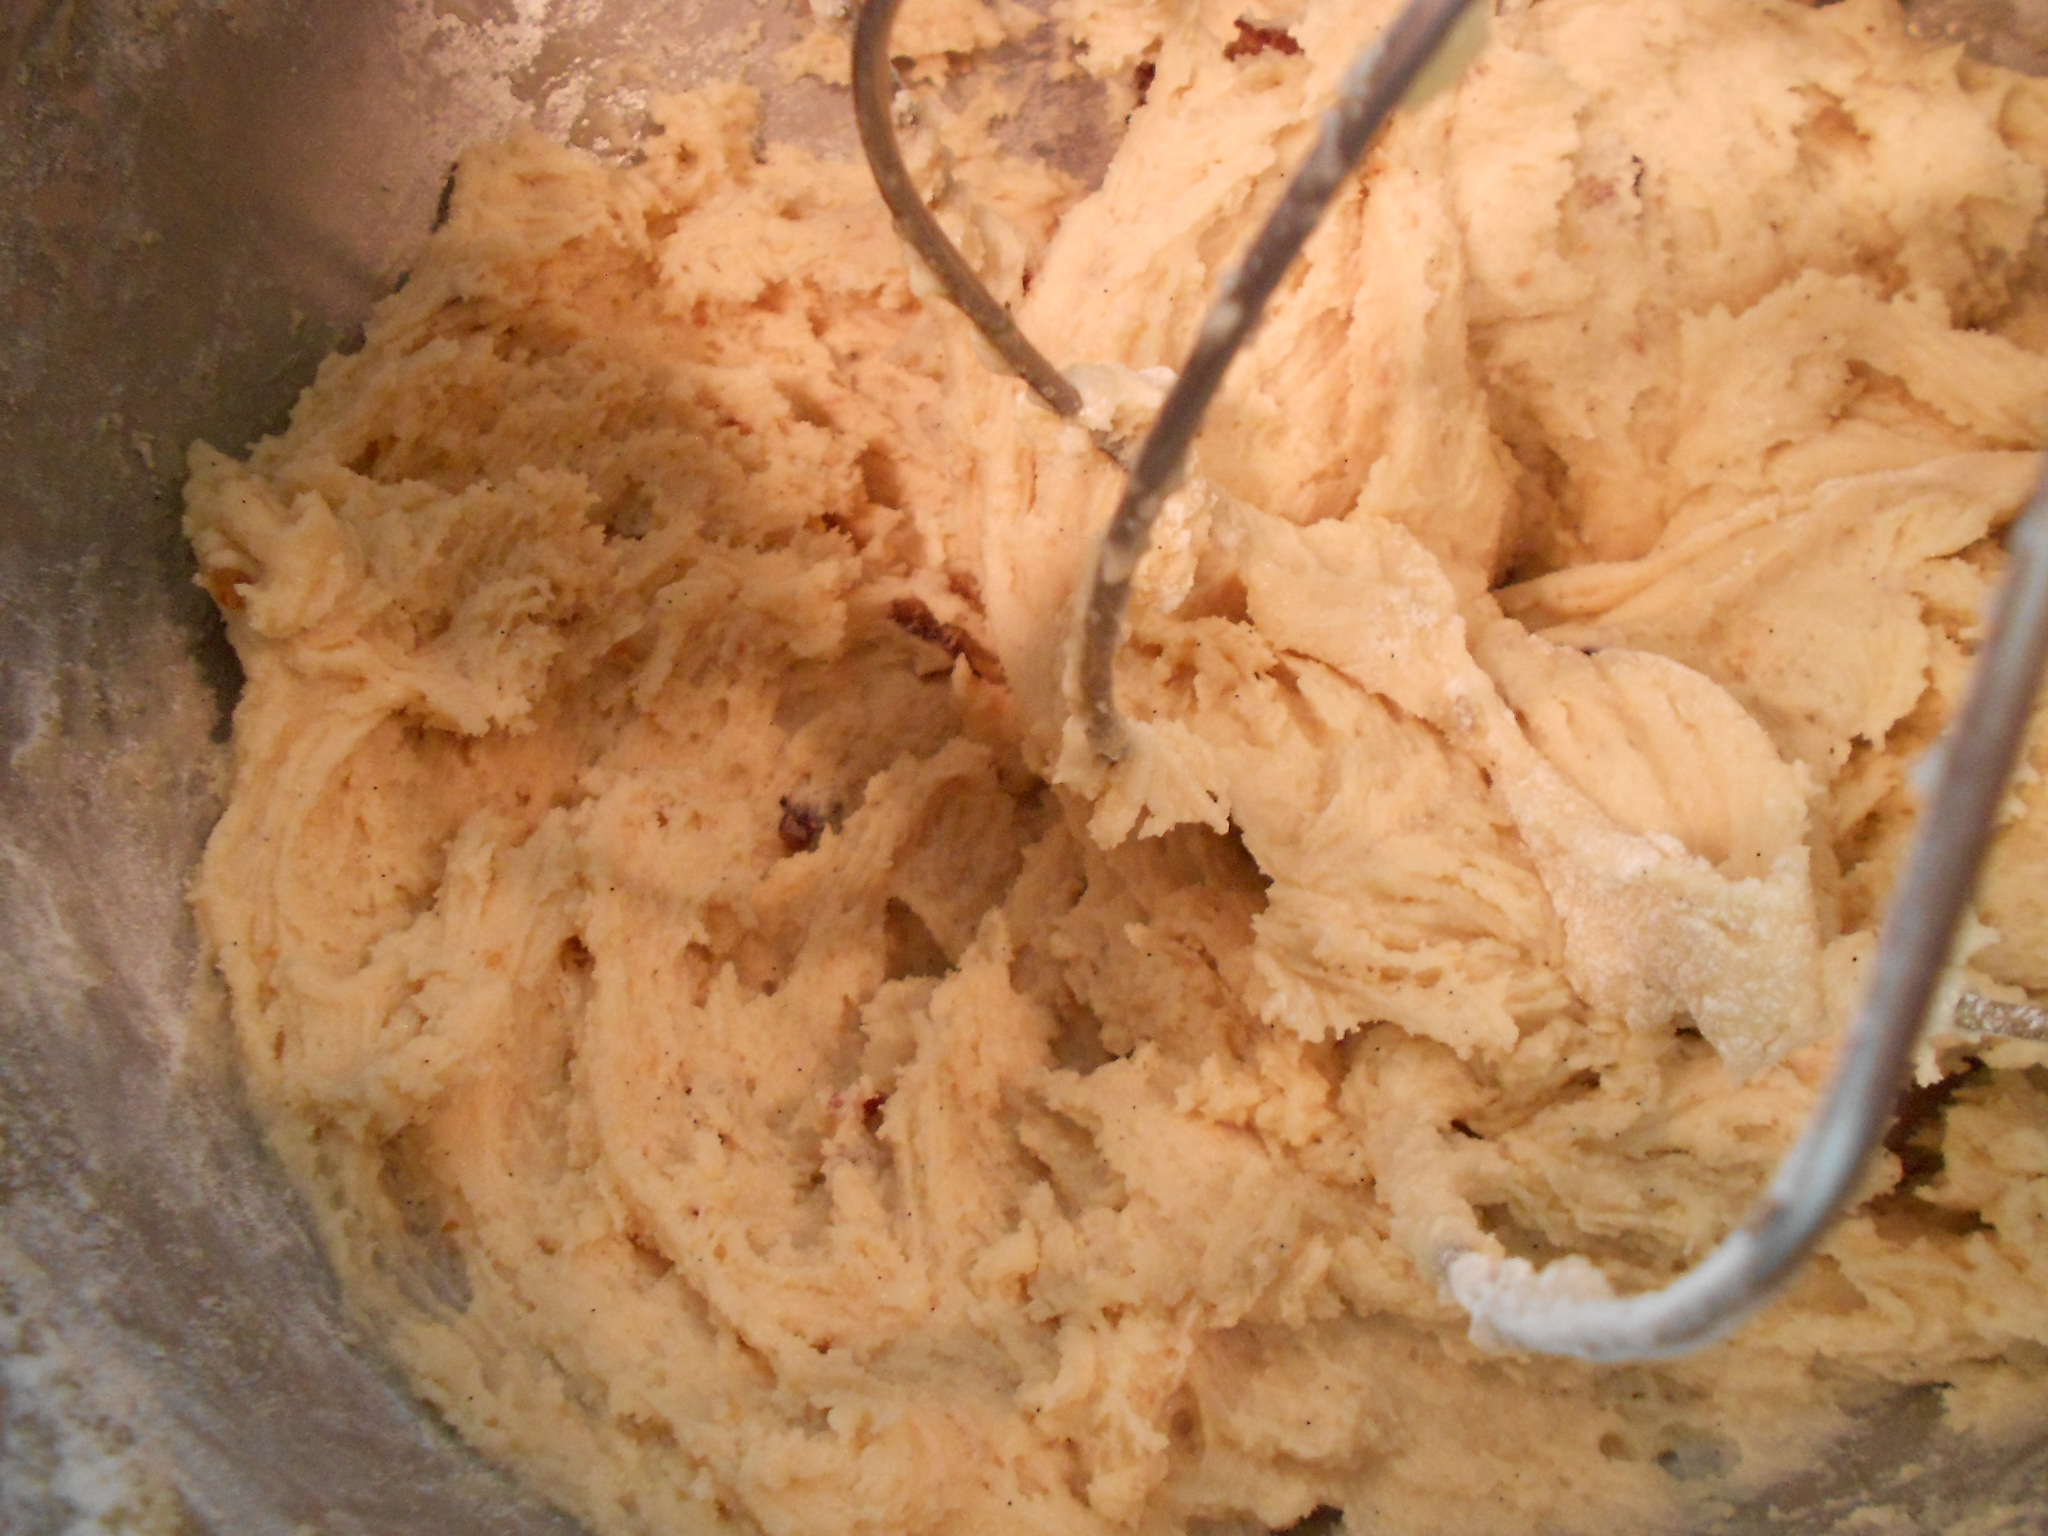
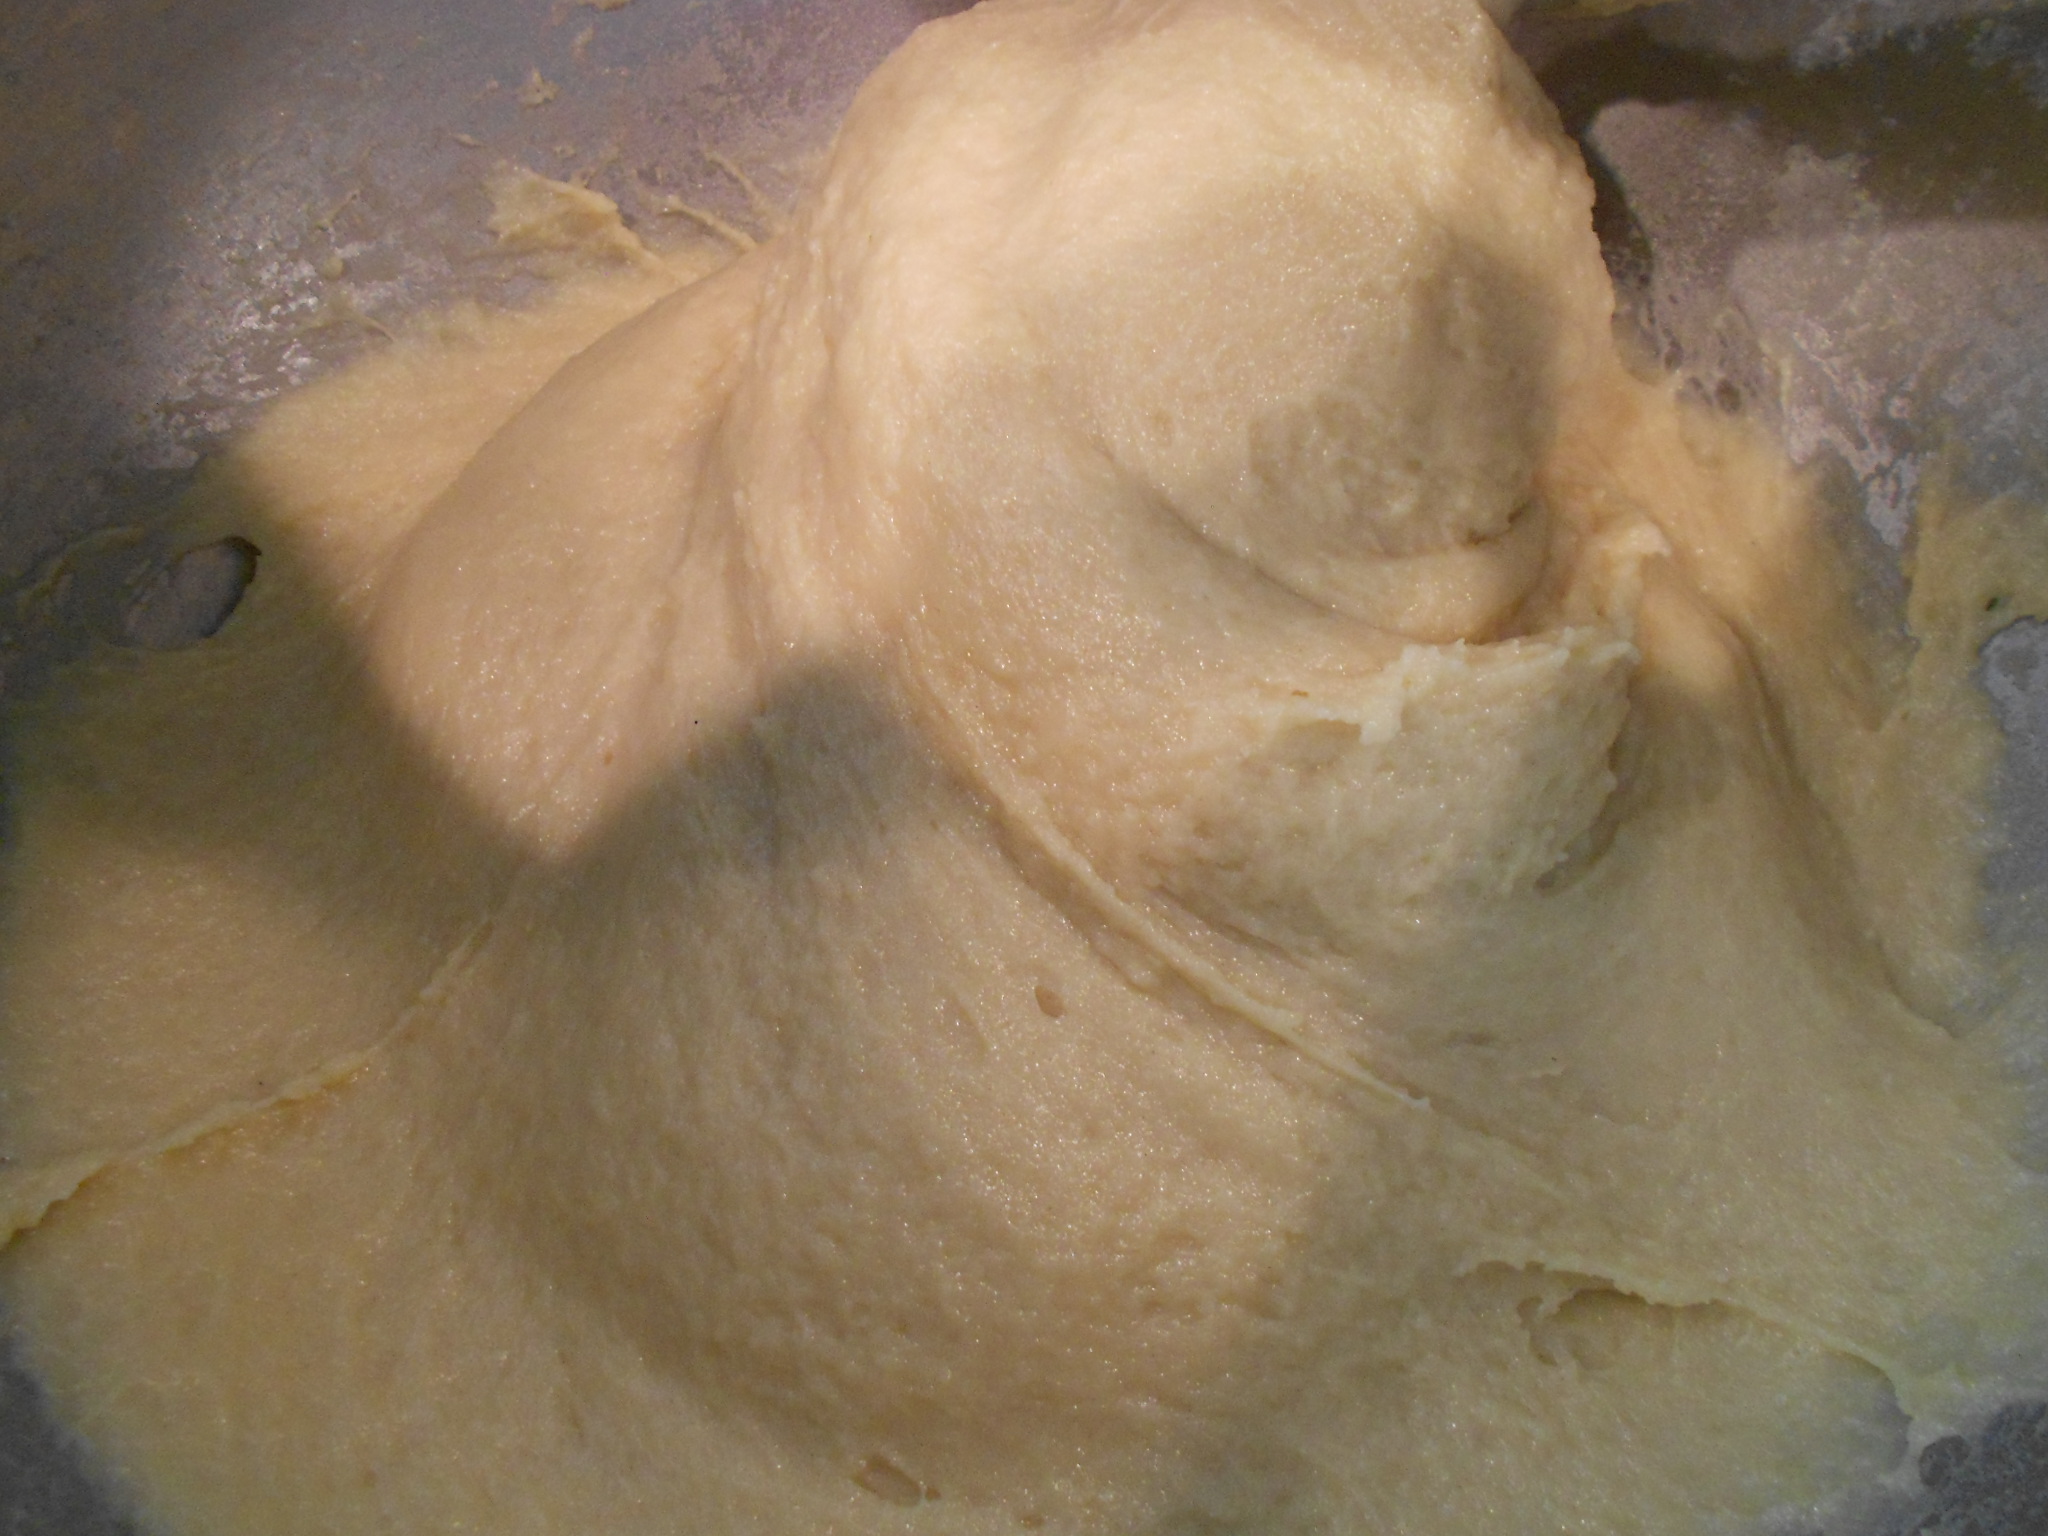
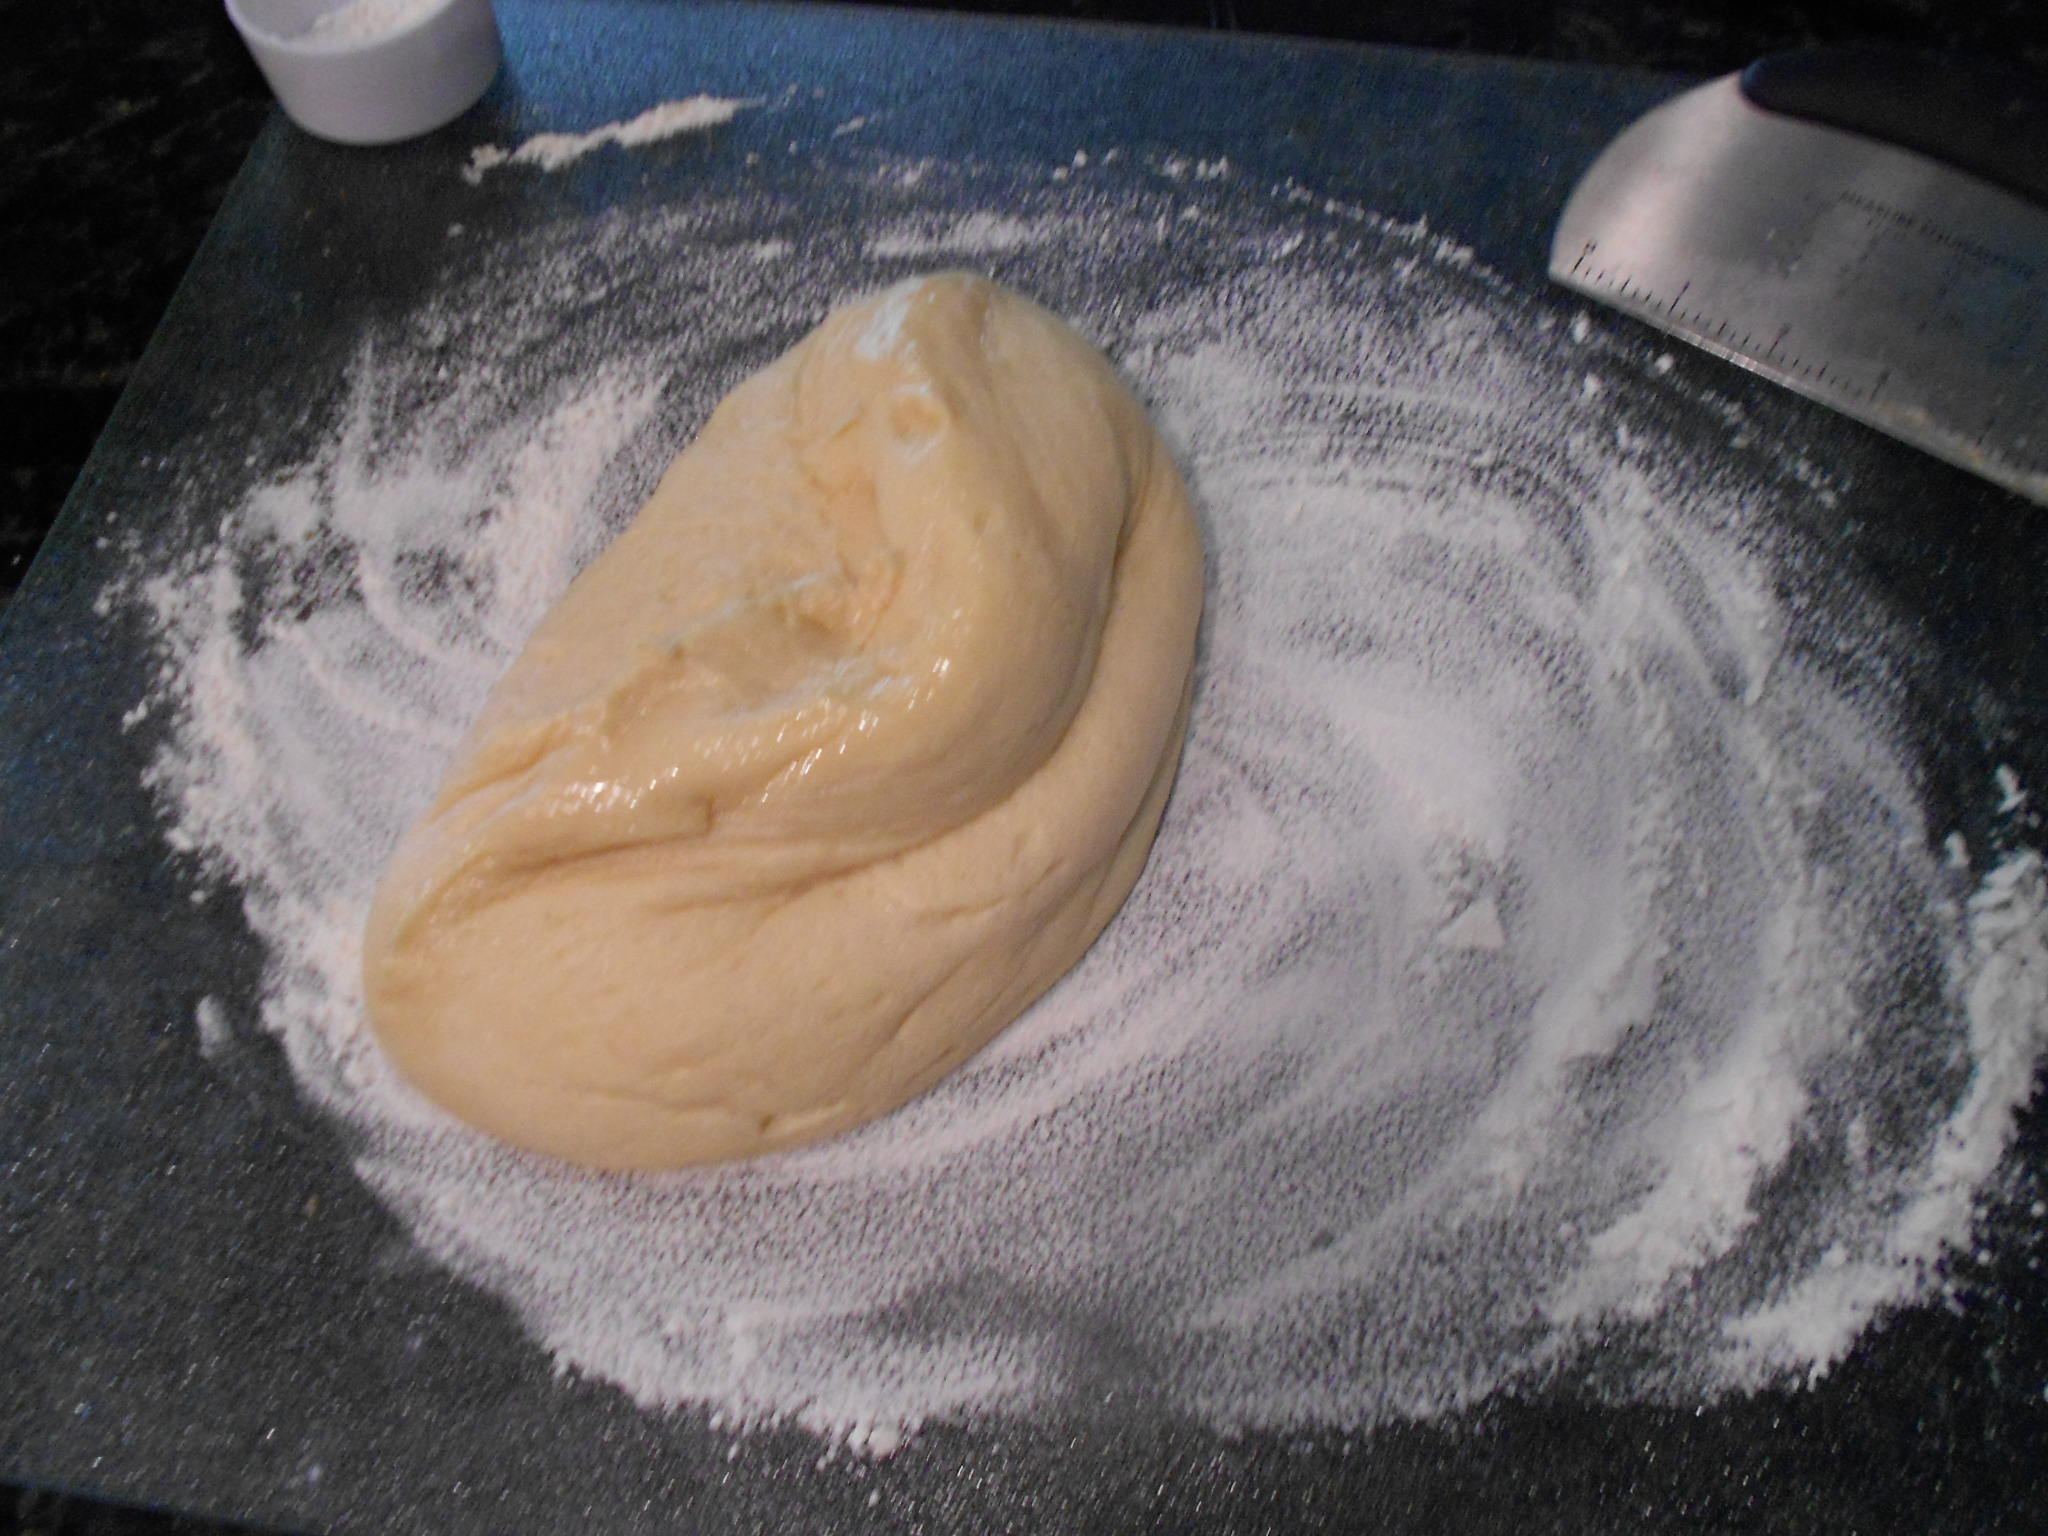
I replace the mixer with a dough hook and start adding the flour by the 1/2 cup fulls. Once all the flour is in, I use a spatula to scrape down the sides and allow the dough to mix for 2 to 3 minutes at medium speed. I then change the speed to medium-high and allow the dough to knead for 10 to 12 minutes. You want a soft and supple dough so sometimes it takes 9 minutes and other times it takes 12. You don't want to "toughen" the product so if unsure, just make sure you get 10 minutes in and you should be fine :)

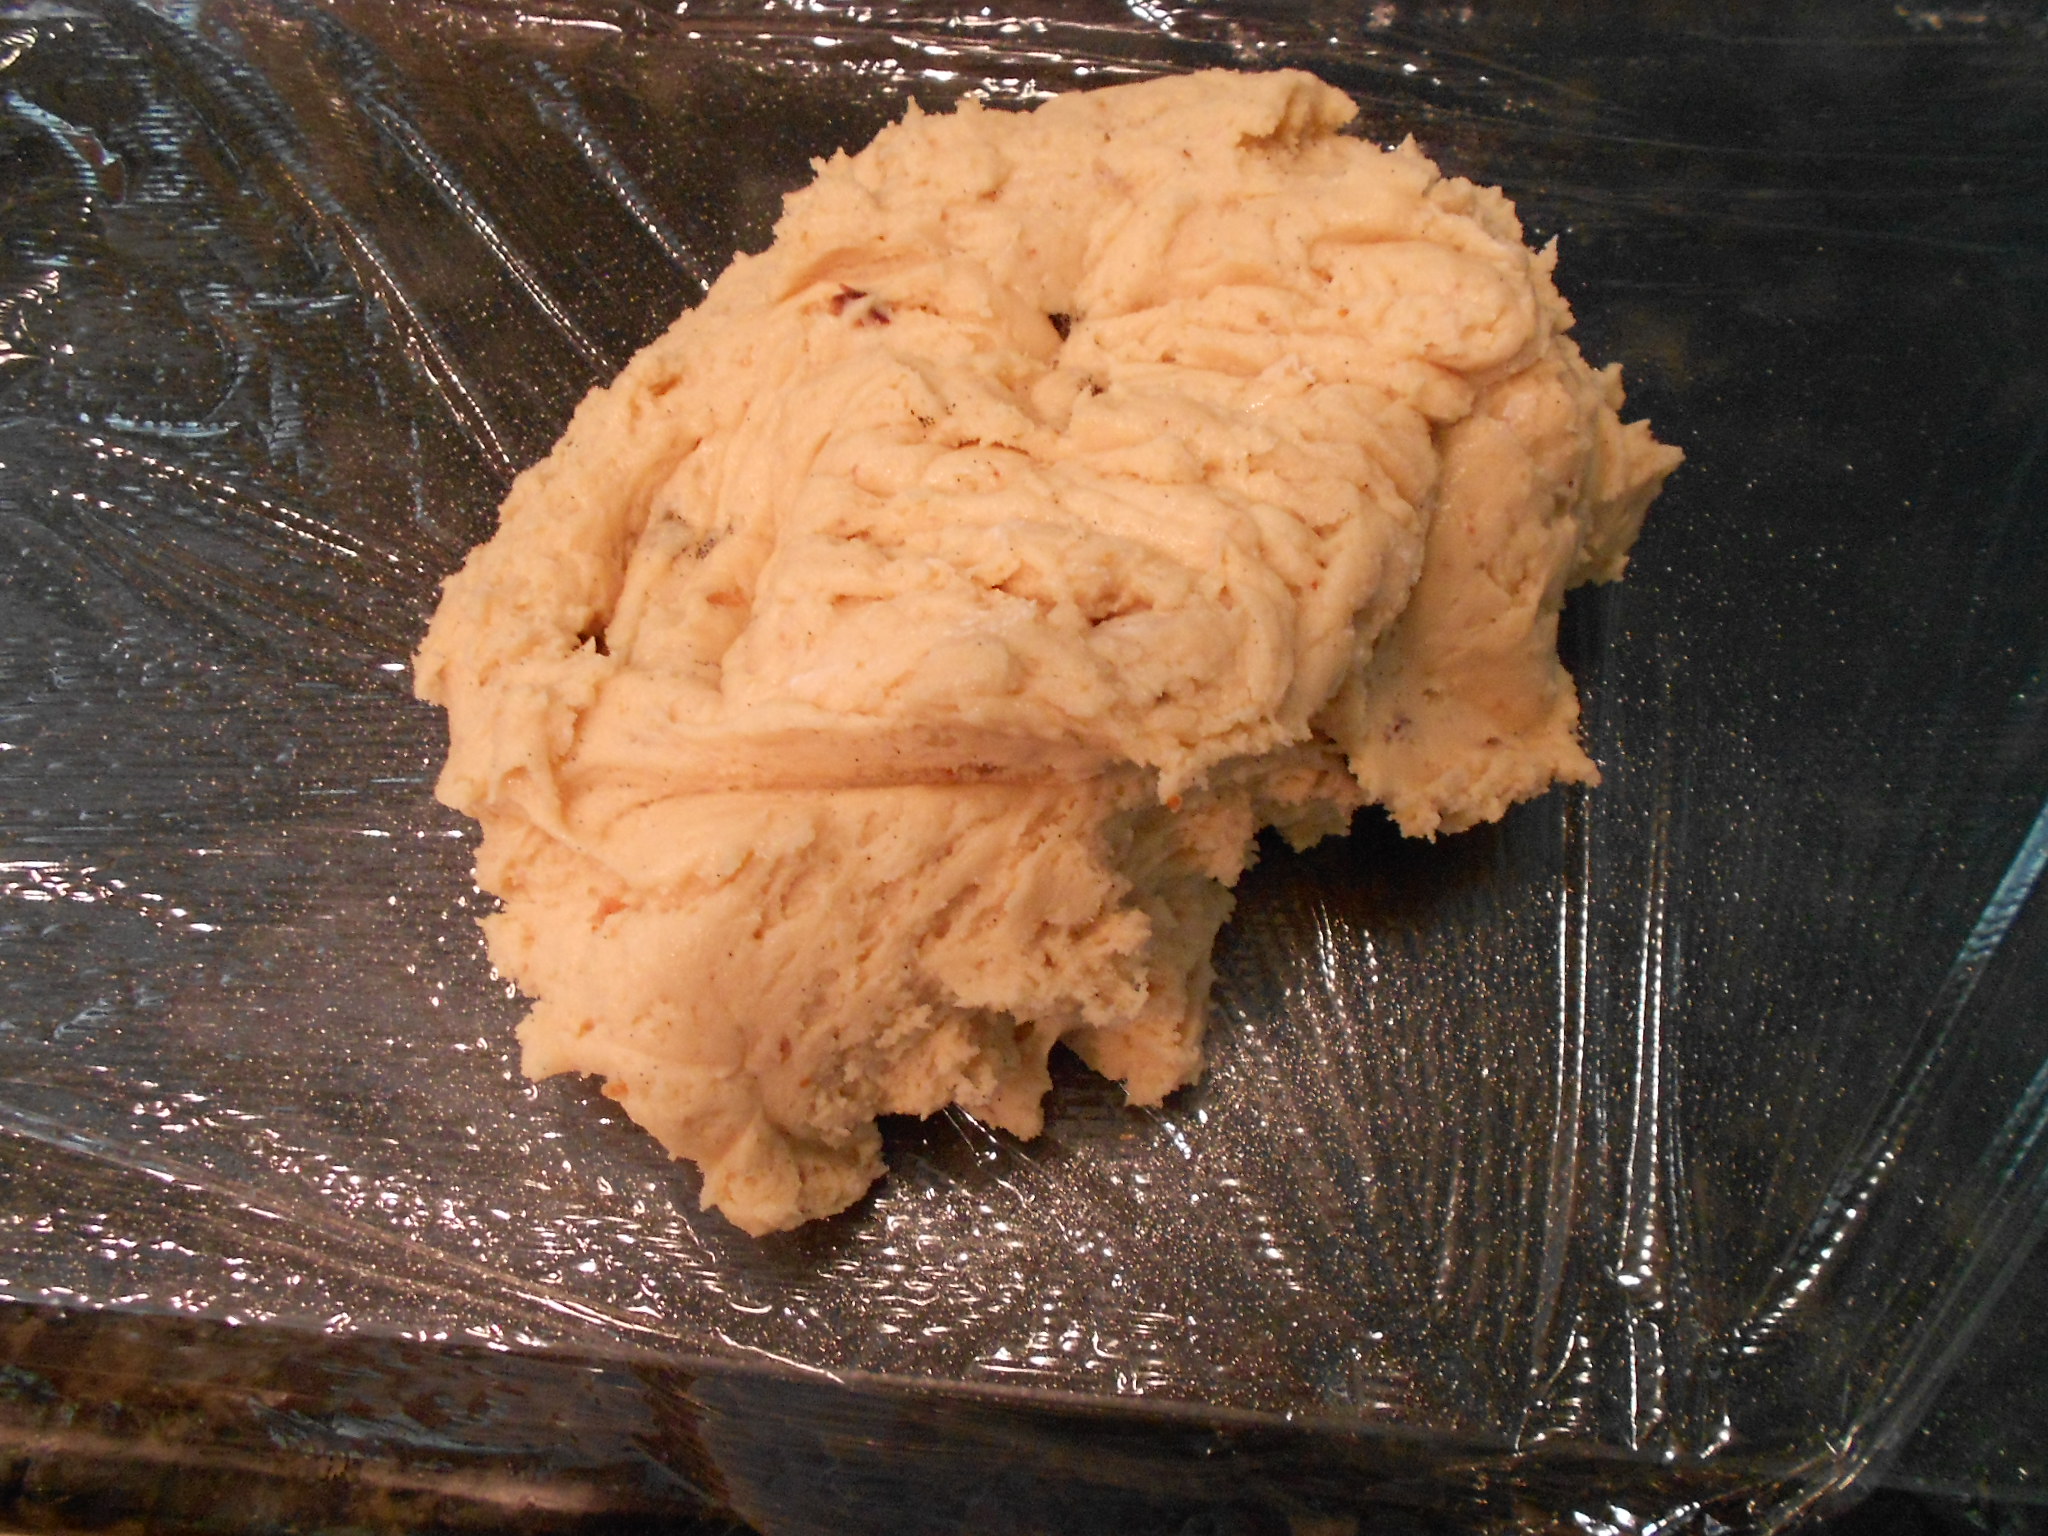
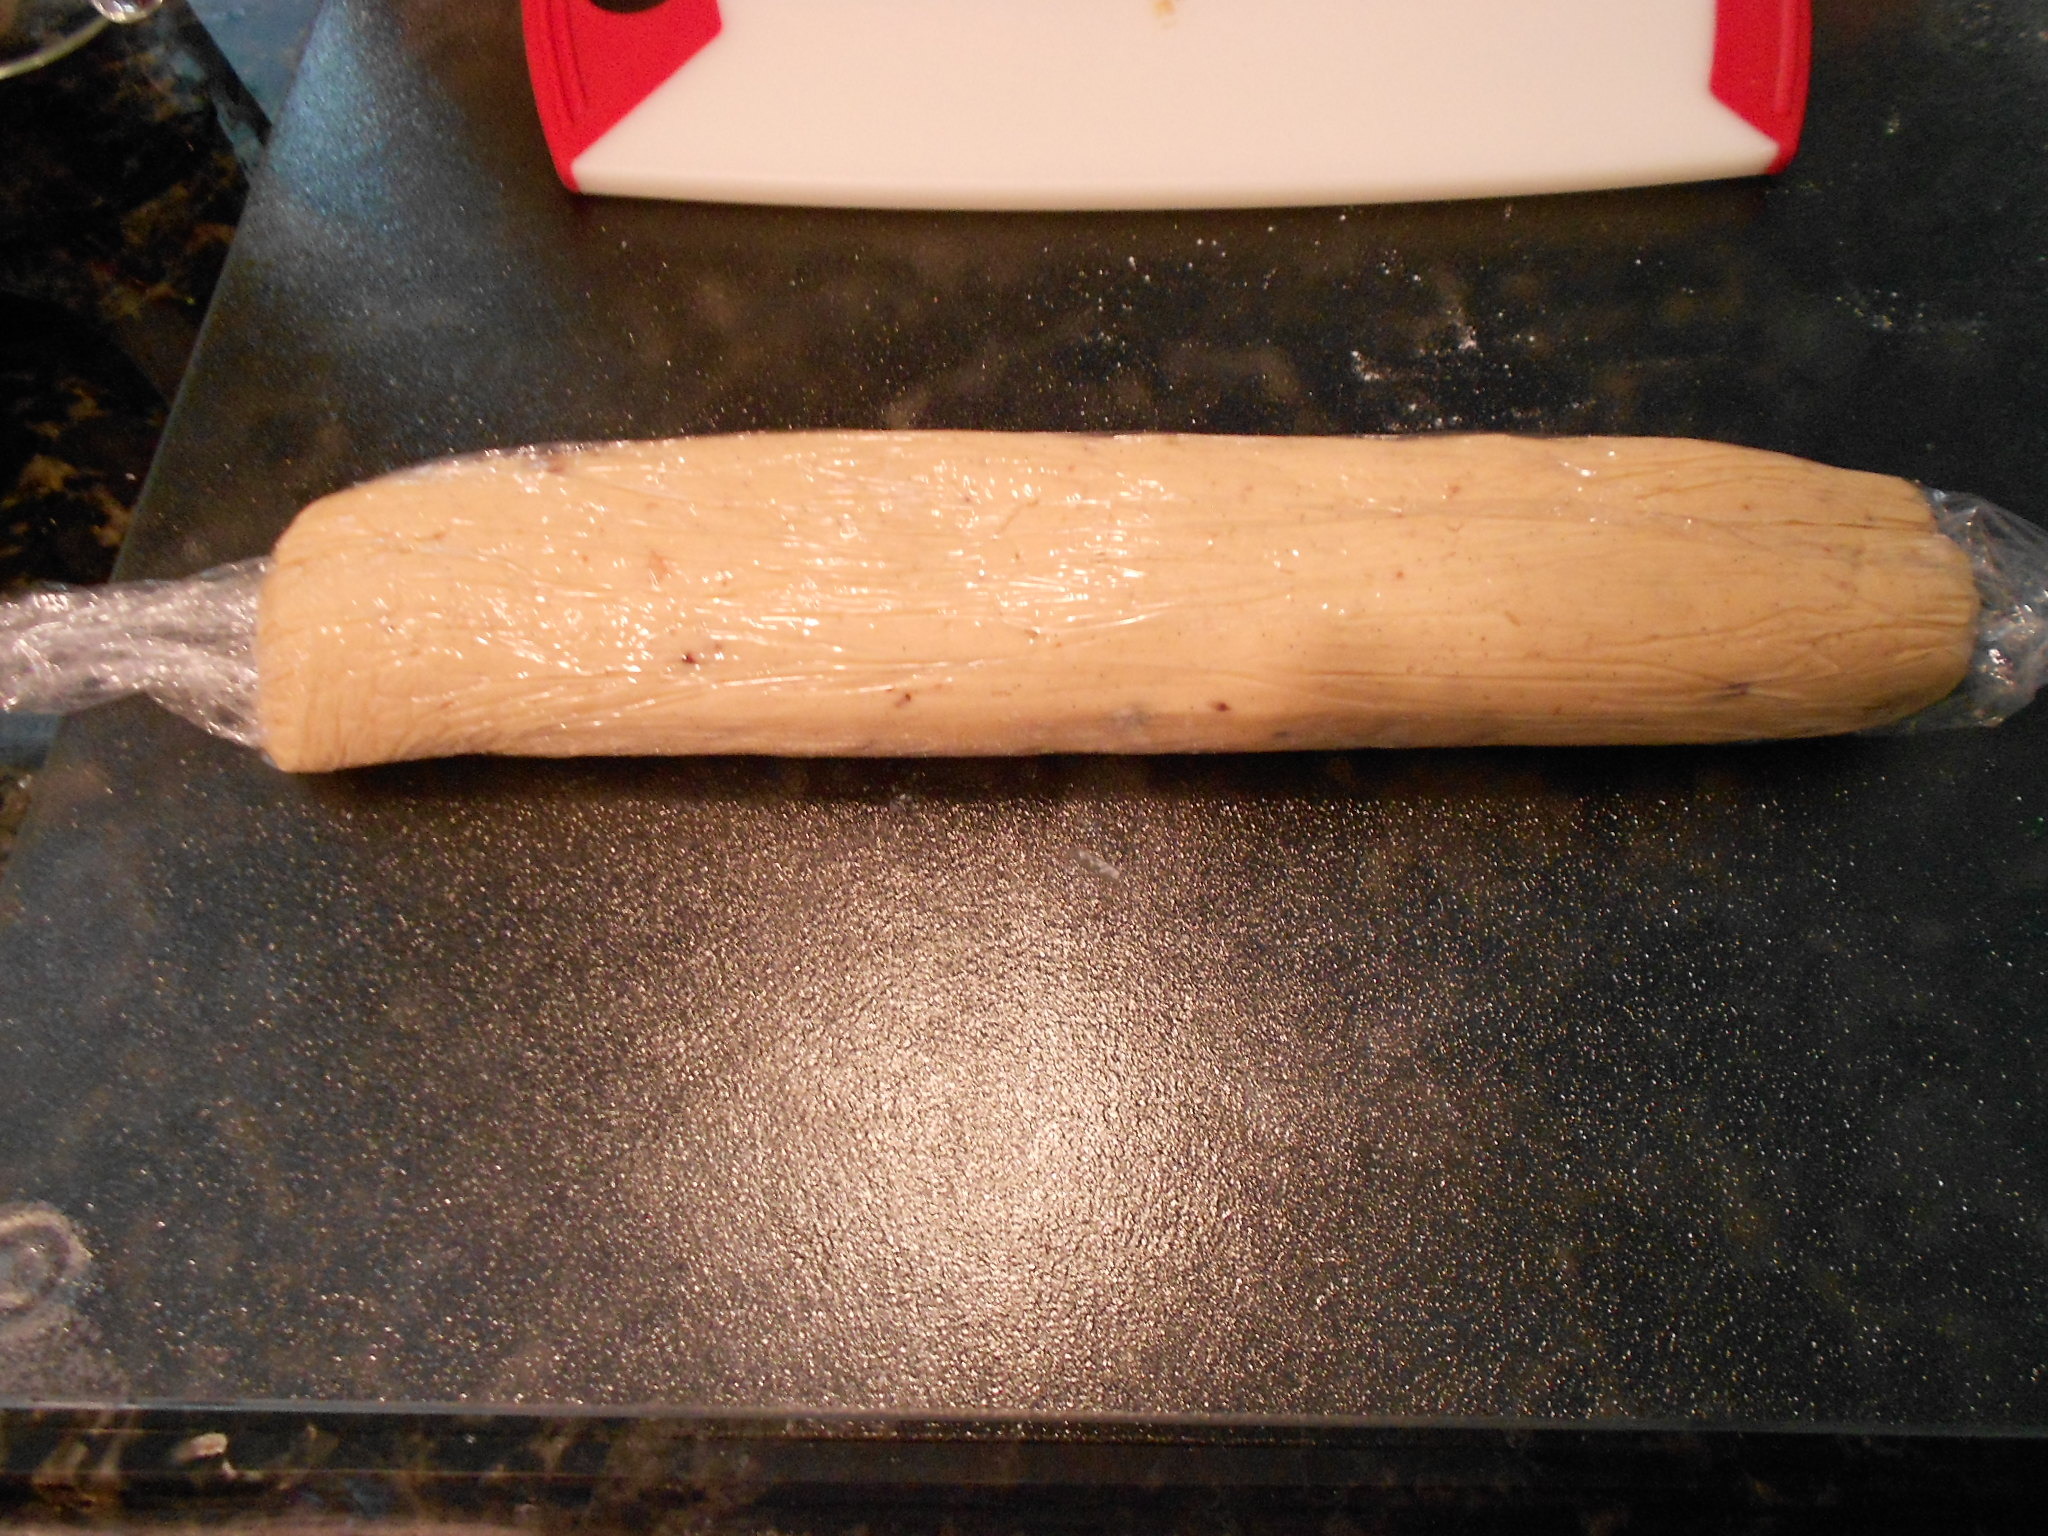
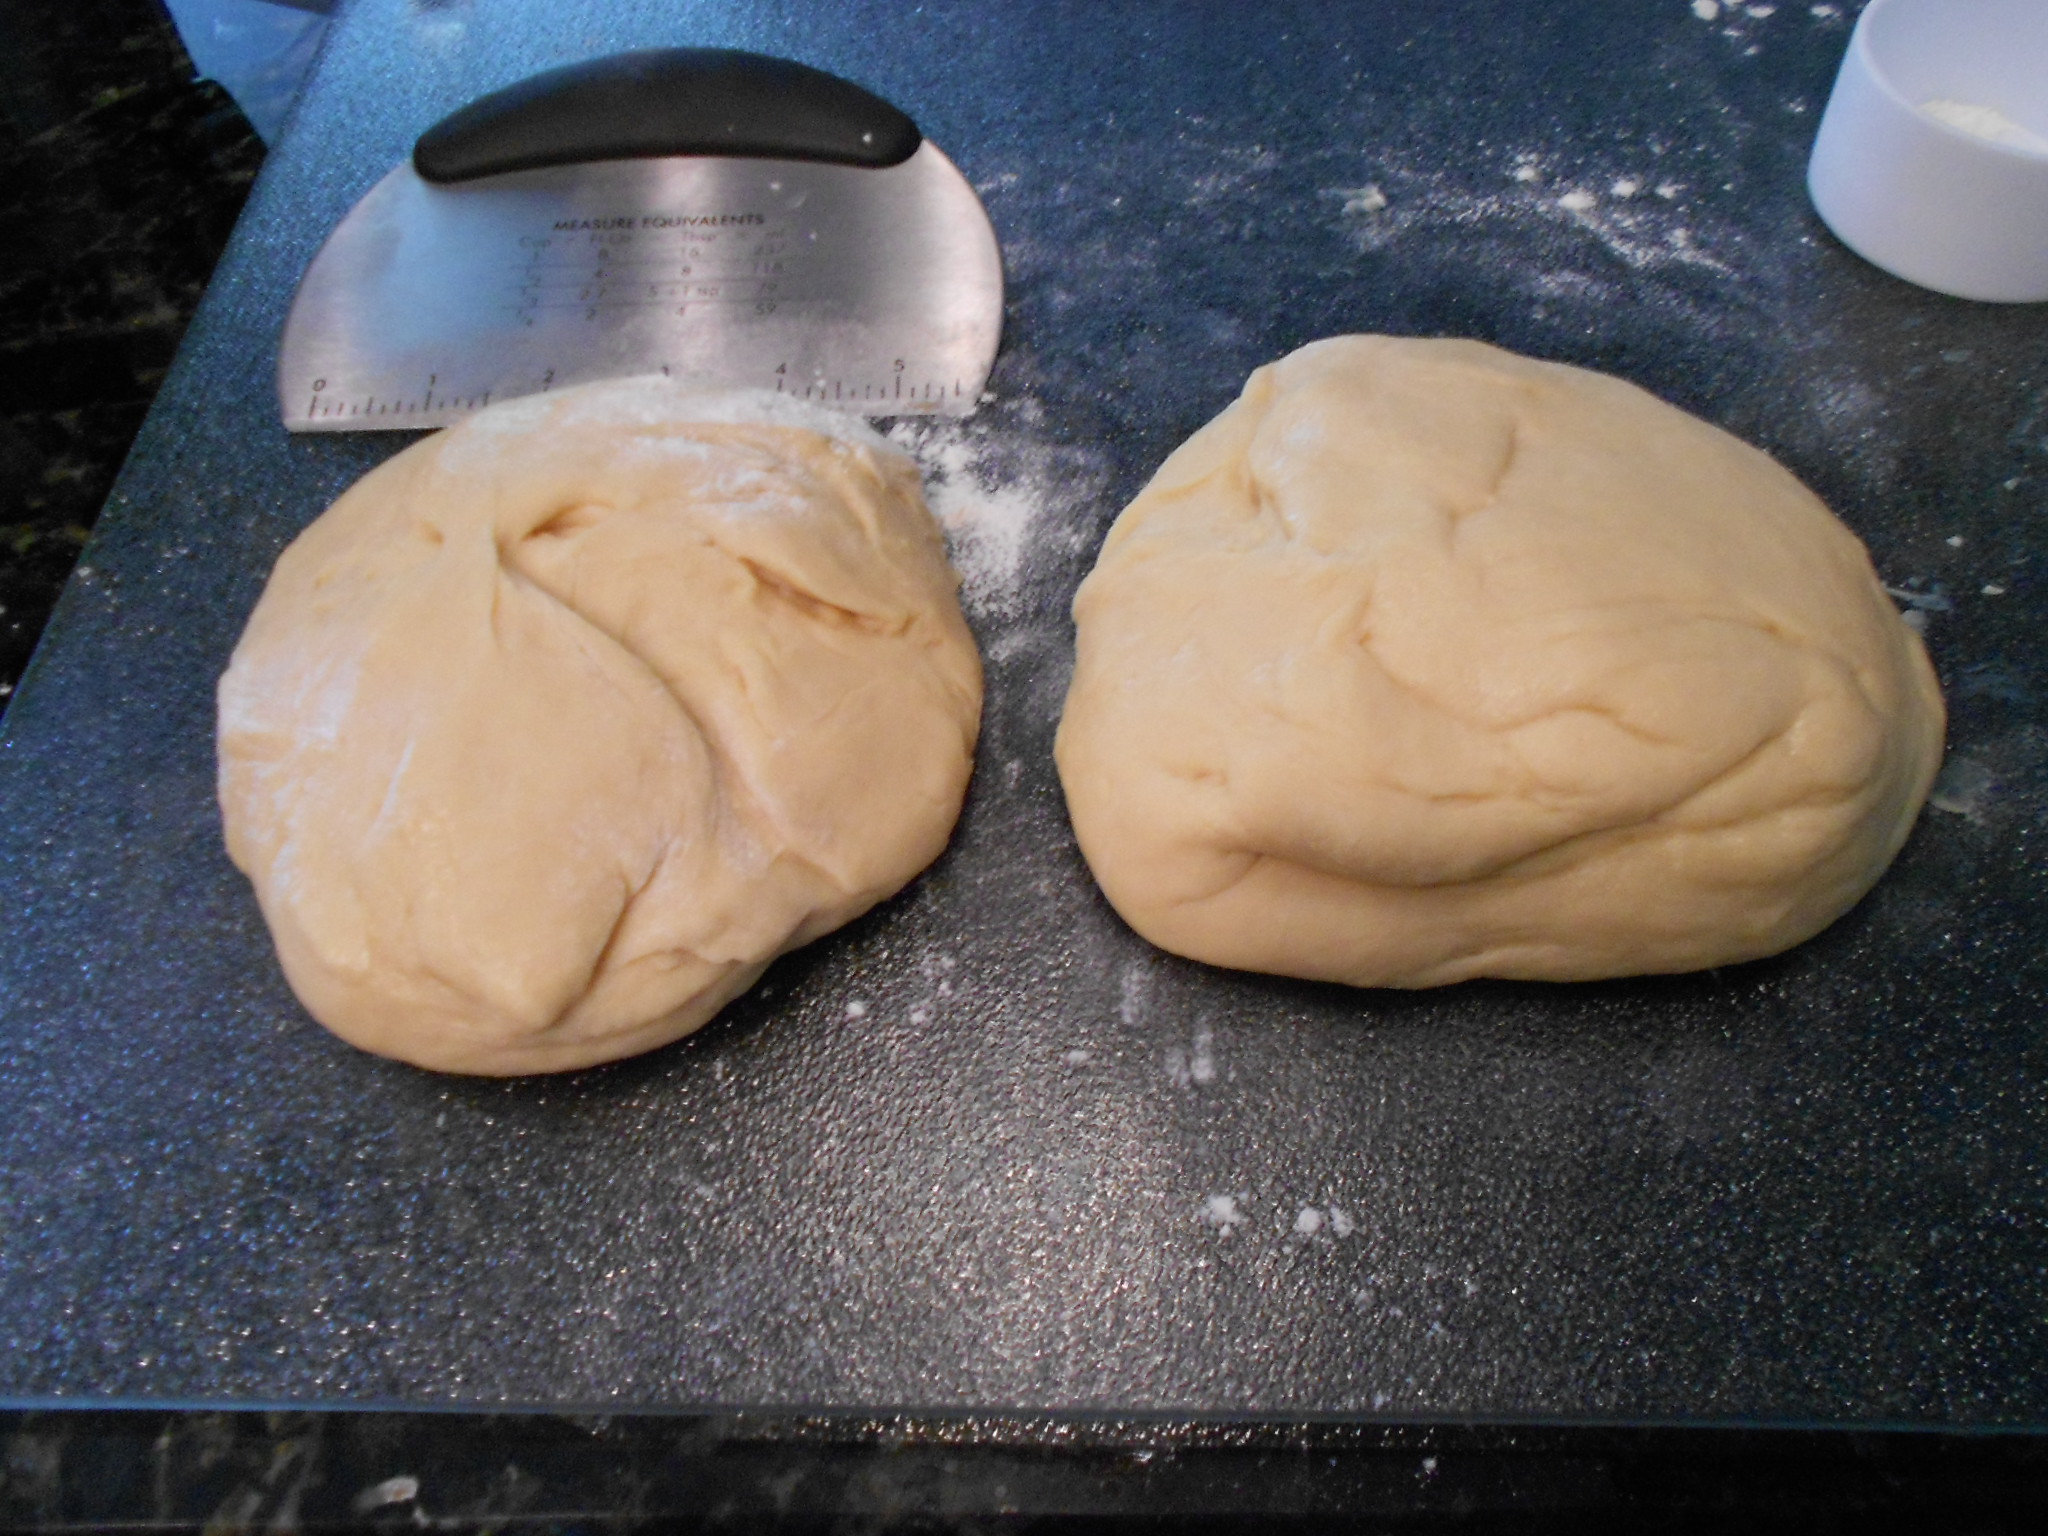
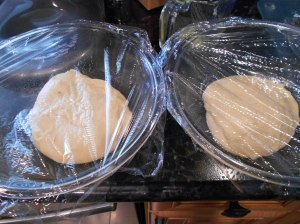
I flour the surface and plop my dough and begin to knead to form a nice ball that I can divide easily. Once that is done (takes maybe 30 seconds), I cut the dough in half and you may use a kitchen scale or "eyeball" it like I do. You take each half and form each into a nice ball. You then add each half to bowls that have been lightly buttered. Cover the bowls with plastic wrap and let the dough rise. The dough should double in size and this takes 1 to 2 hours at most.
While the dough rises, you can begin with making the two different fillings.
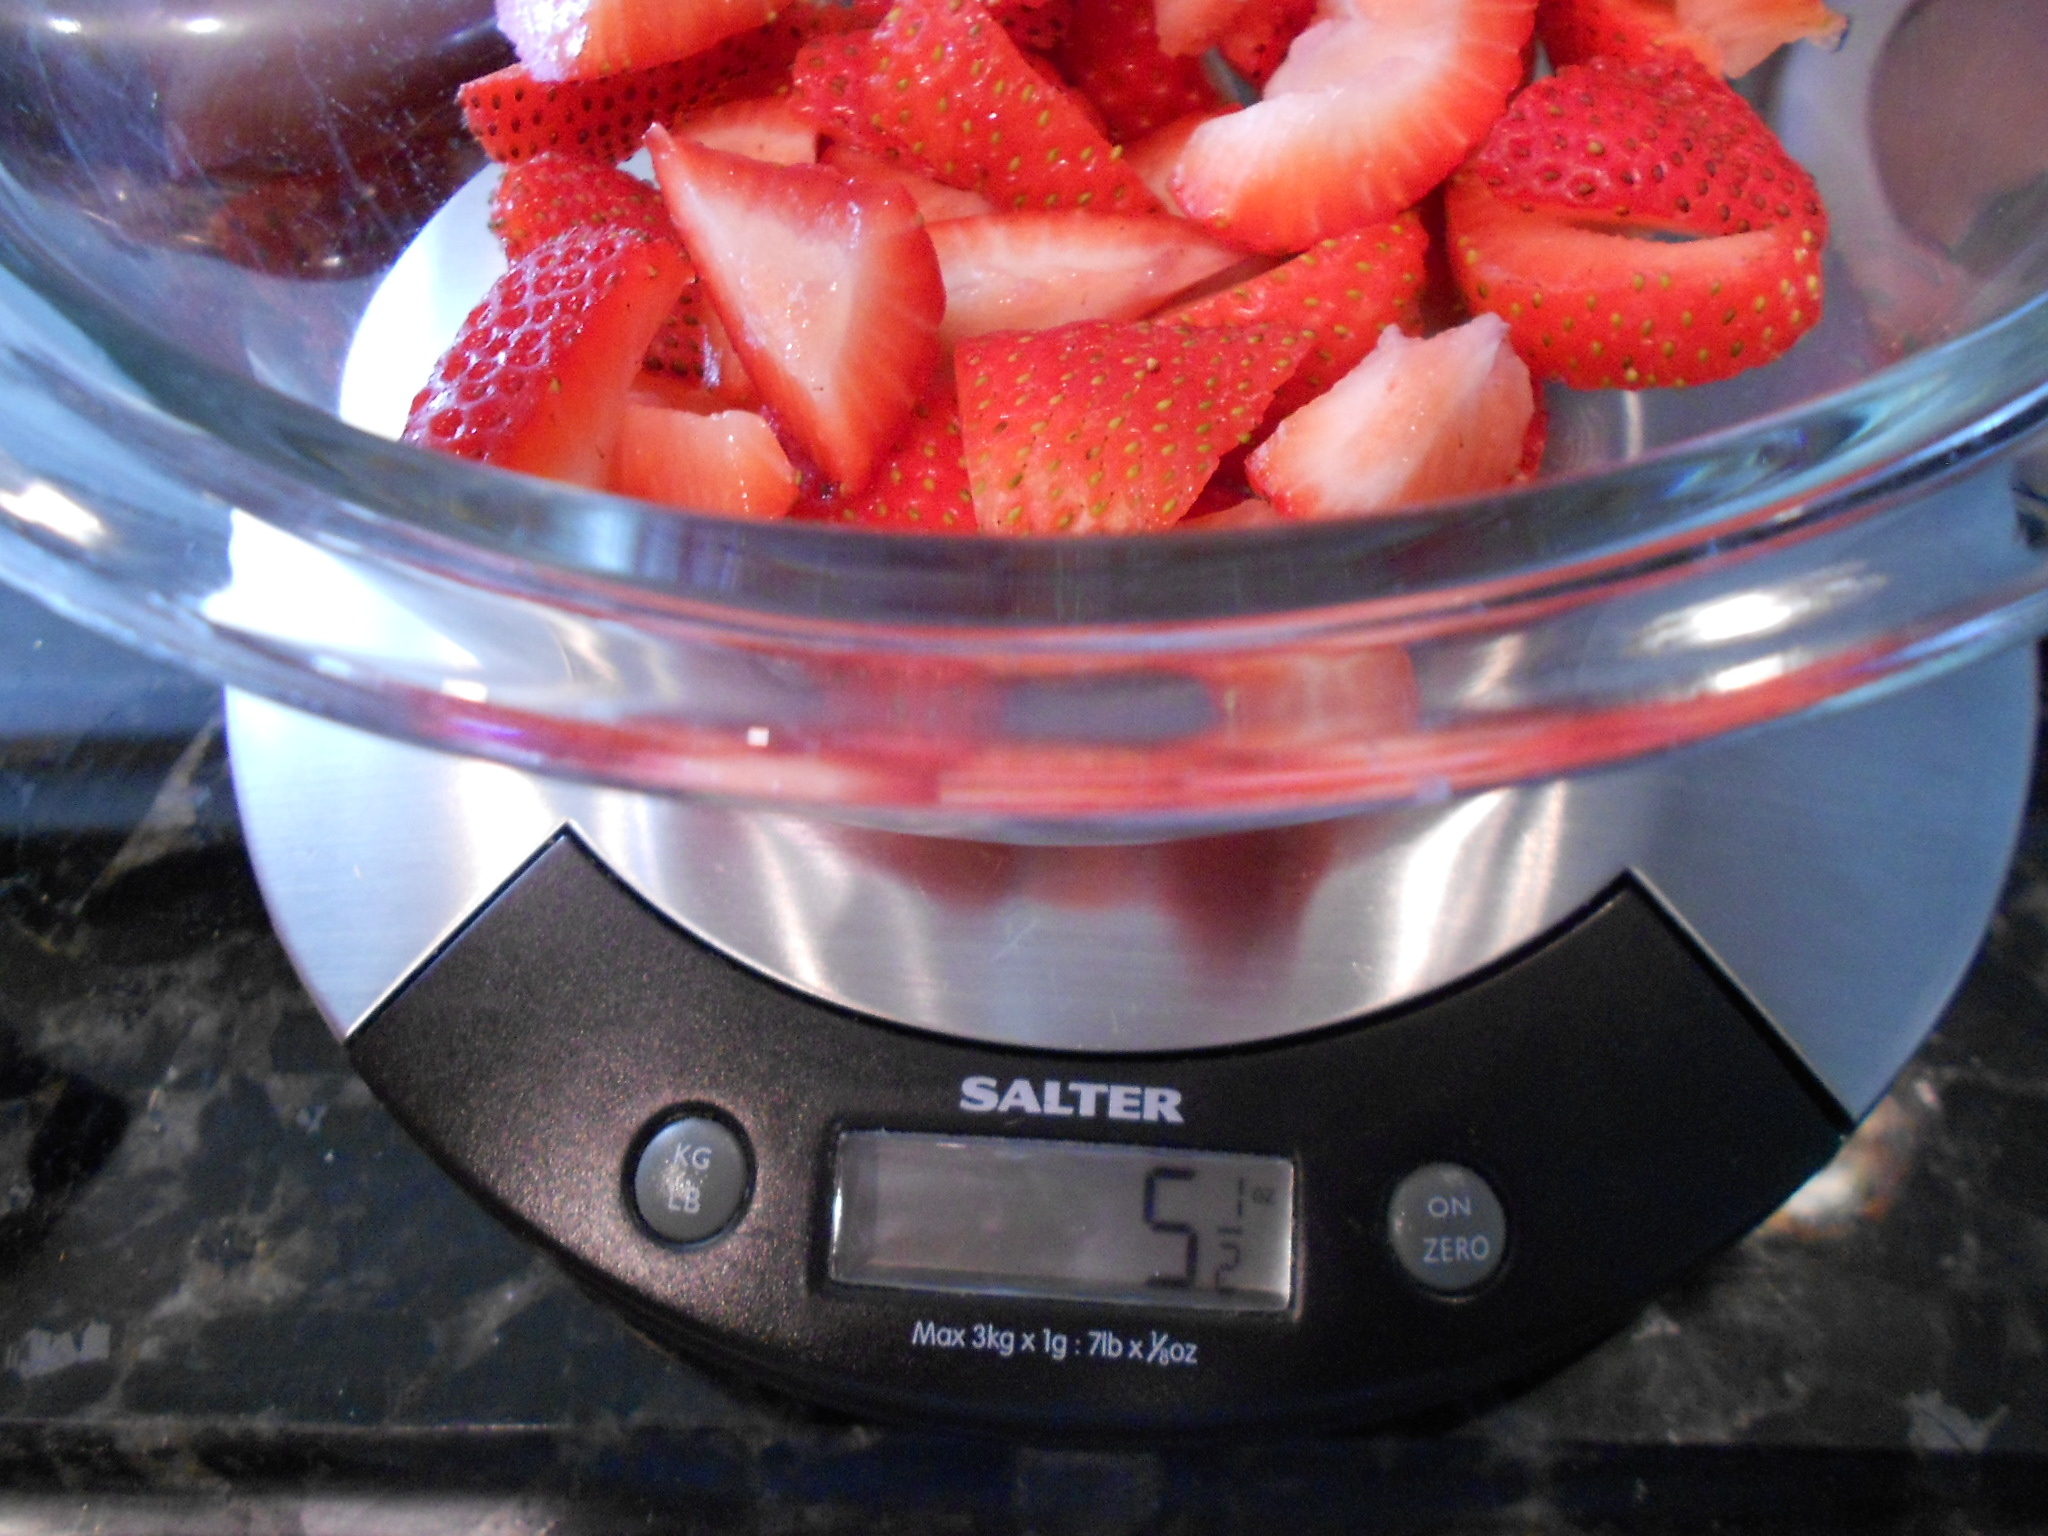
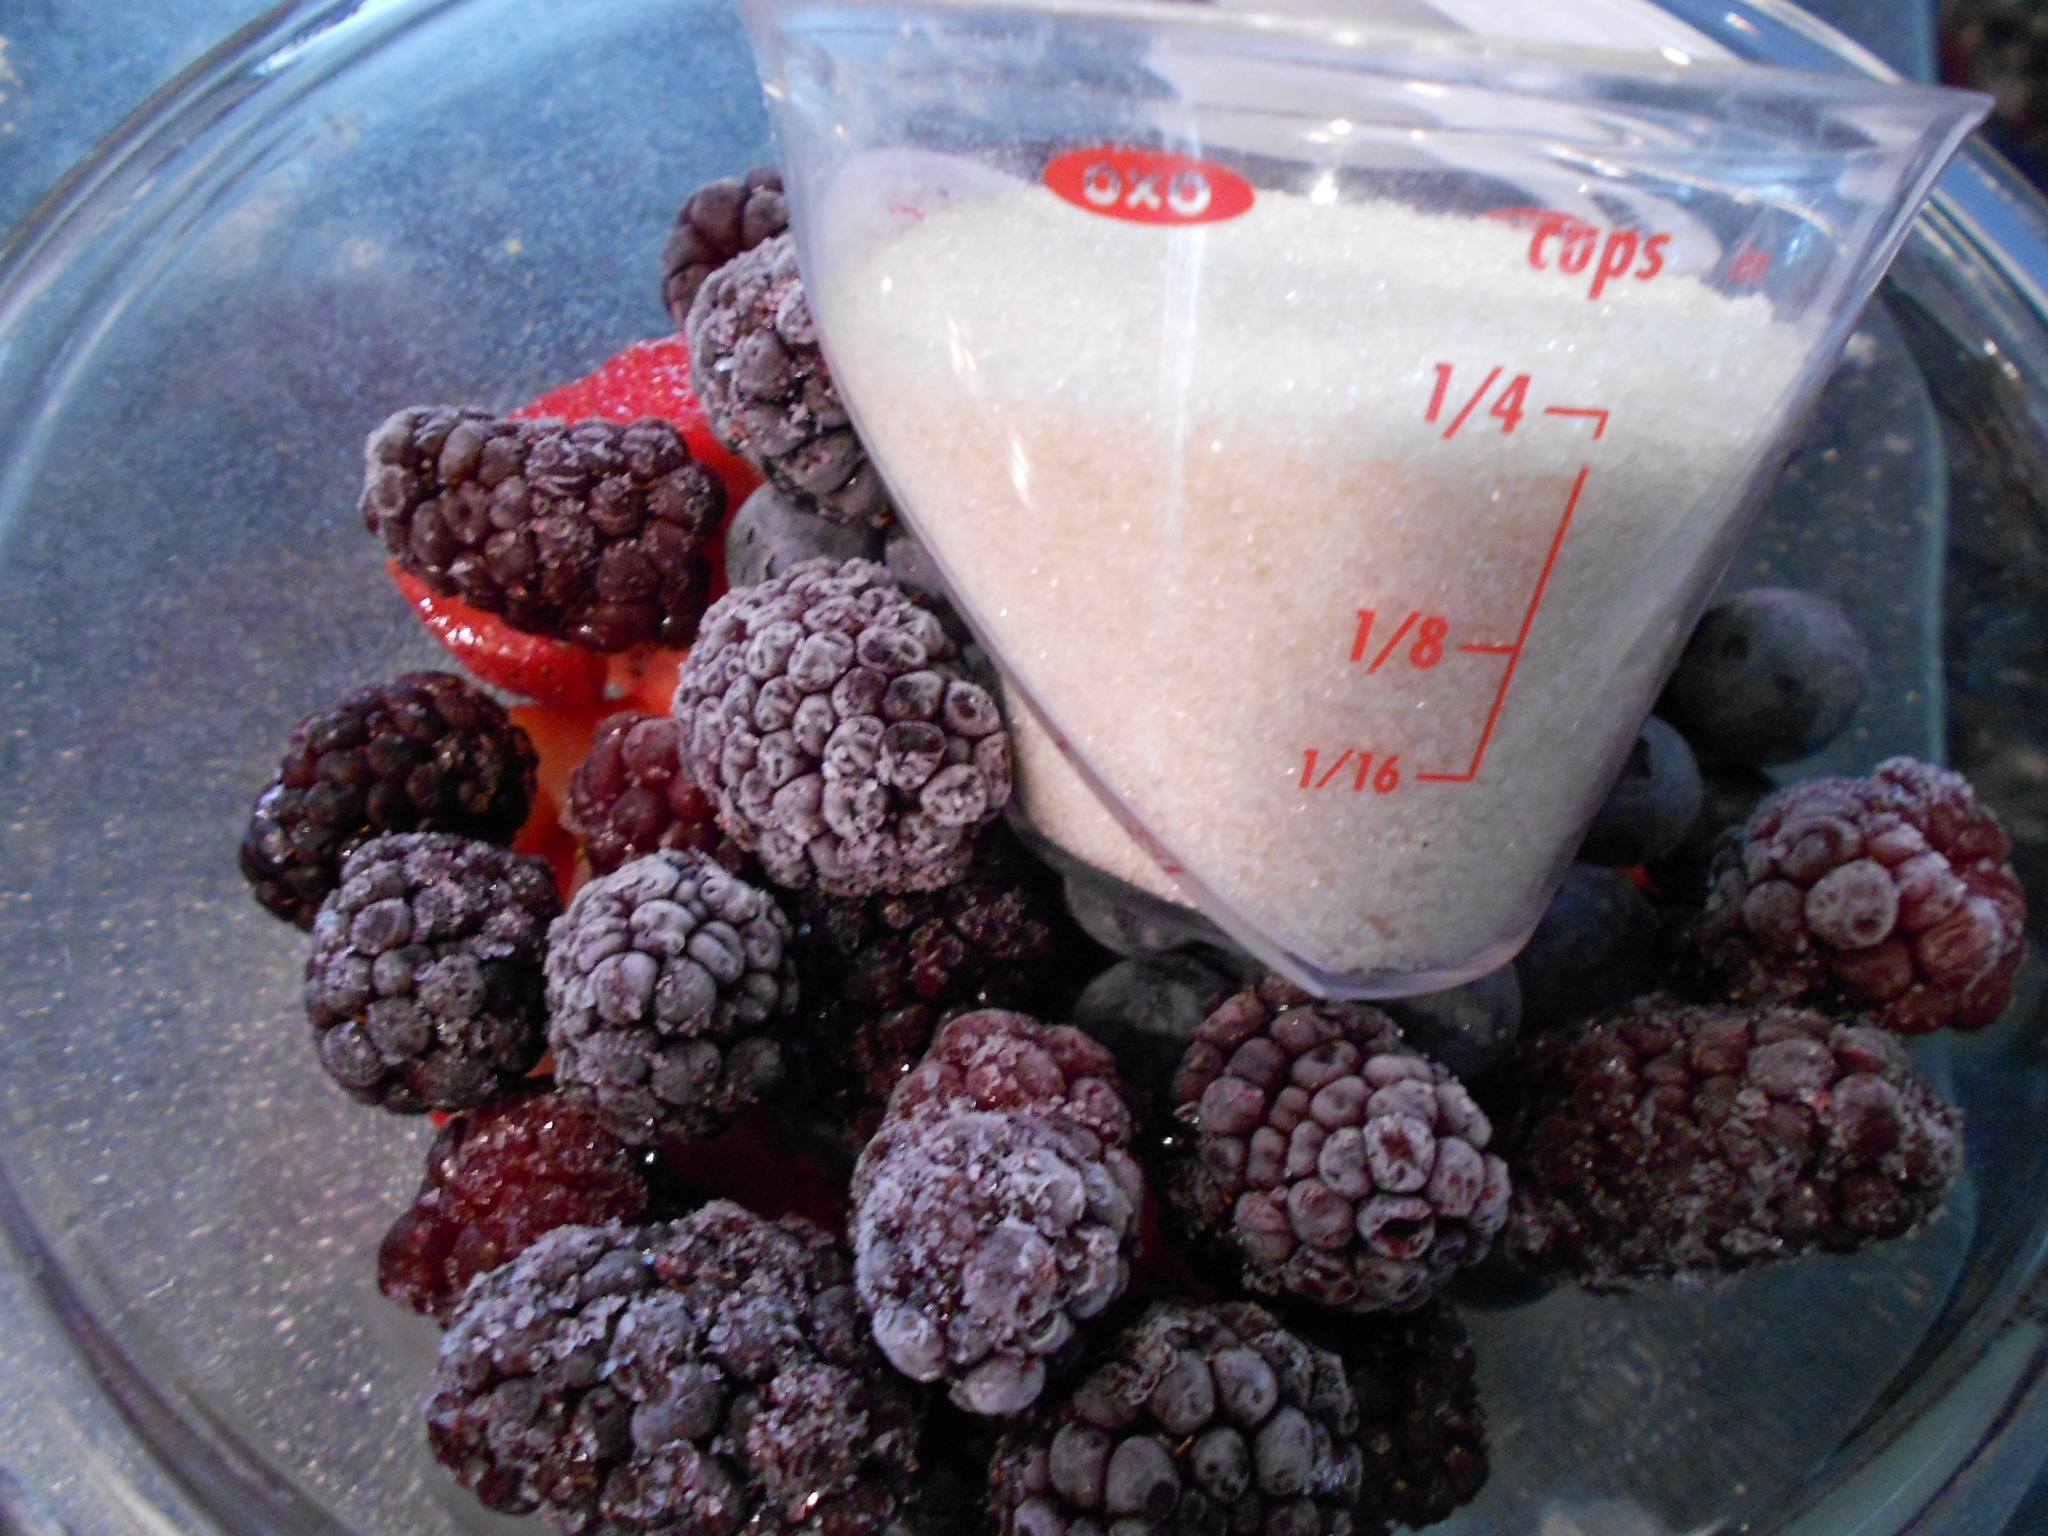
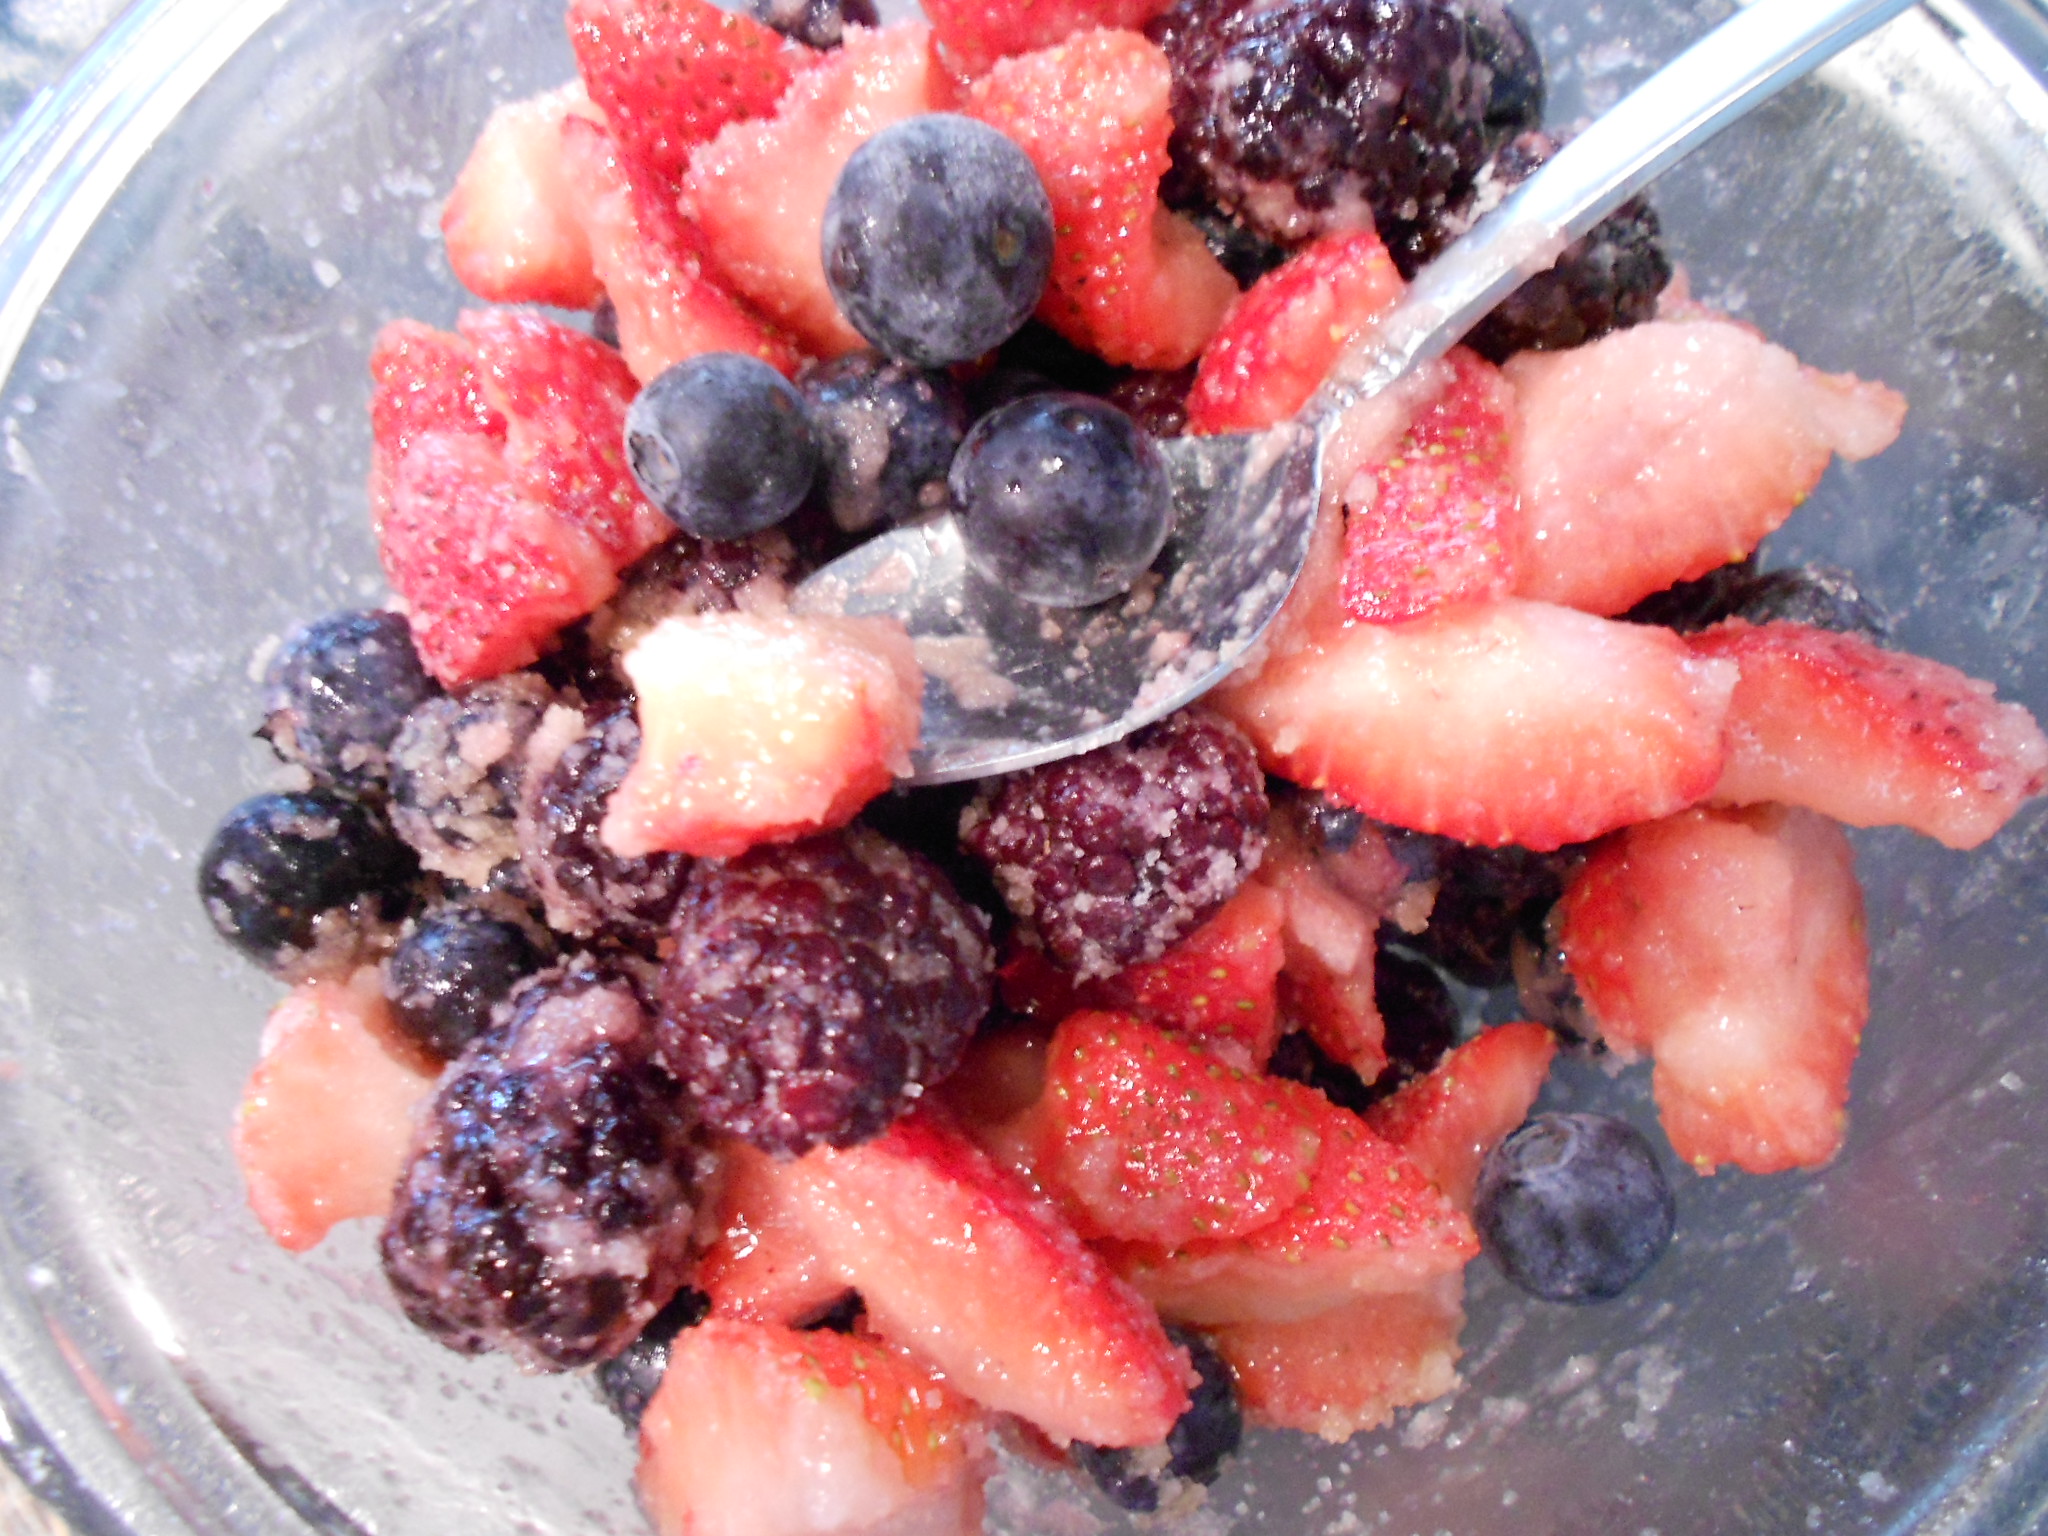
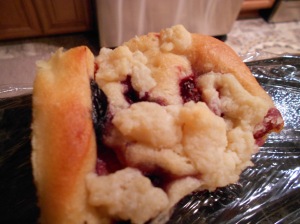
Berry Filling:5 1/2 ounces of fresh Strawberries
4 ounces of Blackberries (frozen)
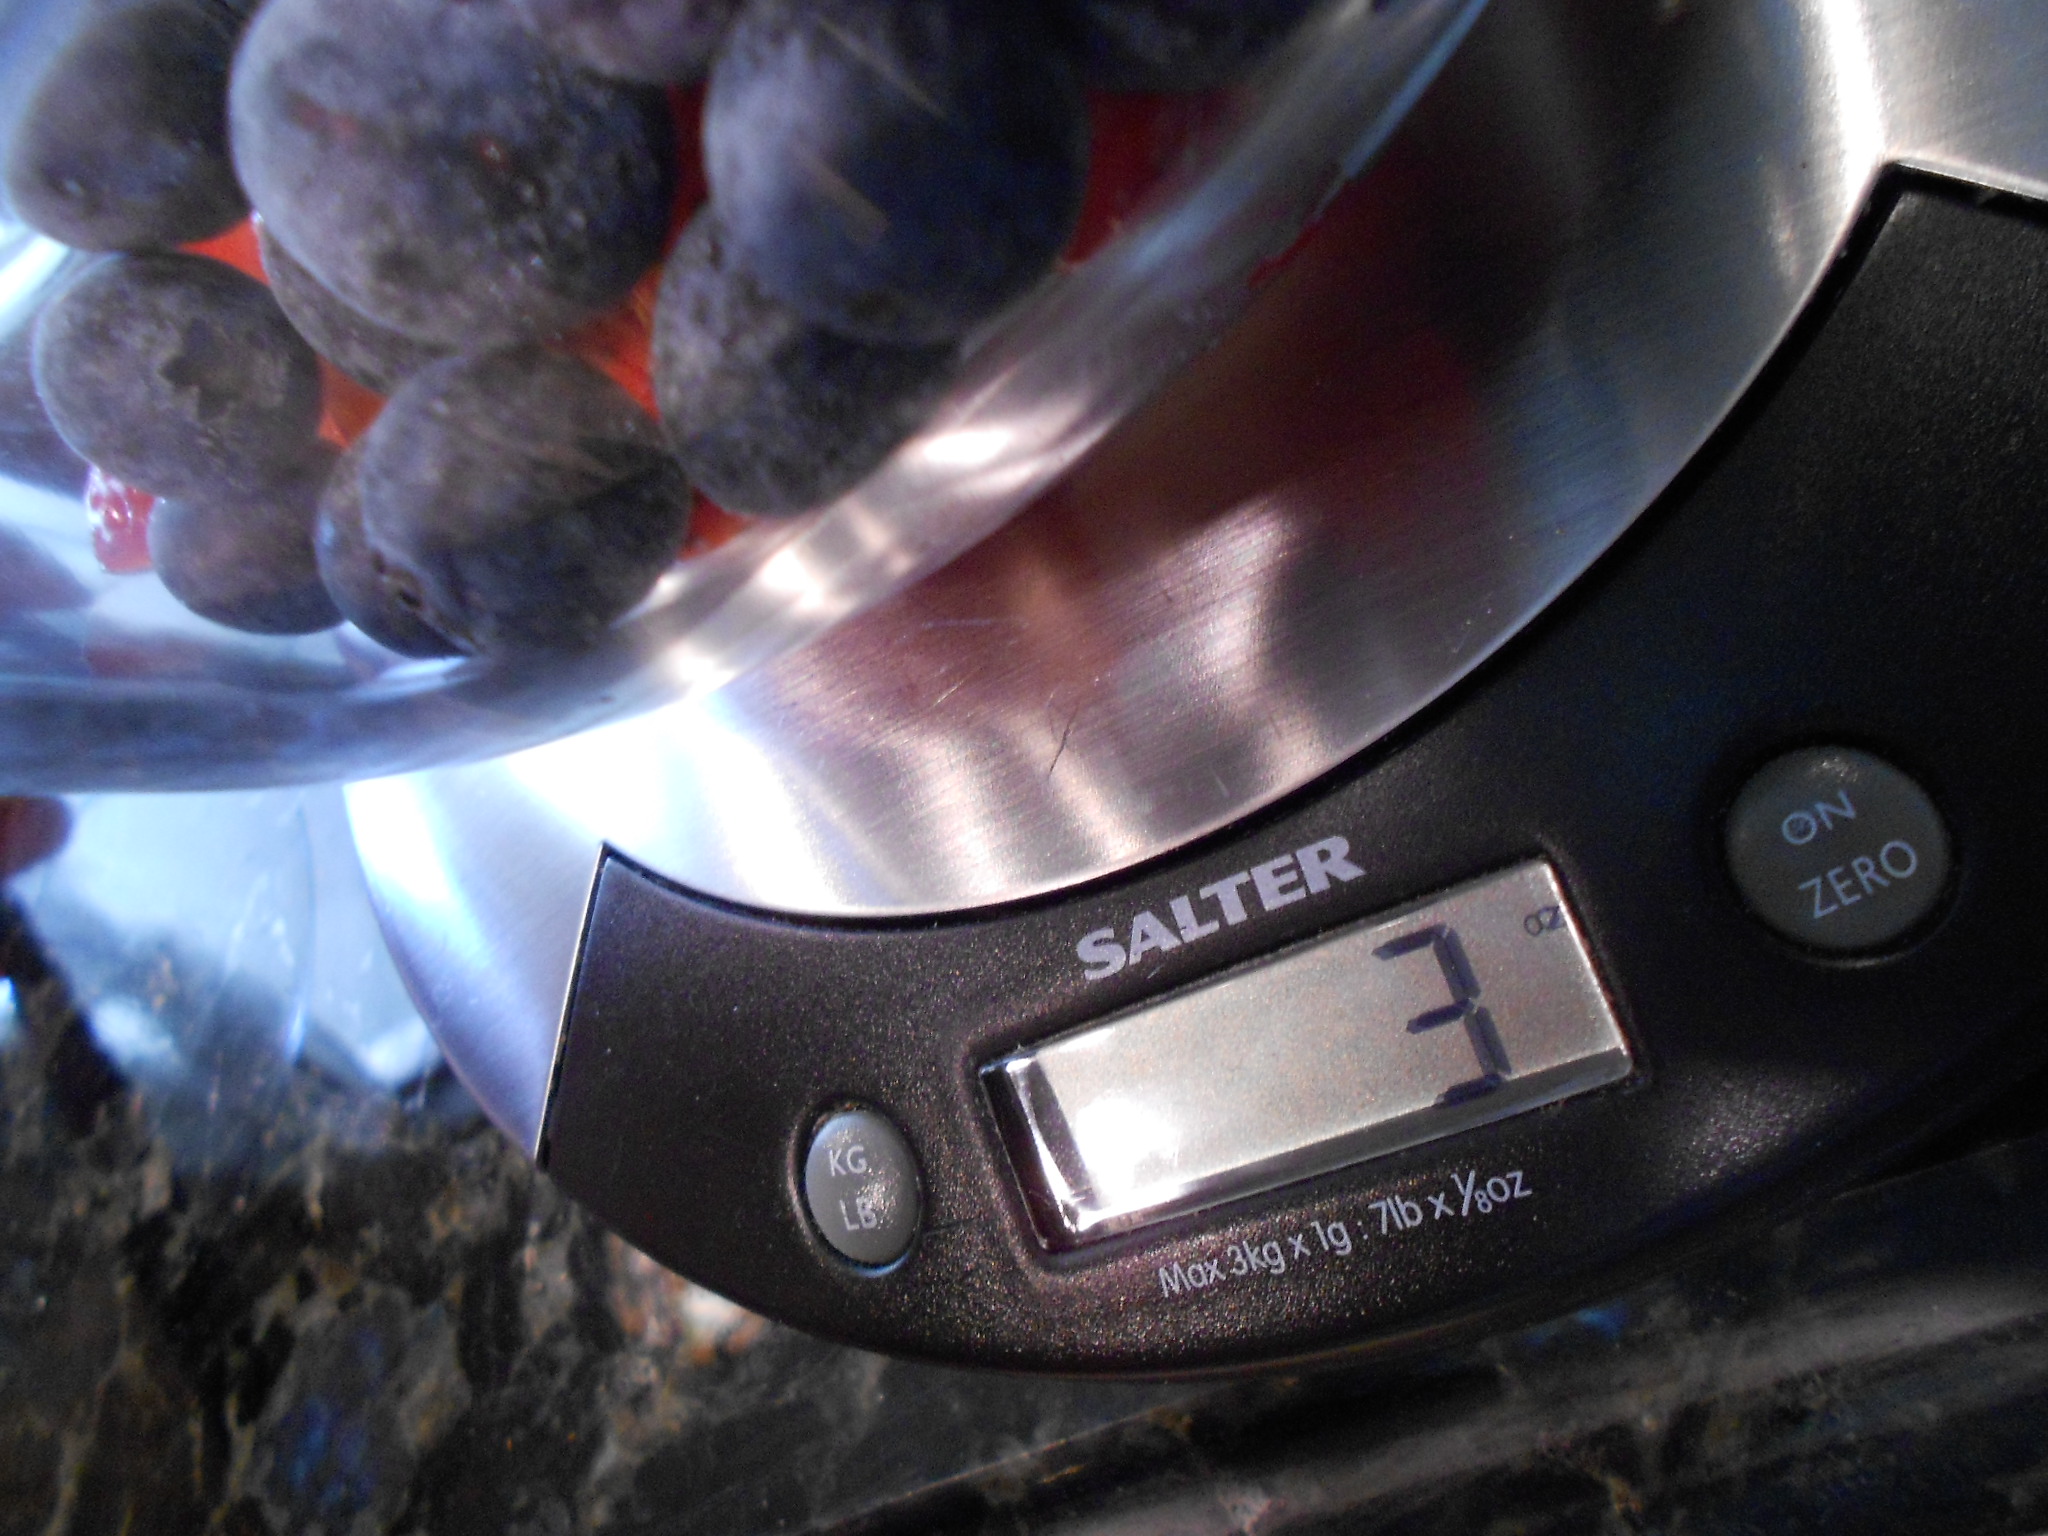
3 ounces of Blue Berries
You may use what ever combination of fruit you desire and just keep in mind you want between 12 to 13 ounces.
1/4 cup of Sugar
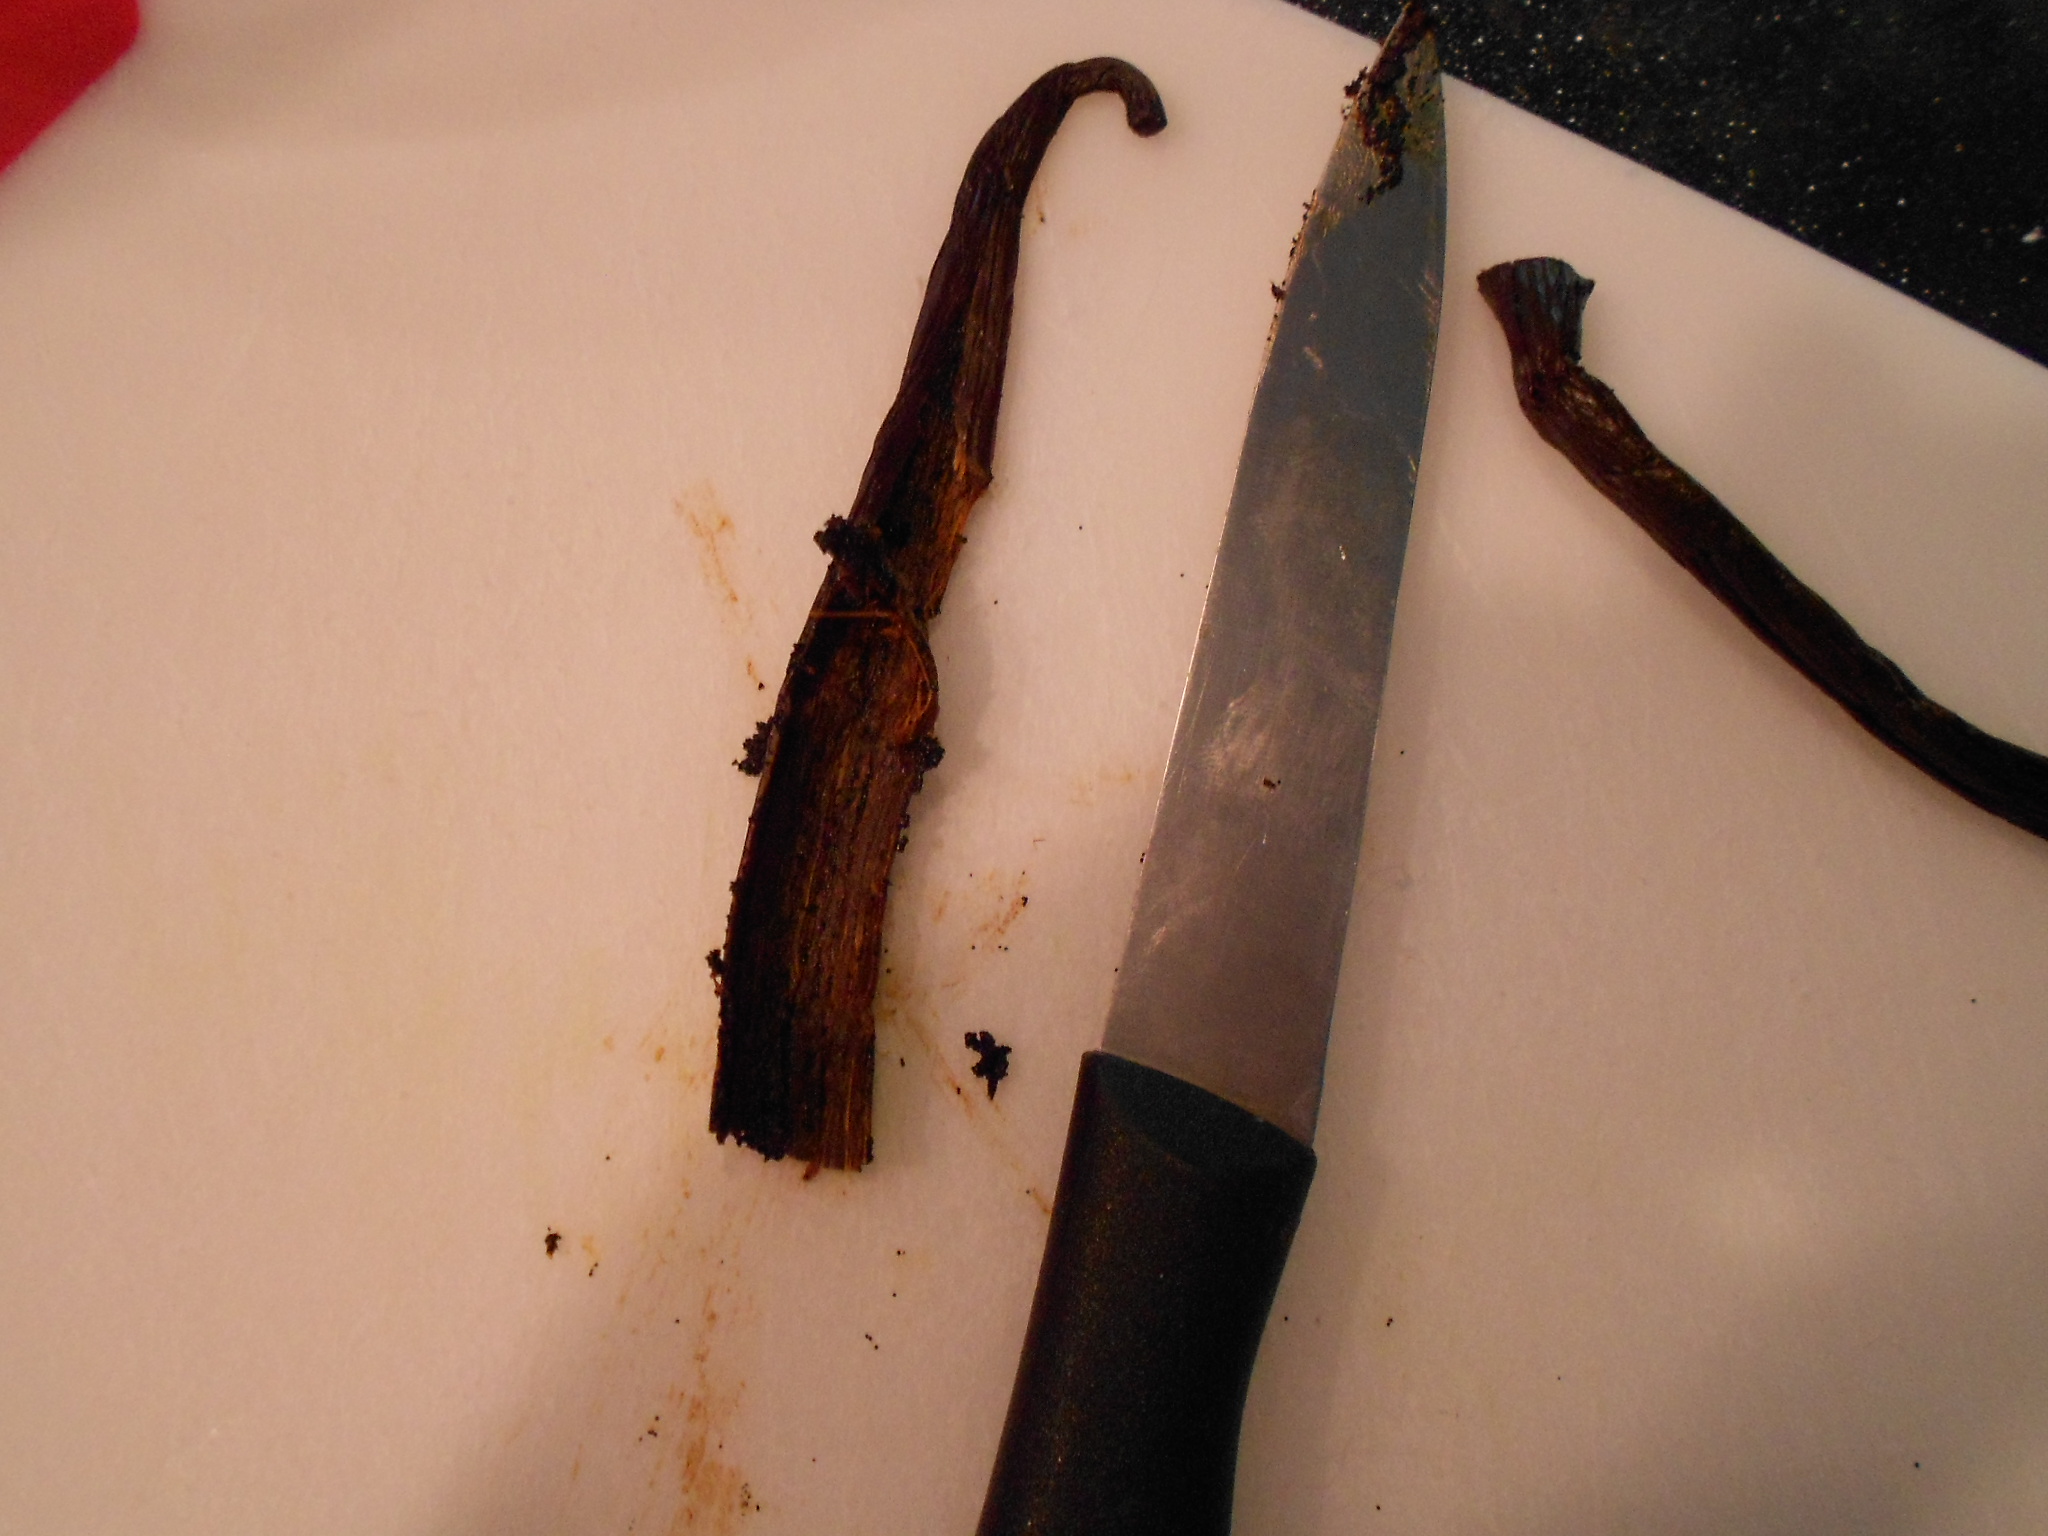
1 teaspoon of Vanilla Extract
1 teaspoon of All-Purpose Flour
1 teaspoon of Corn Starch
Cut the large fruit you use, like in my place it would be the strawberries into wedges or bite size.

I like to leave my other berries whole so they can be found within the rolls and change the taste with every bite.


Take a bowl and just mix everything together. Once everything is mixed, you may place the berry filling in the fridge covered.

That easy!
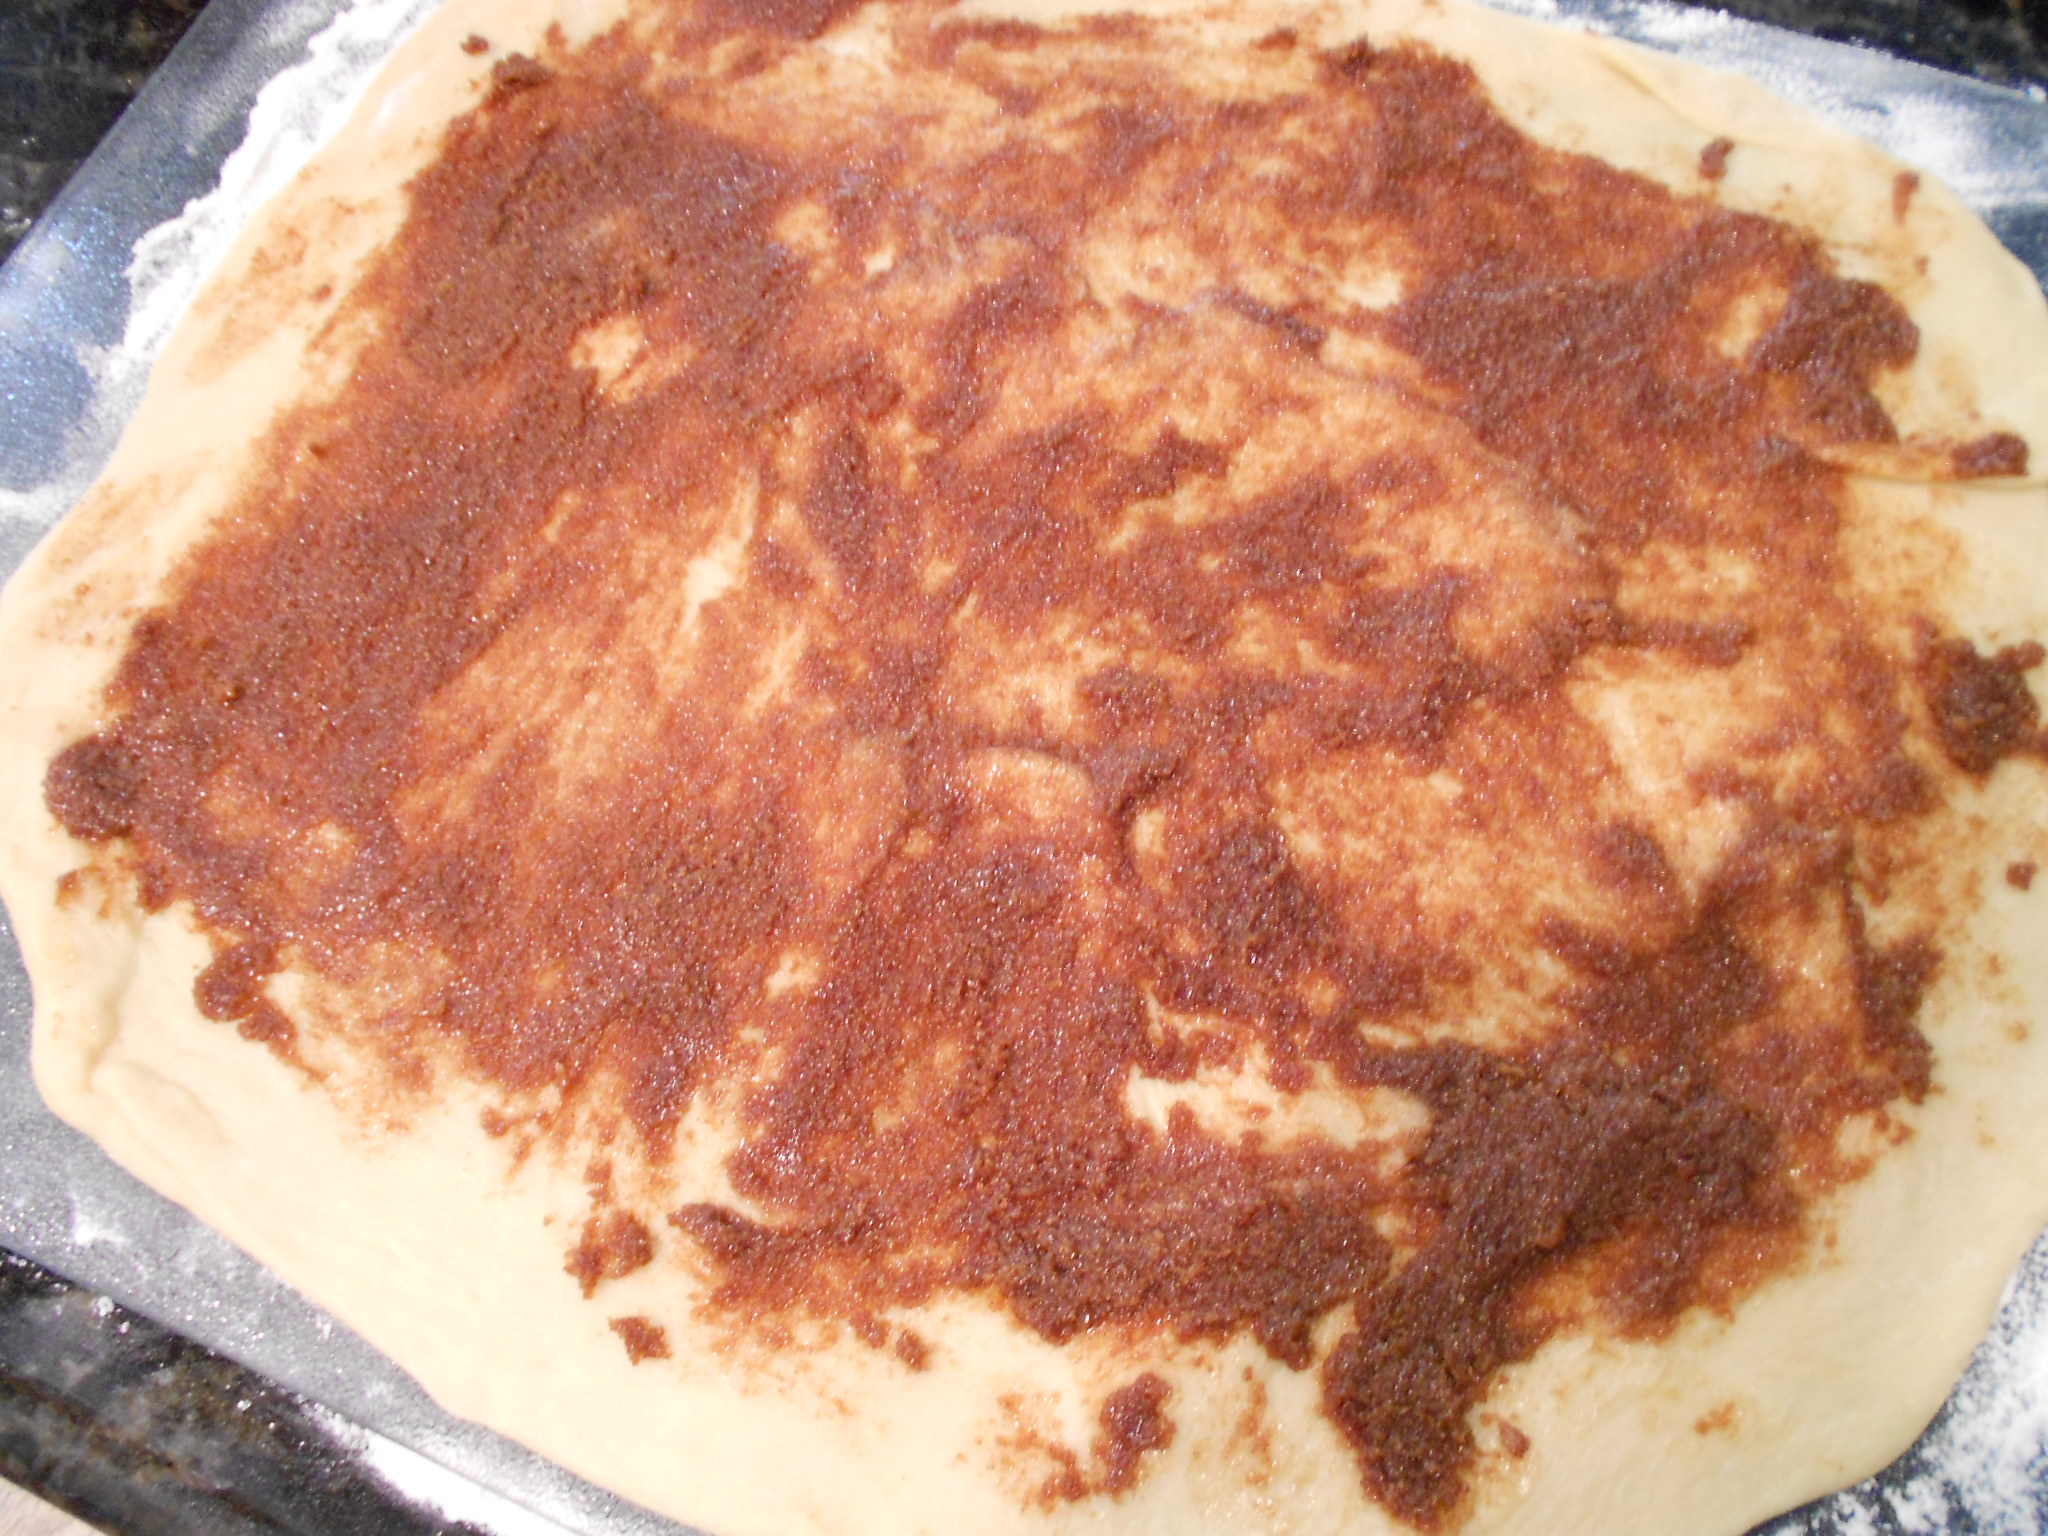
Cinnamon Roll Filling:1/2 cup of Sugar
2 teaspoons of Ground Cinnamon
5 to 7 "grates" of Fresh Nutmeg (or to taste and can also omit if not wanted)
1/4 cup of Unsalted Butter (softened)
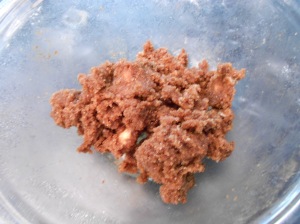
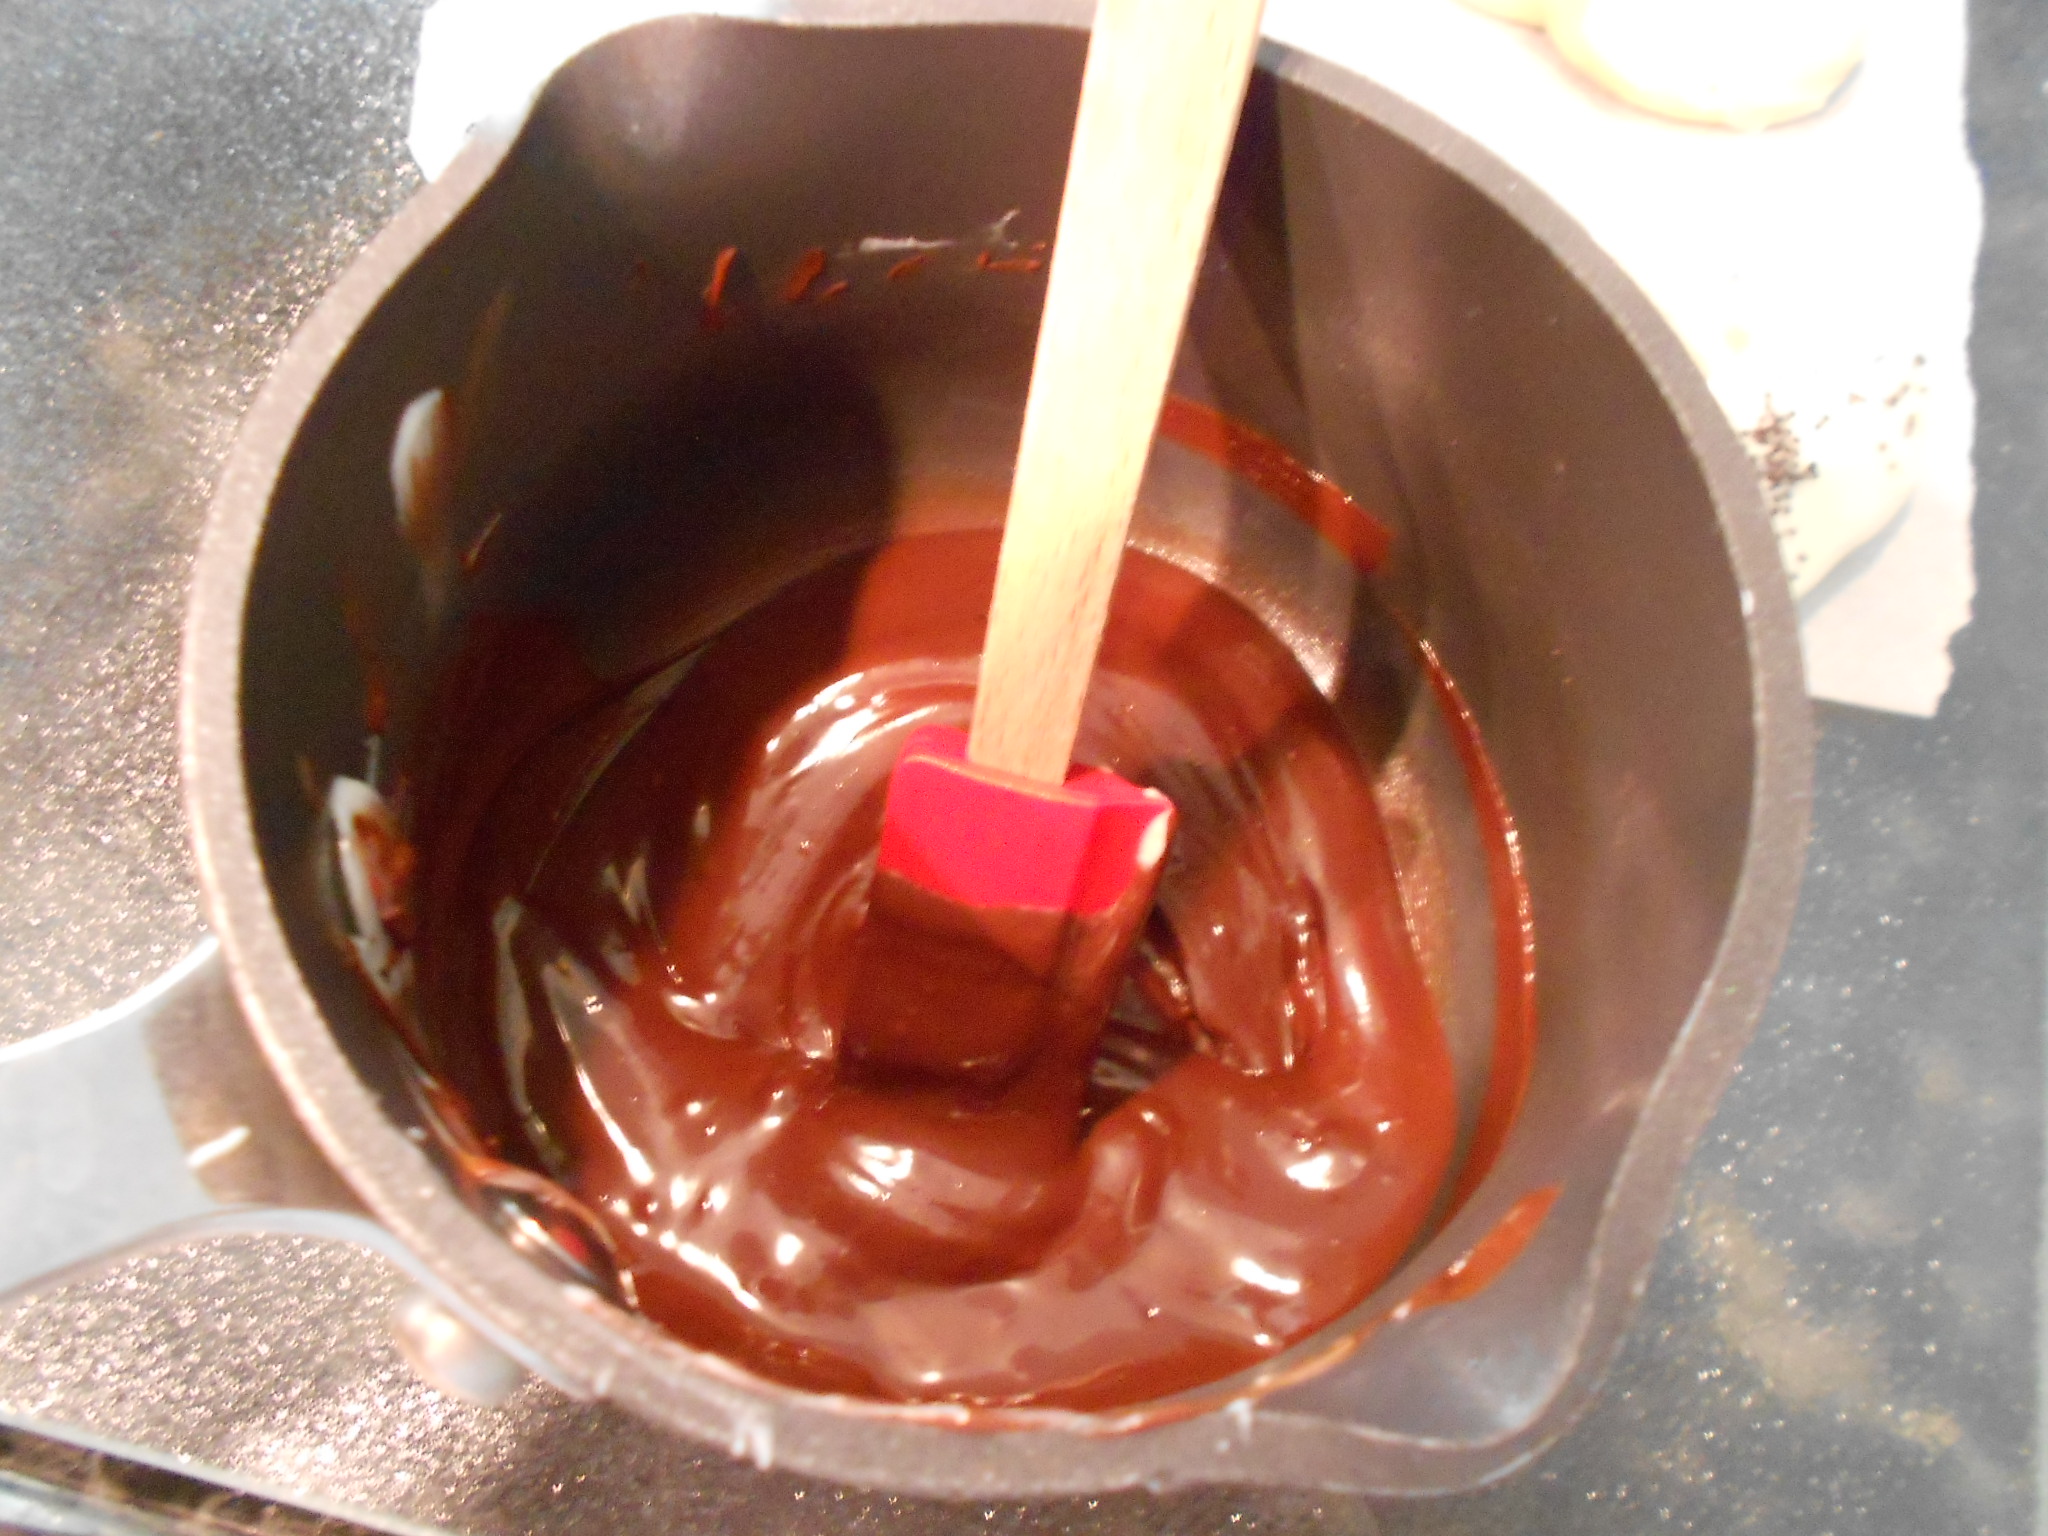
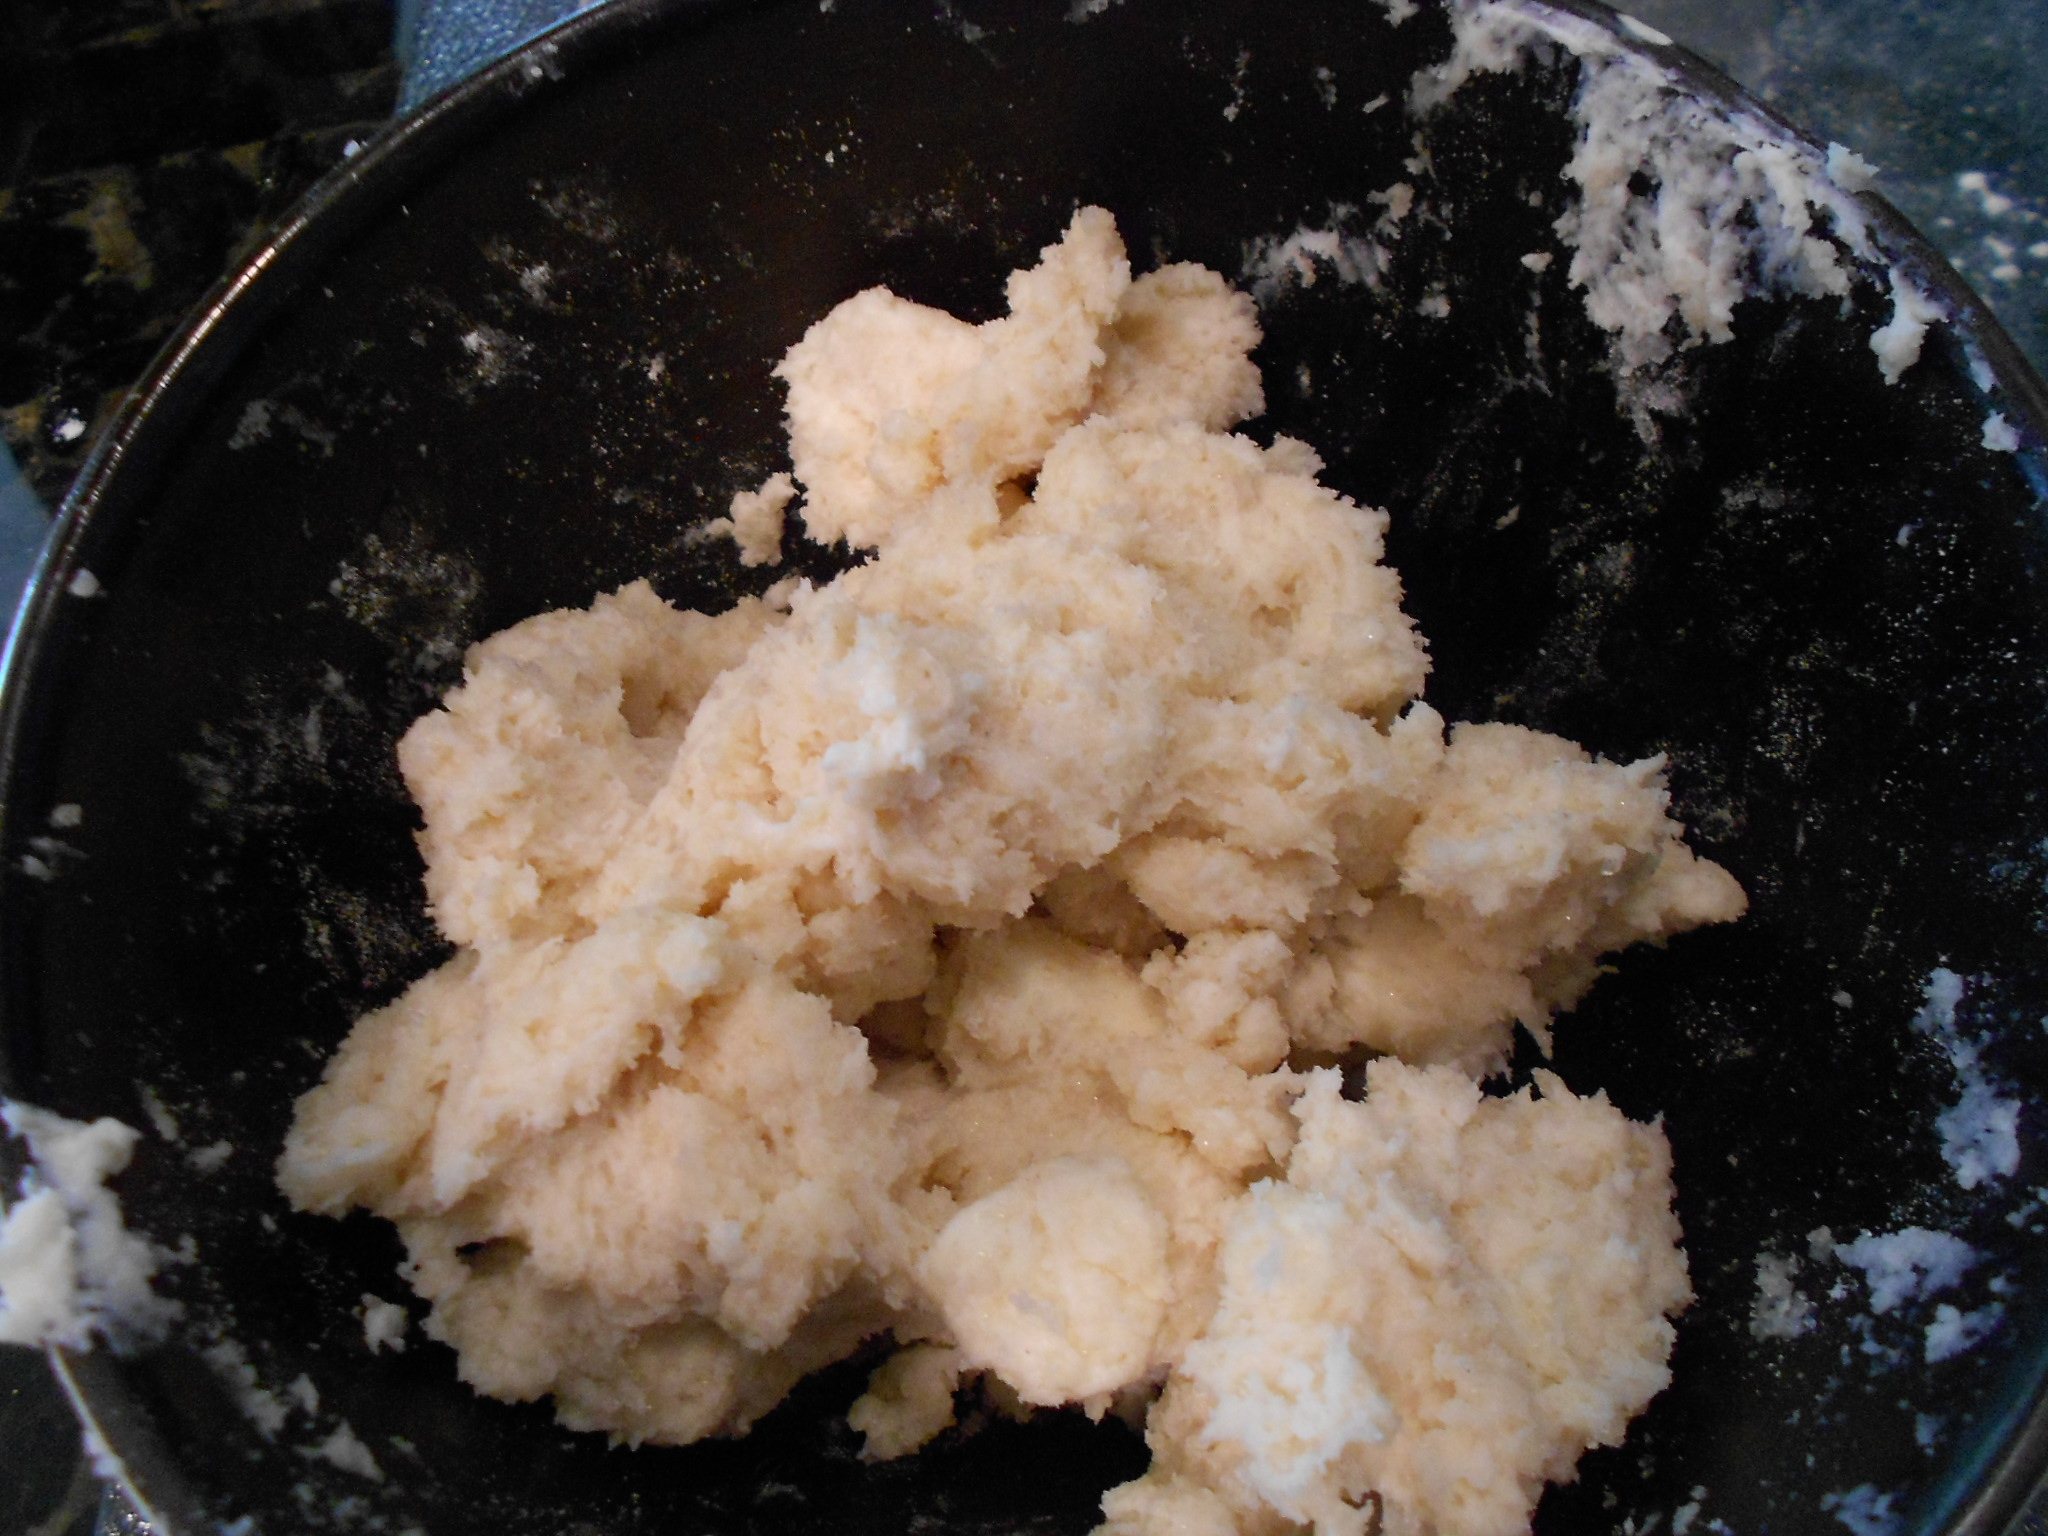
Take the dry ingredients and mix them in a bowl. You then add the butter to create a "paste-like" filling and you are done. I cover and keep it on the counter so the butter remains soft and easy to spread when needed.
Get two 9 x 13 baking pans and lightly spray with cooking spray. I use Pam with flour.

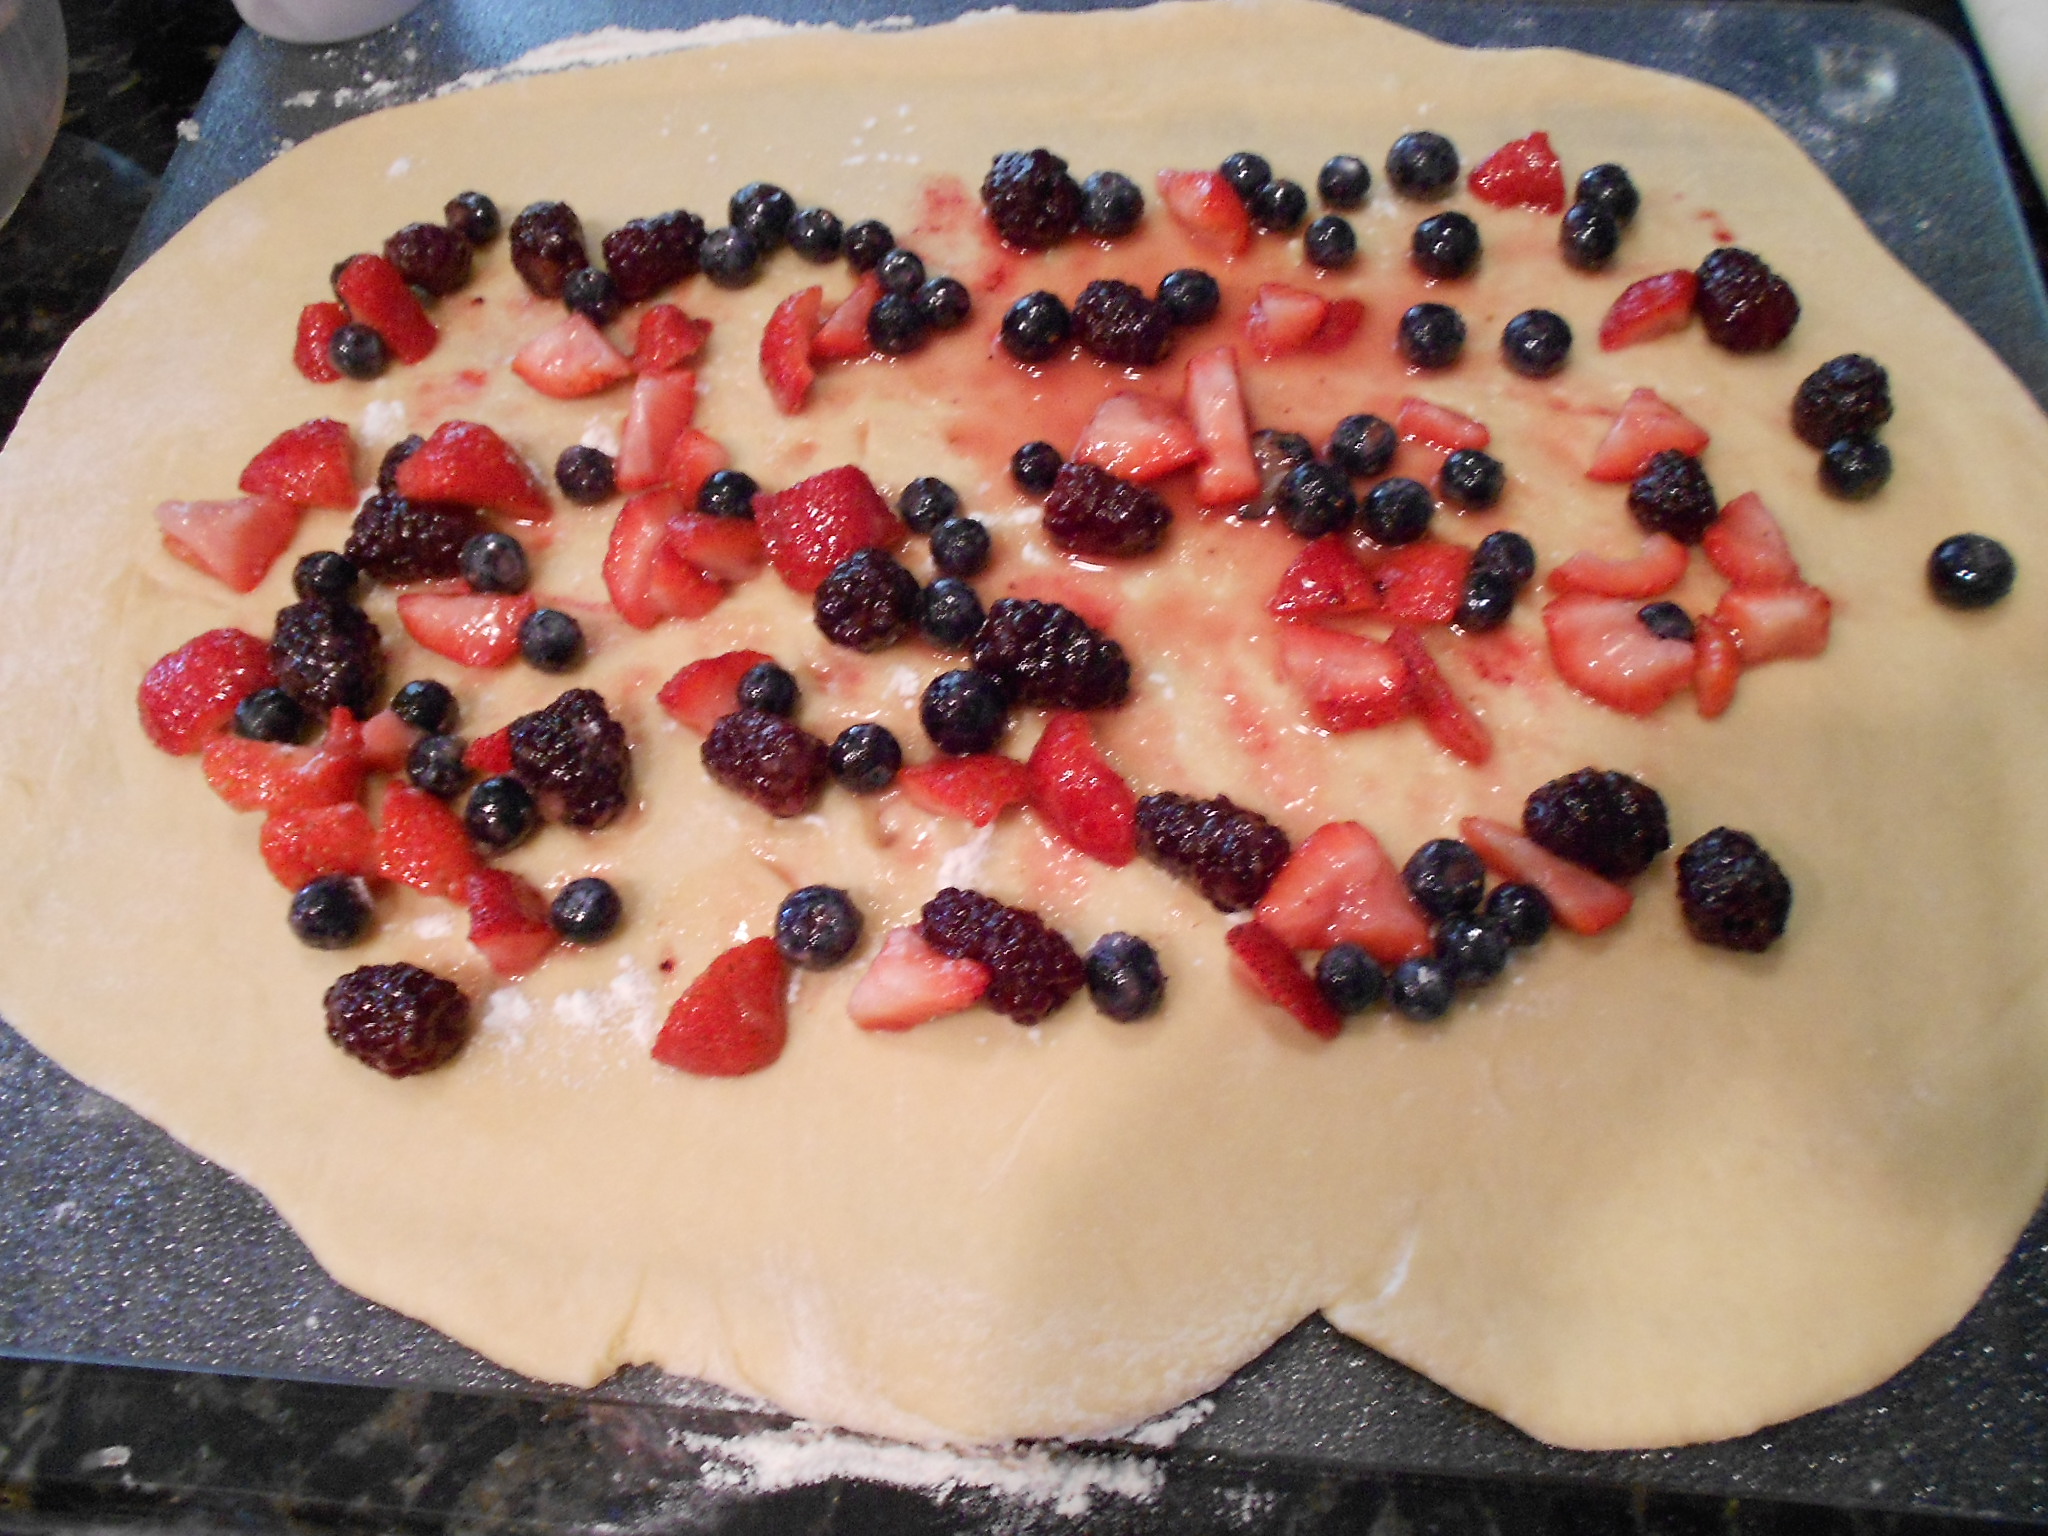
Once the dough has risen and doubled, you take one of them and scrape the dough onto a lightly floured surface.

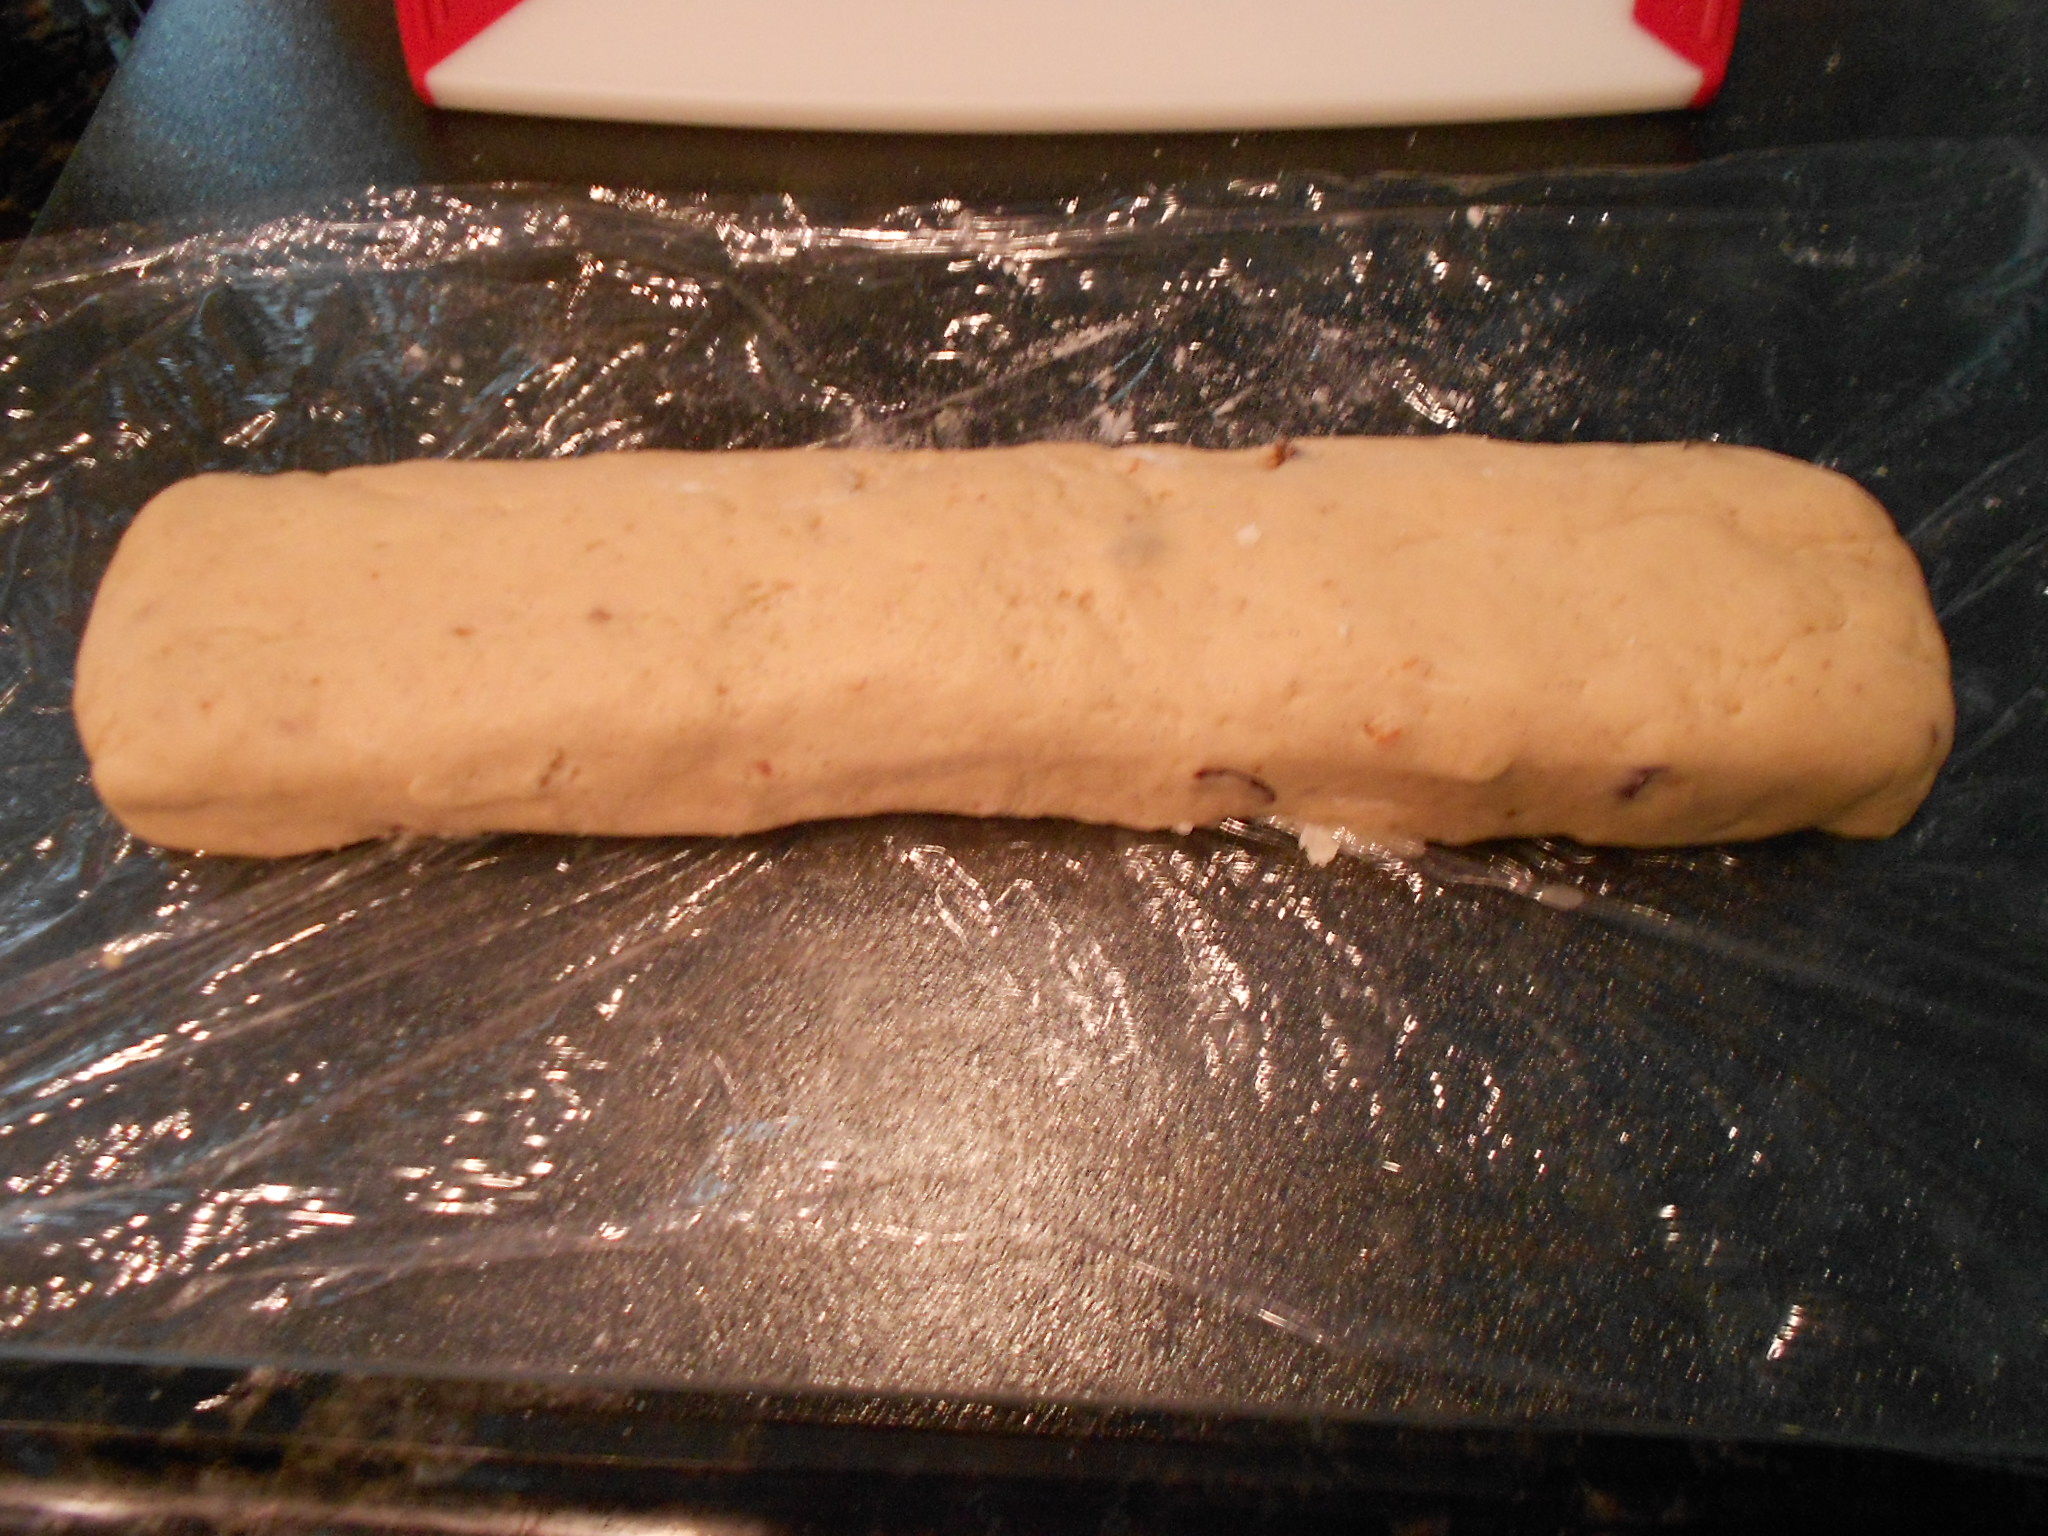
I then roll it out in to about a 10 x 14 rec-triangle.

I add one of the above fillings above, in this case I started with the berry filling and then roll it.
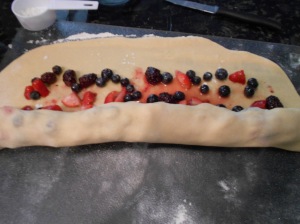
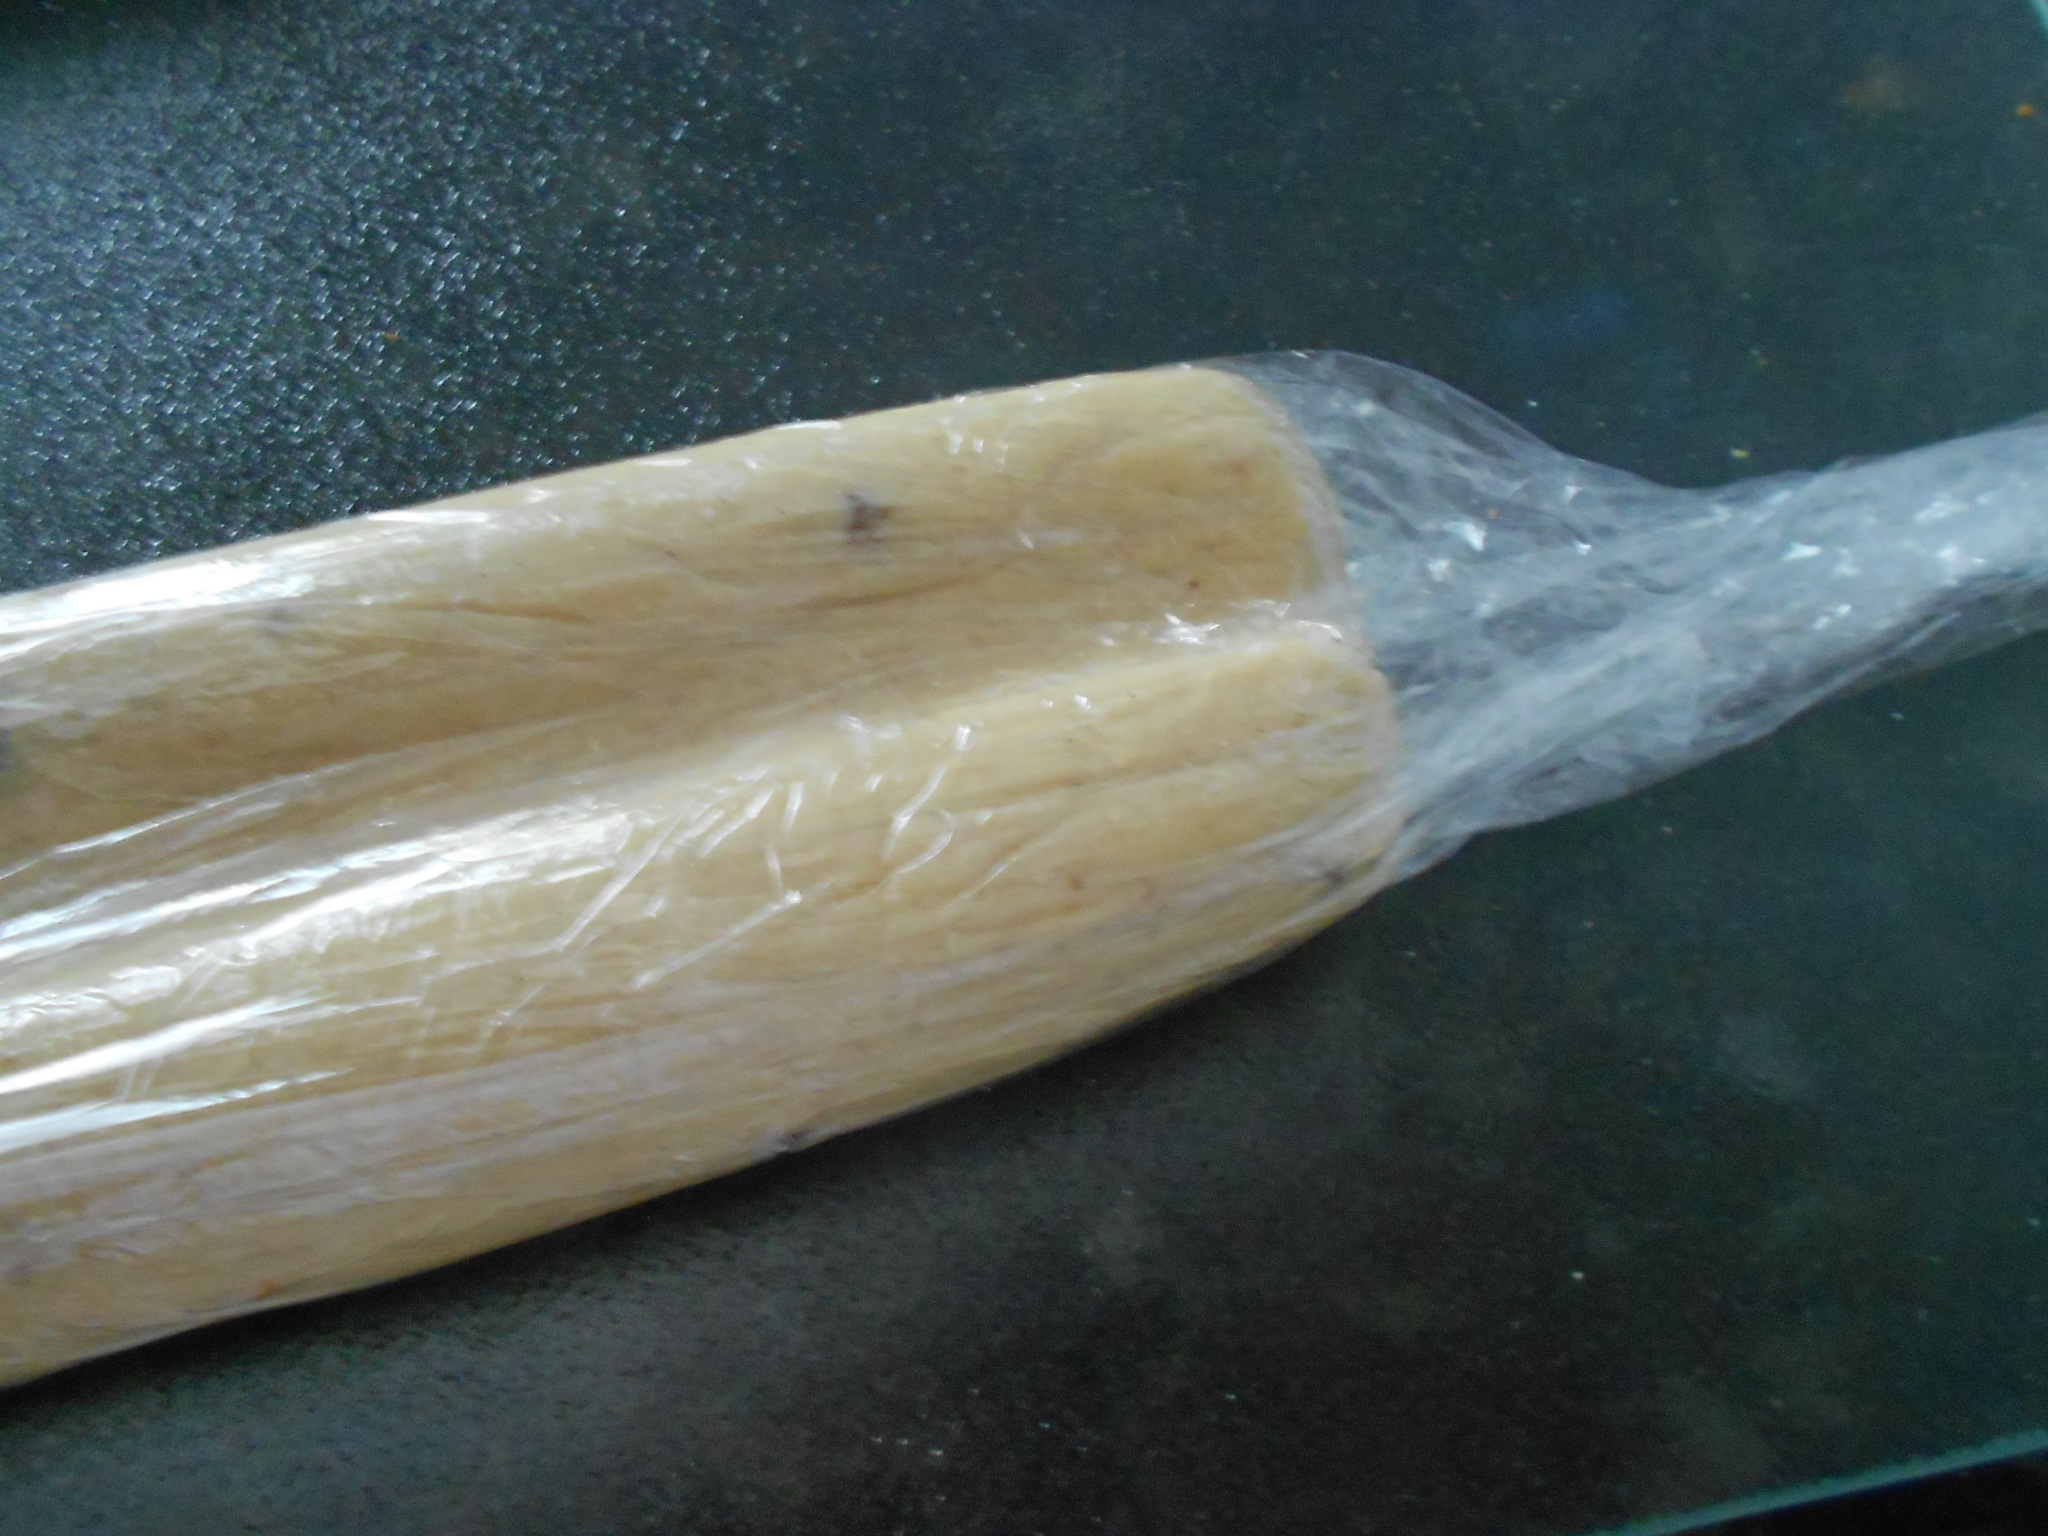
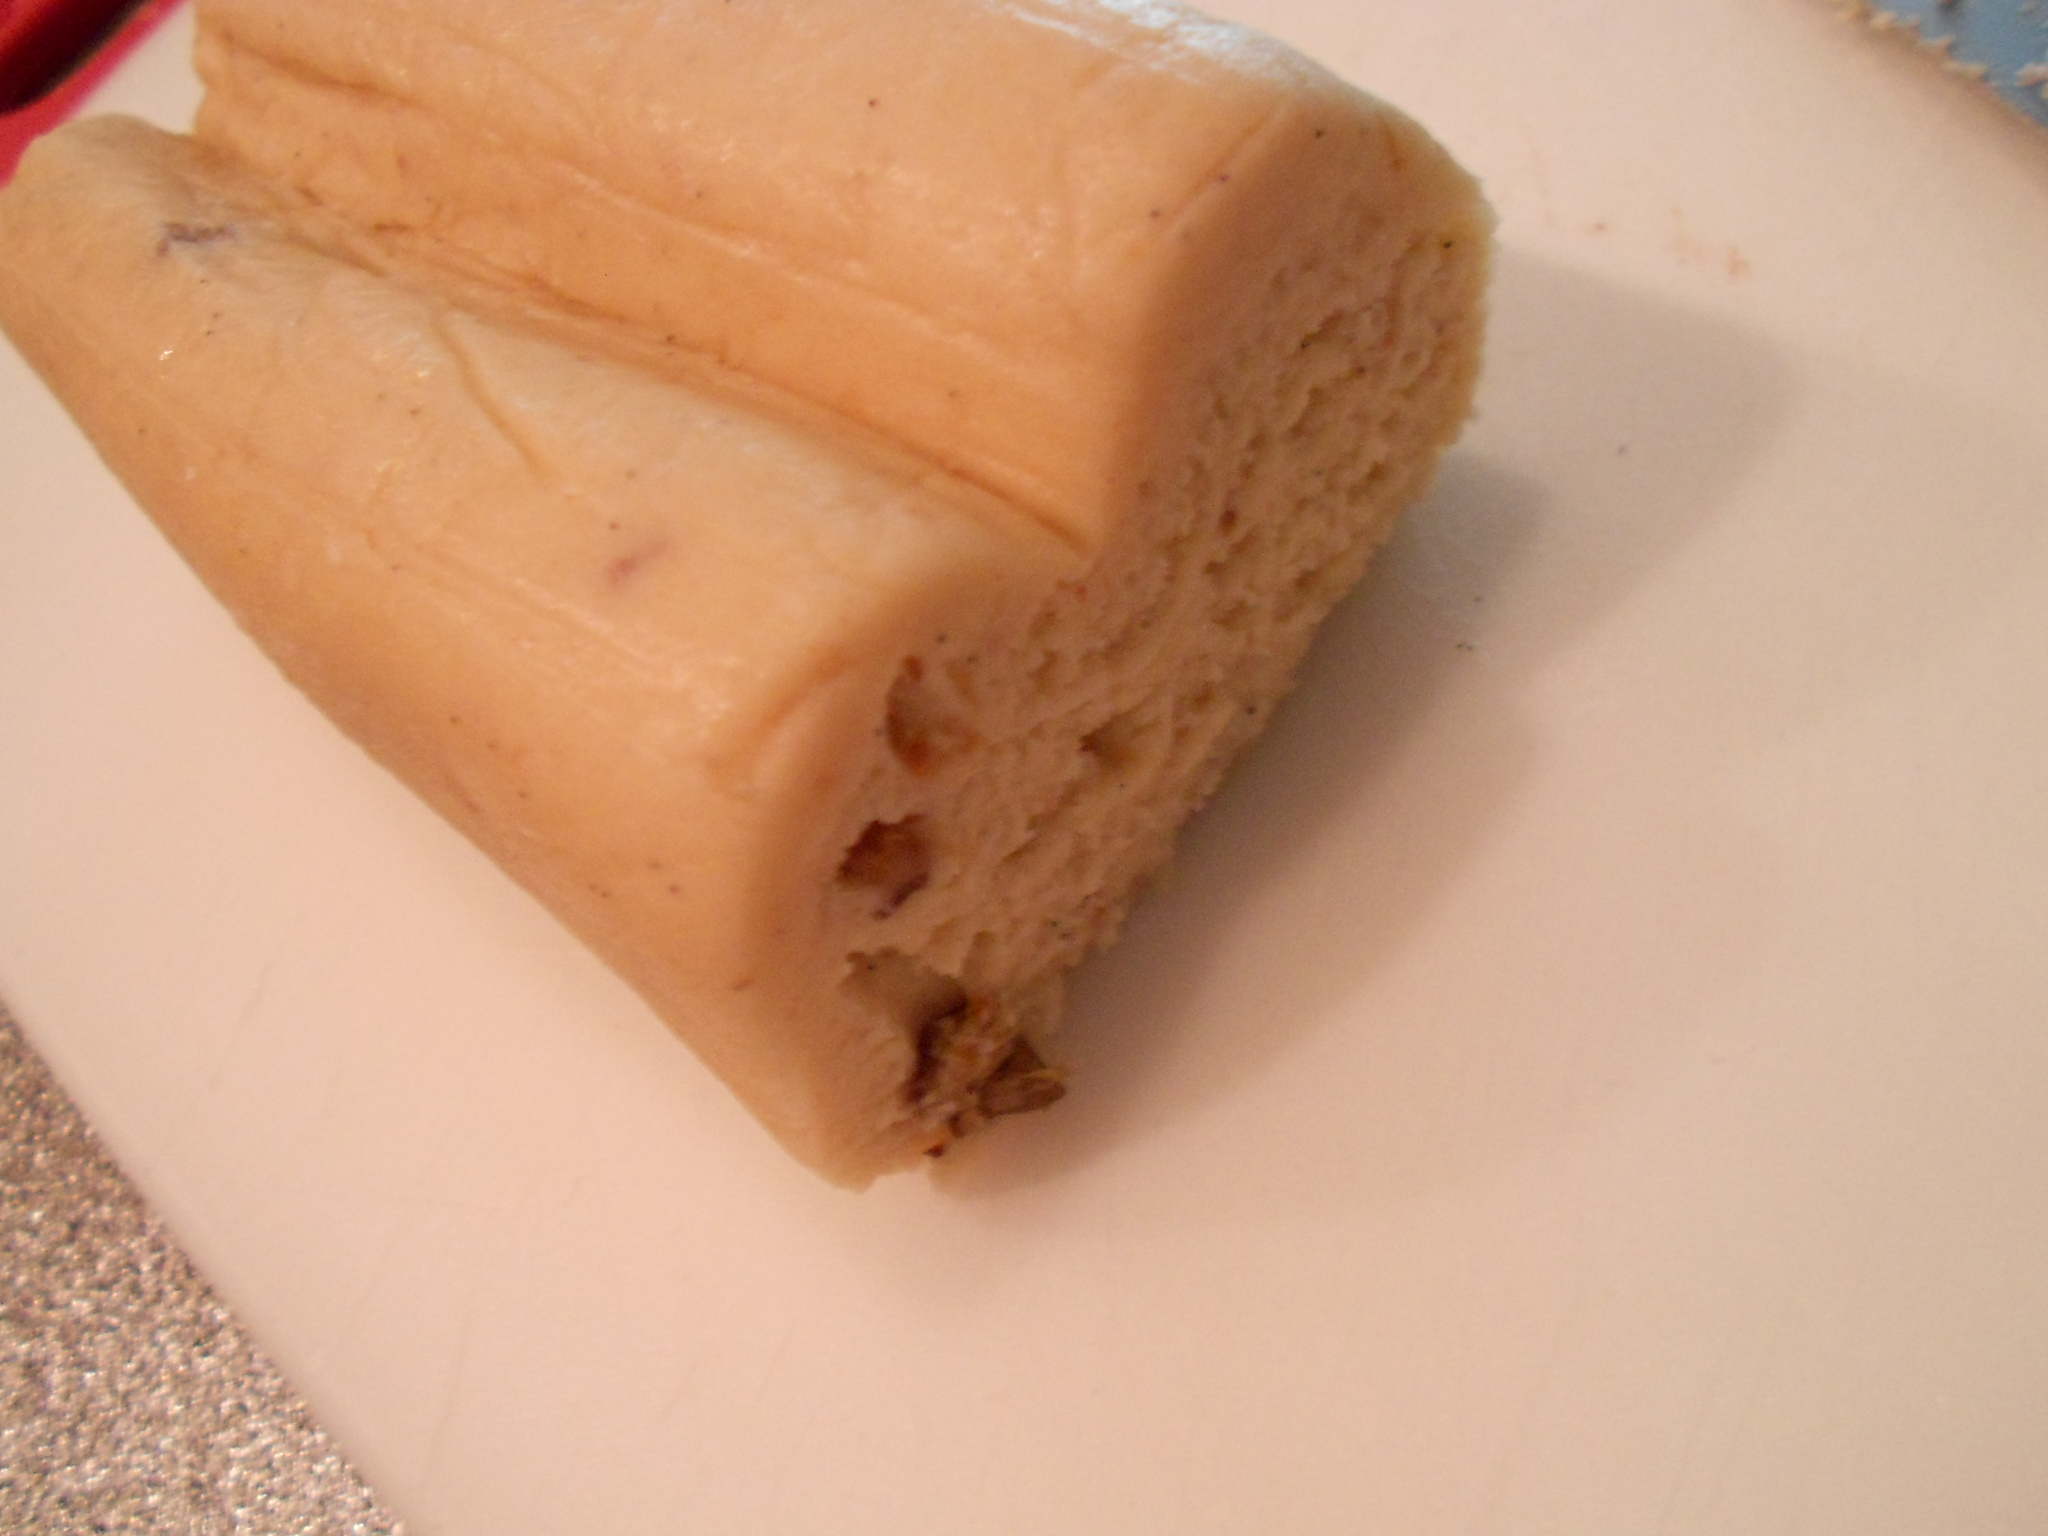
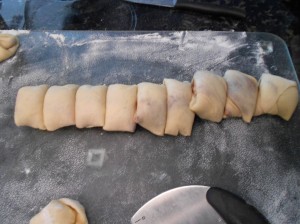
You should be left with a log that is about 24 inches long.
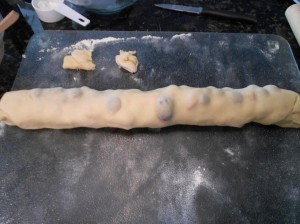
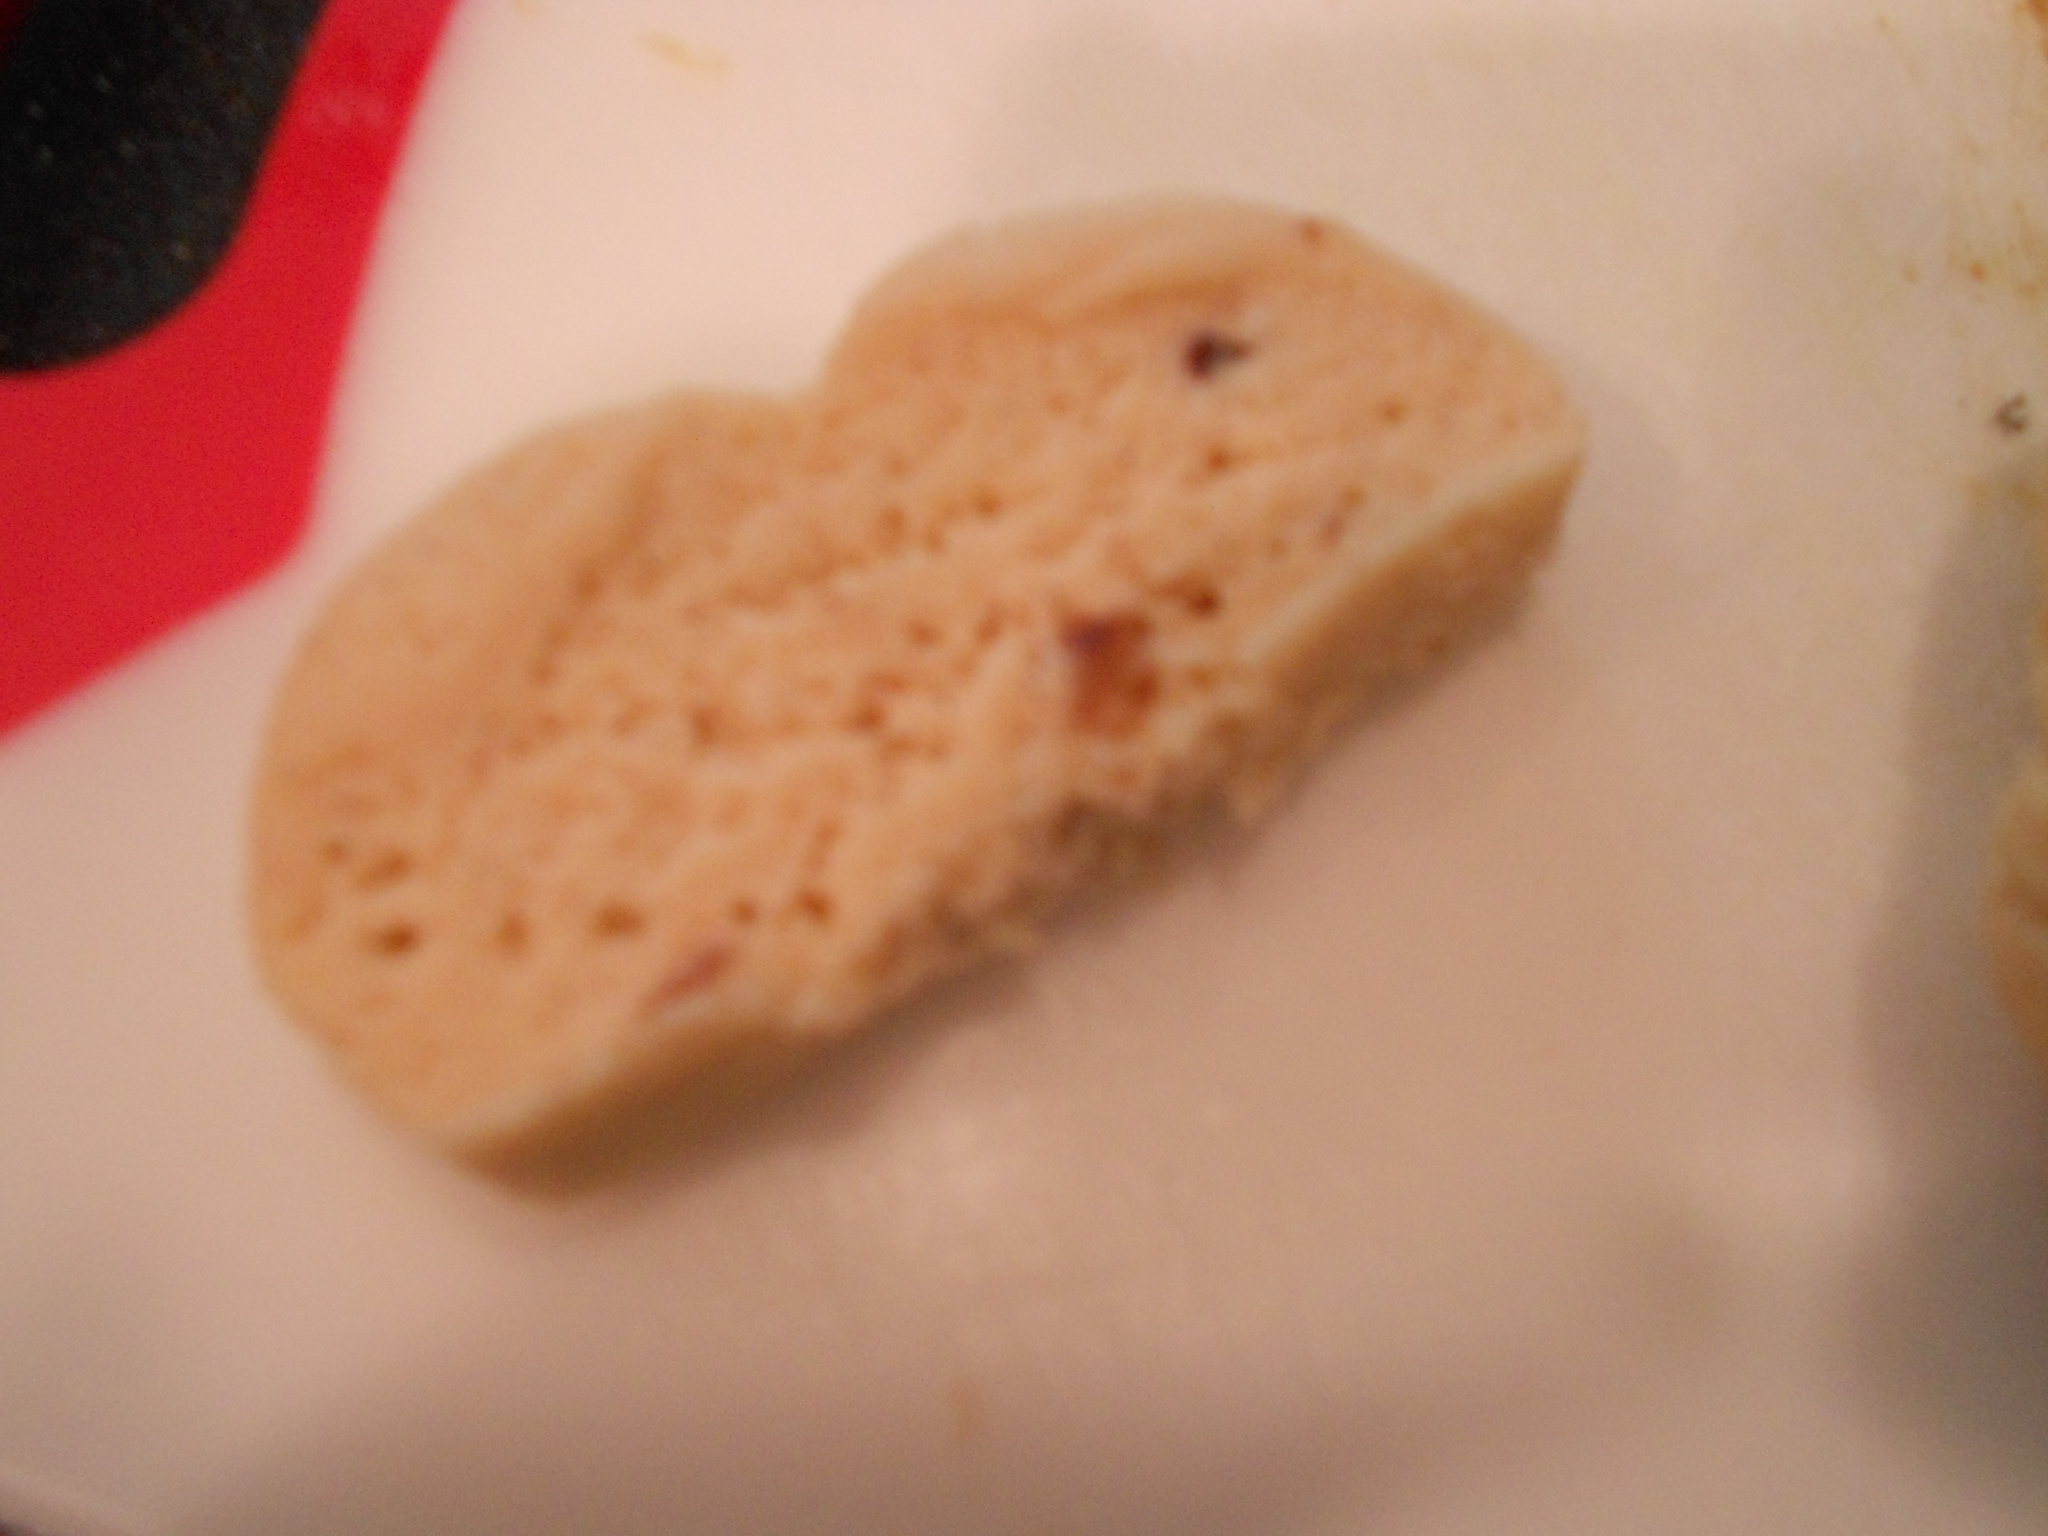
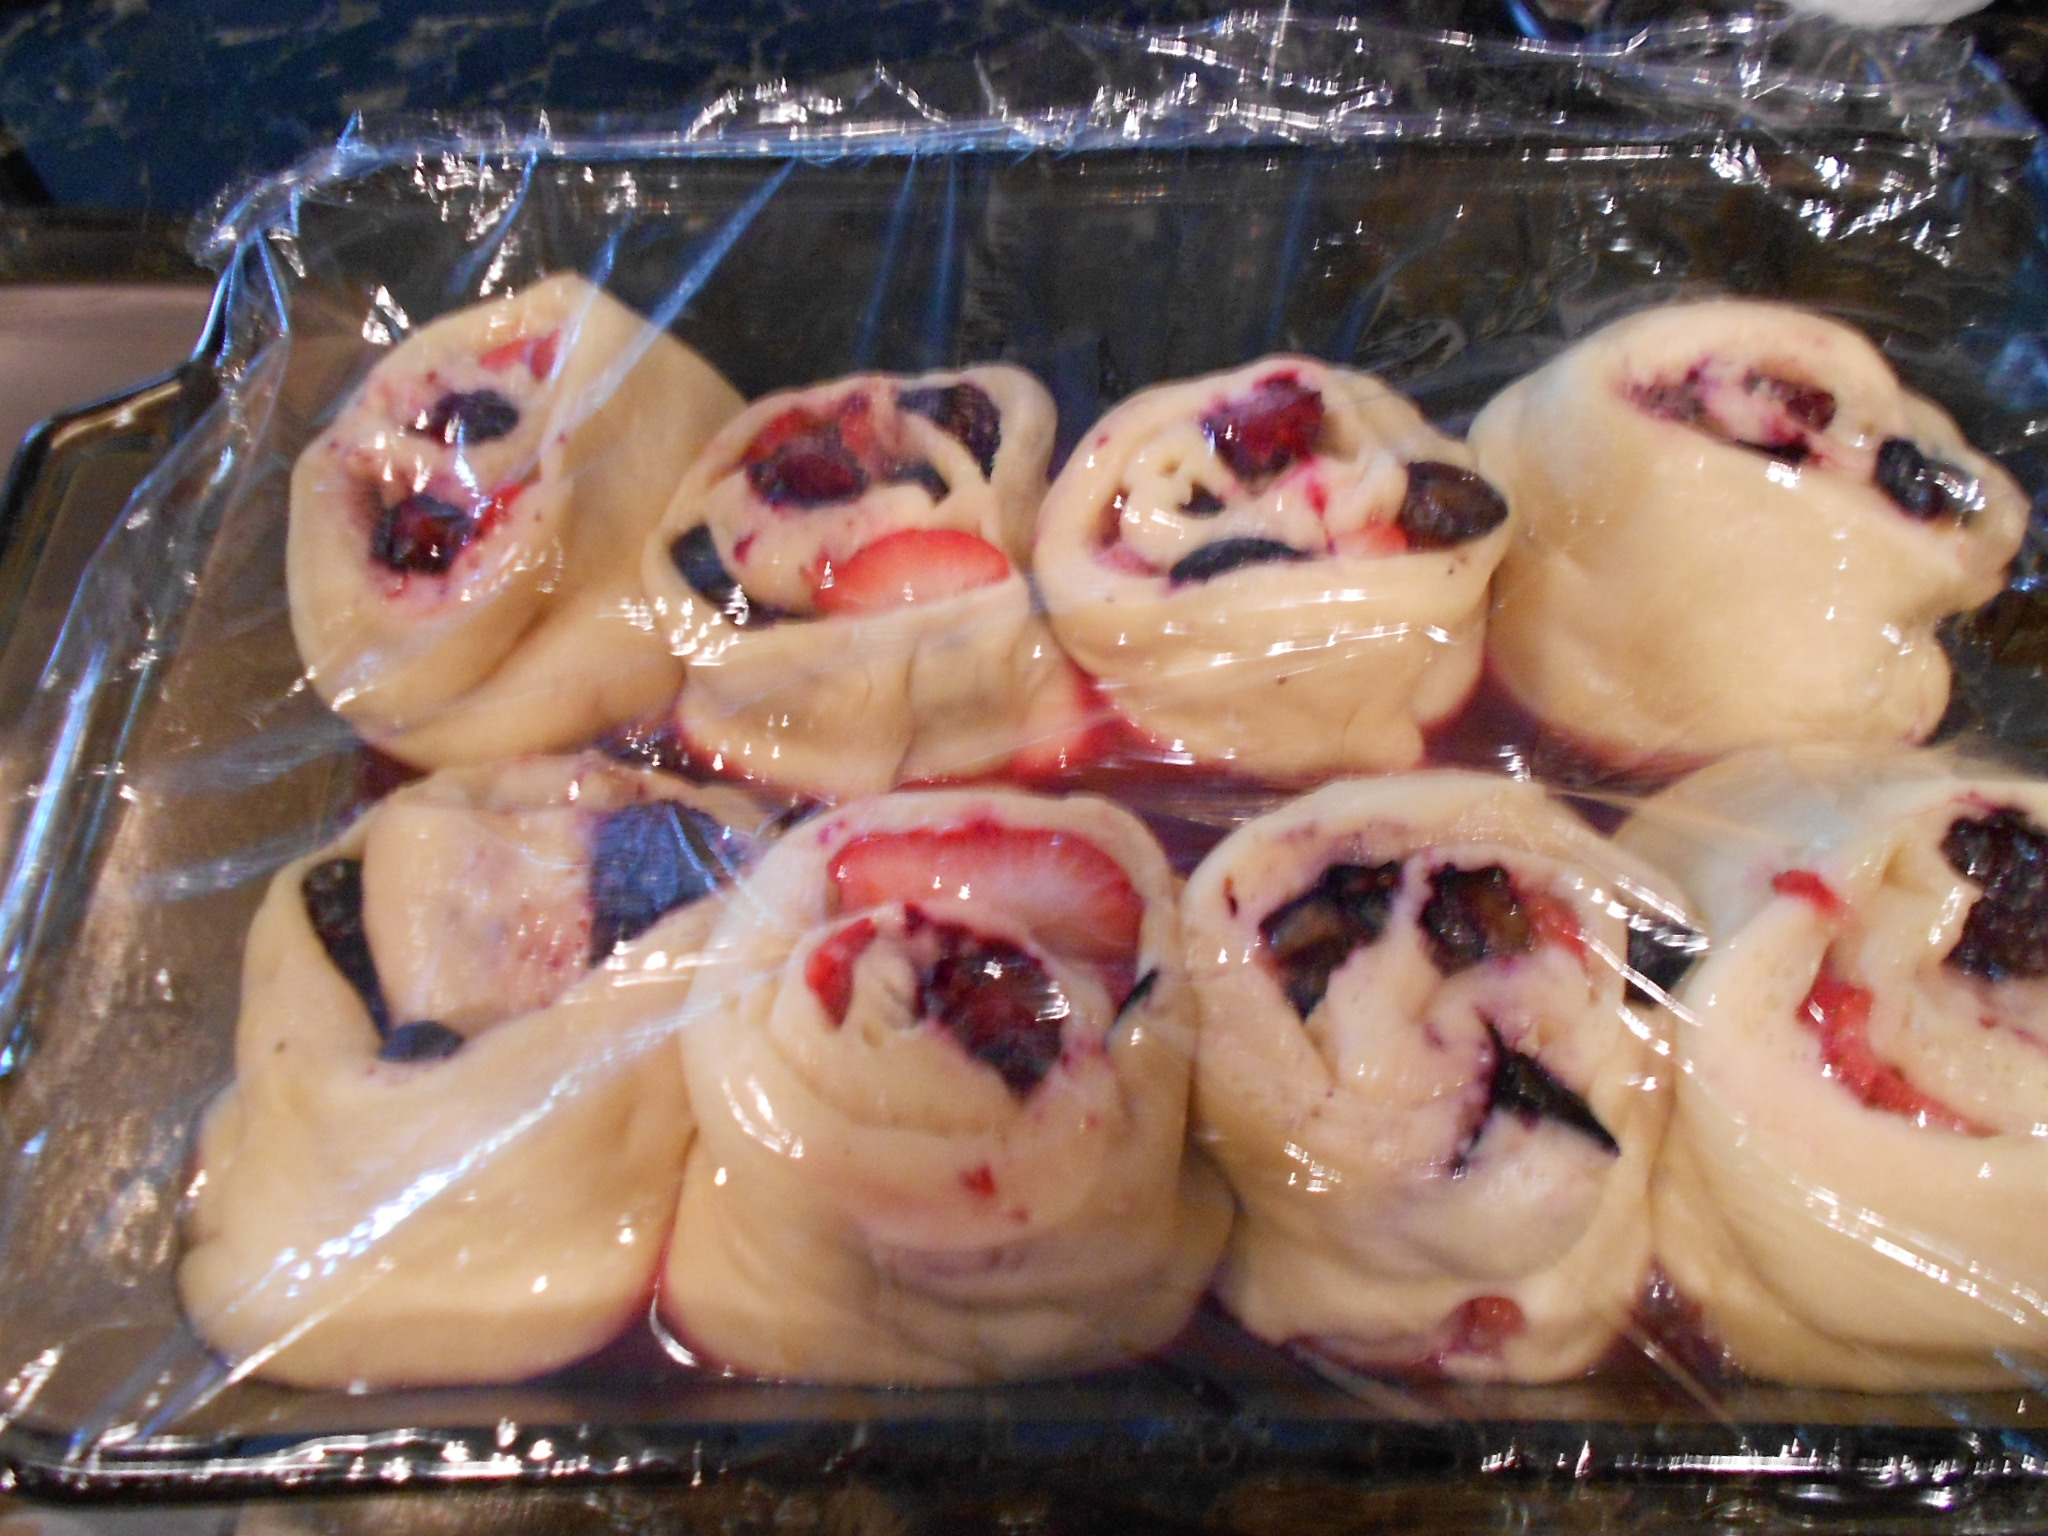
I trim the edges and then cut the log in half and each half into 4.
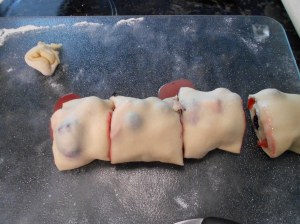
You should have about 8 rolls.
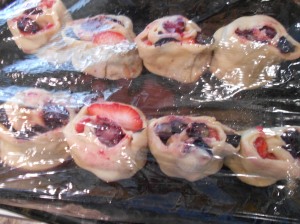
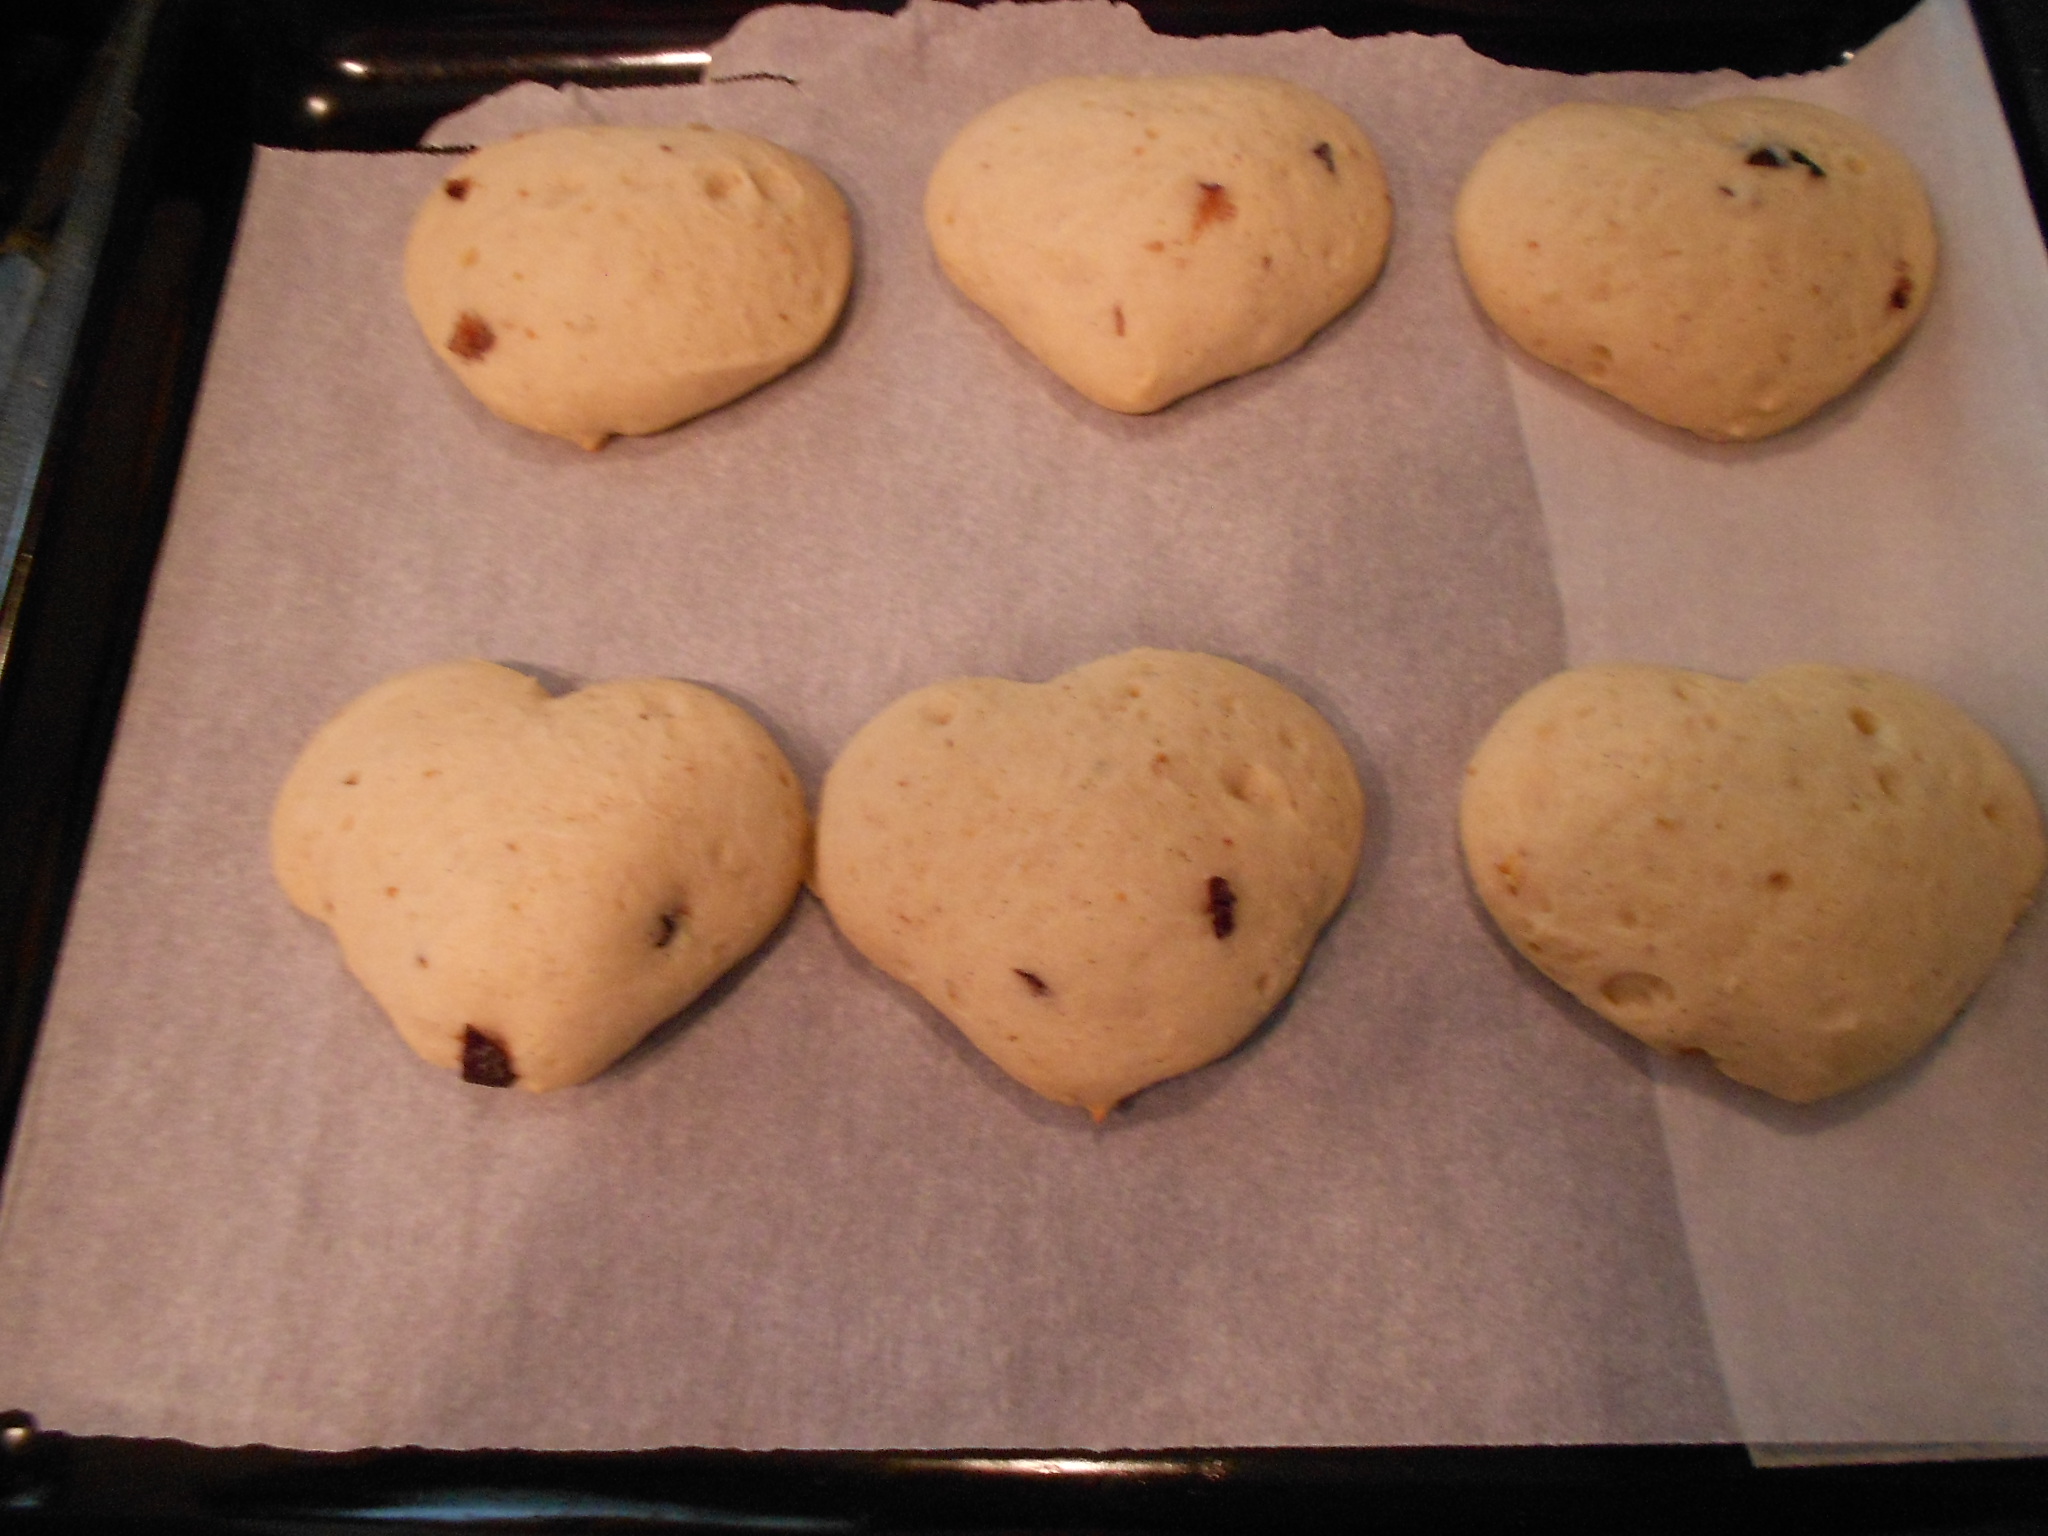
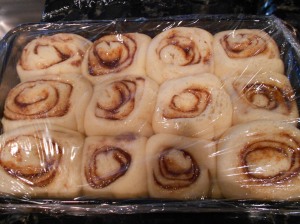
Cover pan with plastic and allow the dough to rise.
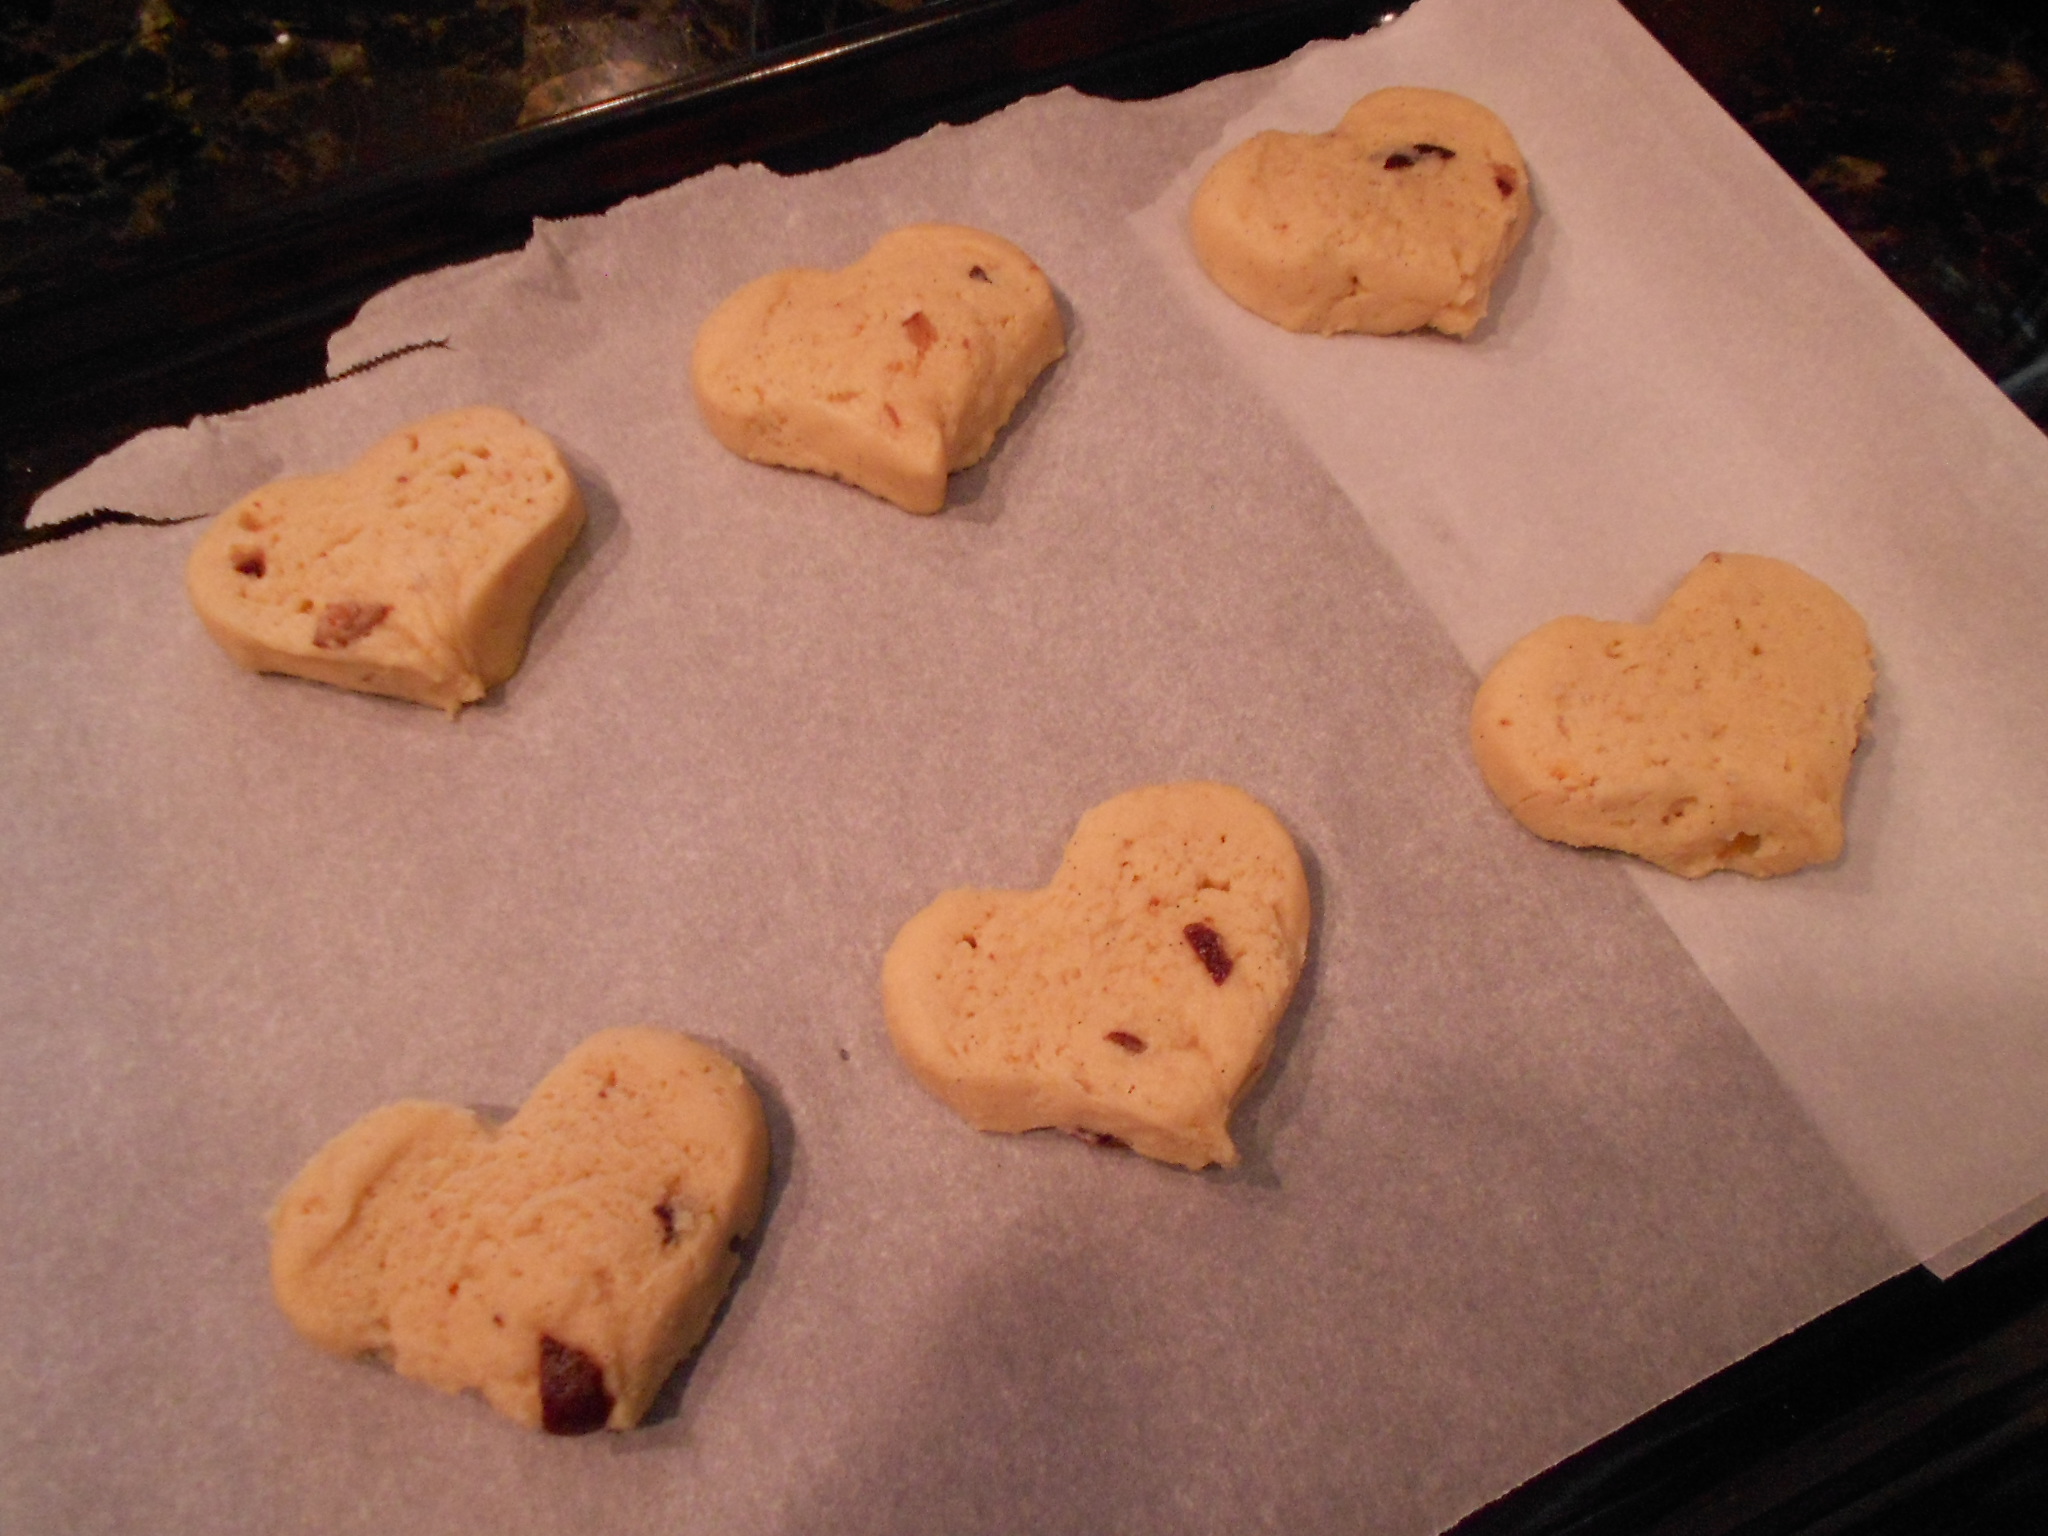
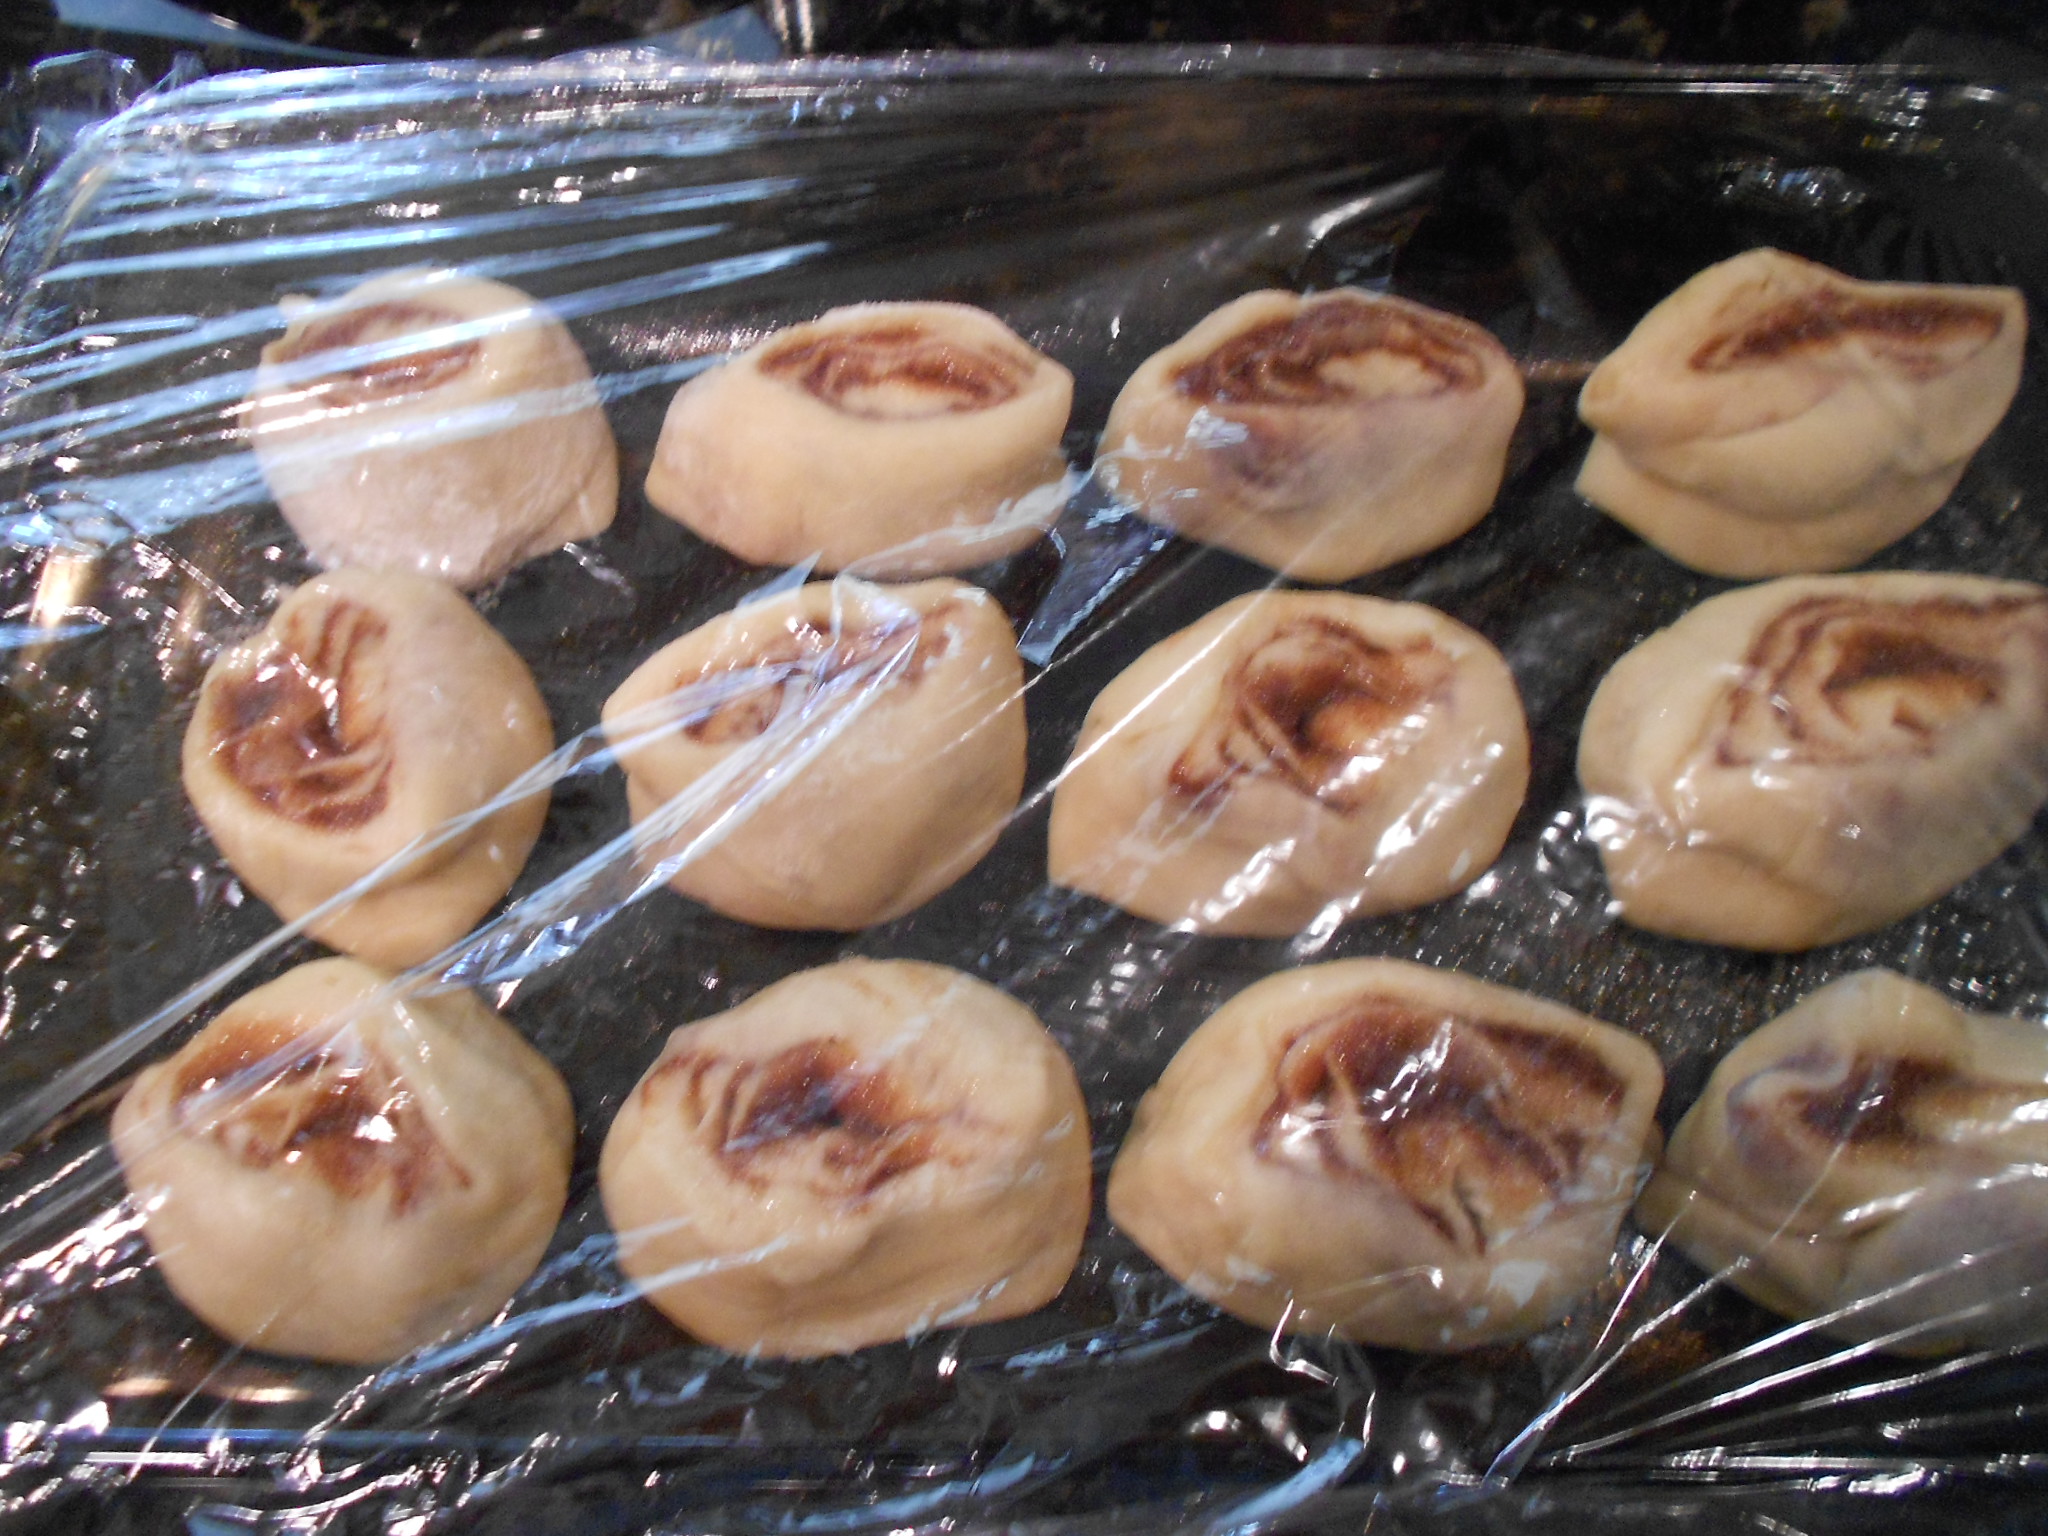
Rinse and repeat :) with the Cinnamon filling. I decided I wanted smaller (mini) Cinnamon rolls so I cut them thinner. You can play with the sizes too!
Cinnamon filling spread onto dough-

Cinnamon rolls cut smaller than berry-
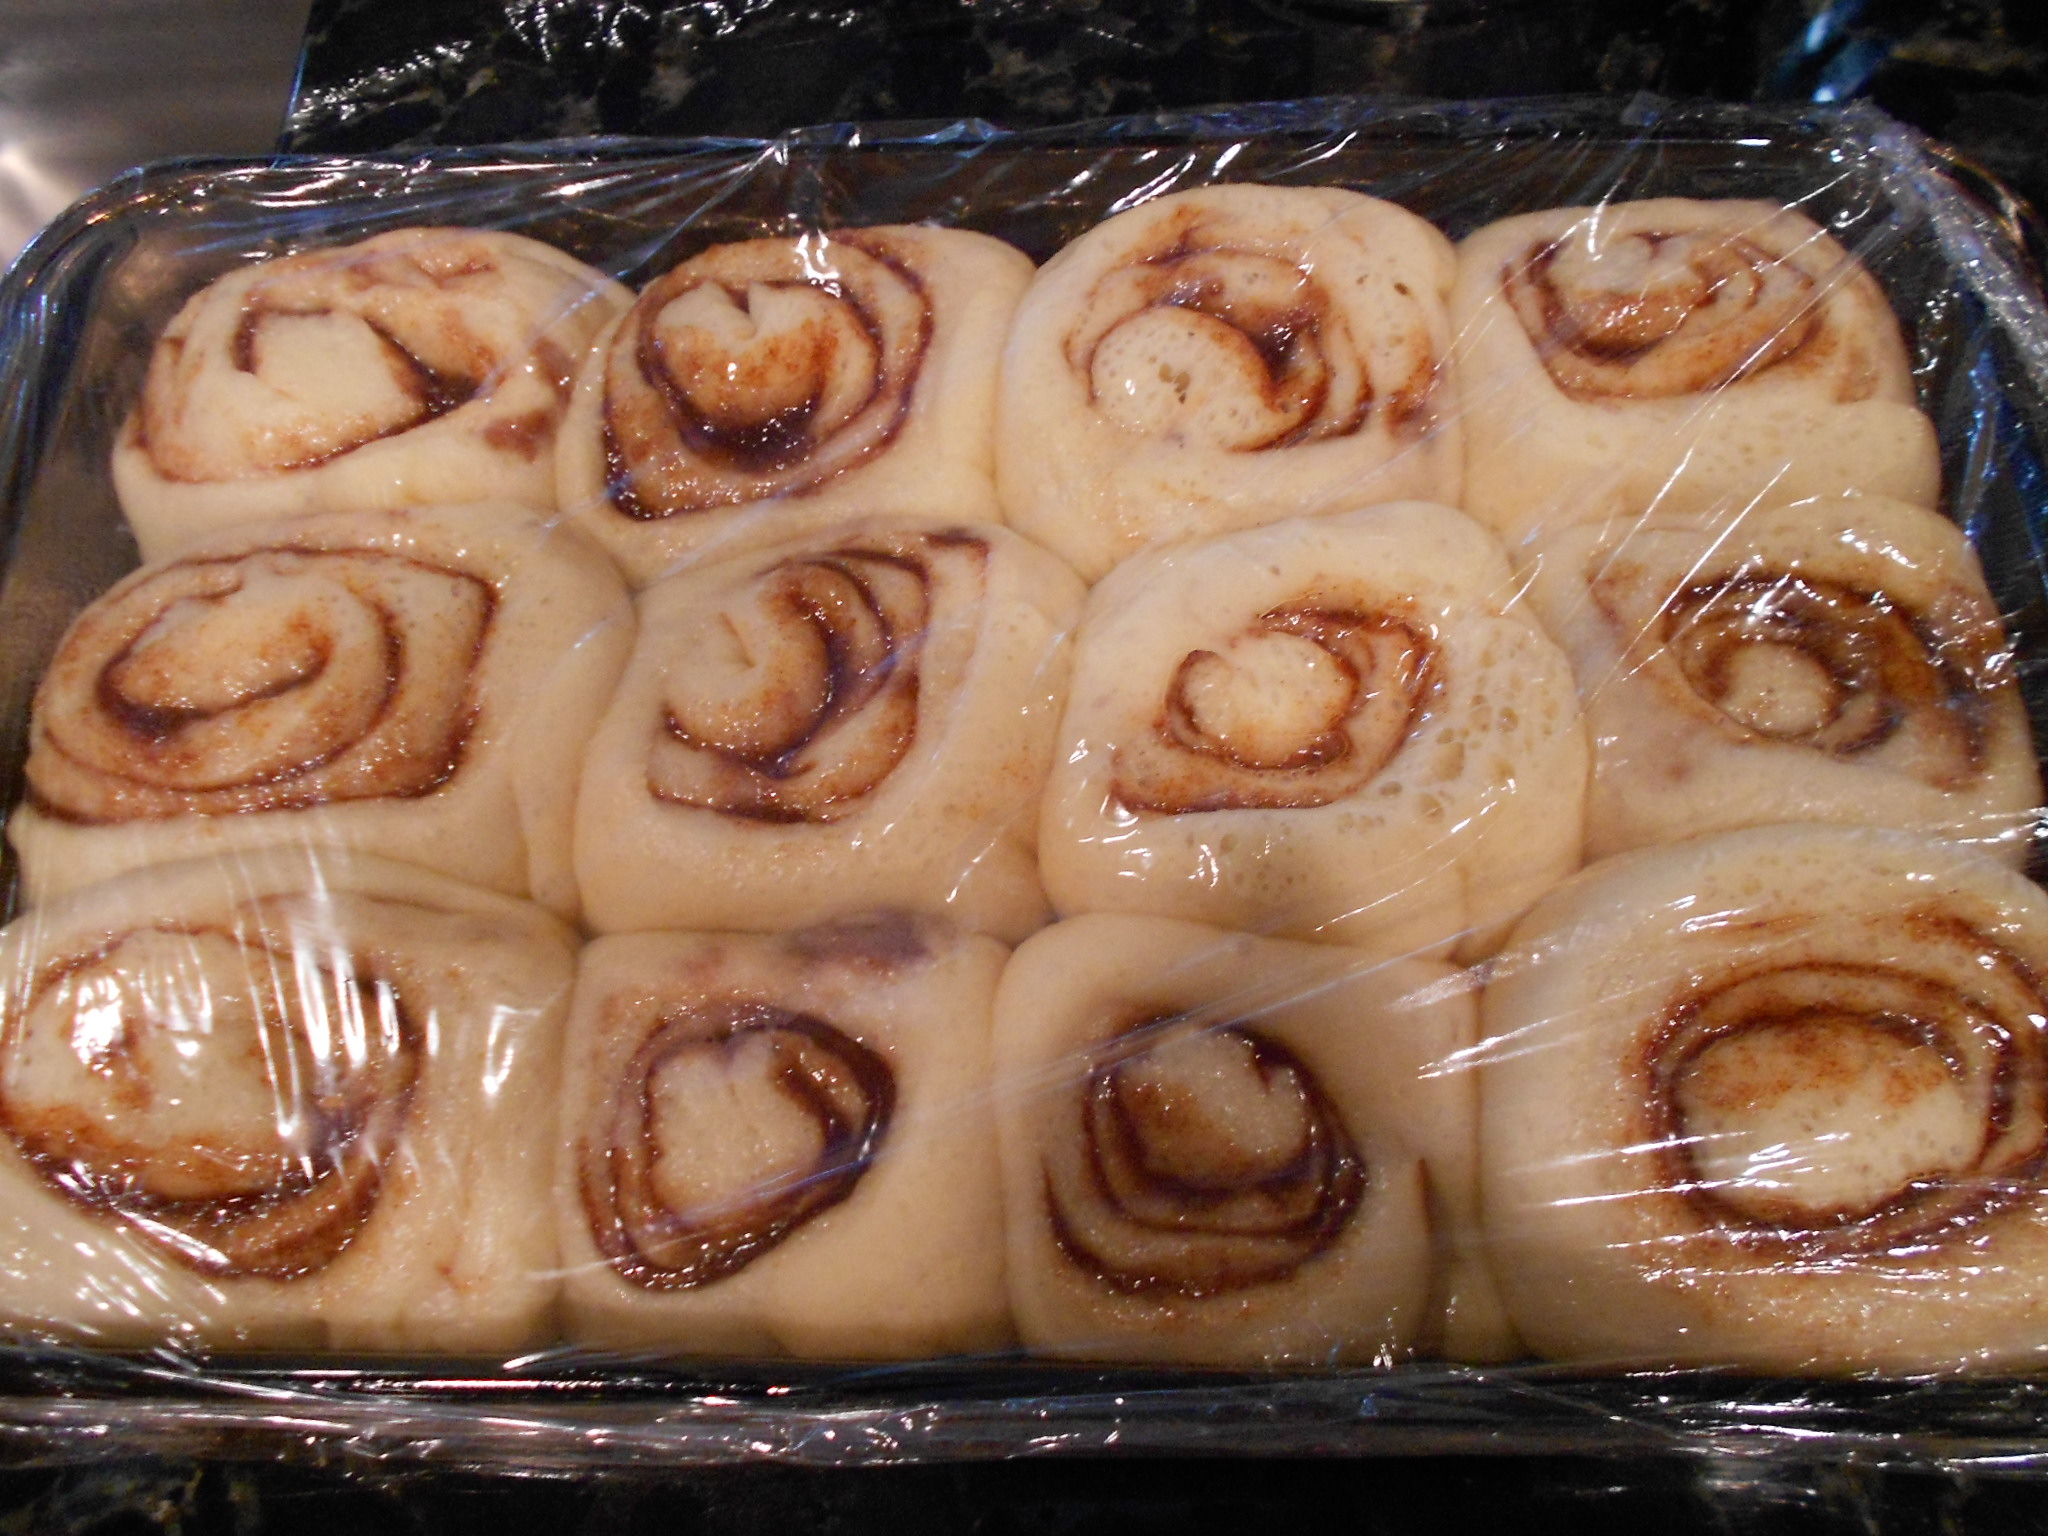
Cinnamon rolls placed in glass pan and covered with plastic-
 Dough Rise Note:
 This usually takes an hour for the cinnamon but the fruit take longer if you are using frozen or cold from the fridge. My berry ones took an hour and a half but it can take up to 2.
While the rolls rise, you can make the crumble topping for the berry rolls and the icing for the cinnamon rolls.
Berry Crumble top:1/2 cup of All-Purpose Flour
1/4 cup of Sugar
1/8 teaspoon of Ground Ginger
2 tablespoons of Unsalted Butter (cold)
1 1/2 ounces of Cream Cheese Cold
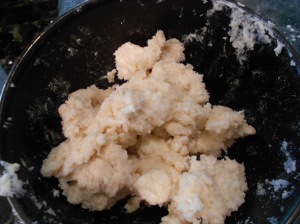
You just mix the dry ingredients and then incorporate the butter and cream cheese to make "crumbles". If you over mix and create a dough, don't worry as you can just drop chunks on top the rolls to resemble a crumble. Store your crumble in the fridge until needed
Cream Cheese Icing for mini Cinnamon Rolls:8 ounces of Cream Cheese (softened)
Powder Sugar to sweetness you desire
I usually start with adding a 1/4 cup of powder sugar to the cream cheese in a mixer or just whisk by hand in a bowl. I taste and then determine if I want sweeter or not so you can control the sweetness!
Once the rolls have risen, preheat the oven to 375 degrees.
Cinnamon Rolls rise-
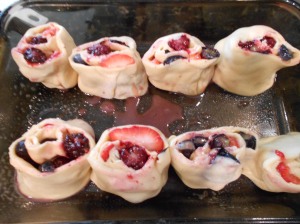
Berry Rolls rise-

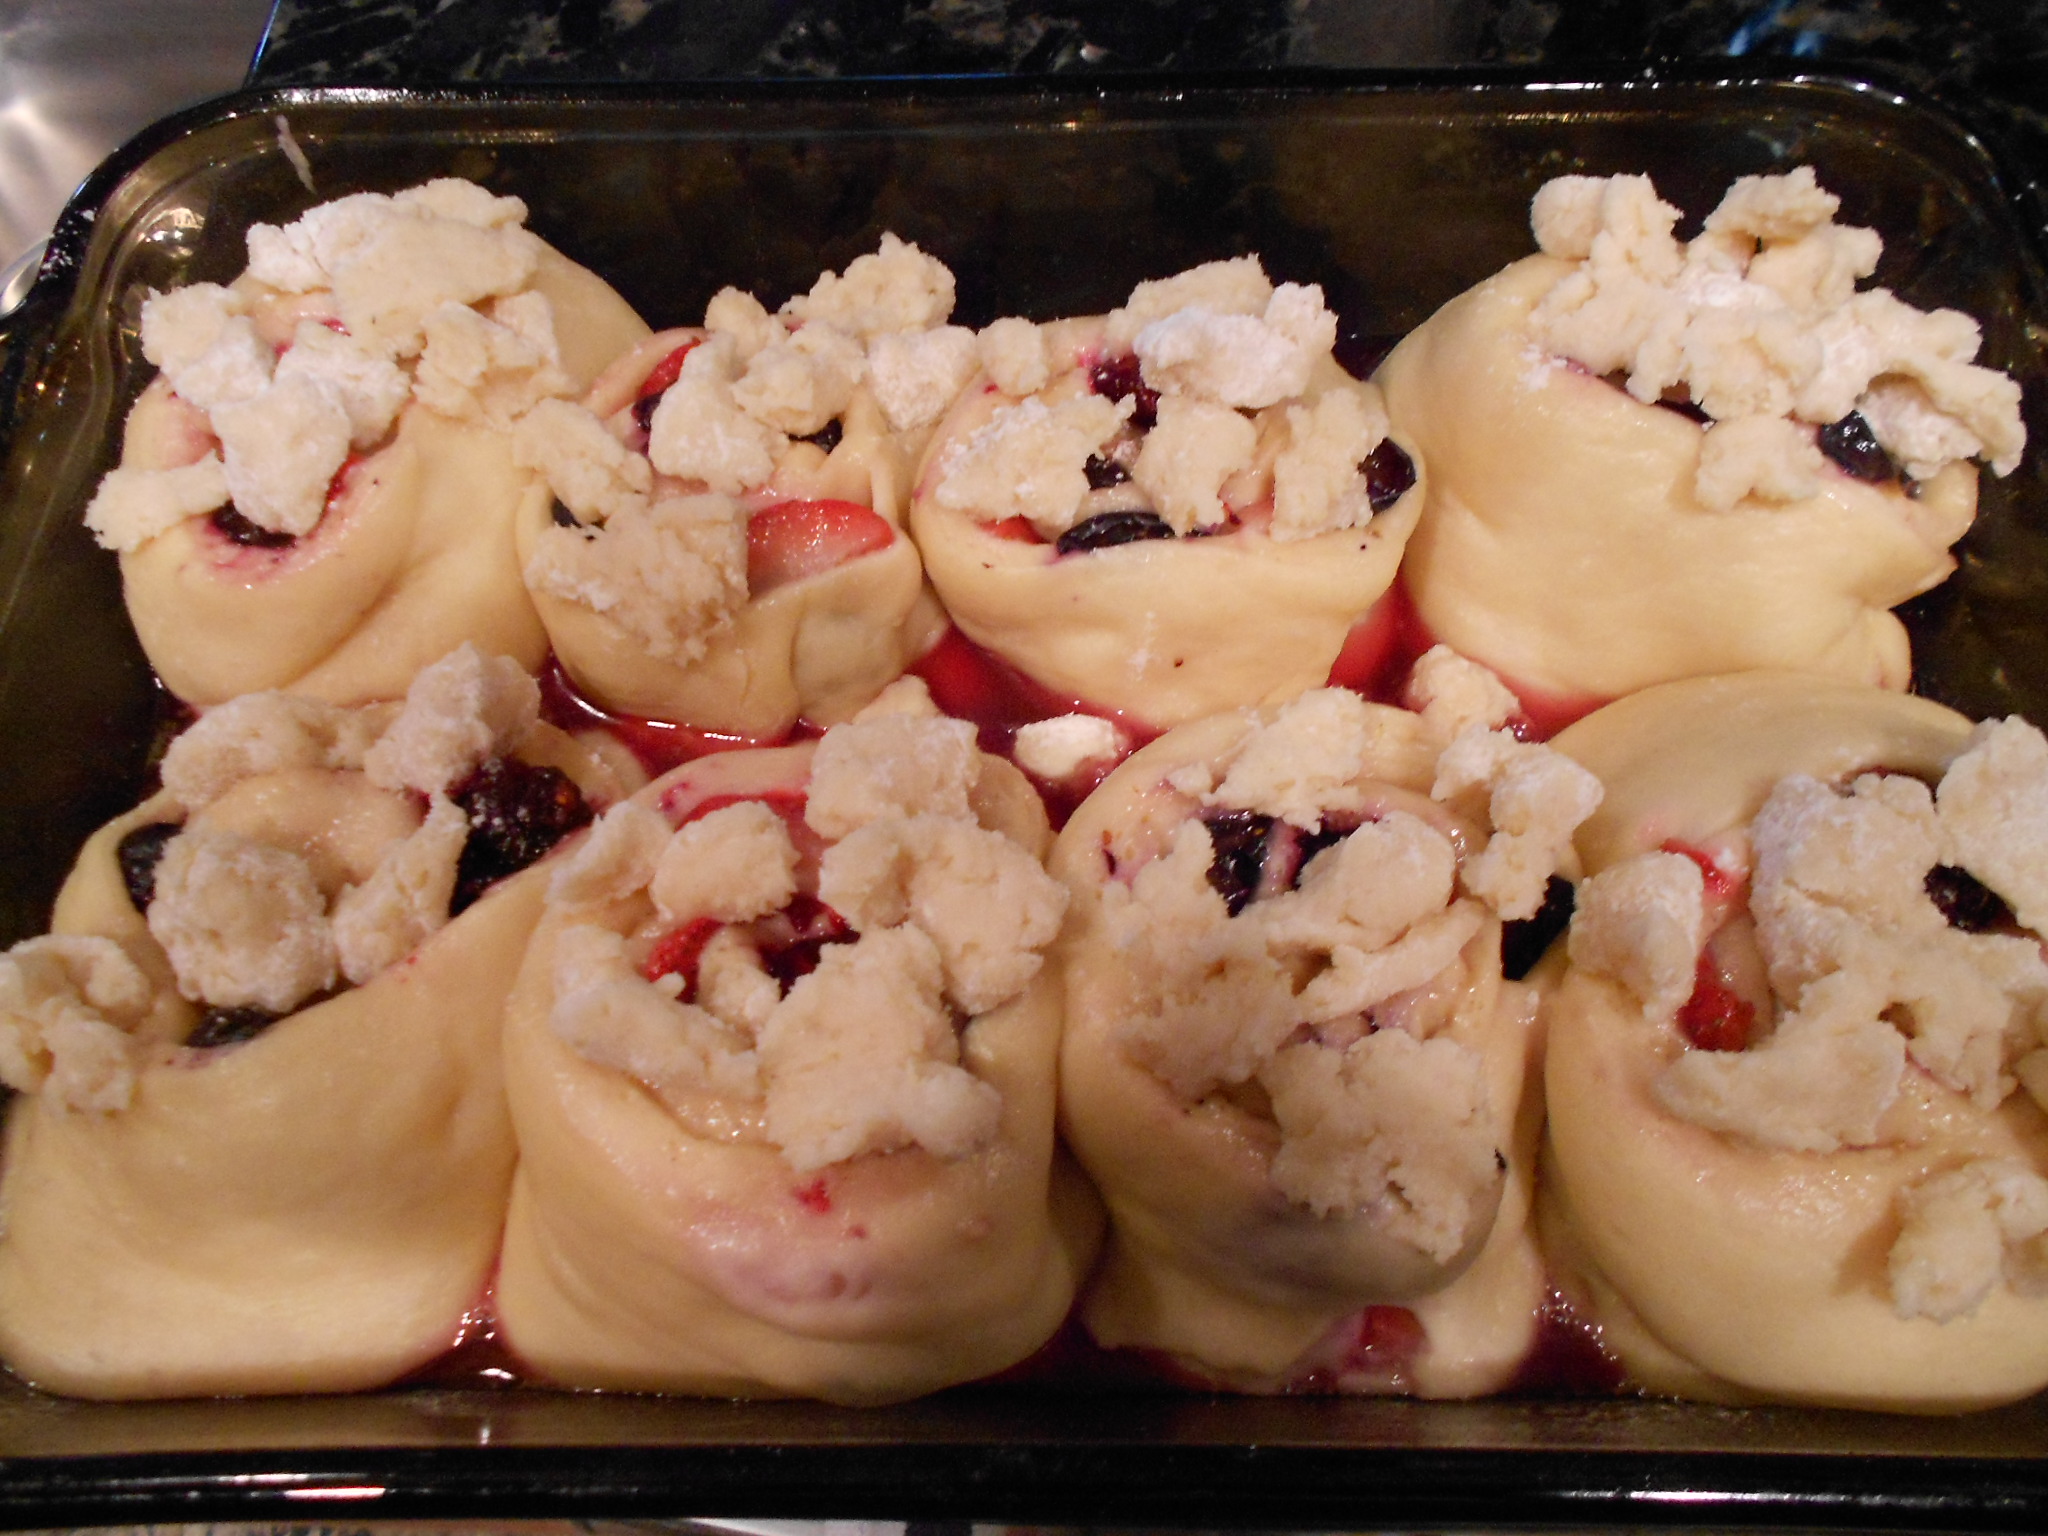
Add the crumble to your berry version!

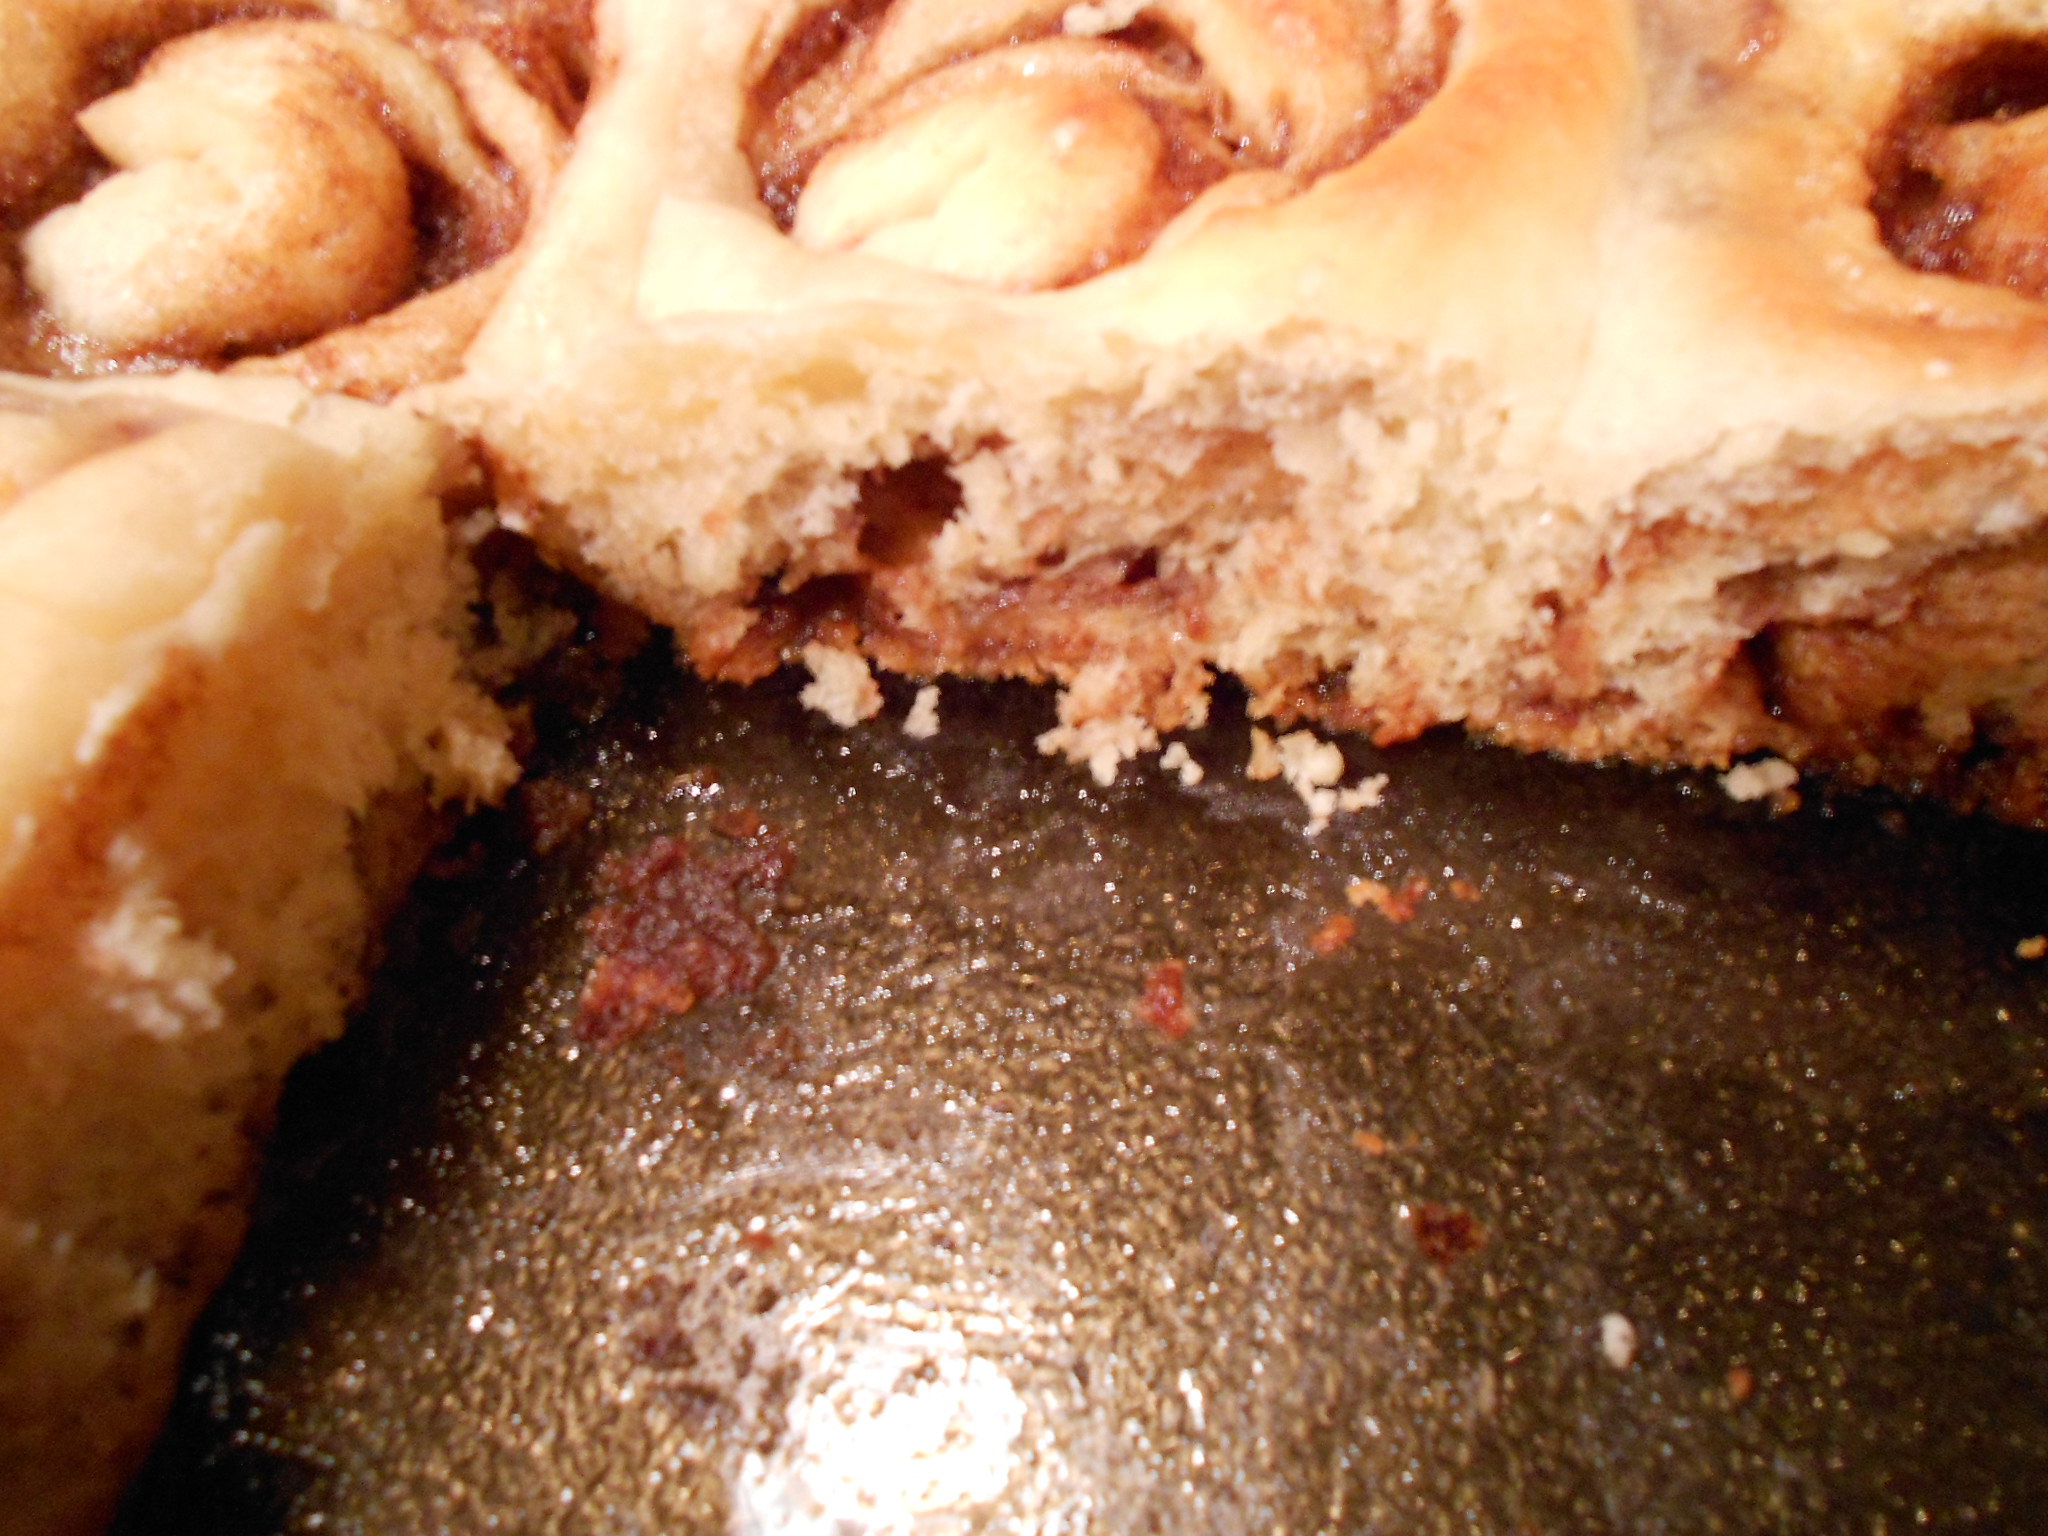
Once the oven reaches temperature, you can bake each pan alone or side by side, you decide. It takes between 17 to 25 minutes to bake and if you notice over browning, just cover with foil until done. Best way to check for "done-ness" is seeing if the center of the rolls bounce back when slightly touched.
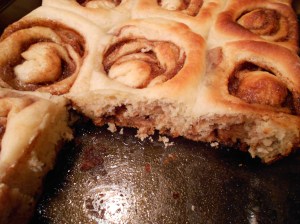
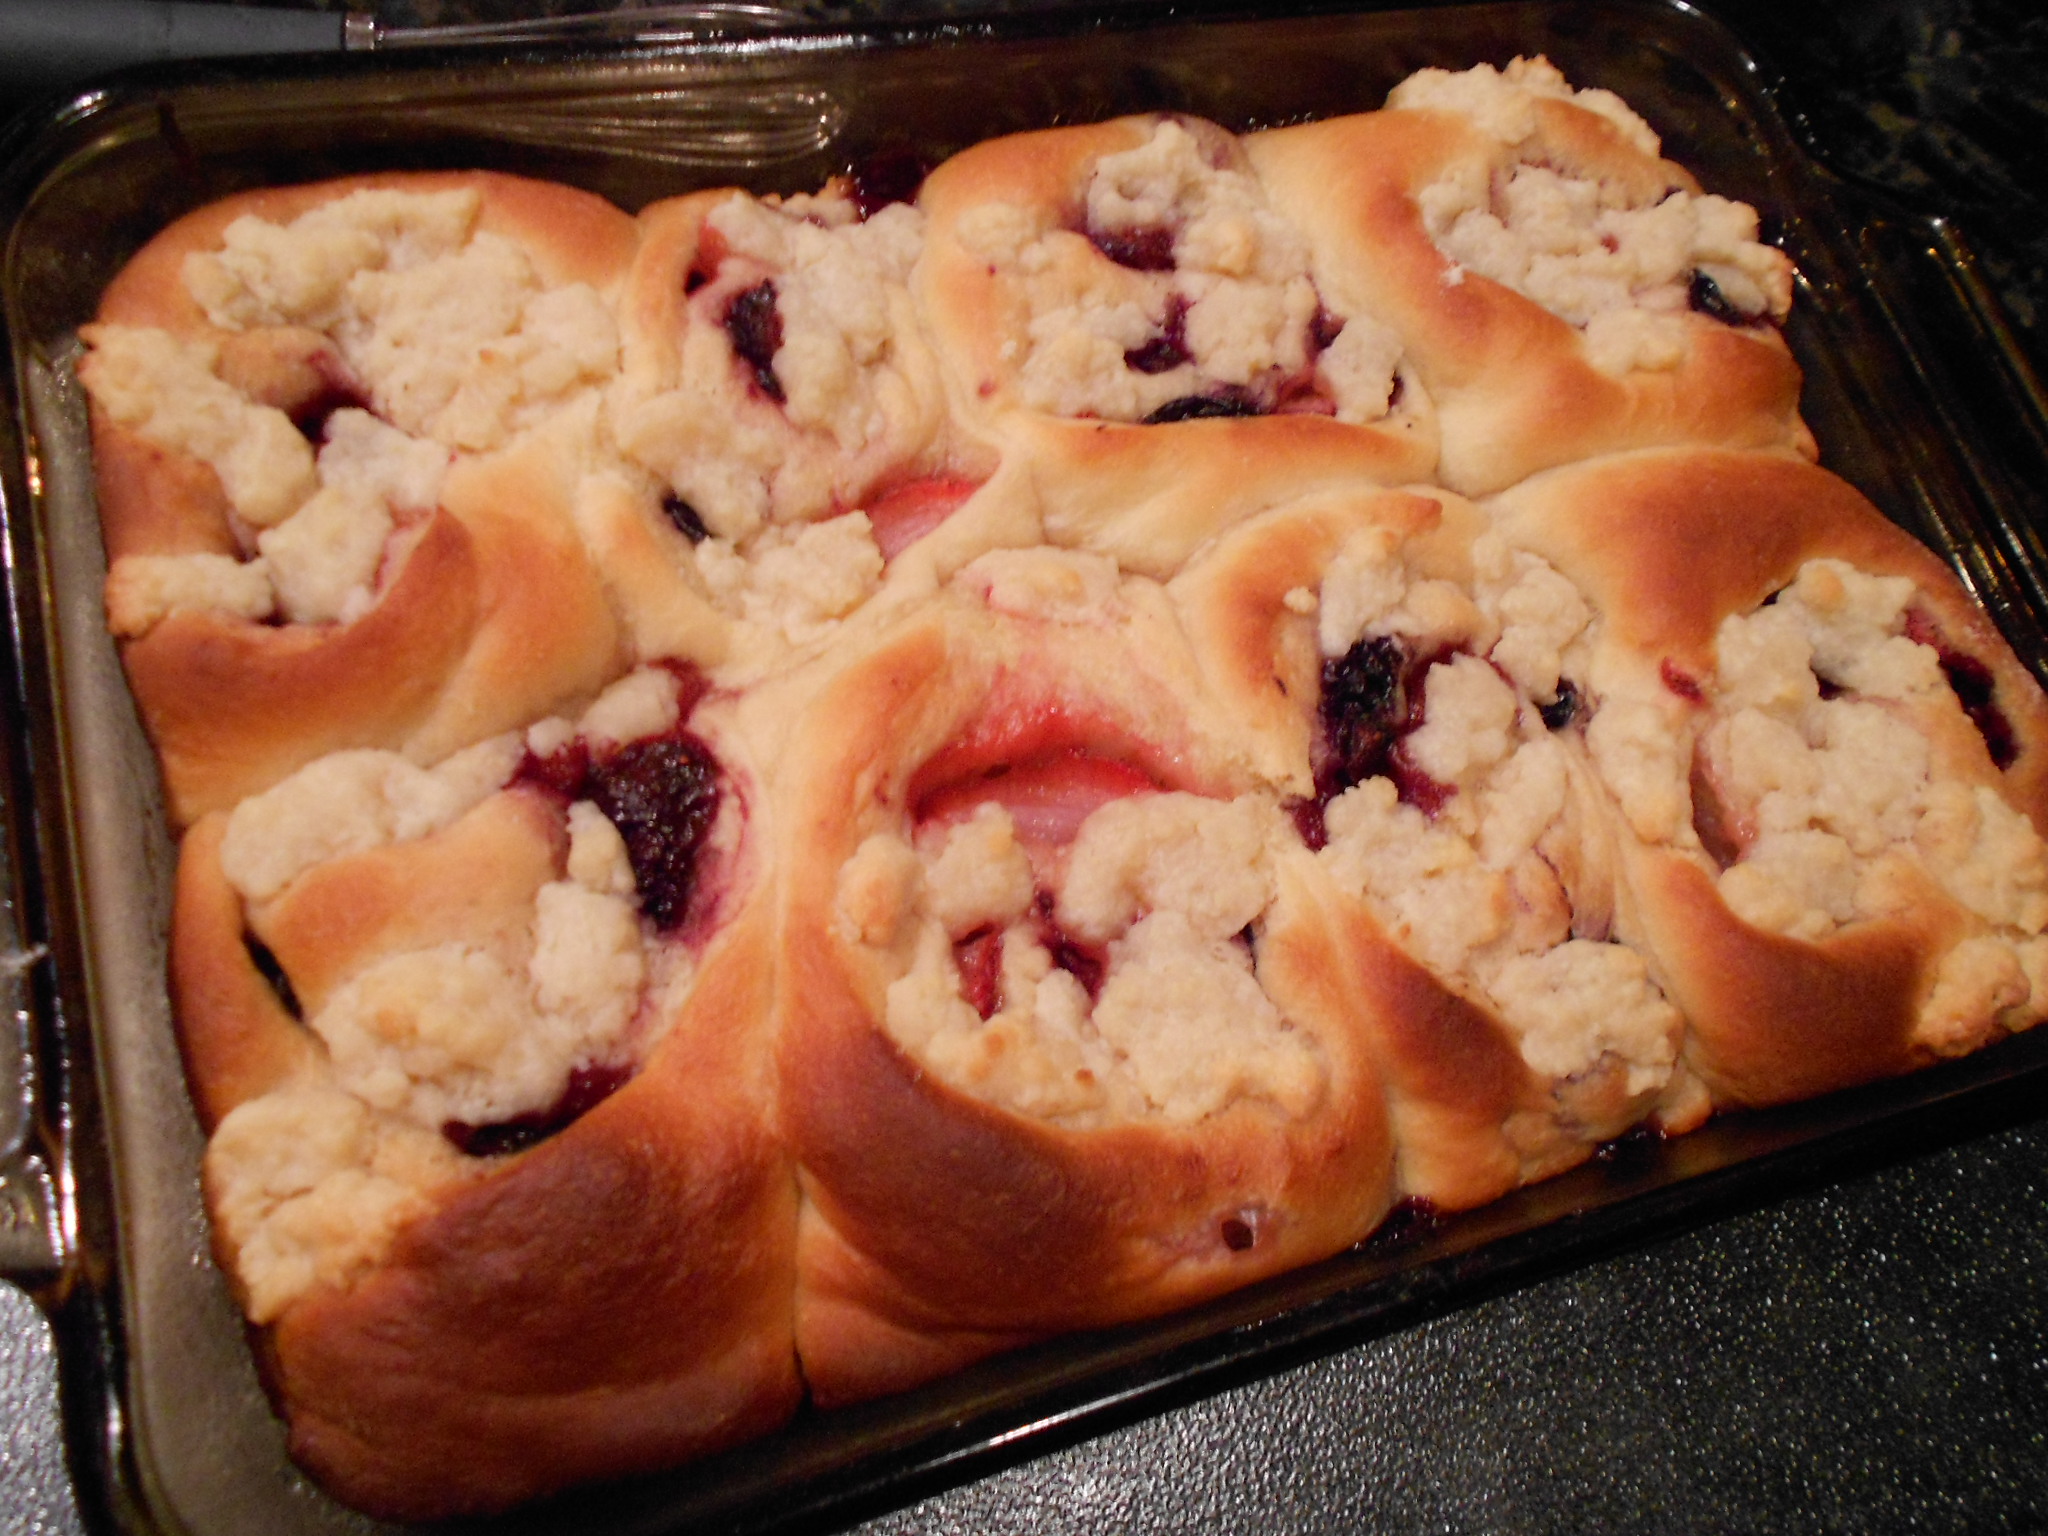
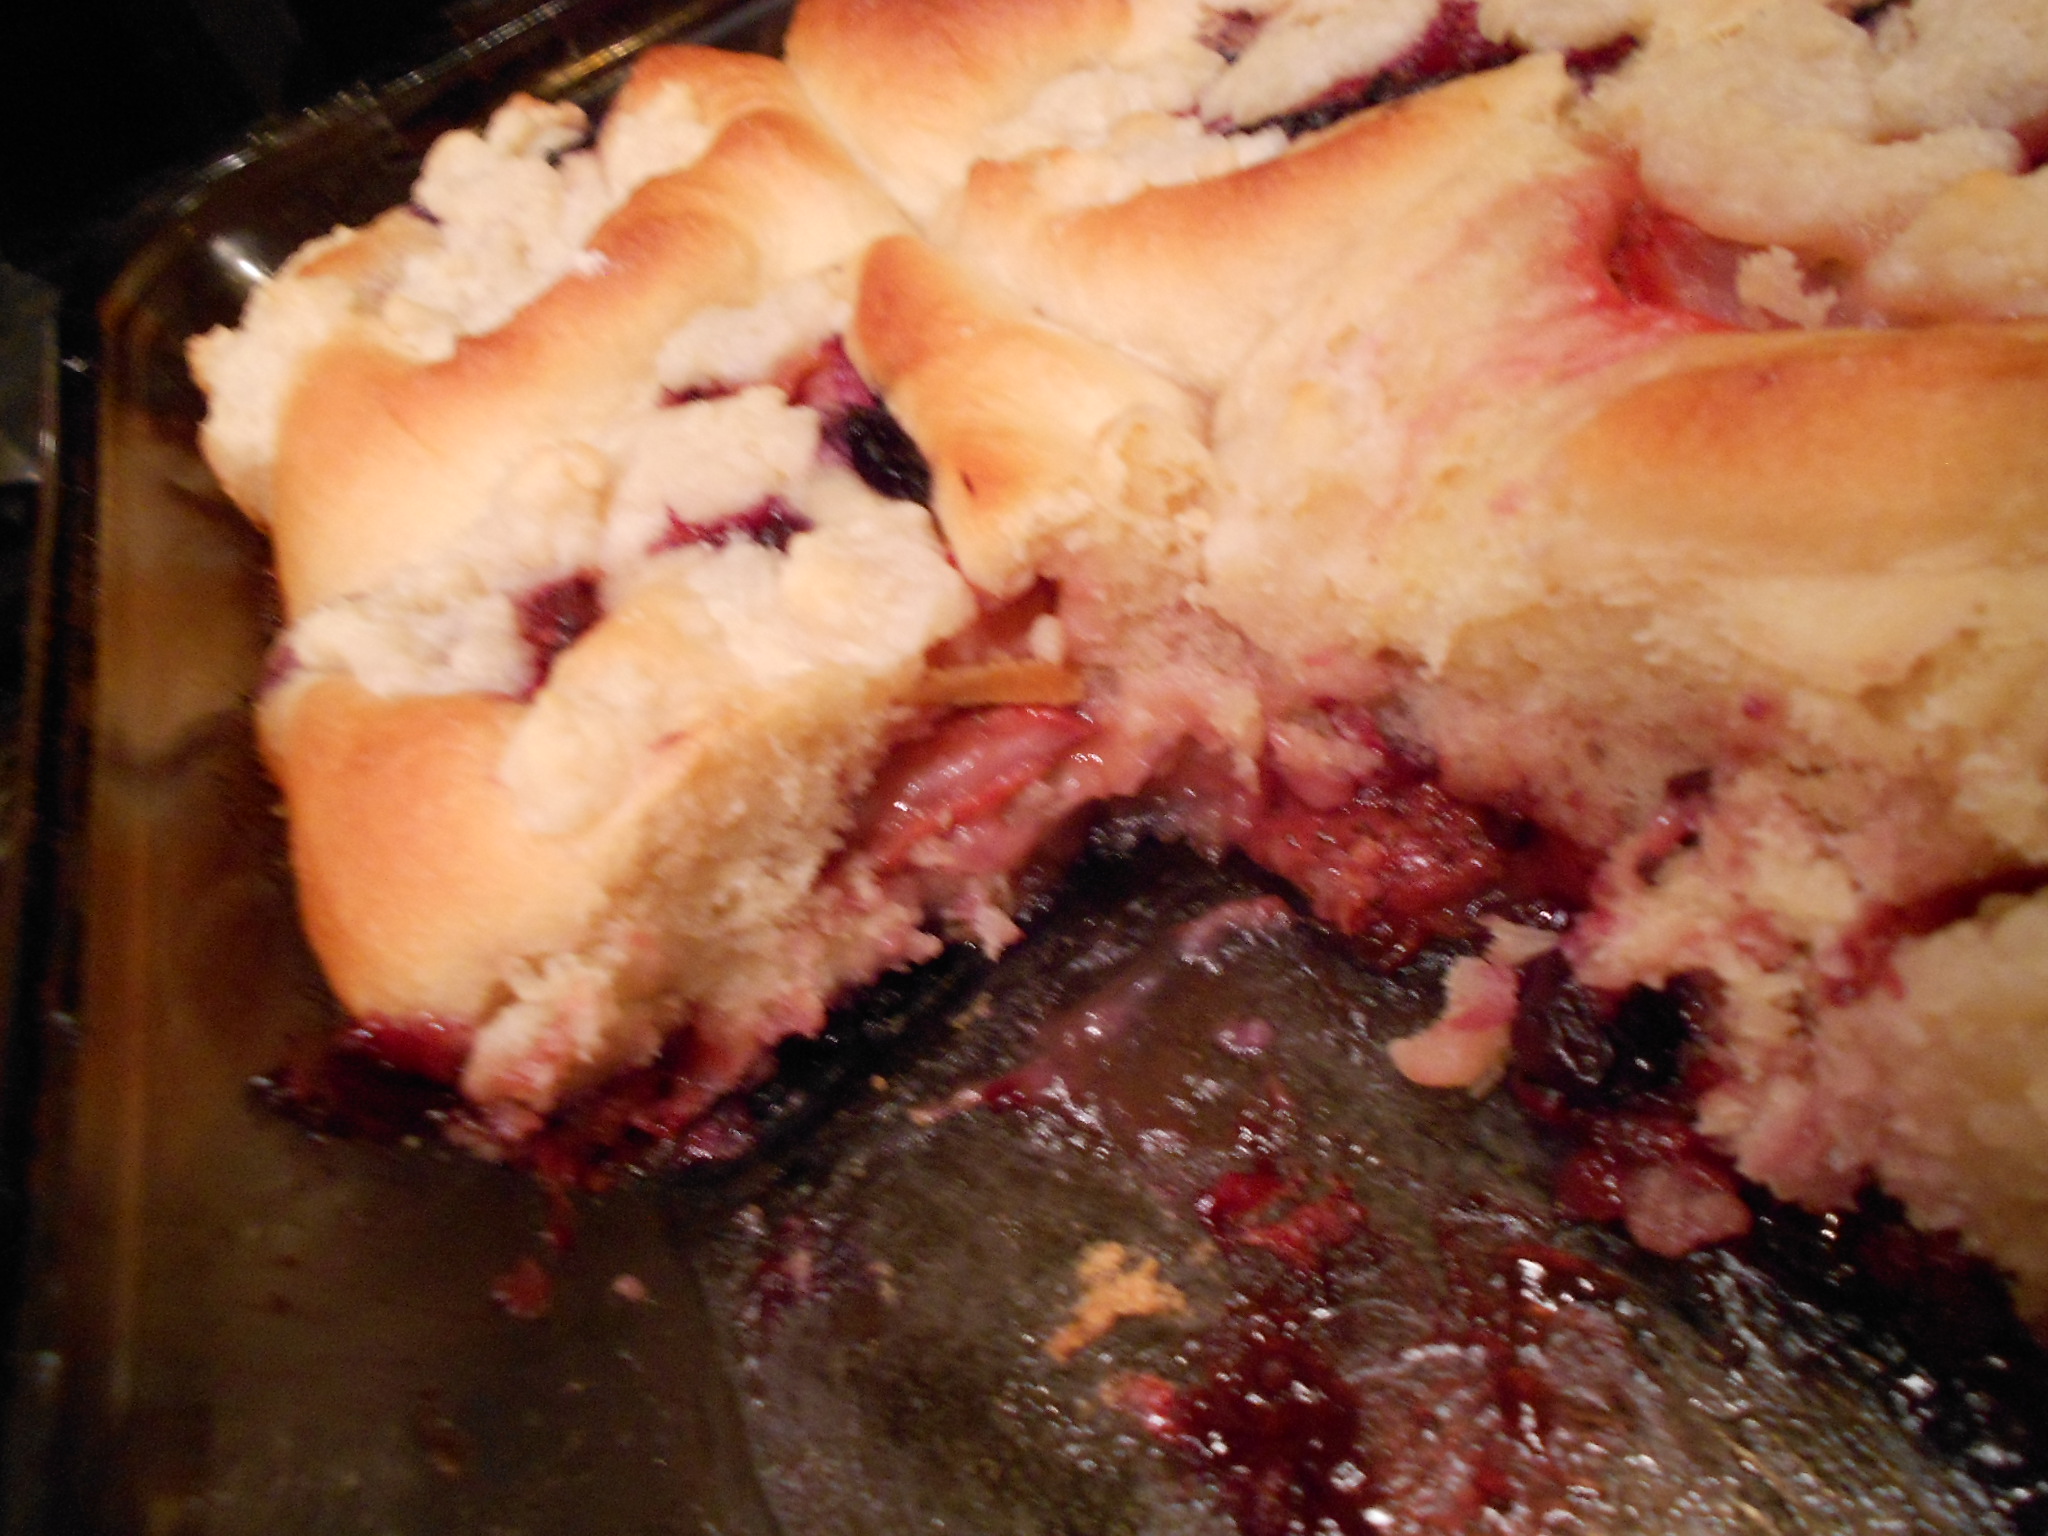
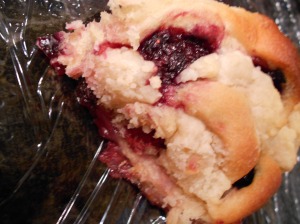
Berry Rolls baked-

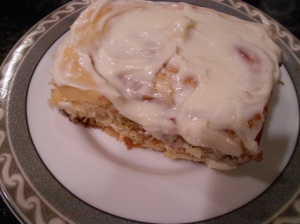
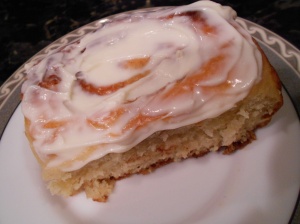
Cinnamon Rolls baked-
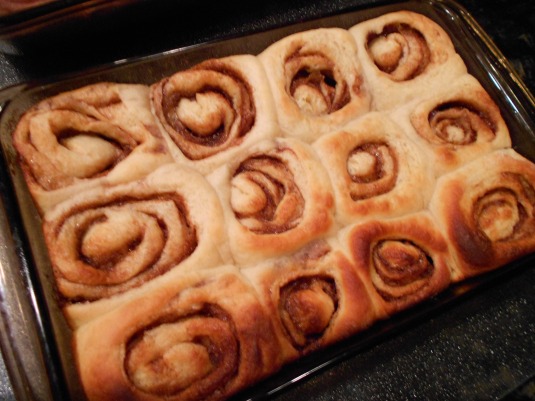
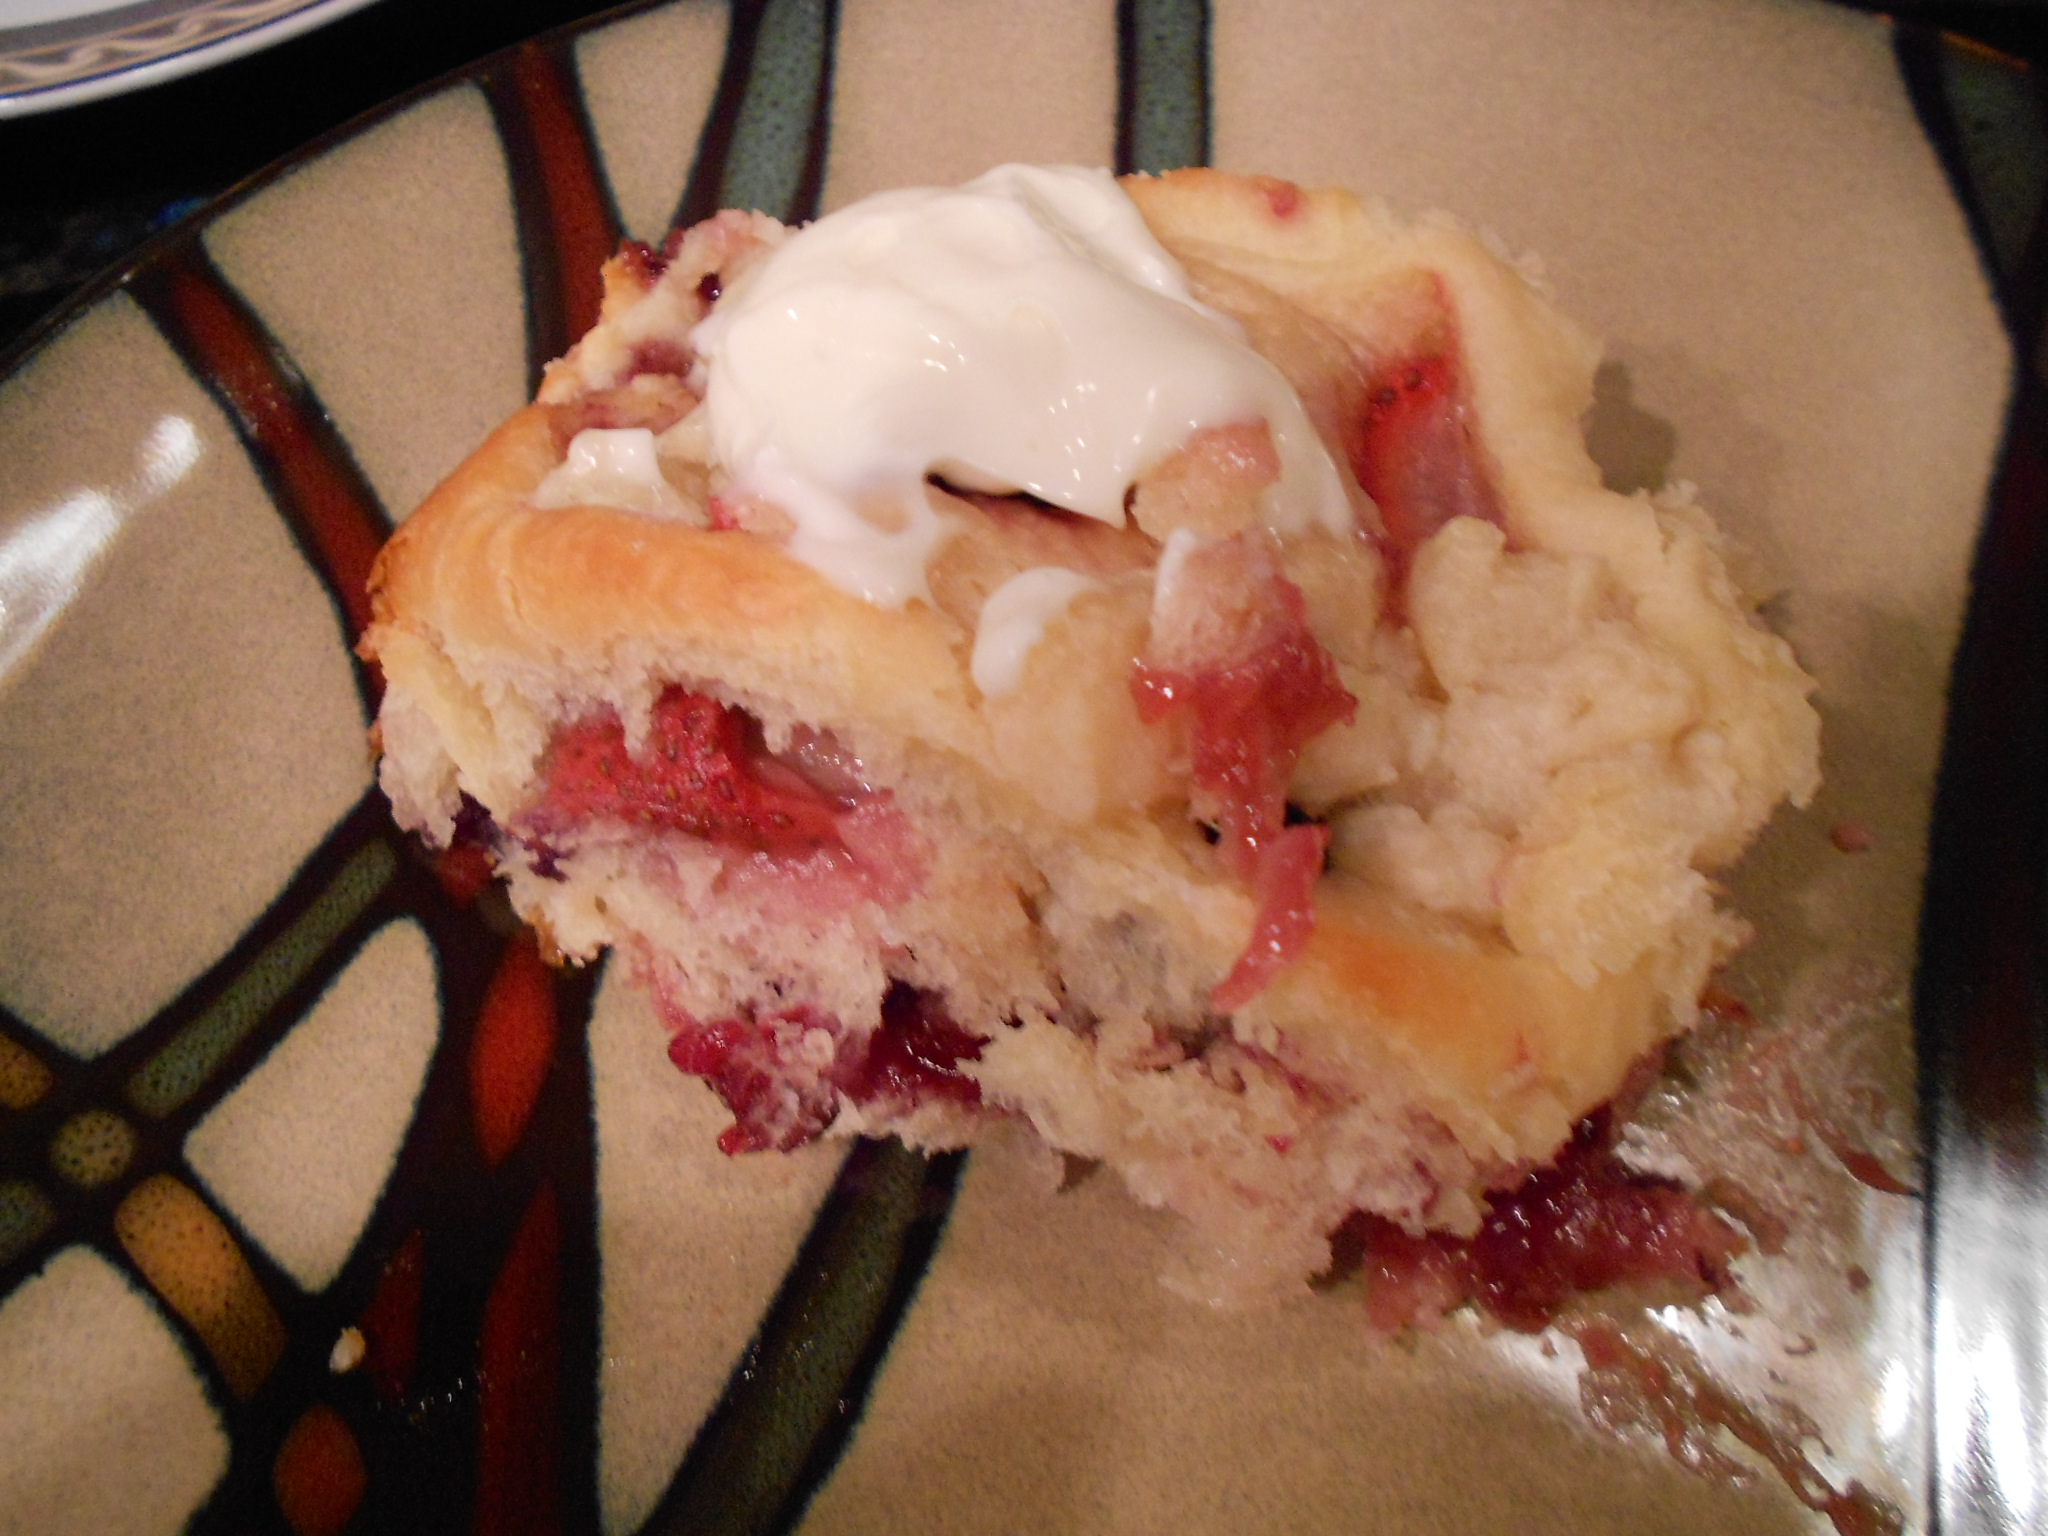
When the rolls have baked, you allow them to cool a bit in the pan for about 15 to 20 minutes. You can then add the cream cheese icing to all and serve.
Note- I never add icing to all at first because I want them to be dry on top when stored in the fridge. I wrap them individually in plastic wrap once they have cooled. To serve later, unwrap and place roll on a plate and warm in microwave (10 to 20 seconds), then add the icing. The warmth will aid in helping the icing spread since you store it in the fridge until needed again. I do this to preserve the texture of the dough. When they are wrapped in plastic, if they had icing, everything sticks to the plastic and creates a mess anyways so this way it does not :)
Enjoy!
Triple Berry Rolls Pics-

Cinnamon Rolls Pics-