 Pretzel Burger
Everybody loves pretzel bread. Everybody. We see the commercials from drive-thru joints to restaurants, and I was purchasing the 4 bun bag at Trader Joe's until they discontinued it. So I started purchasing it at Costco then and after two purchases, they suddenly stop making it. I have heard they consider it a "seasonal item", but whatever the reason, I wanted Pretzel Bread and was tired of hunting. Yes, I even tried Fresh & Easy's Pretzel buns and they just taste like salty white bread, so I think they just paint their burger buns brown and call it Pretzel bread!
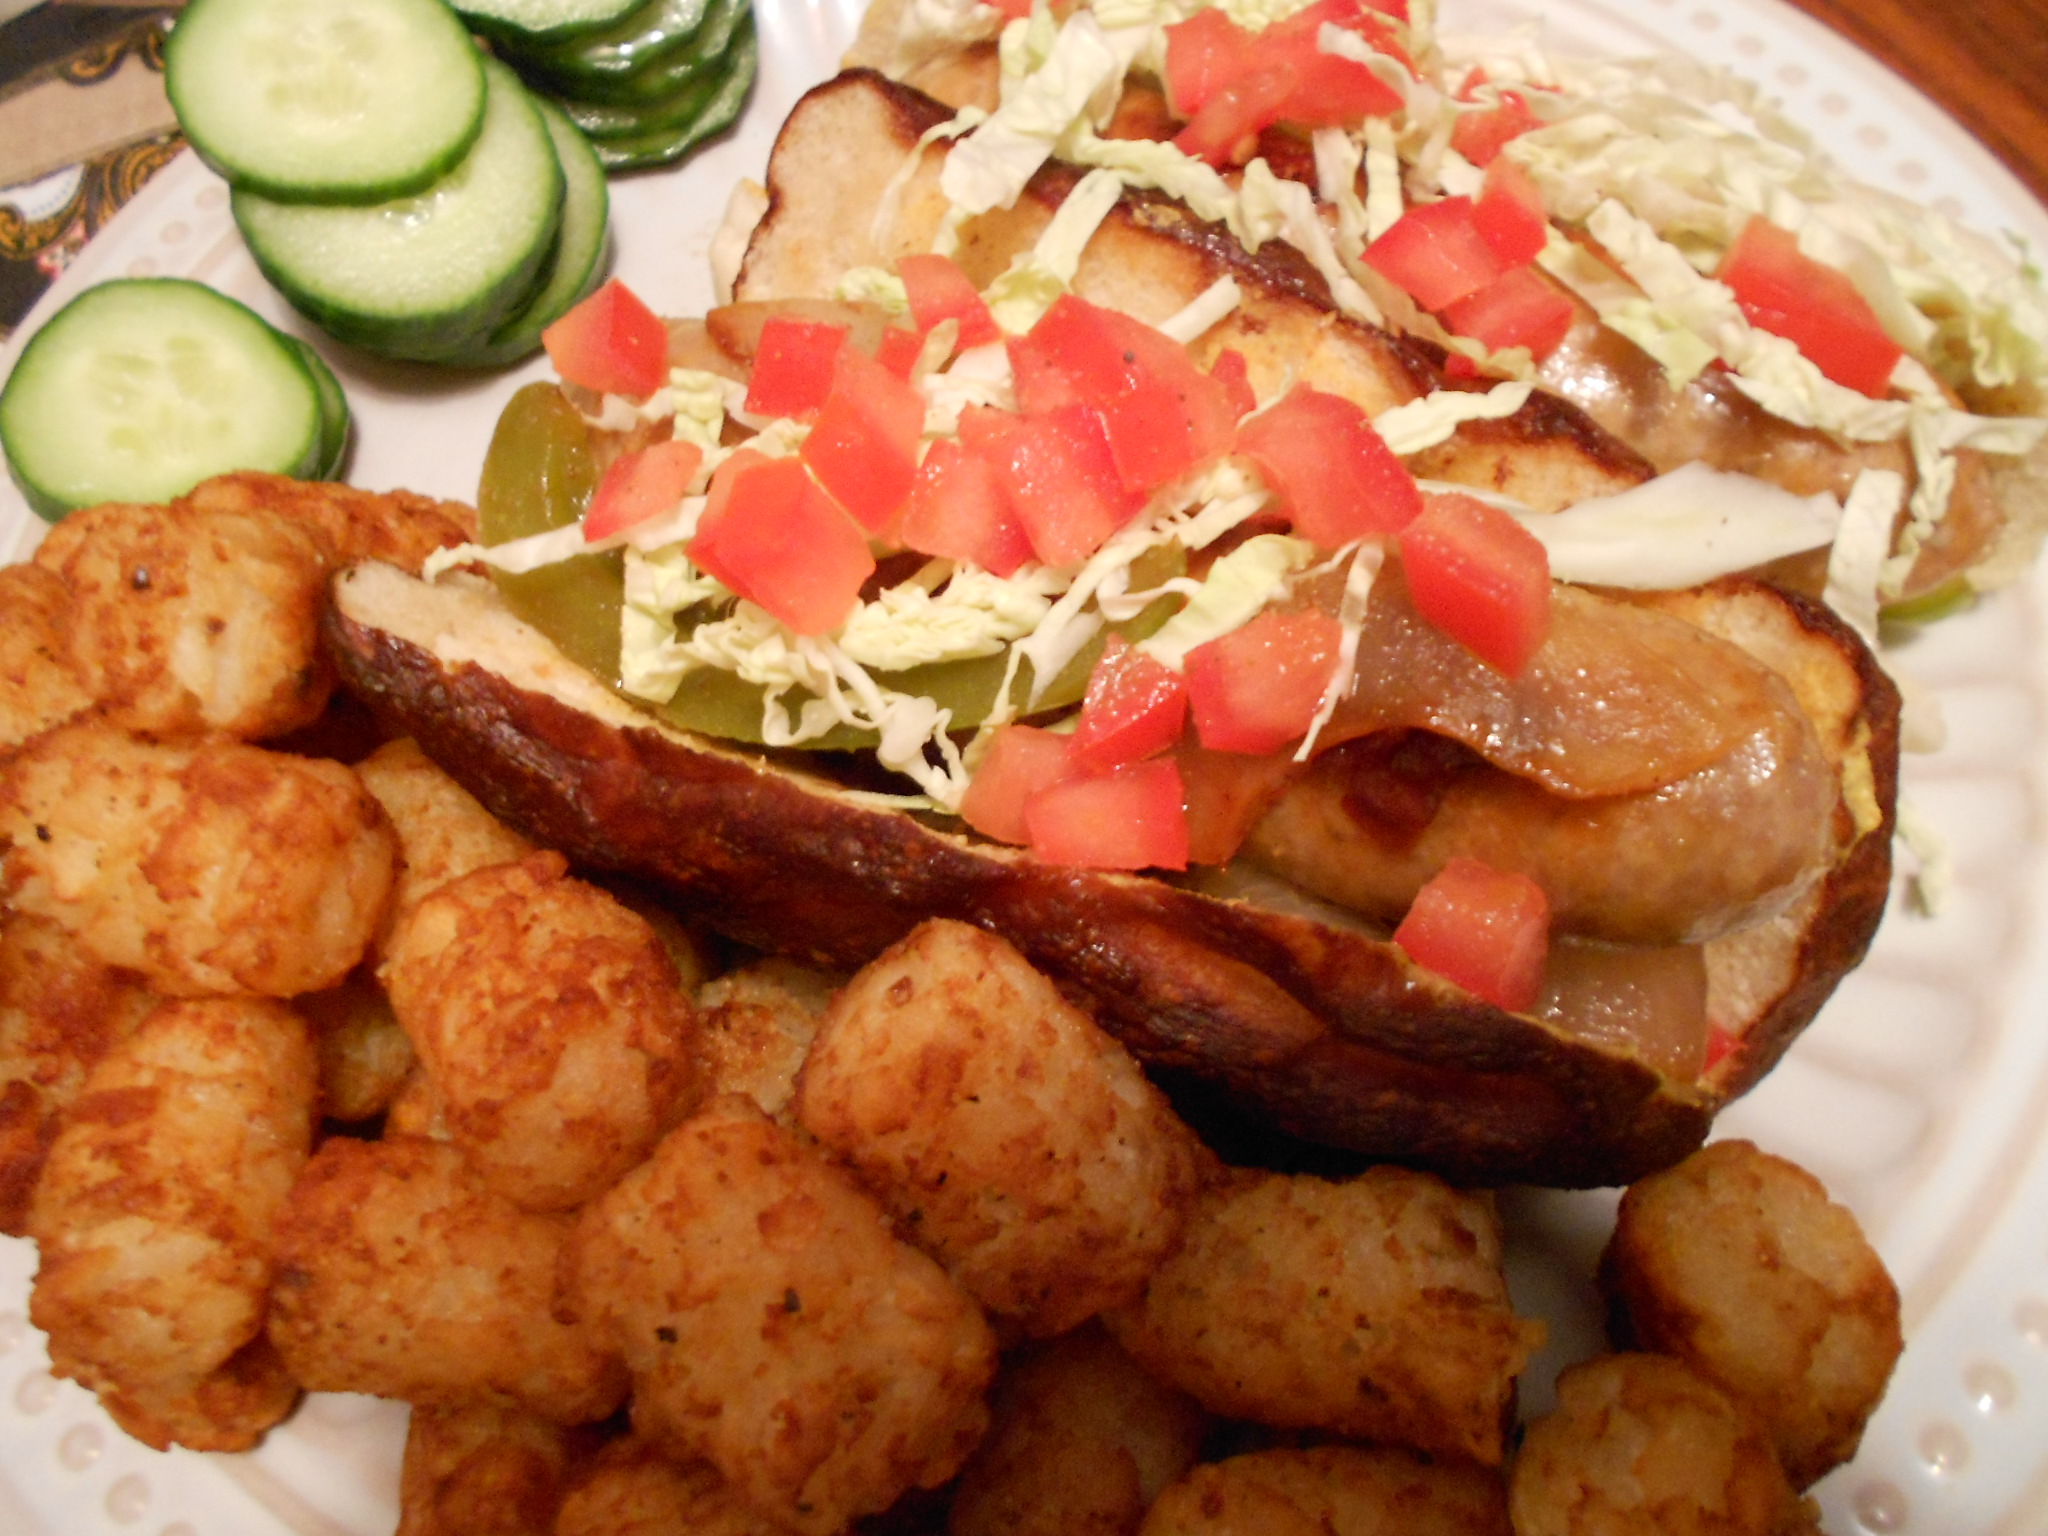
Pretzel Bread Brauts with Pretzel Buns
So after experimenting, I finally found a way to have Pretzel buns, rolls, loaves....you name it and you can even freeze them to have them keep longer. I use plastic wrap and then foil to freeze each roll. I then take them out, remove the plastic and re-wrap the bread in the same foil I used to freeze it in. Set the oven at 375 degrees and 10 to 15 minutes later, I have warm freshly baked Pretzel bread! YUM.
Let's get started......
For the Dough-
1 cup of whole Milk
3 tablespoons of Butter
2 tablespoons of Brown Sugar
2 1/4 teaspoons of Active Dry yeast (1 packet if using the envelopes)
1 1/2 teaspoons of Kosher Salt
2 3/4 to 3 1/4 cups of All-Purpose Flour
1/2 teaspoon of Unsalted Butter to use in the bowl your dough will rise in
For the Wash-
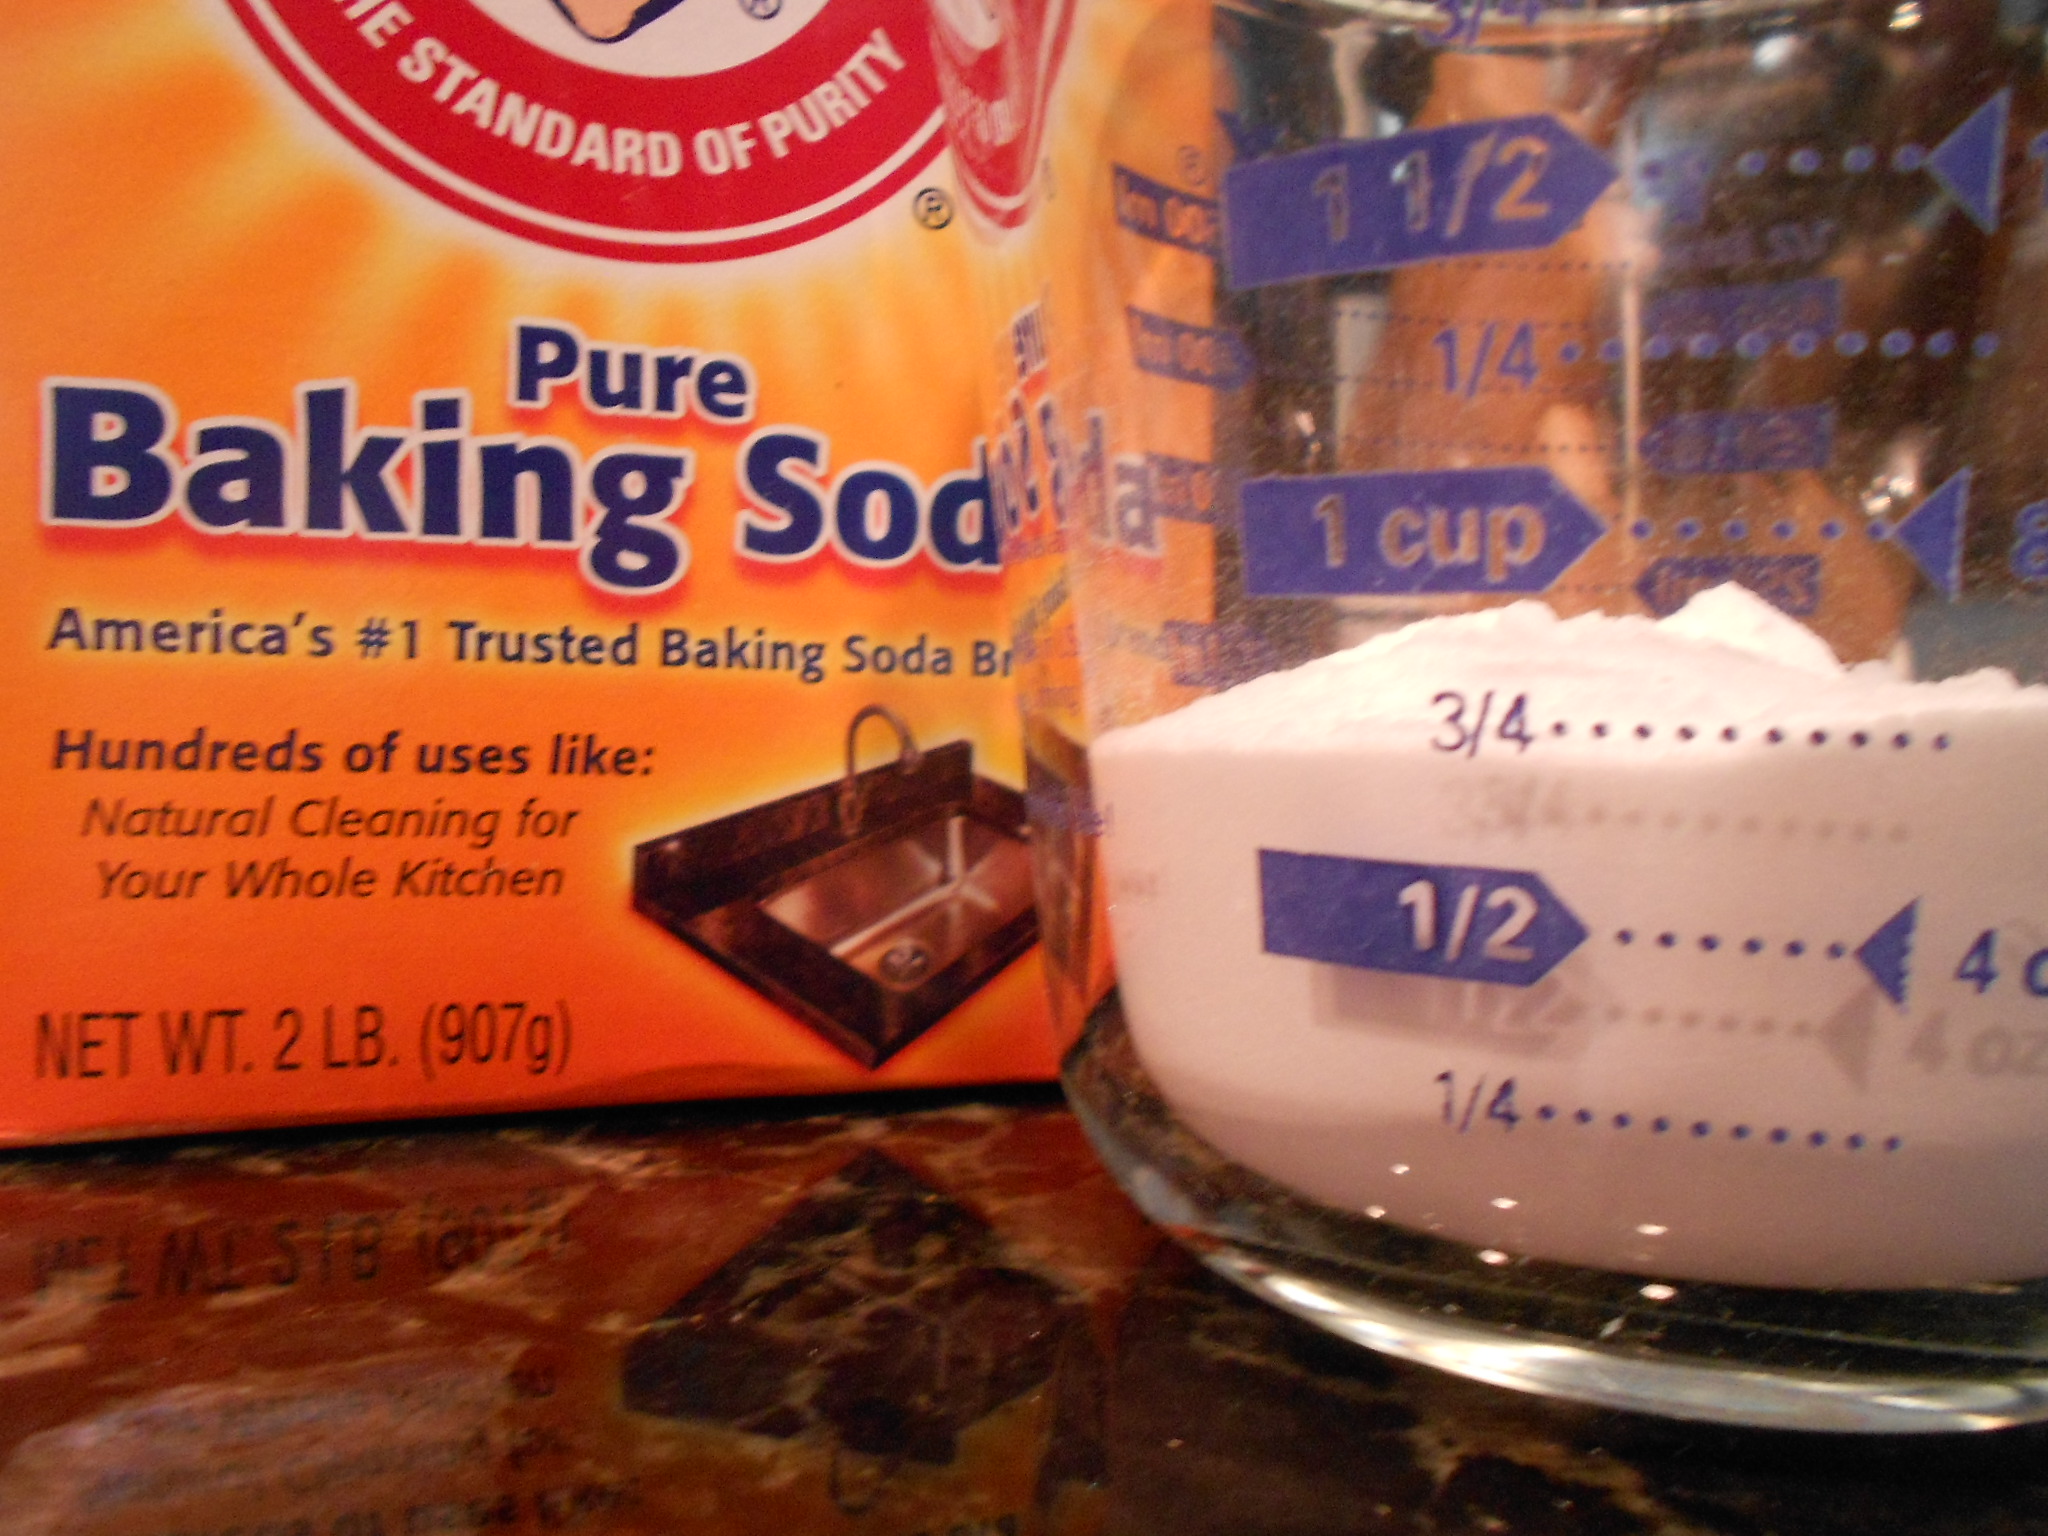
12 cups of Water
3/4 cup of Baking Soda
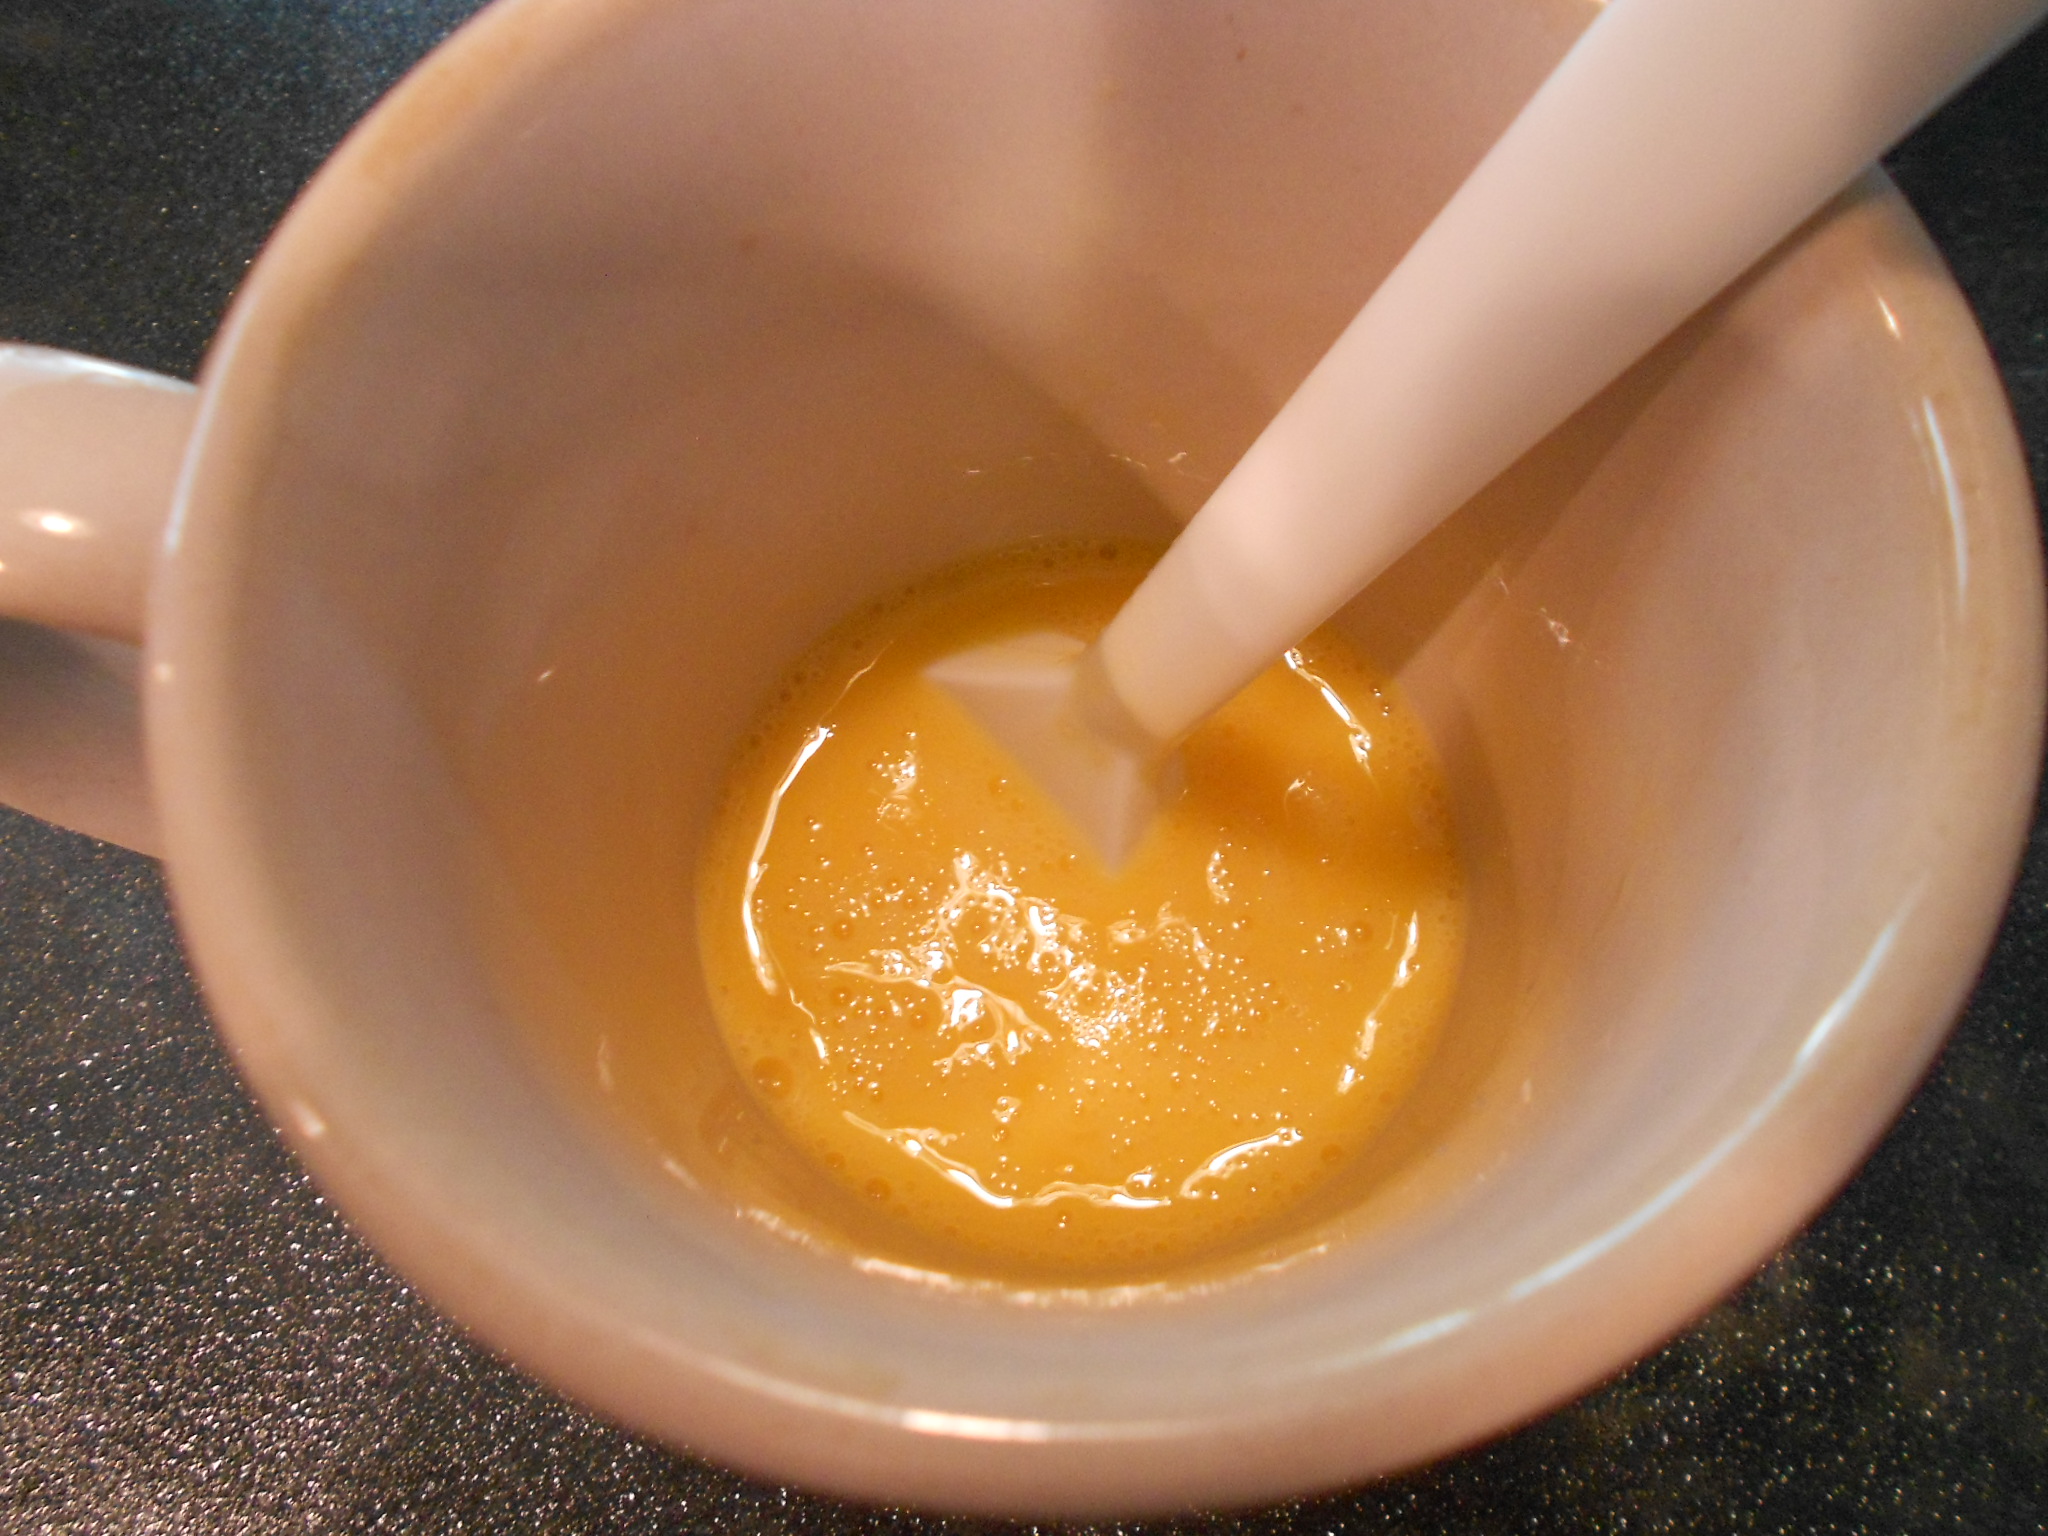
1 Egg and a teaspoon of Water to brush the bread before baking
I use a microwave and warm the milk until it reaches 115 degrees. I add the butter, brown sugar and then the yeast. I use a spoon and make sure to wet the yeast enough and let it sit for about 5 minutes. While the yeast blooms, I begin to combine the salt and flour separately in a large bowl. When 5 minutes have passed, i pour the yeast mixture into the mixer's bowl with the dough hook attached. Make sure to use a spatula and get any remaining yeast into the bowl since it does not always pour out smoothly. I then begin to incorporate the flour and salt mixture slowly until I get a soft dough and this ranges between 2 3/4 to 3 1/4 cups. Not sure if the dough is smooth? Error on the side of caution and stick with 3 cups because a moist dough is better that a too dry dough in this application. Continue to knead the dough with the mixer for about 8 to 10 minutes. You want a smooth and elastic finish. I then take the greased bowl that will fit the dough but also allow room for it to proof (double in size). I dump the dough and create a loose ball, cover loosely with plastic and allow for it to rise. Takes about an hour and I use my oven as it has a "proof setting" that I set at 105 degrees.
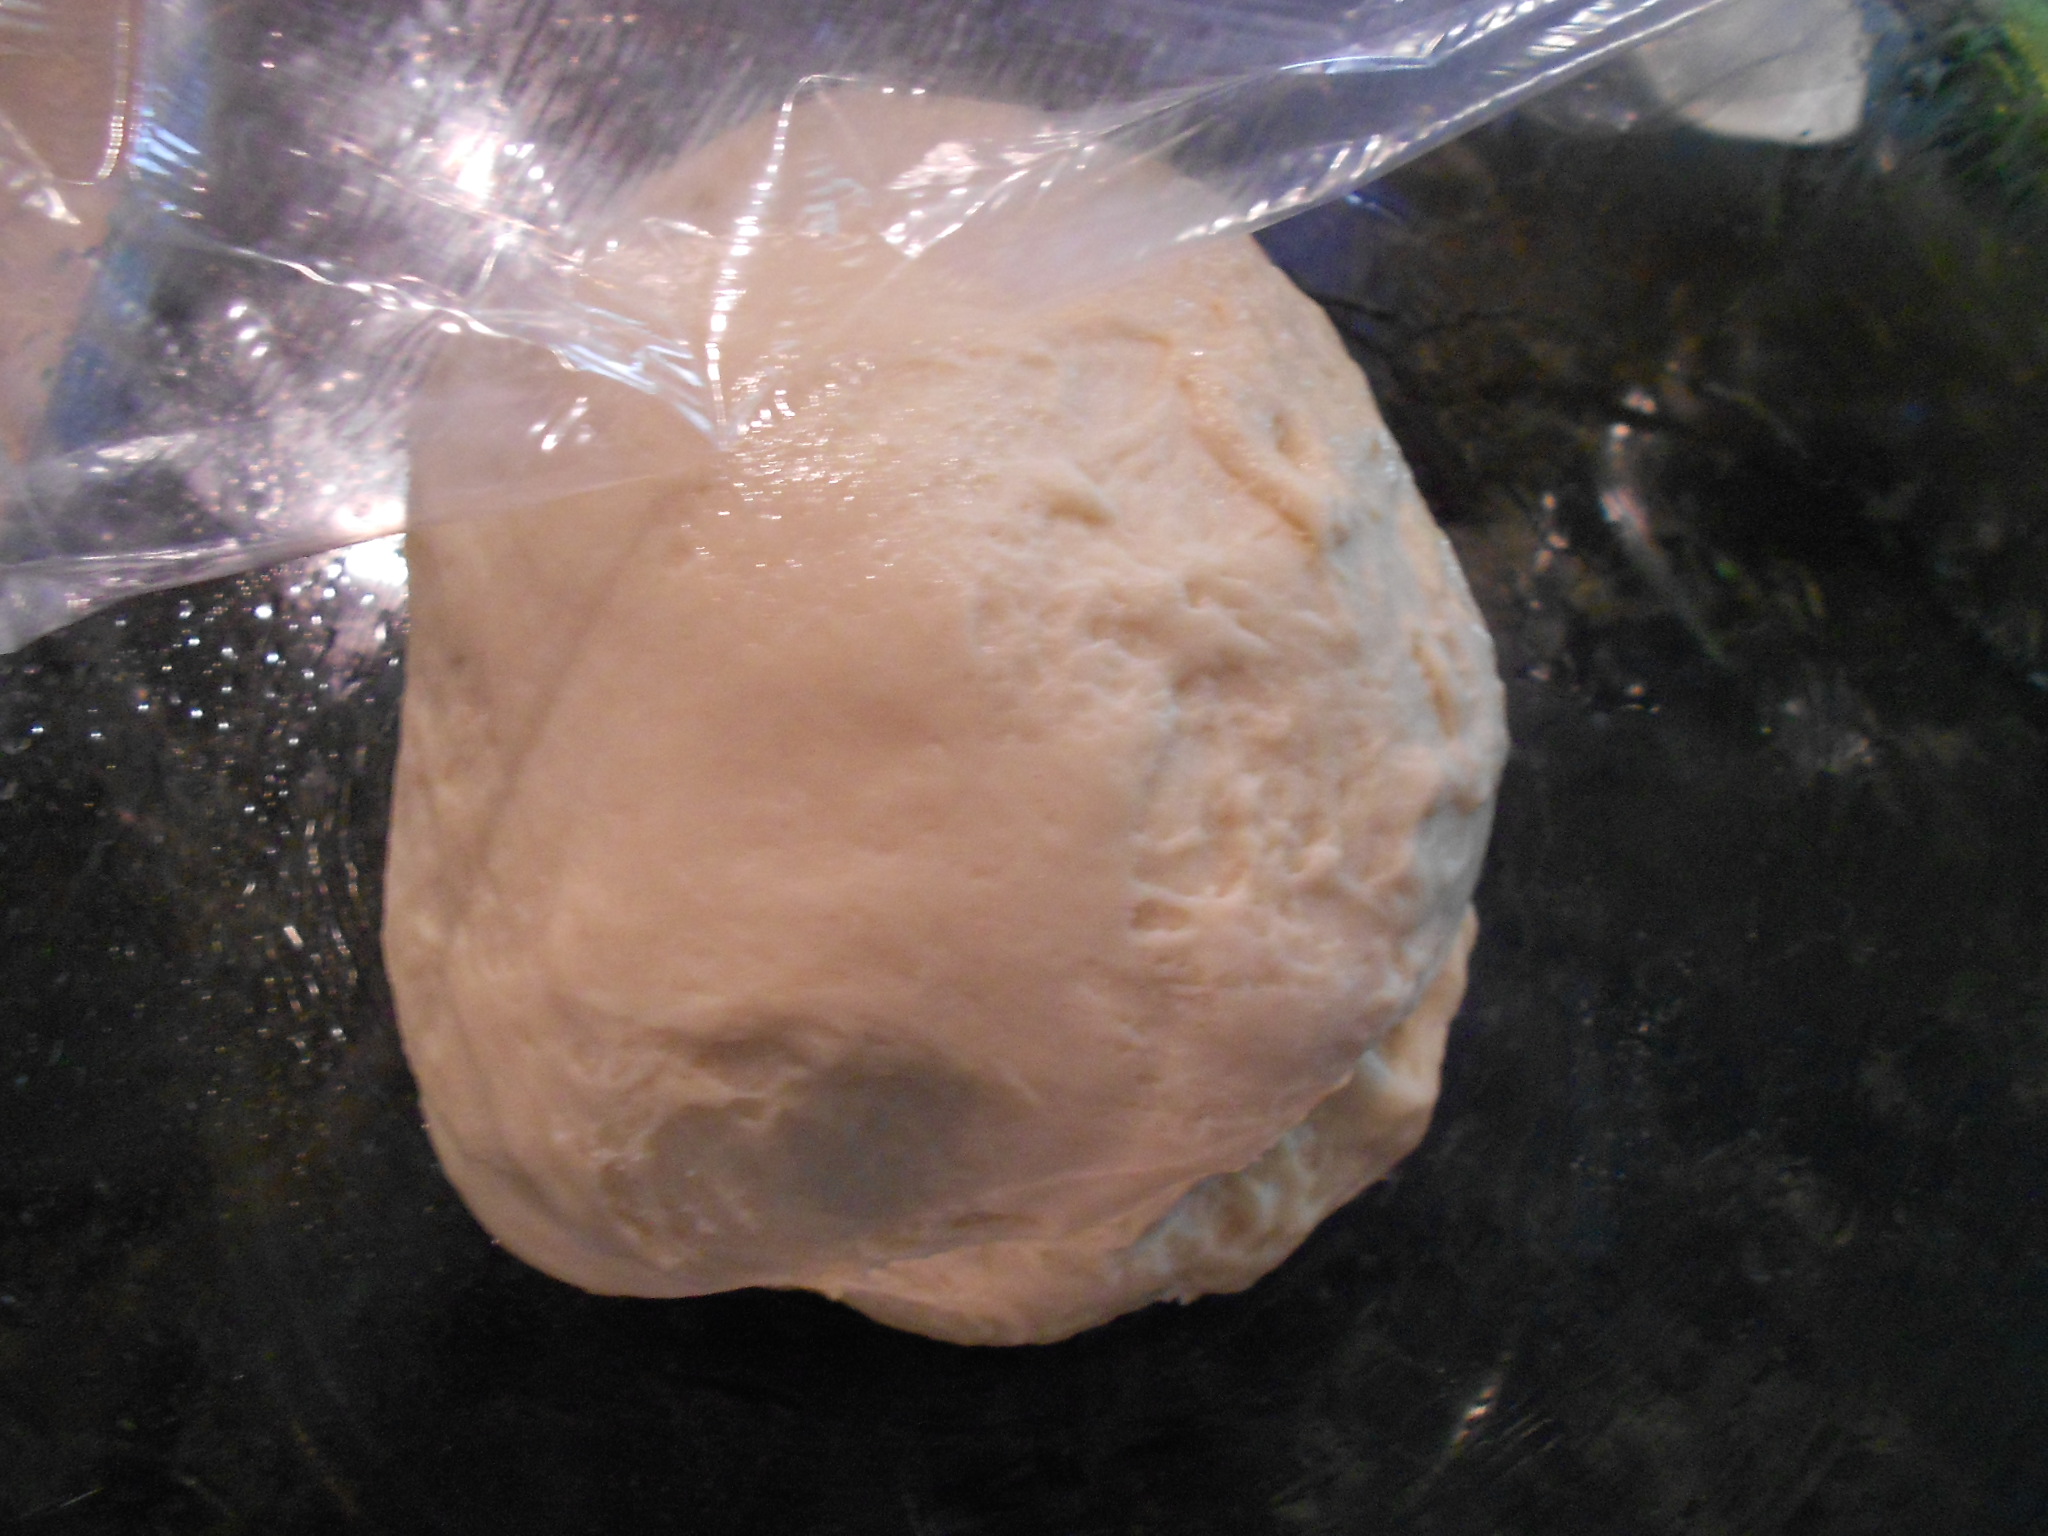
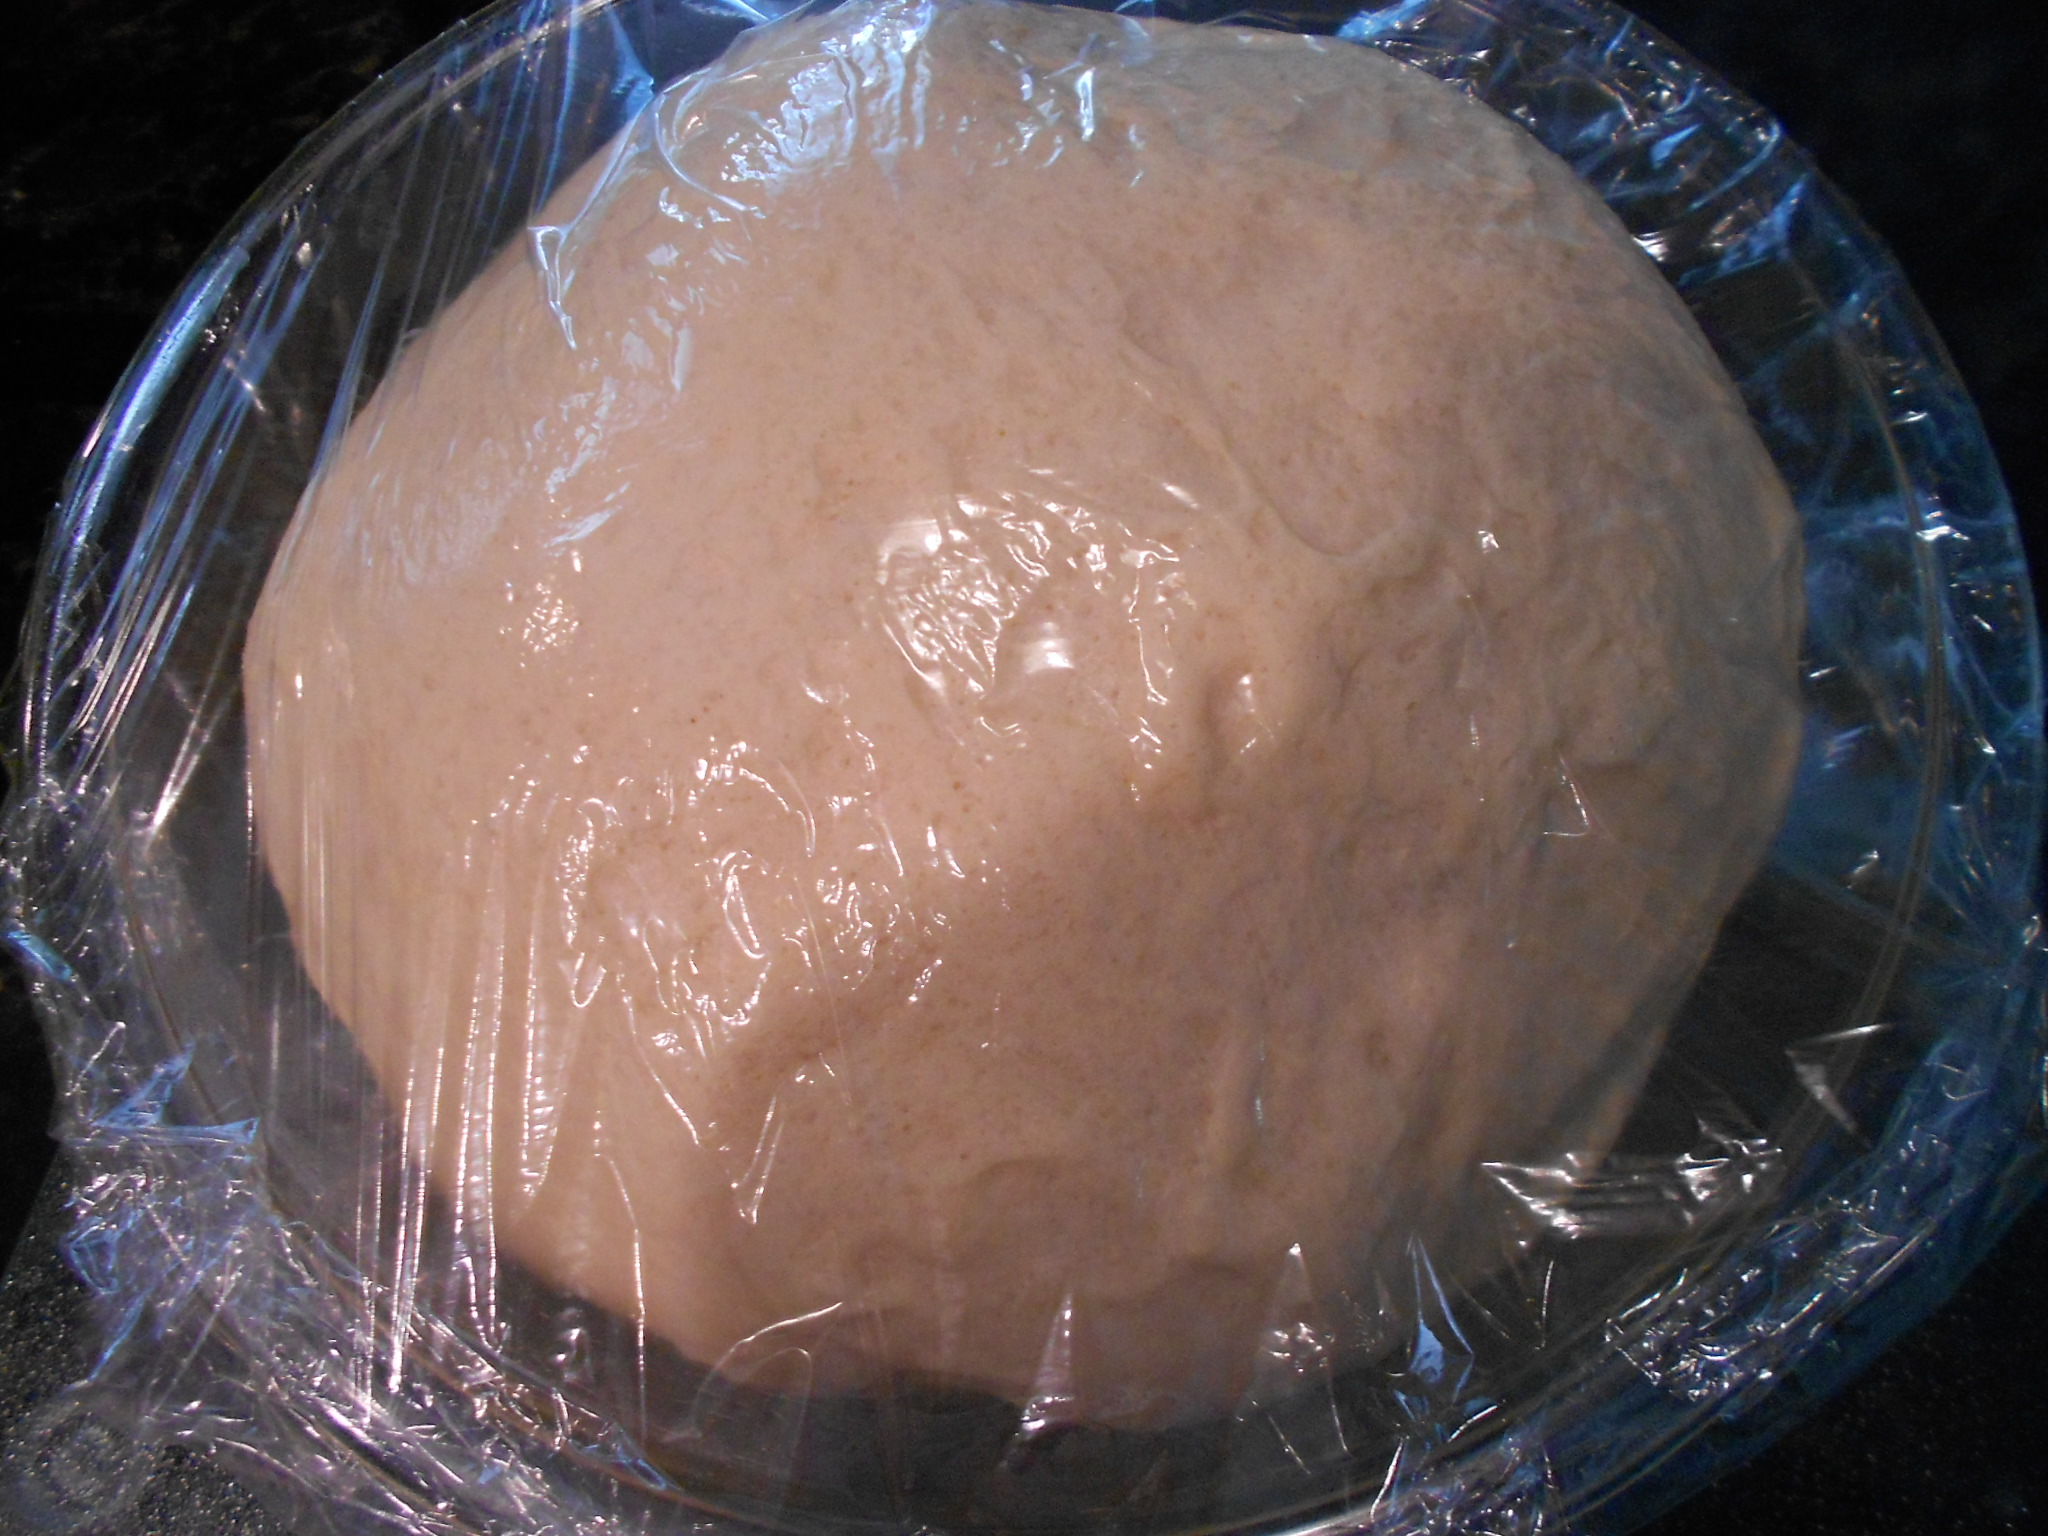
Before Rise After 1 hour Rise
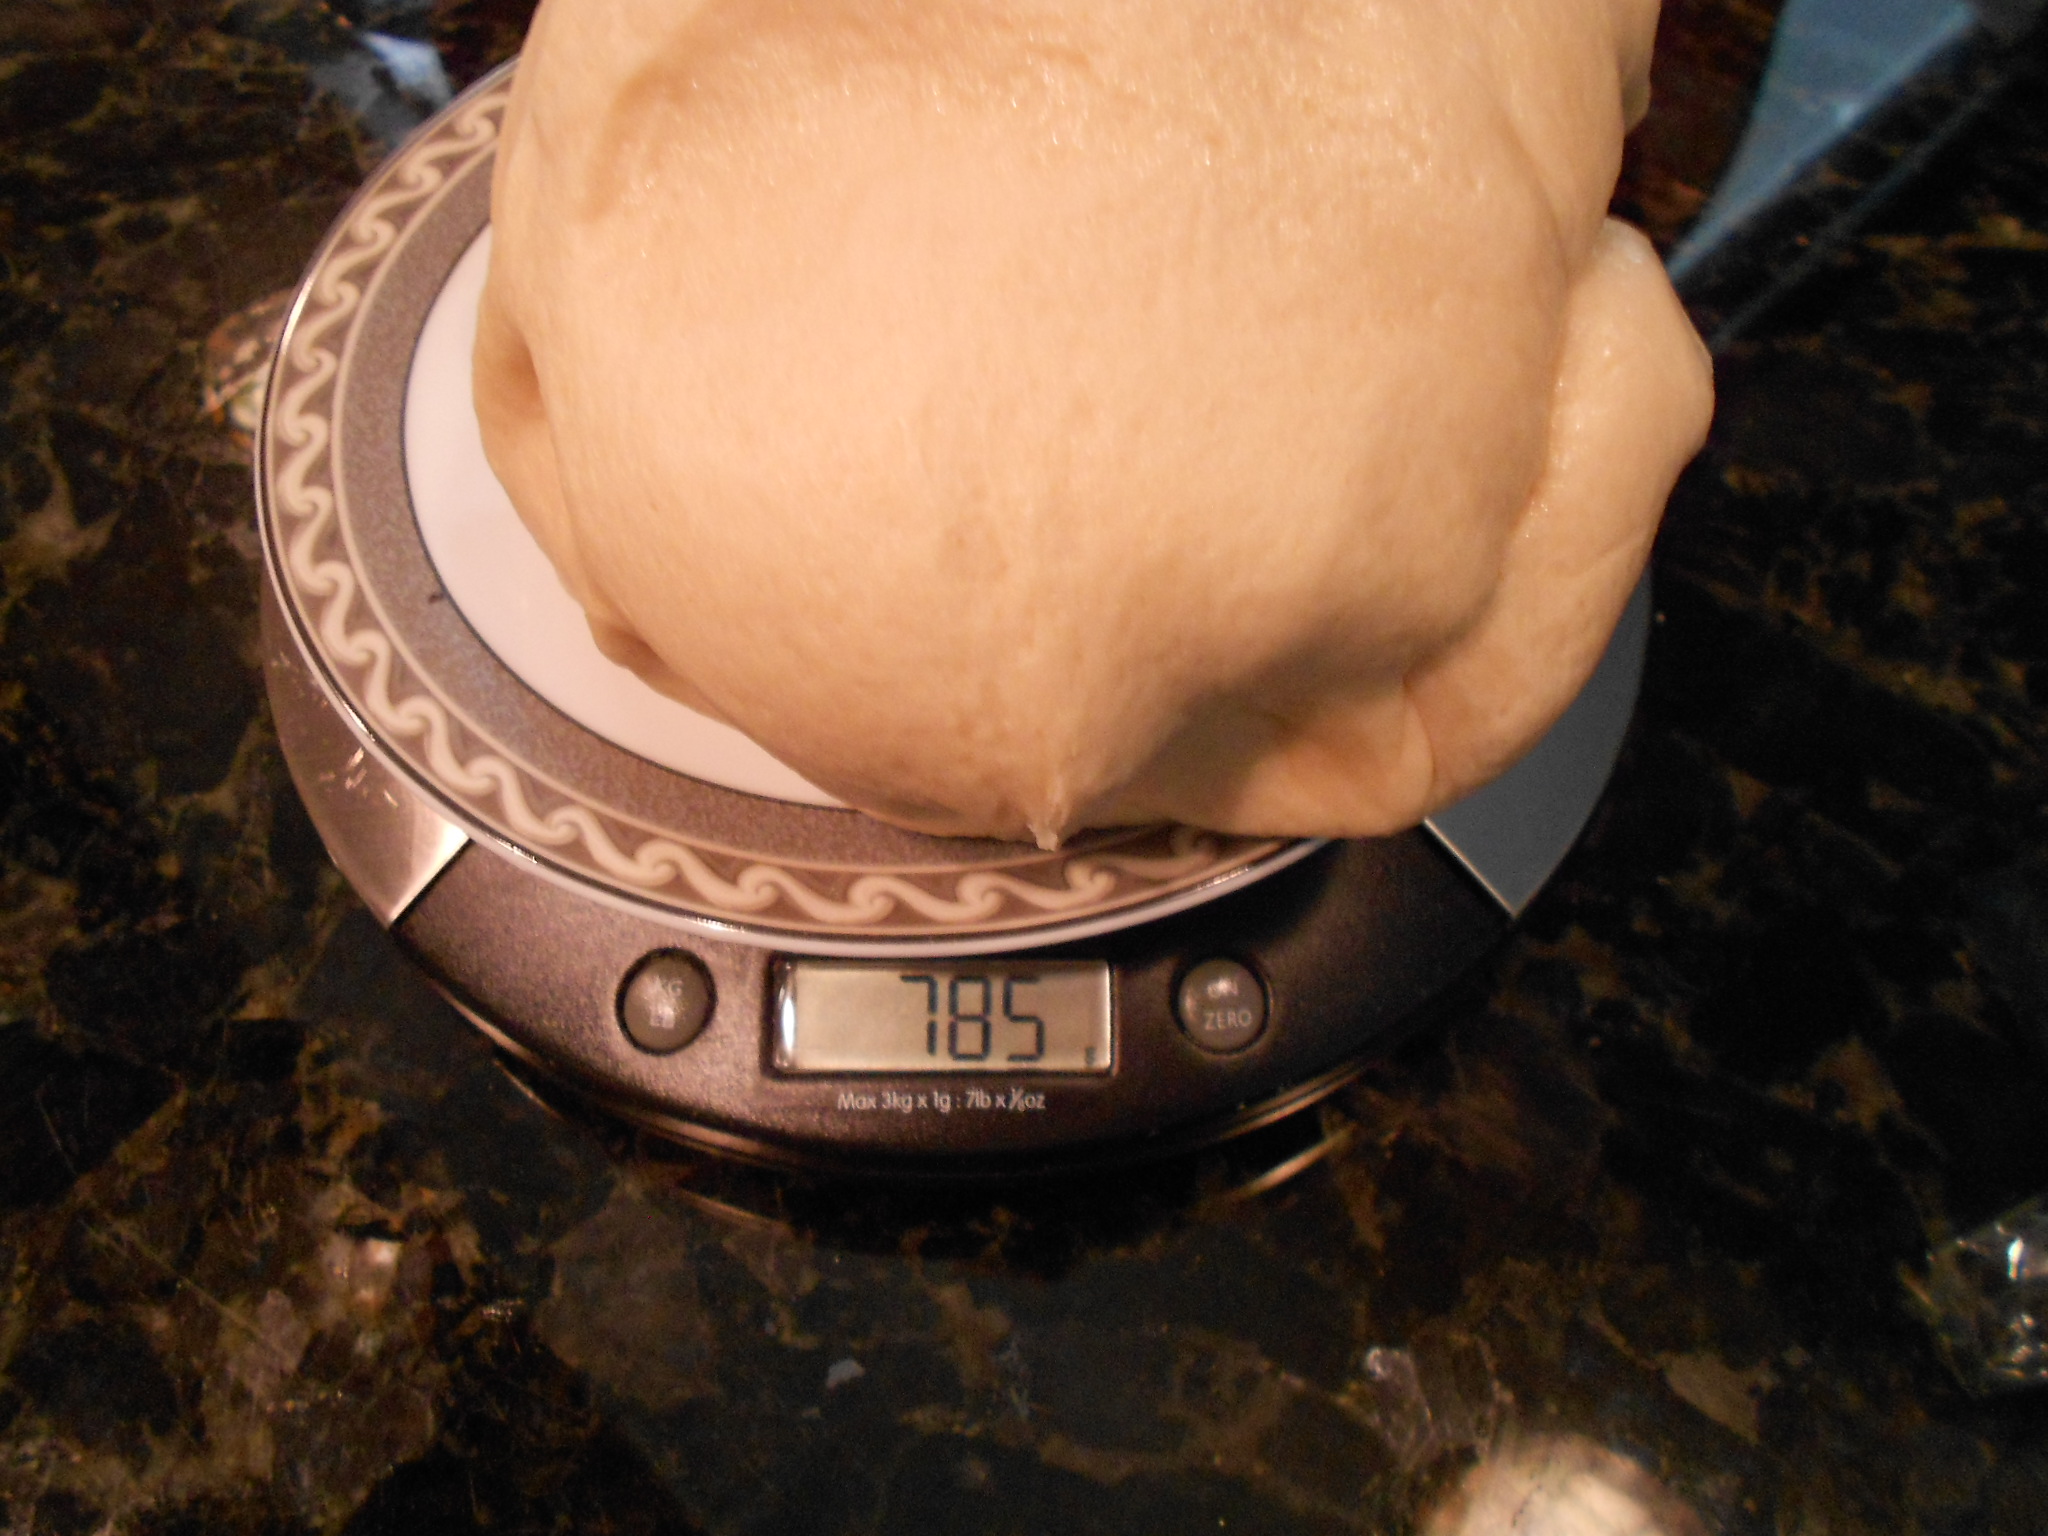
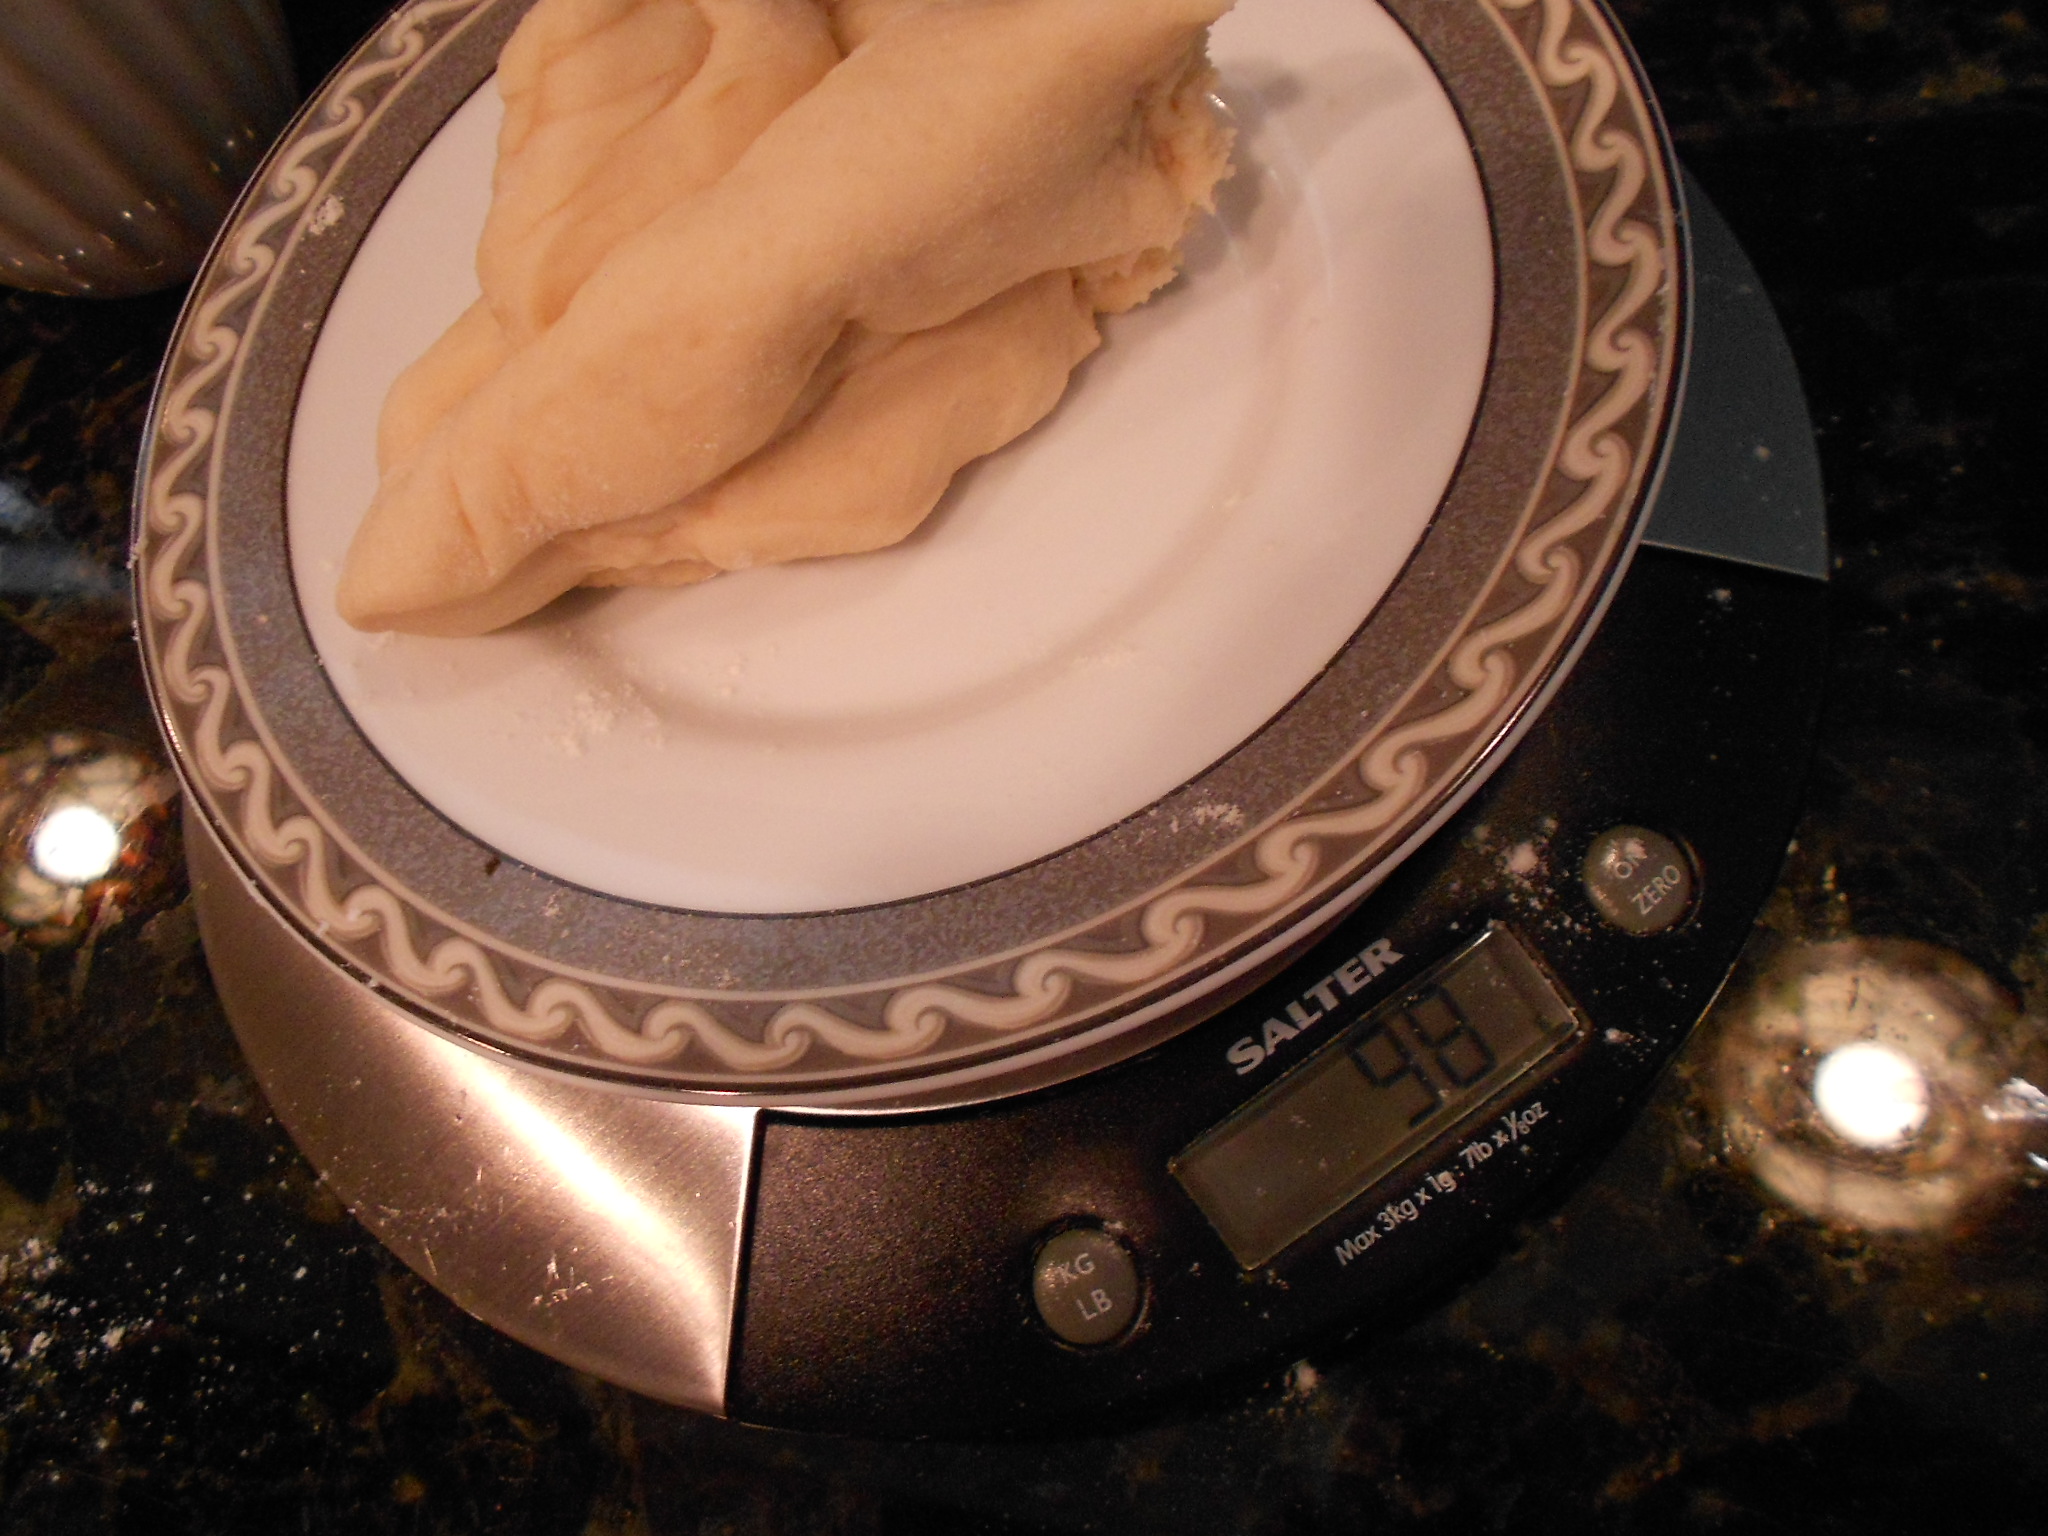
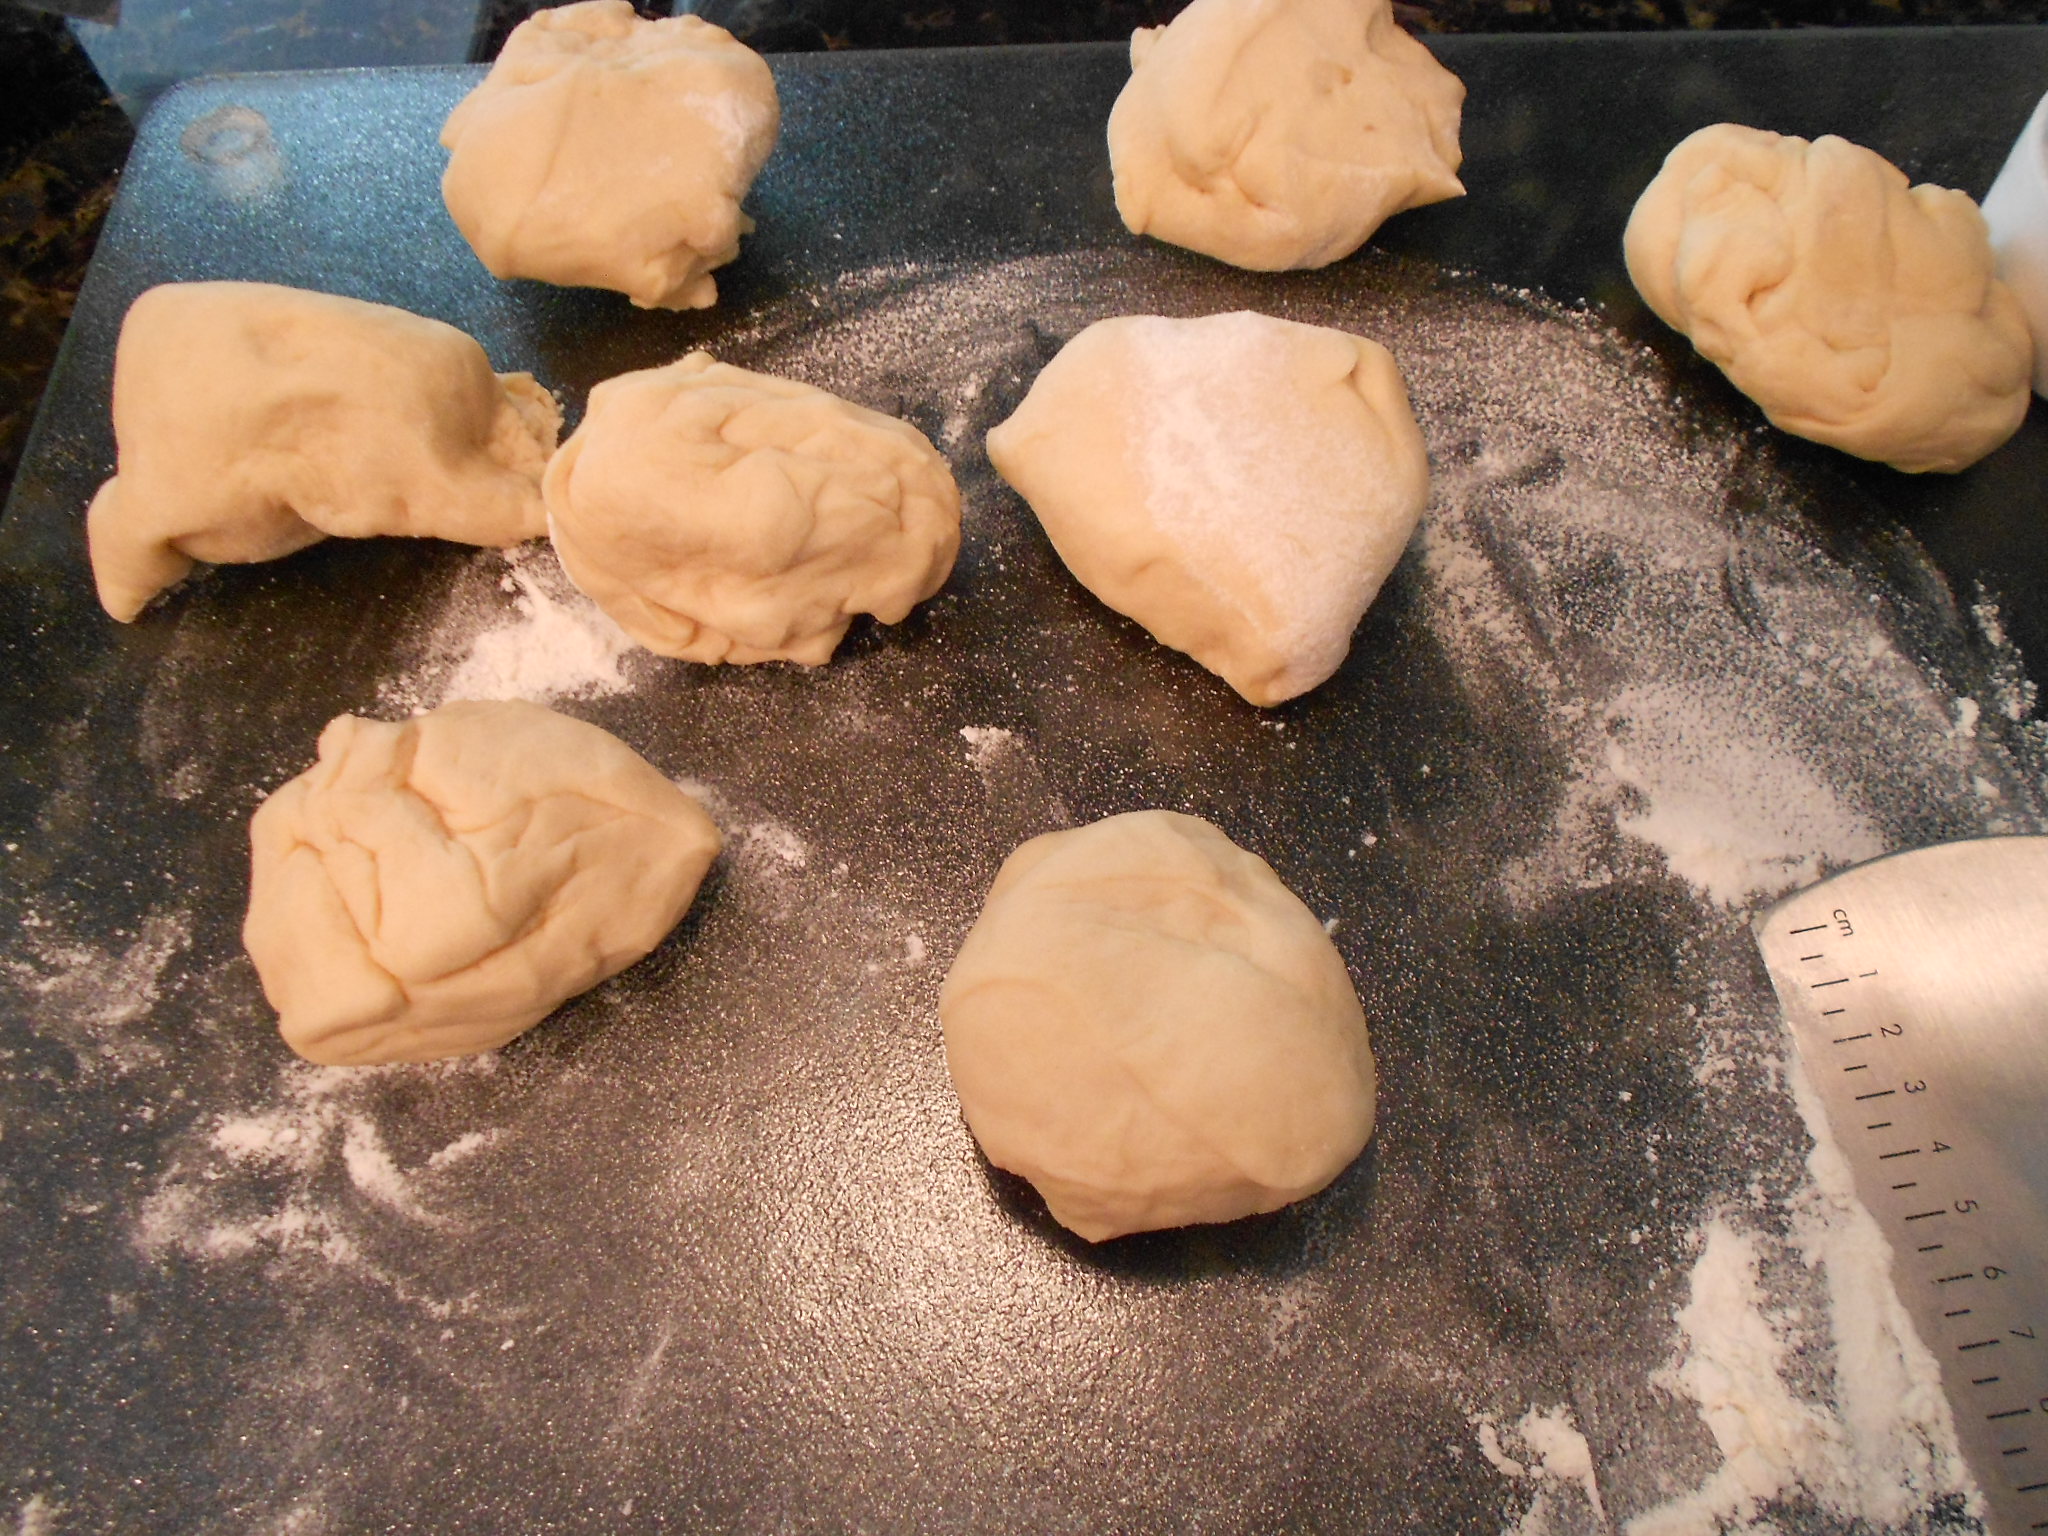
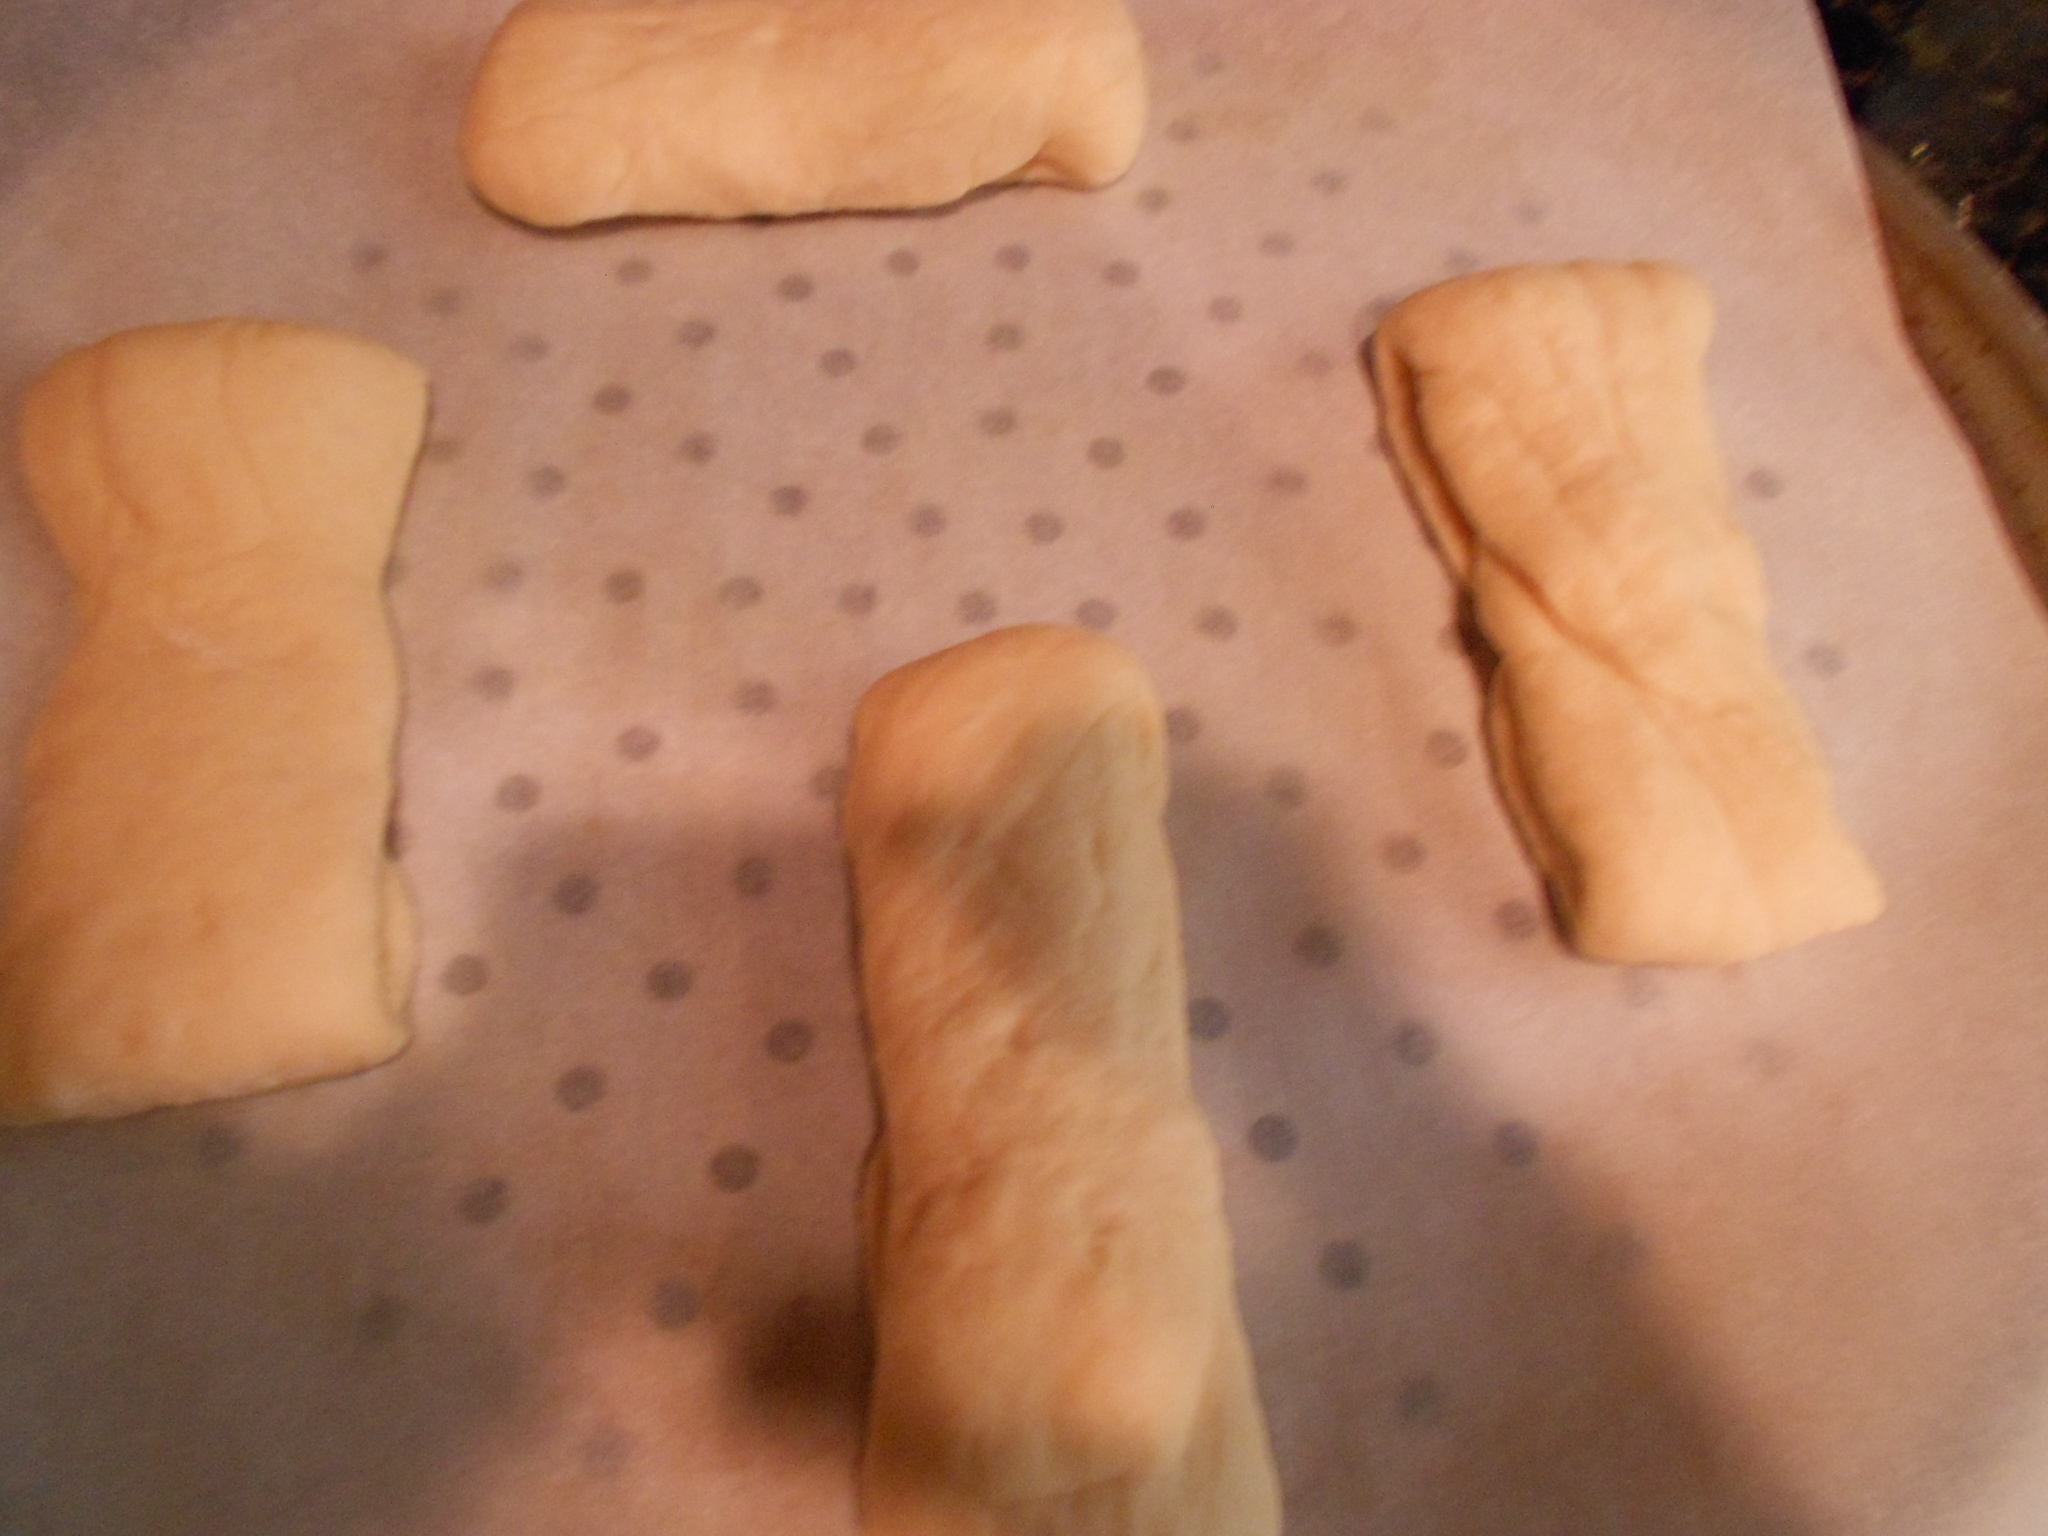
After the dough doubles in size, I begin by weighing it. This allows me to think about what I want to do so for example if I am making two large loaves, I just divide the weight in half. Making large buns, I usually divide the weight by 8. Sometimes I also make sandwich rolls or even a hot dog buns, and again divide the dough by what I desire to make. My dough weighed 785 grams so I felt a bun weighing about 95 to 100 grams, would make a good size individual loaf. I made round rolls and sandwich long buns with this batch. You make what fits best with your meals :)
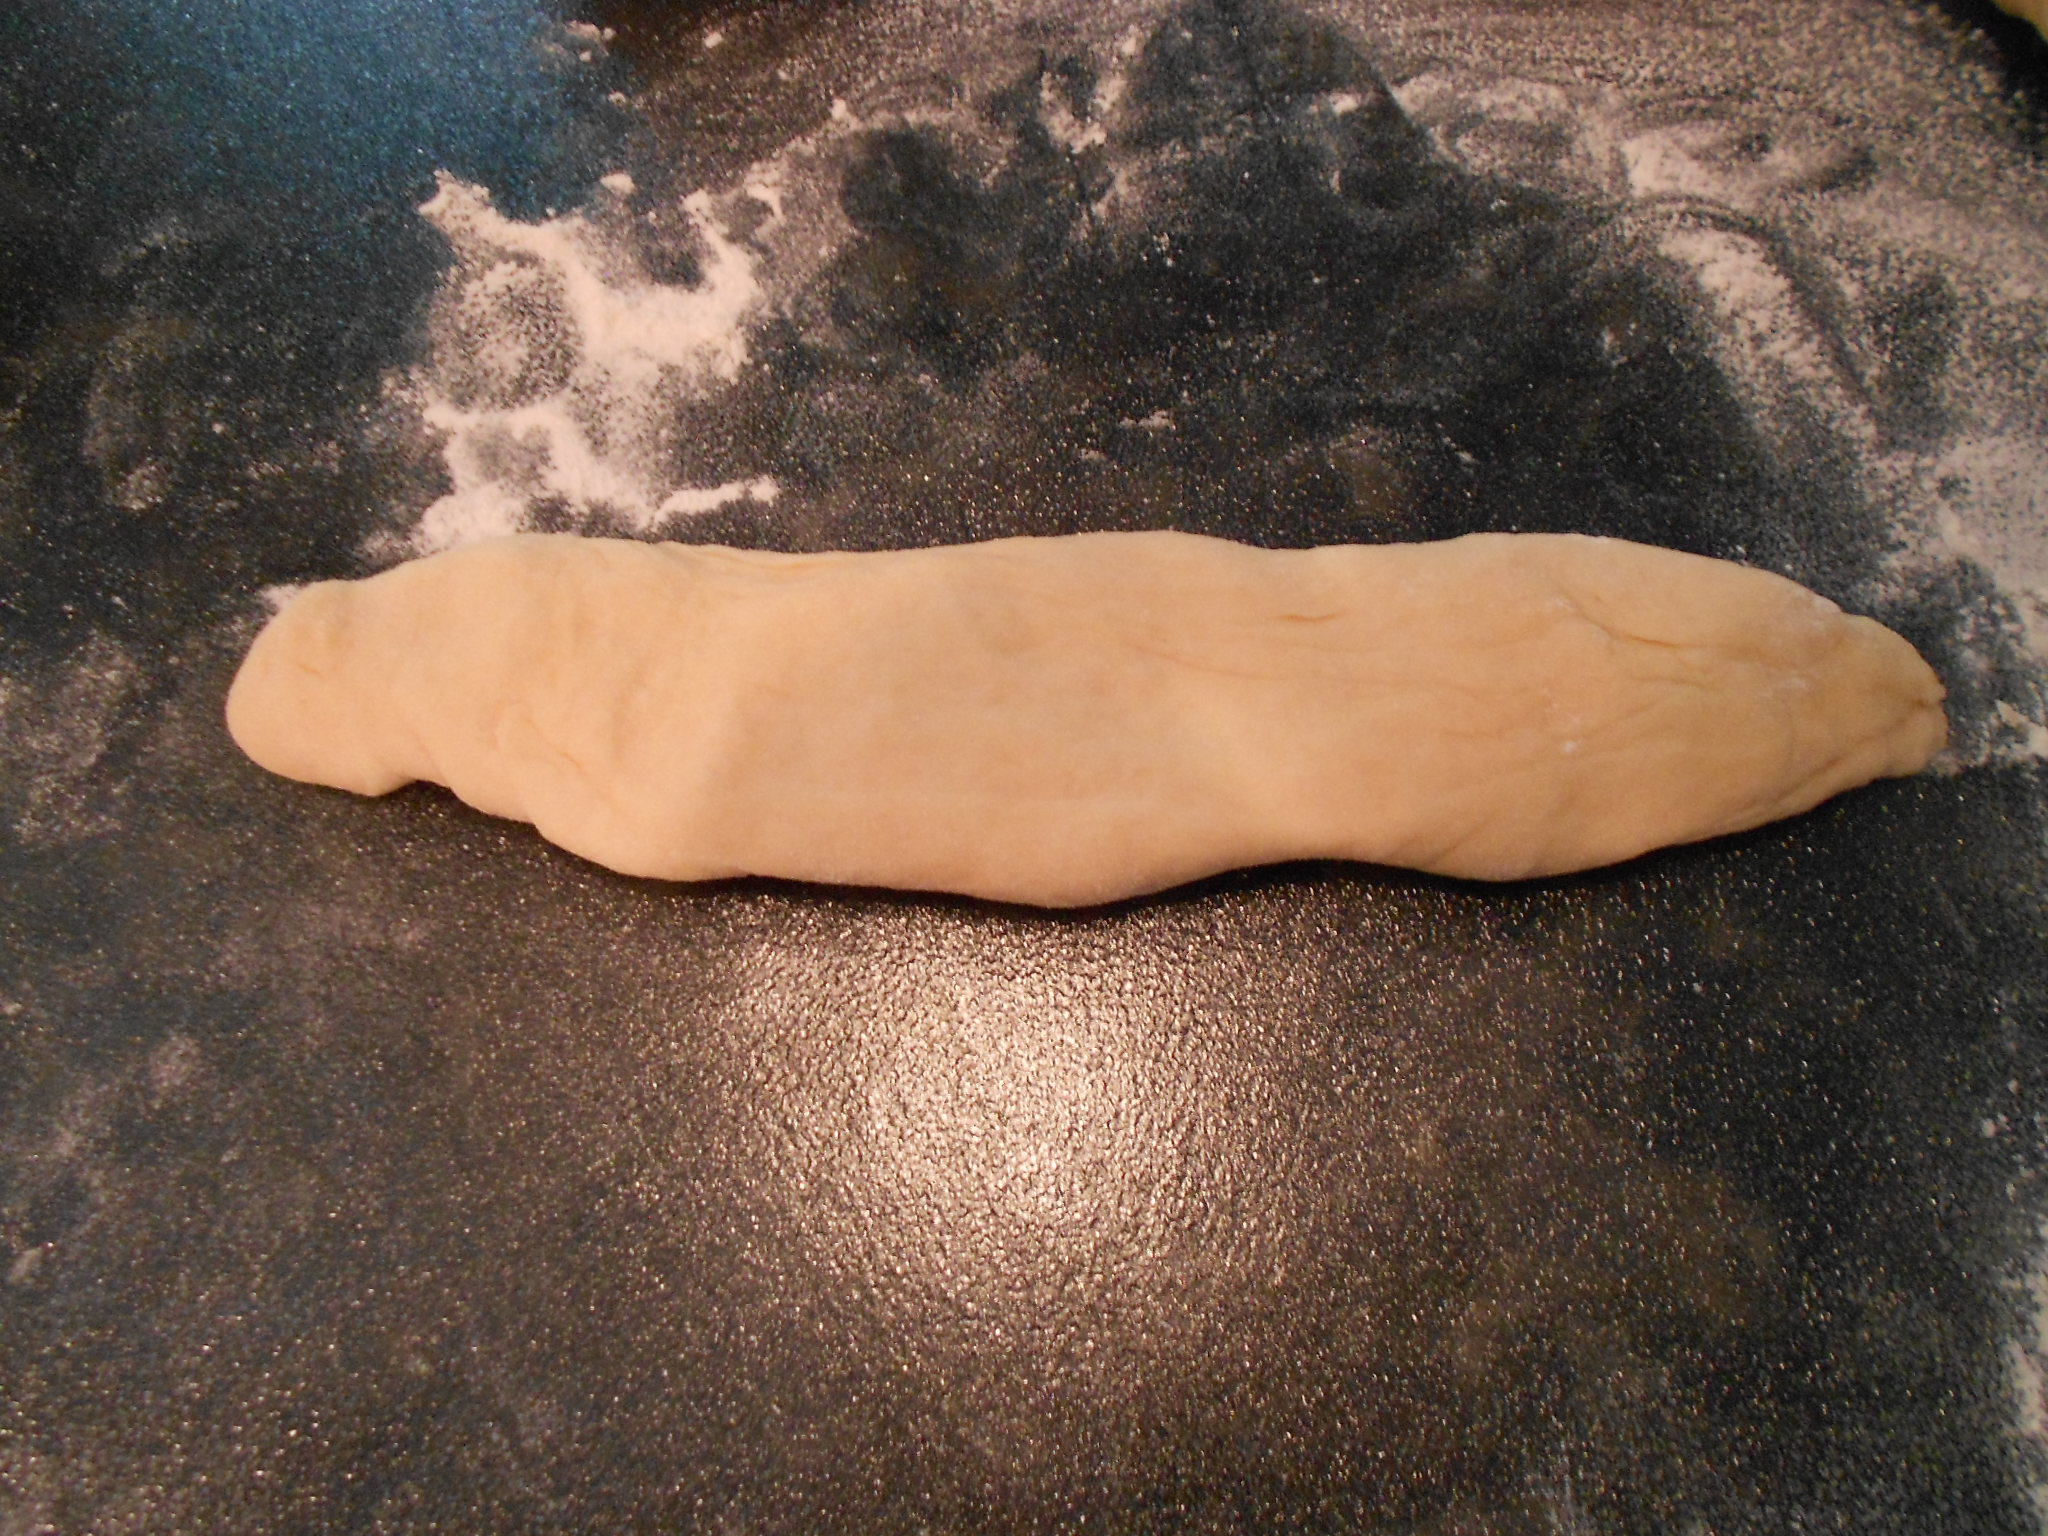
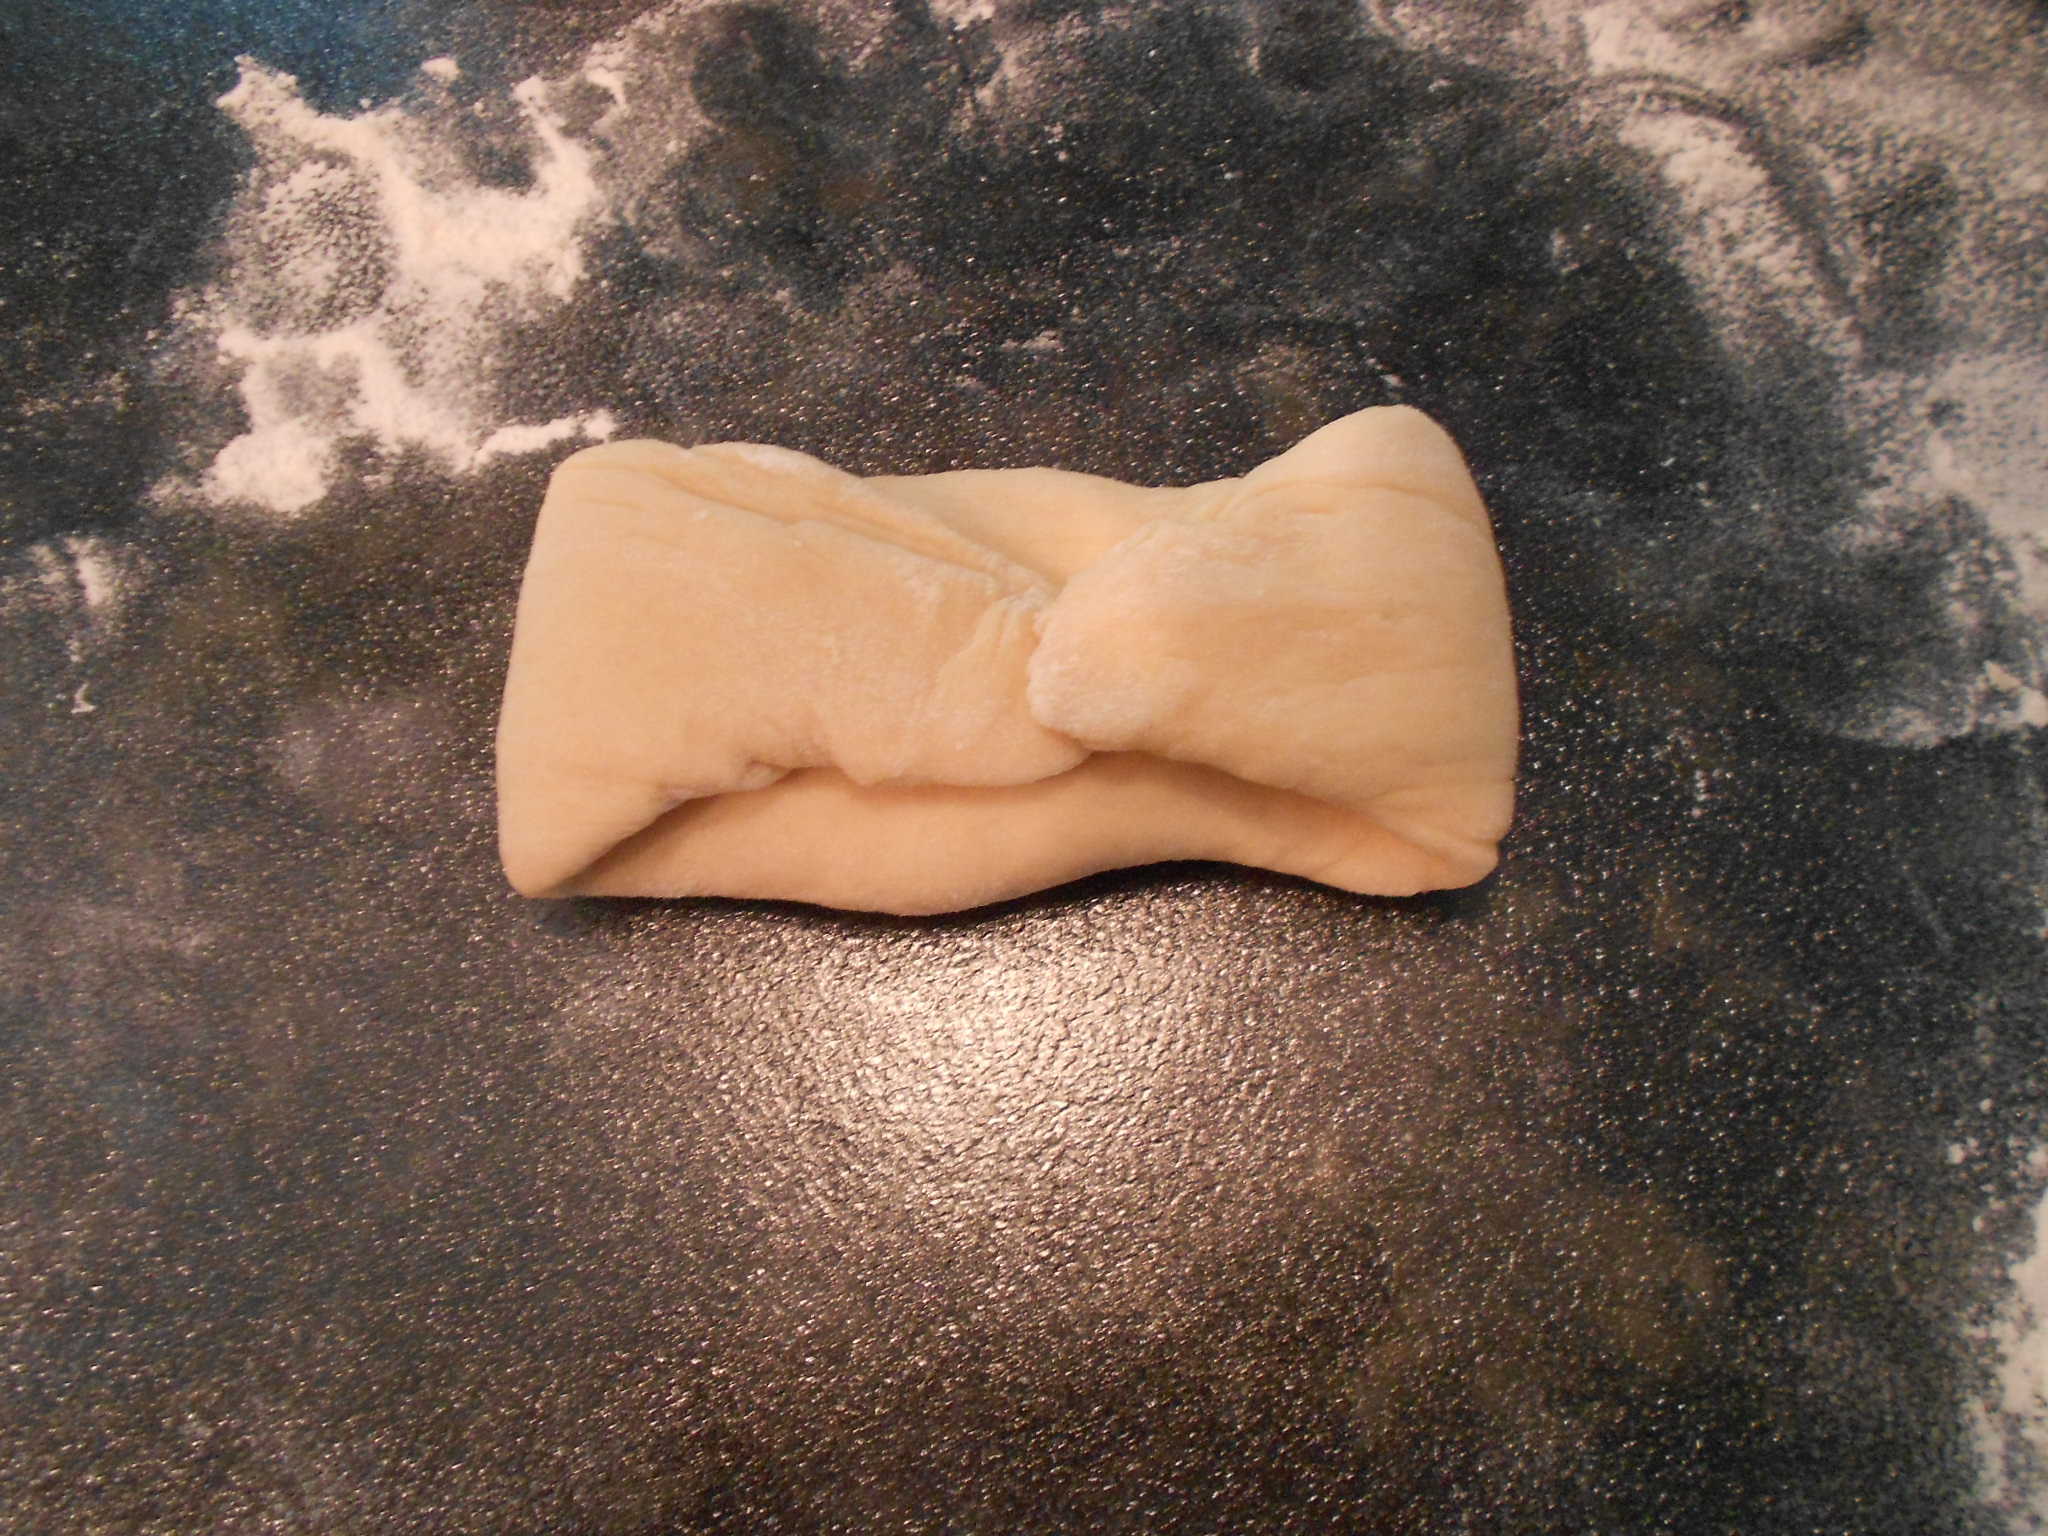
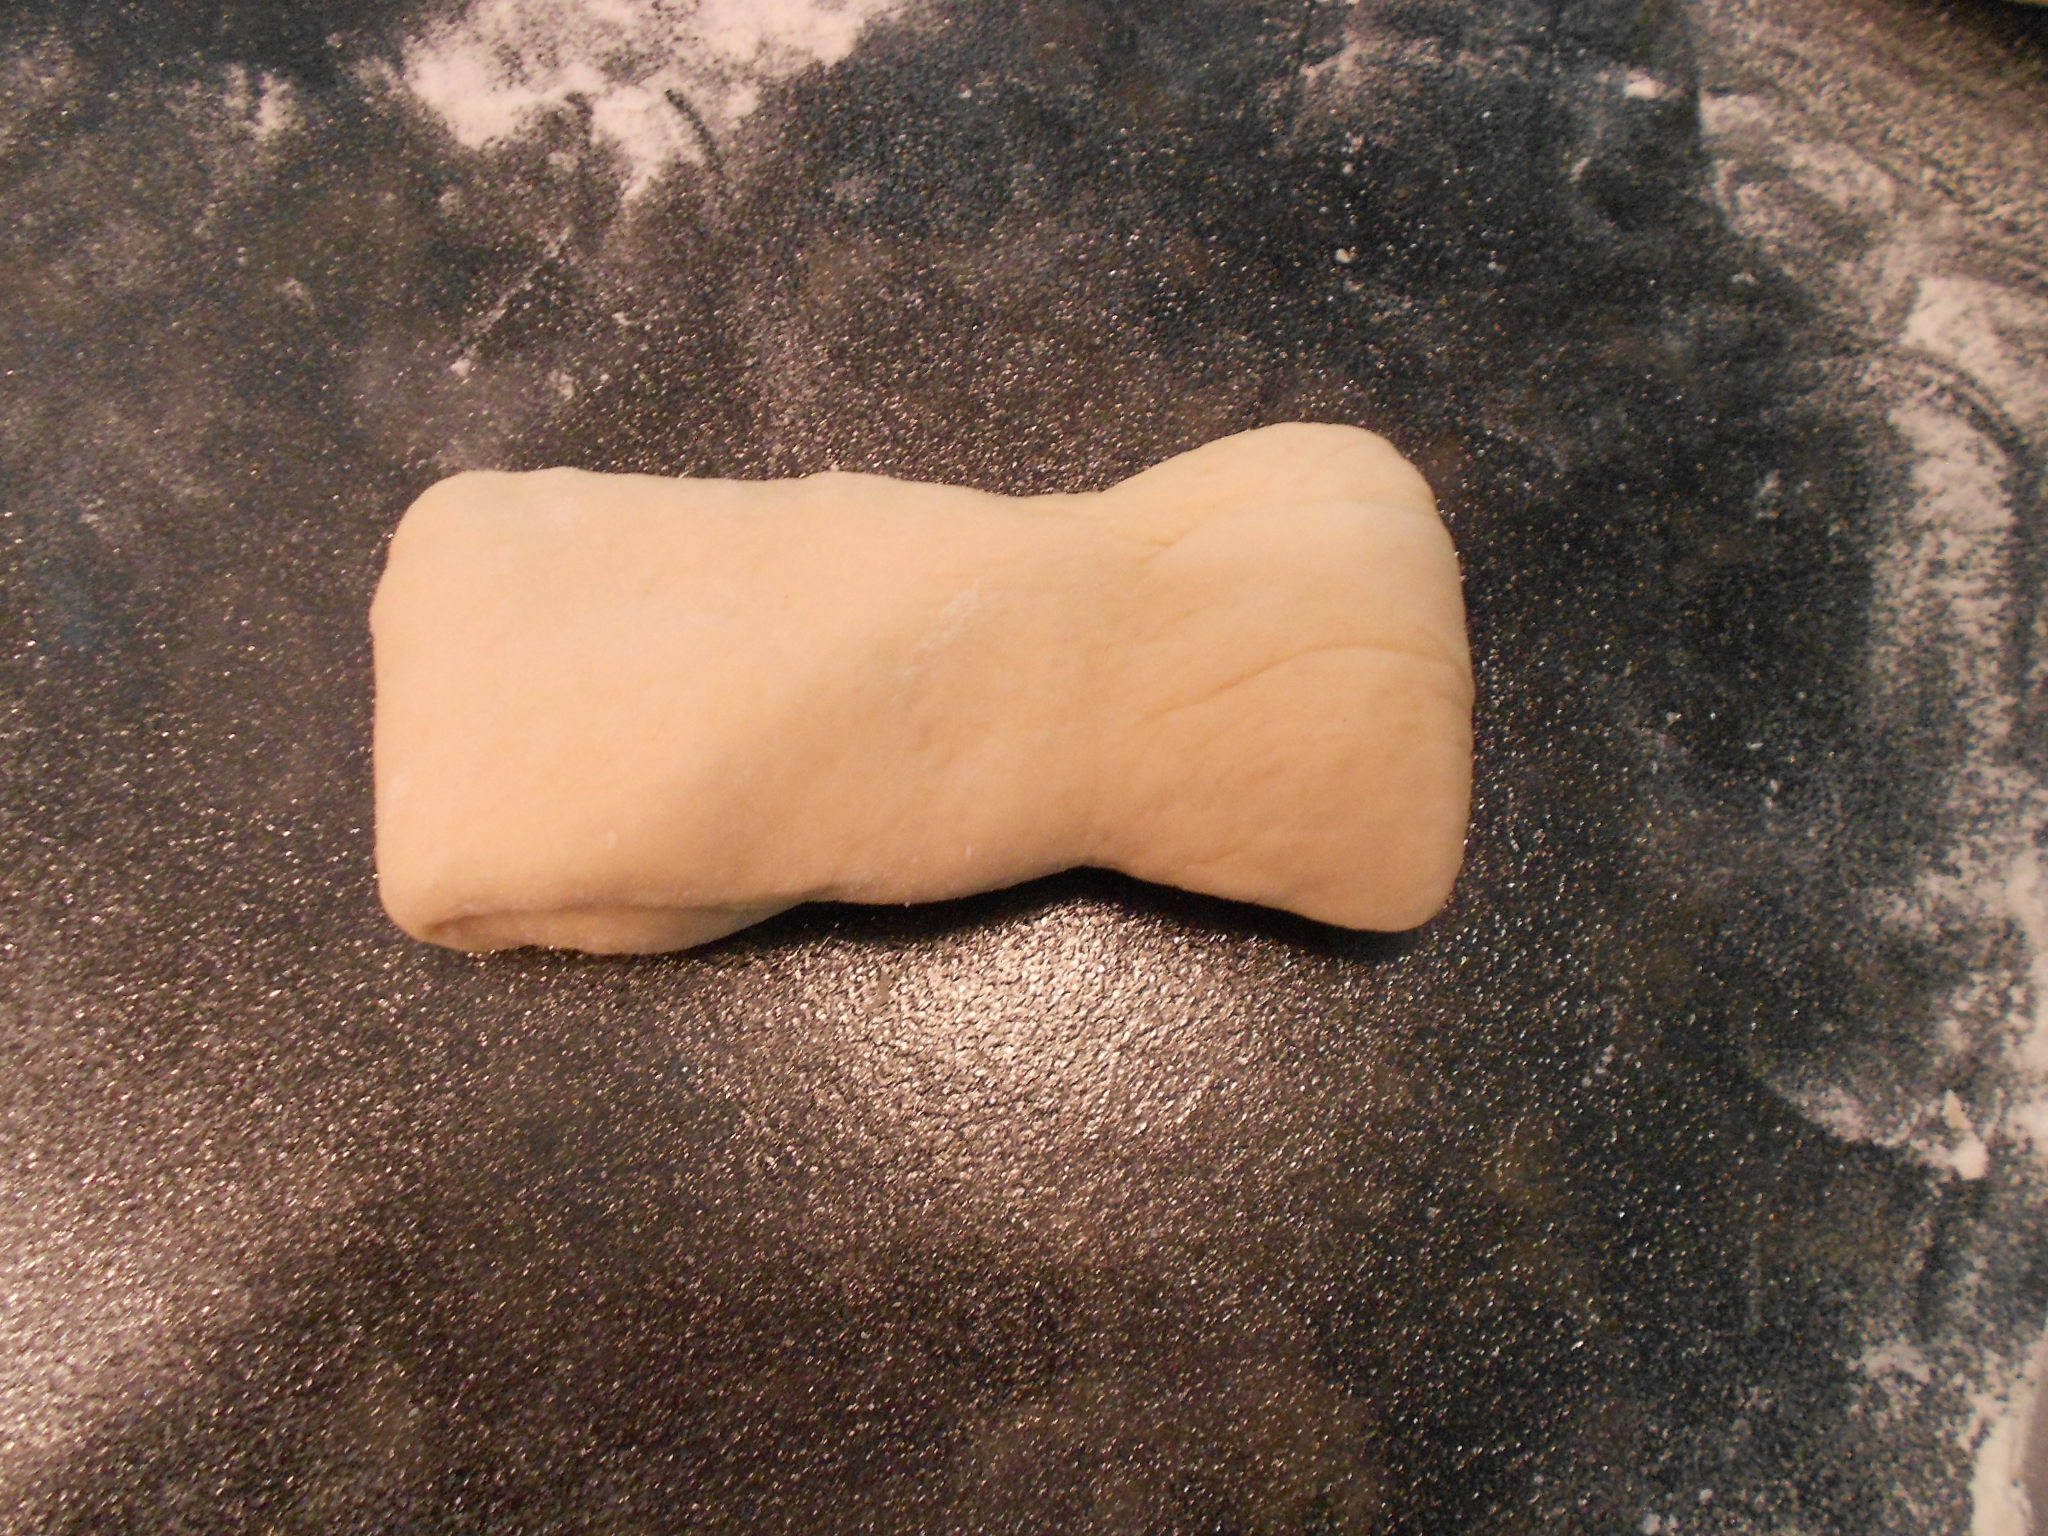
To make a sandwich long bun, I just make a snake with the dough and then fold each end in. My snake is about 12 inches long so when both ends come together, the roll is almost 6 inches. Buns I just make balls with a flat bottom.
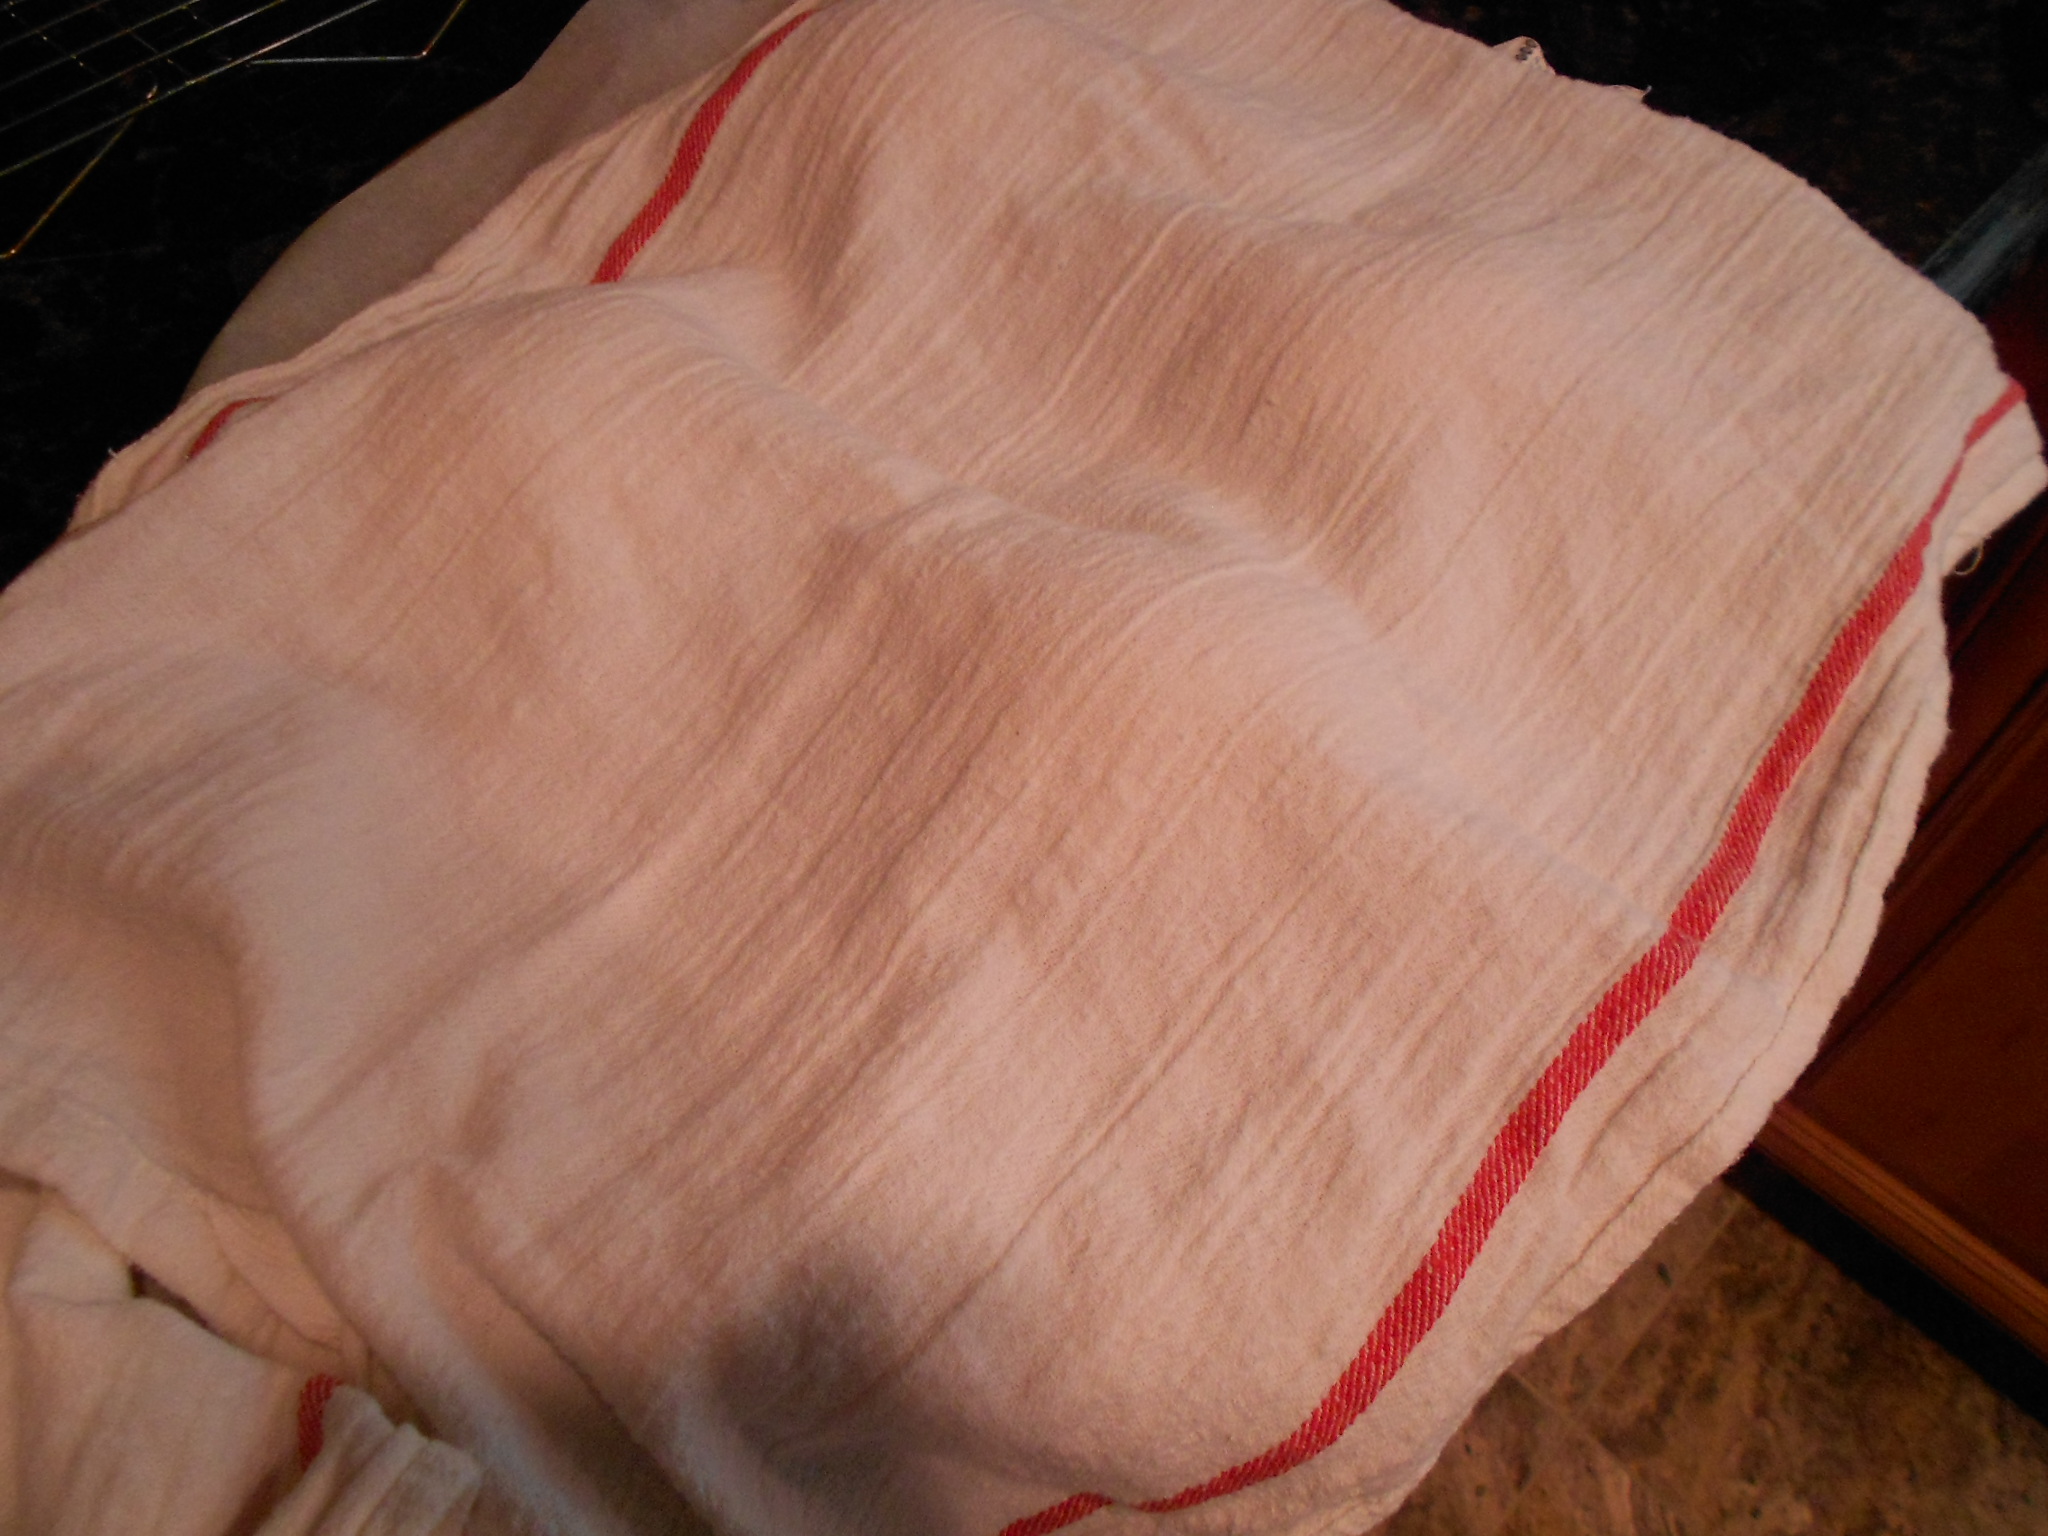
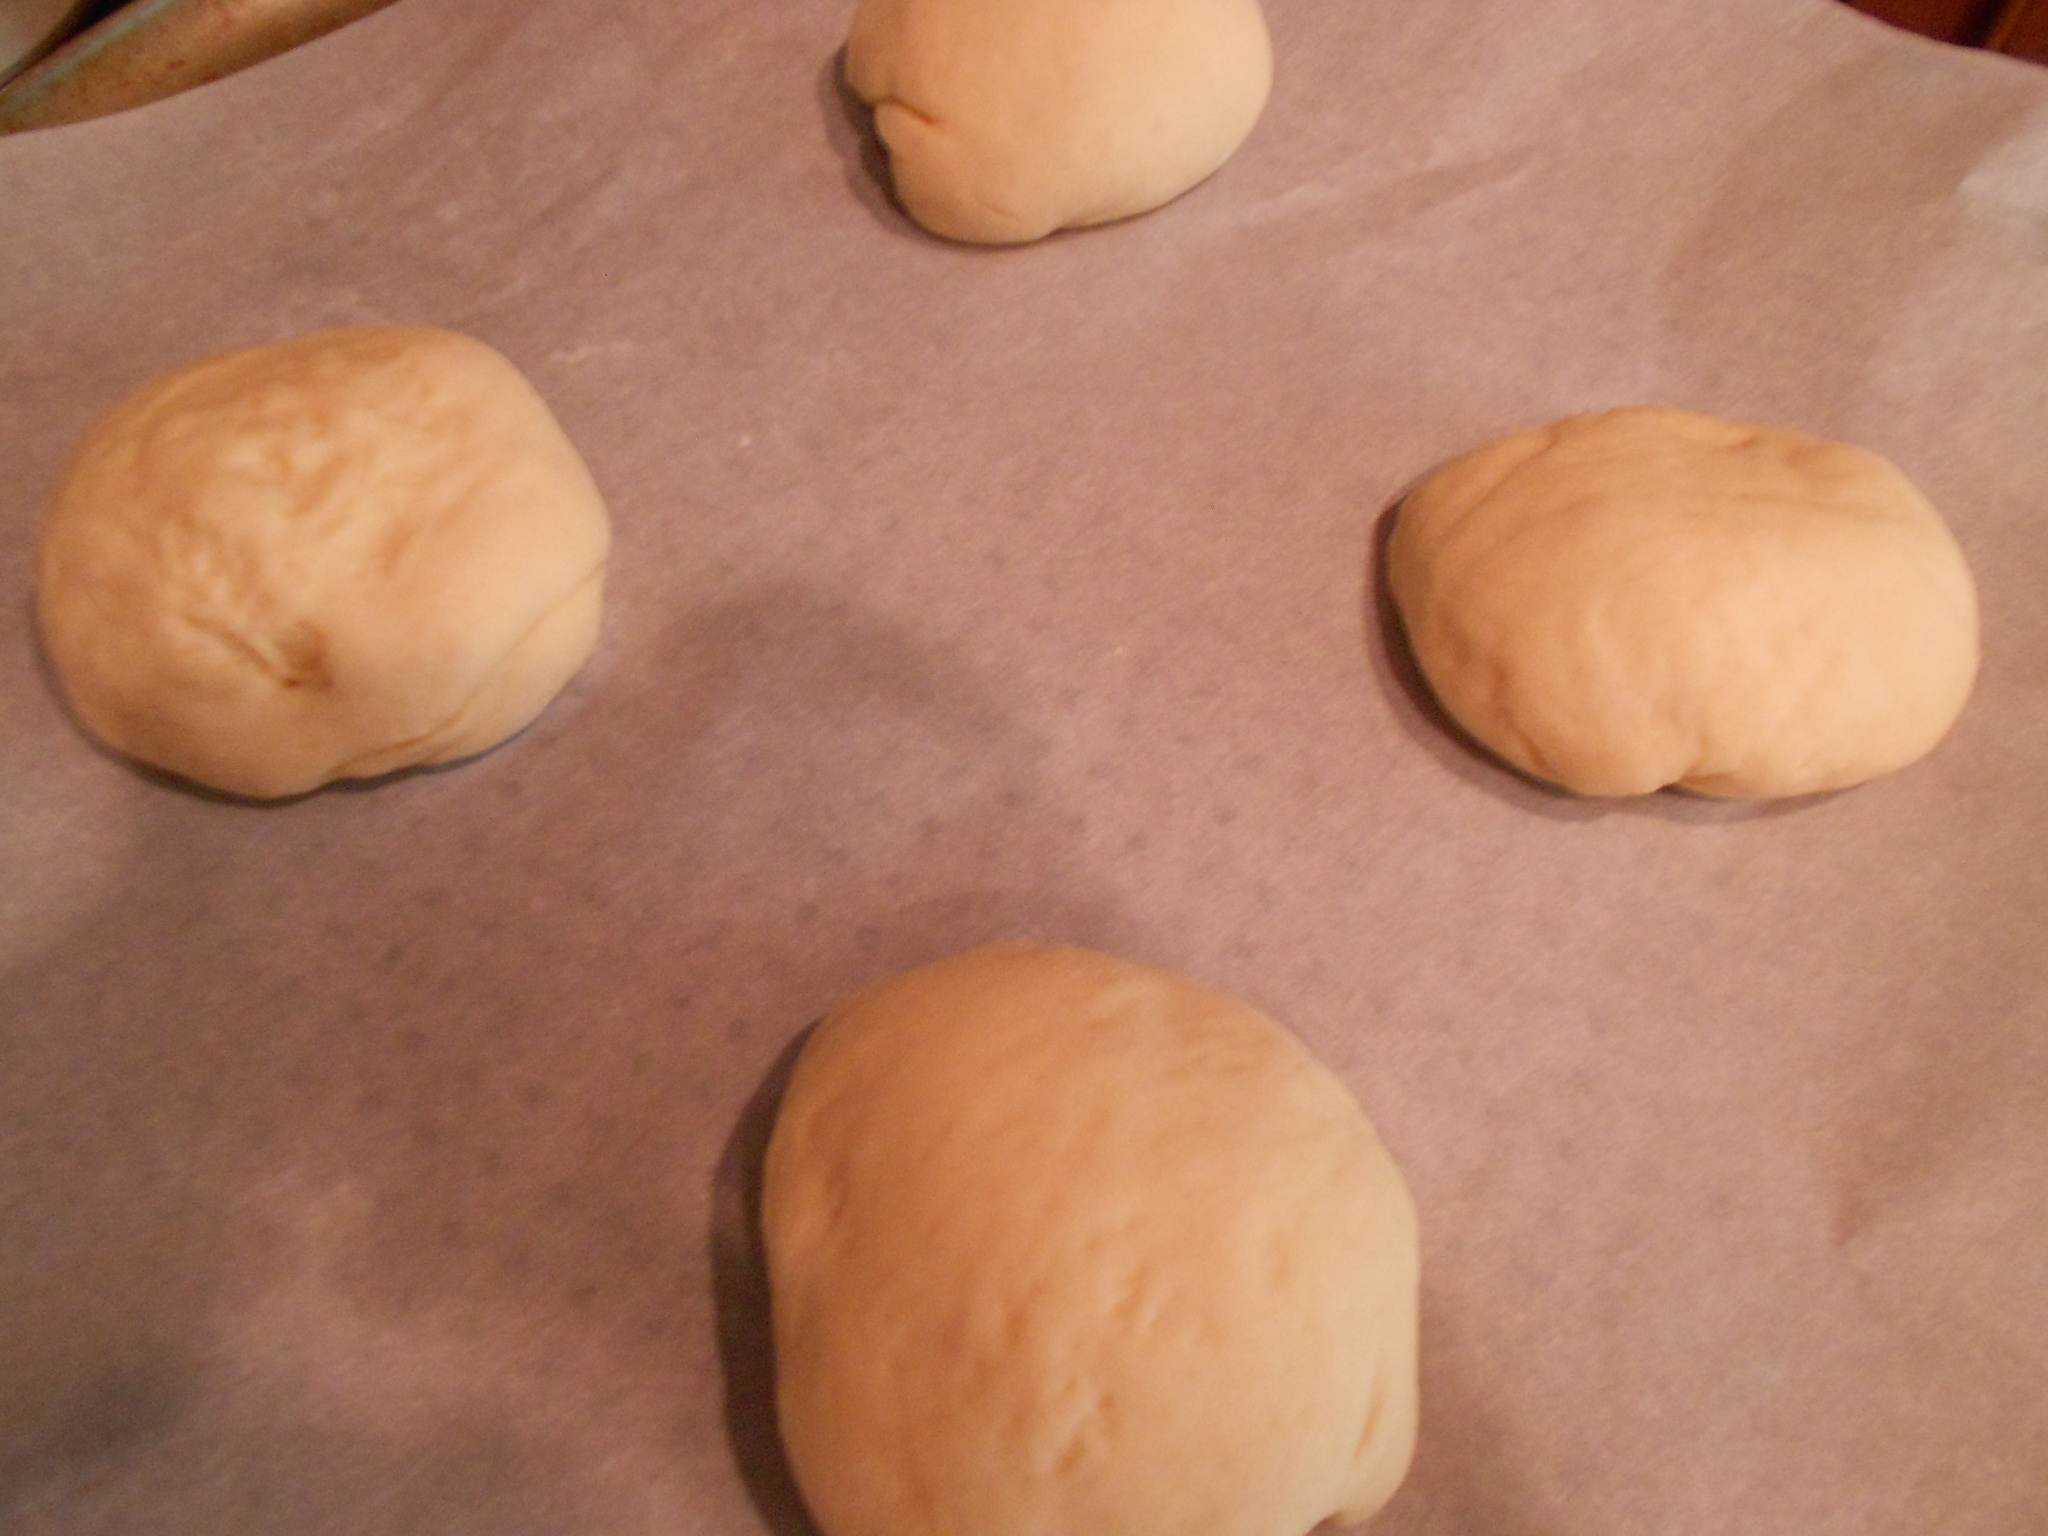
I then allow the buns to rise between 25 to 30 minutes. I put a towel over the pans and again return the dough to my oven on the proof setting at 105 degrees.
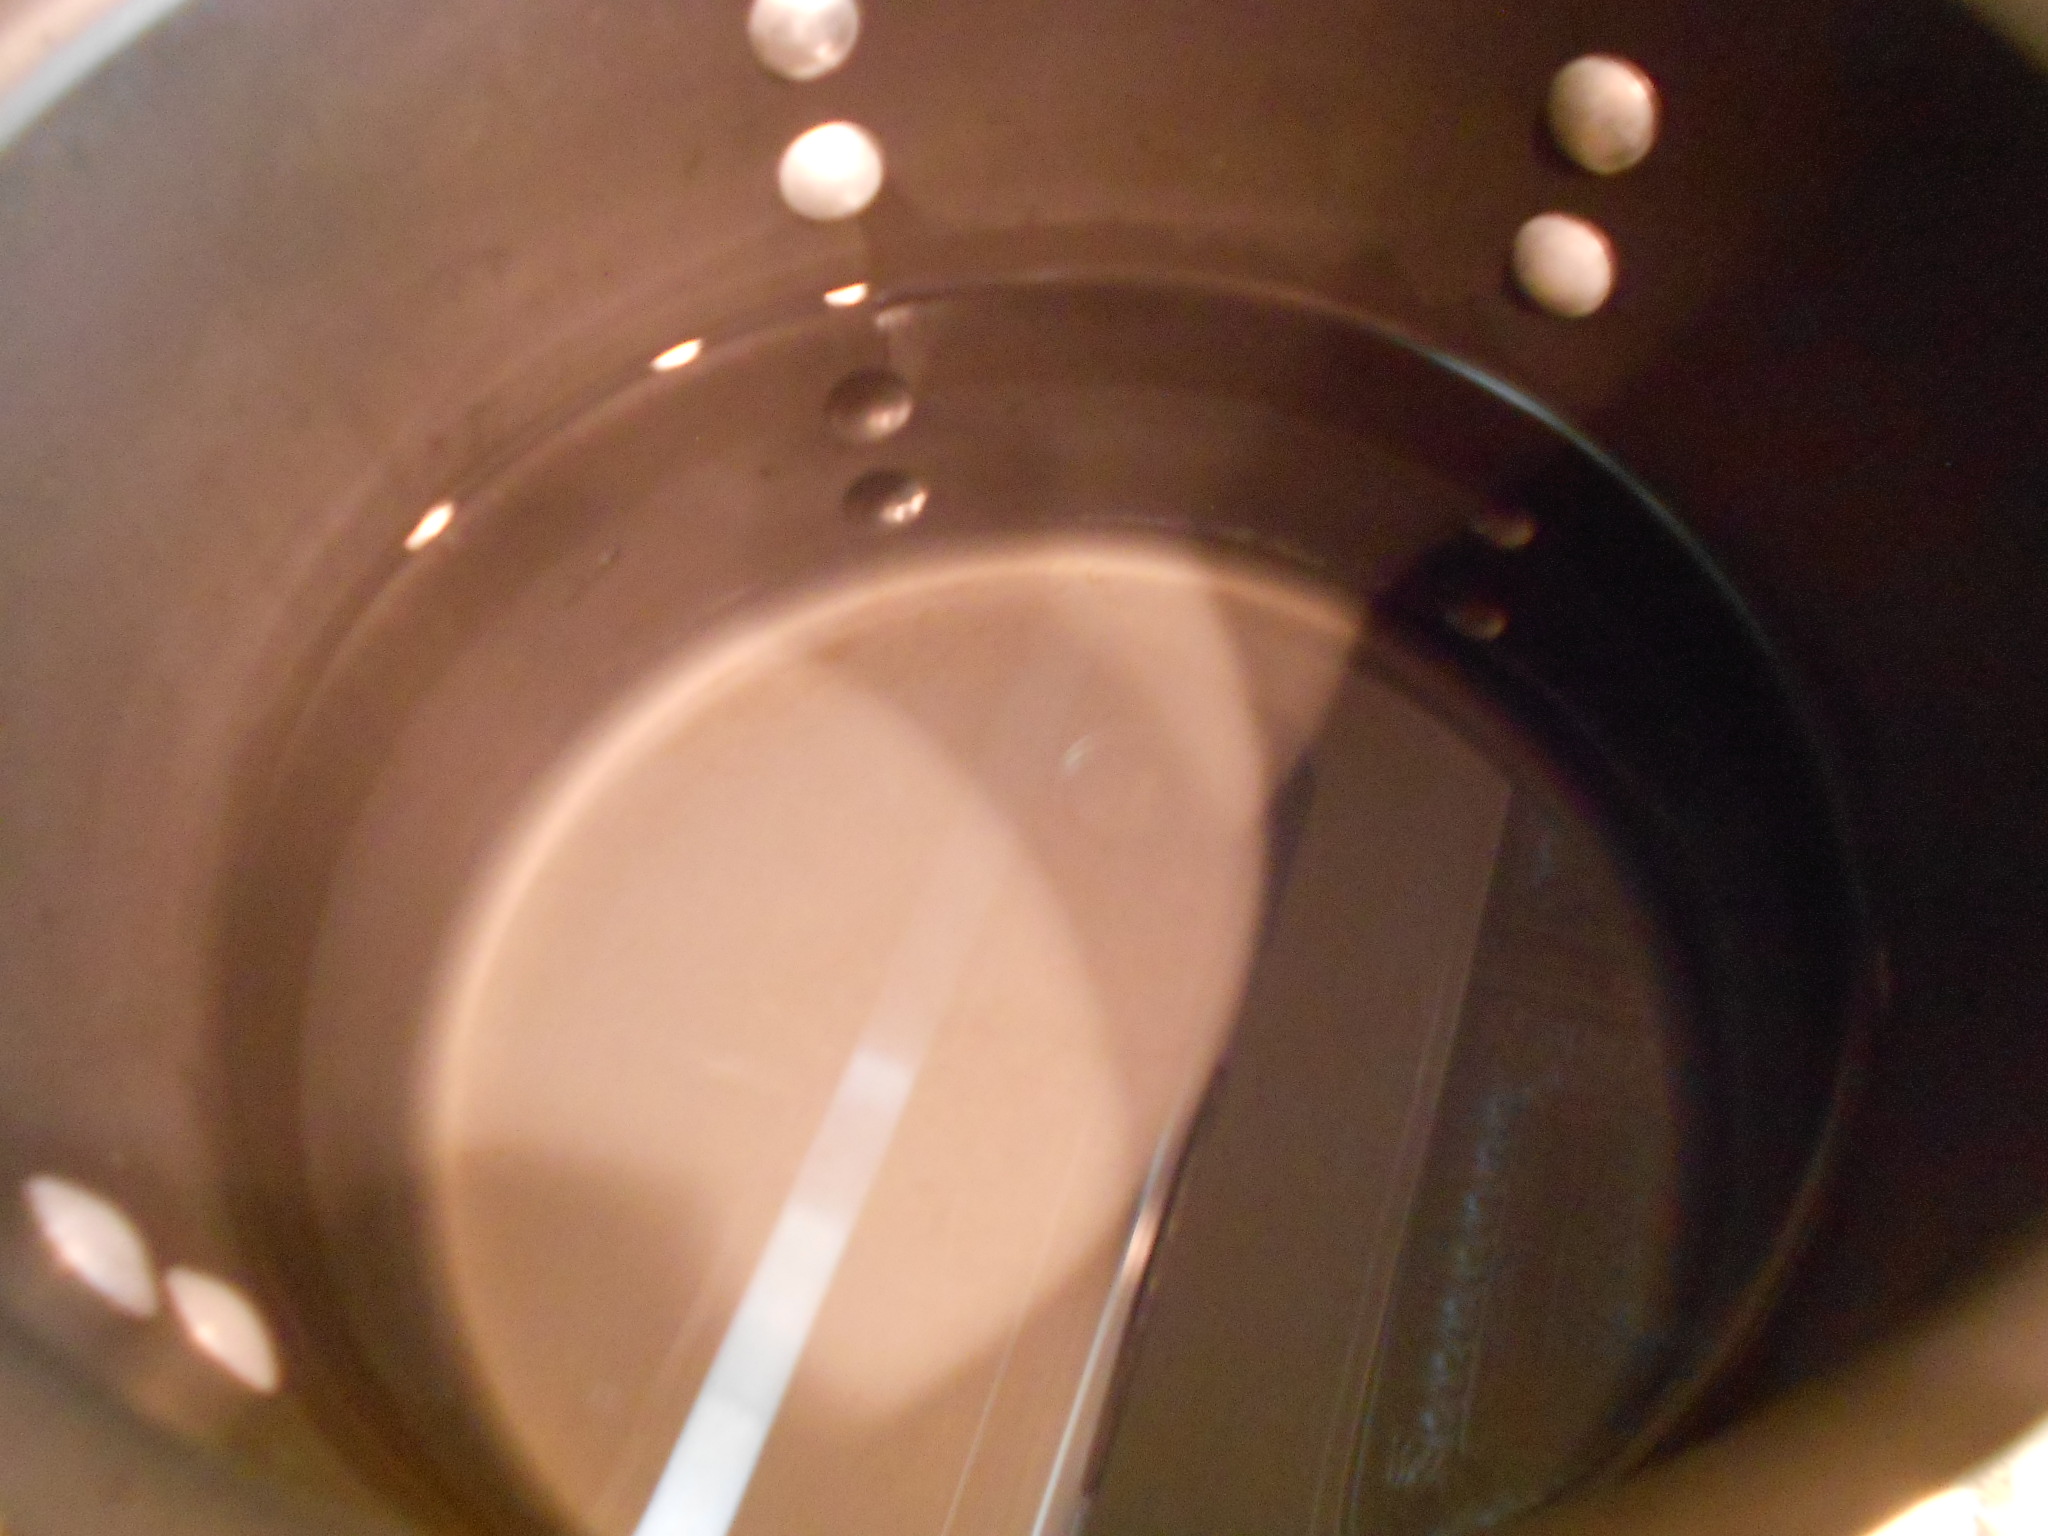
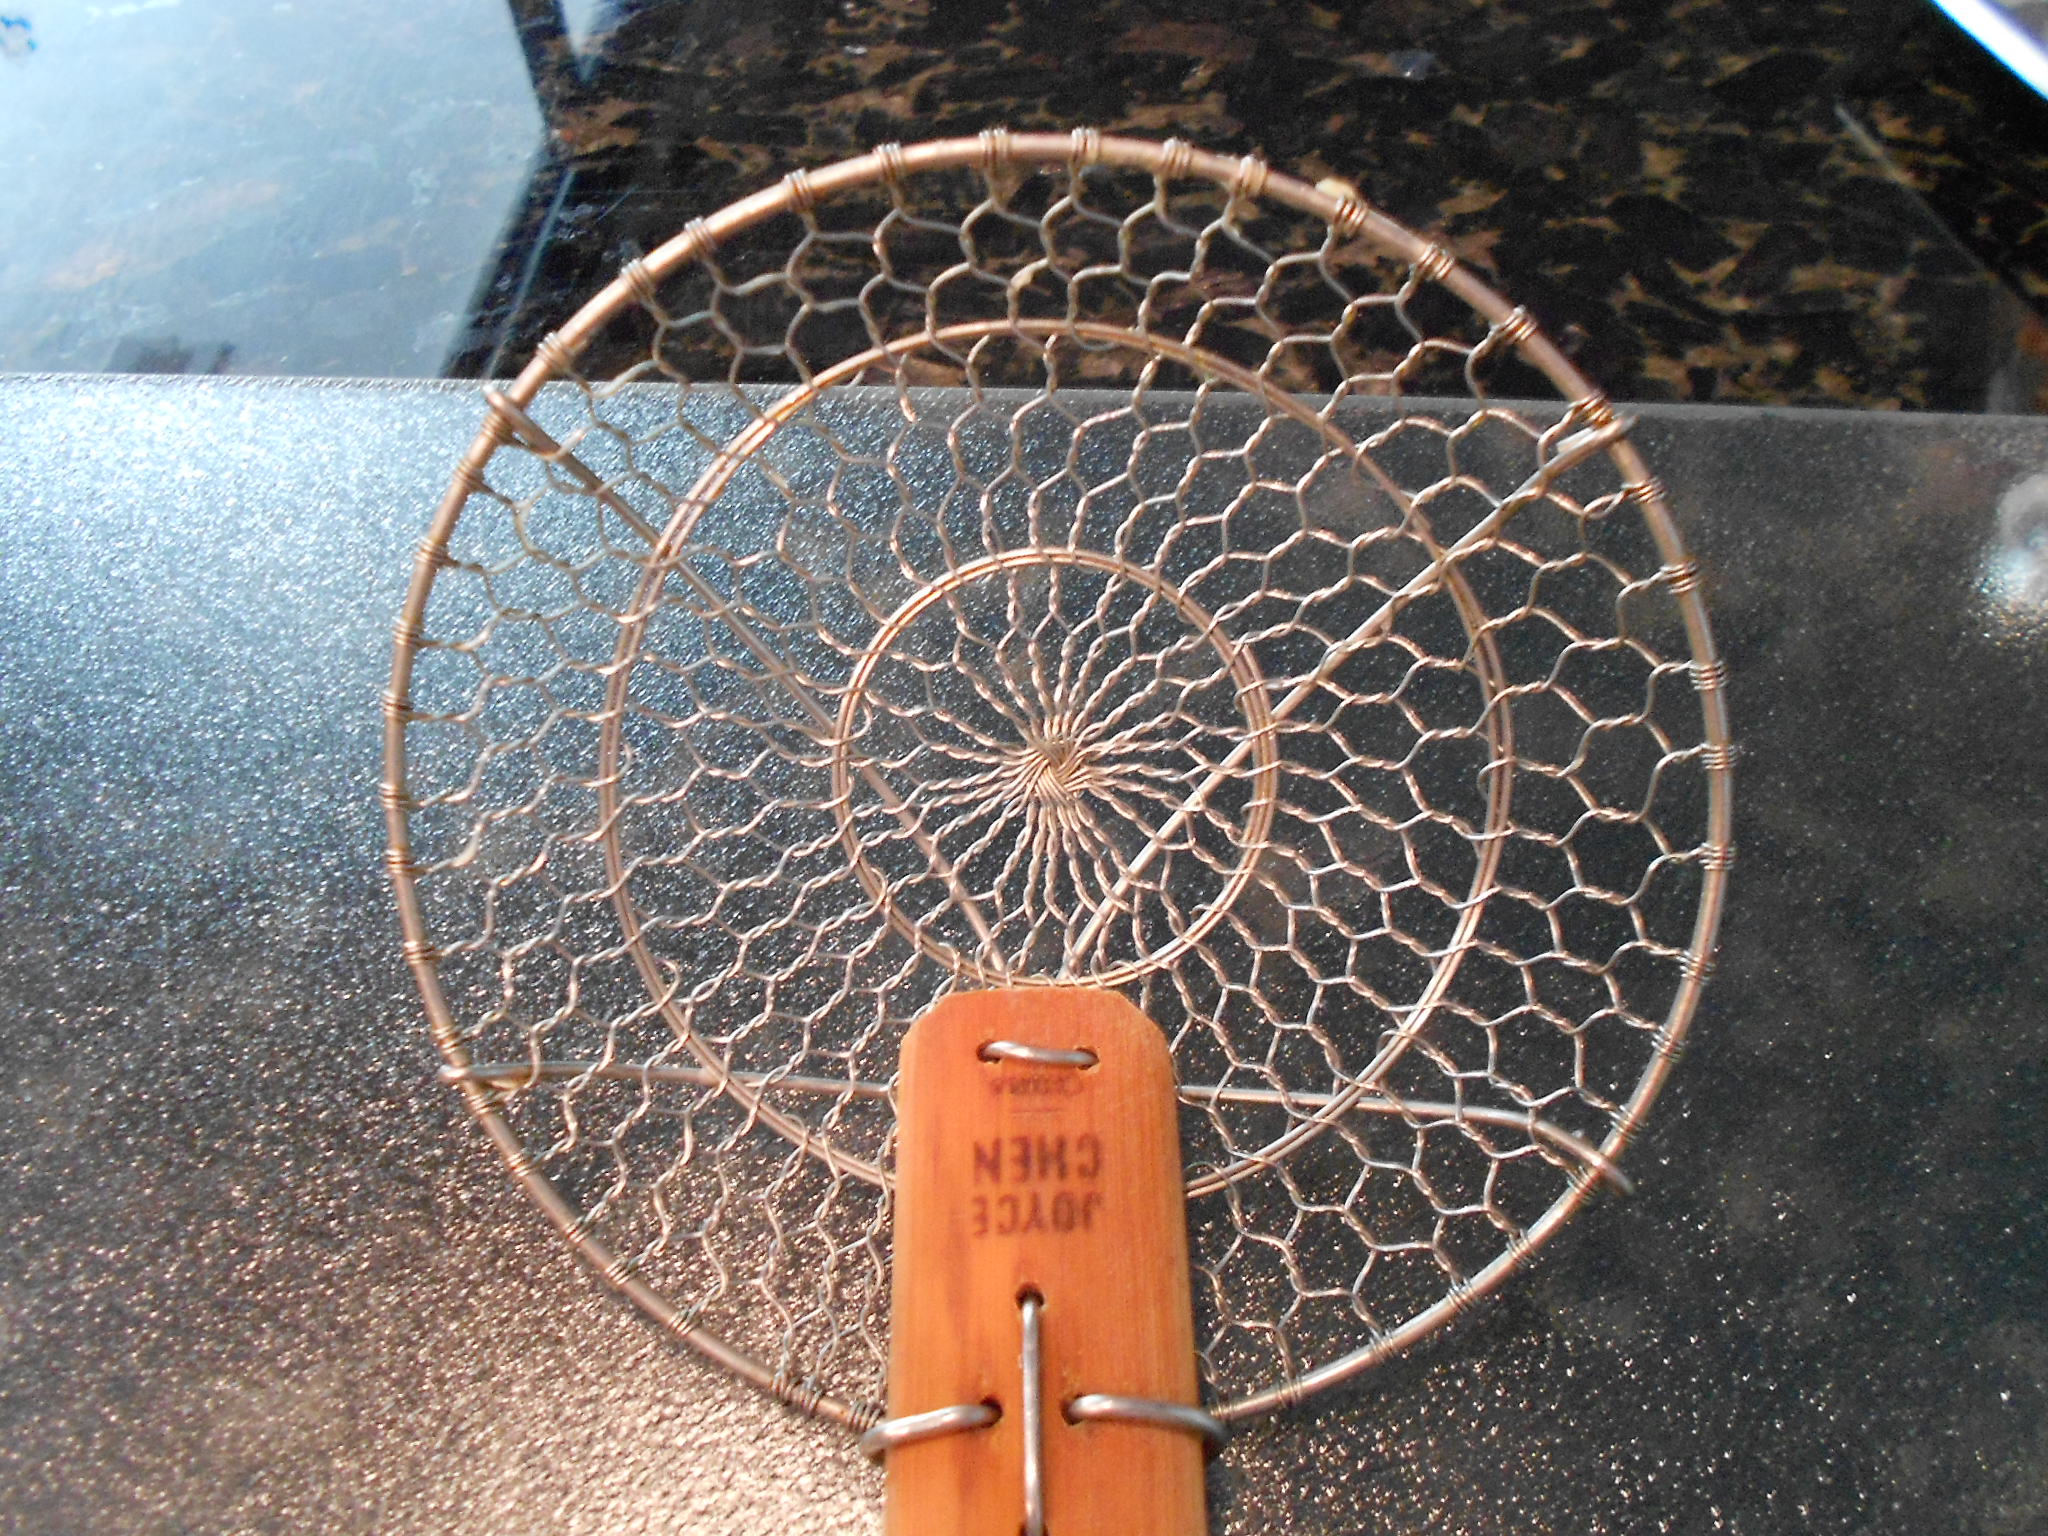
While my buns rise, I begin to mix the water and baking soda. Bring your wash to a boil and then have a steady simmer going. I take out my spider spoon, because this helps me picking up the buns without a mess of water coming with them.
I also crack the egg and add the water for the wash. Also a good time to set your oven to 400 degrees. I use the convection setting for bread.
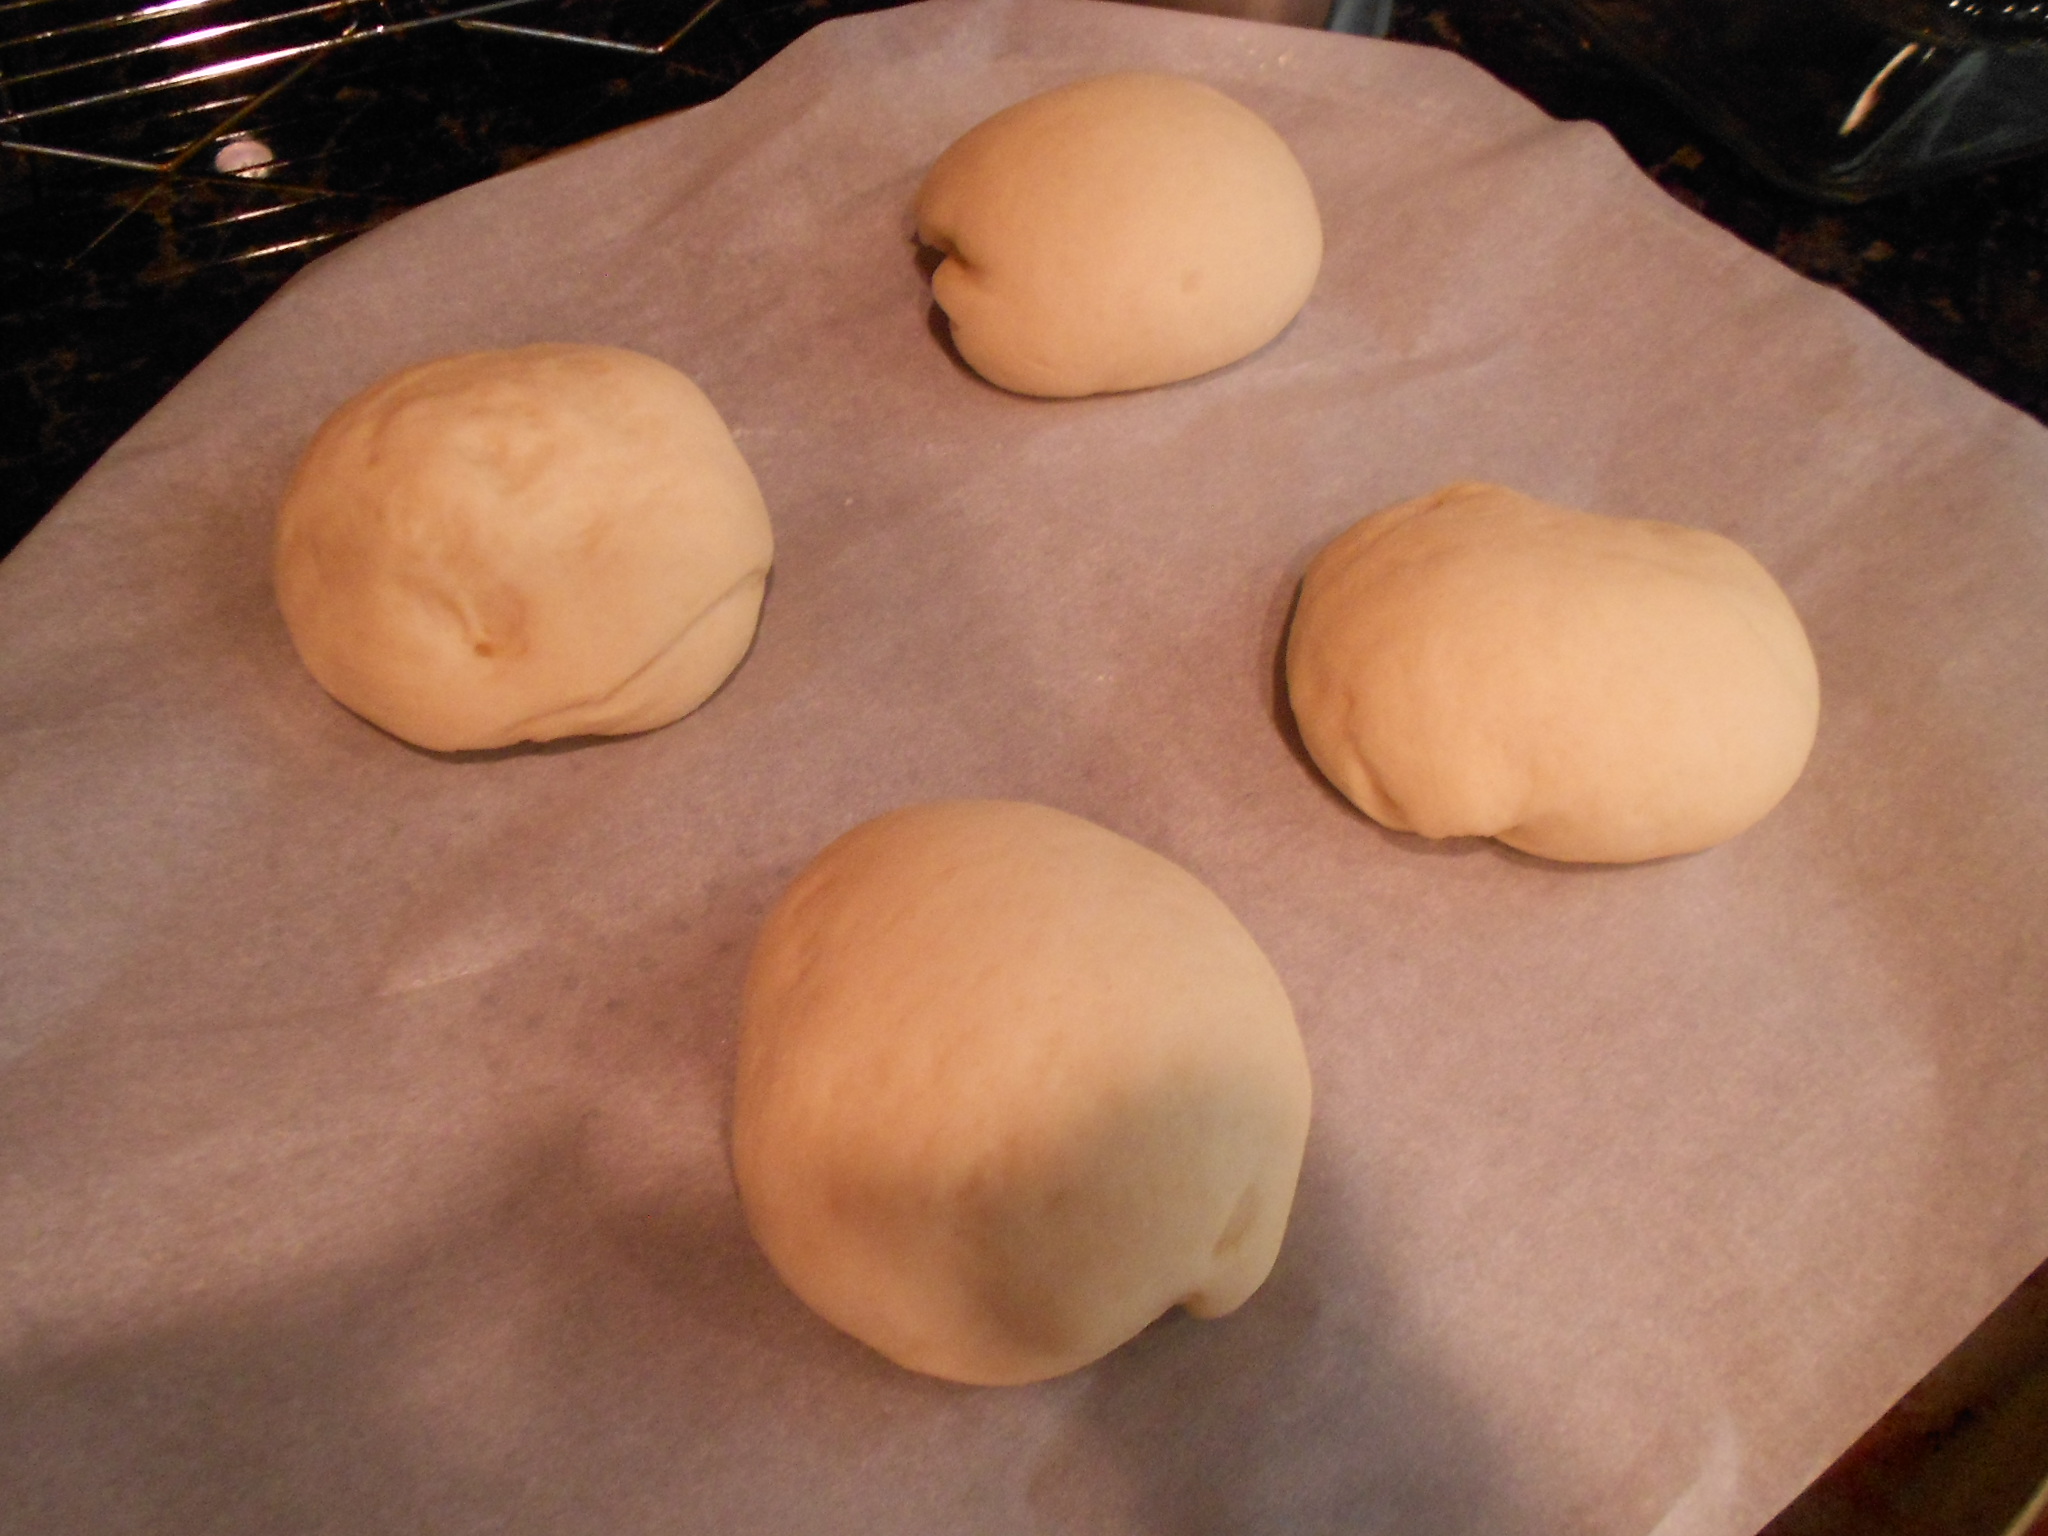
Buns have risen so now it's time to "pretzel-ize" them. Just like you would do with bagels, you put one or two buns in and allow them to remain in the baking soda solution for 3 minutes on each side and I use the assistance of a timer because I can get distracted easily. After 6 minutes are up, I remove the buns and place them on parchment and the pan I will be using to bake them on. I have found my pizza pan (with holes) works better when it comes to texture but a cookie sheet works fine if that is all you have at hand.
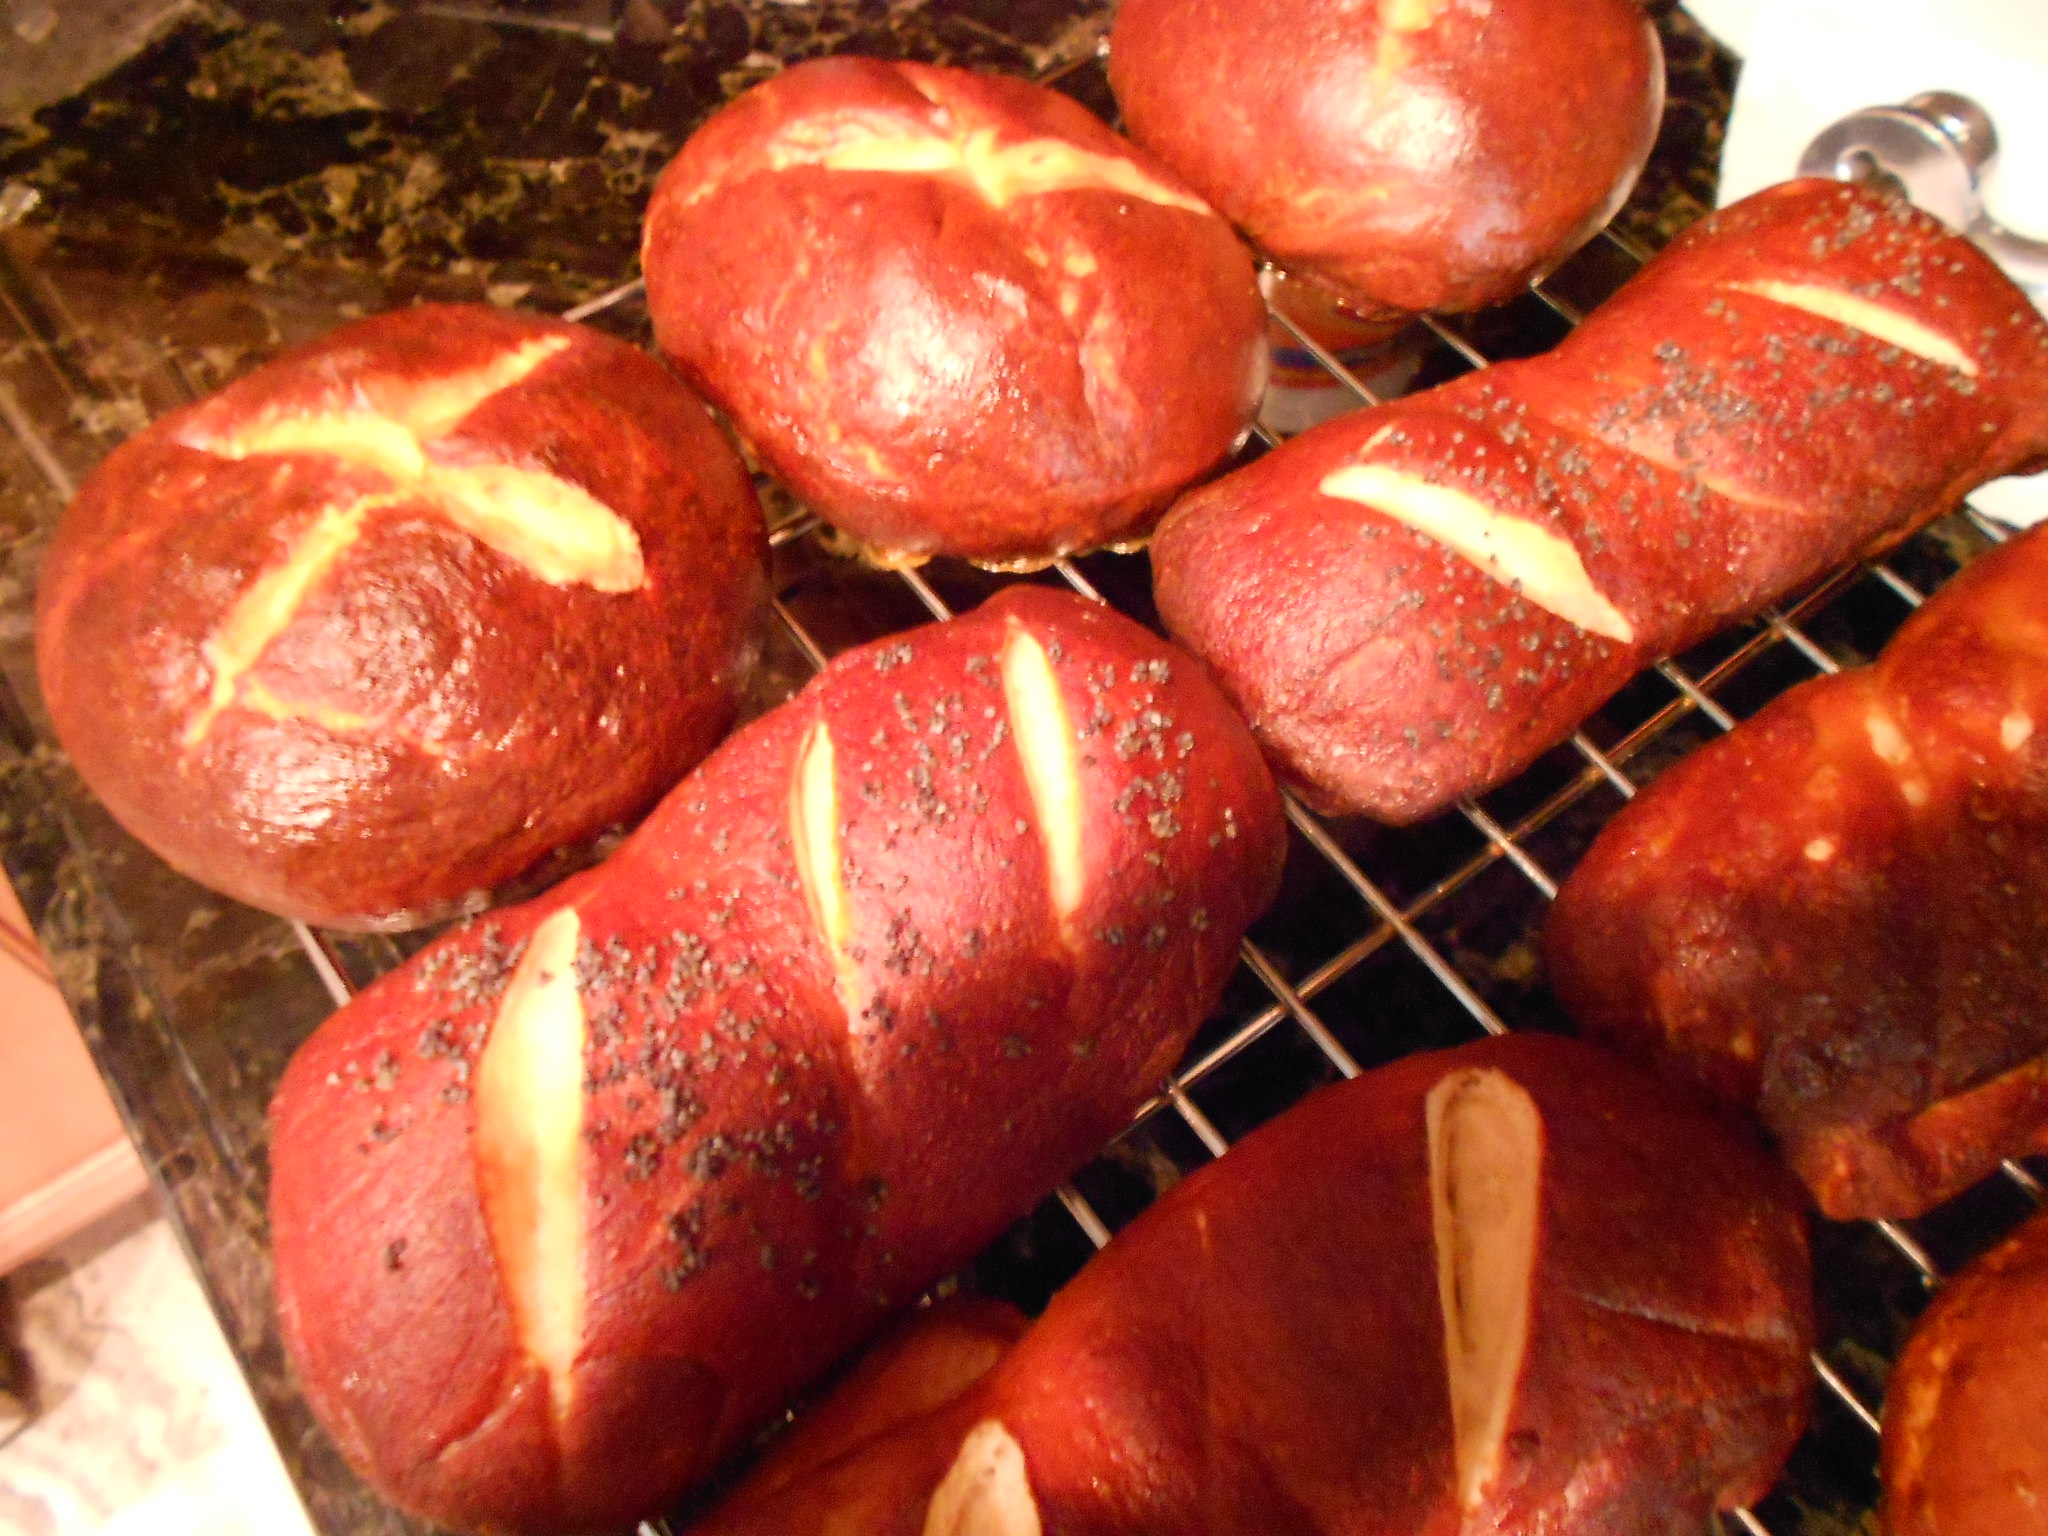
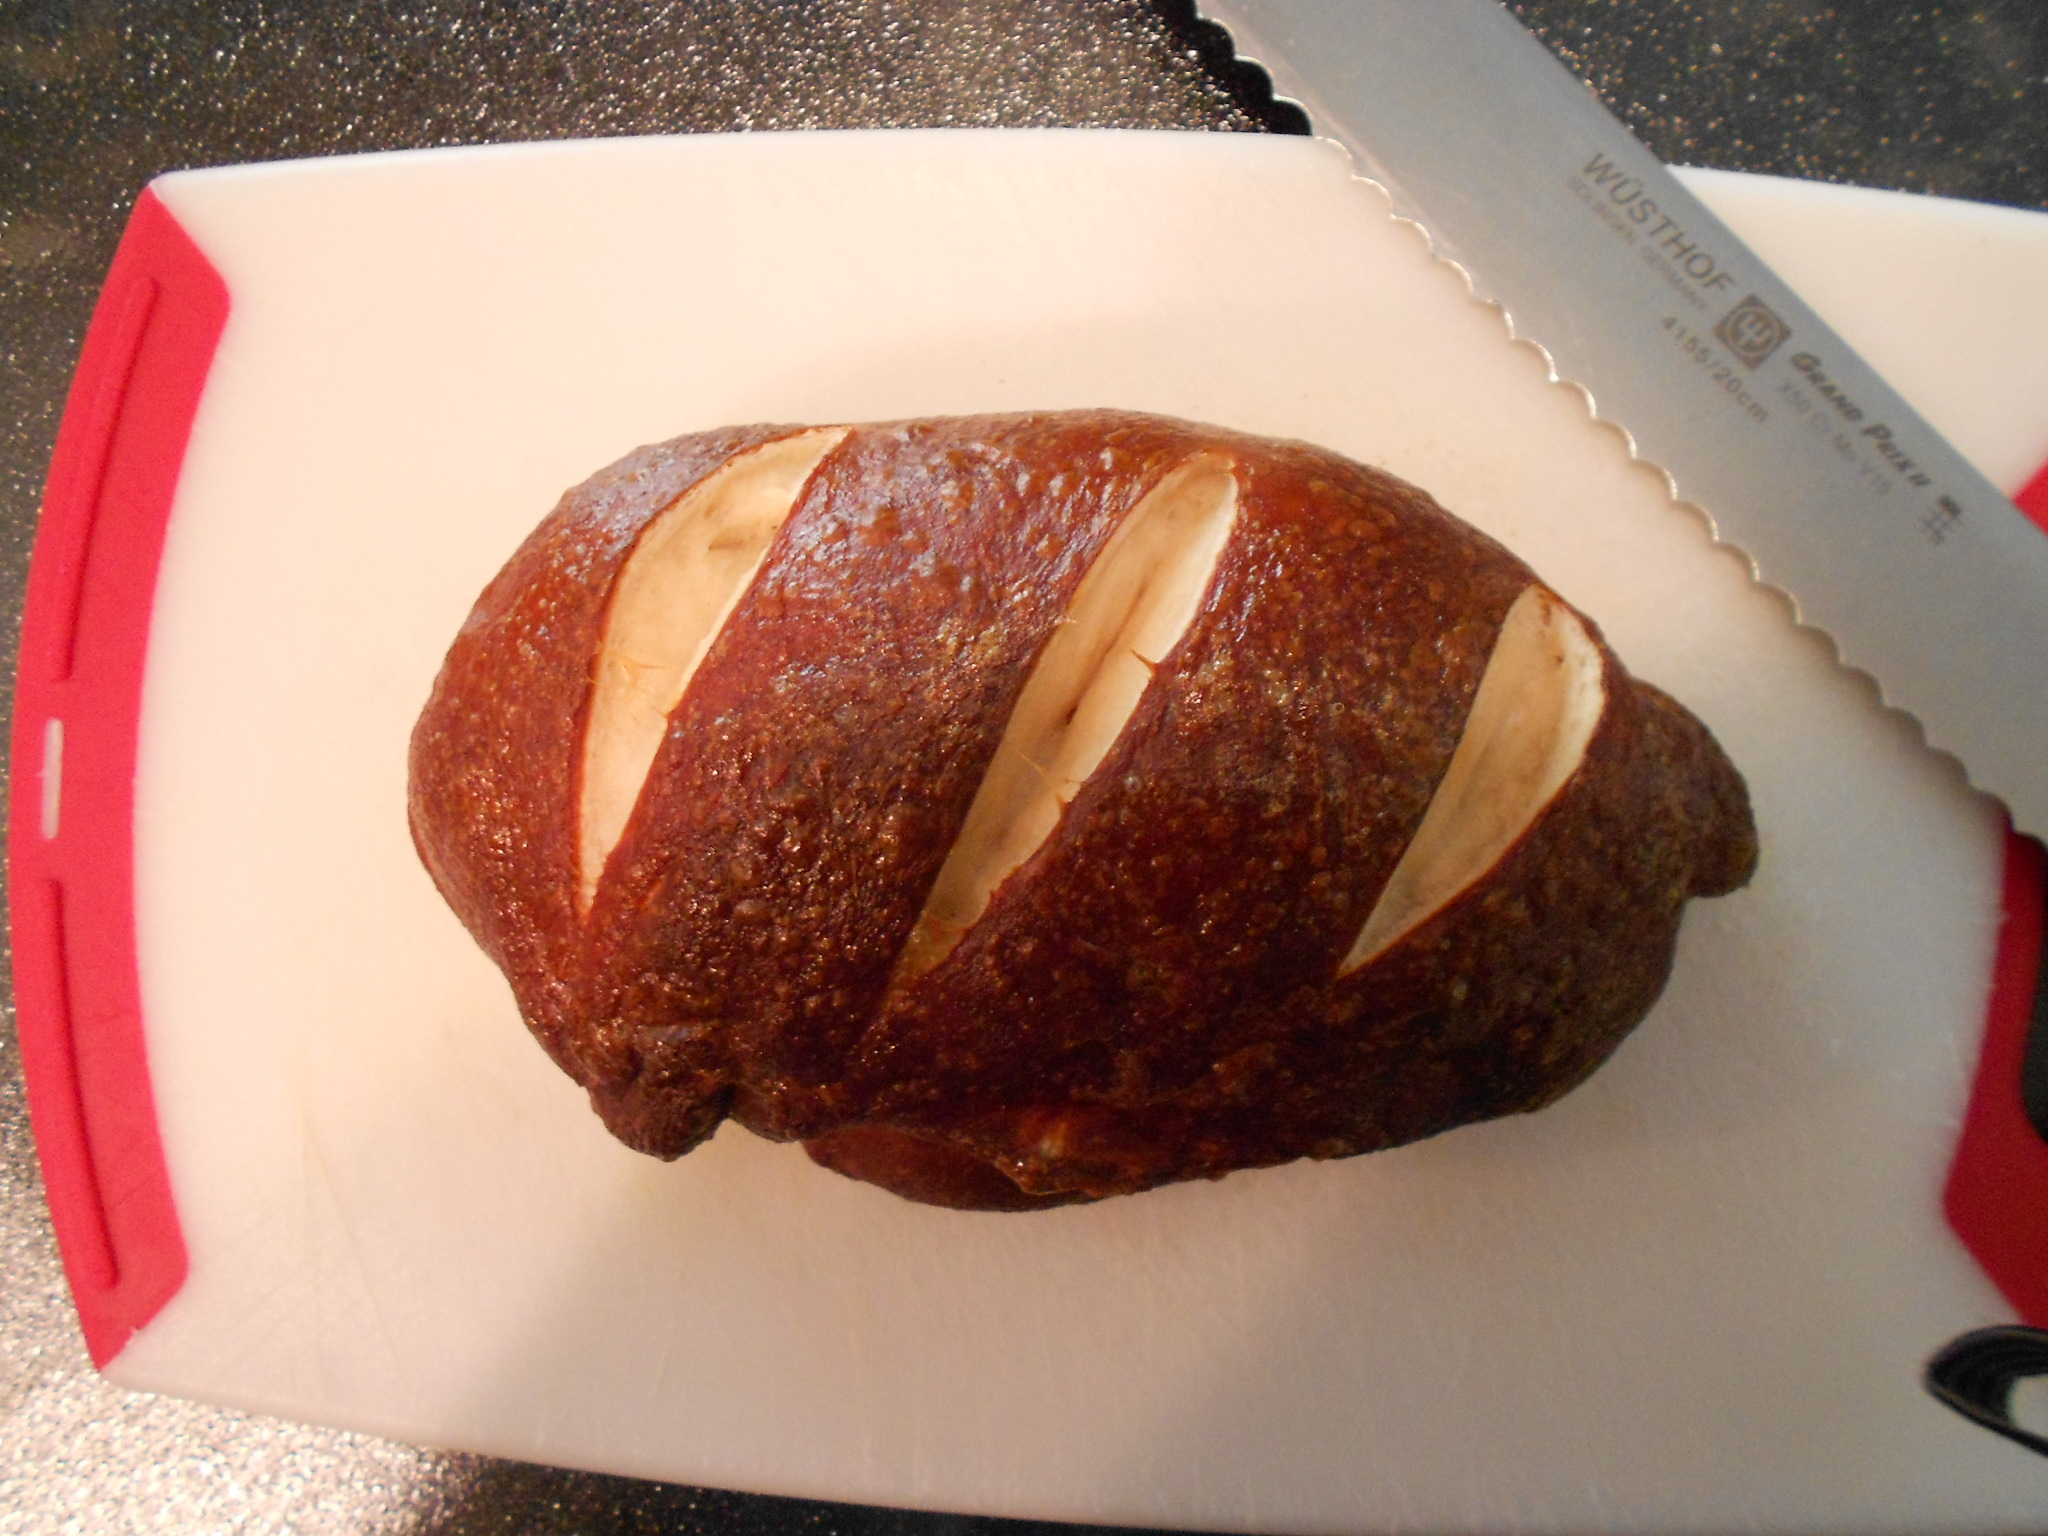
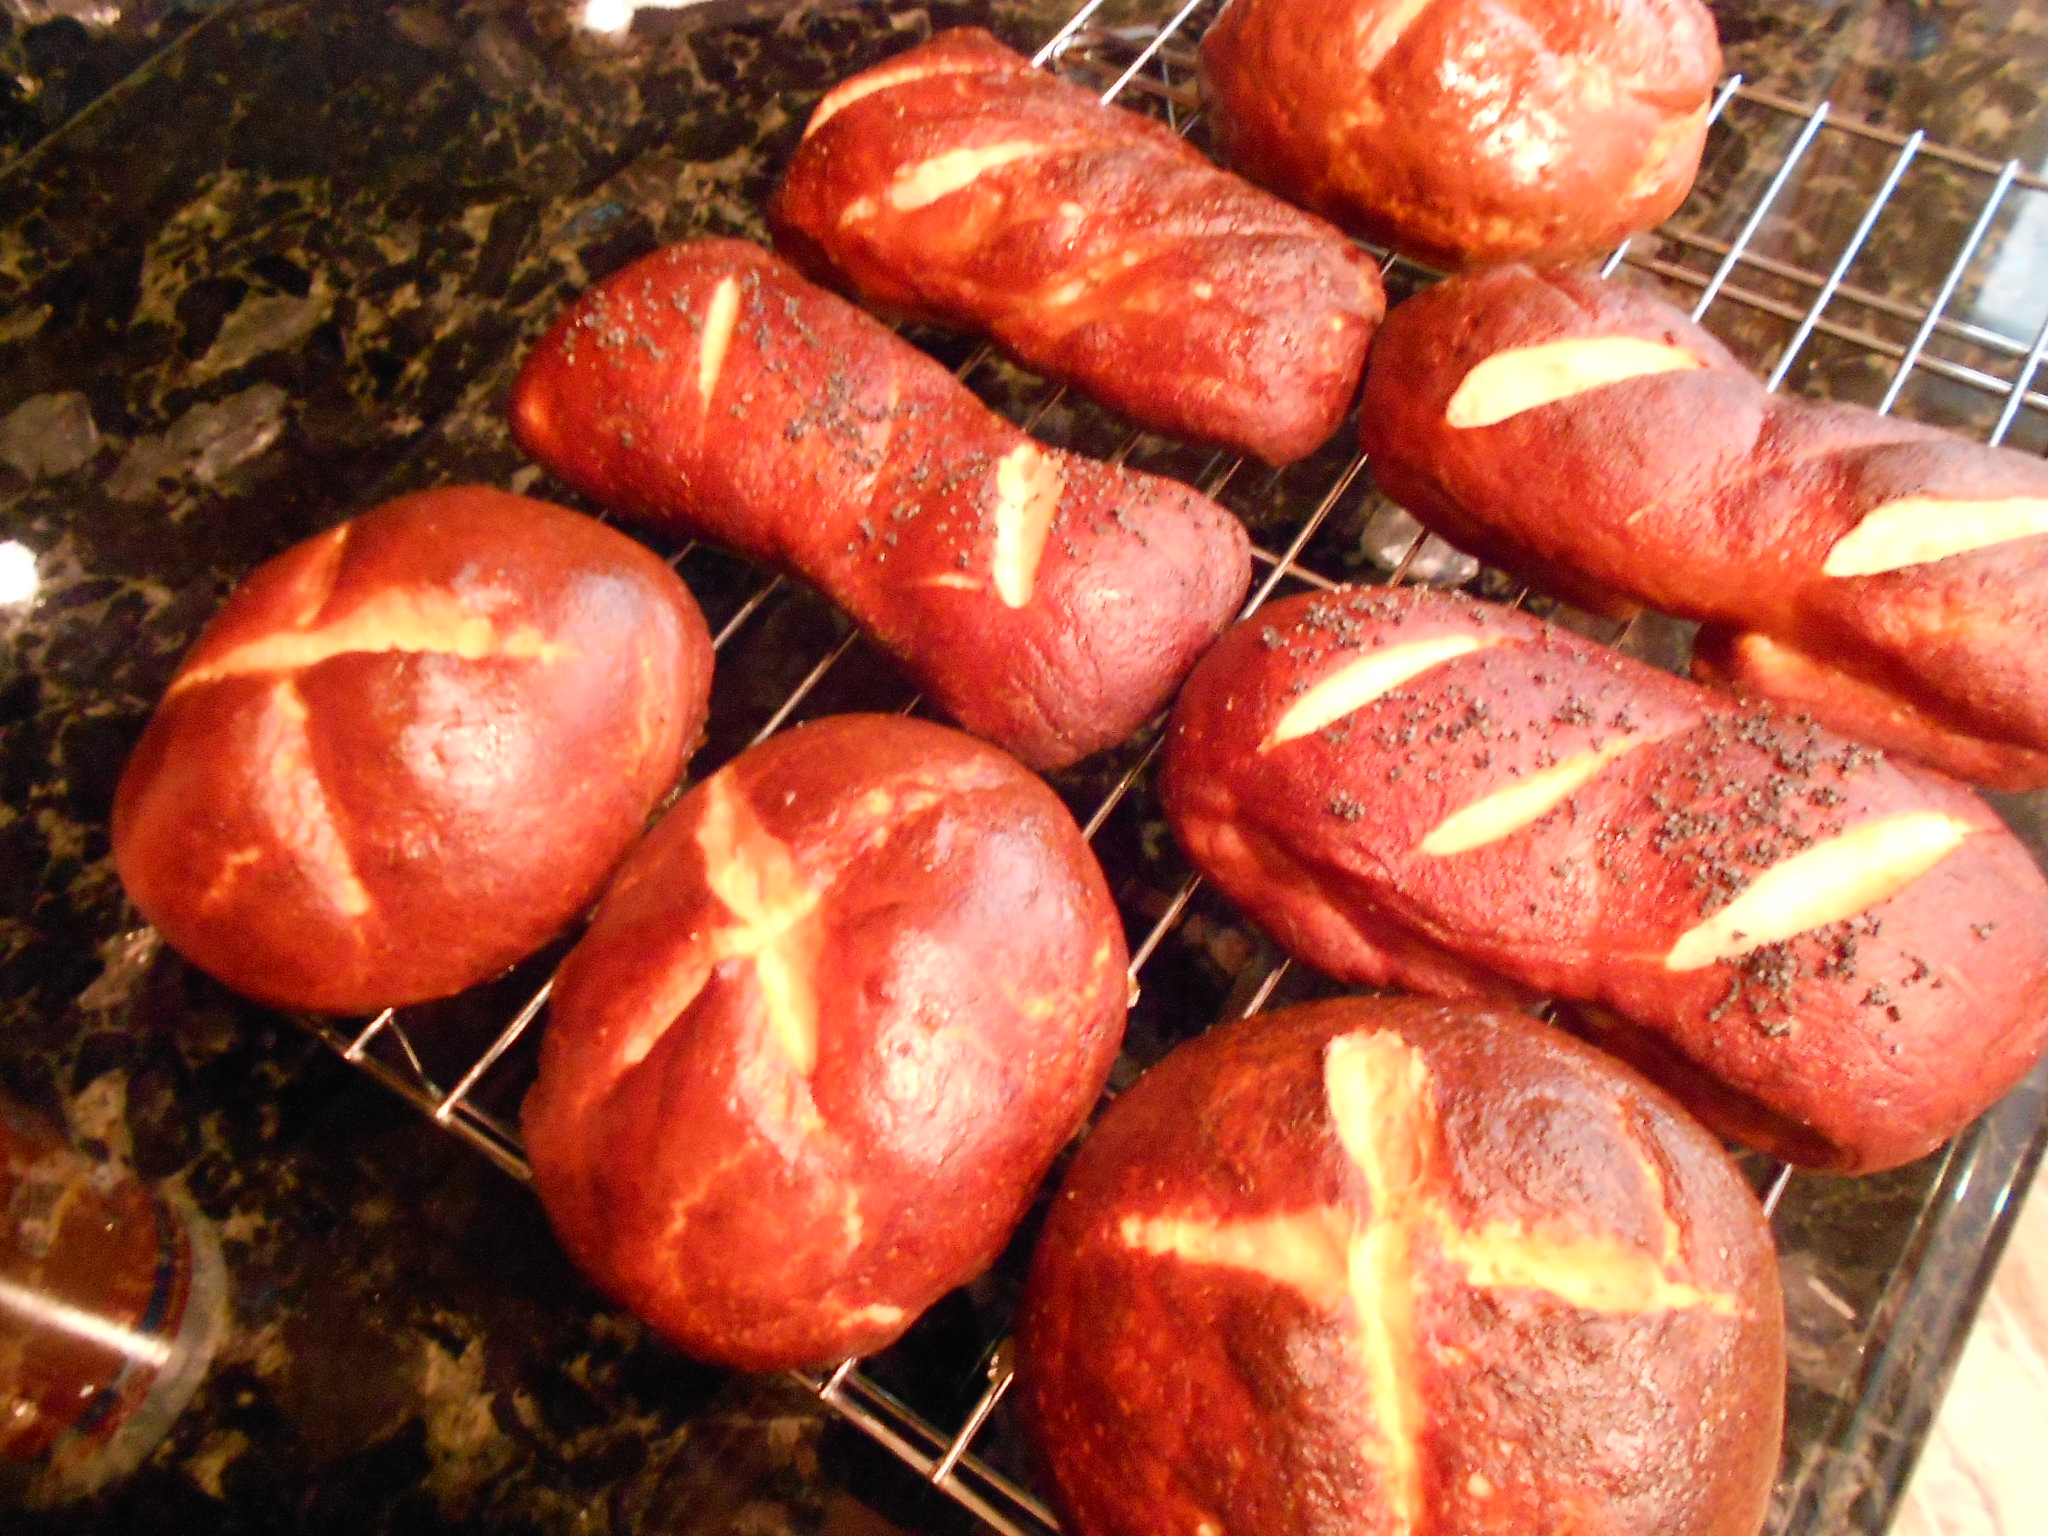
Give your bread(s) a brushing with the egg wash and then using a sharp knife, cut an "X" cross on top or slits, whichever you like. I do crosses on the round buns and slits on the longer ones to distinguish their use. You may also sprinkle Poppy seeds if you wish to have some at this point.

Pop them in the oven at the 400 degrees setting for about 10 minutes and then reduce to 375 degrees and bake until done. Okay, because buns, loaves, rolls, ect., vary on size, this is why I leave this part open regarding time. Mine took between 5 to 8 minutes on the 375 degrees setting and I take them out when they look as dark as you see pictured. Once you remove the bread, cool on a rack and try not to munch but I always give in to the smell and figure I test out the rolls to make sure they are good. Cool for about an hour or two and then you can freeze them like I described above.
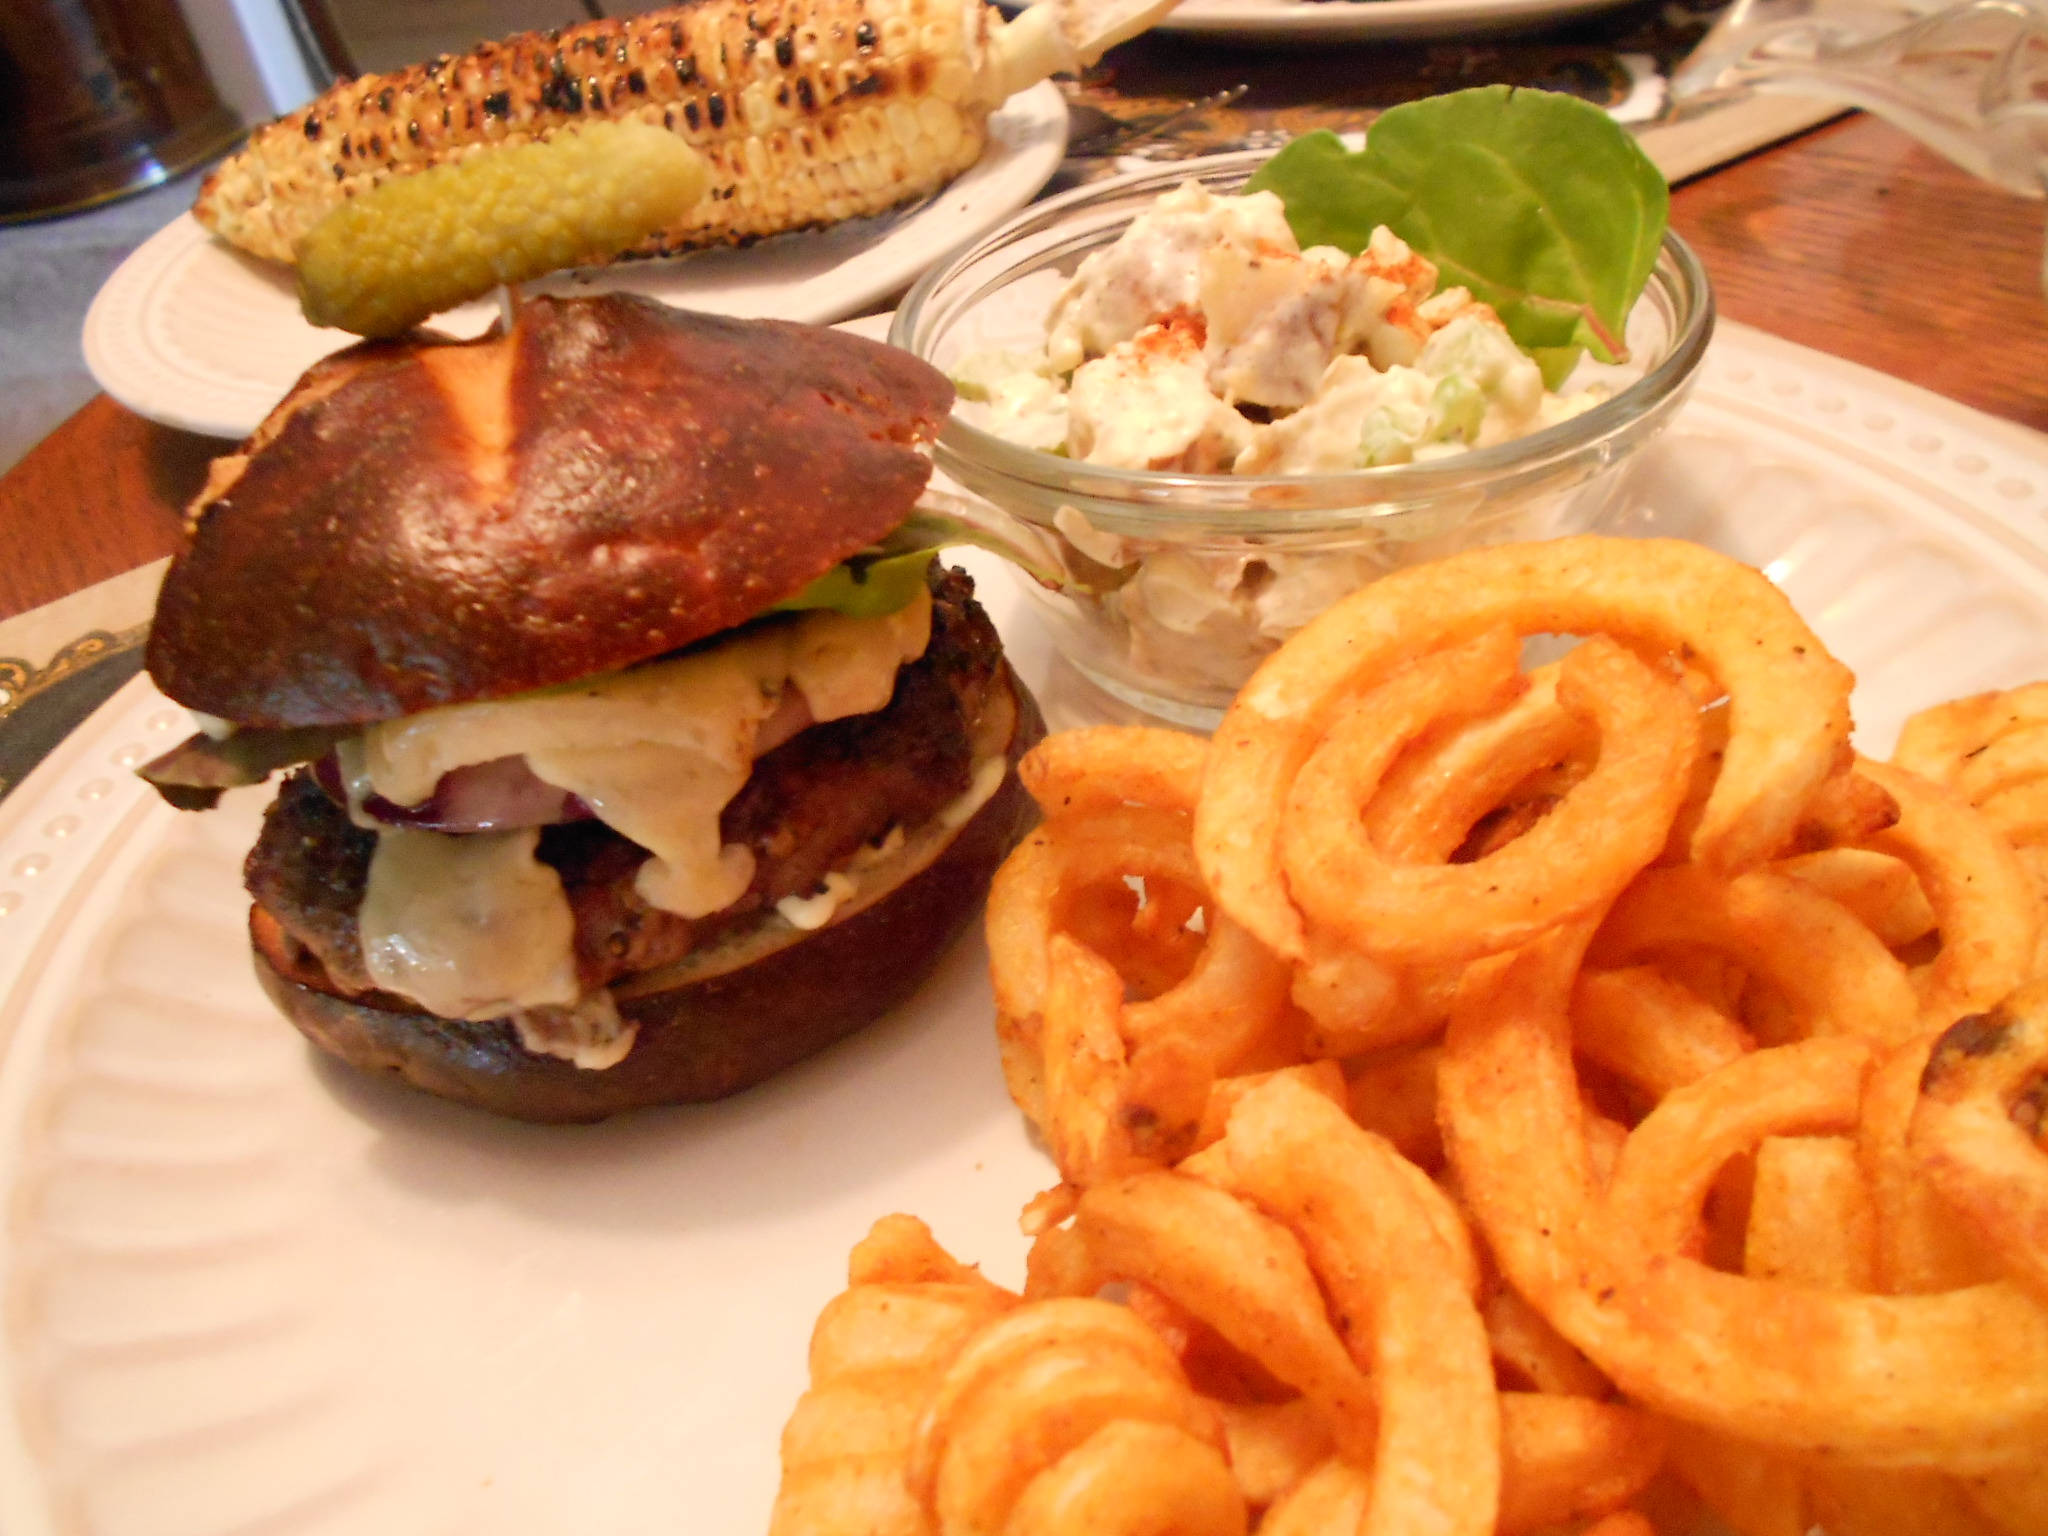
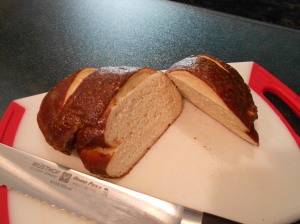
These guys are good as-is, for sandwiches and you can even make your own pretzel crisps, which I have used for even accompanying hummus and spreads. To make the crisps, you just slice a cool loaf and then toast them and allow them to cool. Best dipping bread EVER!!!! Enjoy!
I can't wait to try this! My husband loves this bread! I love the pictures and details.. So informative, you make it look easy =)) thanks for sharing
ReplyDeleteOMG THAT LOOKS SO GOOD
ReplyDelete